
Here is how to increase event registration using features already in your Eventify admin panel. Each tip says where to find the feature and links to the full steps. Start with the ones that fit your audience and budget.
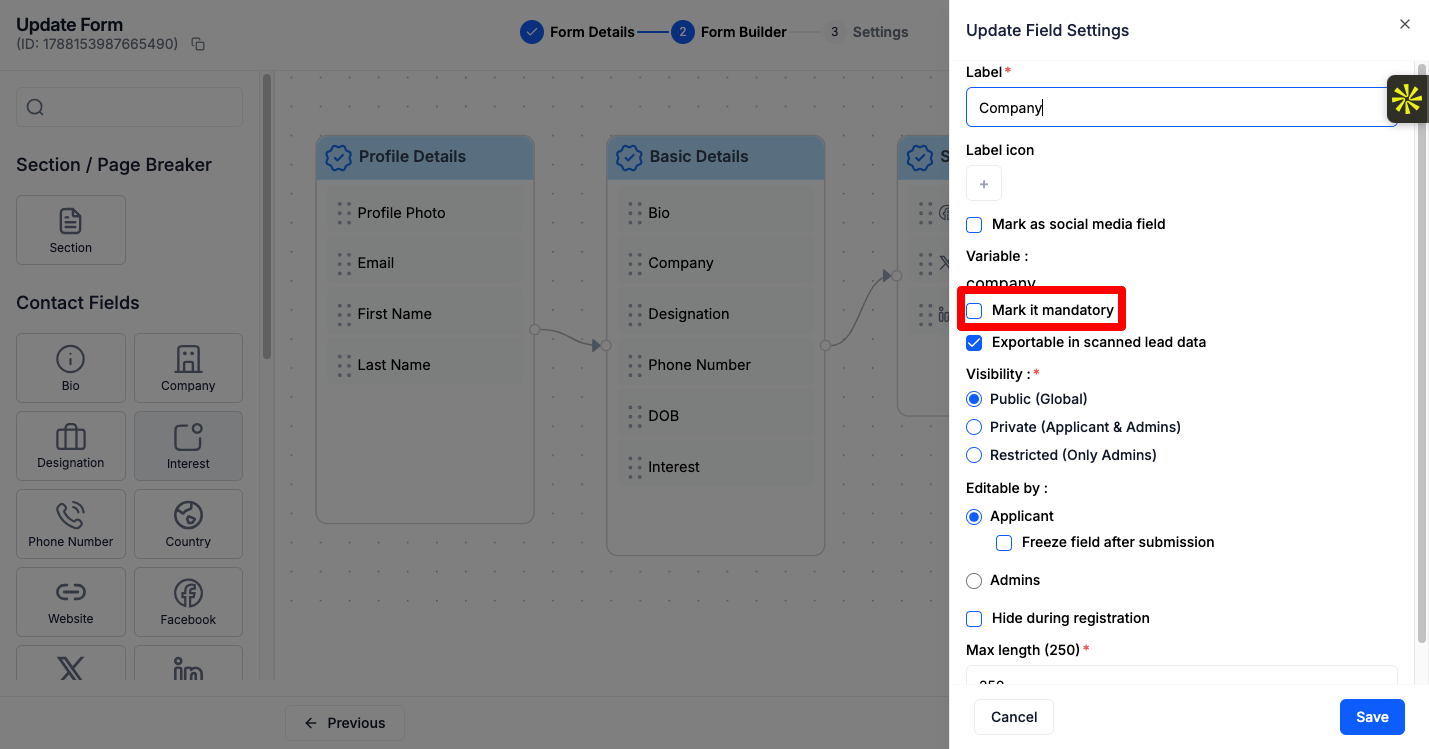
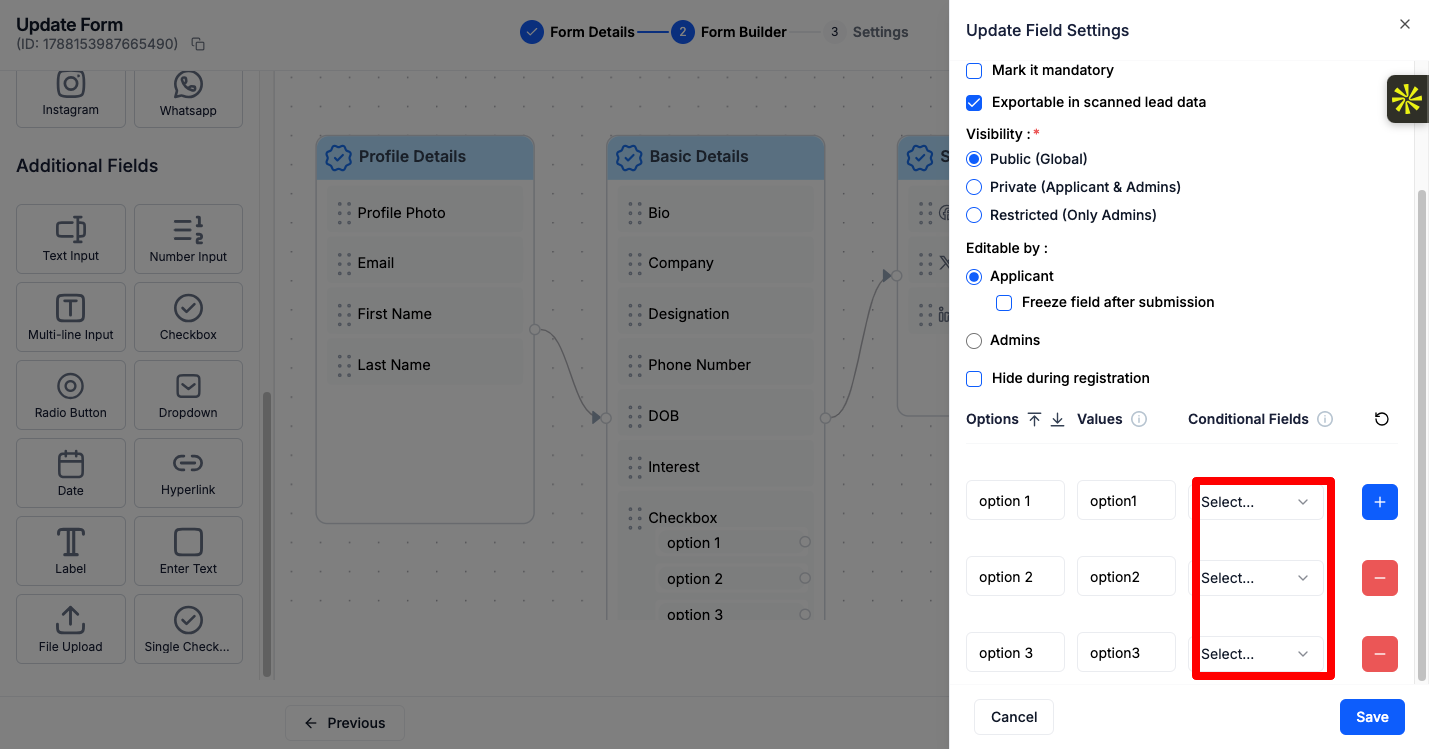
Every extra question is a reason to stop. Before you promote your event, open Registration > Registration Forms and cut the form down.
.png)
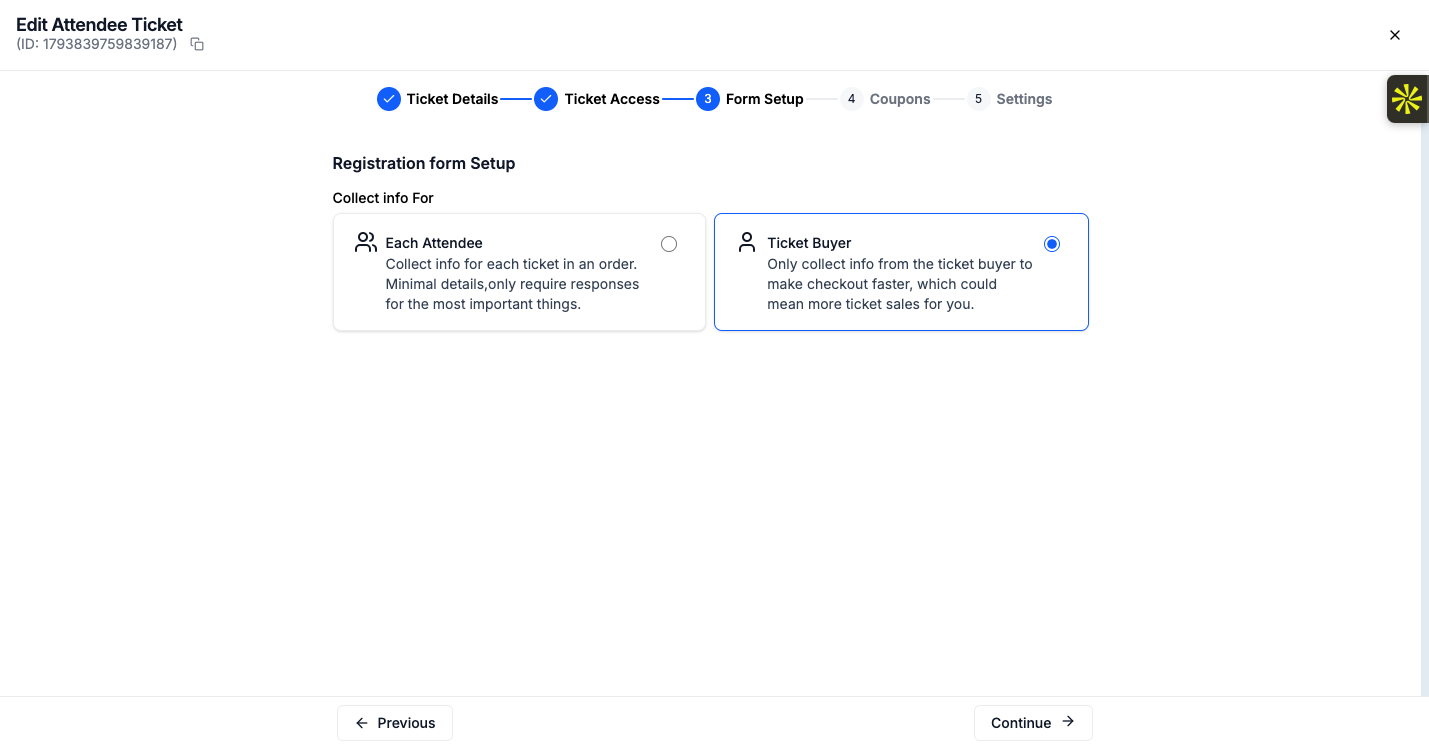
See How to Build an Event Registration Form on Eventify.
Ticket form with Multiple Tier selected and two price tiers with their end dates
Set up price tiers on a ticket: go to Registration > Tickets > Manage Tickets, edit the ticket and choose Multiple Tier. On your ticket page, buyers see the current price with "Available until" and its end date, which gives them a reason to act before the price goes up.
You can also run an early bird promo code with an end date. See How to Create a Discount Coupon or Promo Code on Eventify.
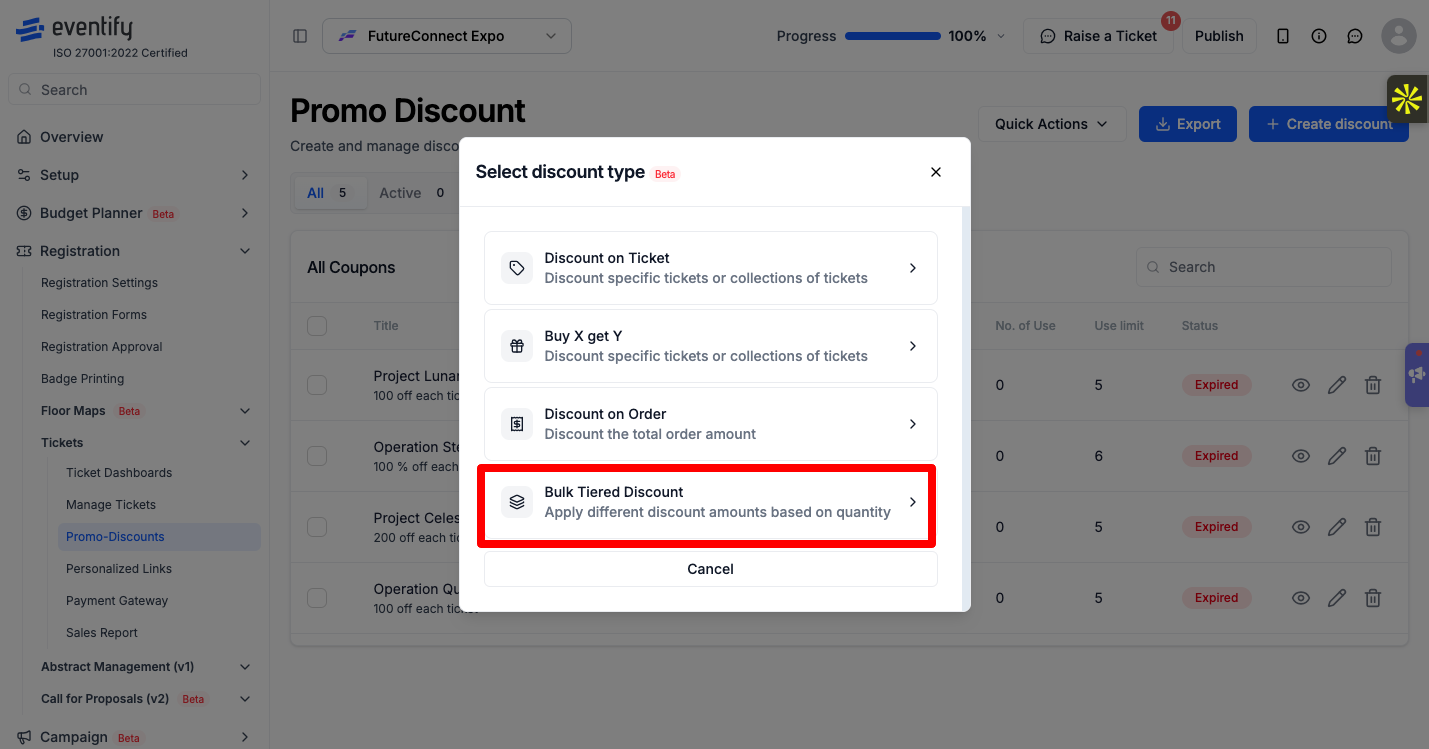
Under Registration > Tickets > Promo-Discounts you can create:
.png)
Give partners, sponsors and speakers their own code so you can see which one brings in registrations. See How to Create a Bulk Tiered Discount for Group Tickets.
Create a link for each channel under Registration > Tickets > Personalized Links: one for your newsletter, one per partner, one for social media. The table shows views, redemptions and conversion rate for each link, so you can put more effort into what works. A ticket link can apply a promo code automatically.
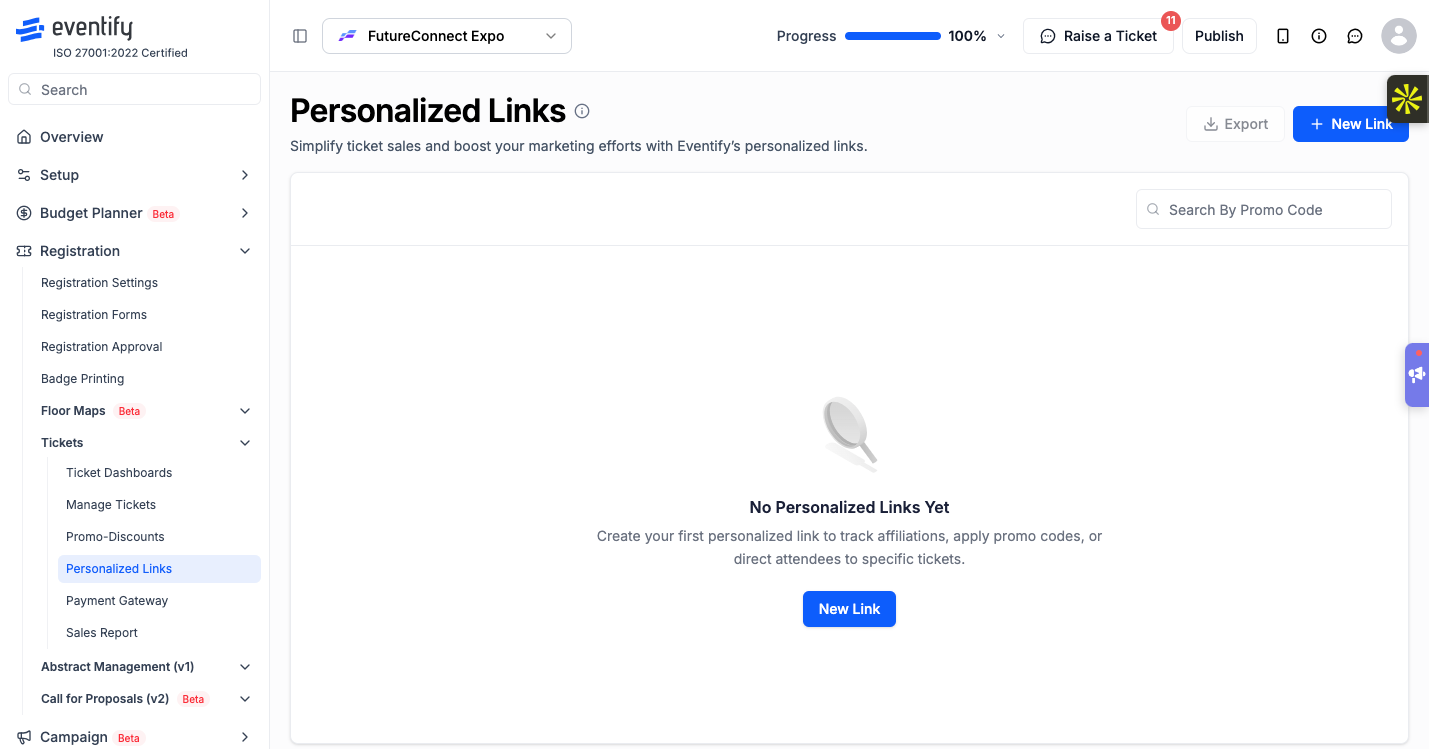
For invite-only offers, set a ticket's Ticket Status to Enabled,but Hidden. It stays off your public ticket page, and only people with its link can buy it. See How to Create Personalized Ticket and Registration Links.
.png)
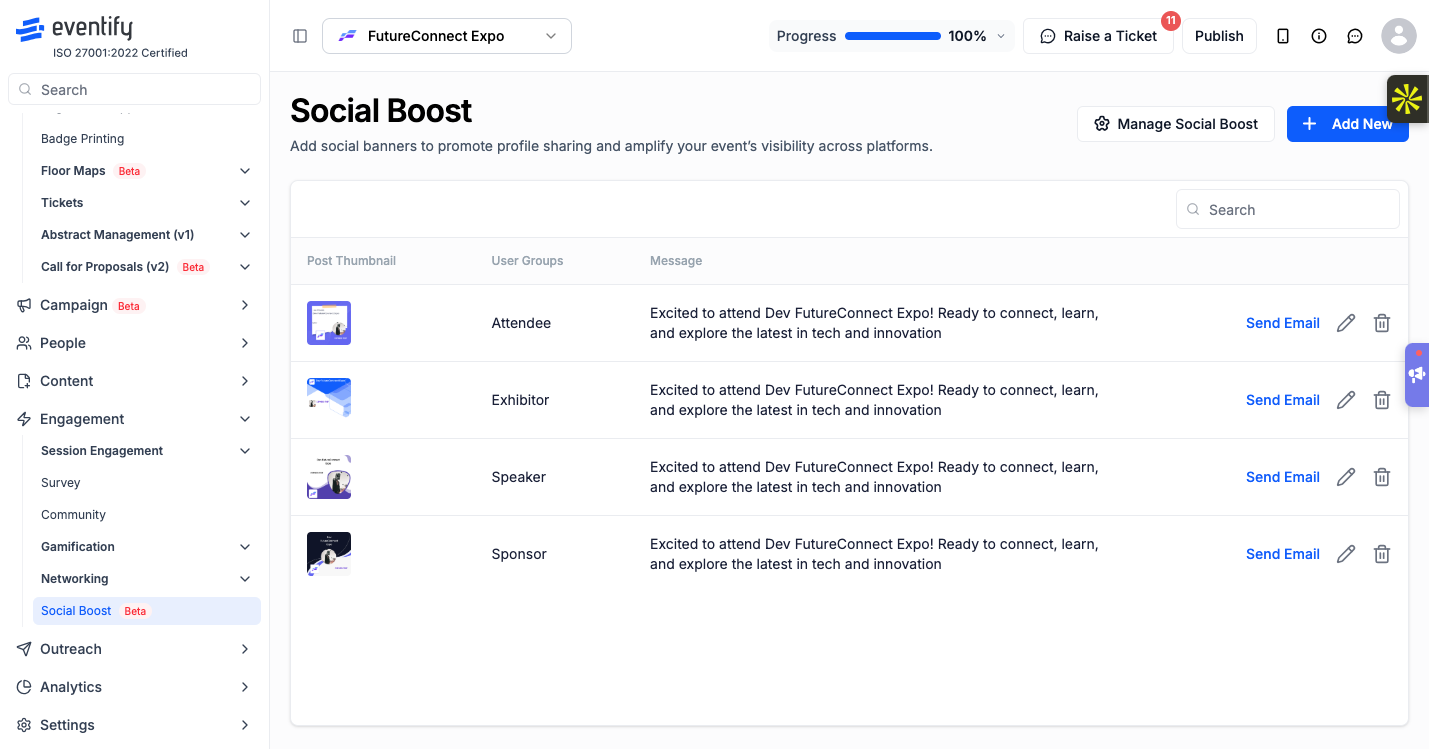
Social Boost page with the Manage Social Boost button and a banner template
Turn on Social Boost in Engagement > Social Boost. Attendees get a personalised banner with their name and photo to share on LinkedIn, Facebook or X. After registering, they can see a prompt to let their friends know they're attending. Each post shows your event to people you wouldn't reach yourself. See How to Enable Social Boost for Your Event in Eventify.
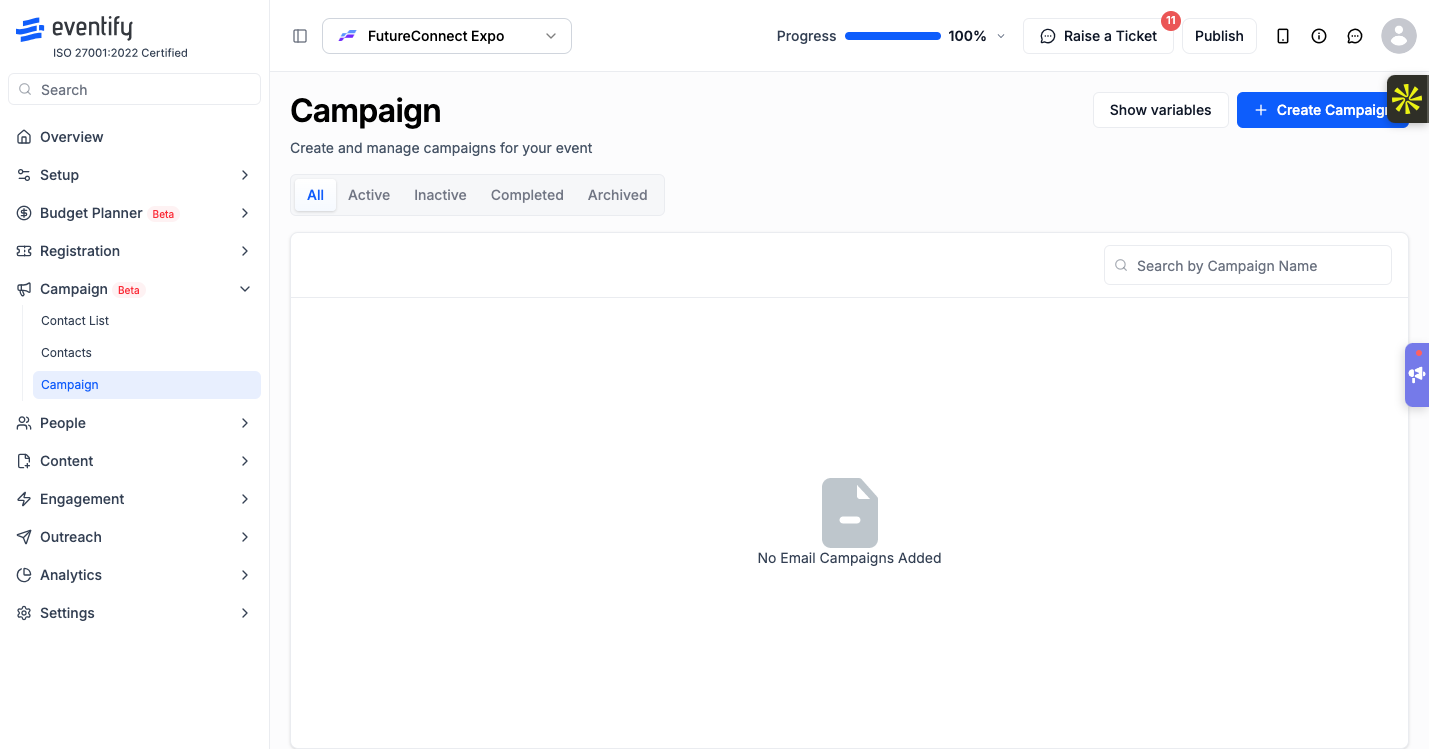
If Campaign is included in your plan, use it to invite past attendees and contact lists. When you target contacts, the Skip sending to already registered users option is on by default, so people who have already signed up don't get the invitation again. See How to Create an Email Campaign in Eventify.
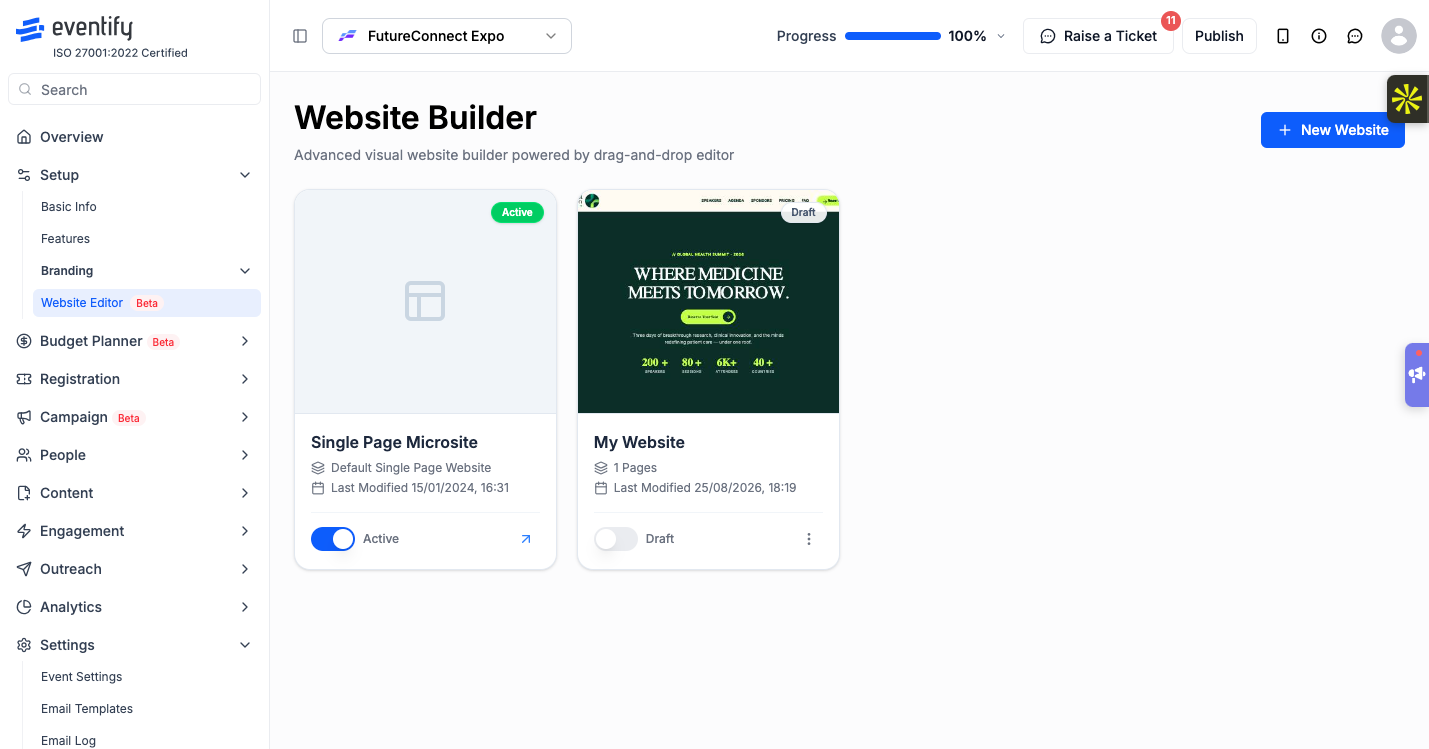
People trust a page that looks like your brand.
.png)
Add Google Analytics 4 or Google Tag Manager on the Tracking Code tab of Registration Settings. You then see where visitors come from and how many complete registration. See Add Google Analytics 4 or Google Tag Manager to Your Registration Page.
.png)
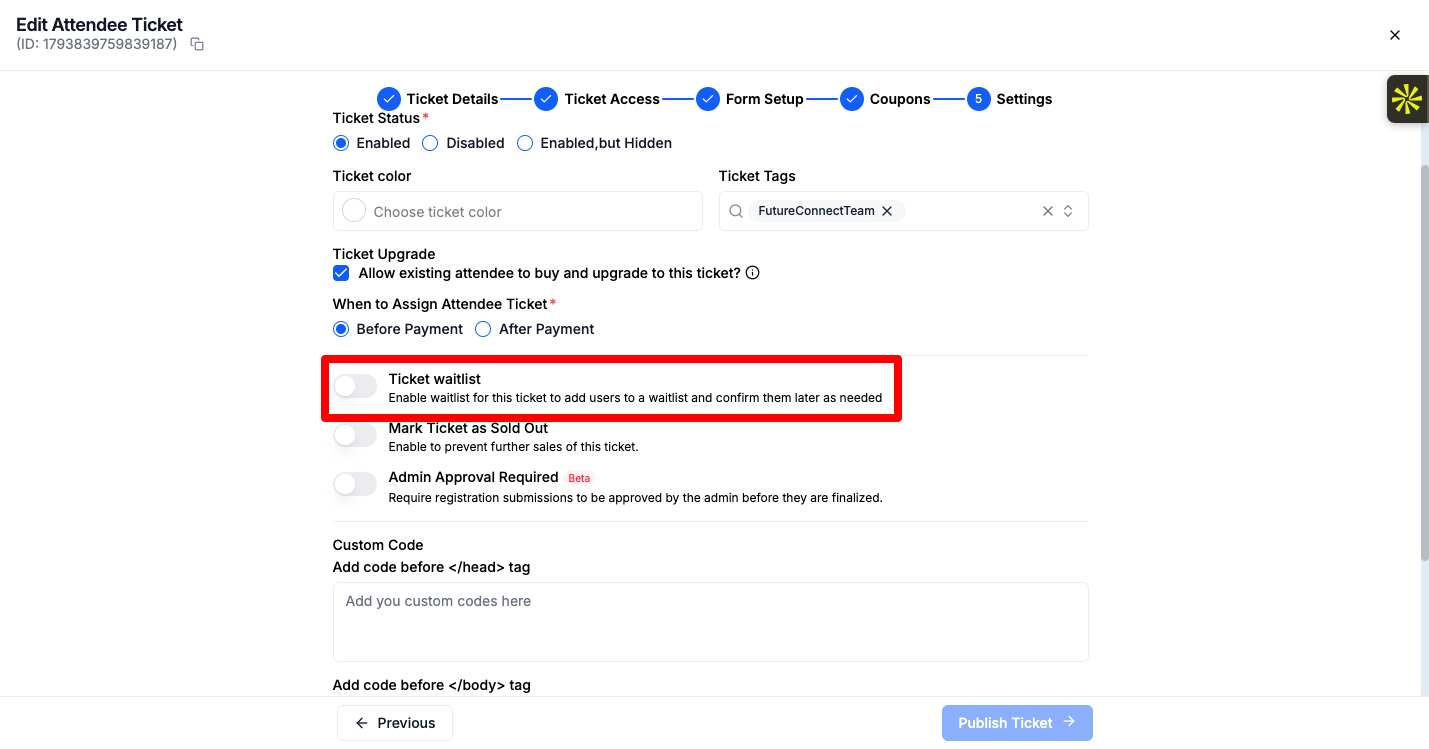
Turn on a waitlist so people can still sign up when tickets sell out, and invite them when places open. See How to Enable and Manage the Waitlist for Sold-Out Tickets.
How do I increase event registration quickly?
Shorten your form, add an early bird price tier or promo code with an end date, and email your past attendees. These three changes need the least setup.
How can I see which promotion brings in the most registrations?
Give each channel its own link under Personalized Links, and each partner their own promo code. Compare views, redemptions and conversion rate in the links table.
Can I offer a discount only to certain people?
Yes. Set who can use a promo code, such as specific groups or users, or create a ticket with the status Enabled,but Hidden and share its link privately.
Need more help? Contact Eventify support from the admin panel.
