Profile frames let attendees add a custom overlay to their profile picture inside the event app. It is a small but effective way to add personality and a sense of belonging to your event. You can set up as many frames as you like, and attendees can pick whichever one they want to use.
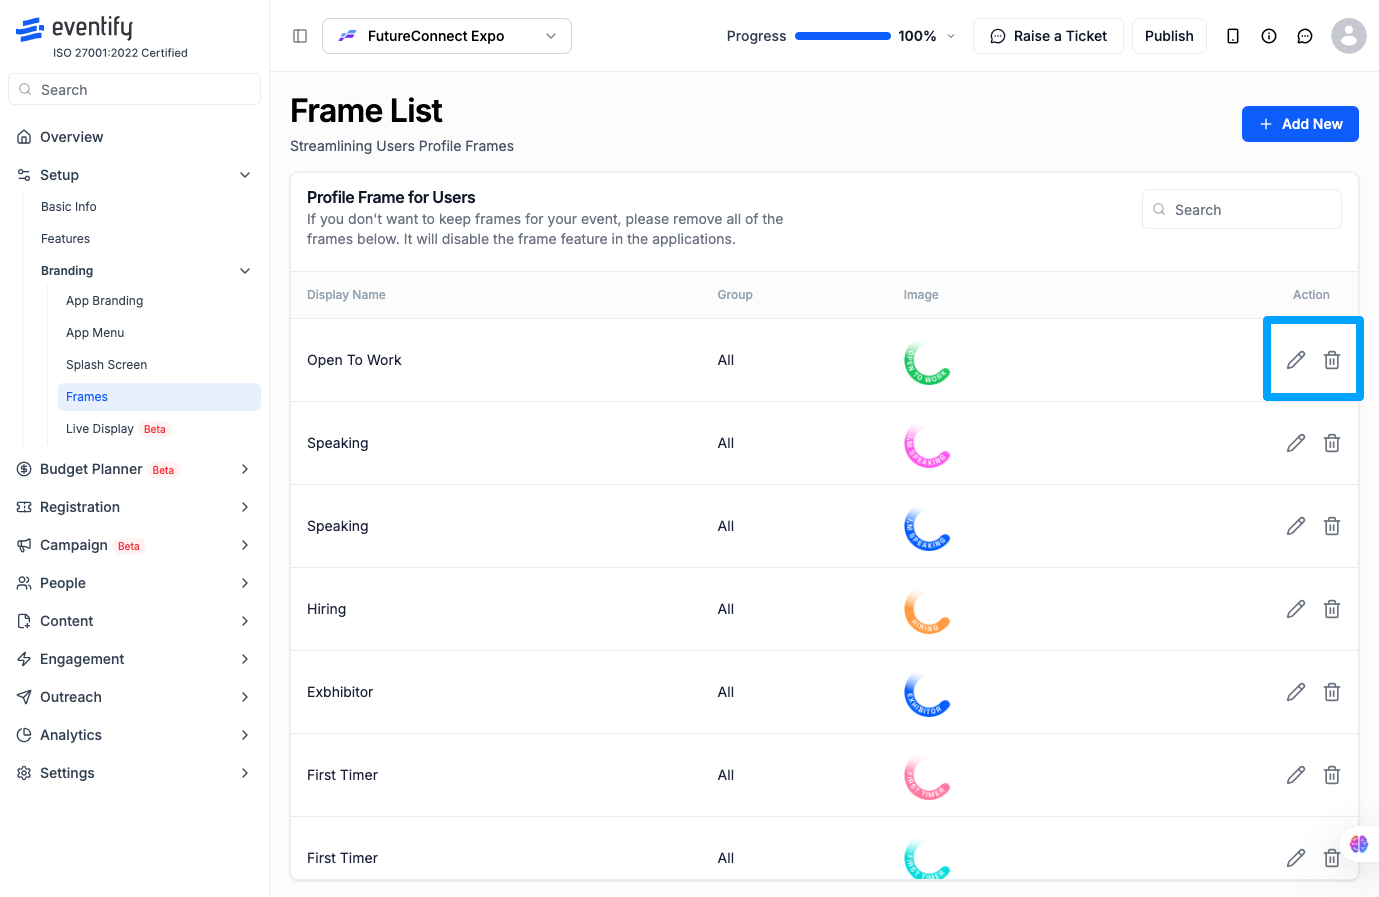
To manage frames, go to the Admin Panel and navigate to Setup, then Branding, then Frames. You will land on the Frame List page, which shows all existing frames along with their display name, group, and a preview of the frame image.

Click the Add New button in the top right corner. Give the frame a display name, upload the frame image, and optionally assign it to one or more attendee groups using the dropdown. It is worth using an image with a transparent background so the frame sits cleanly around the profile photo. Once everything looks good, click Save.
To update an existing frame, click the pencil icon on the right side of the row. Make your changes and hit Save.
Click the delete icon next to the frame you want to remove, then confirm by clicking Ok. If you remove all frames, the frame feature will be disabled in the app entirely.
Q: Where do I find the profile frames settings?
Go to the Admin Panel, then Setup, then Branding, then Frames.
Q: What are profile frames?
Profile frames are decorative overlays that attendees can apply to their profile picture inside the event app. Examples include frames like Open To Work, Speaking, Hiring, Exhibitor, and First Timer.
Q: Can I assign a frame to specific attendee groups?
Yes. When creating or editing a frame, you can select one or multiple groups from the dropdown to restrict which attendees see that frame as an option.
Q: What type of image should I use for a frame?
Use an image with a transparent background. This ensures the frame sits cleanly around the attendee profile photo without a solid block covering it.
Q: Can I have multiple frames at the same time?
Yes. You can add as many frames as you need. Attendees can then choose whichever one they want to use.
Q: What happens if I delete all the frames?
If all frames are removed, the frame feature will be disabled in the app and attendees will no longer see the option to apply a frame to their profile.
Q: Can I edit a frame after it has been created?
Yes. Click the pencil icon next to any frame in the list, make your changes, and save.
