Before registration or the live ticket sale starts, there are several crucial details that must be filled out at the organizer's end. This helps participants in comprehending the event's background and policies throughout the ticket and registration processes. Here is how you can set it up-

Interactive Guide
Or check the step-by-step guide
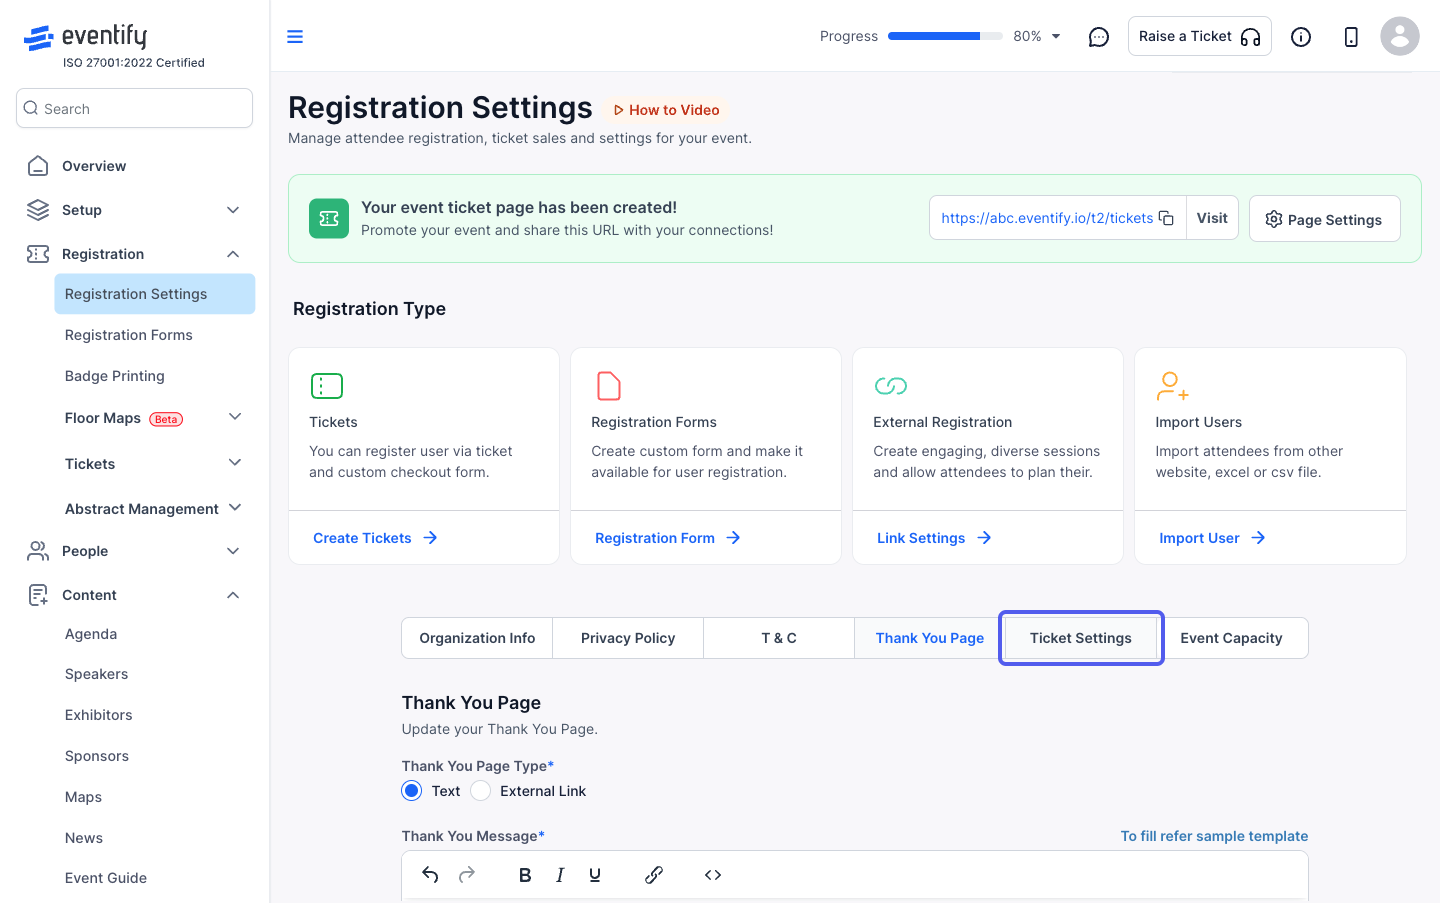
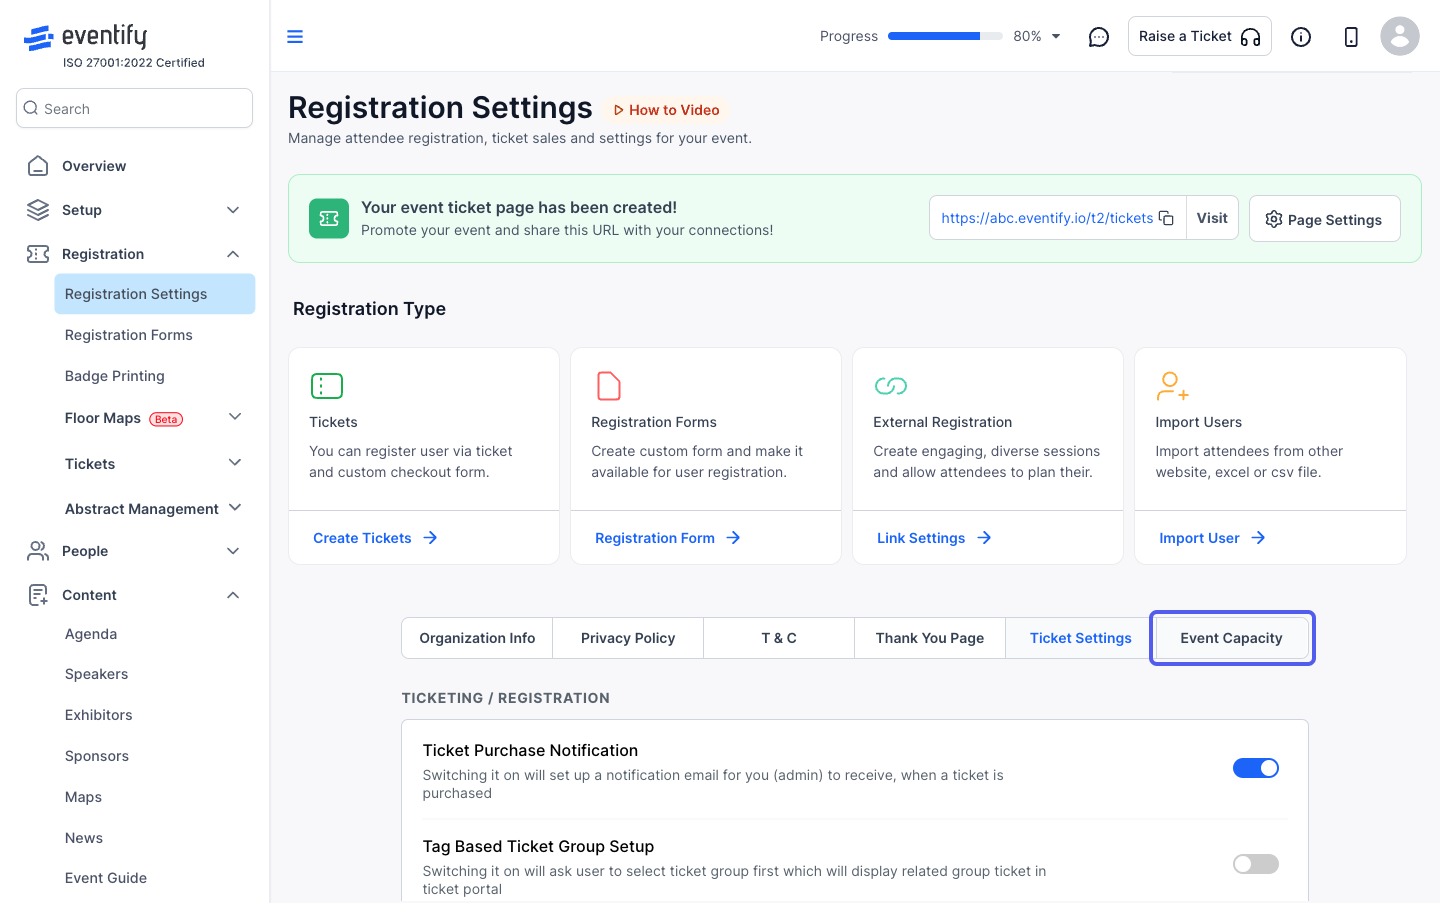
1: Access the Eventify Admin Panel and navigate to Registration > Registration Settings
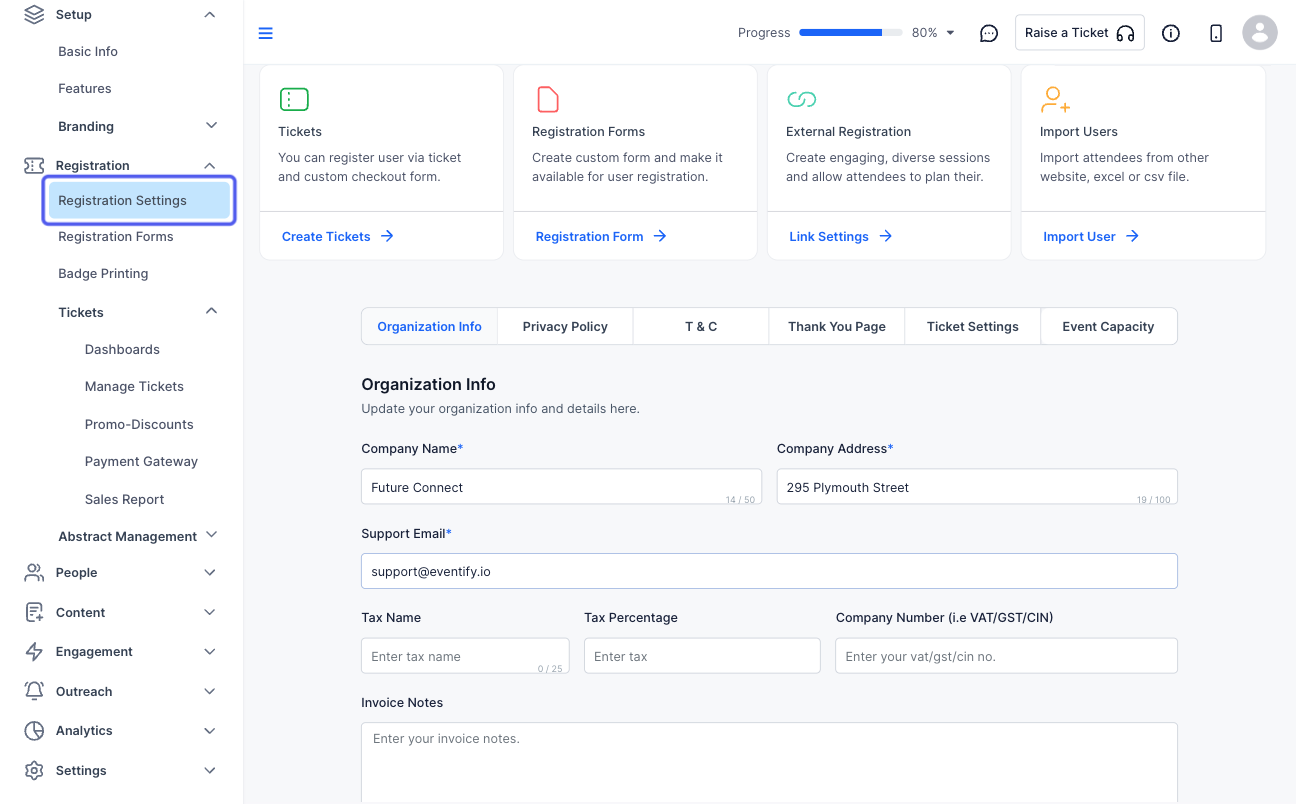
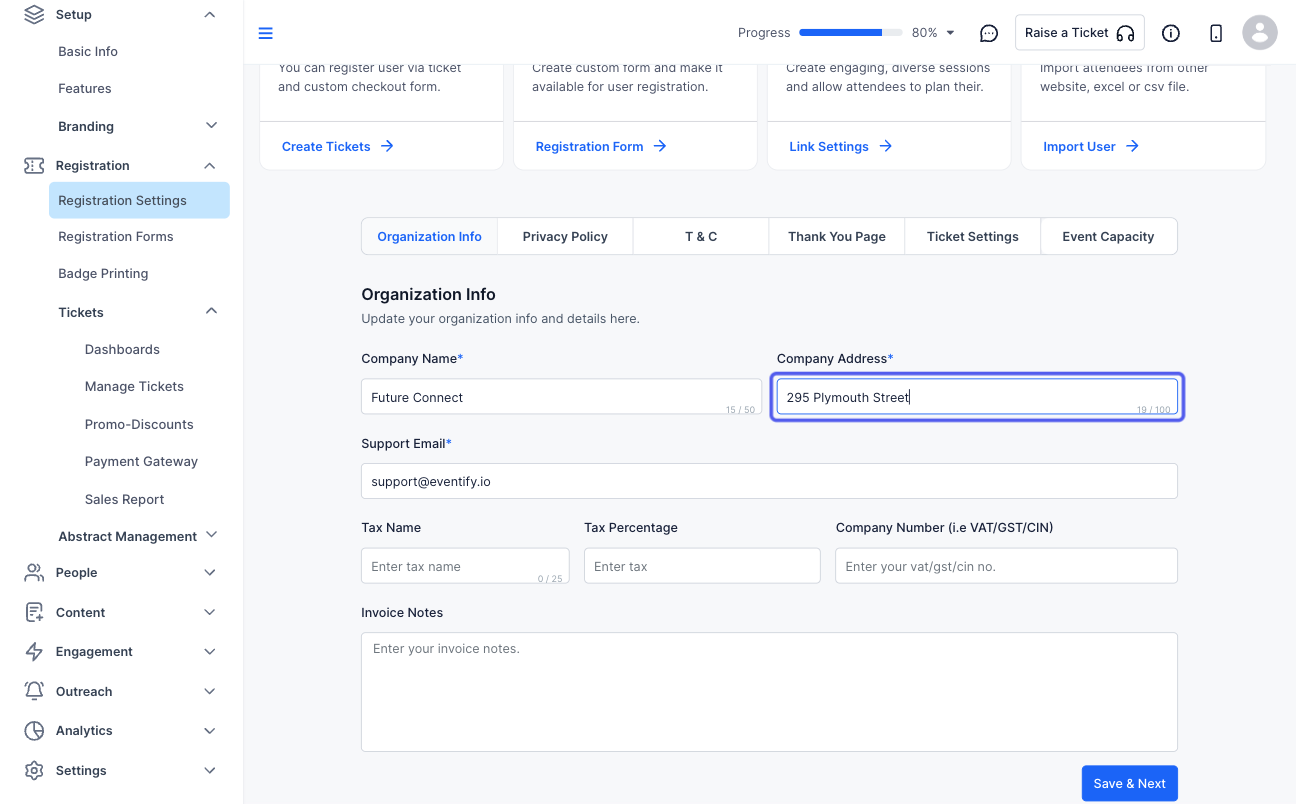
2: Set up the Organization Information
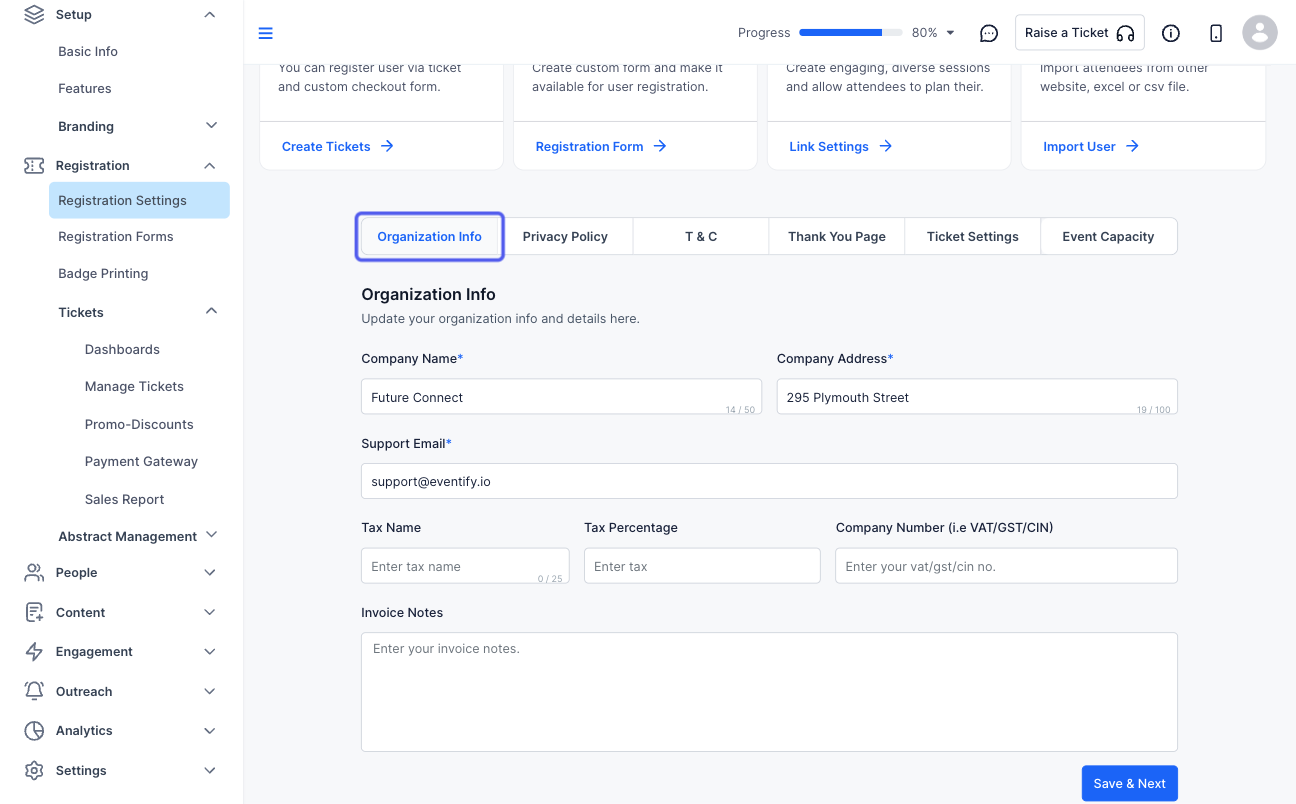
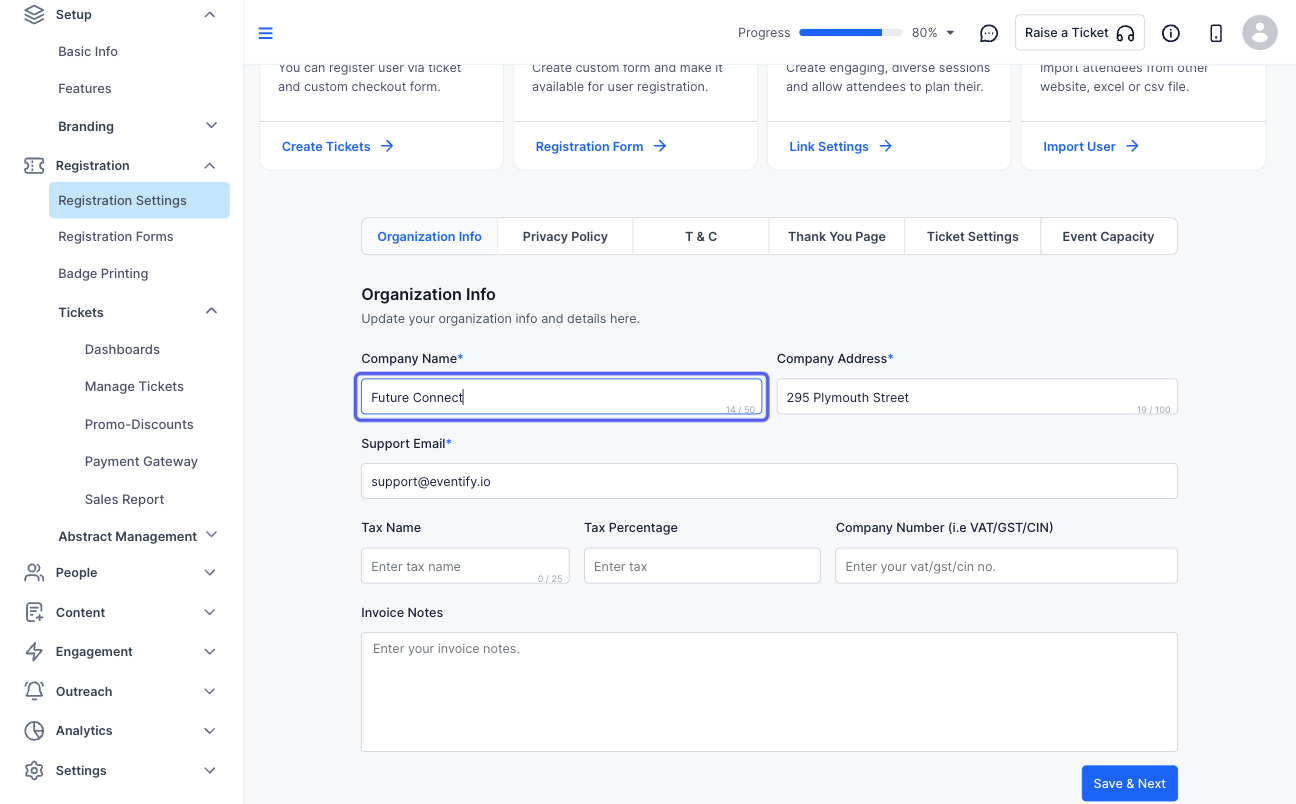
3: Type in the Company Name
4: Type in the Company Address
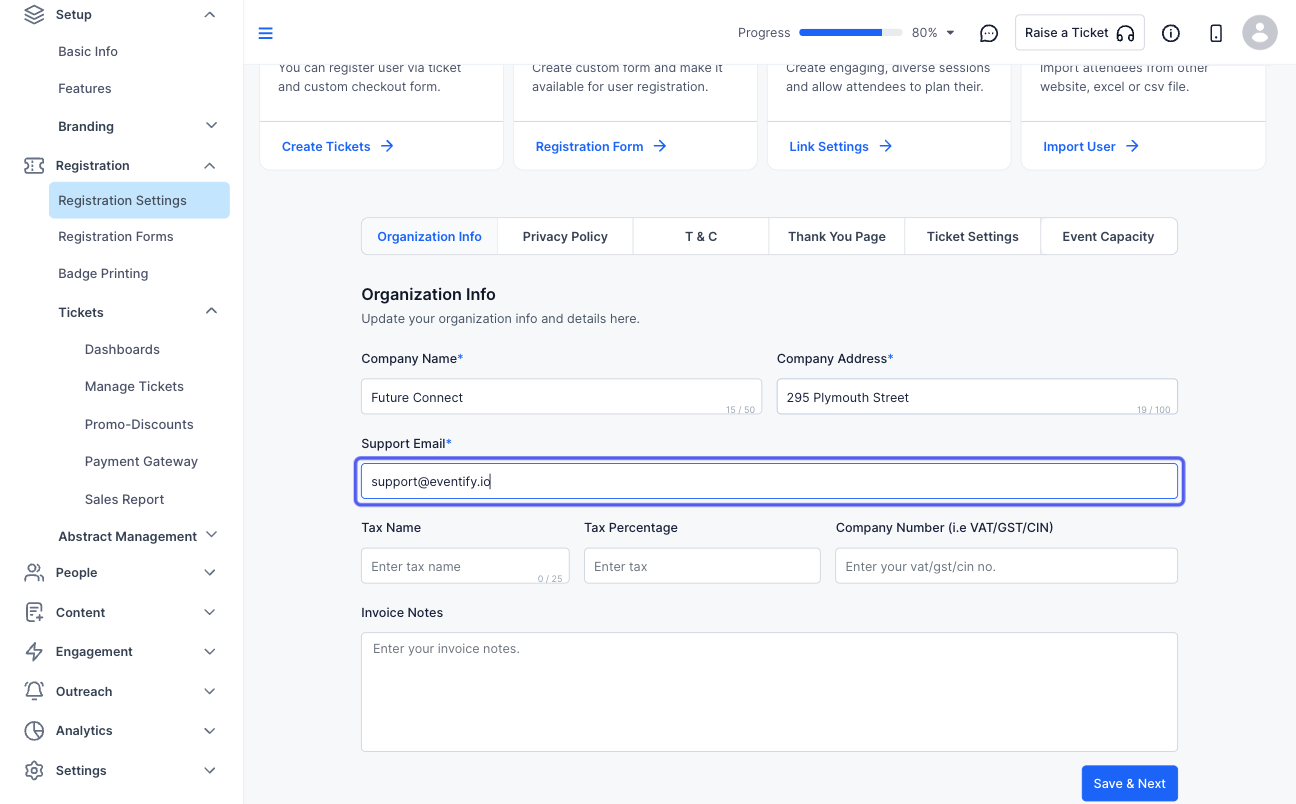
5: Enter a support email
6: You can add a Tax Type applicable to your location
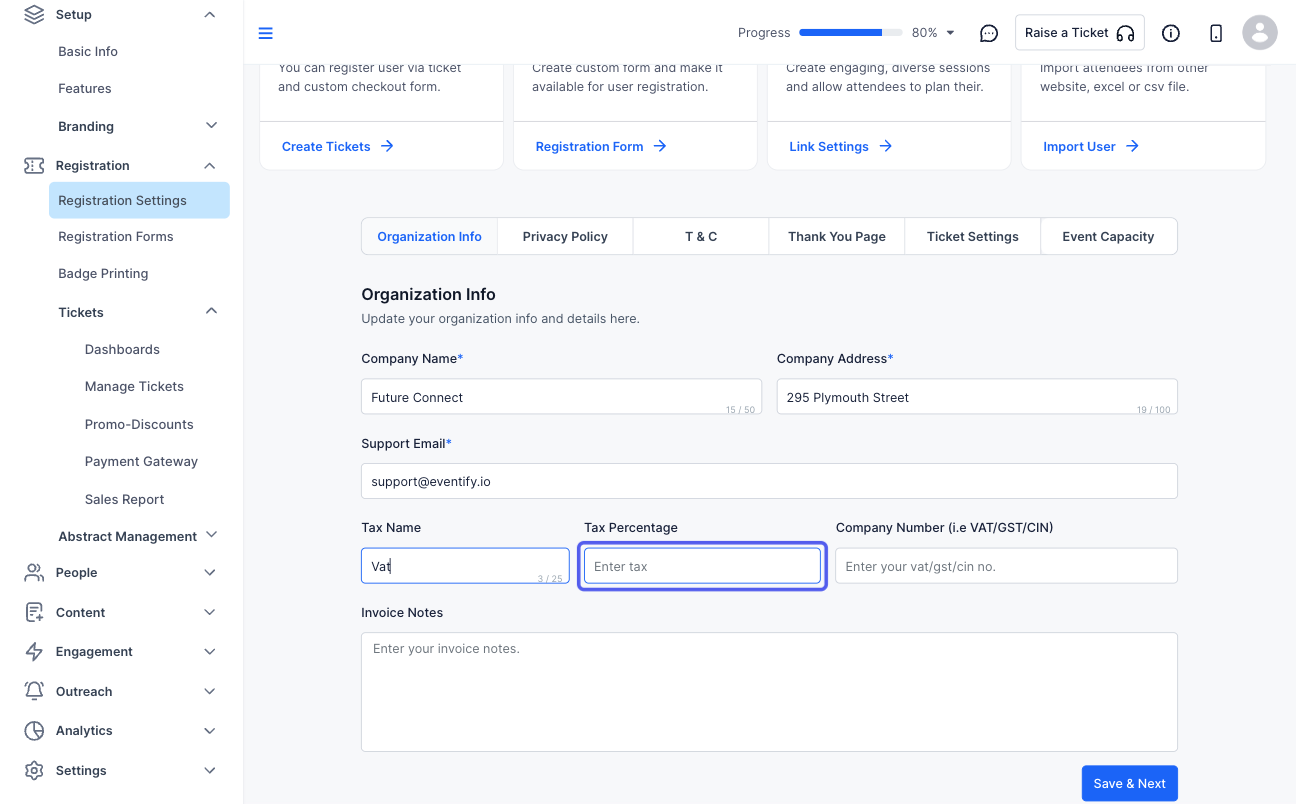
7: Enter the Tax Percentage
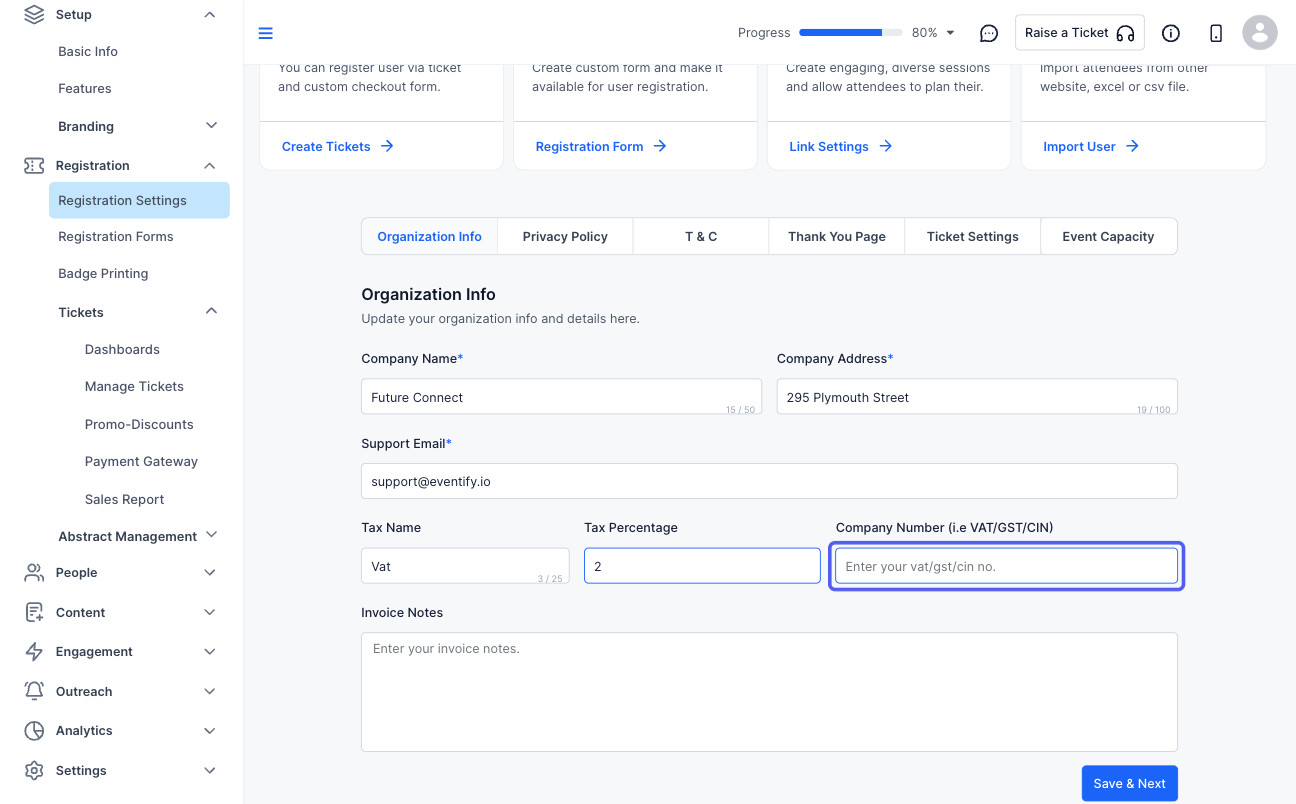
8: Enter the Company Tax Number
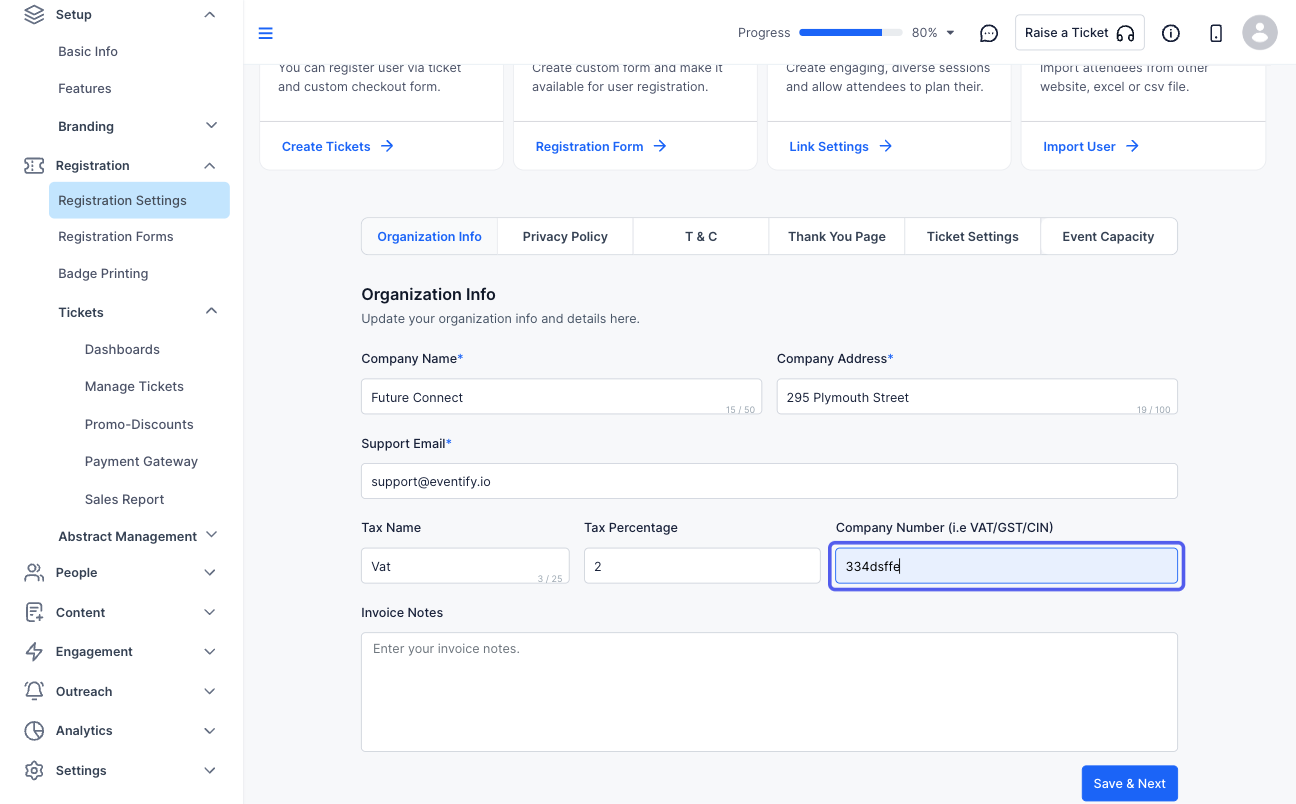
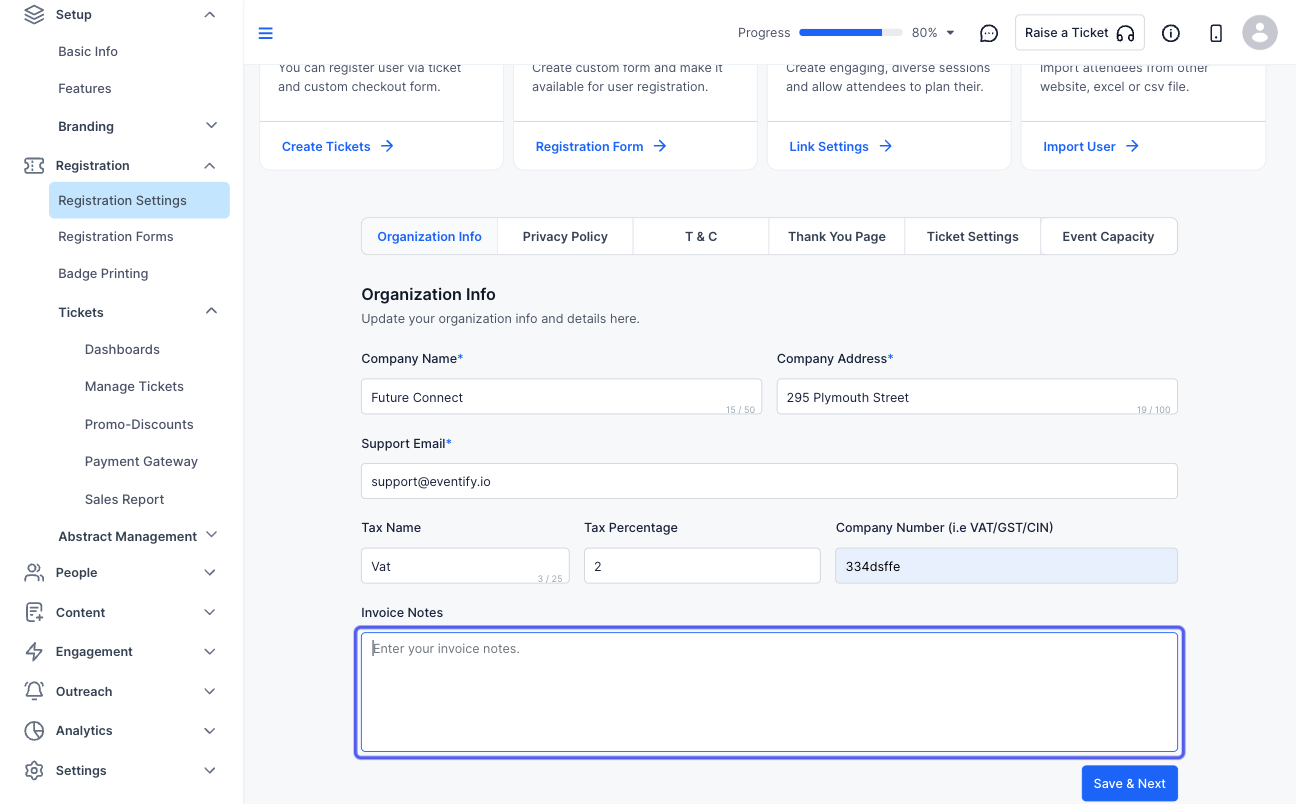
9: Add any invoice notes if needed
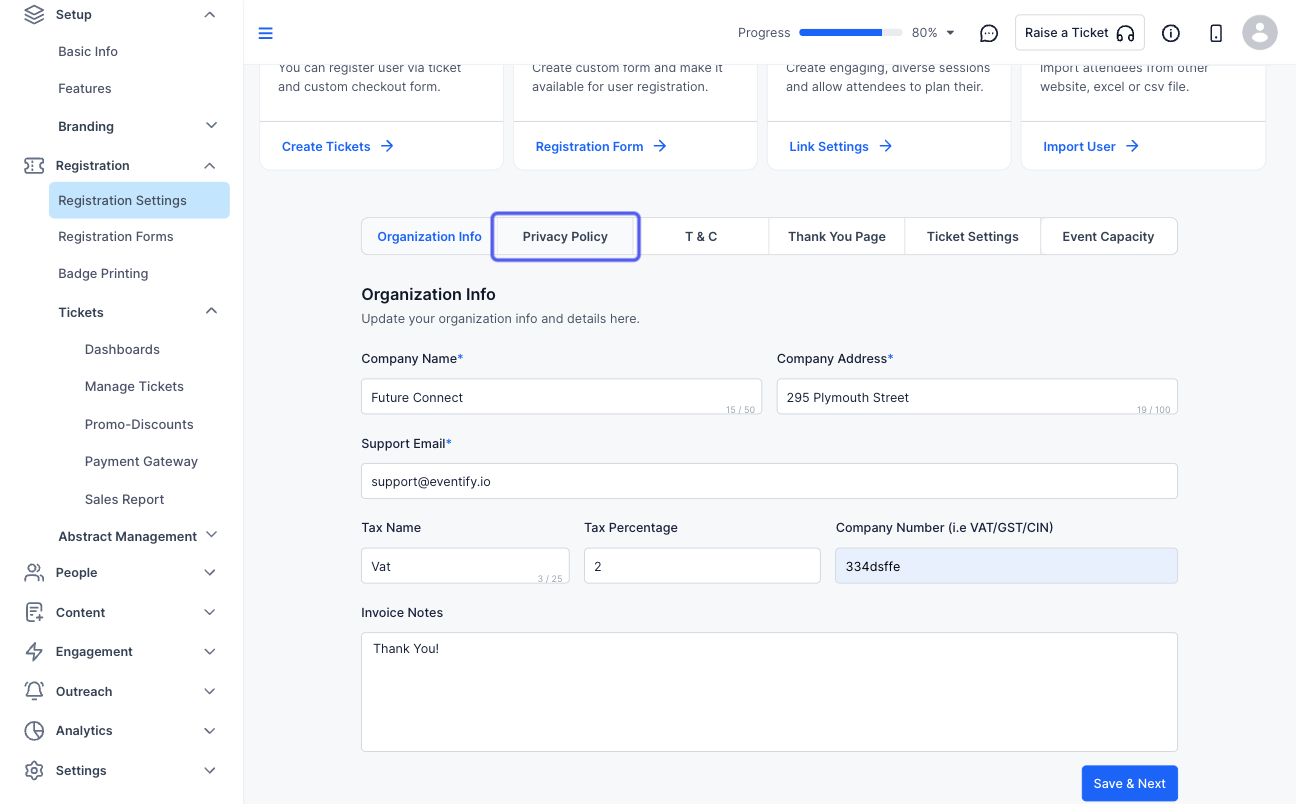
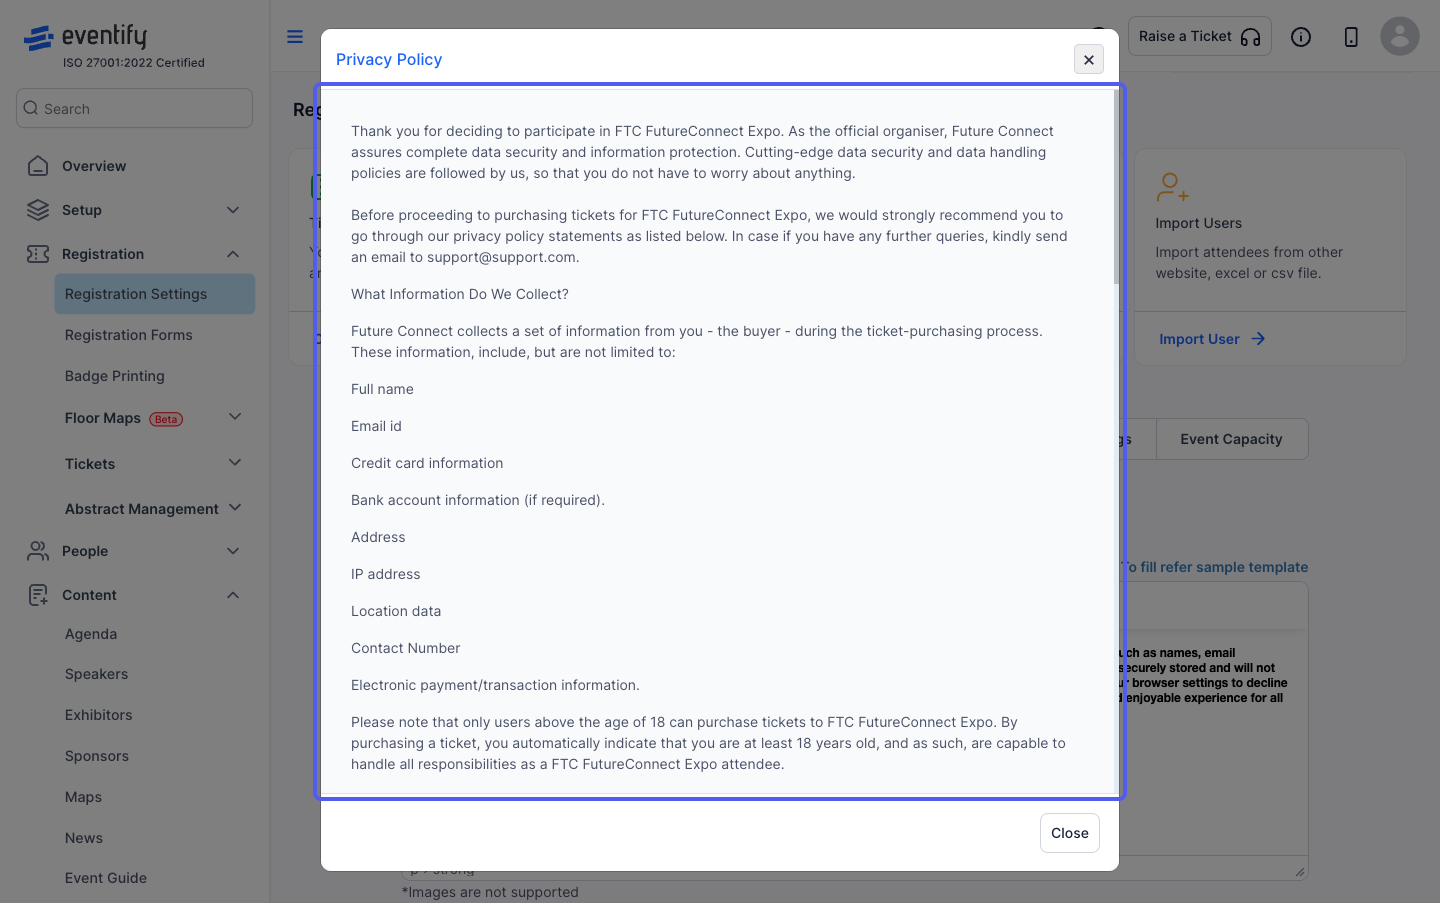
10: Set up the Privacy Policy for the event
11: You can either type/paste the event's privacy policy or create it from the sample template
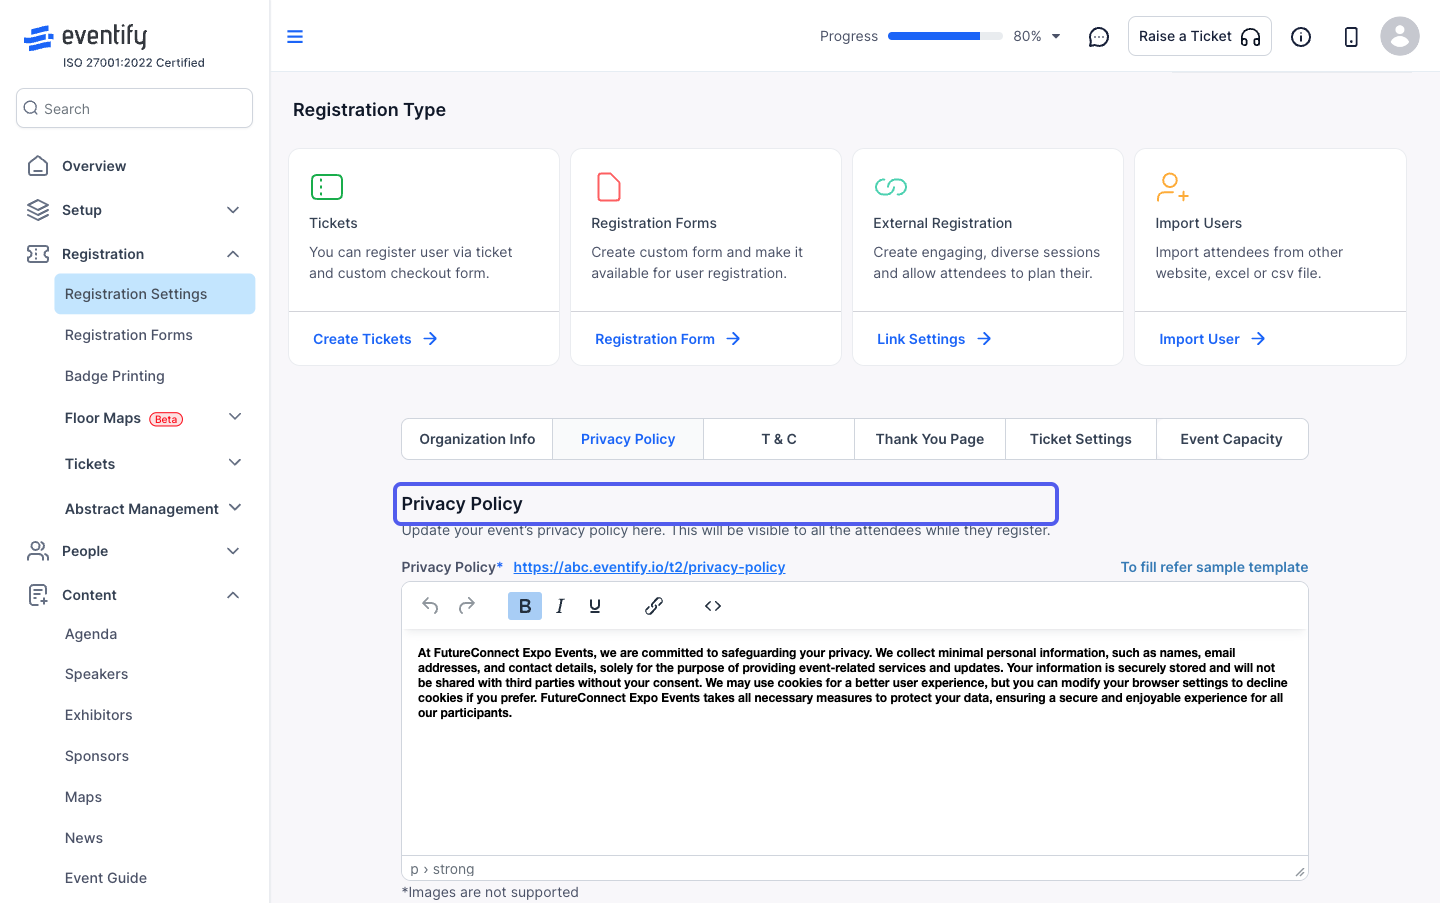
12: Copy the Template
13: Paste the template in the text area and edit the necessary details
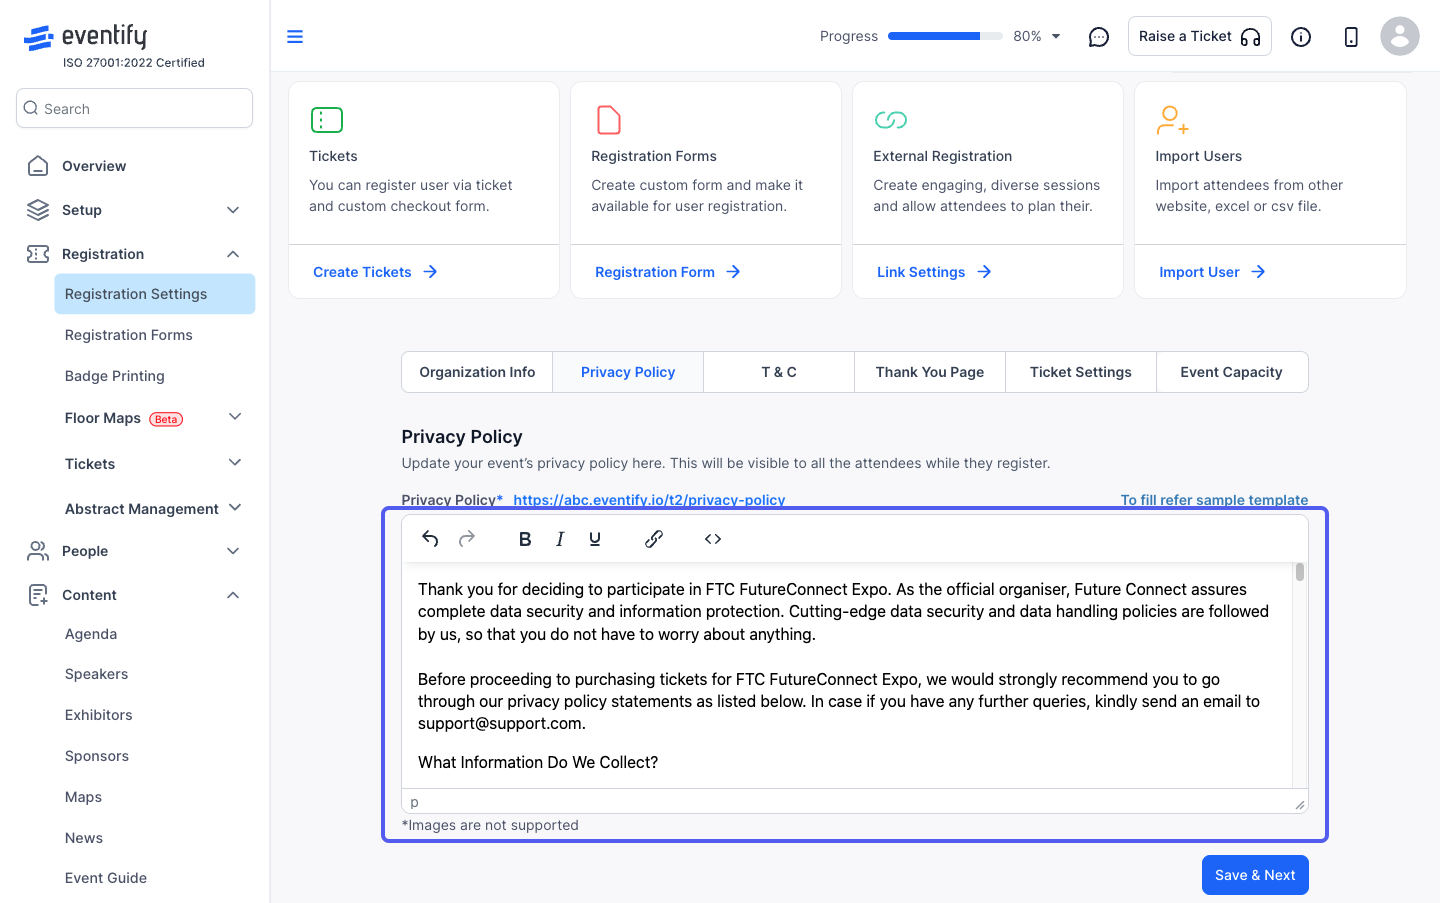
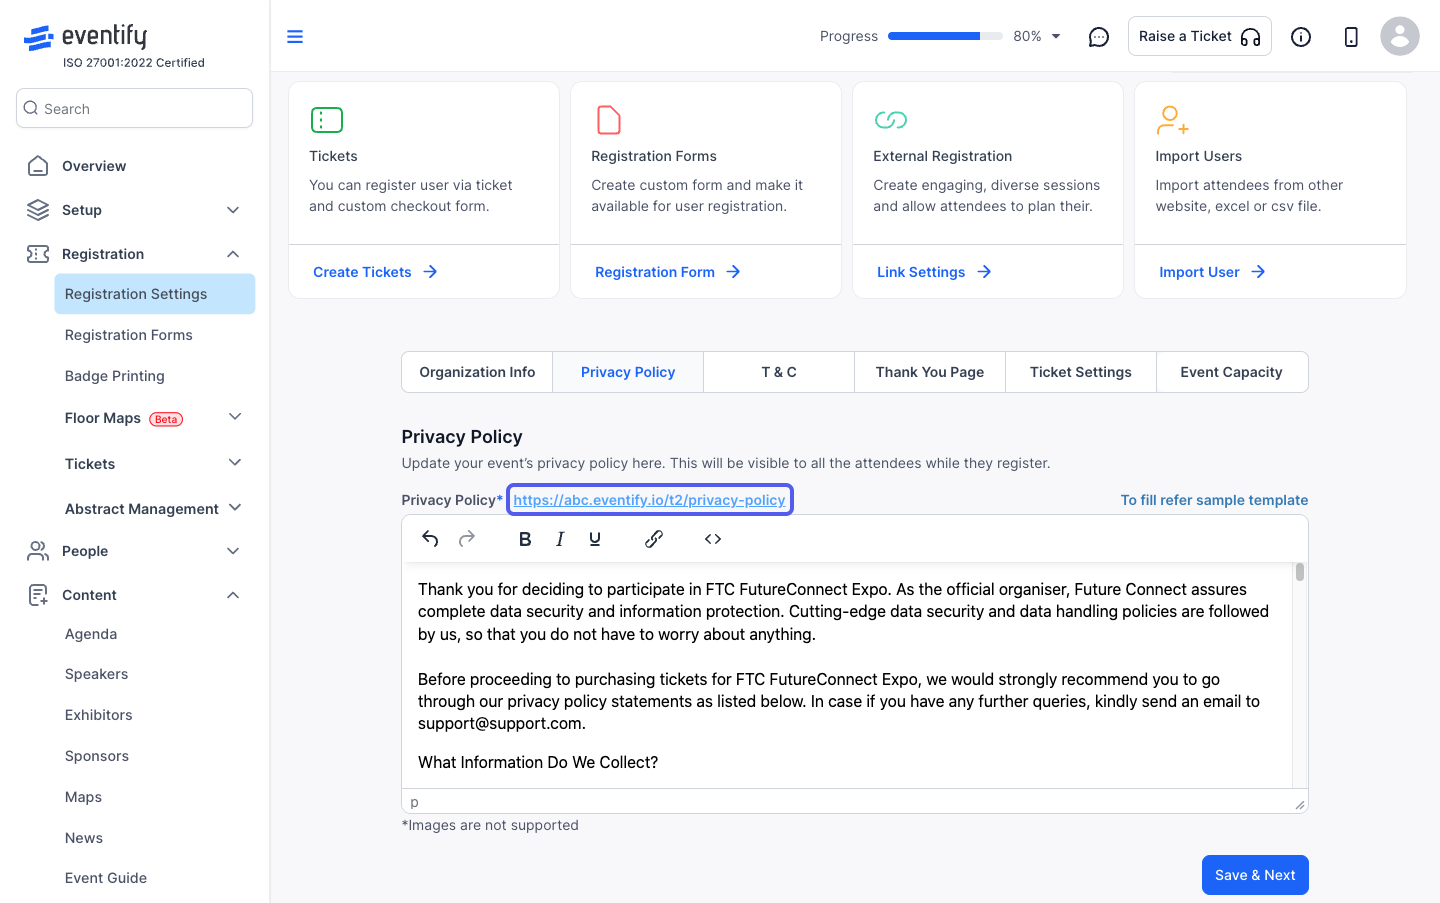
14: Check the privacy policy page via the url
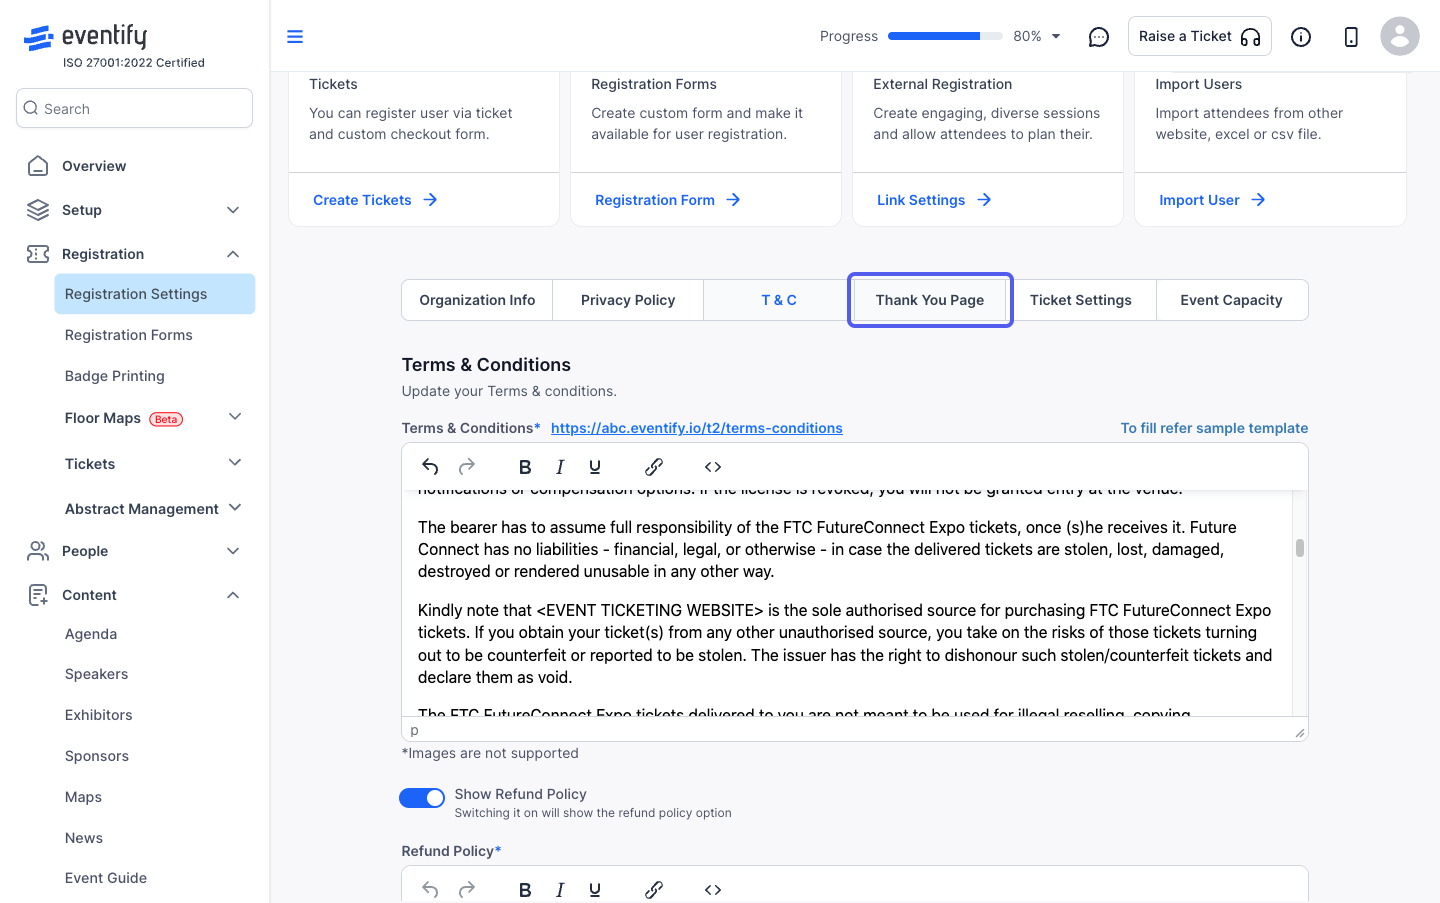
15: Set up the Terms & Conditions for the event
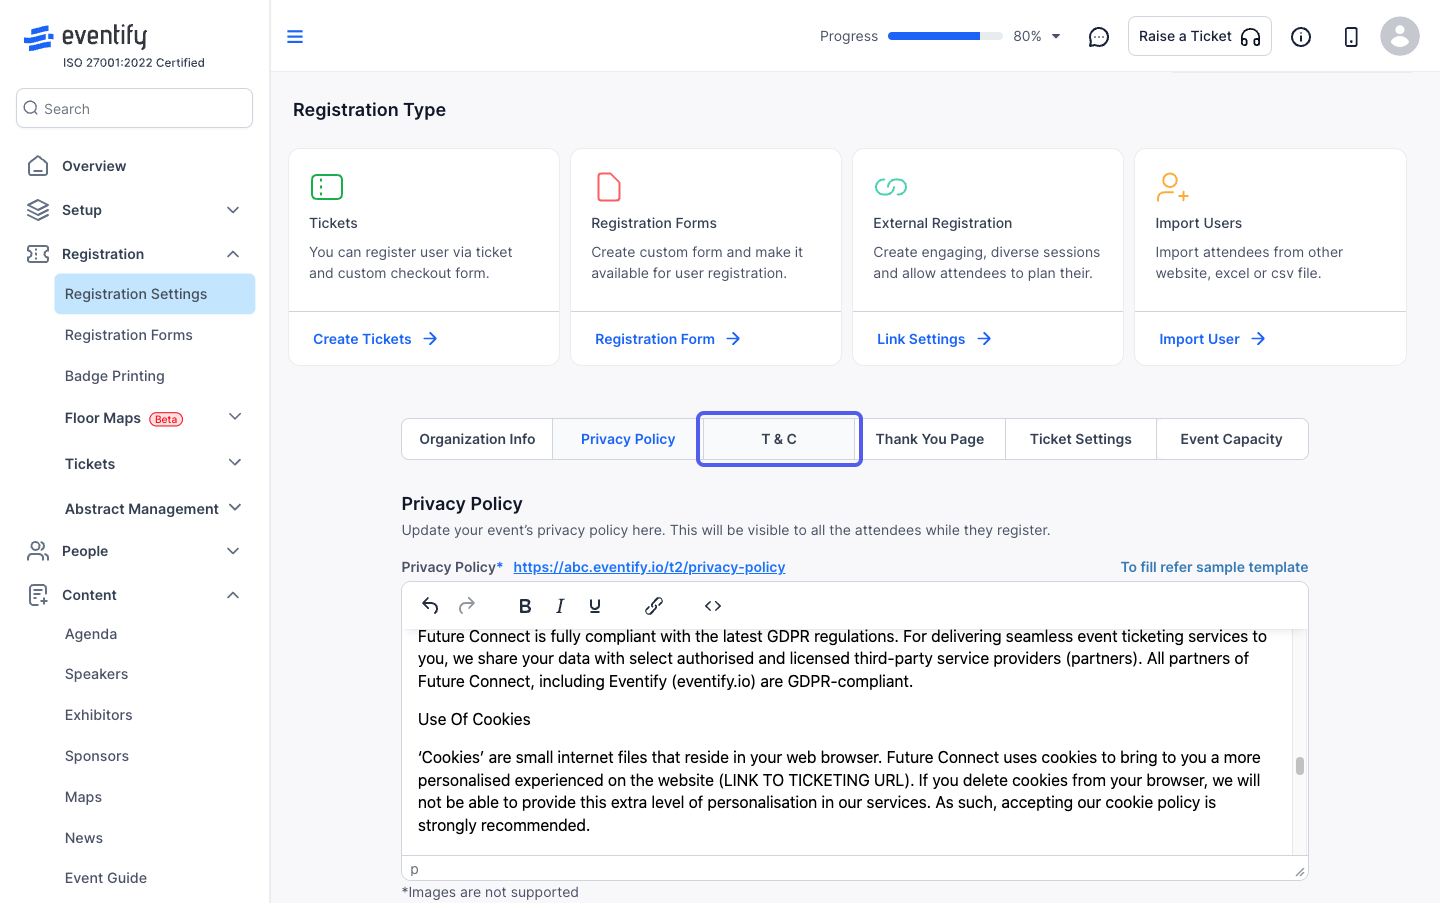
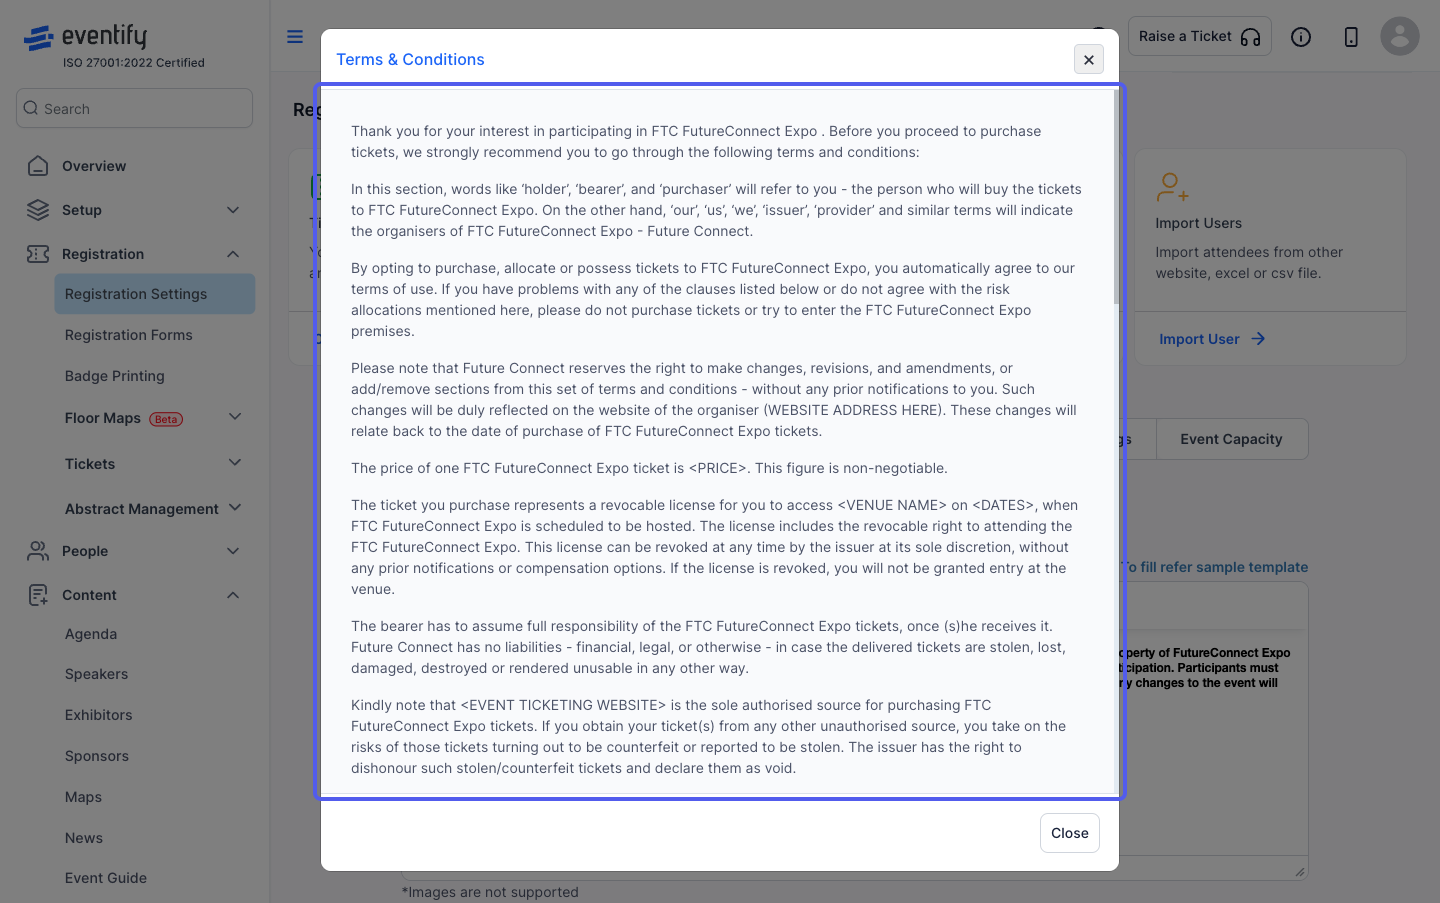
16: You can either type/paste the event's Terms & Conditions or create it from the sample template
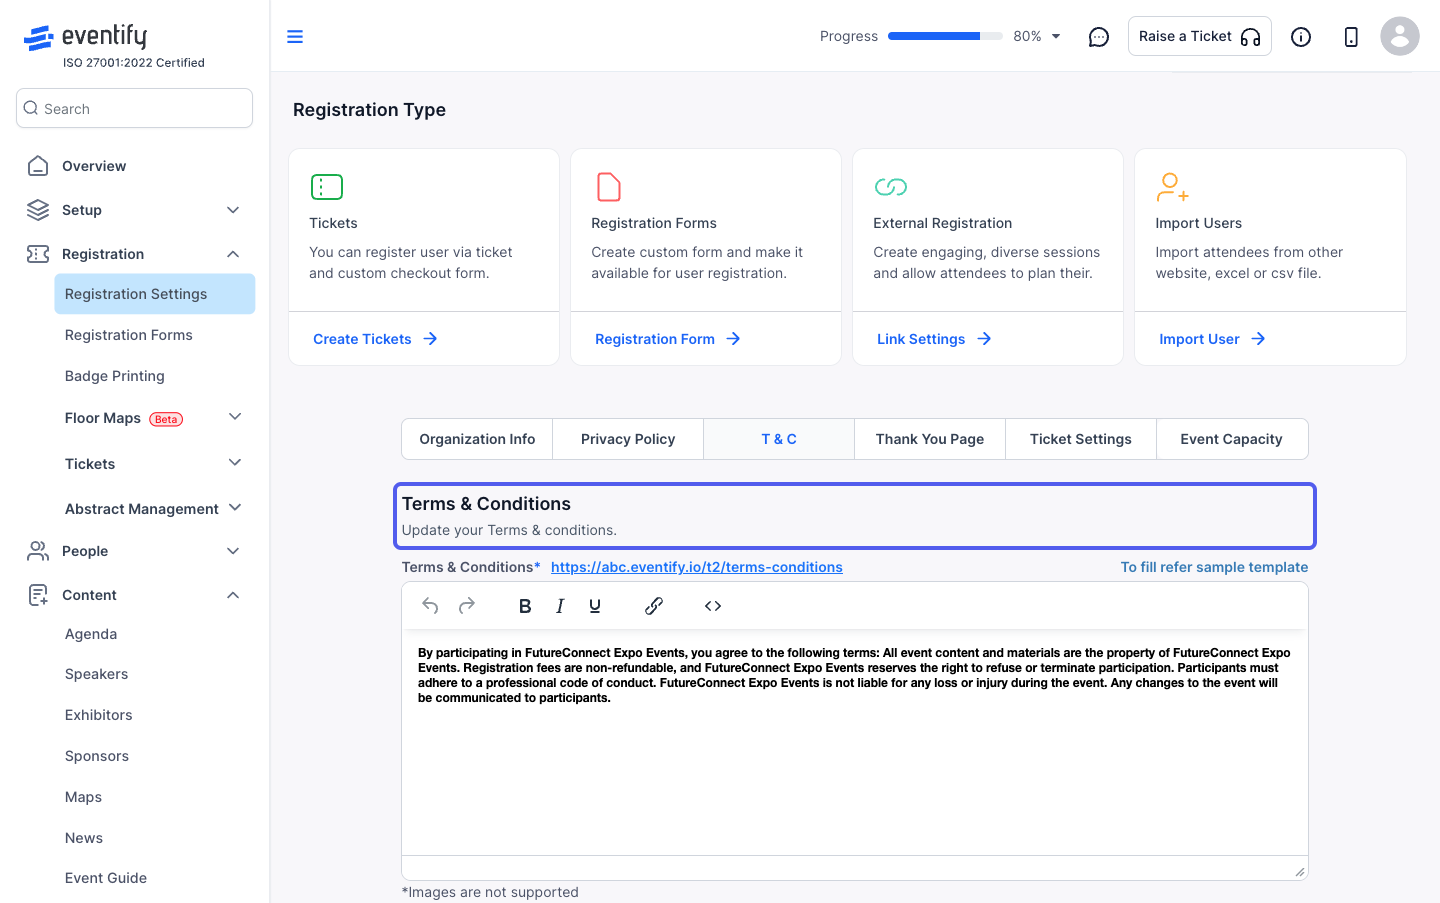
17: Copy the Template
18: Check the Terms & Conditions page via the url

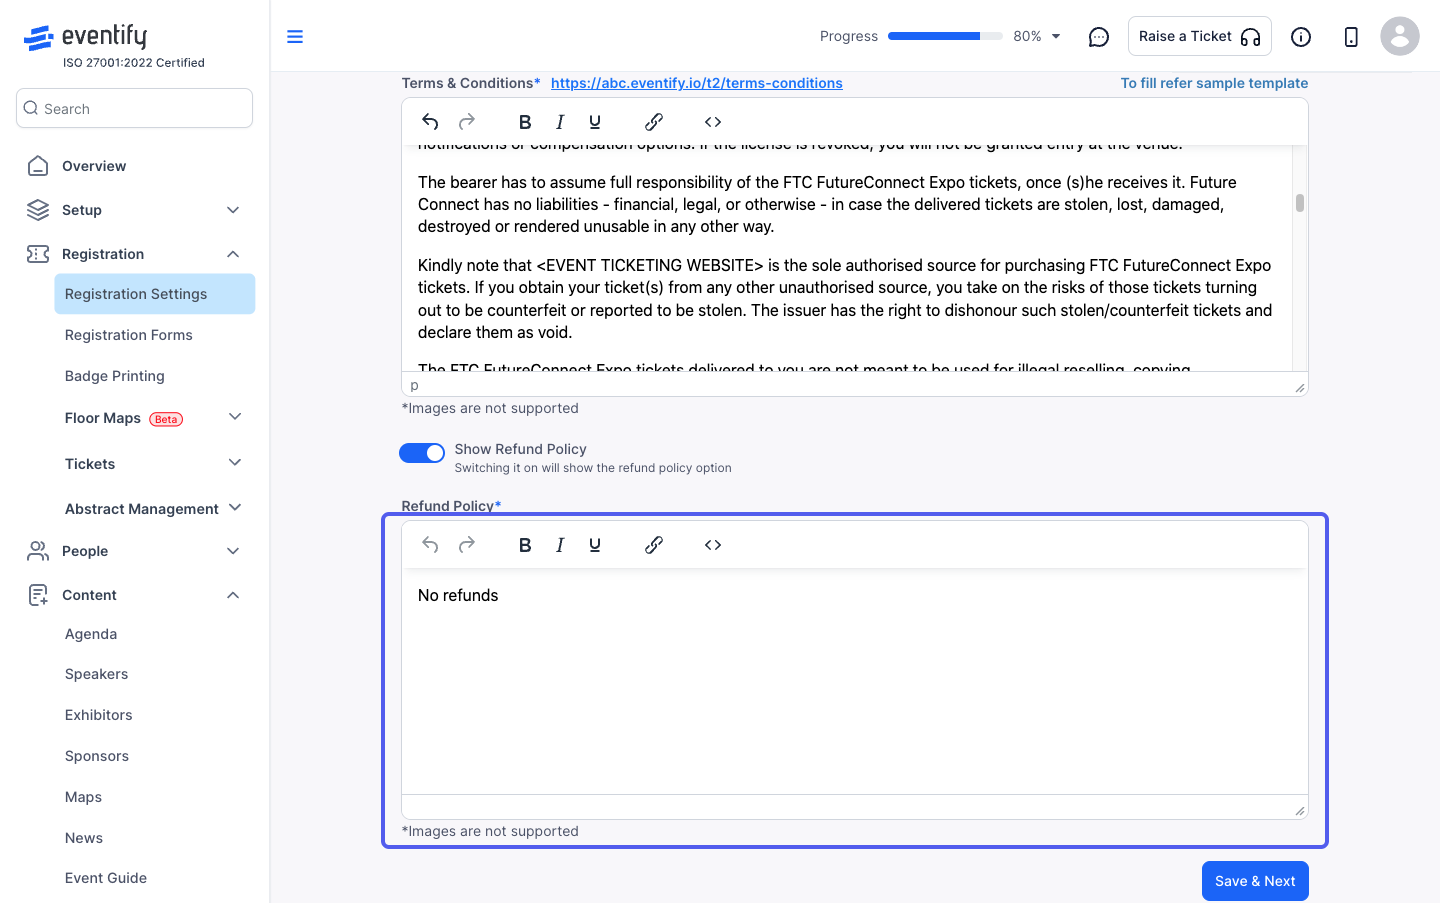
19: Turn "Show Refund Policy" on if you want to offer a refund policy
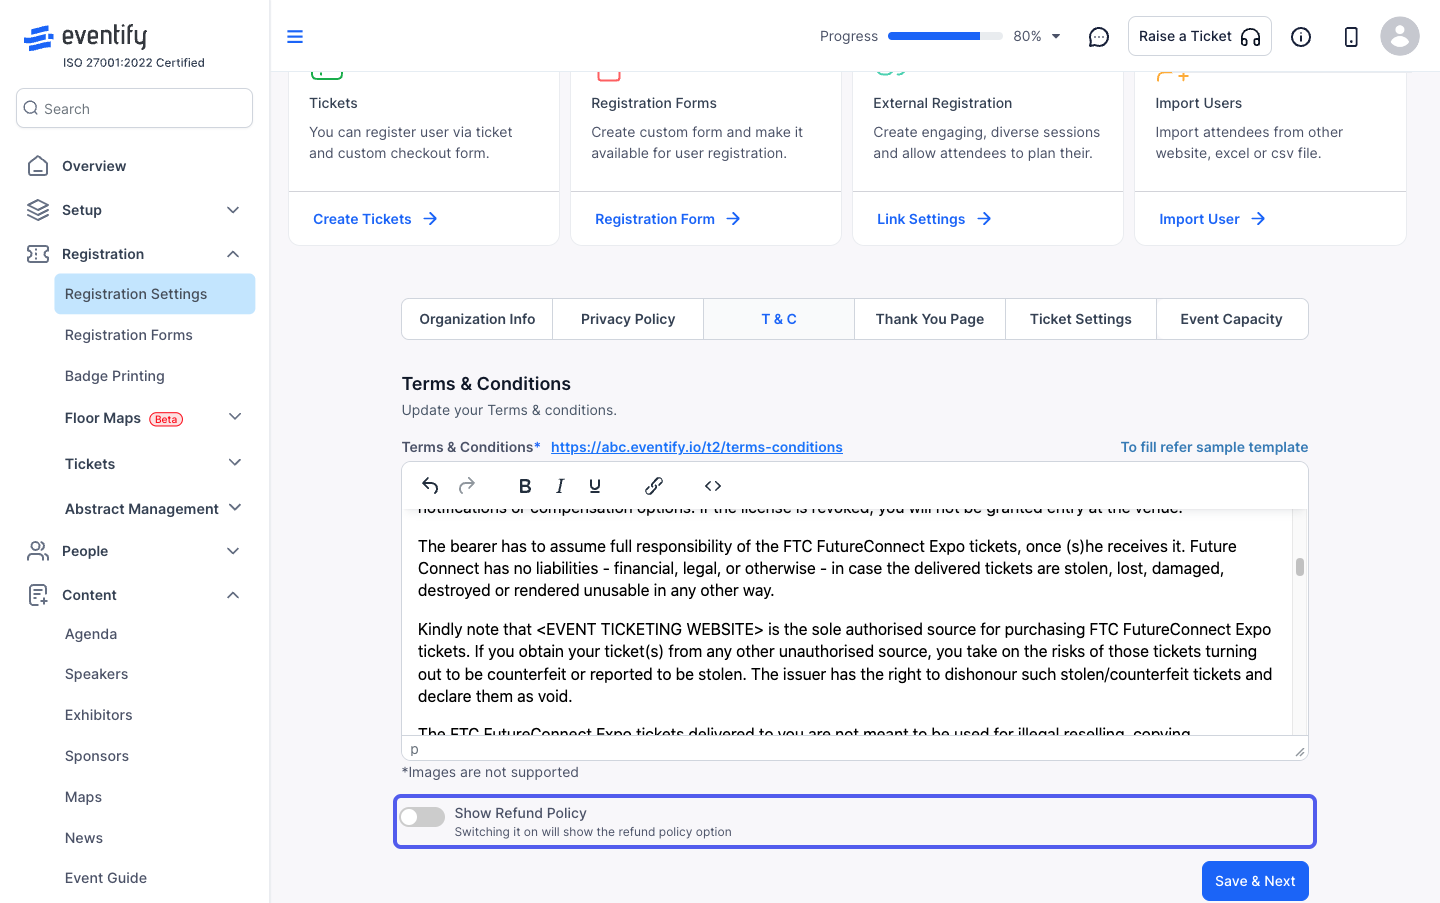
20: Turn "Show Refund Policy" on if you want to offer a refund policy
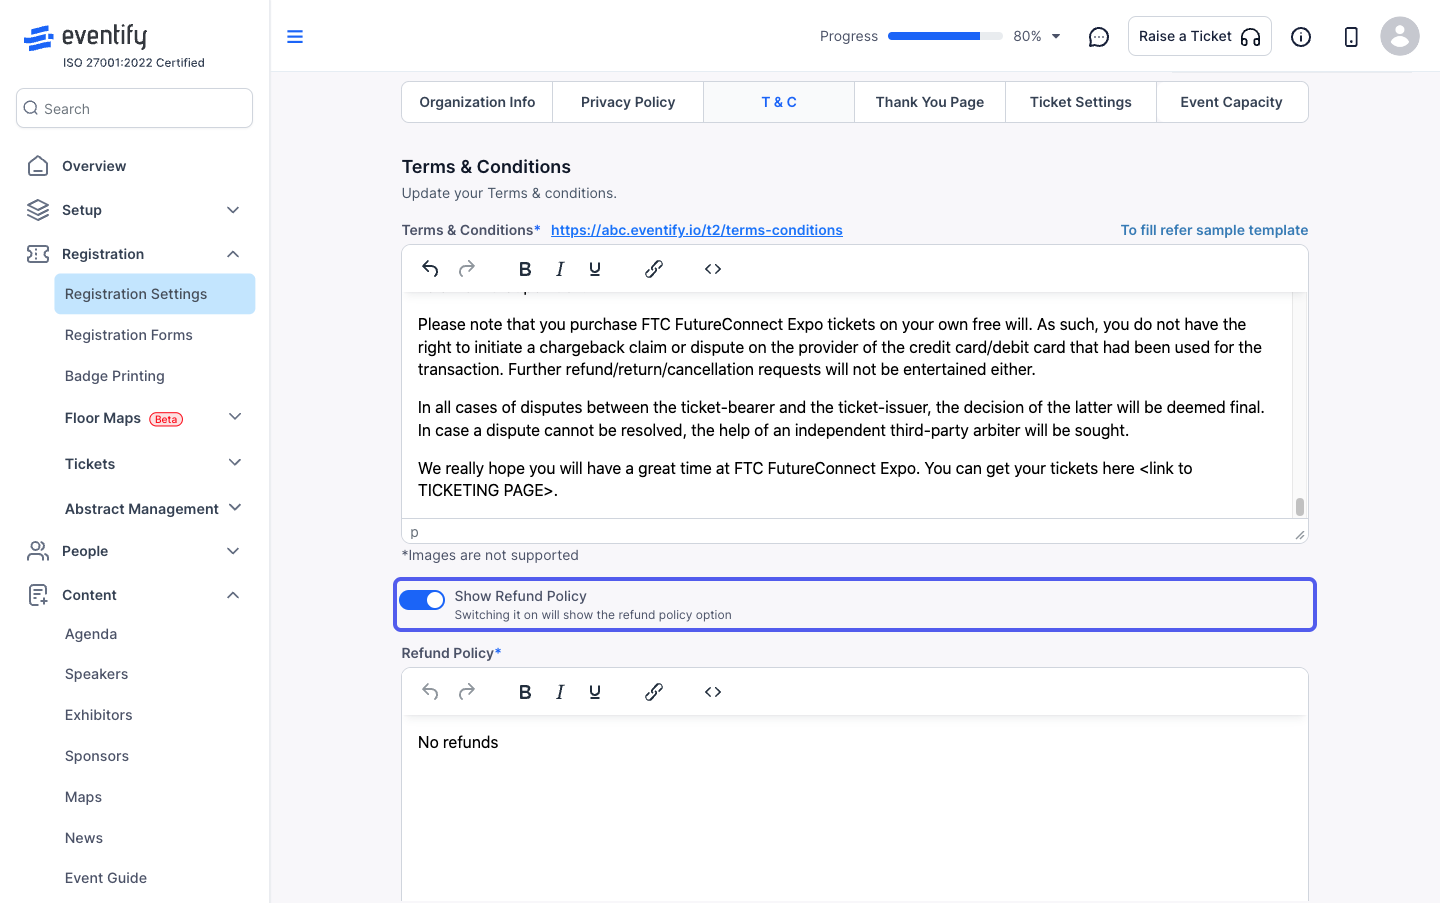
21: Define your refund policy
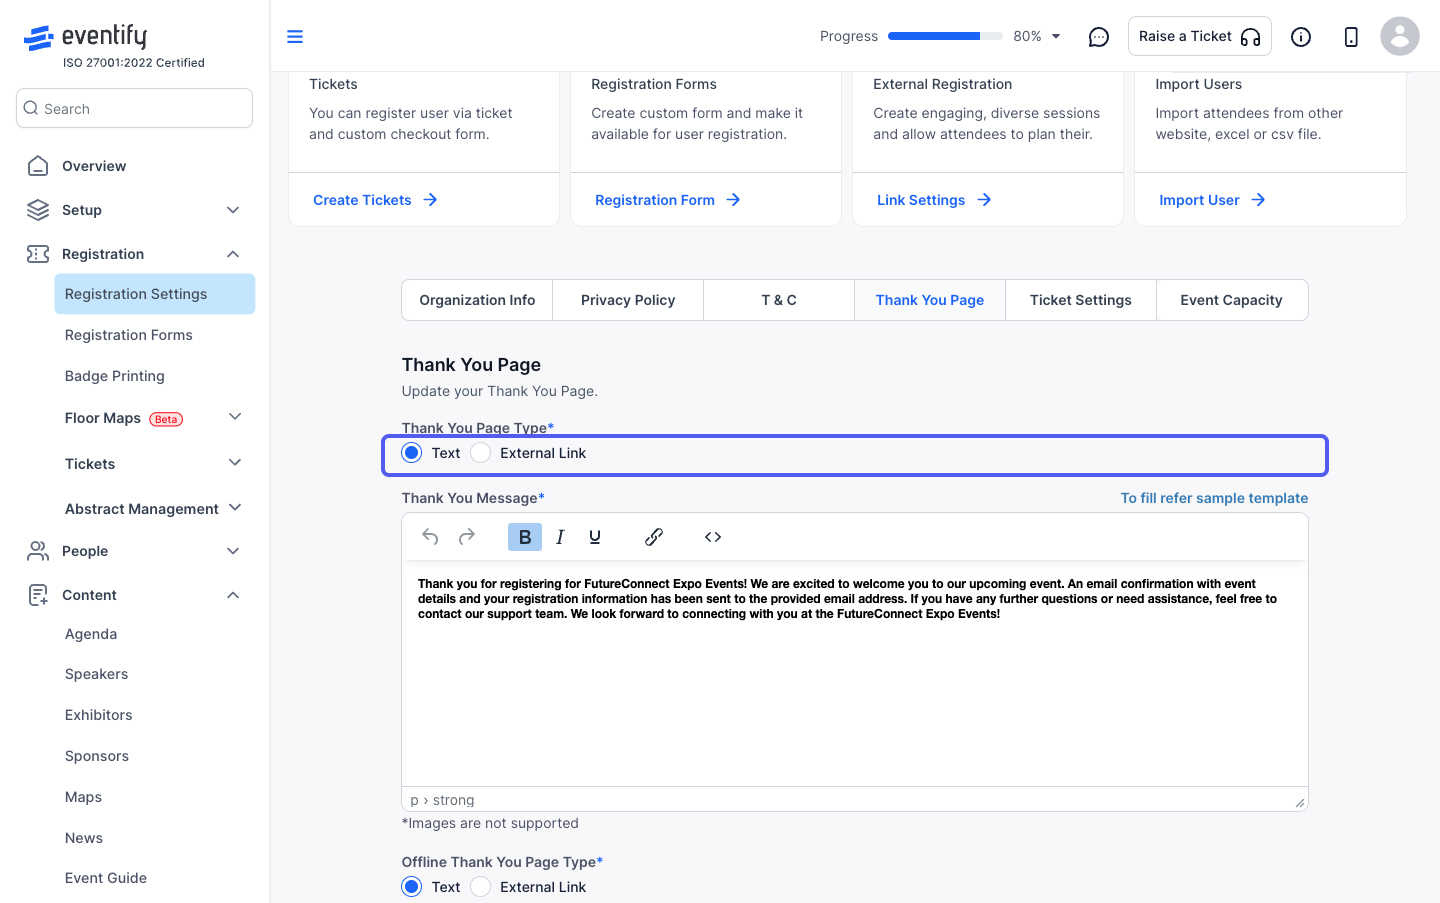
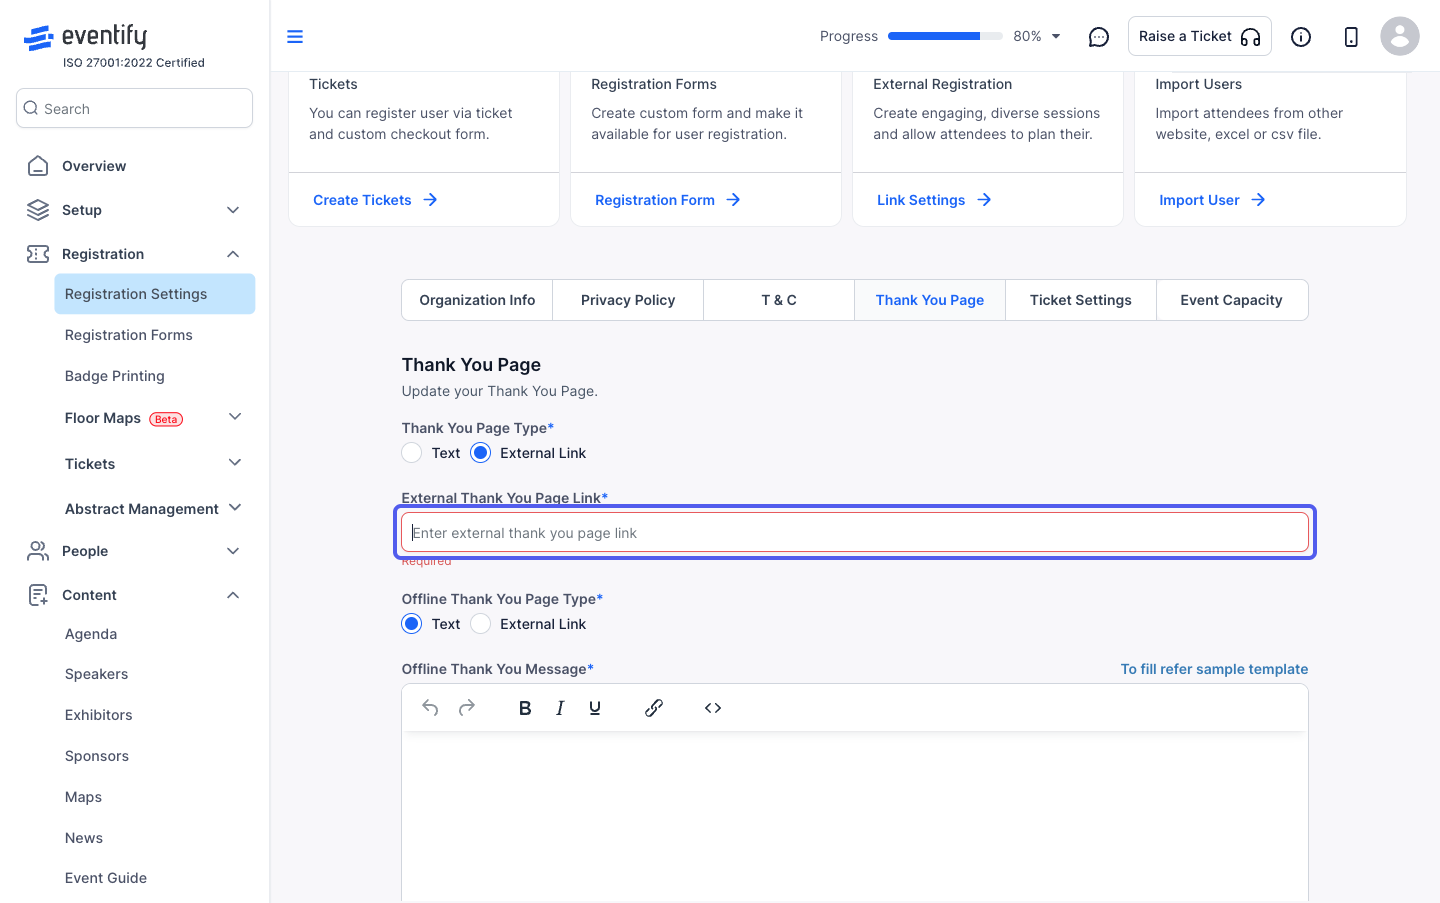
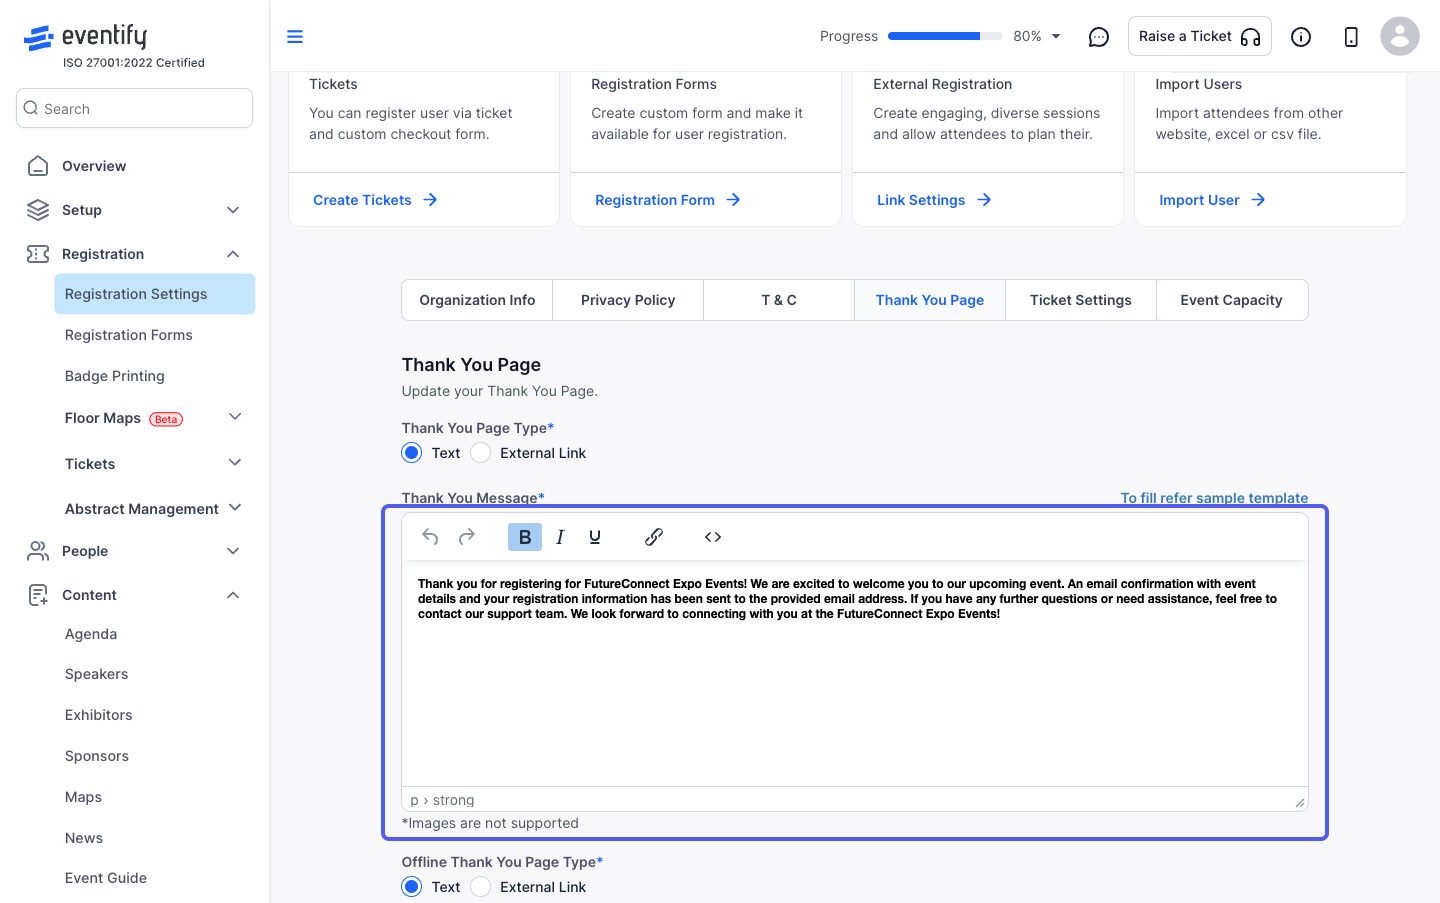
22: Set up the Thank You page for the event
23: You can add text to Eventify's page or add an external link
24: Click on “External Link” to add an external thank you page
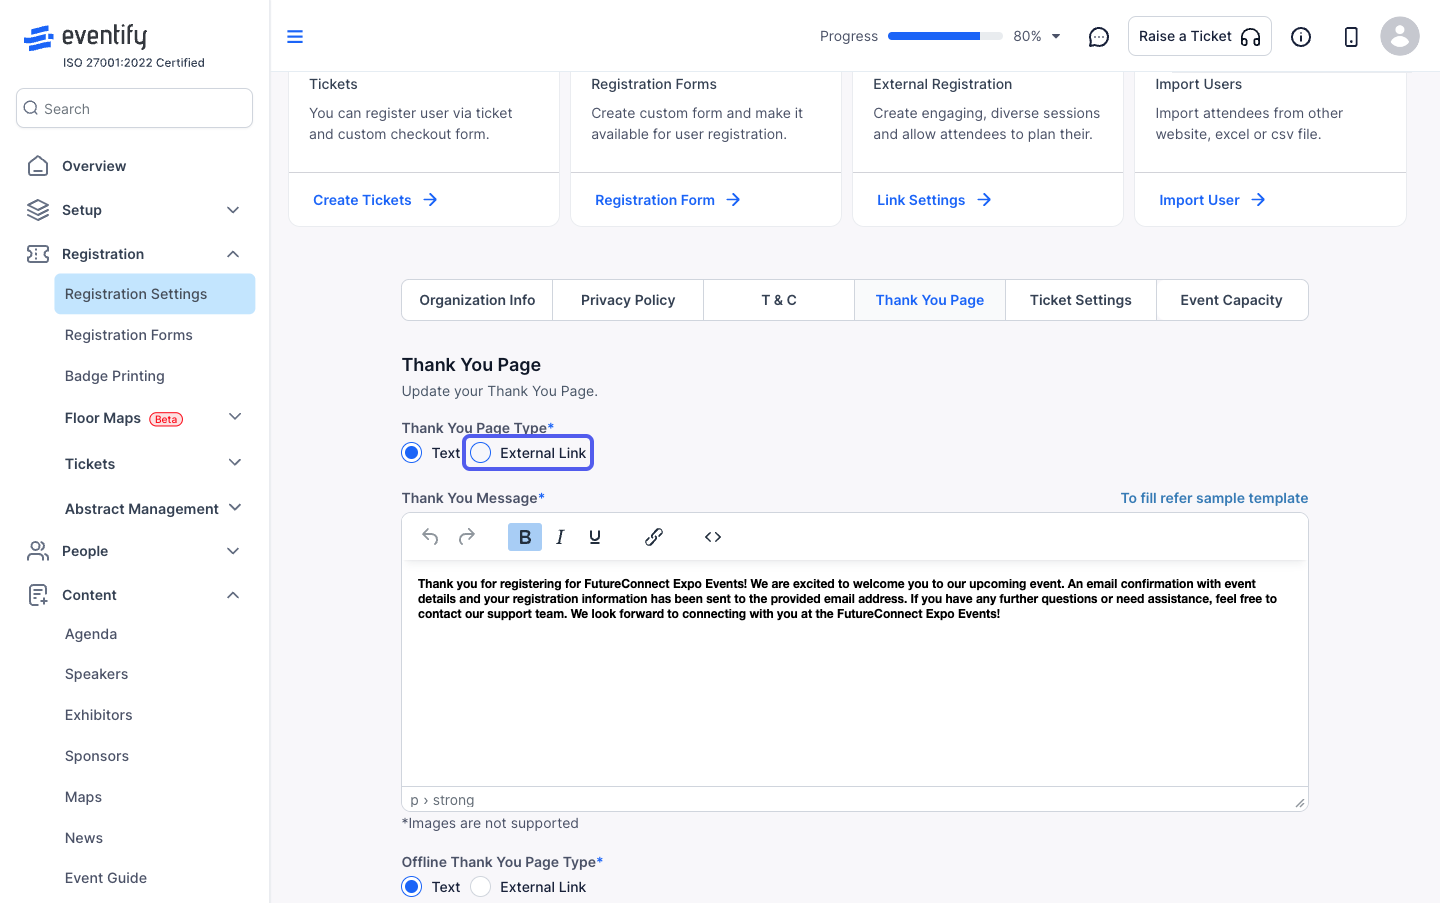
25: Enter the page url
26: Or enter the text message
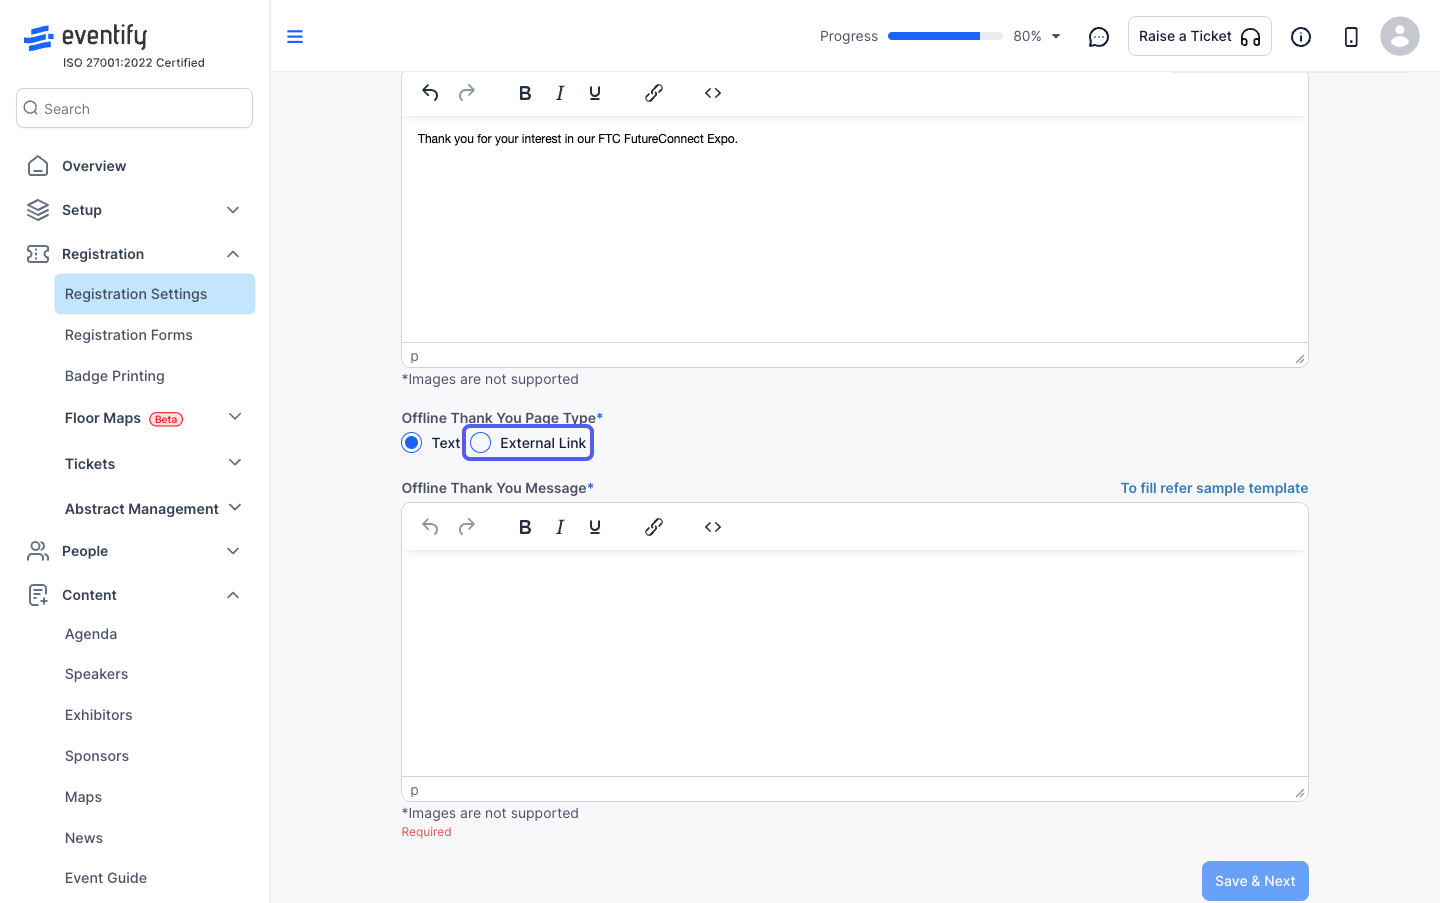
27: You can add a different thank you message for offline payments

28: Or redirect the offline payment type users to an “External Link”
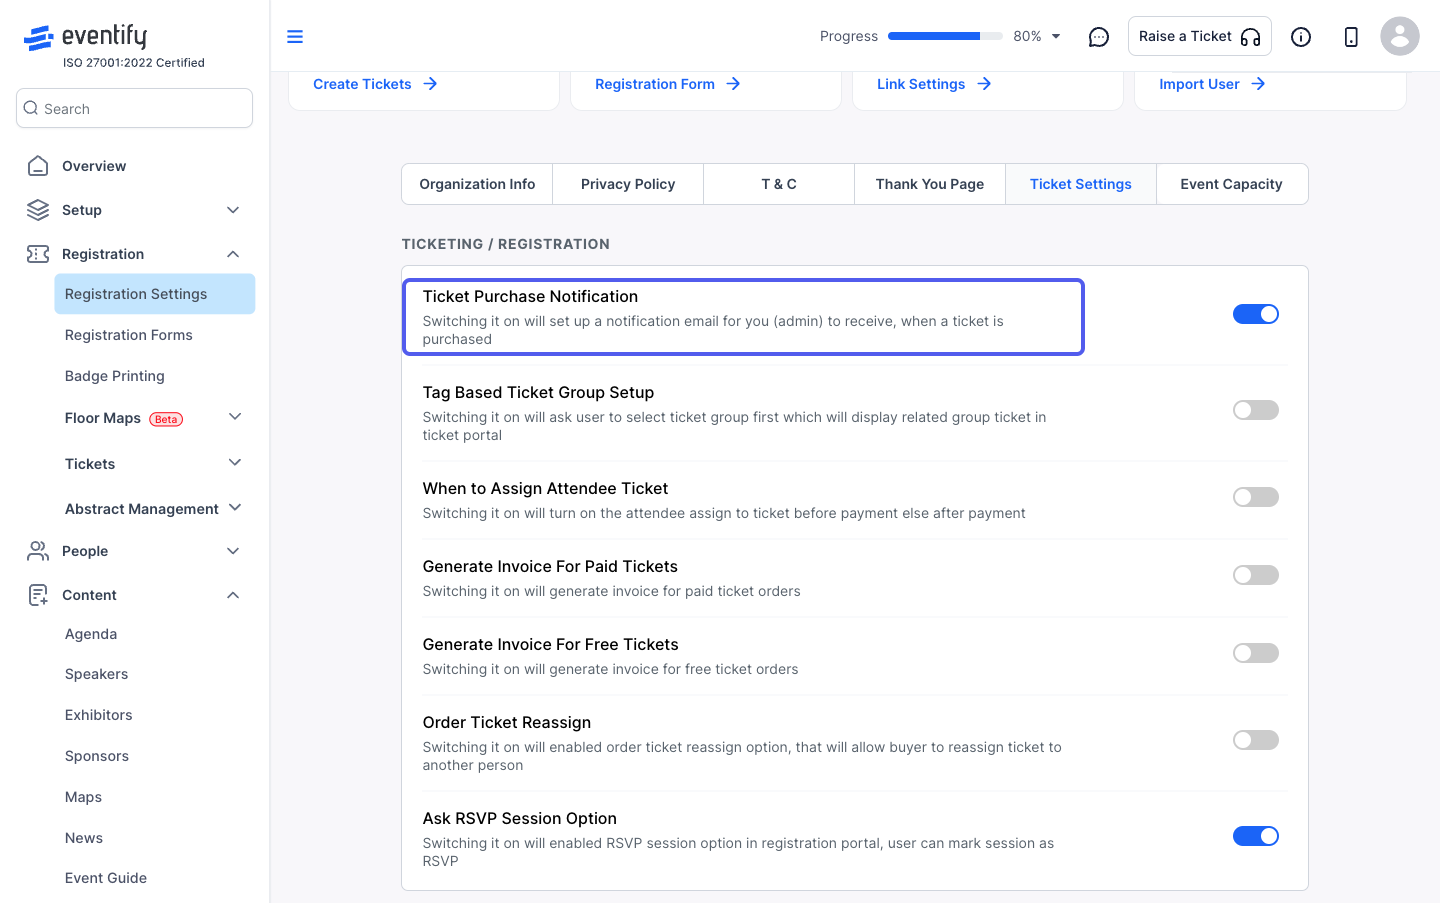
29: Set up the Ticket Settings for the event
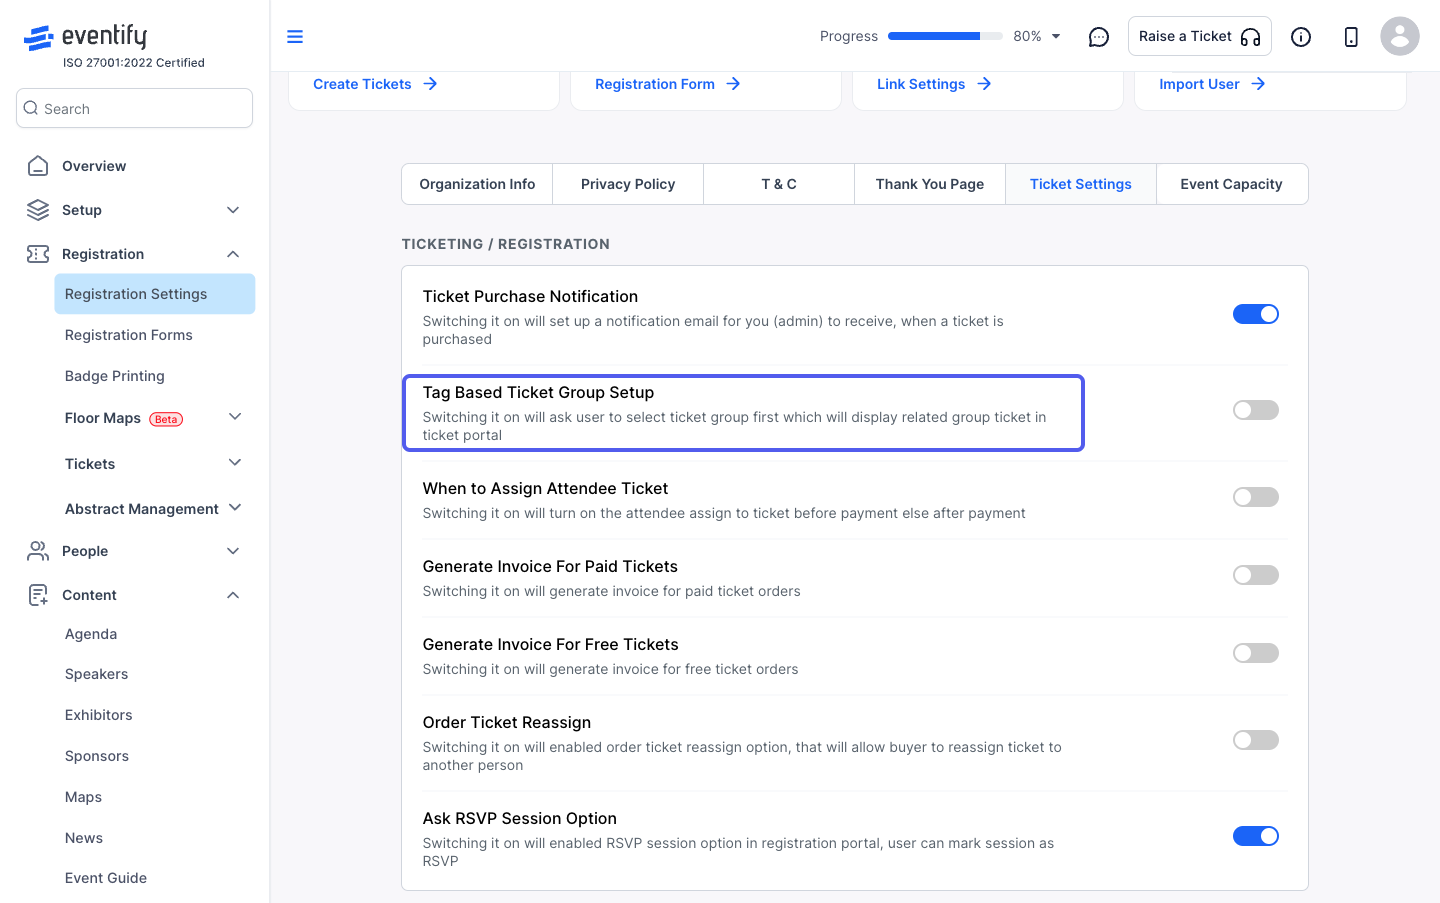
30: Turn the settings on or off depending on the requirement
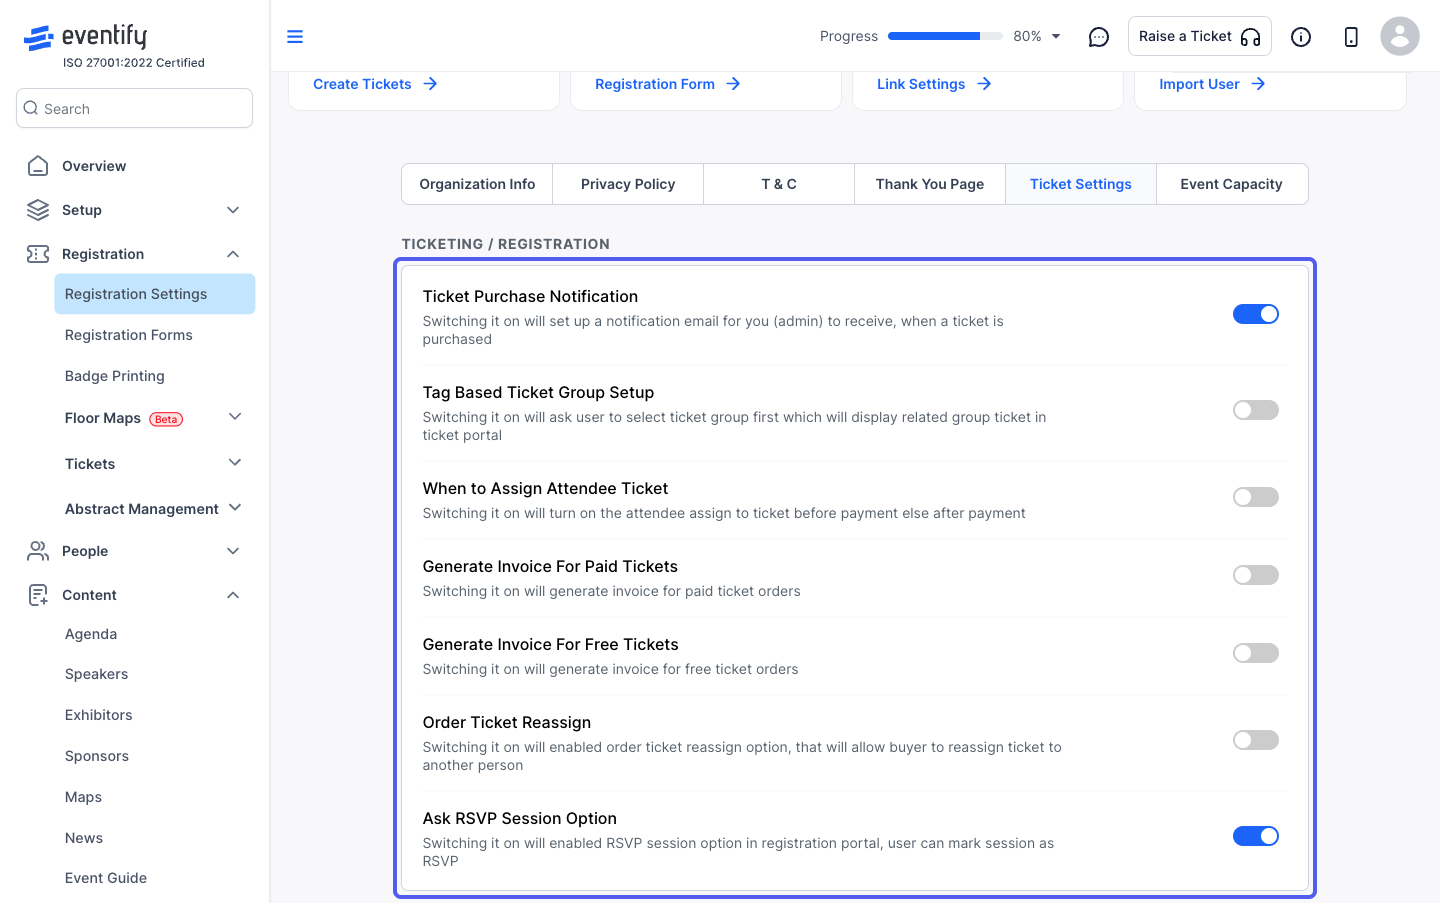
31: Turn this on, if you require all event admins to receive an email with every ticket purchase
32: Turn this on, if you require to display the tickets in groups on the ticketing page
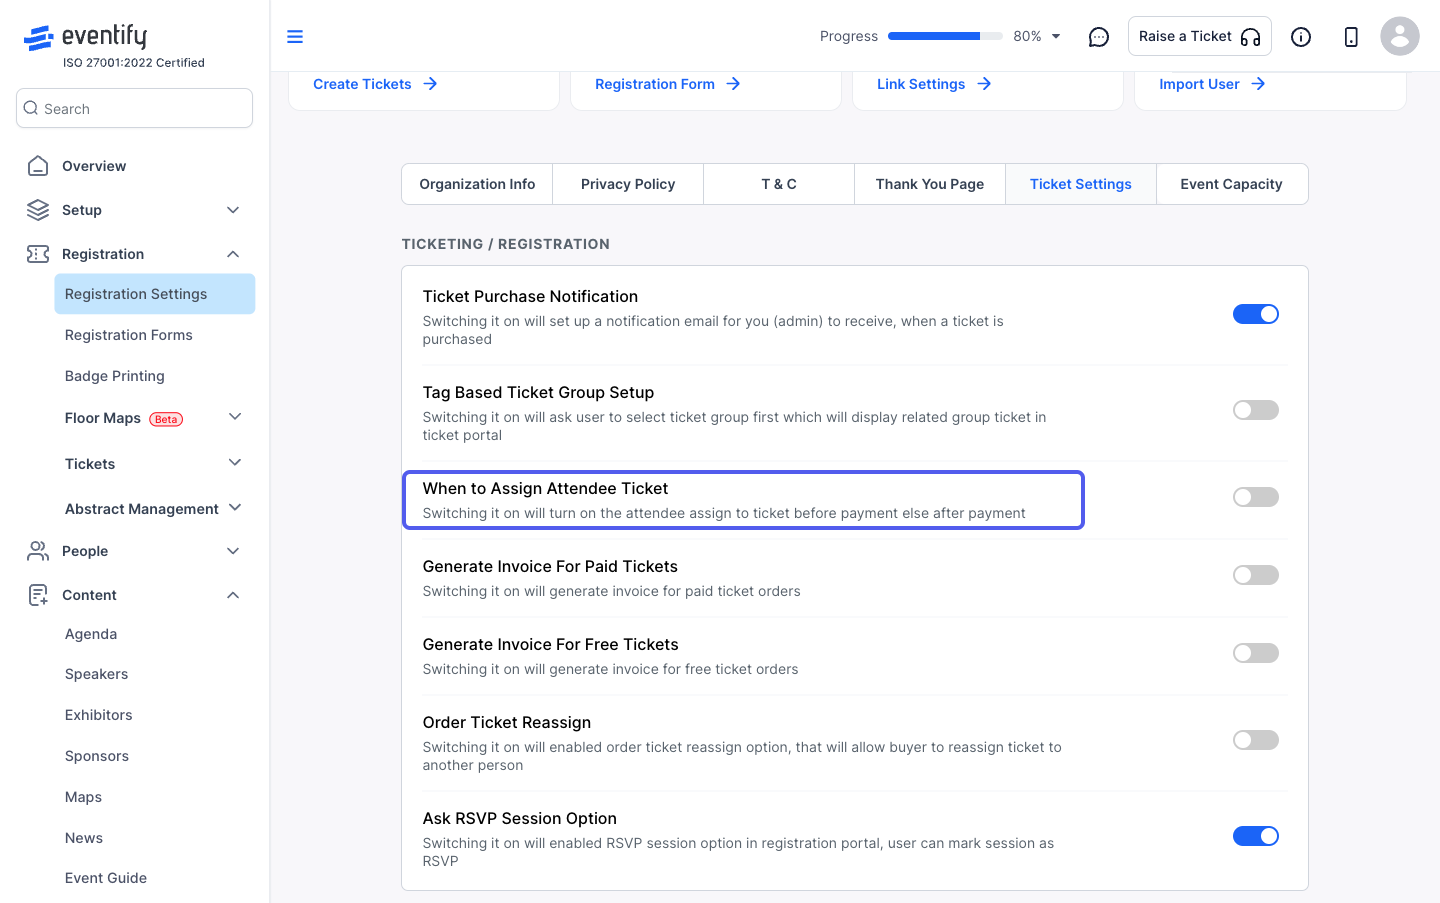
33: Turn this on, if you want the attendees to be assigned to the tickets before the payment step
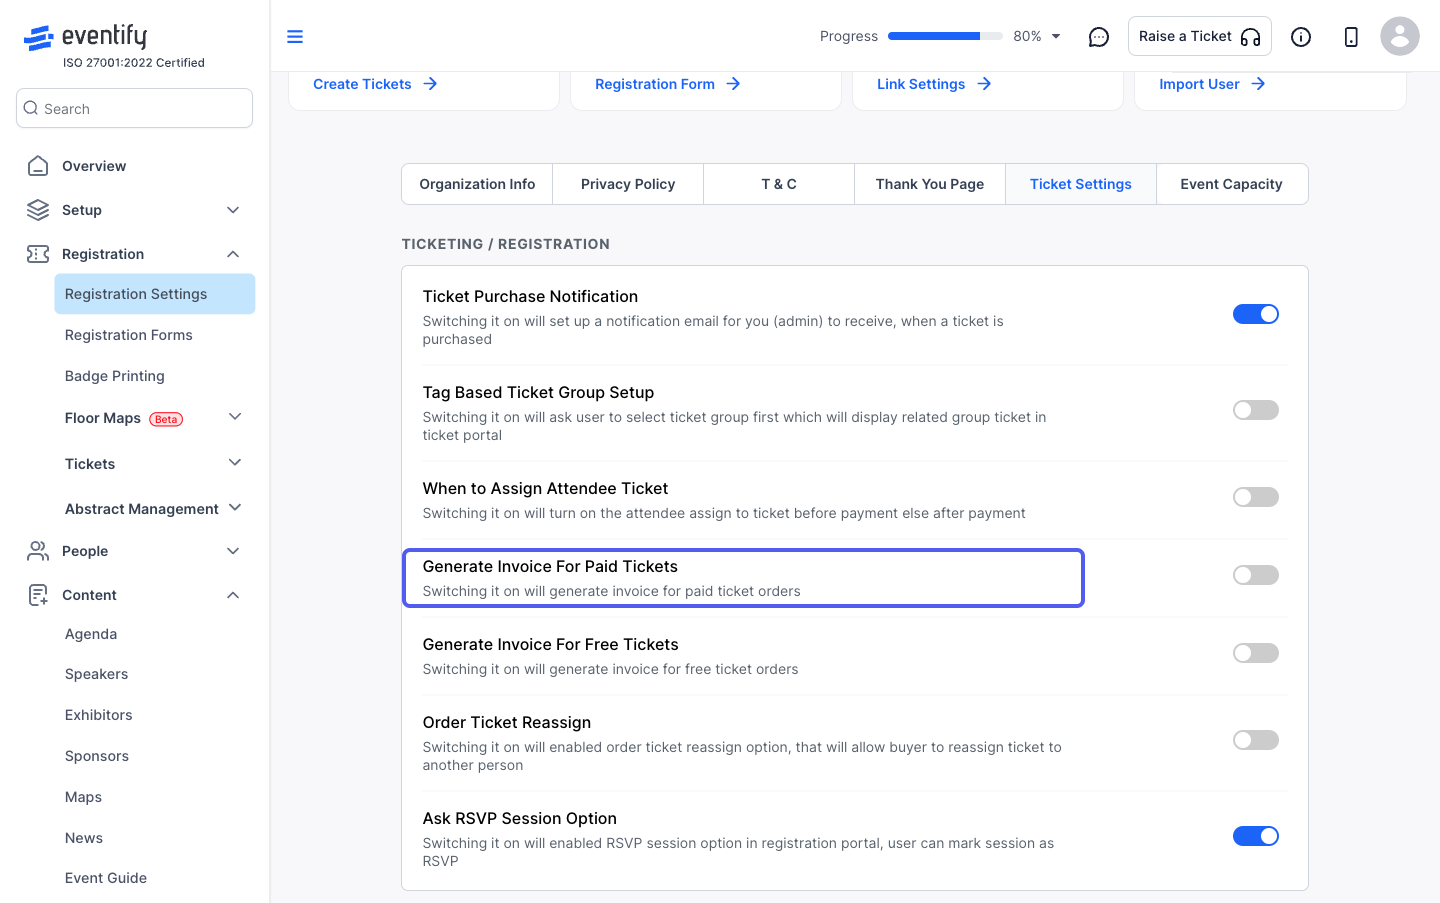
34: Turn this on, if you want to generate invoice for all paid tickets only
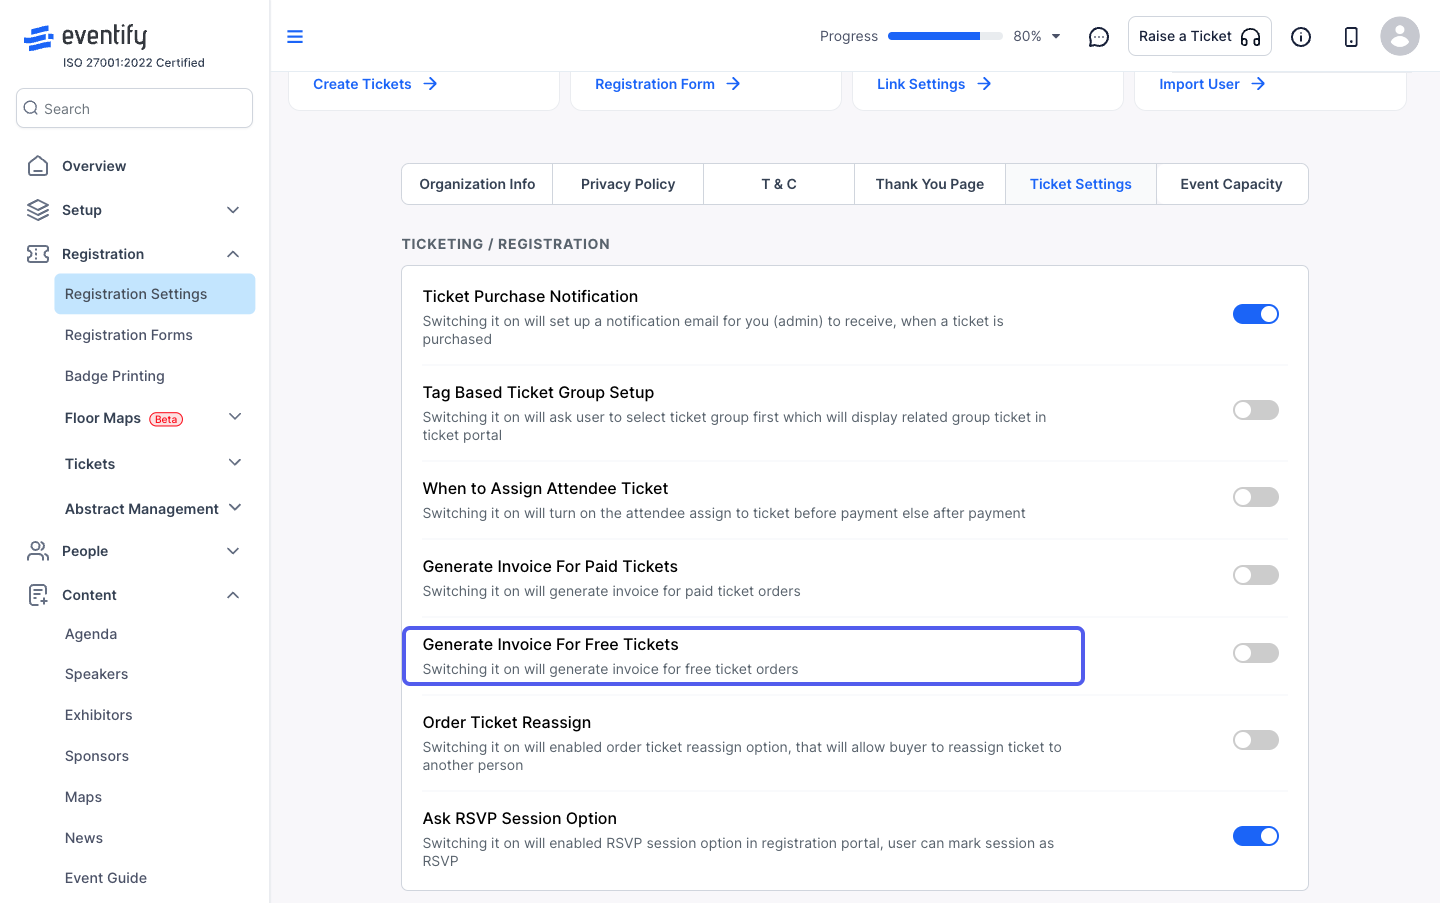
35: Turn this on, if you want to generate invoice for all free tickets only
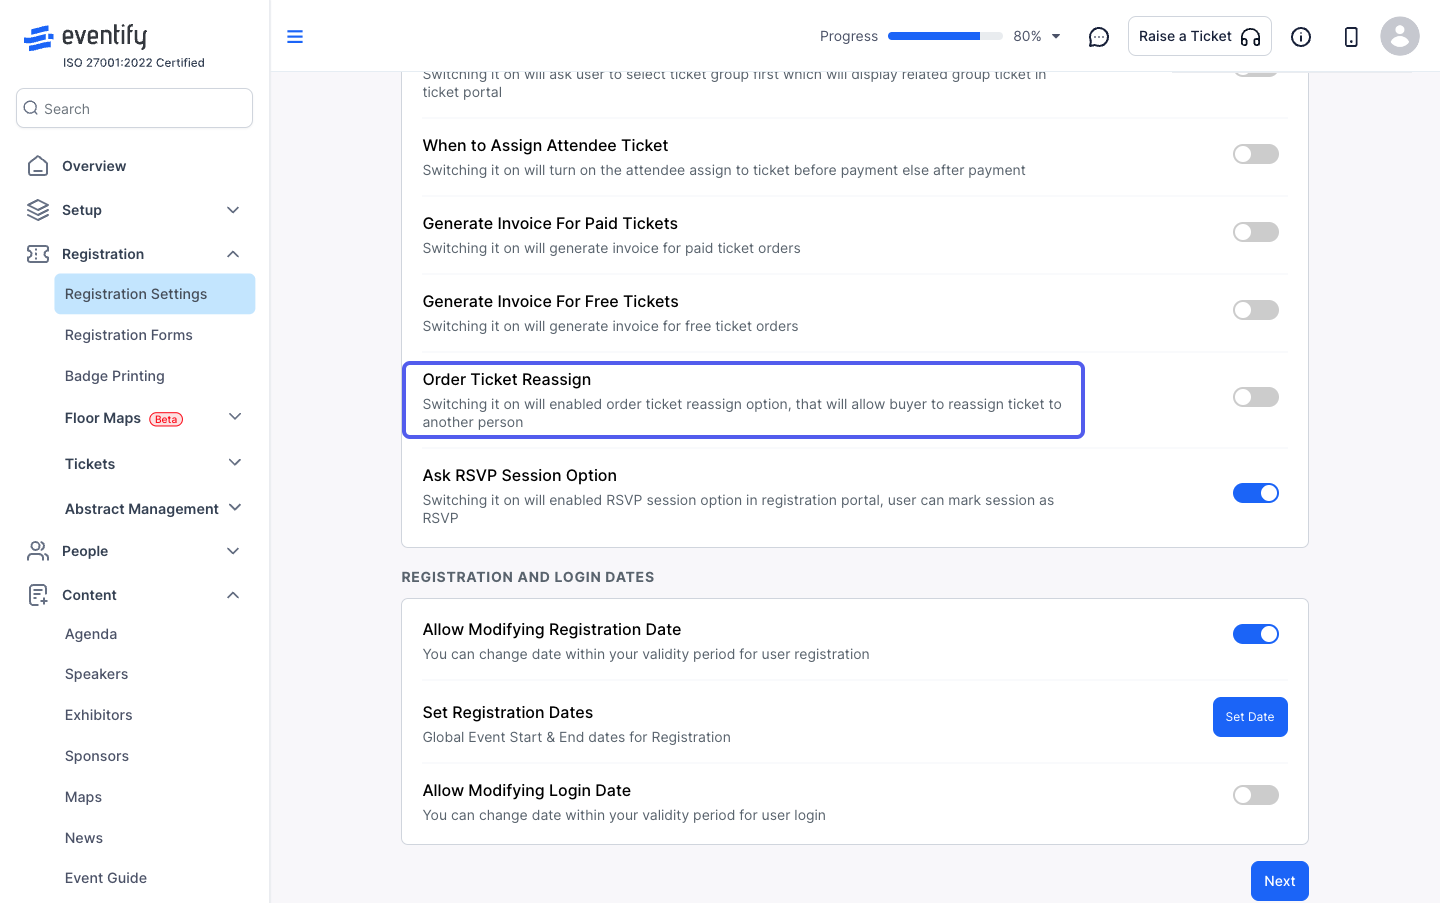
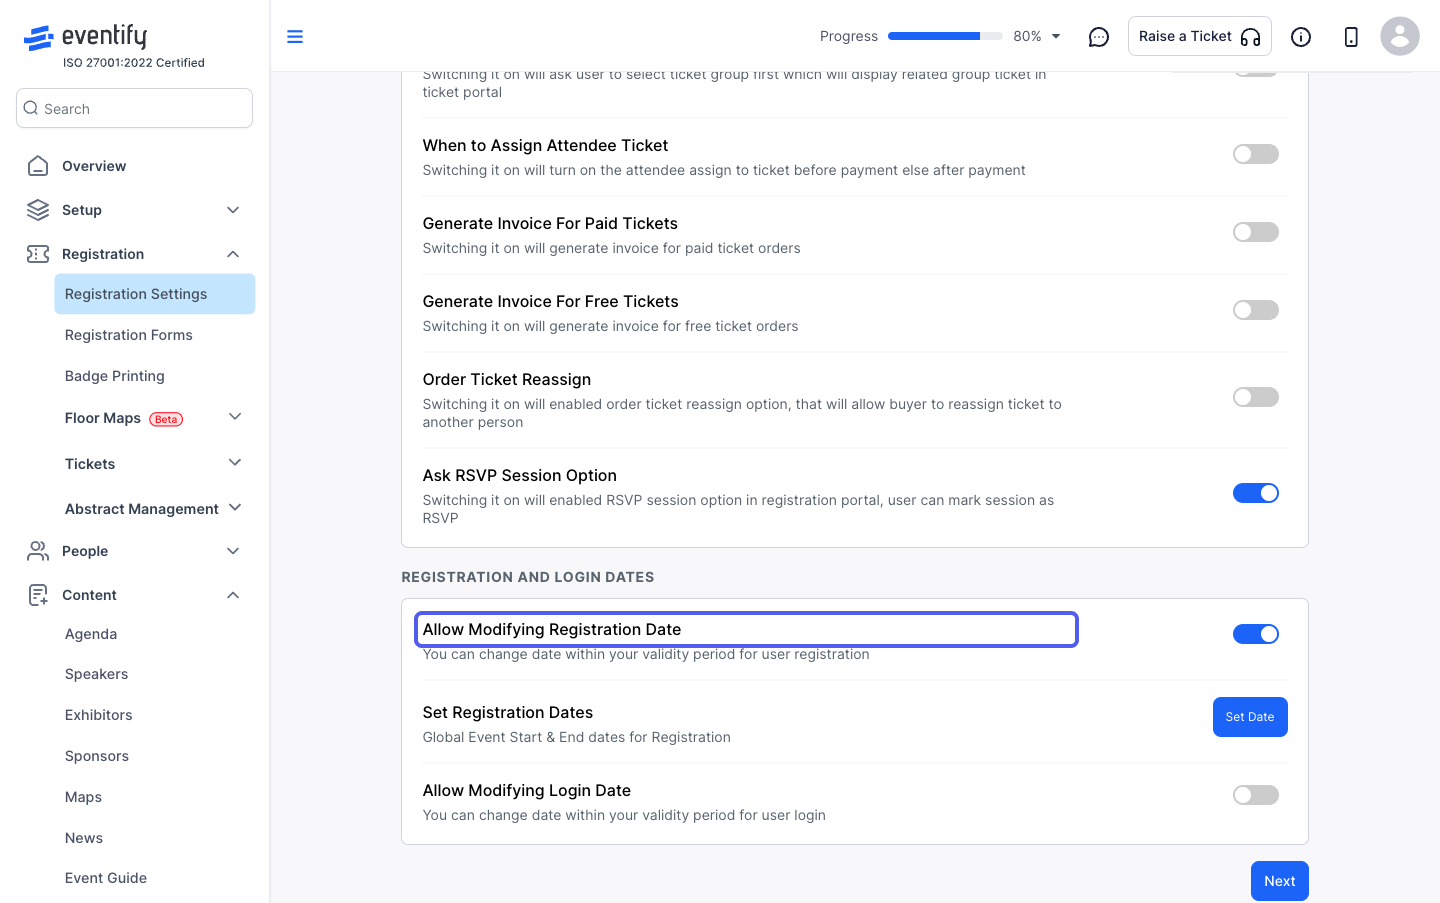
36: Turn this on, if you want to allow reassignment of the ticket
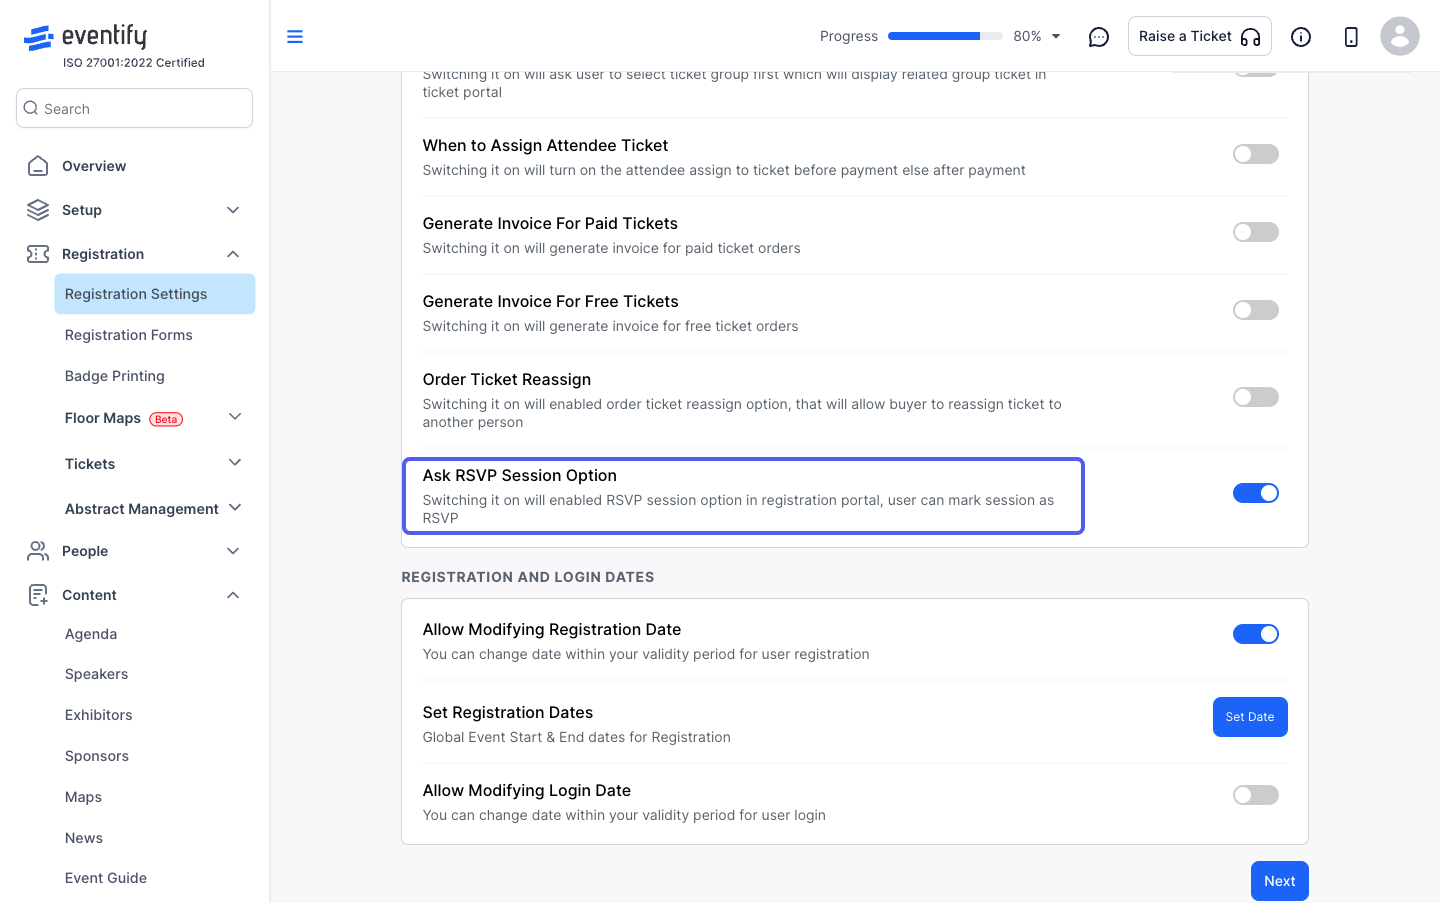
37: Turn this on, if you want to log RSVP to sessions during ticket purchase
38: Turn this on, if you want to set a specific registration time period
39: Set the registration dates if you want to limit it during your validity period
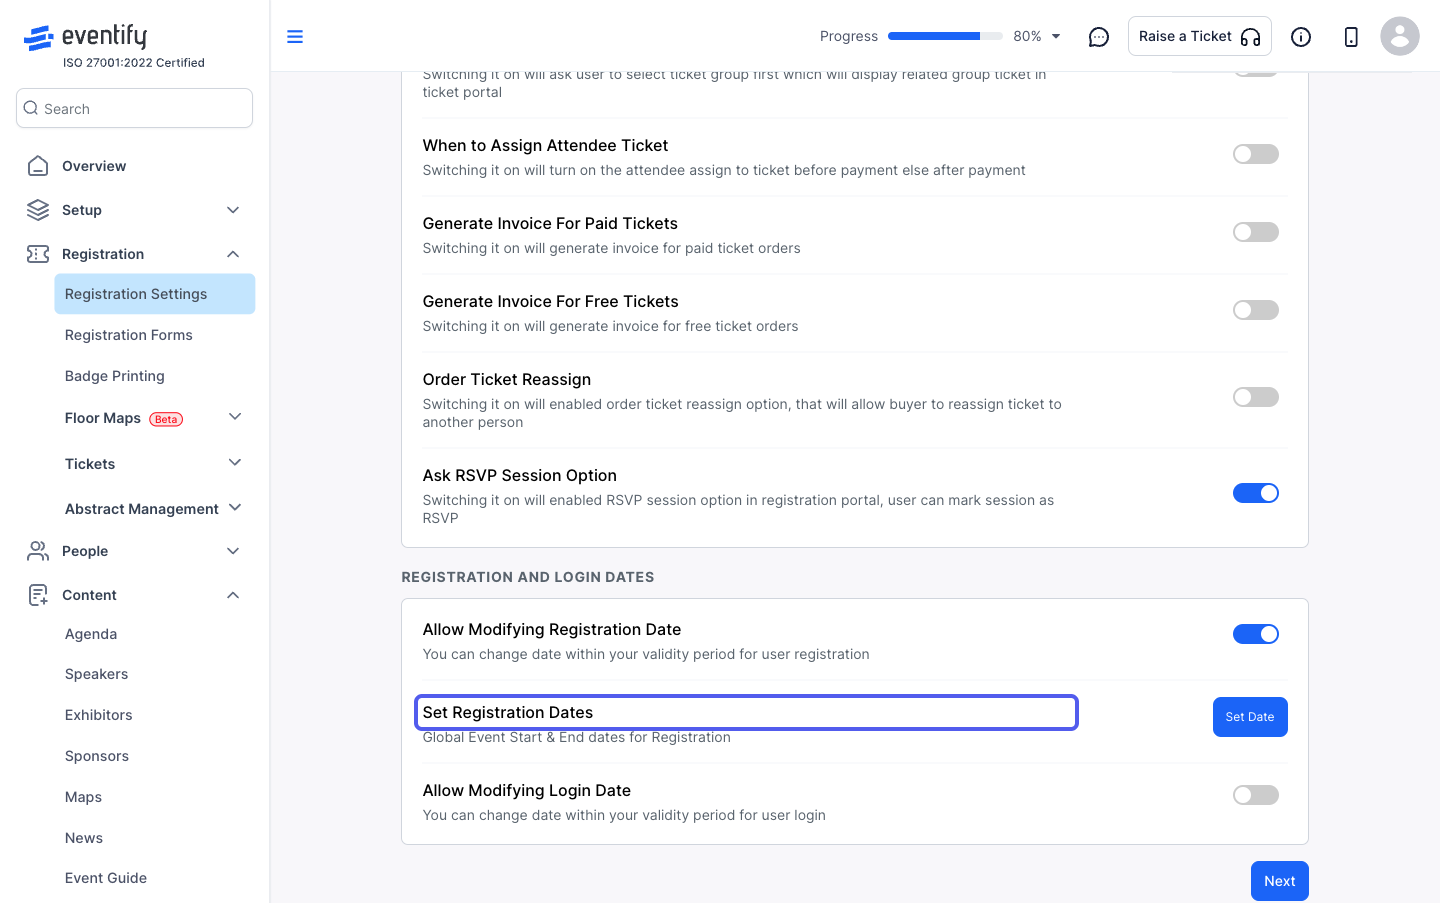
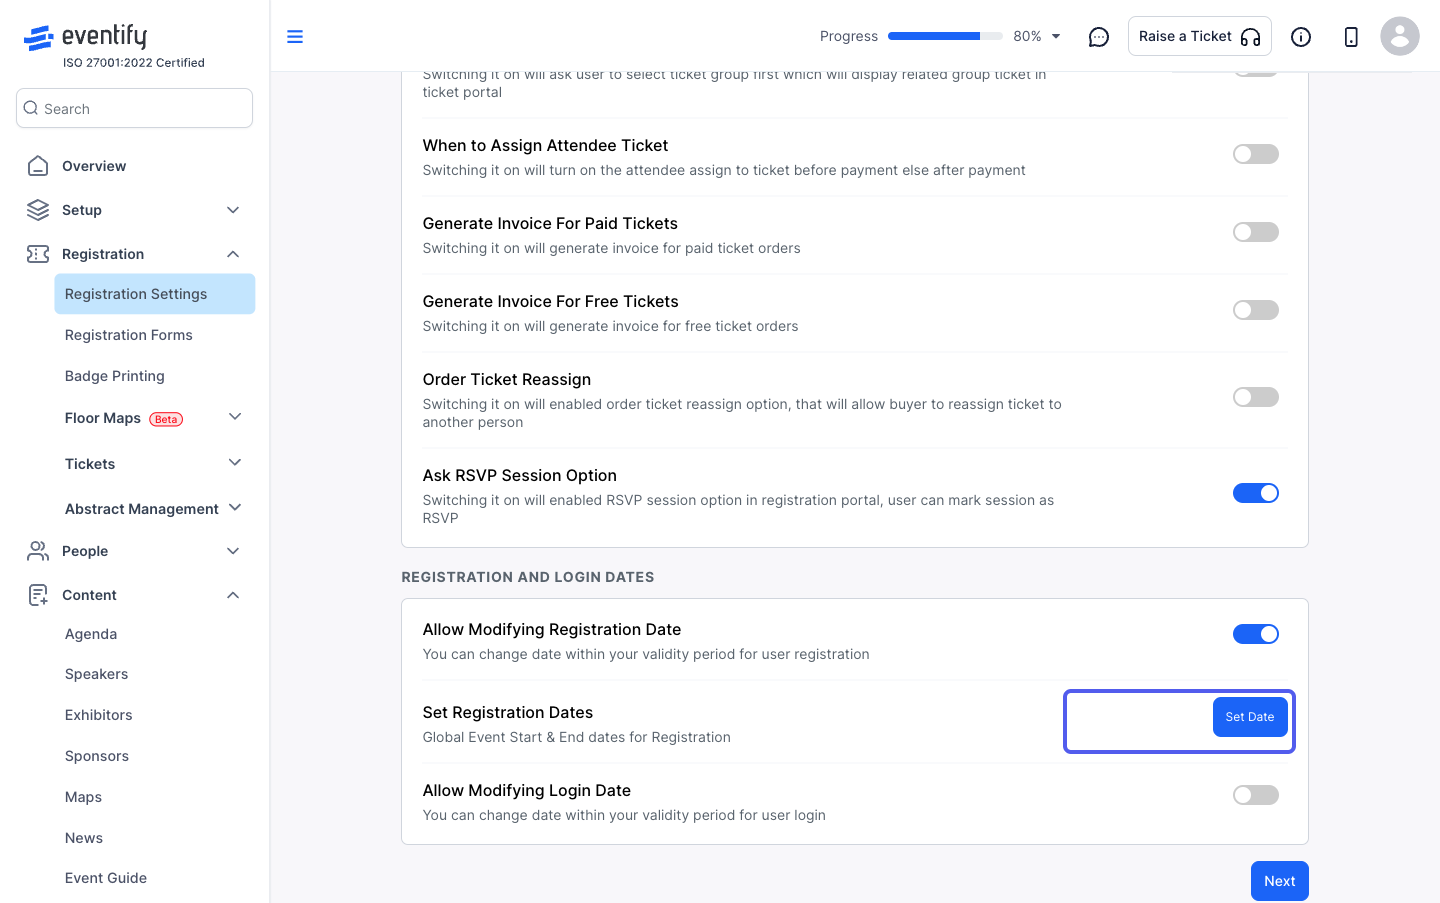
40: Click on "Set Date" to set specific registration start and end date
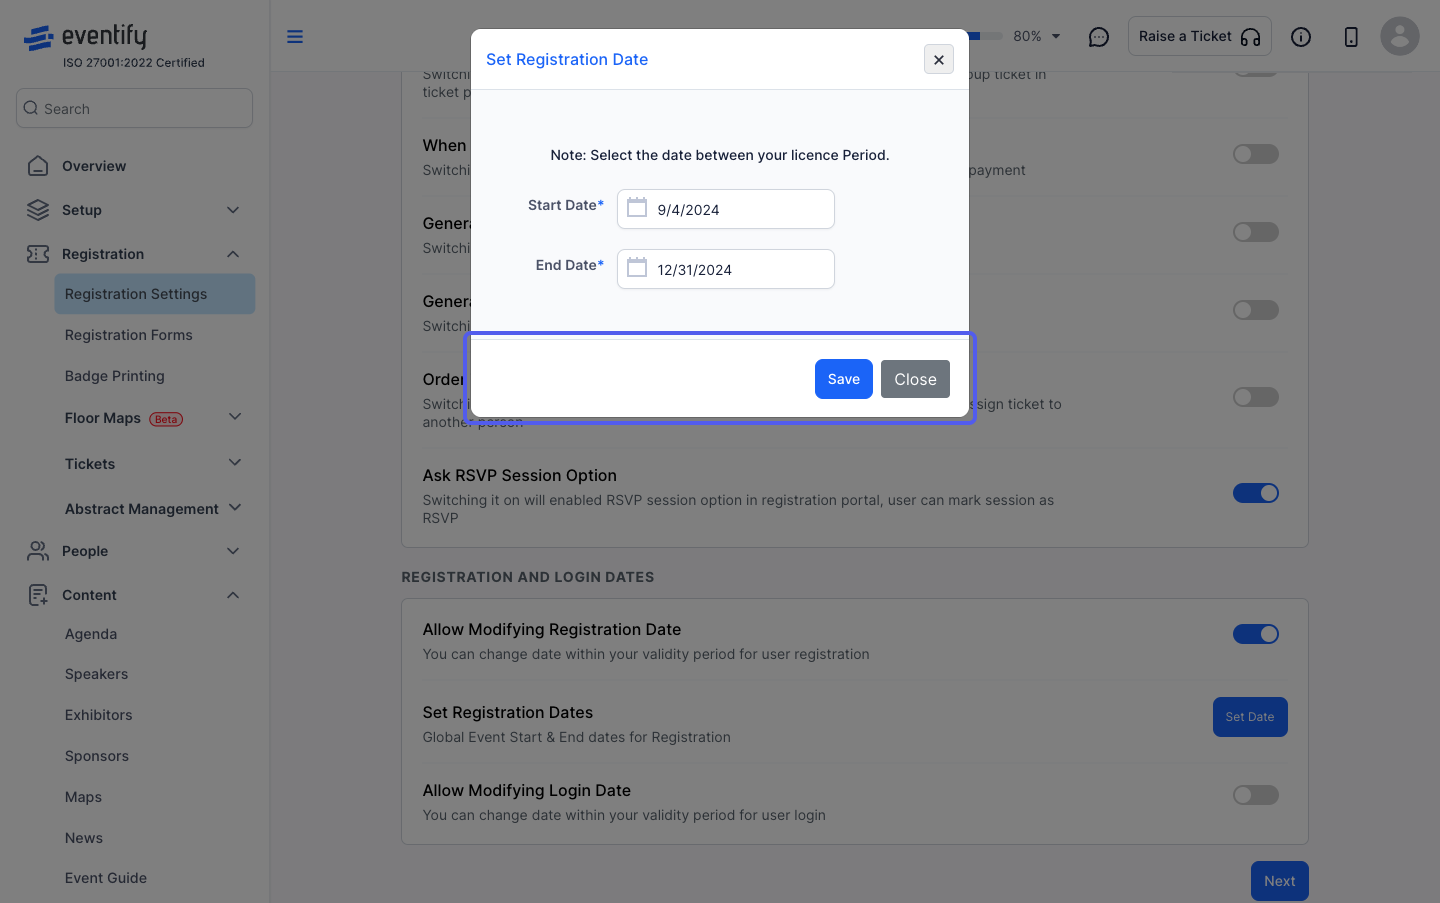
41: Set the dates and save
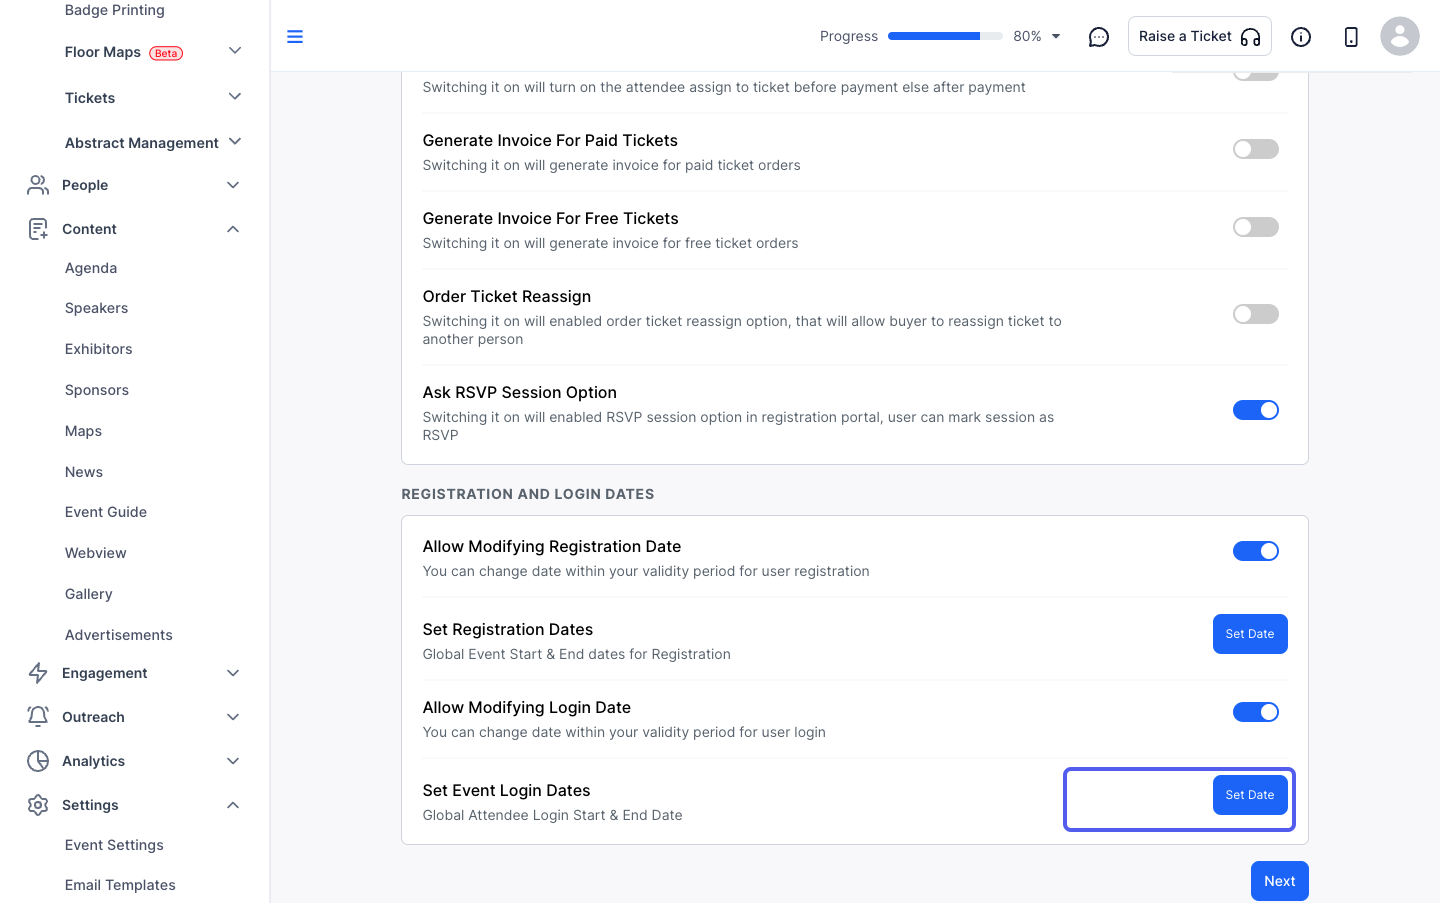
42: Turn this on, if you want to set a specific registration time period
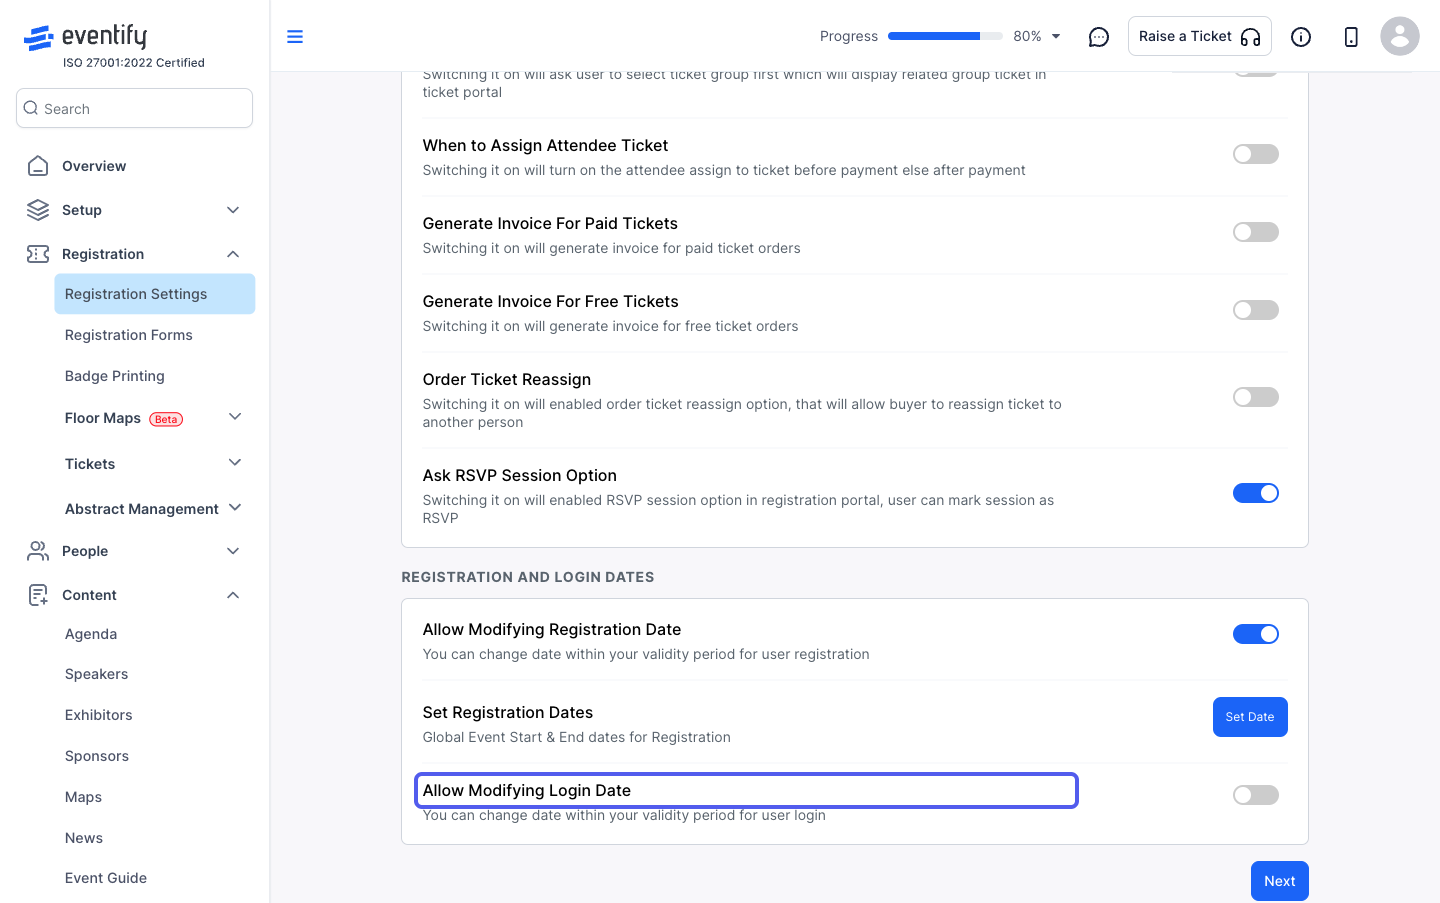
43: Set the login dates if you want to limit it during your validity period
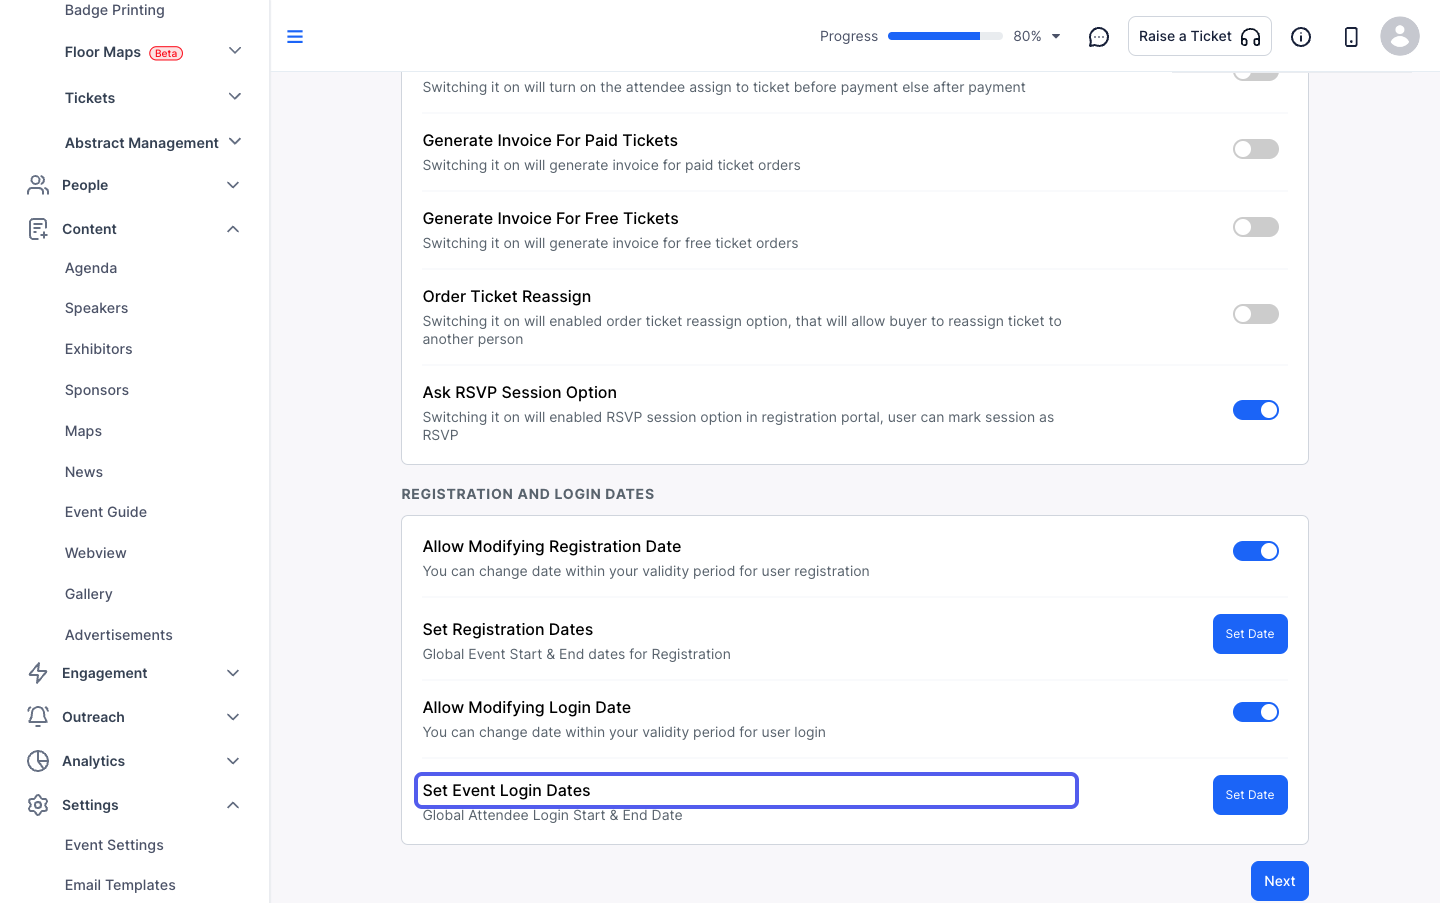
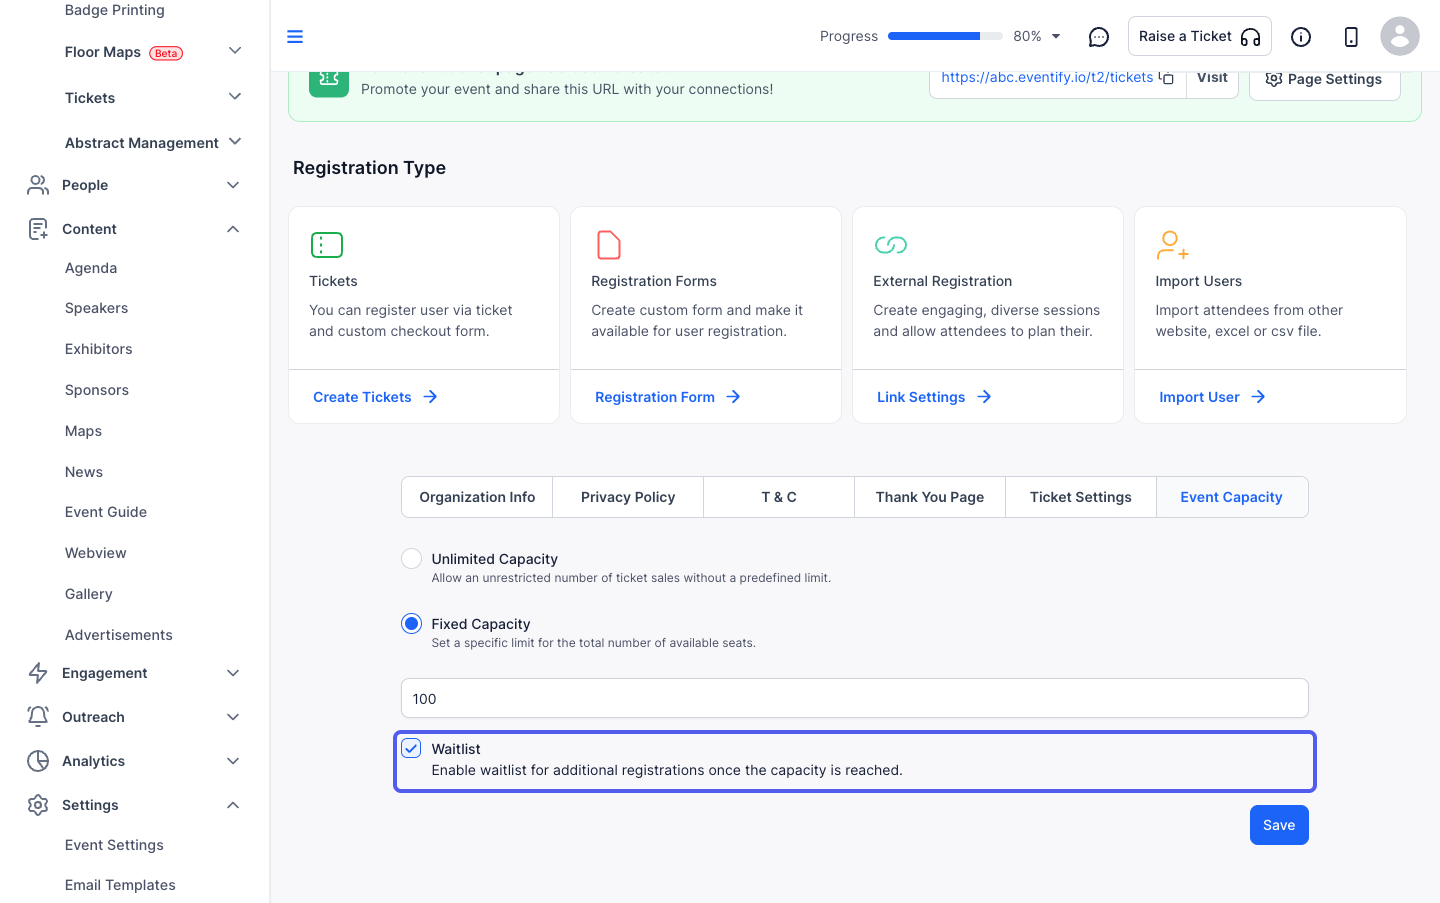
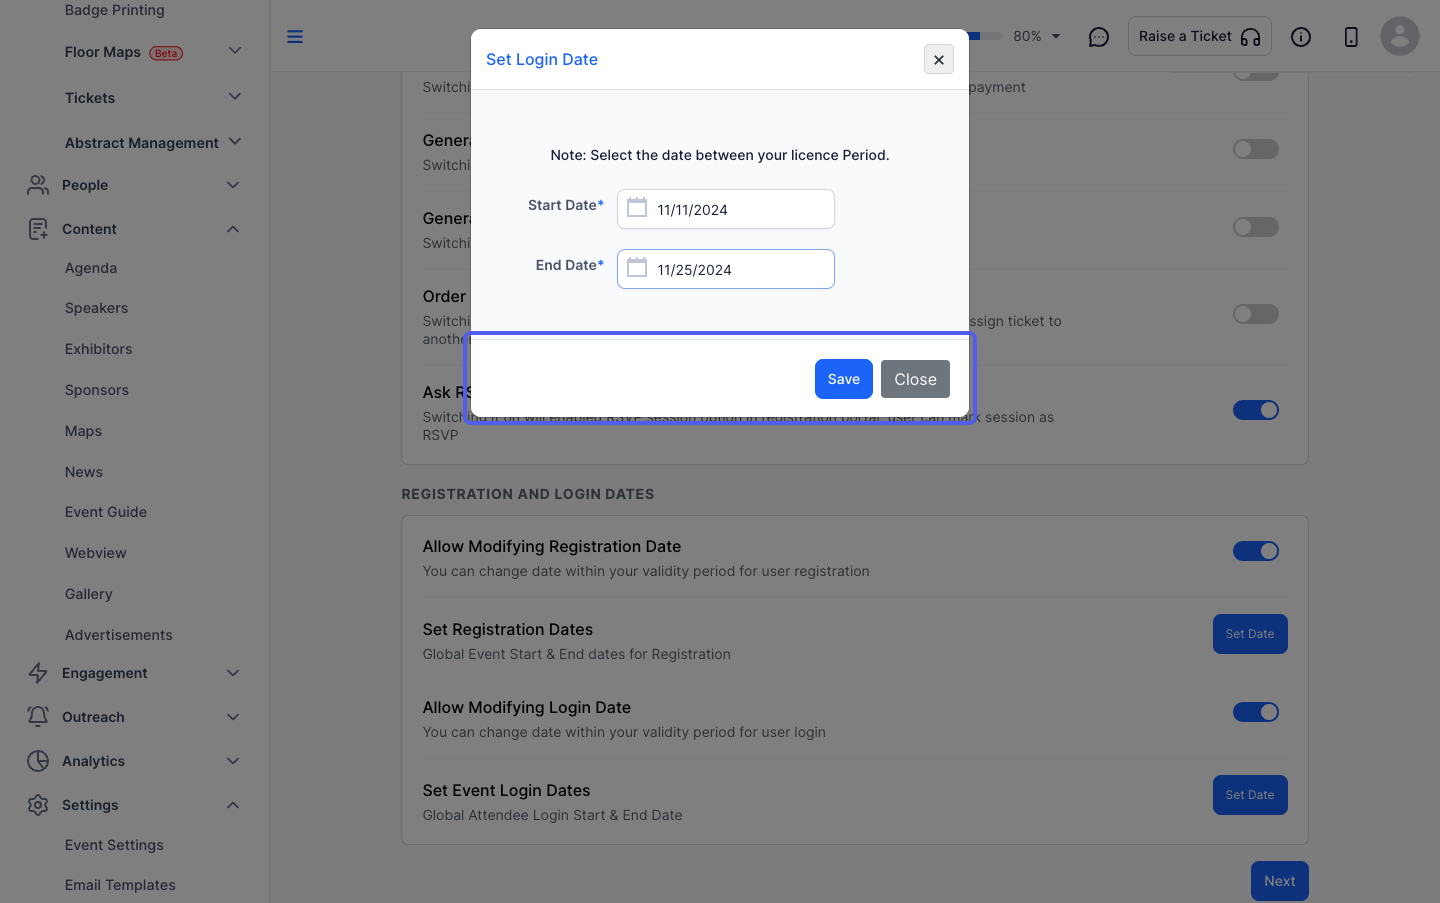
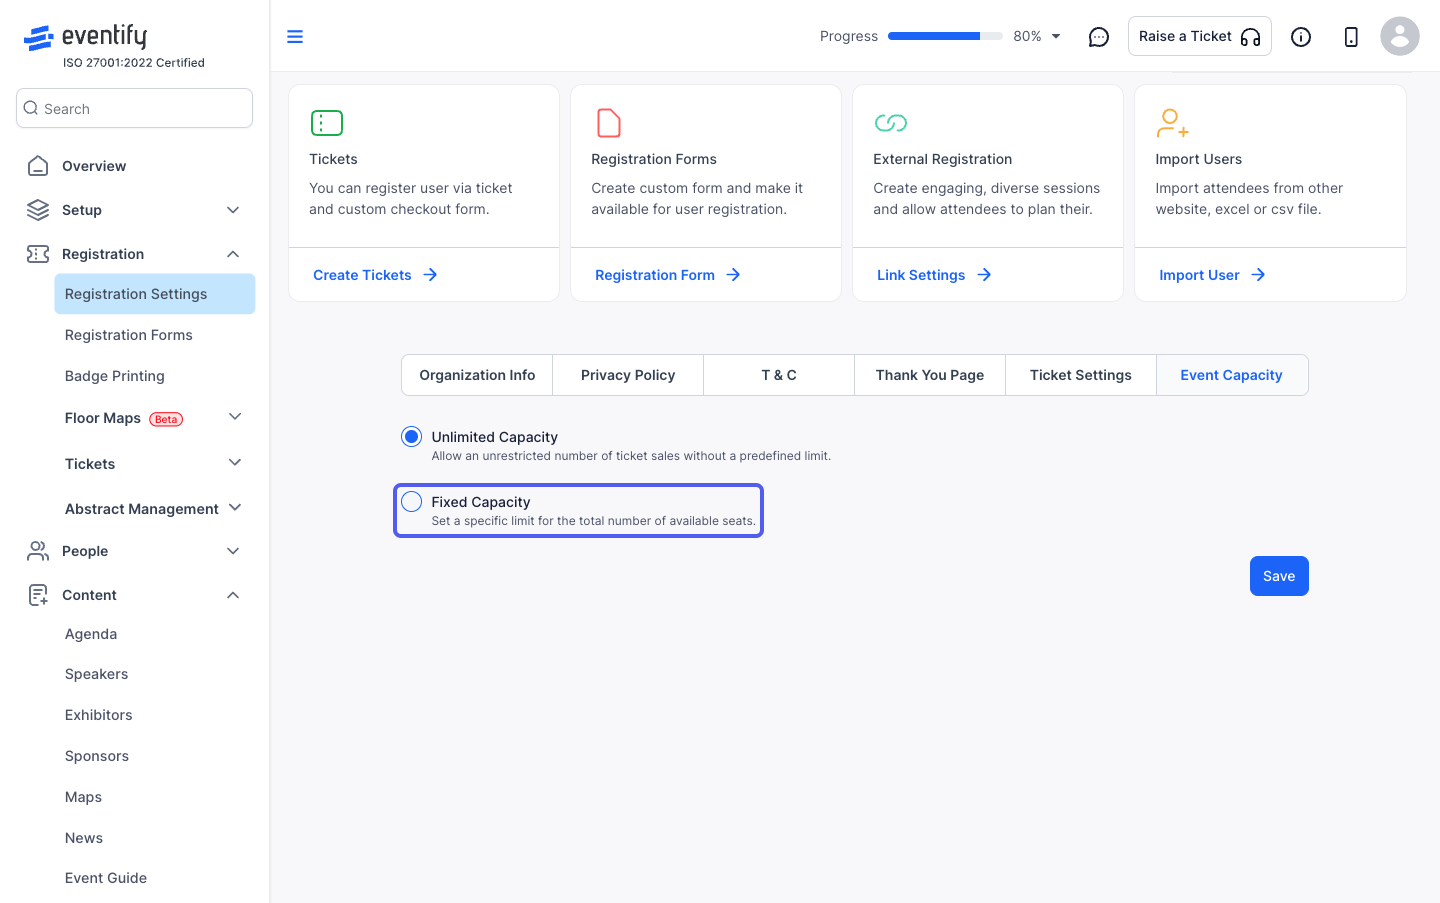
44: Click on "Set Date" to set specific registration start and end date
45: Set the dates and save
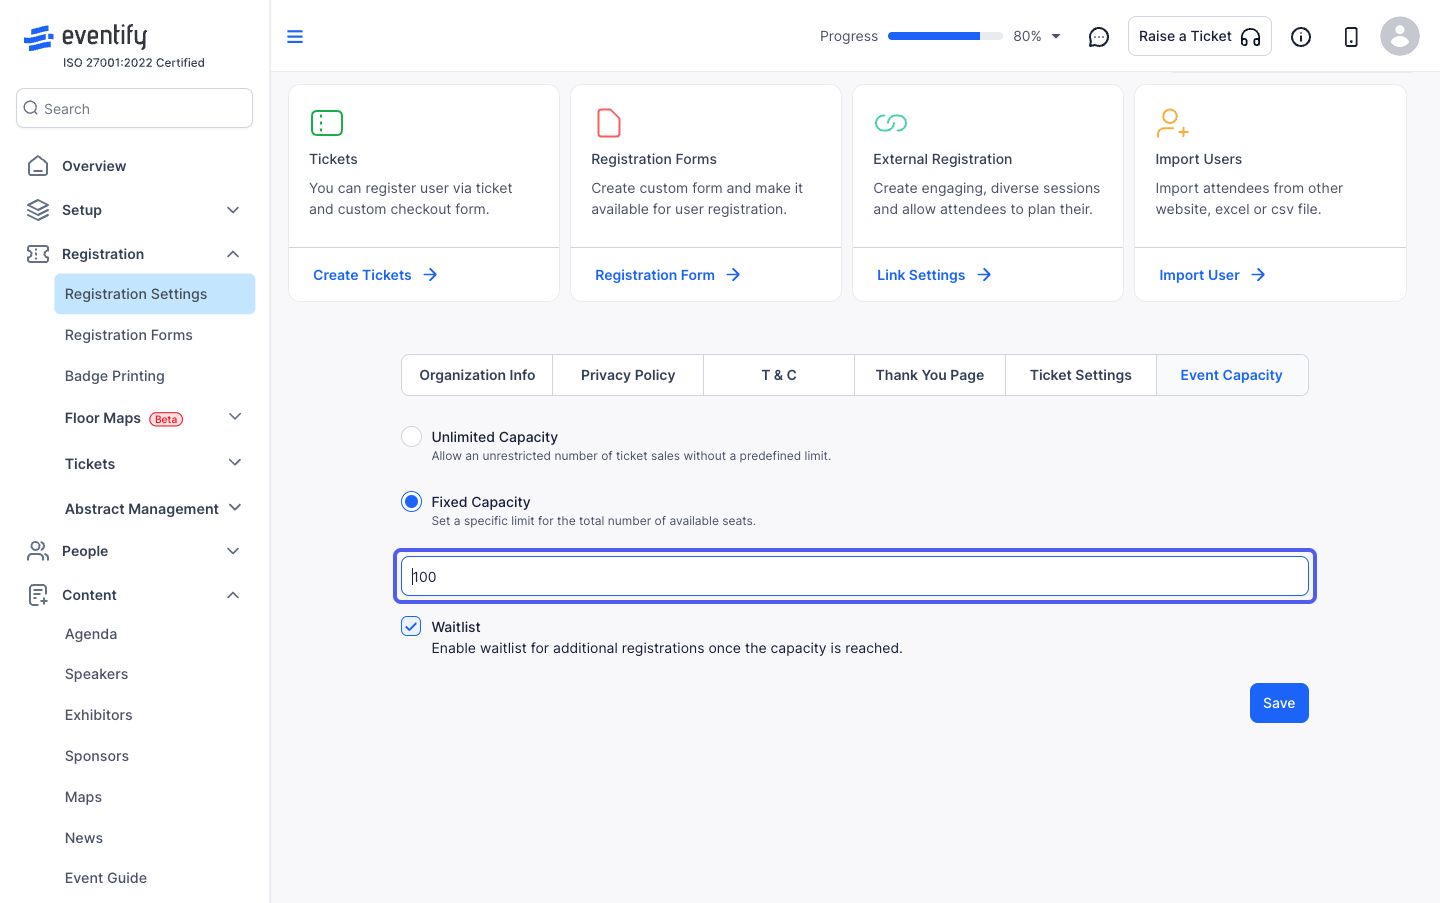
46: Define the event capacity
47: You can have unlimited attendee seats or a “Fixed Capacity
48: In case of "Fixed Capacity", specify the maximum number of allowed attendees
49: Enable waitlist to allow attendee registrations beyond the set capacity