In case you have a lot of attendees for the event, bulk import can help simplify the process. Let us check how to add all attendees at once.

Interactive Guide
Or check the step-by-step guide
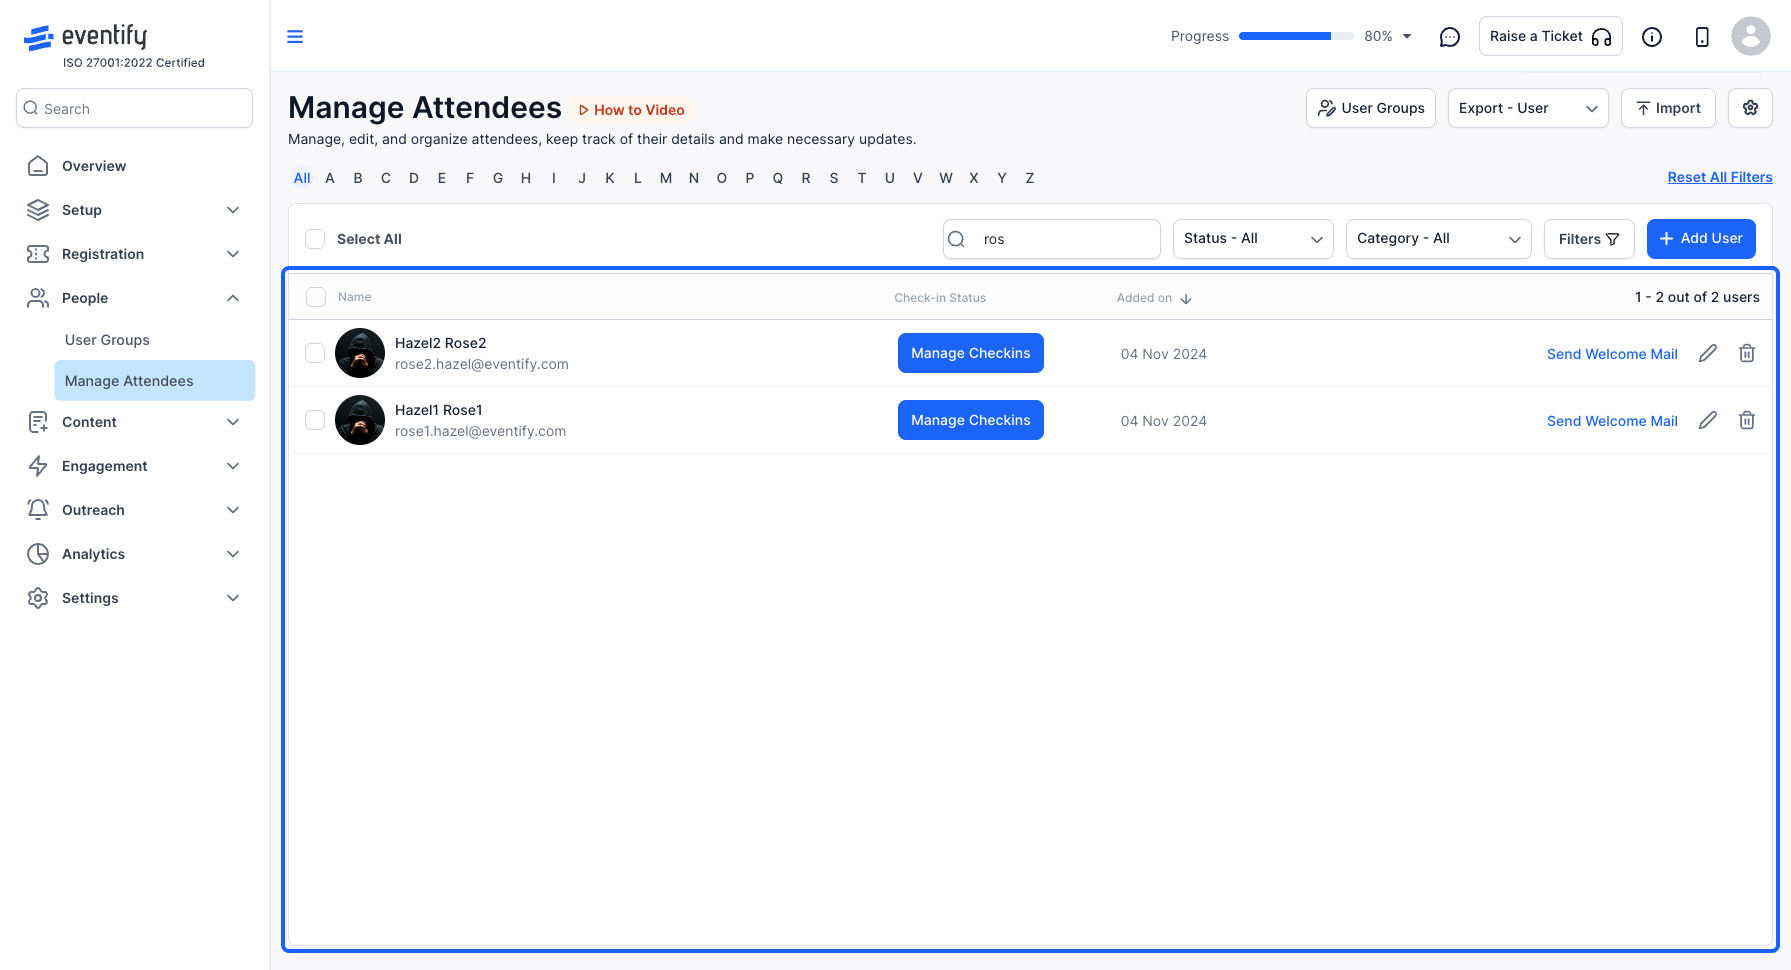
1: Access the Eventify Admin Panel and navigate to People > Manage Attendees
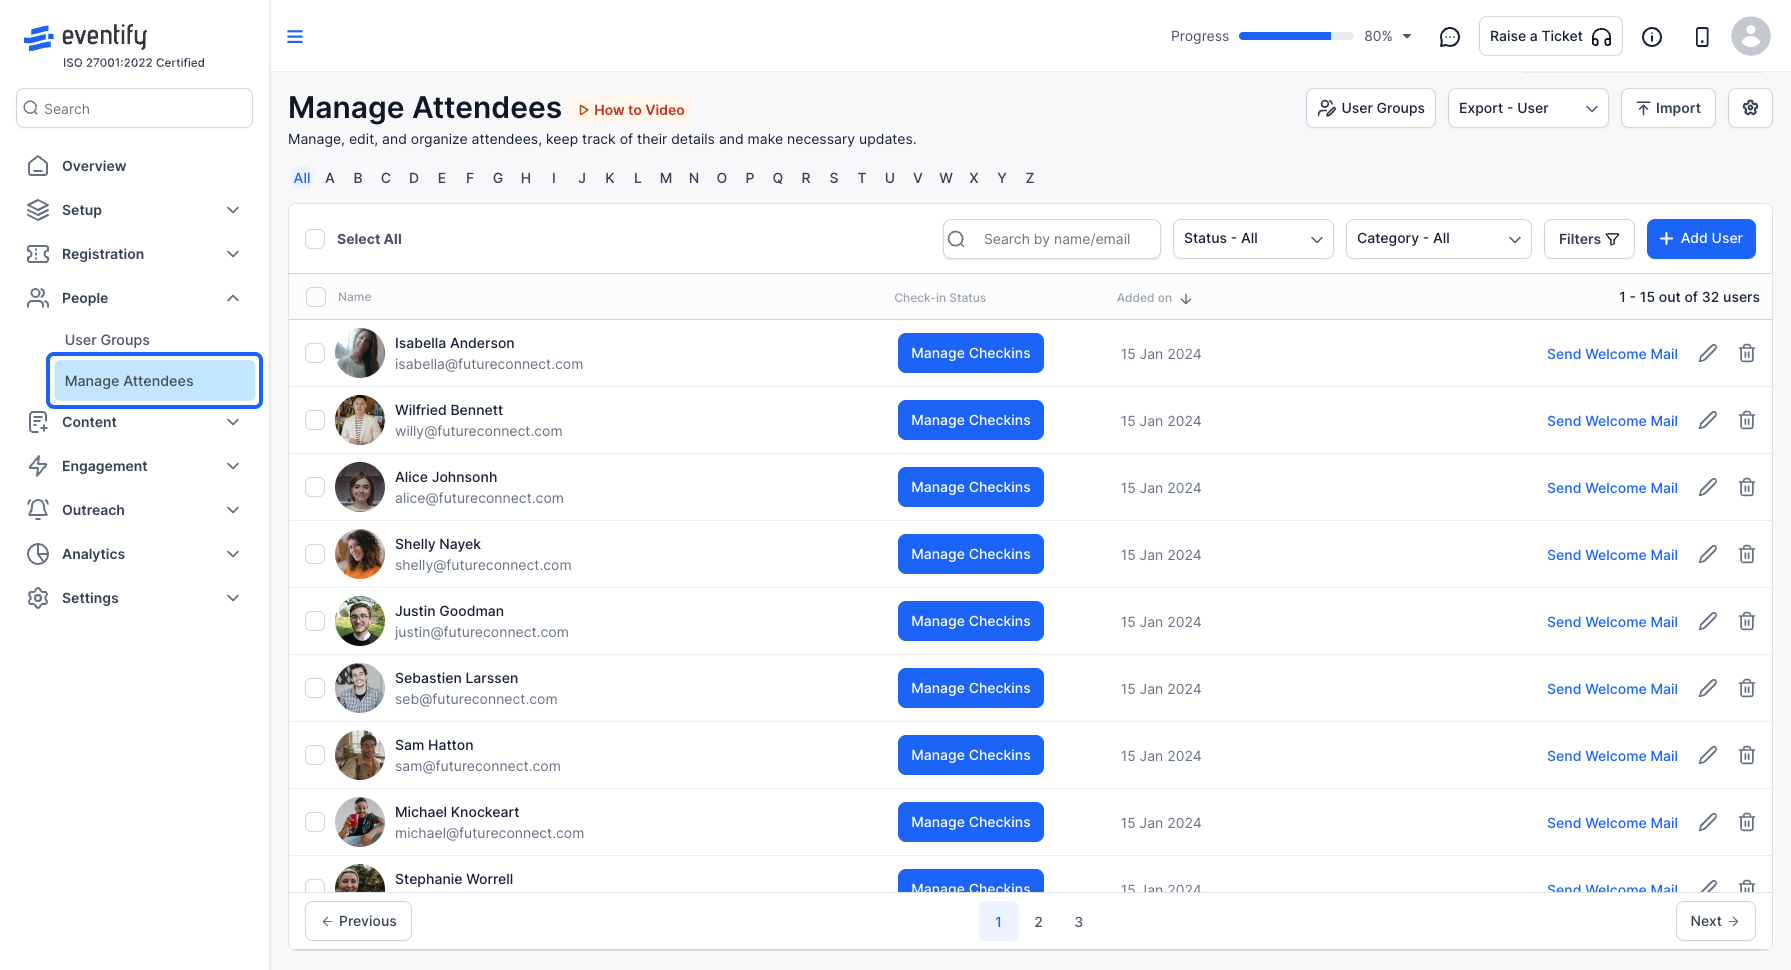
2: You can add attendees one by one or bulk import them. To bulk import, click on the "Import" button
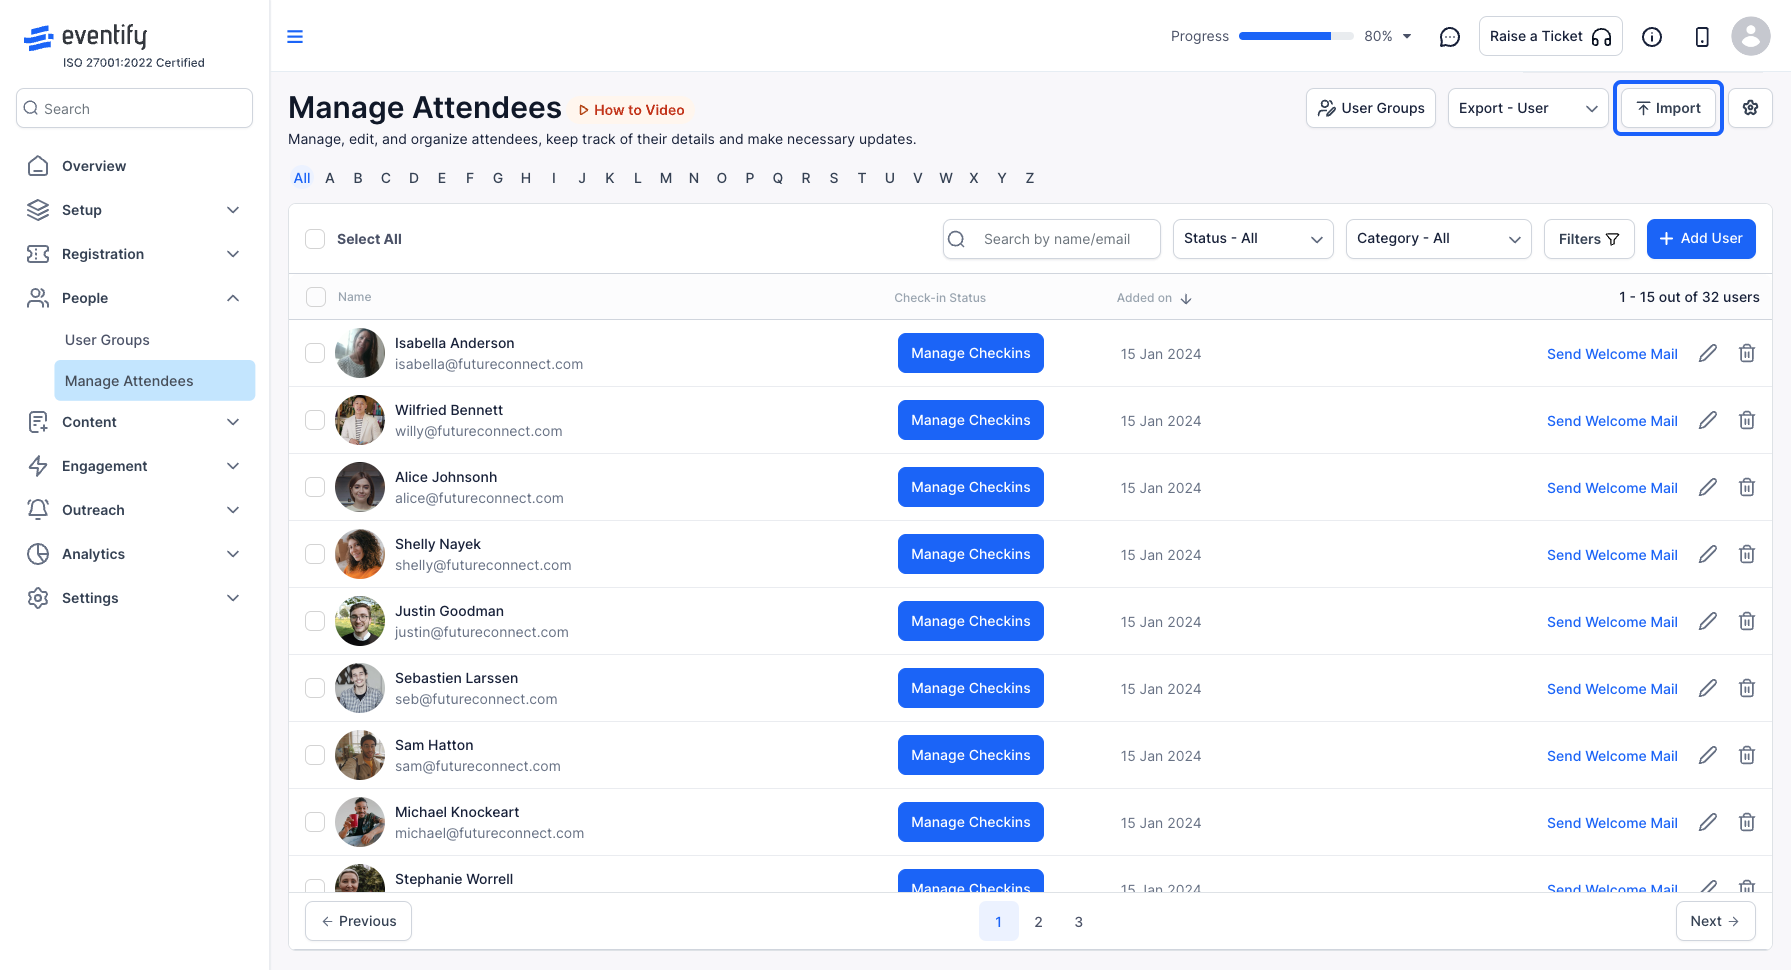
3: Select the user group of the attendee you are trying to import and download the sample file specific to the checkout form associated with the user group
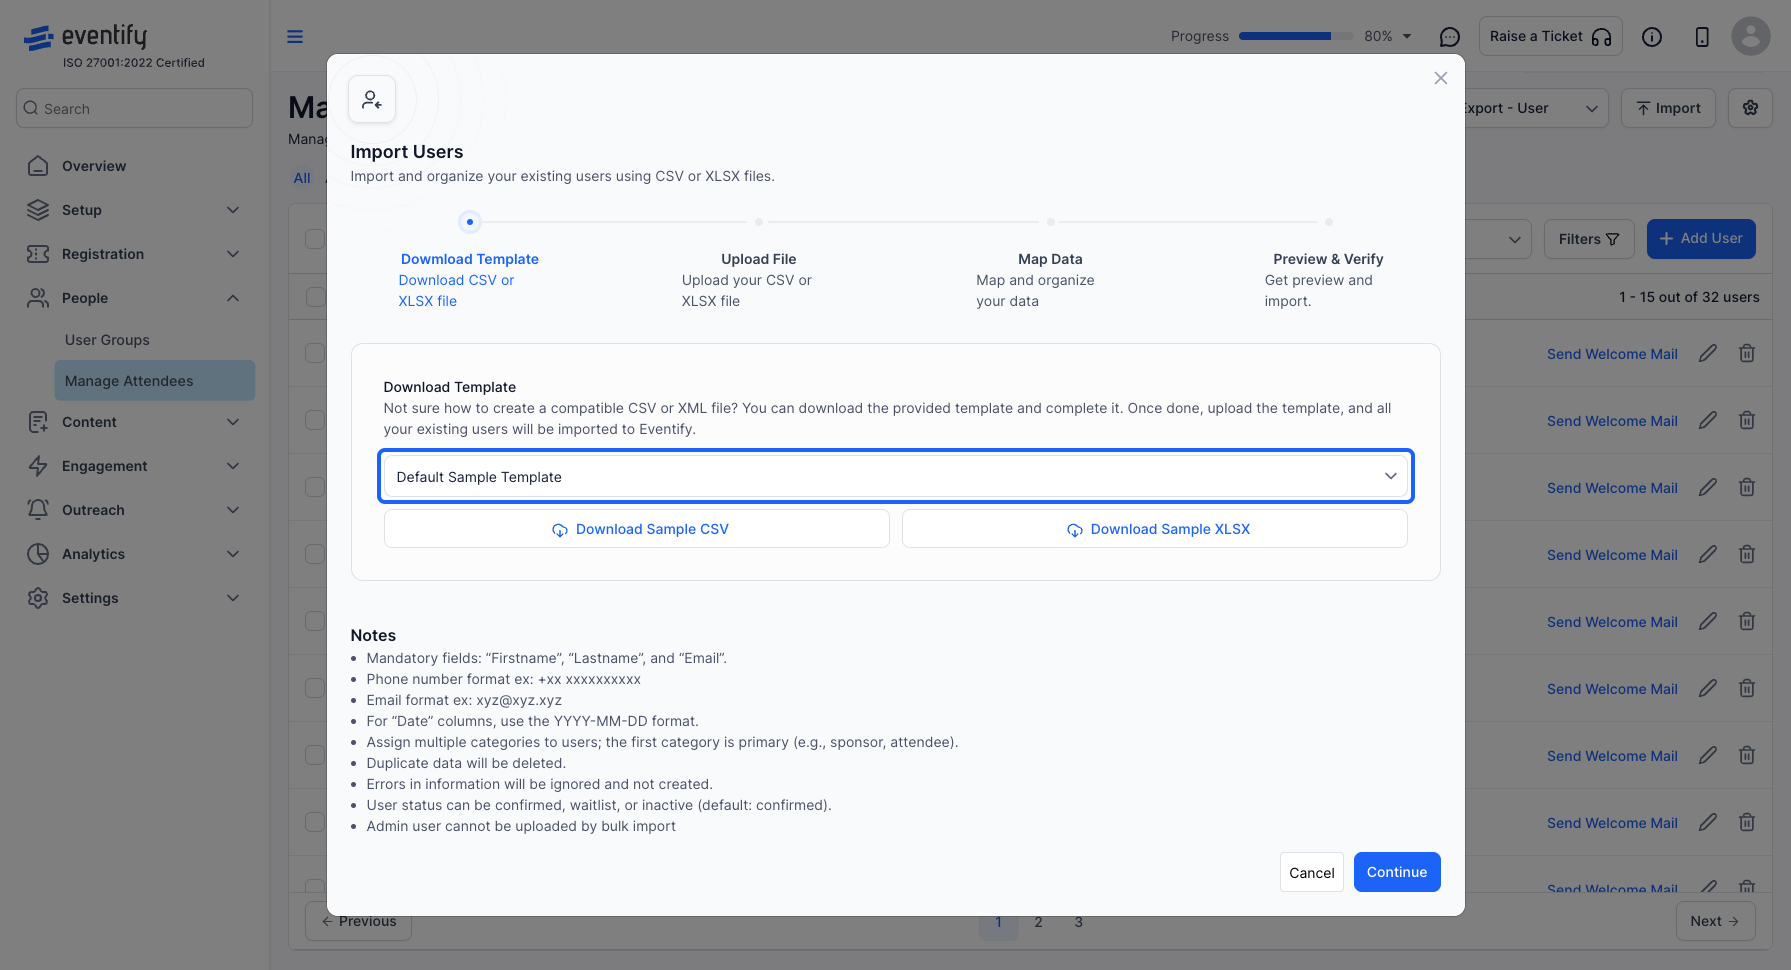
4: Before importing the file, make sure the data in it is formatted correctly. You need to download the sample file either in csv or xls format to compare your data
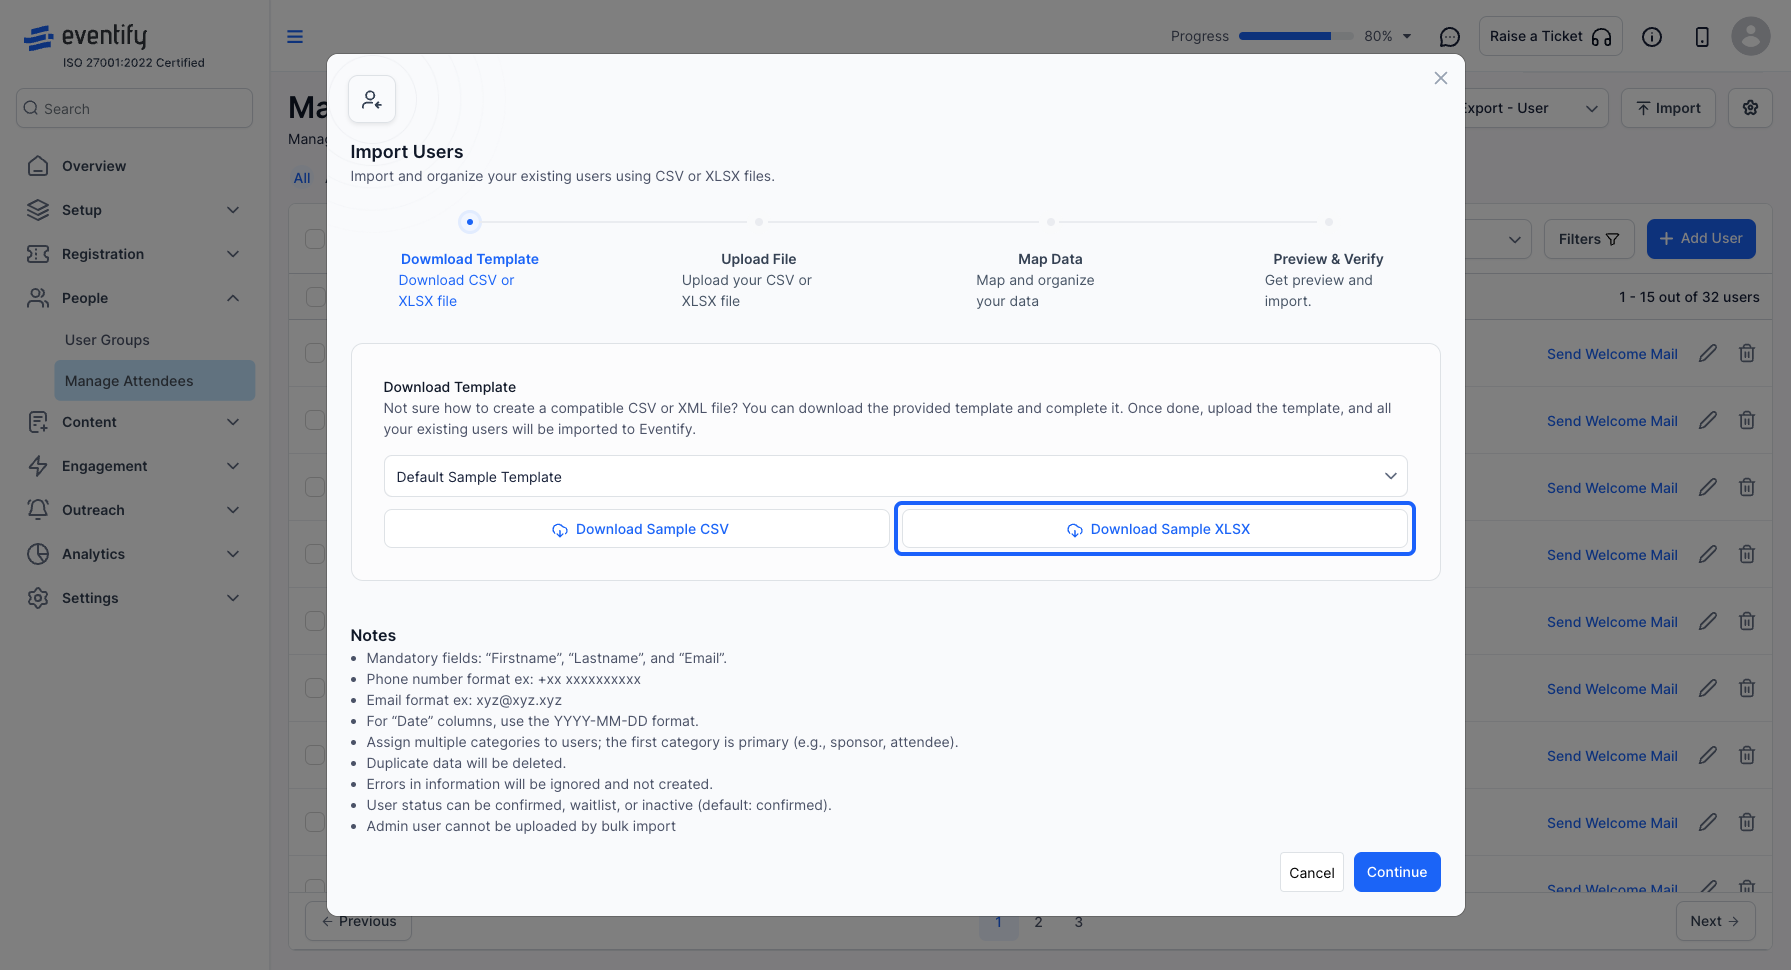
5: Make sure to take care of the instructions related to the data
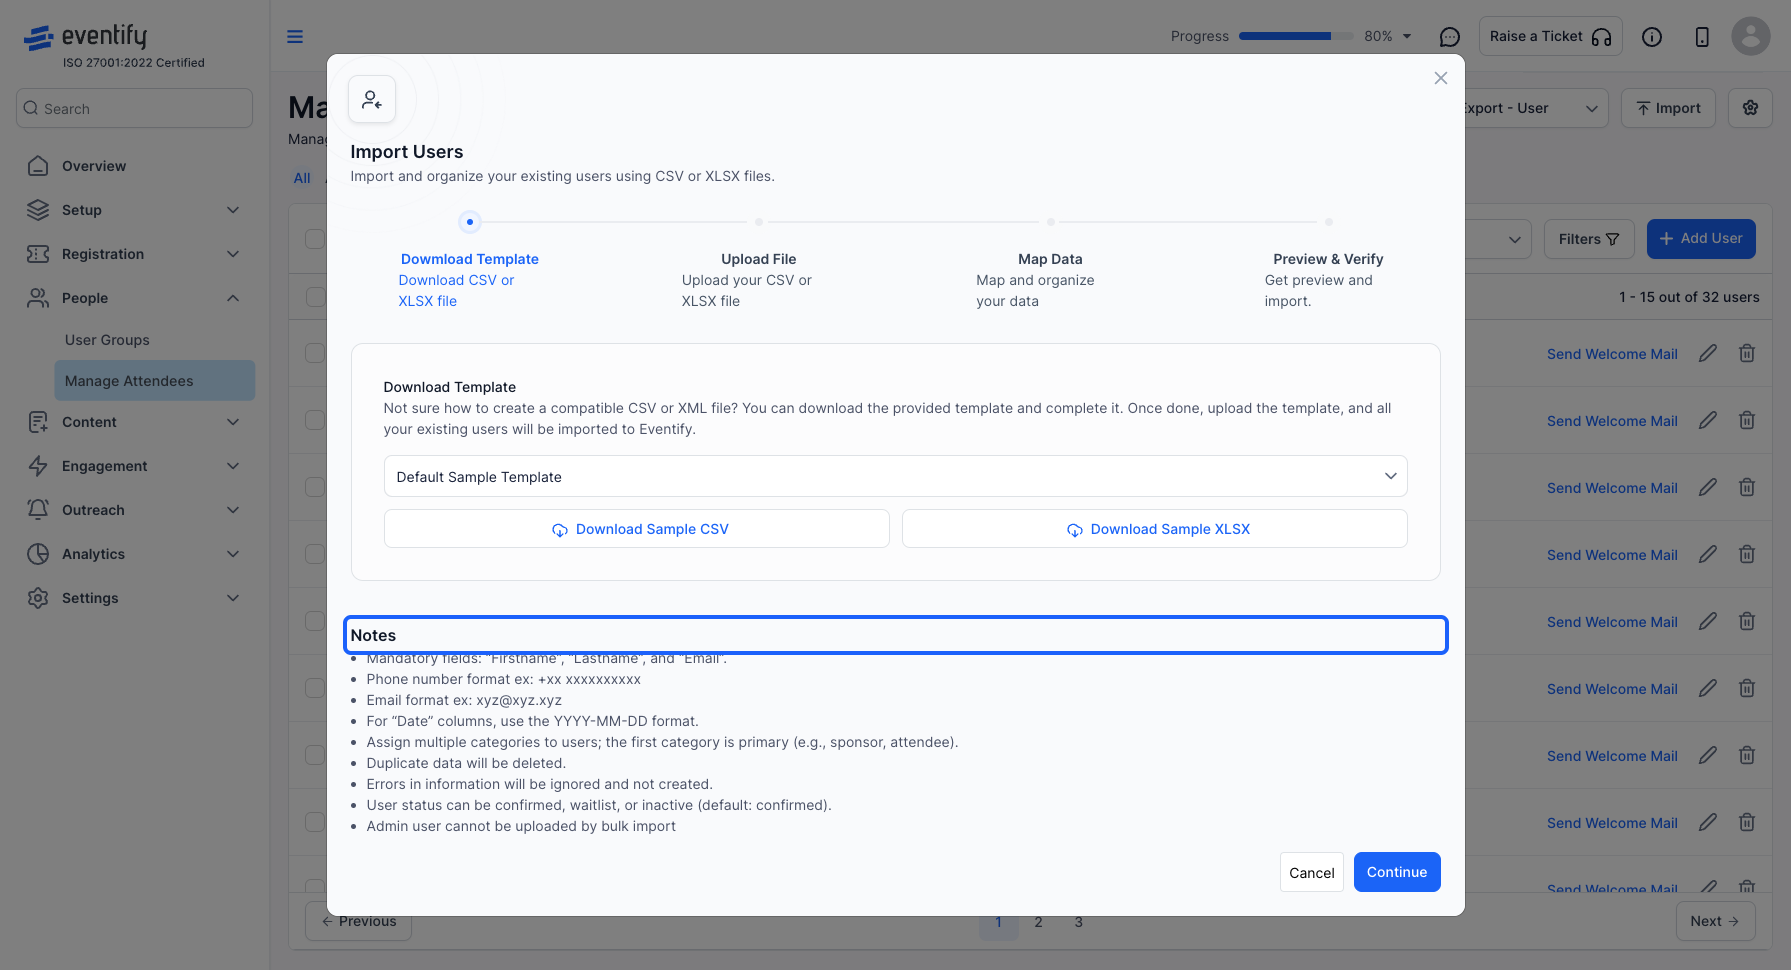
6: Click on Continue
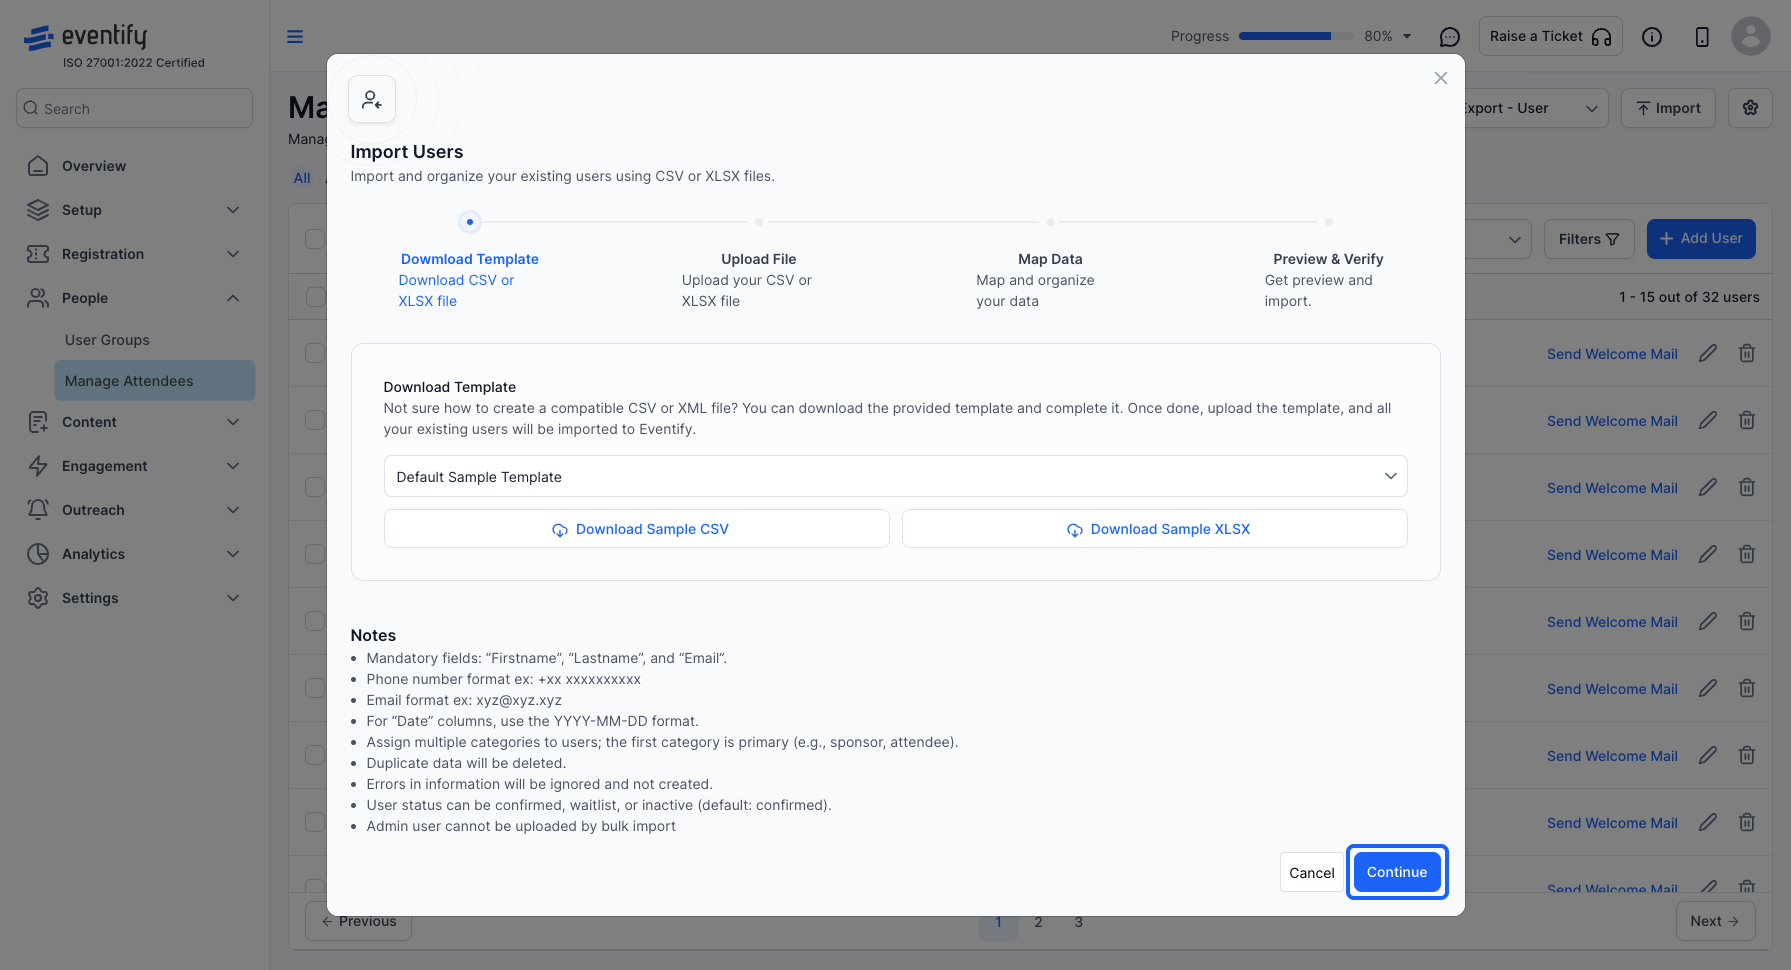
7: Once the file is ready, “Drag and Drop" or Browse to upload the file
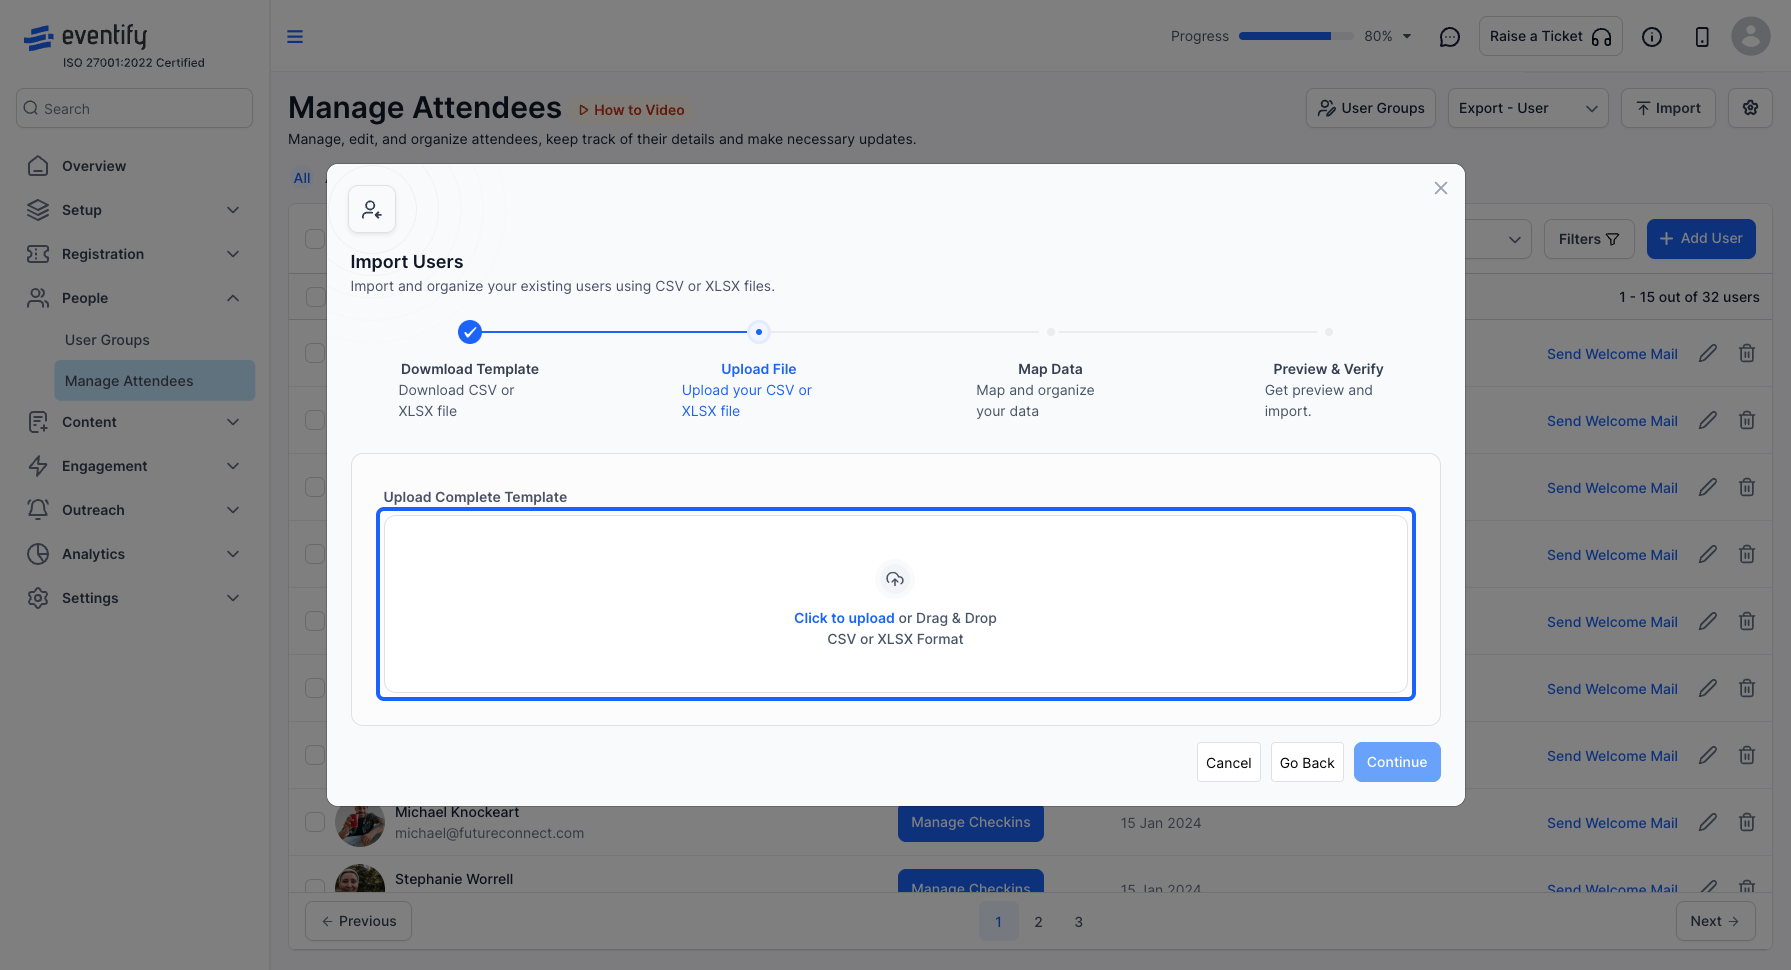
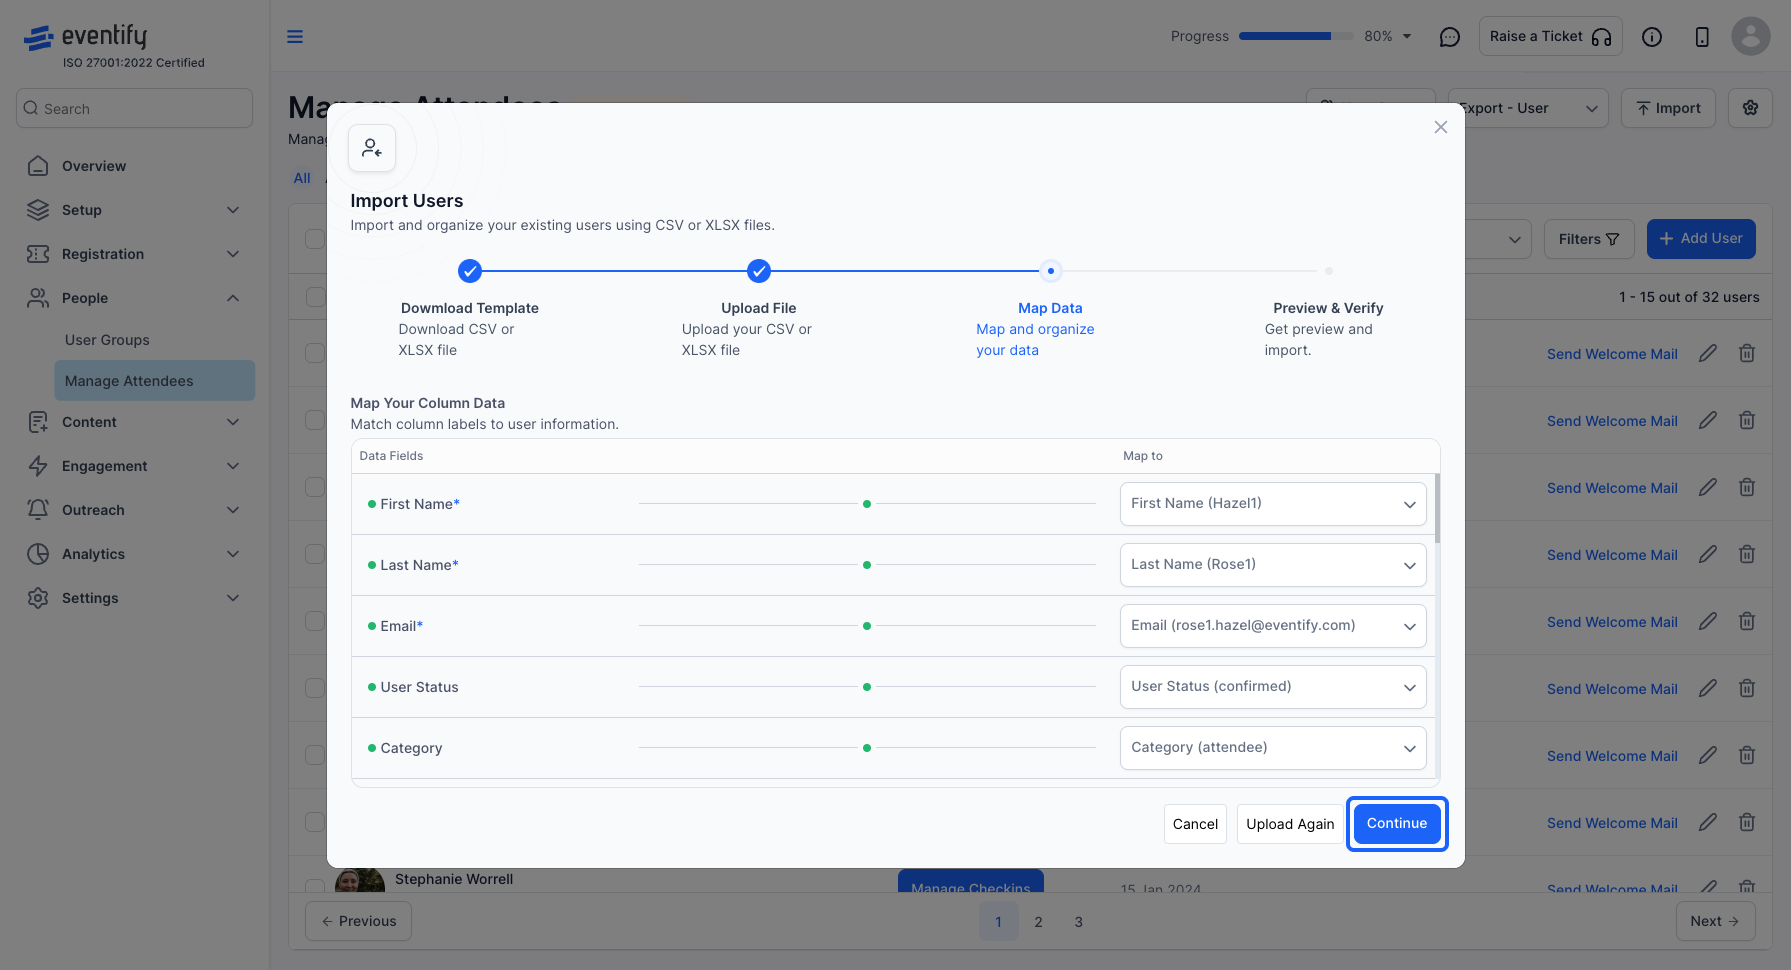
8: Map the data from the uploaded file's columns to the required columns based on the selected user group in step 3
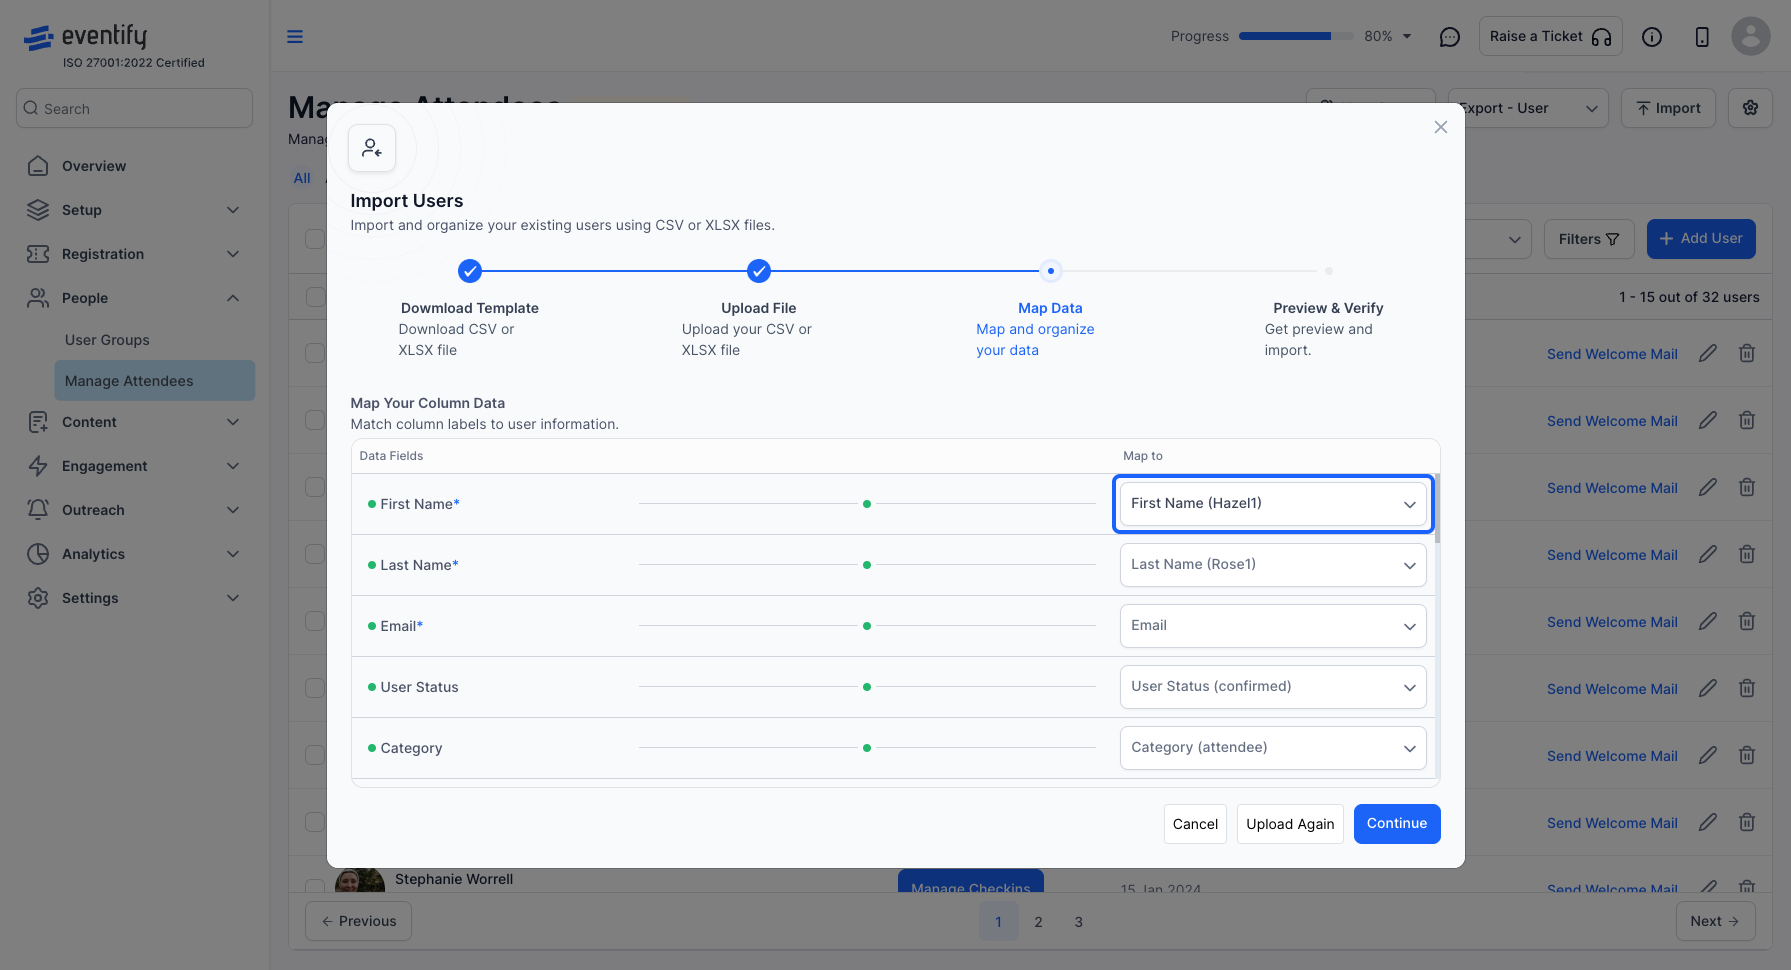
9: Once mapping is done, click on “Continue” button
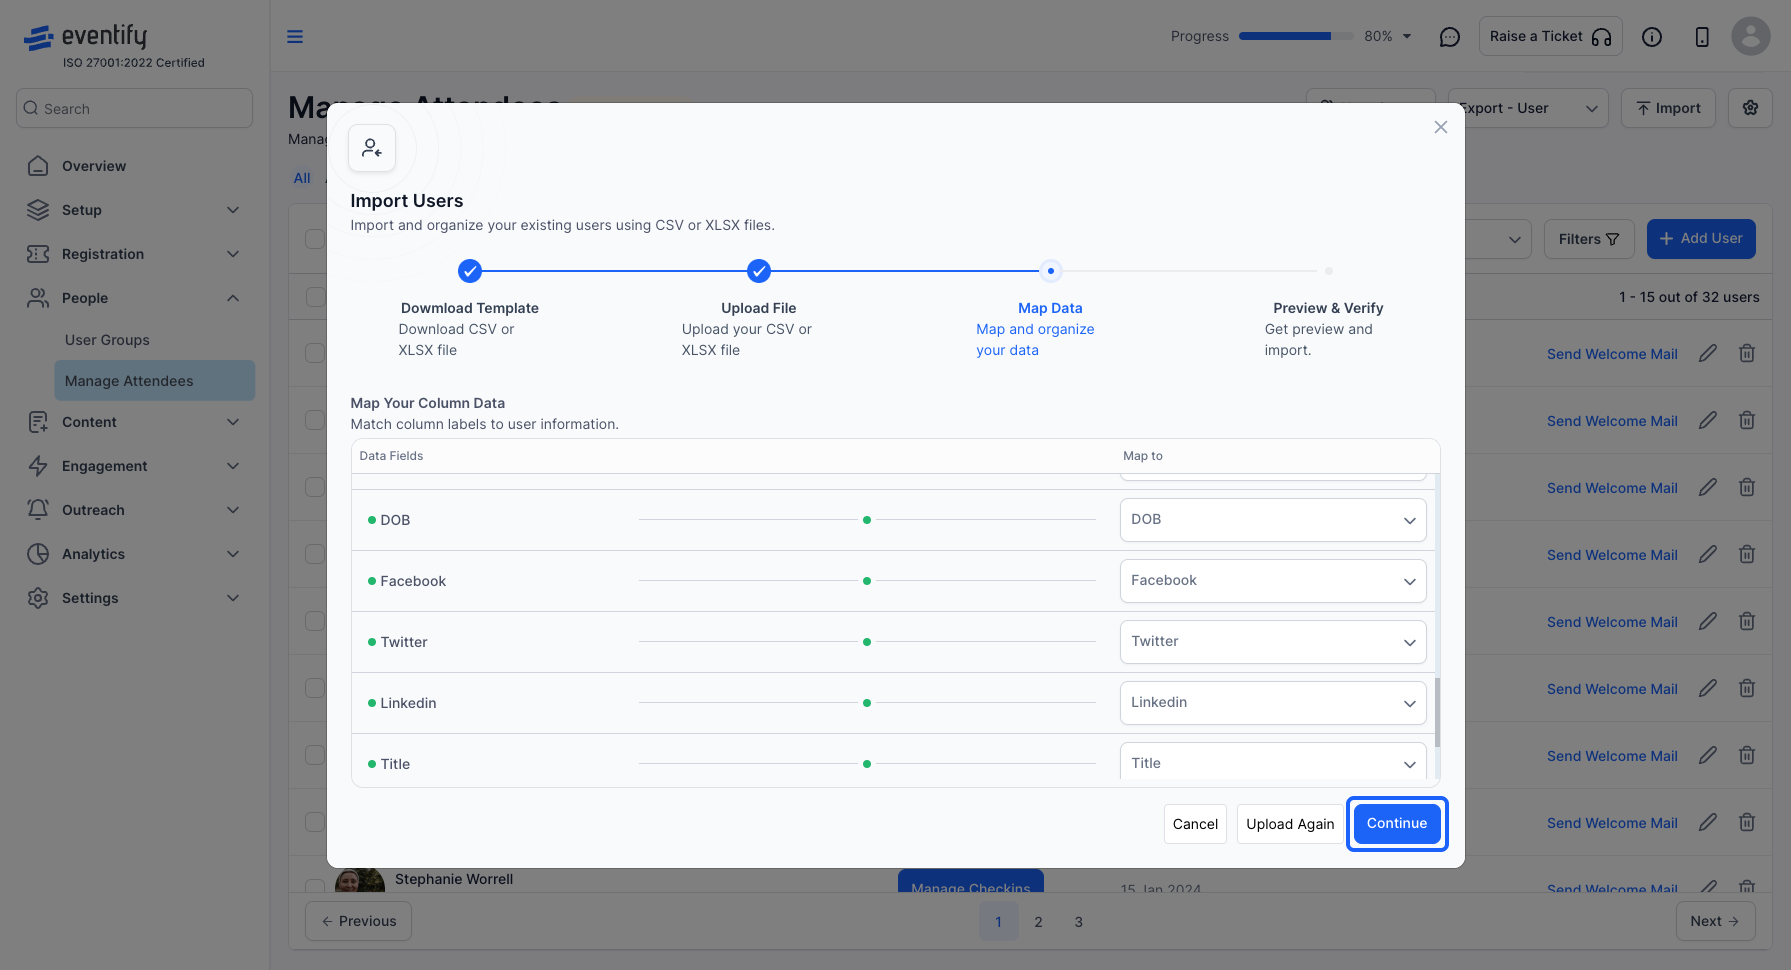
10: You can see the file preview and will receive errors in case your file has data that does not match the required format
By clicking on the info icon on the marked rows, you can check the exact error that is present in the data
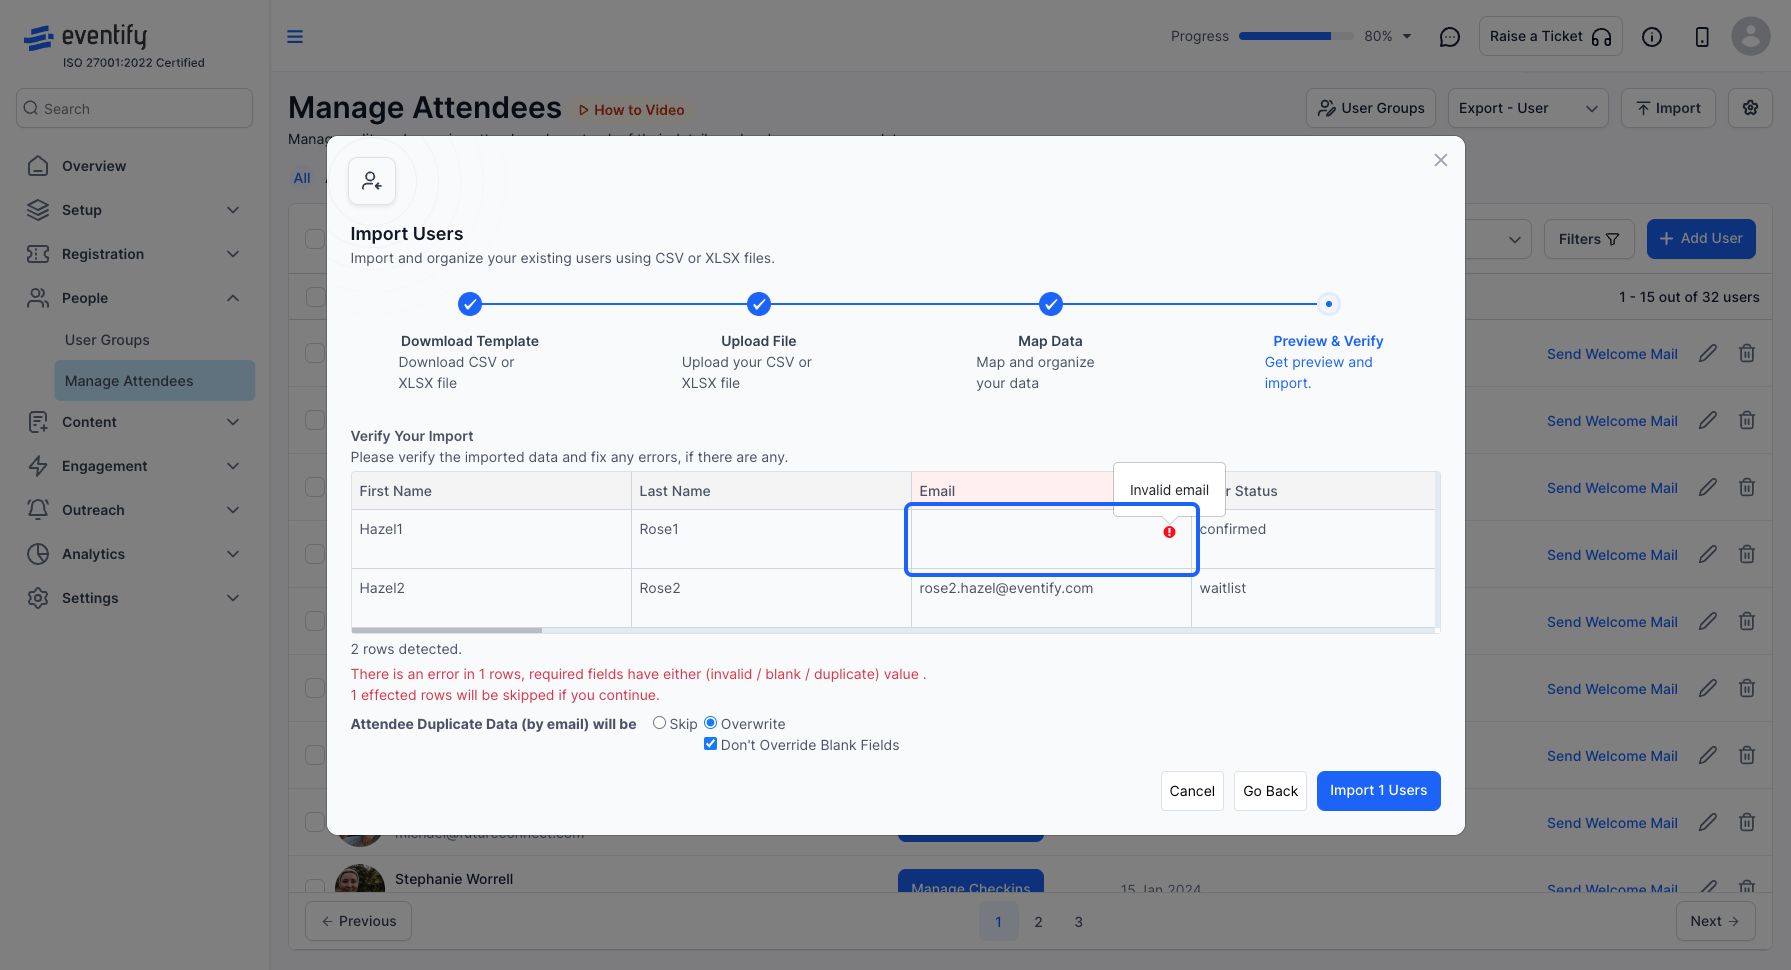
11: Click the “Go Back” button to re-upload the file
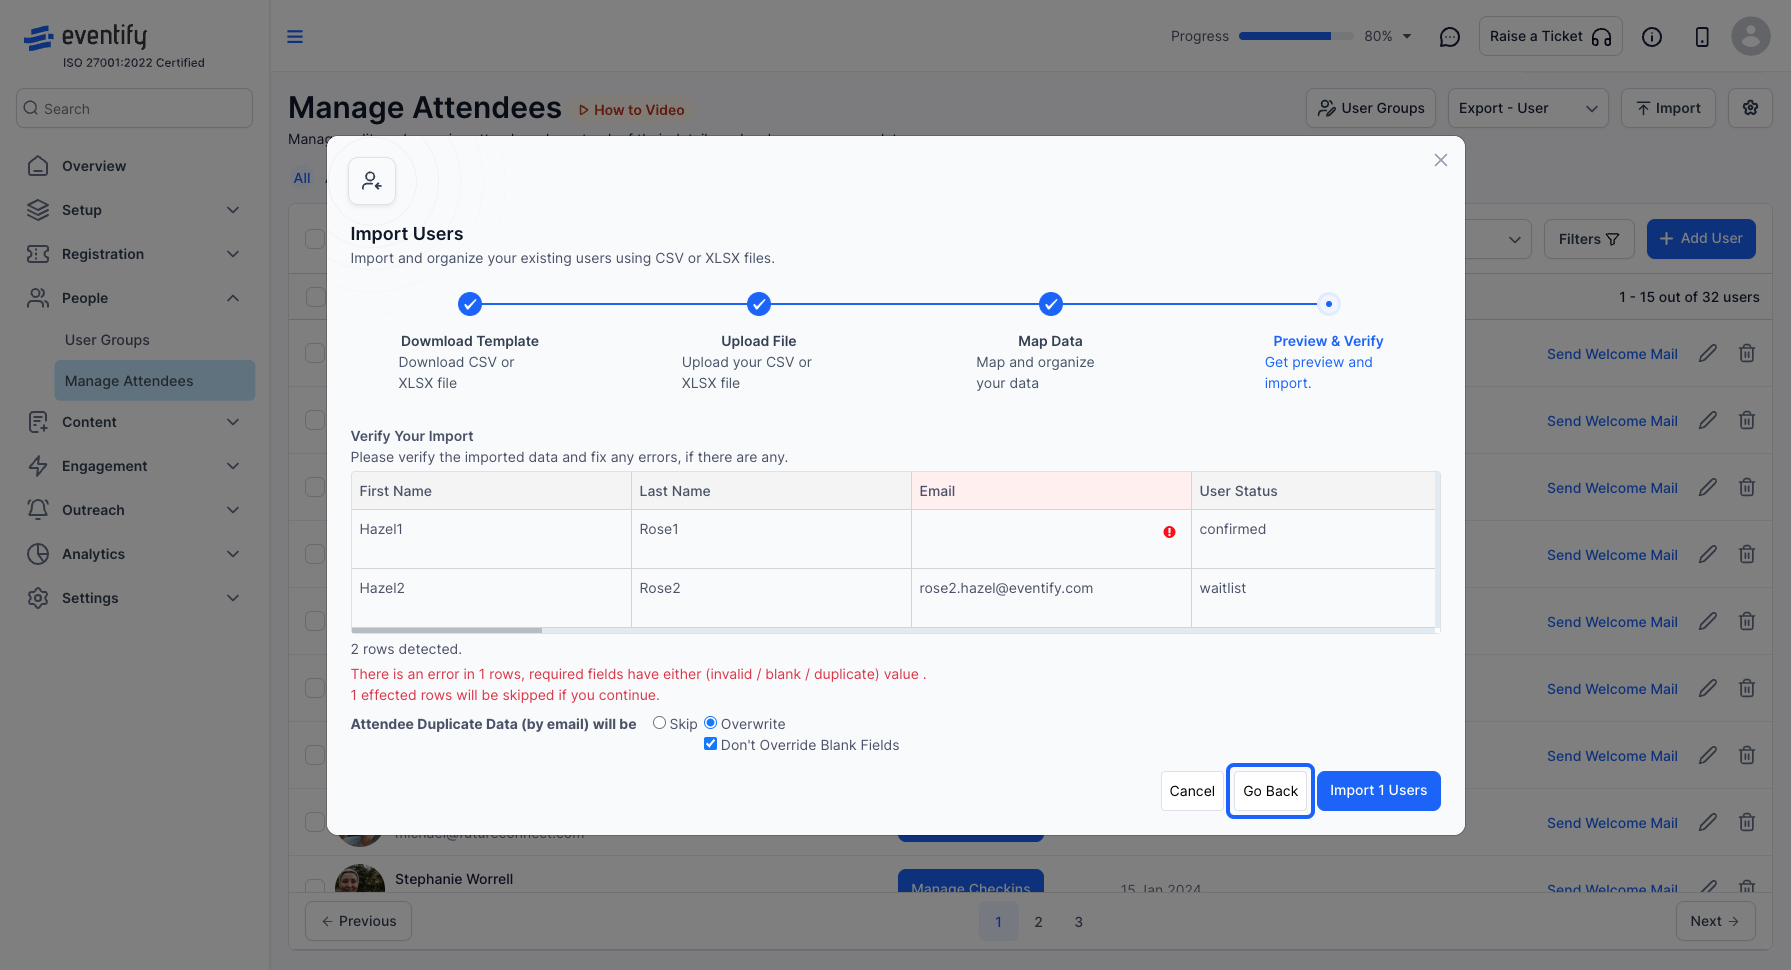
12: Click the “Upload Again” button to upload the correct file
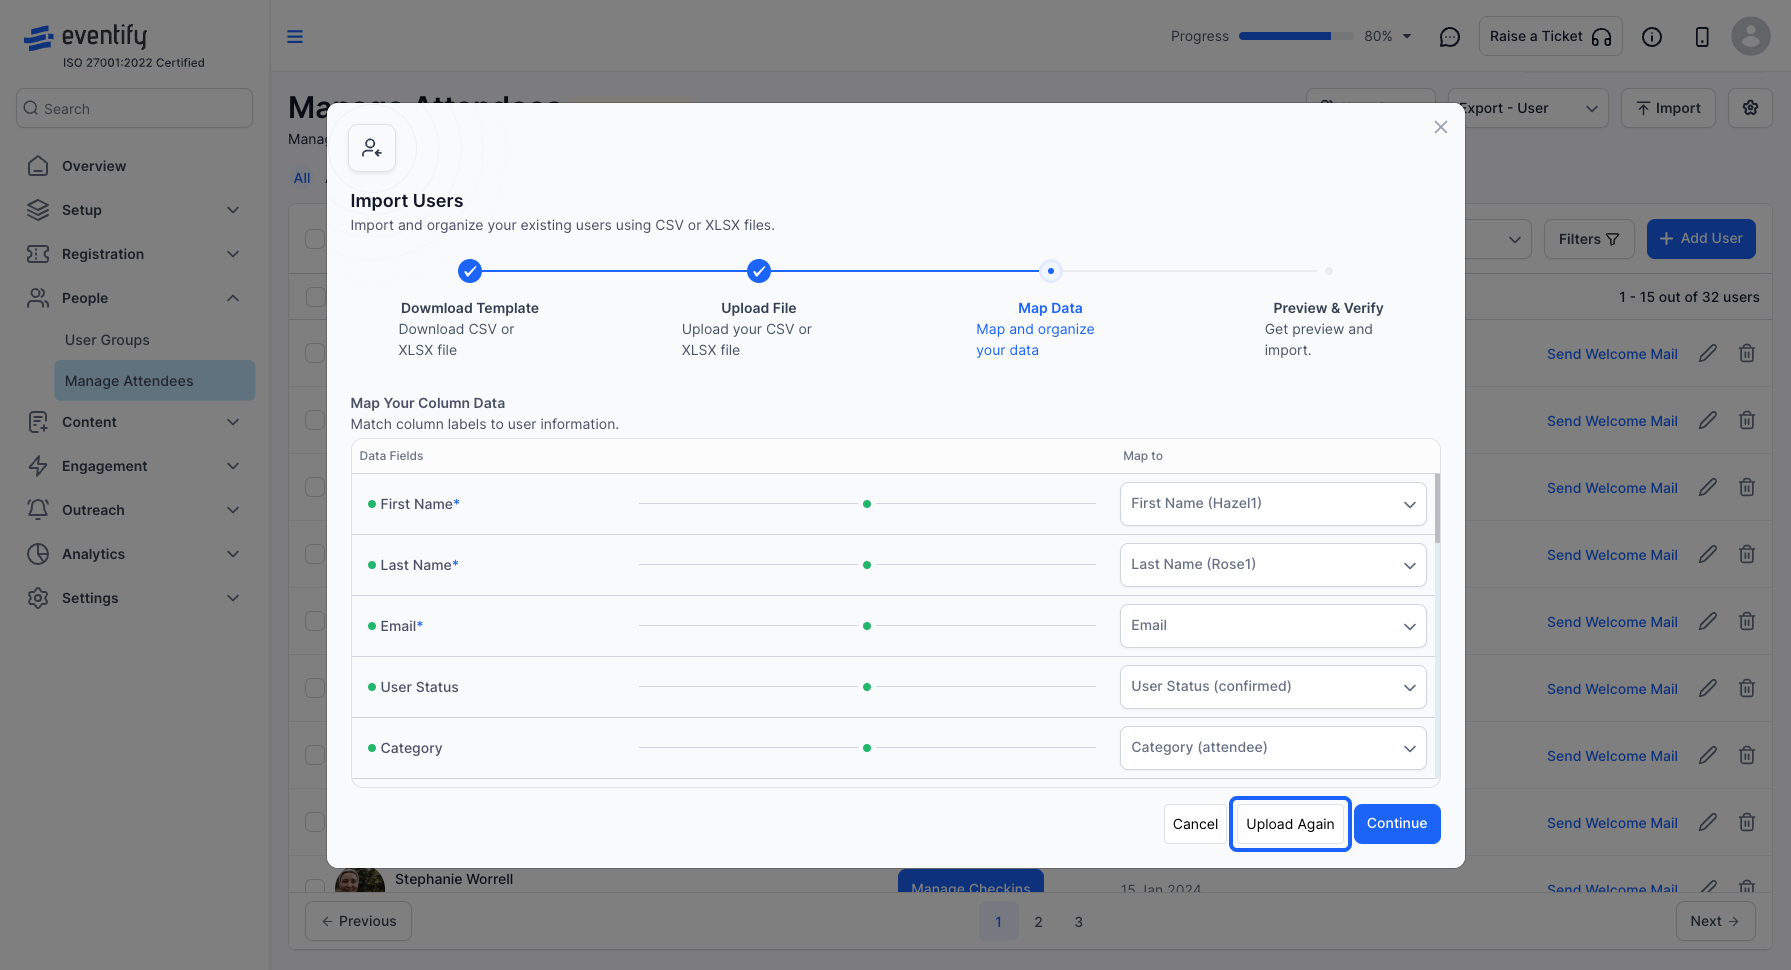
13: Re-uploaded the file with correct data
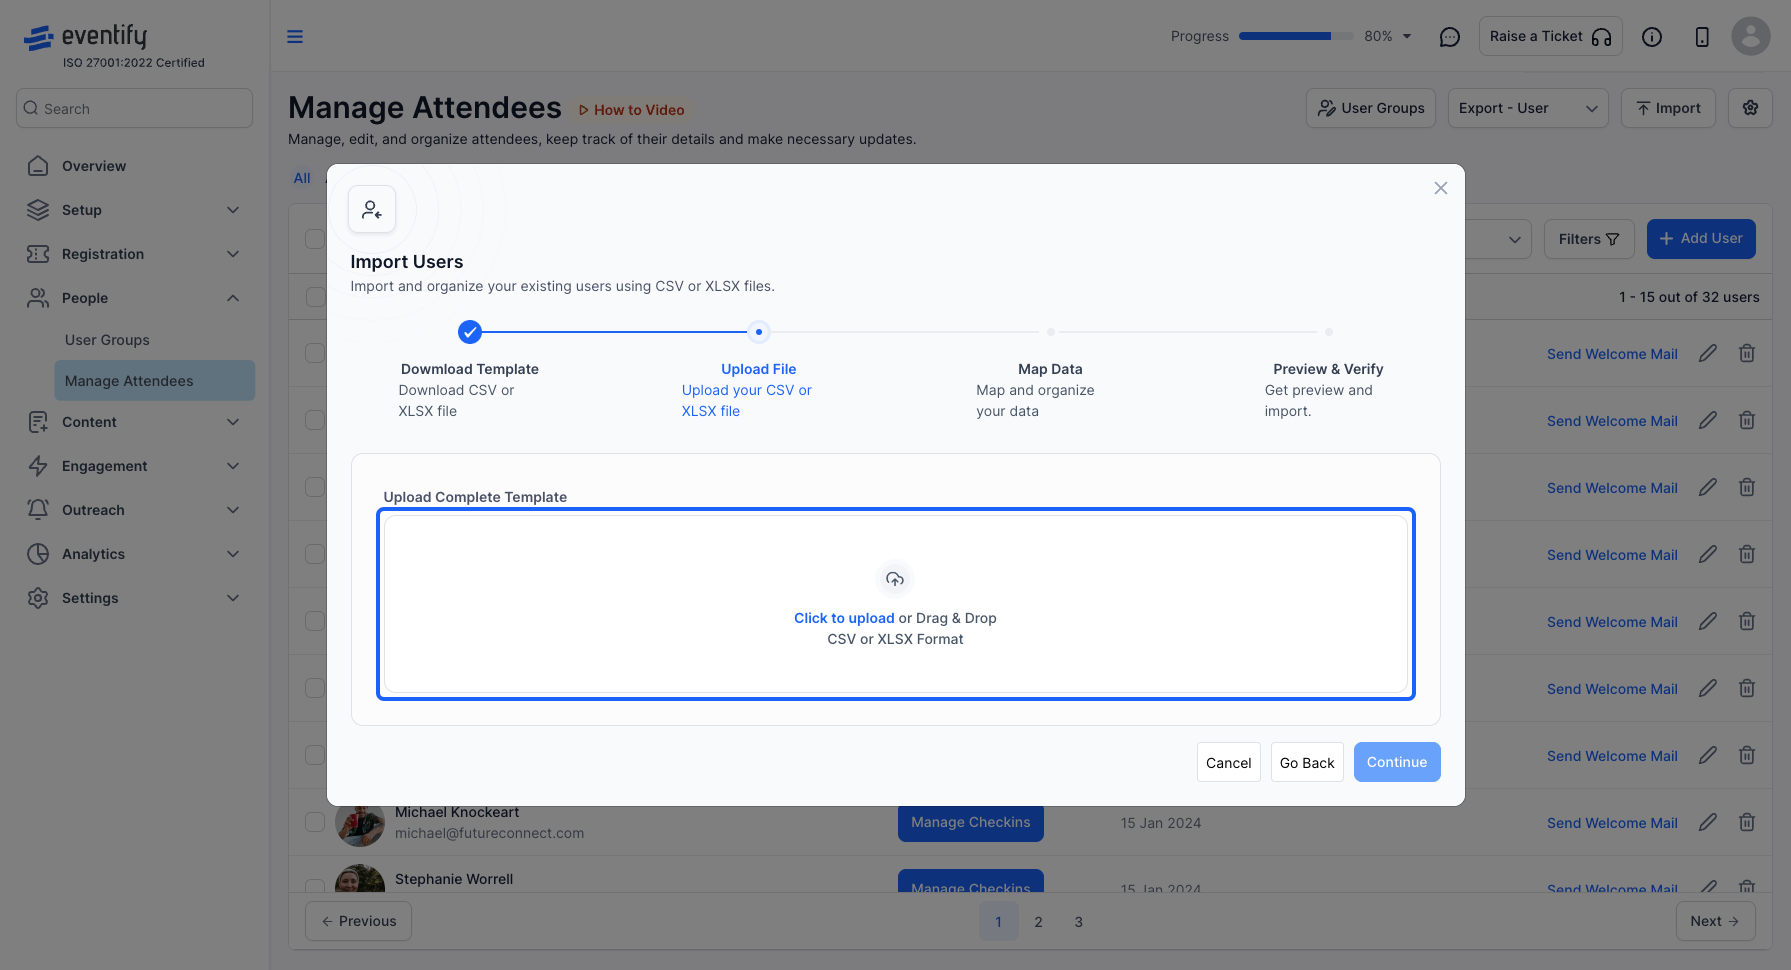
14: Click the “Continue” button
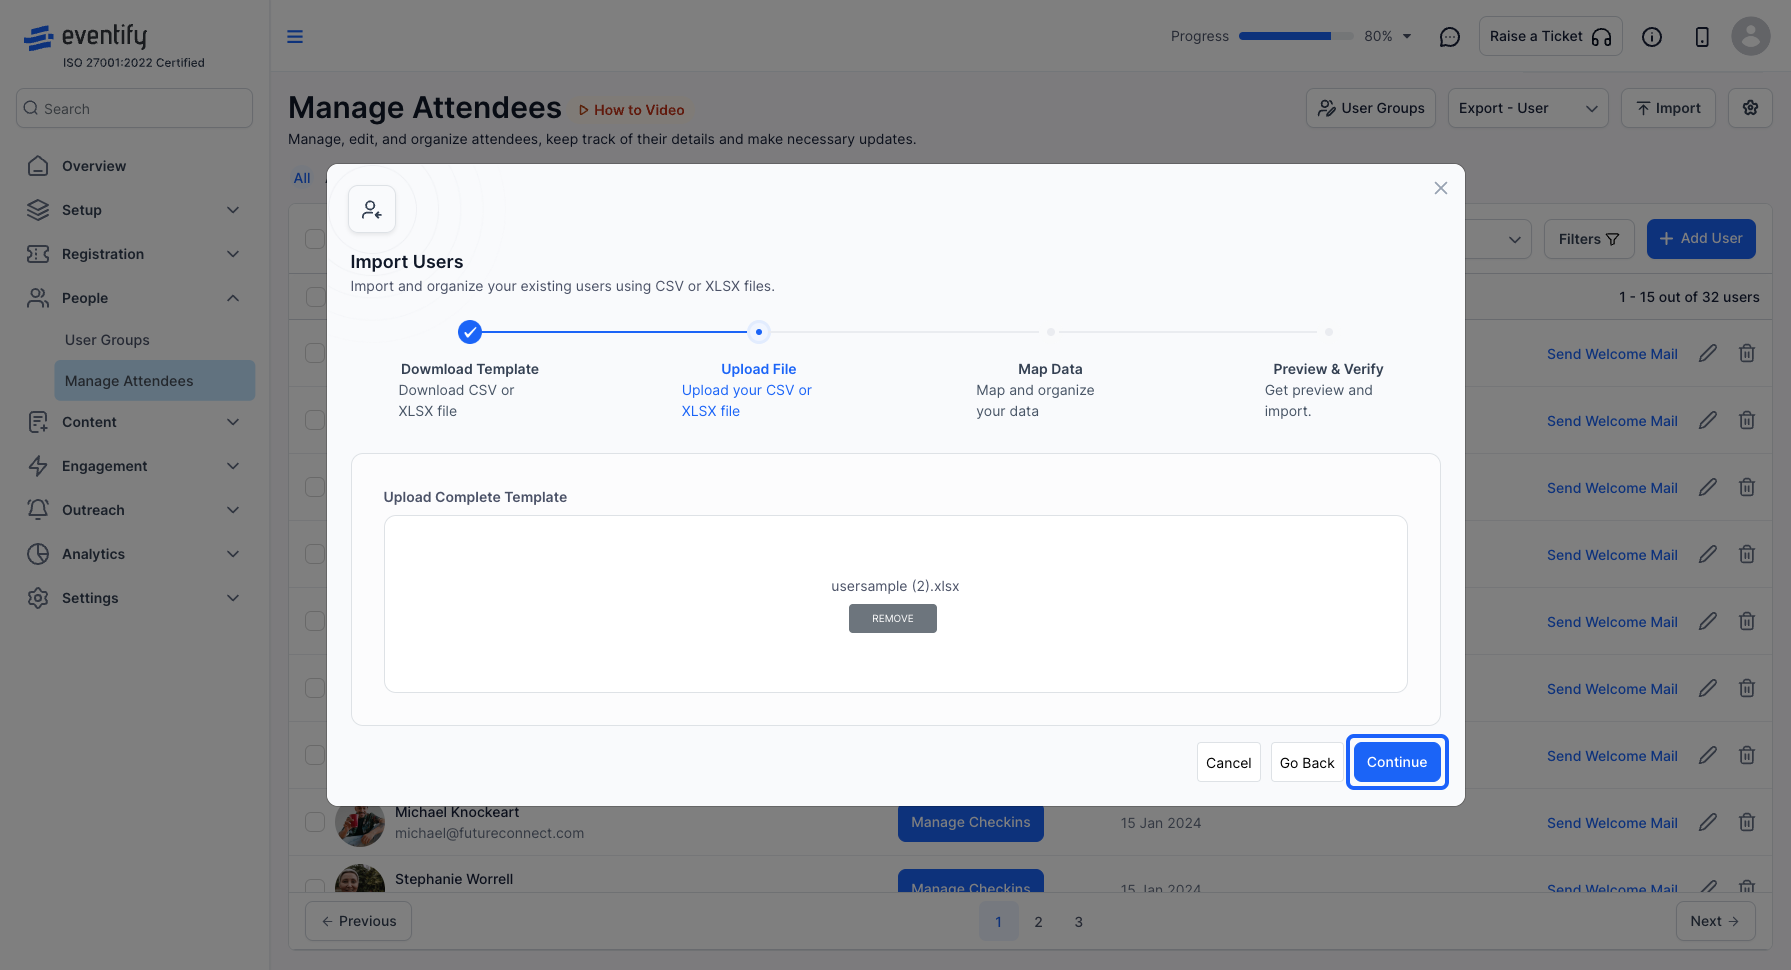
15: Check the mapping
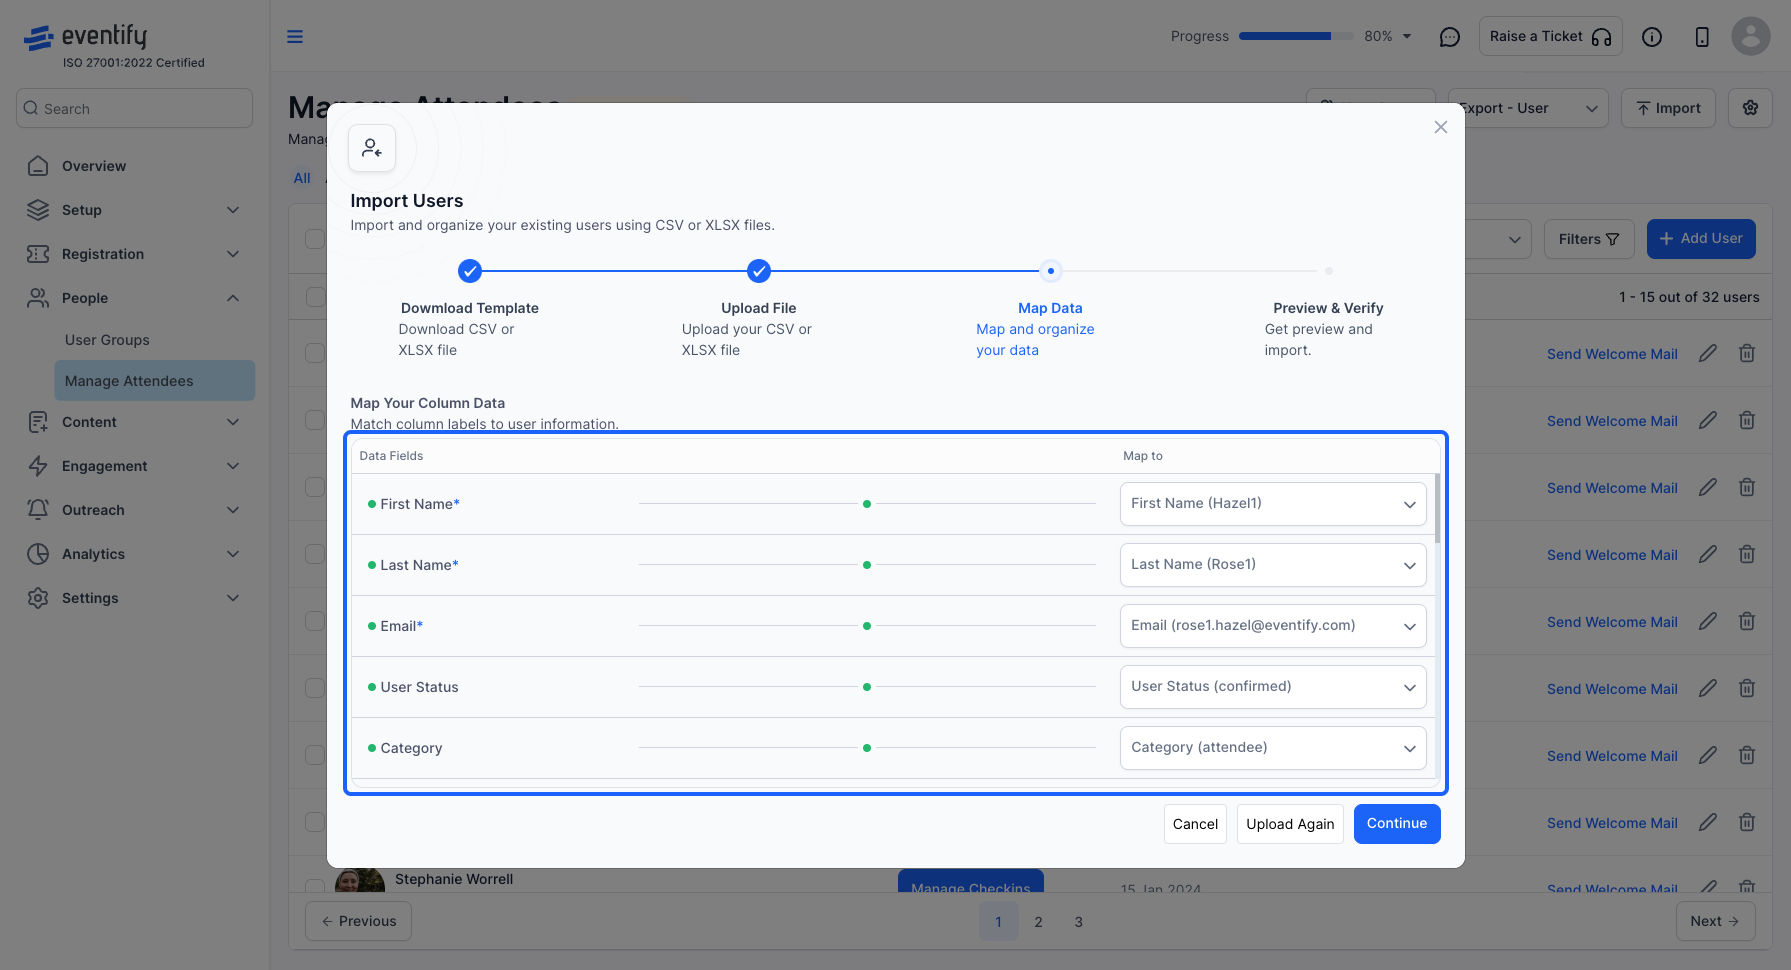
16: Click the “Continue” button
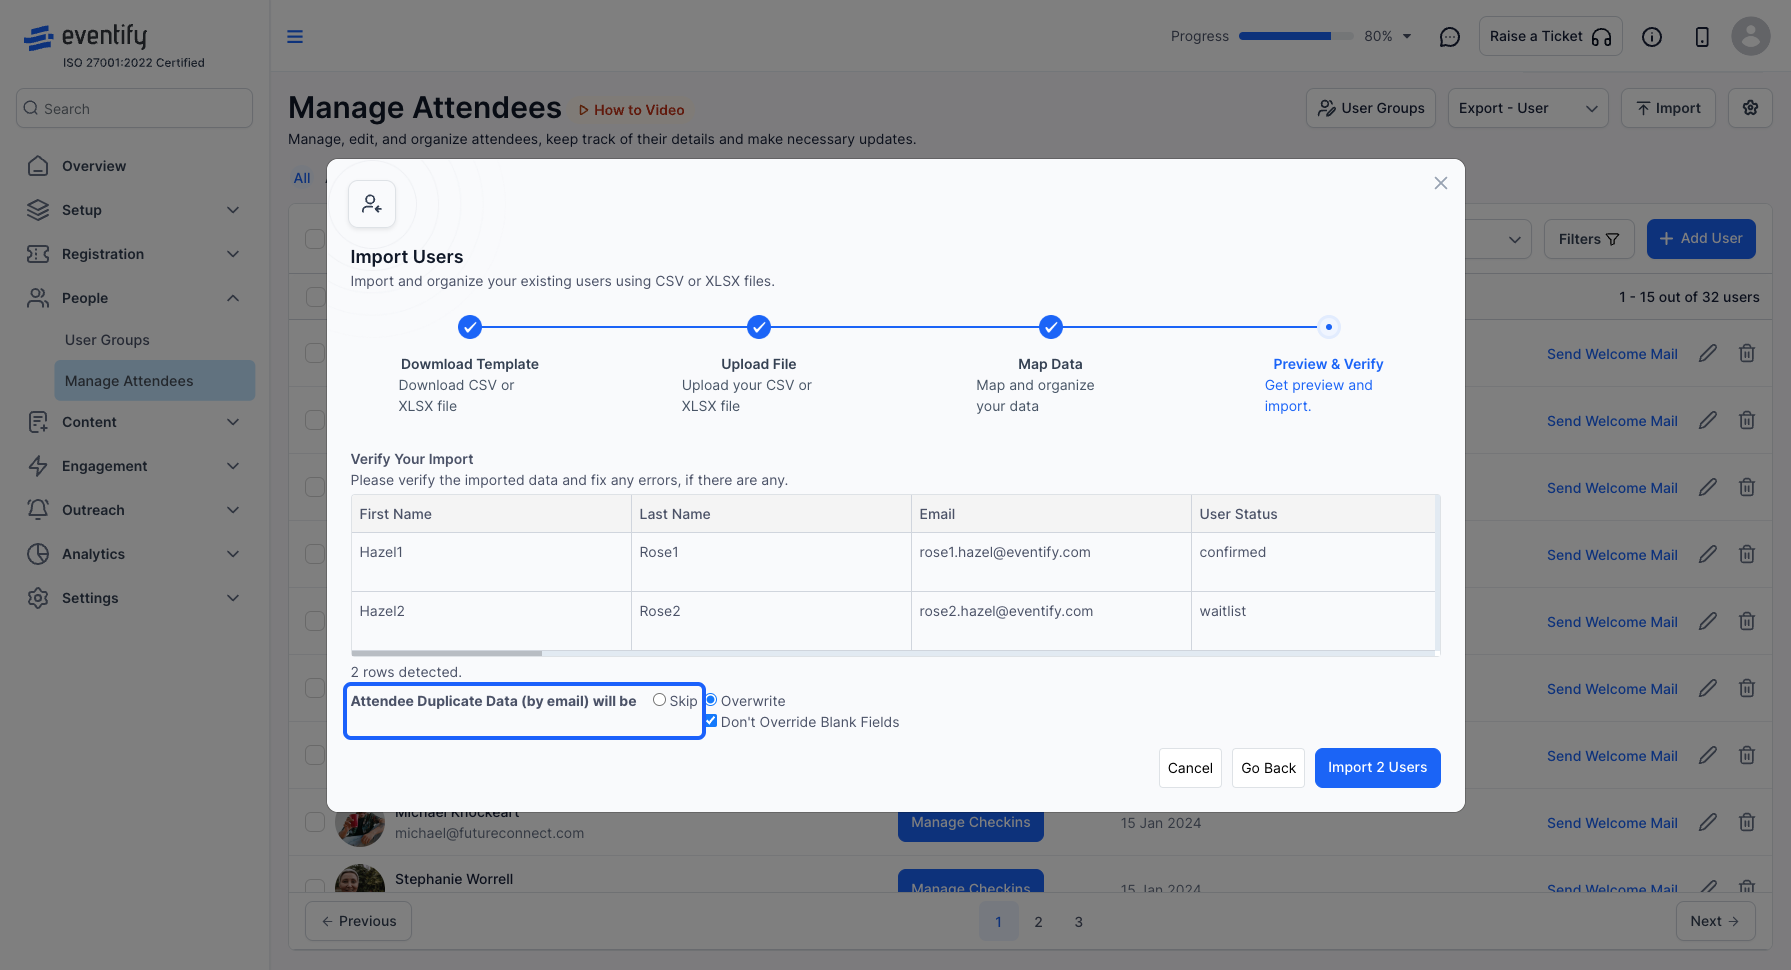
17: When your file is error free, you will get the option to Import it Make sure to check this step whether you want to overwrite the existing data or Skip overwrite to ensure proper import
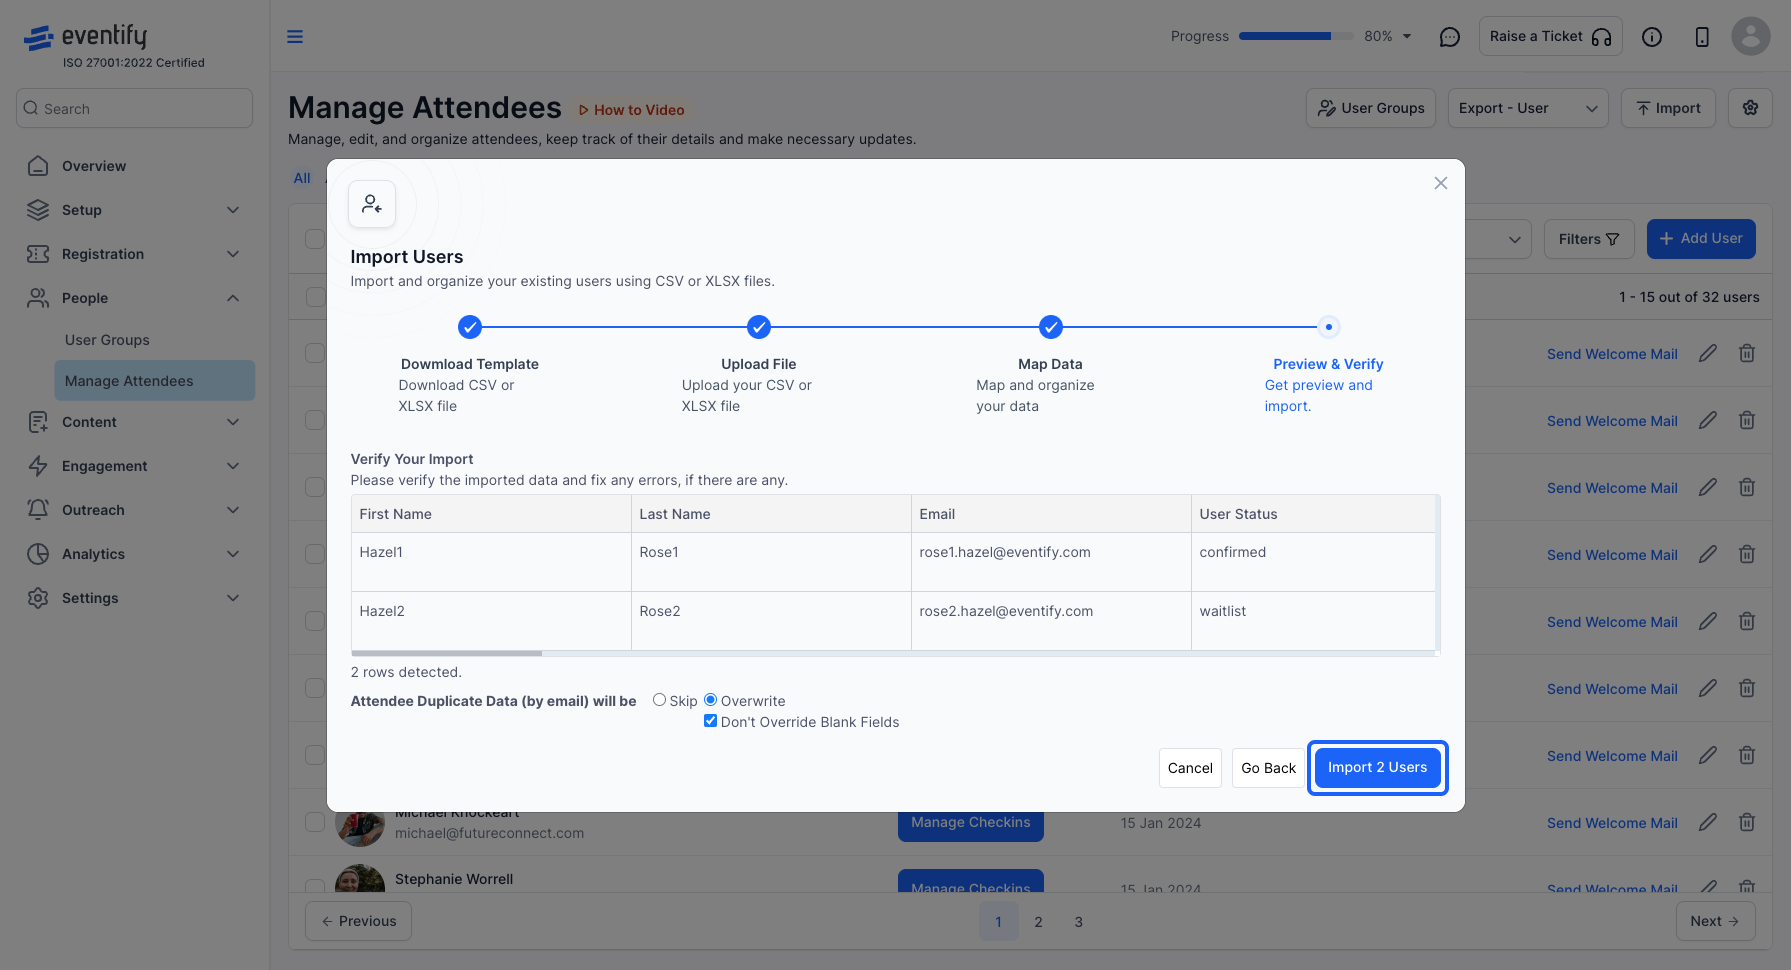
18: Click on the “Import” button to begin importing
19: You will find the imported attendees in the attendee table
