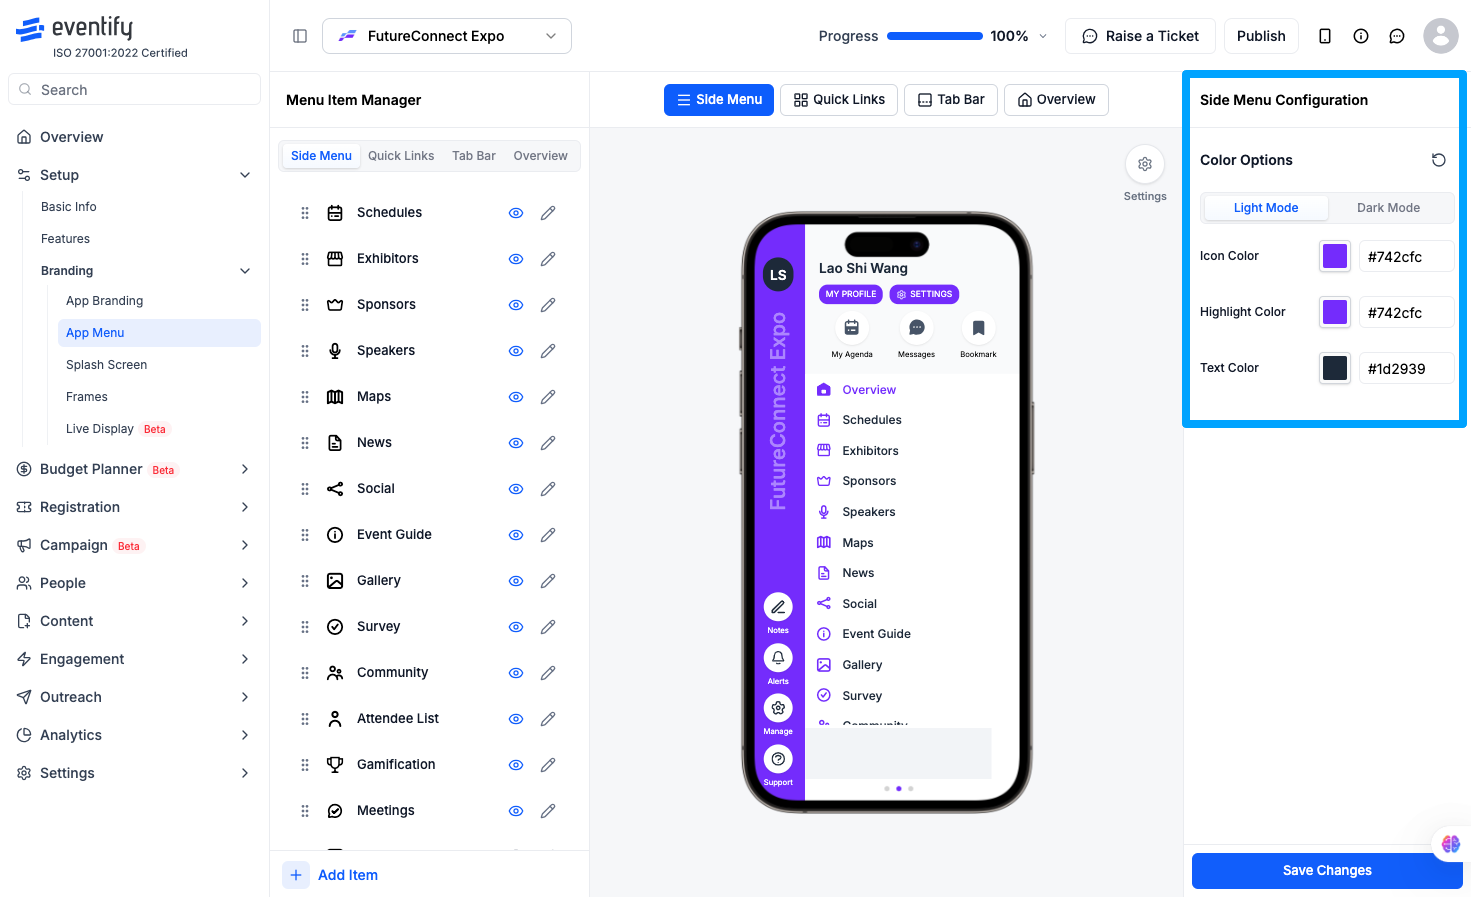
To customize the app menu, go to the Admin Panel and navigate to Setup, then Branding, then App Menu. You will land on the Menu Item Manager, which is split into four tabs across the top: Side Menu, Quick Links, Tab Bar, and Overview.
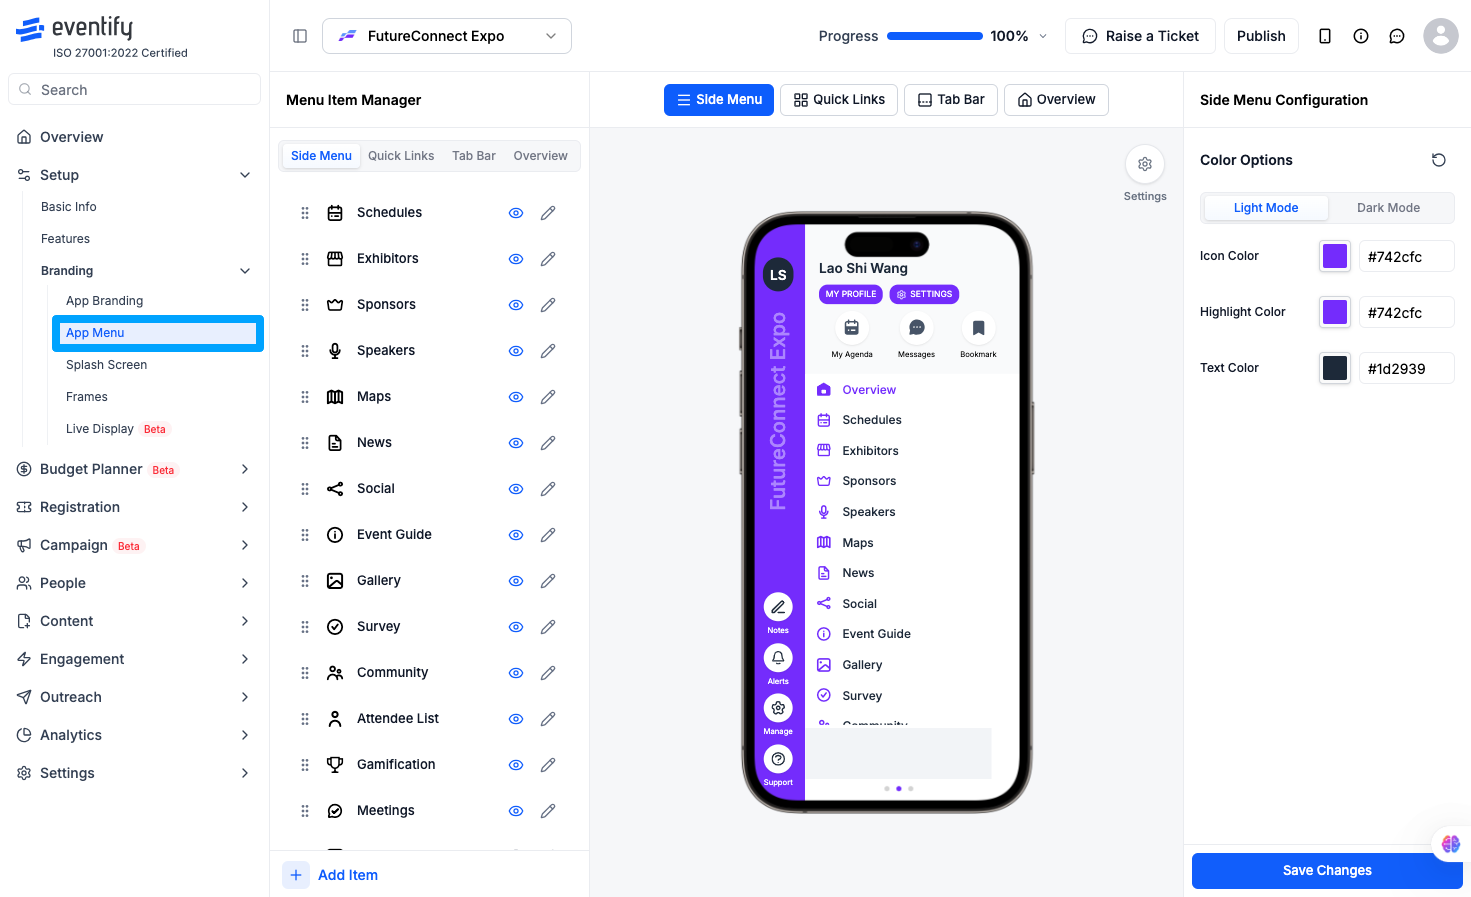
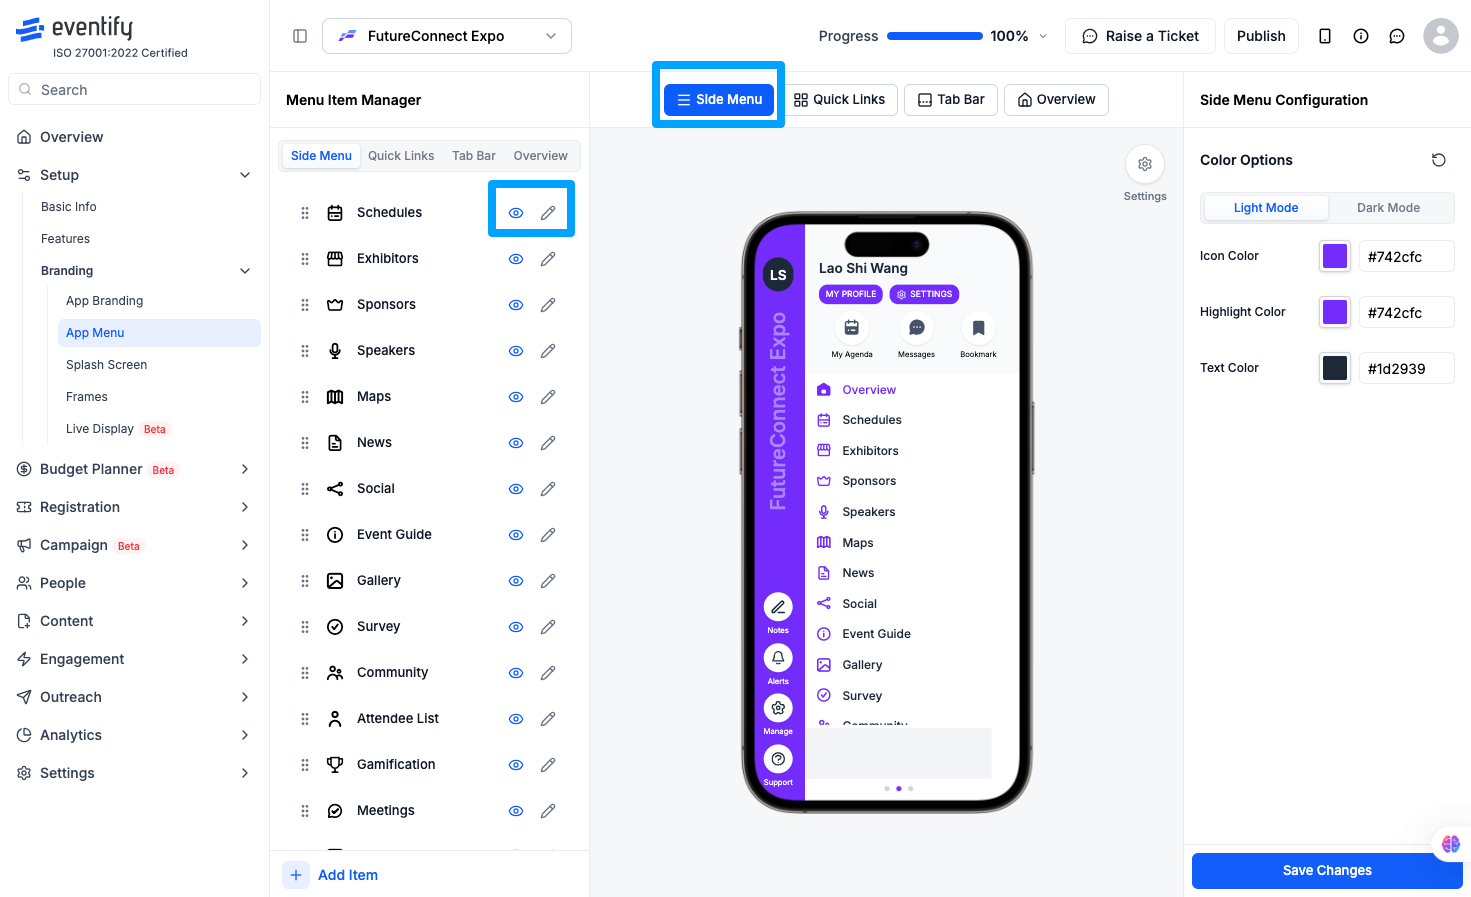
This is the main navigation your attendees use inside the app. You will see a list of all your enabled features — Schedules, Exhibitors, Sponsors, Speakers, Maps, News, Social, Event Guide, Gallery, Survey, Community, Attendee List, Gamification, Meetings, and more. Each item has an eye icon to show or hide it and a pencil icon to rename it or change its icon. You can drag items up or down to reorder them however you like. The preview in the middle of the screen updates in real time so you can see exactly how the menu will look on a phone.
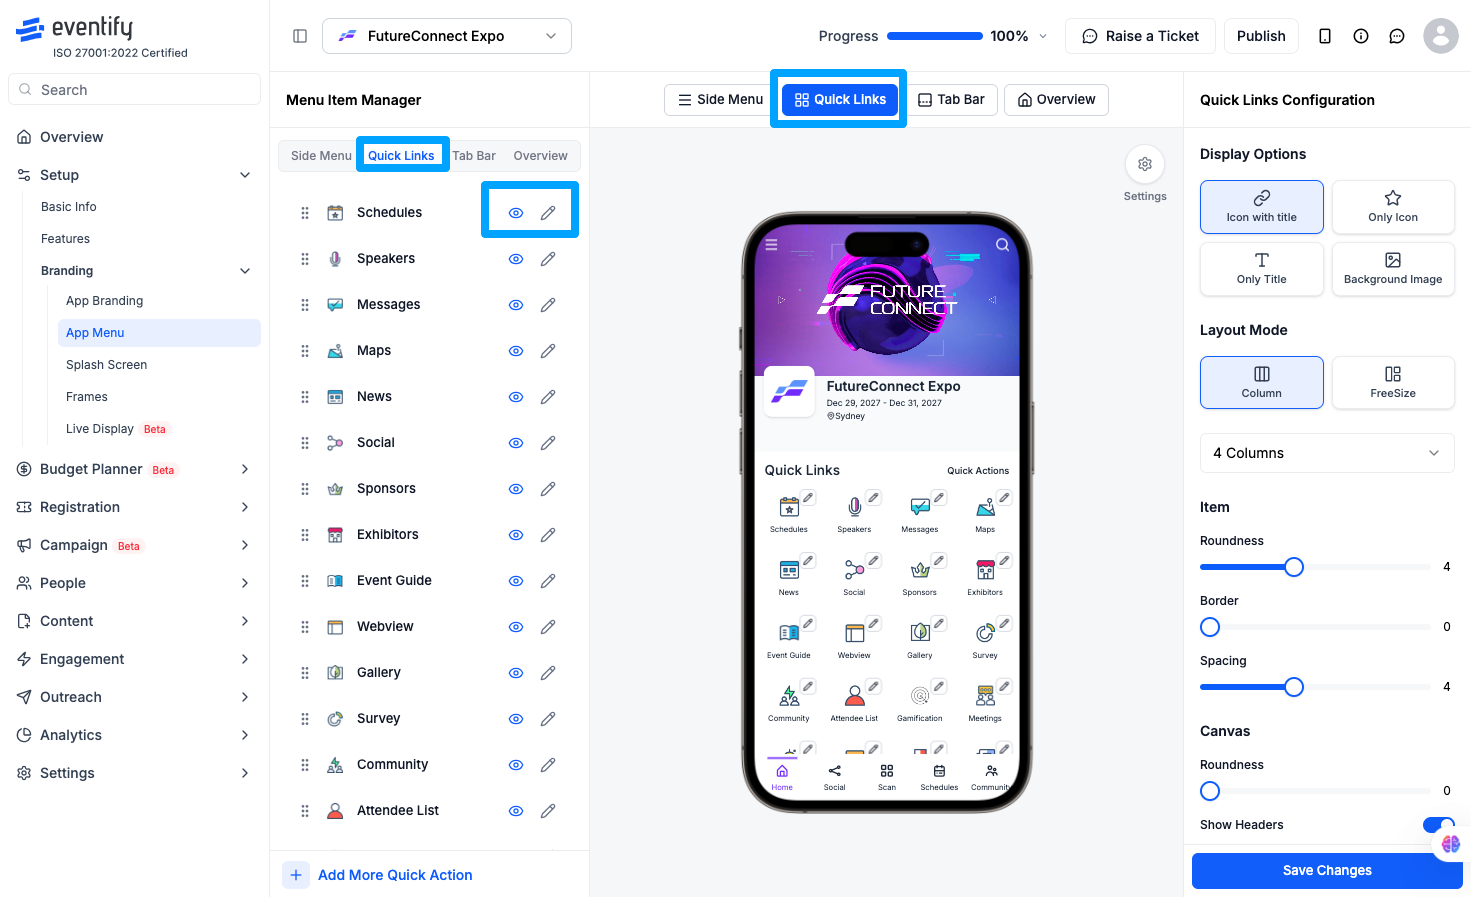
Quick links appear as shortcut icons on the home screen of the app. You can rename them, assign custom icons from your own files or the built-in library, and choose how they are laid out — one, two, three, or four columns. There is also a toggle to show or hide the border around each icon.
The tab bar sits at the bottom of the app and gives attendees fast access to a few key sections without opening the full side menu. You can edit which features appear here, rename the labels, and set custom icons for both light and dark mode.
.png)
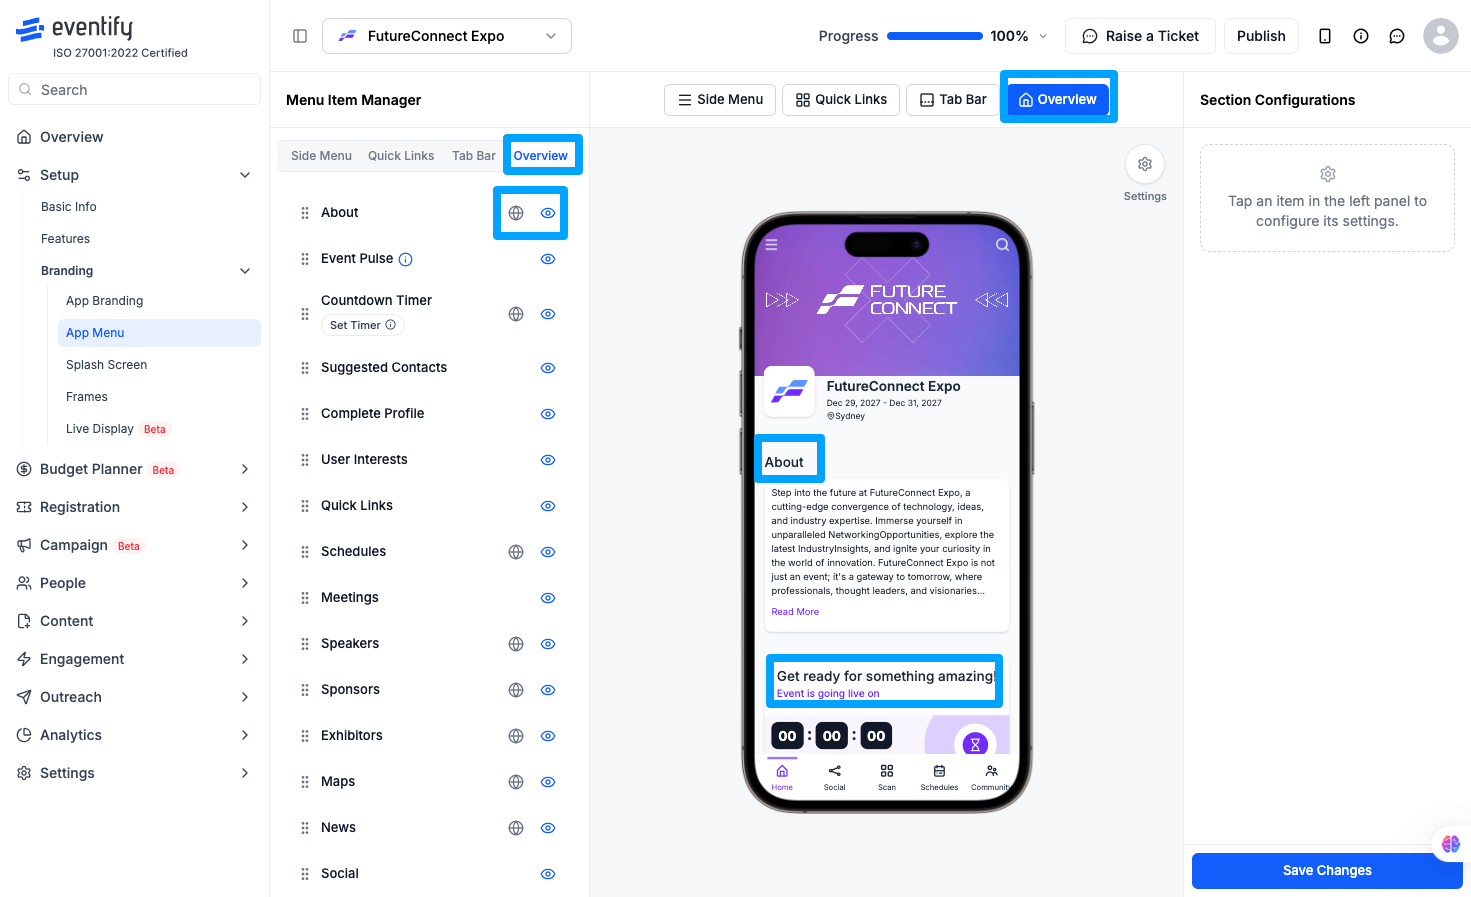
The Overview tab gives you a bird's-eye preview of how everything looks together — side menu, tab bar, and quick links — before you publish.
On the right side of the screen, under Side Menu Configuration, you can set the Icon Color, Highlight Color, and Text Color for the menu. There is also a toggle to switch between Light Mode and Dark Mode so you can check how the colors look in both.
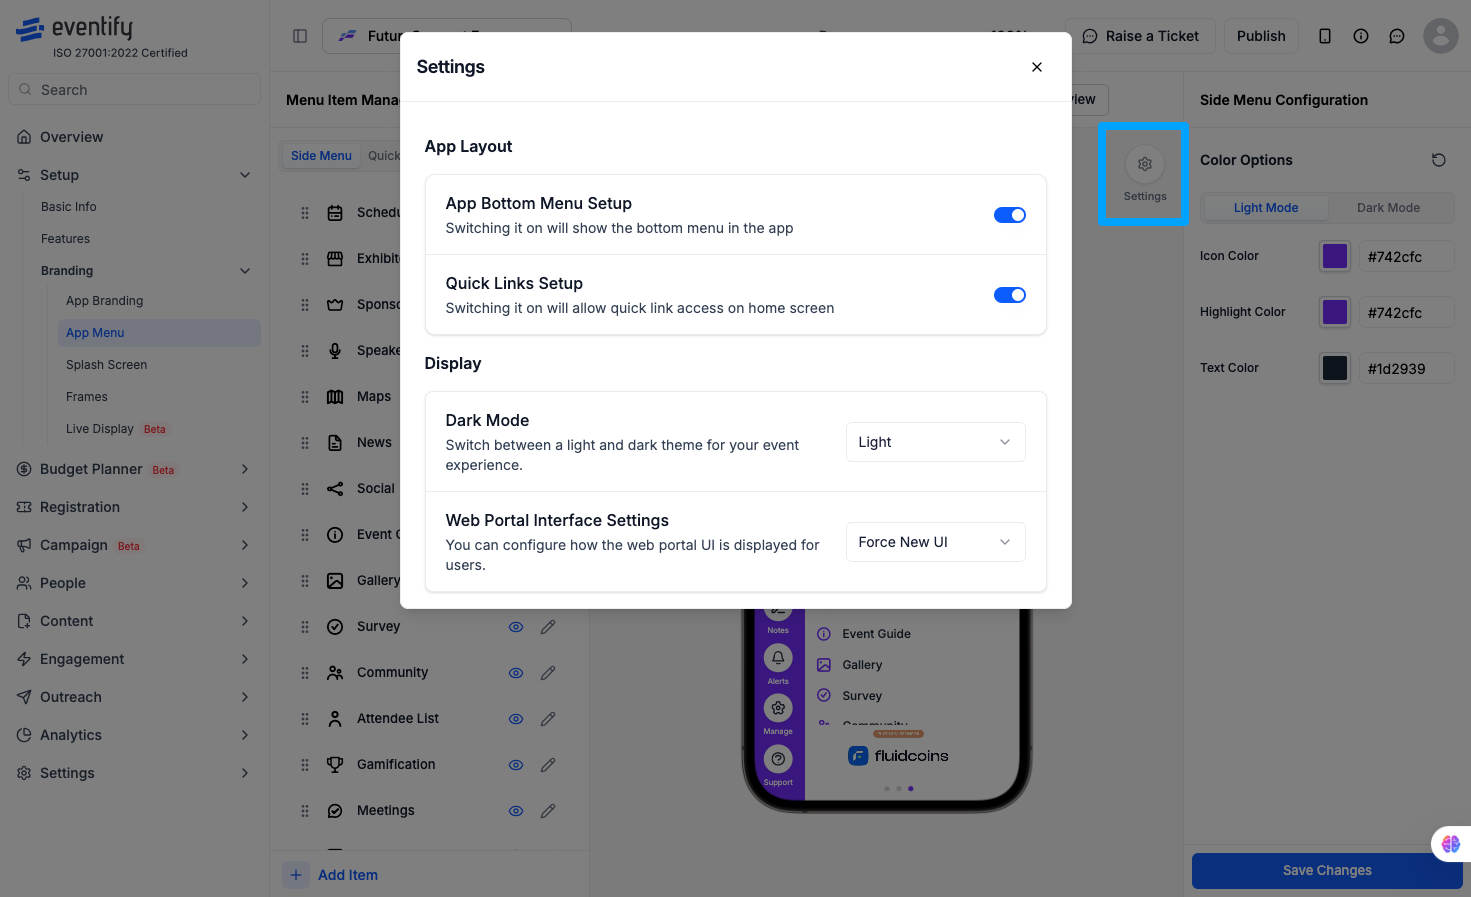
Click the Settings icon on the Side Menu screen to open the Settings panel. It has two sections: App Layout and Display.
Under App Layout, you have two toggles. The first one is App Bottom Menu Setup — turning this on will show the bottom menu in the app. The second is Quick Links Setup — turning this on allows quick link access on the home screen.
Under Display, there are two options. Dark Mode lets you switch between a light and dark theme for your event. Web Portal Interface Settings lets you configure how the web portal UI is displayed for users, with options like Force New UI available from the dropdown.
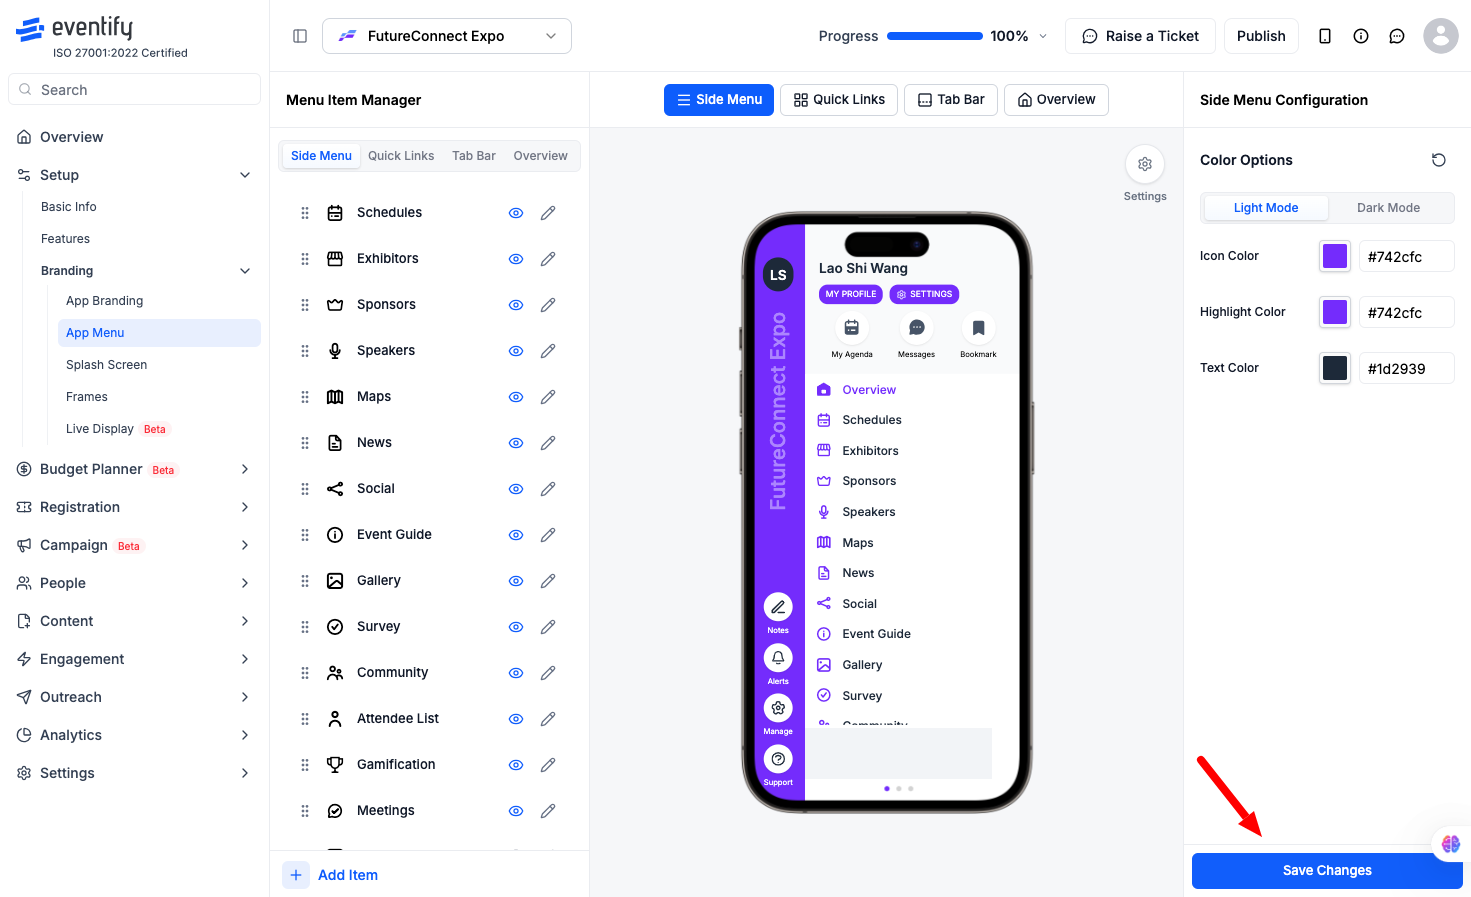
When you are done making changes, click Save Changes in the bottom right corner.
Q: Where do I find the app menu settings?
Go to the Admin Panel, then Setup, then Branding, then App Menu.
Q: What is the difference between the Side Menu and the Tab Bar?
The side menu is the full navigation list that opens when attendees tap the menu. The tab bar is the fixed shortcut row at the bottom of the screen showing a few key sections at all times.
Q: Can I reorder menu items?
Yes. Just drag and drop items into the order you want. The live preview on screen updates as you go.
Q: Can I hide certain menu items without deleting them?
Yes. Each item has an eye icon. Clicking it toggles the item on or off without removing it from your list.
Q: Can I use my own icons?
Yes. You can upload your own icon files or pick from the built-in library. You can set separate icons for light and dark mode.
Q: How do I change the menu colors?
On the right side of the App Menu screen, under Side Menu Configuration, you will find color pickers for the icon color, highlight color, and text color.
Q: How do I enable or disable the bottom menu and quick links?
Click the Settings icon on the Side Menu screen. Under App Layout, you will find toggles for both App Bottom Menu Setup and Quick Links Setup.
Q: Can I switch between light and dark mode for the app?
Yes. In the Settings panel under Display, use the Dark Mode dropdown to switch between Light and Dark themes.
Q: Do changes go live immediately after saving?
Yes. Once you click Save Changes, the updated menu is applied to the app right away.
