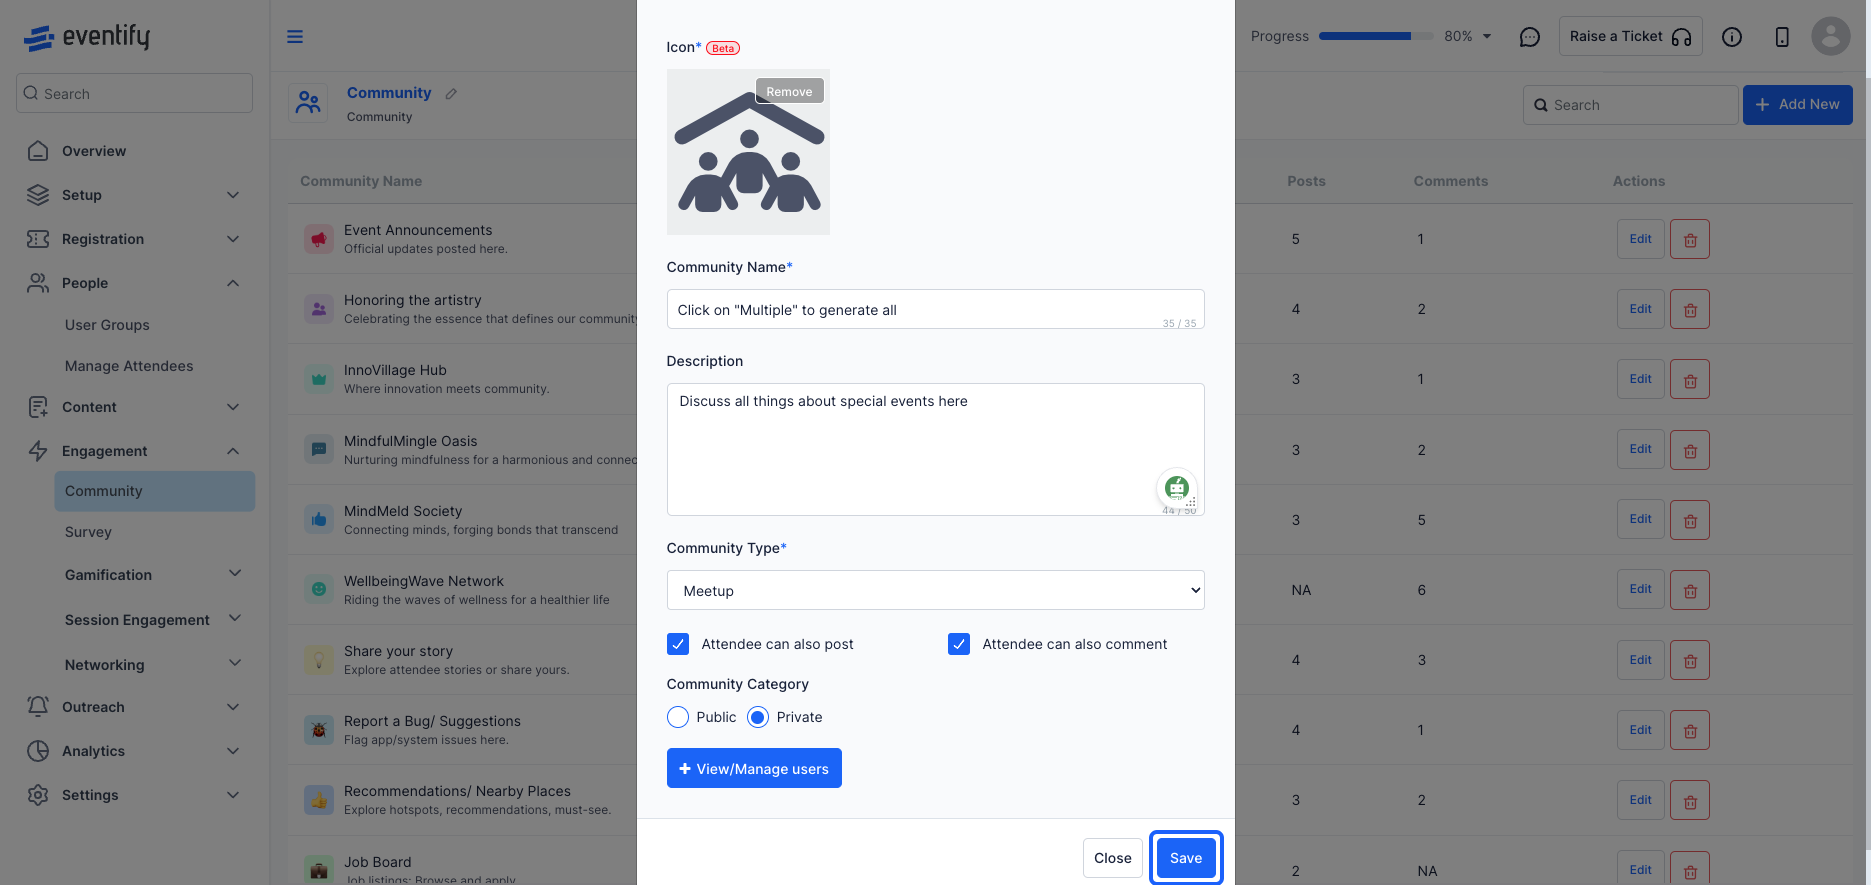
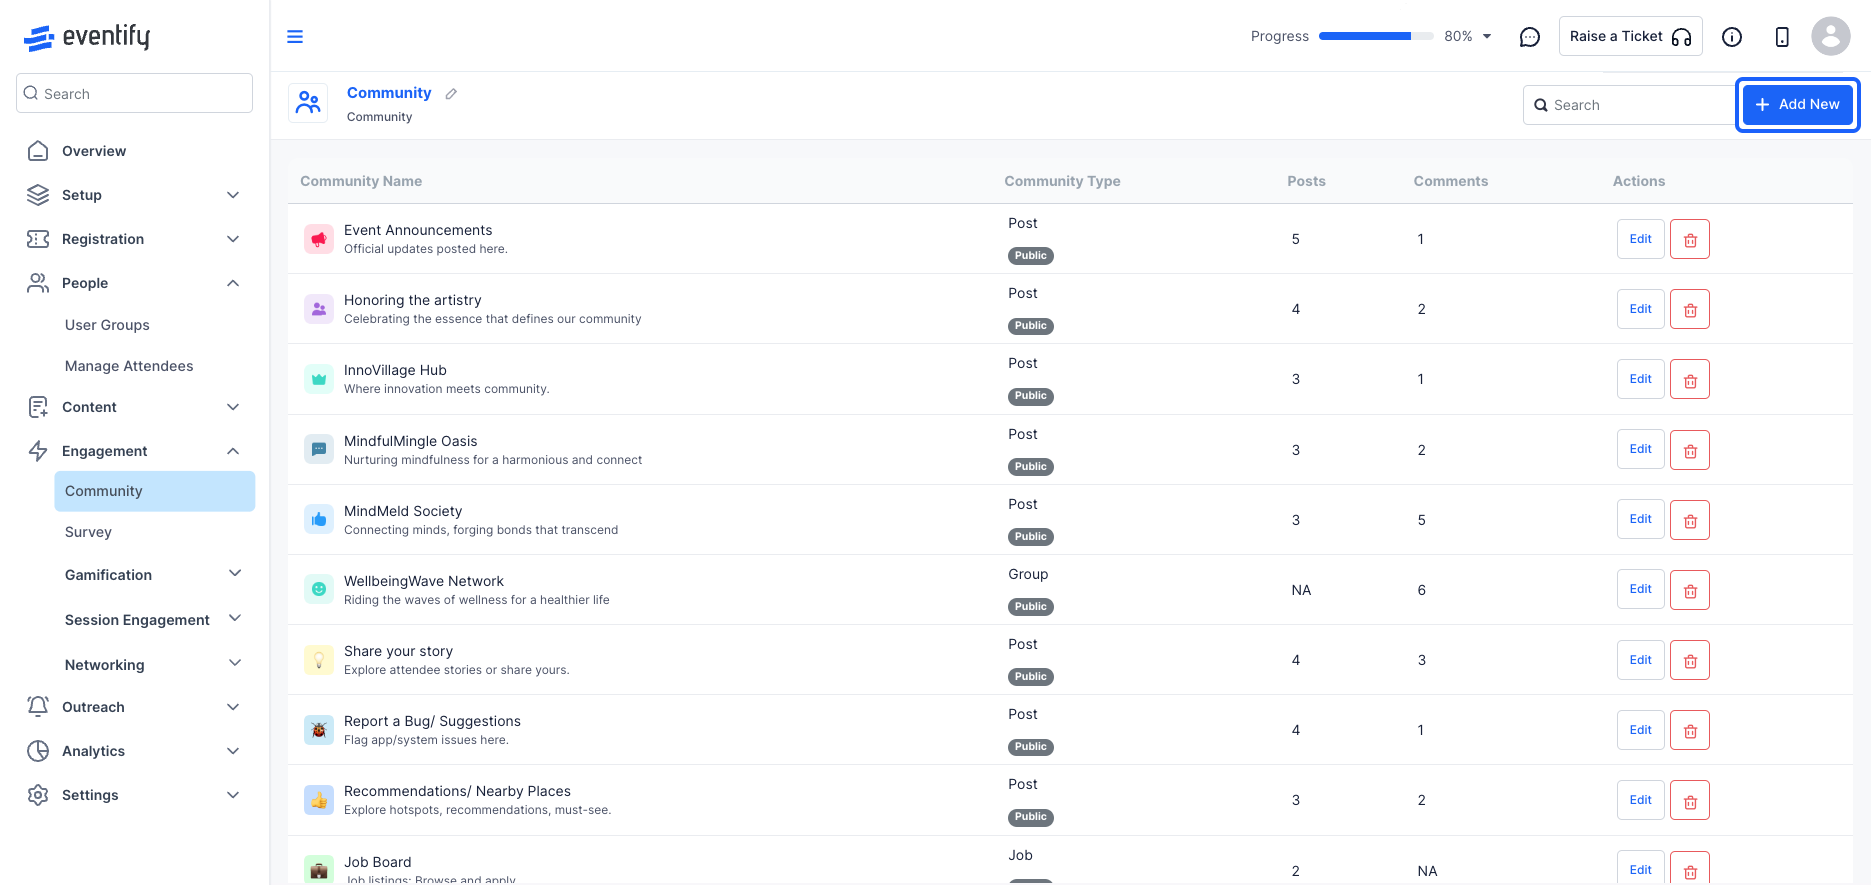
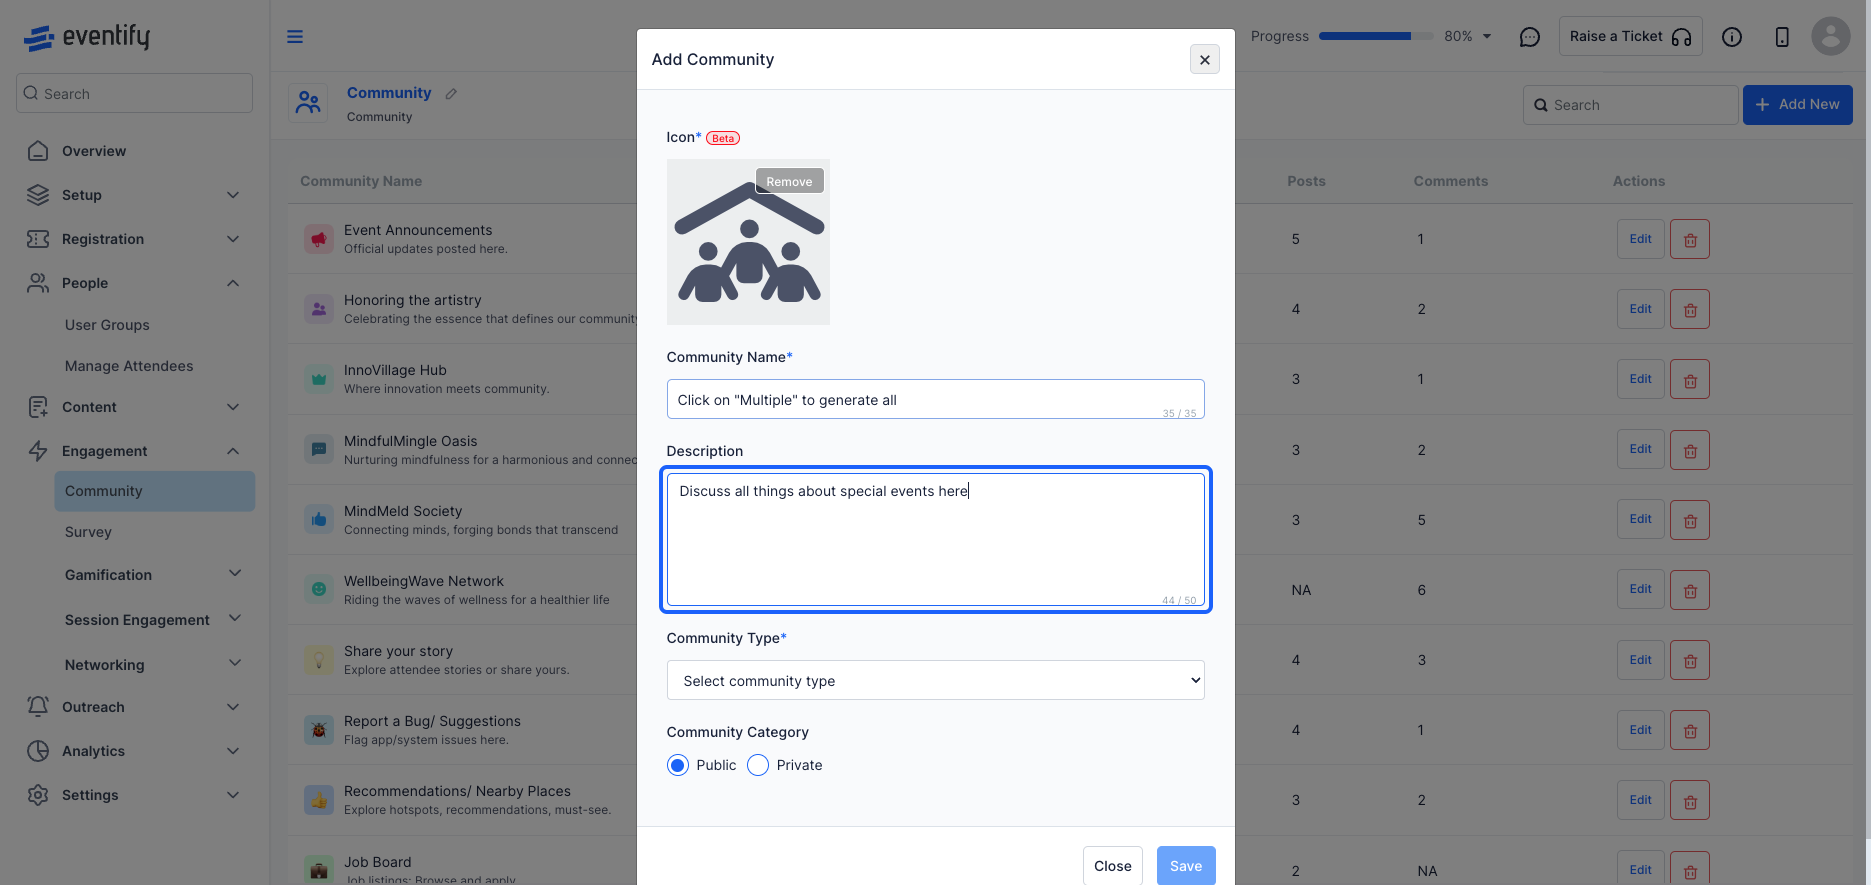
Communities help foster meaningful interactions by enabling features like job postings, meetups, and ice-breaking among attendees with shared interests. Follow the steps below to create and manage a community
Step-by-step guide for accessing and using the content community features in the Eventify Admin dashboard.


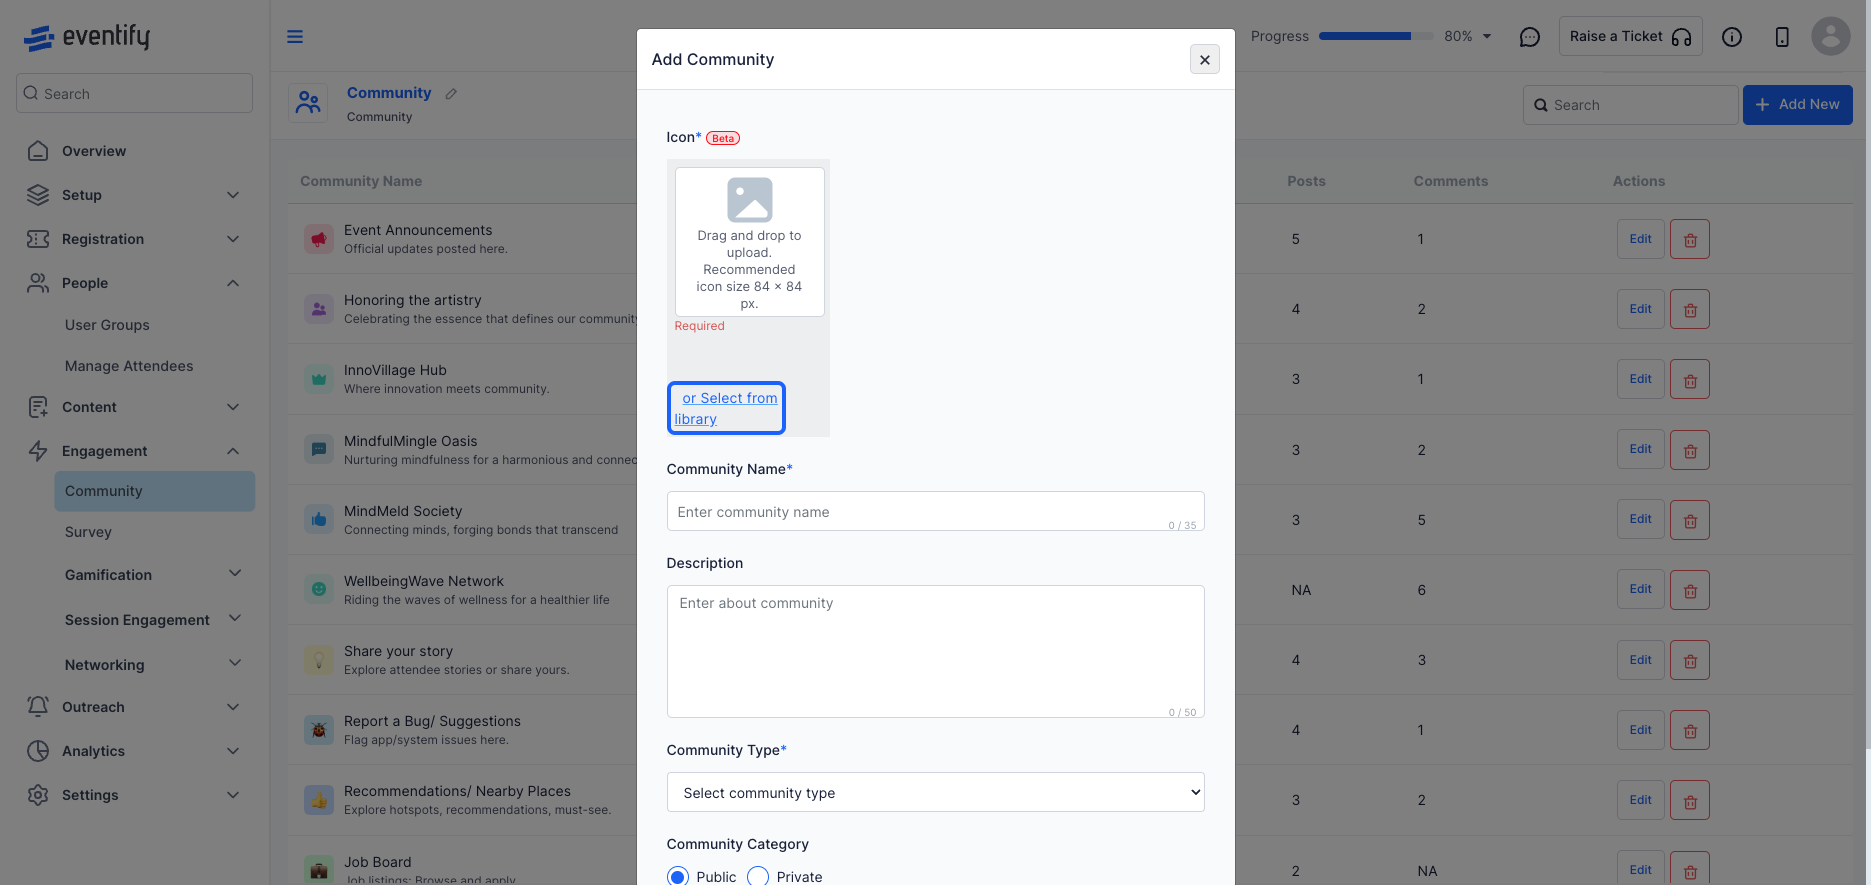
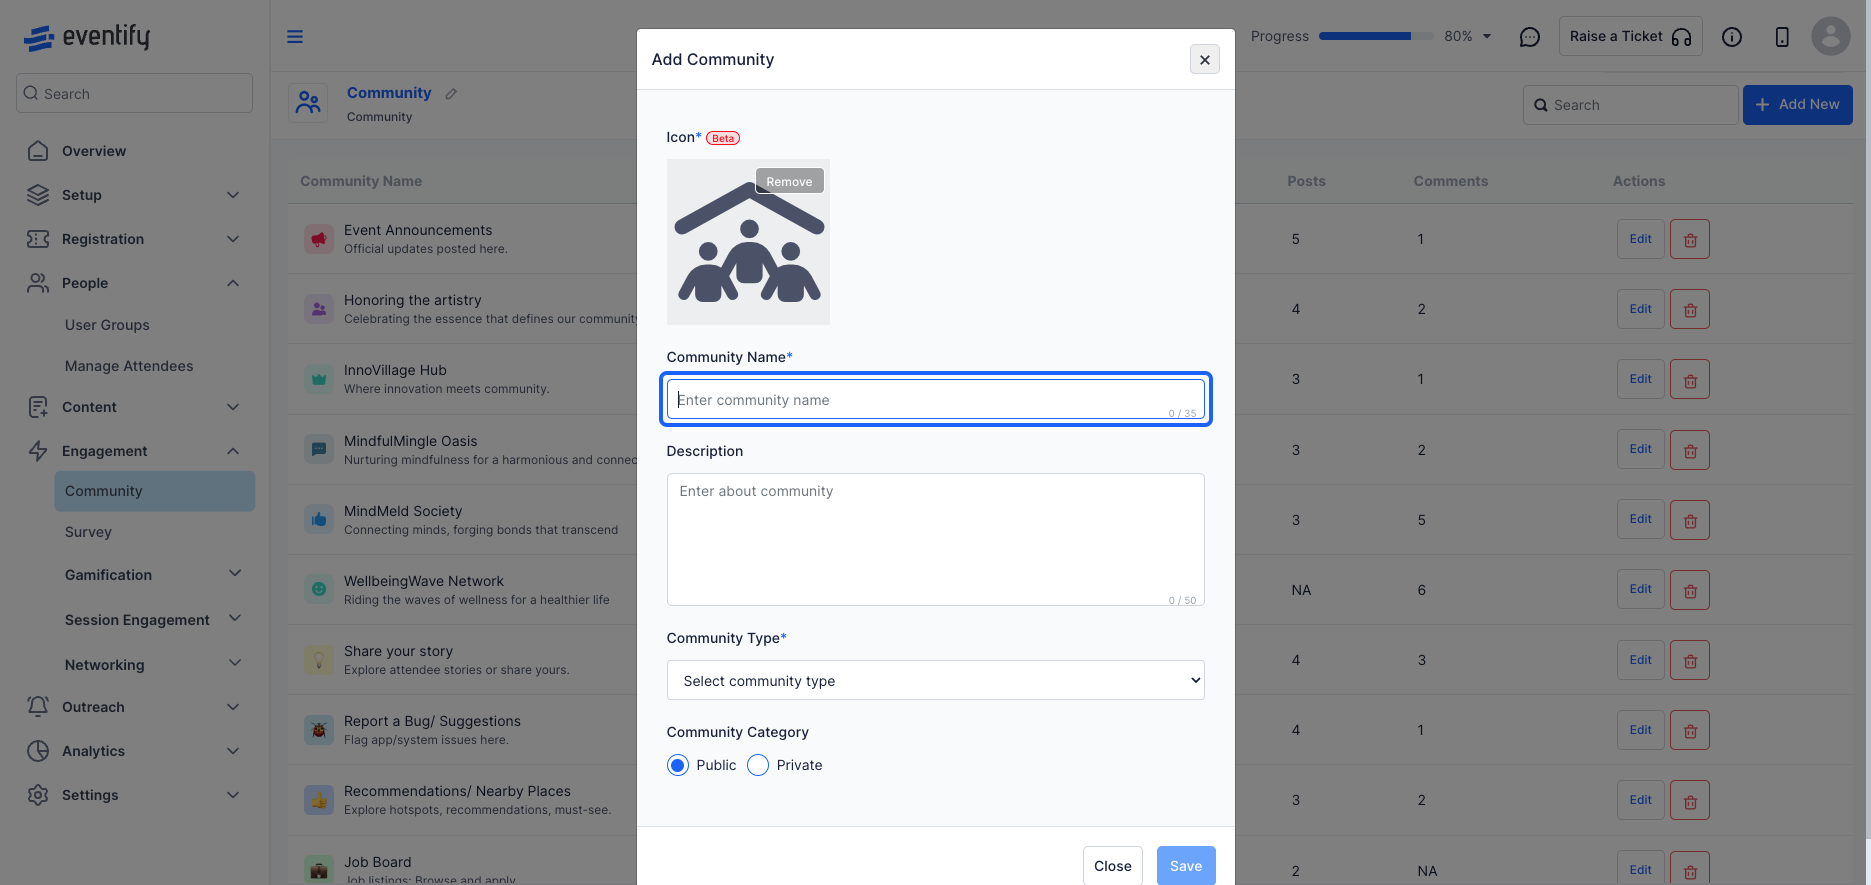
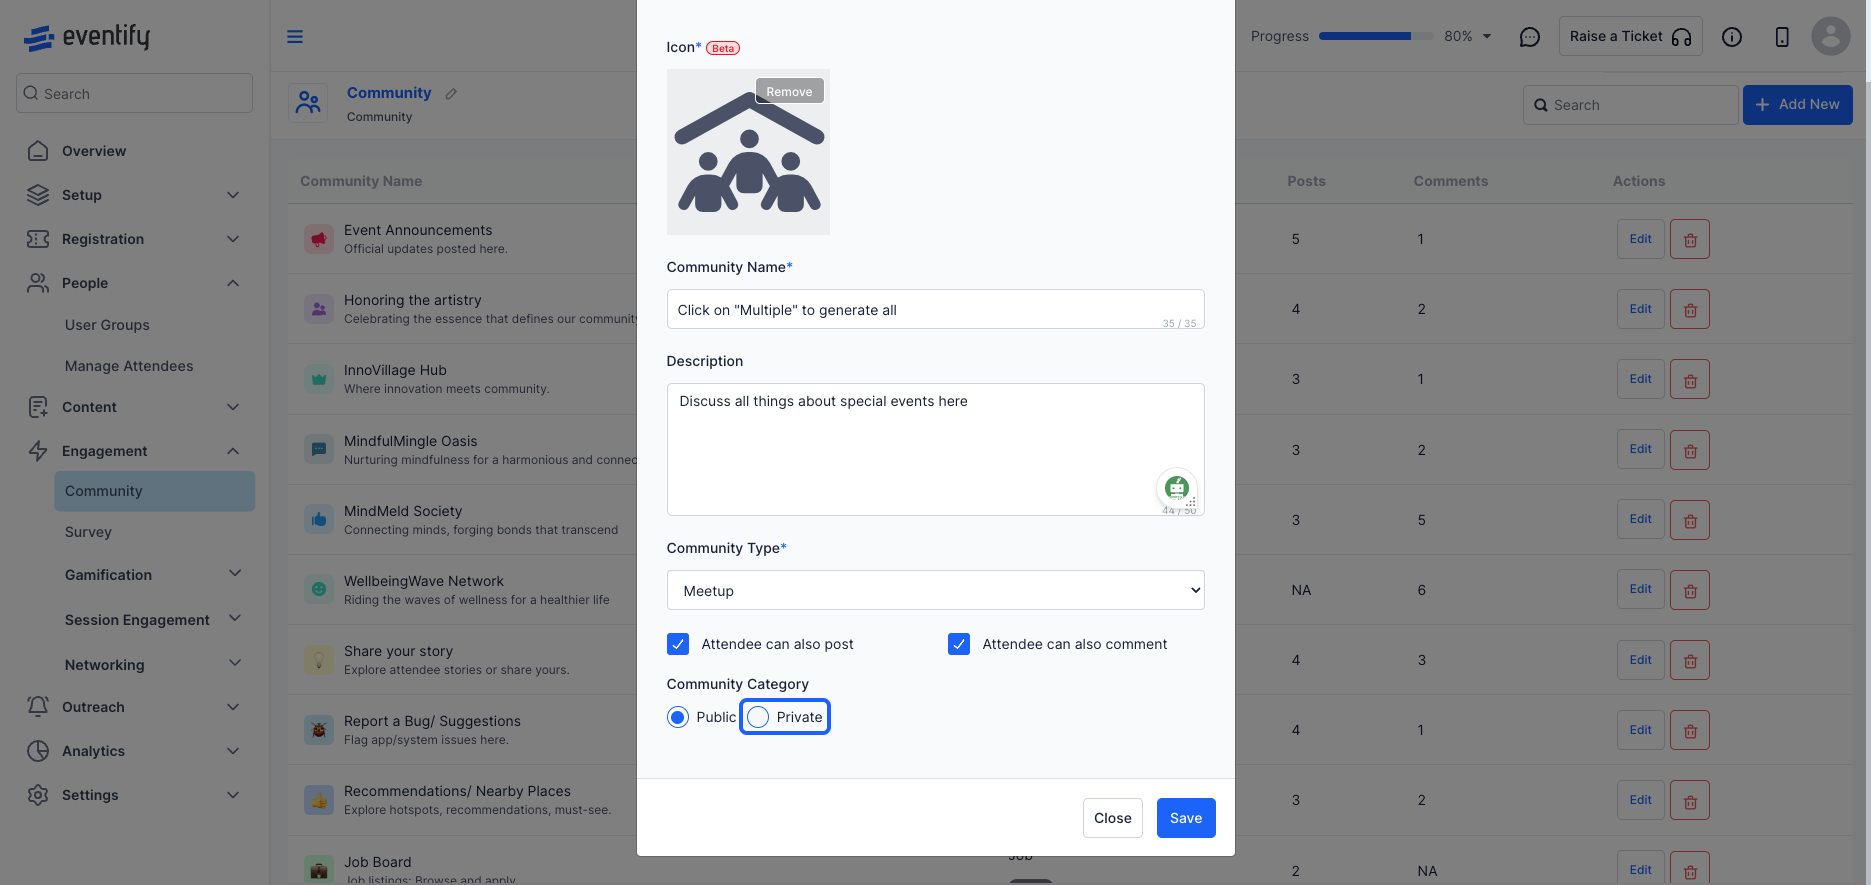
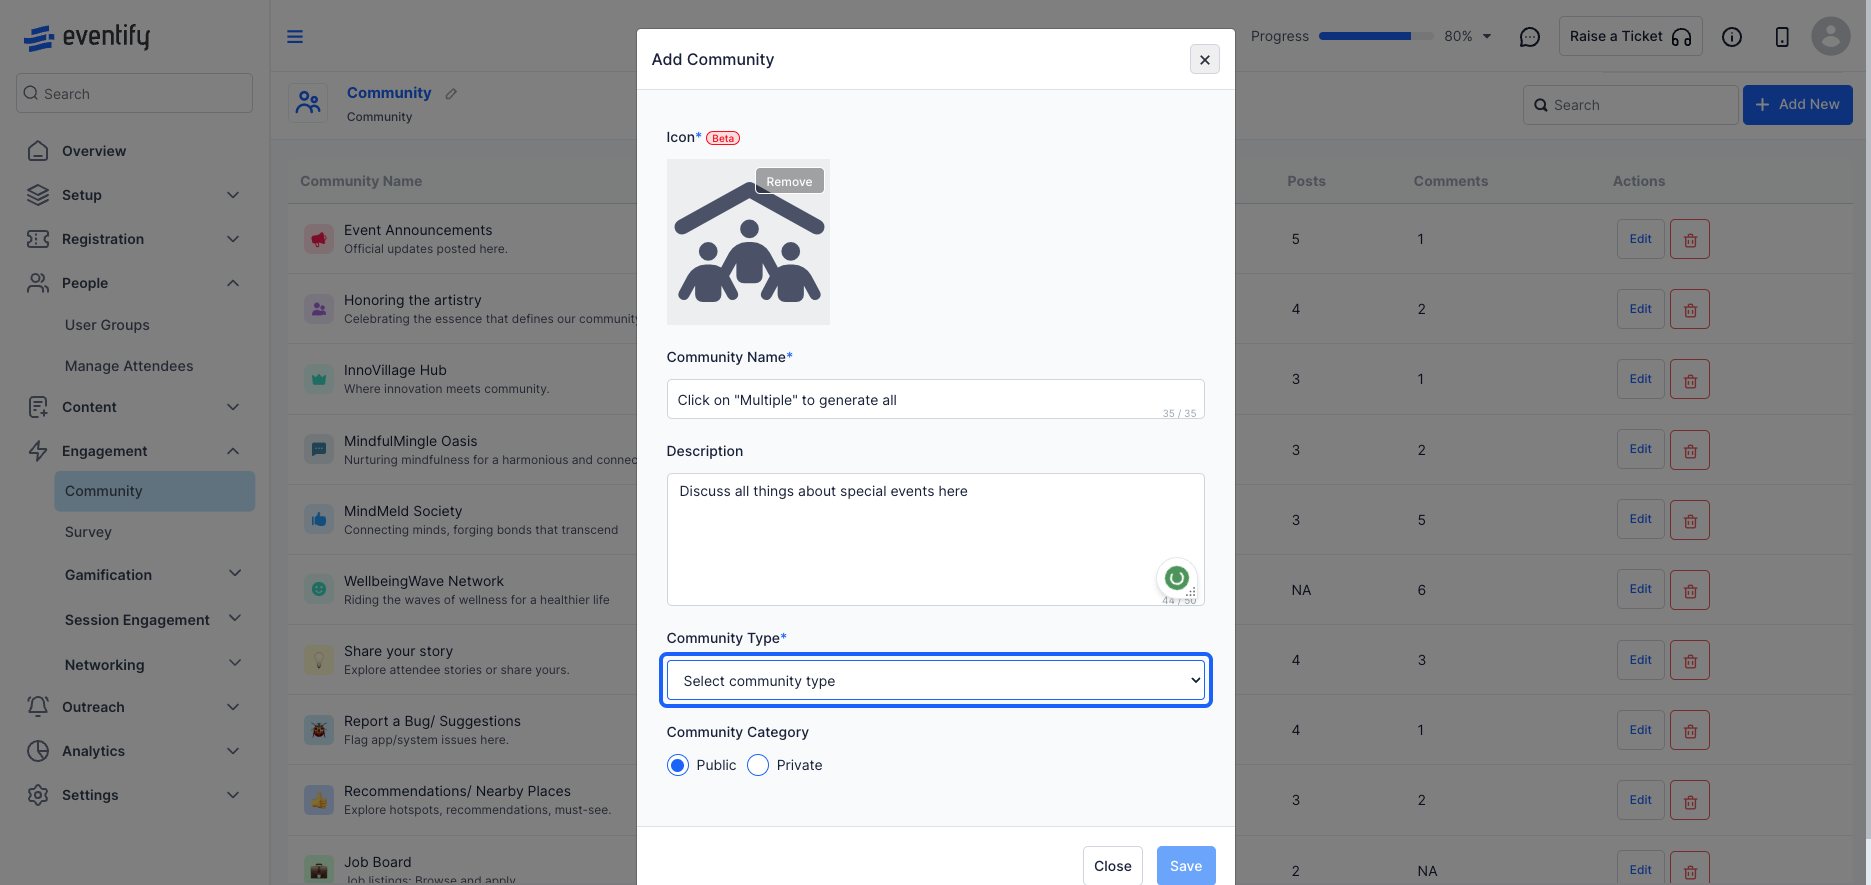
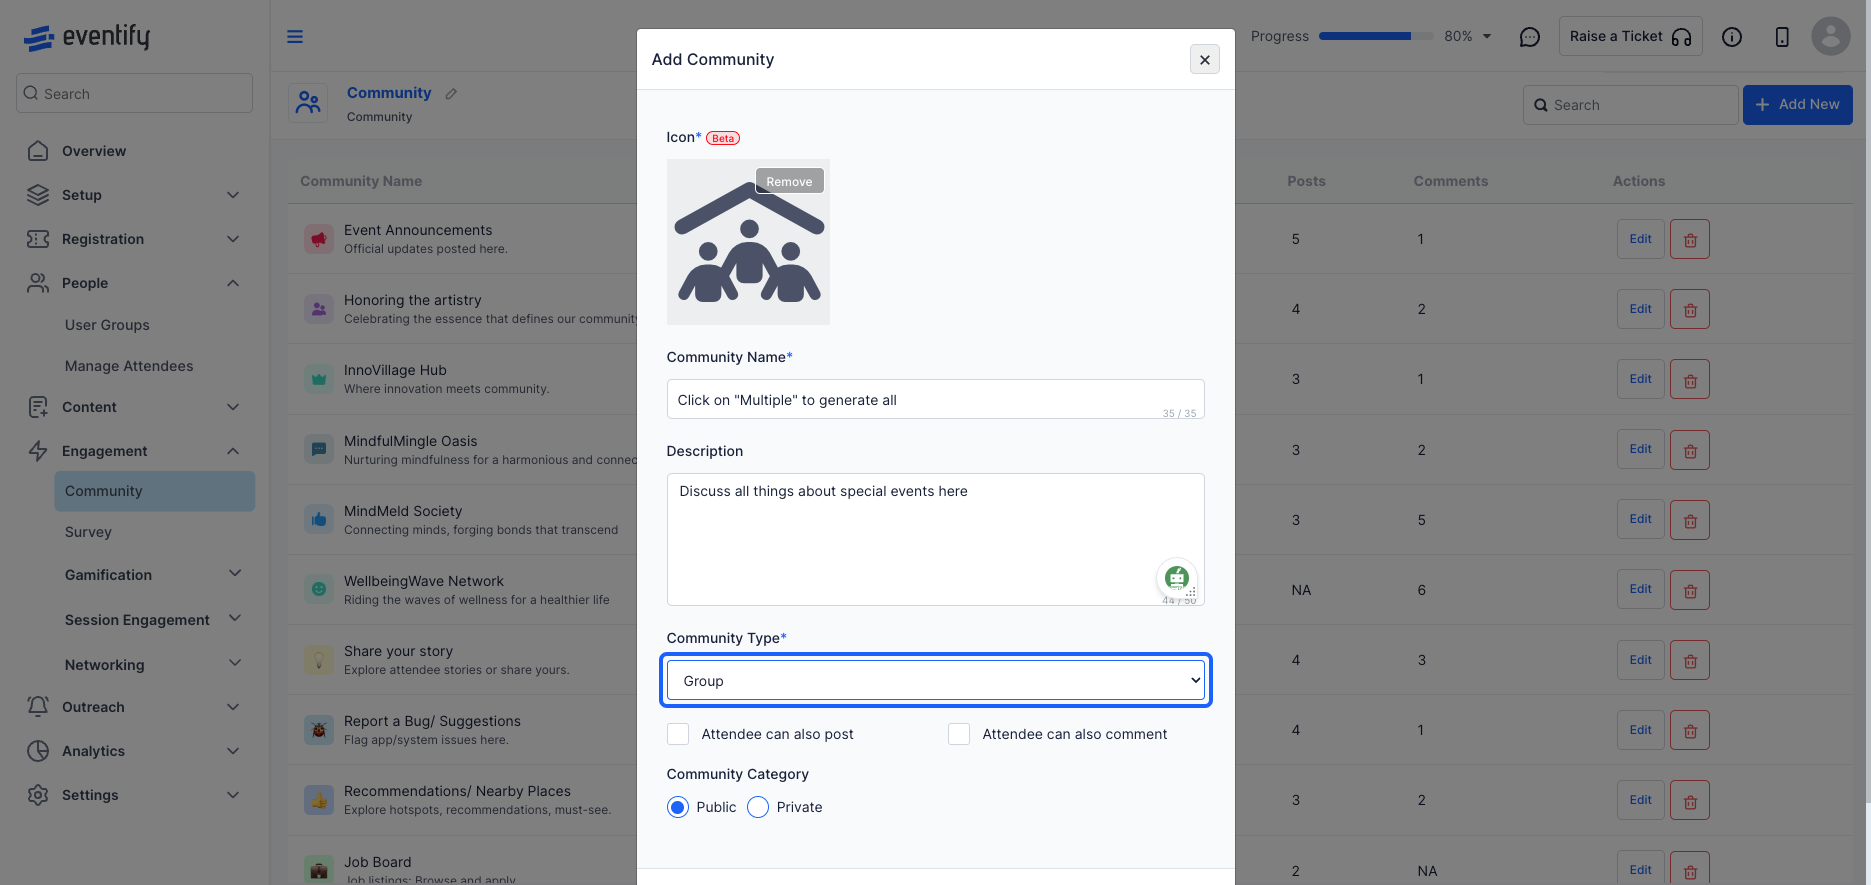
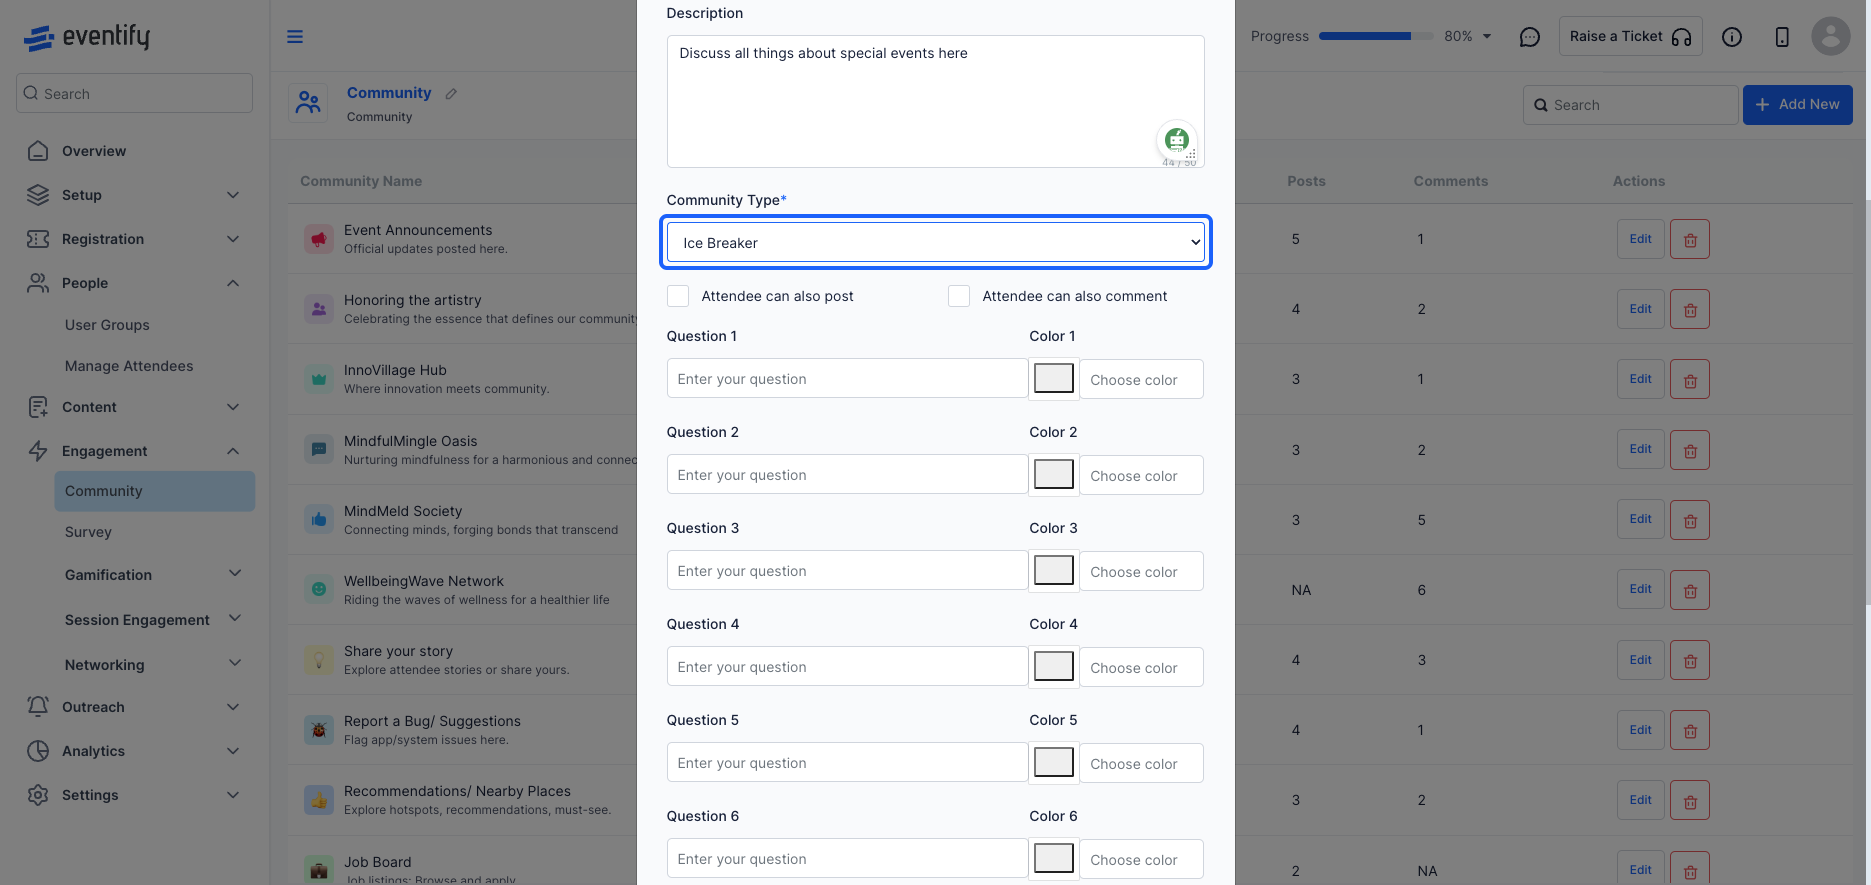
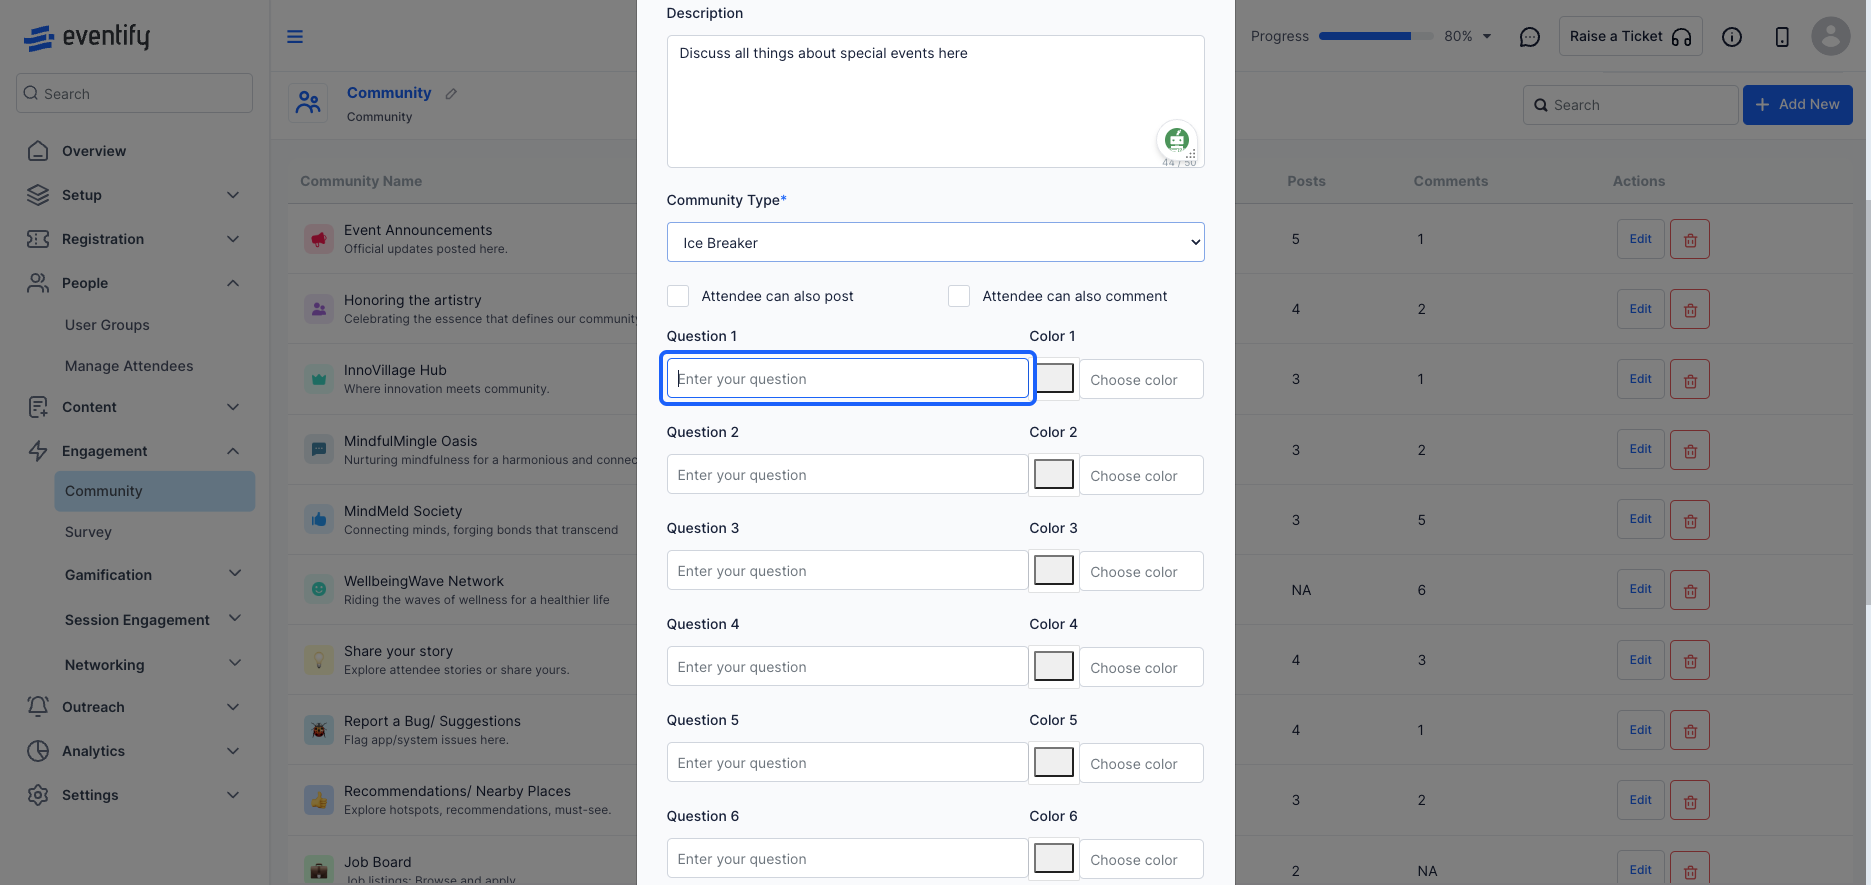
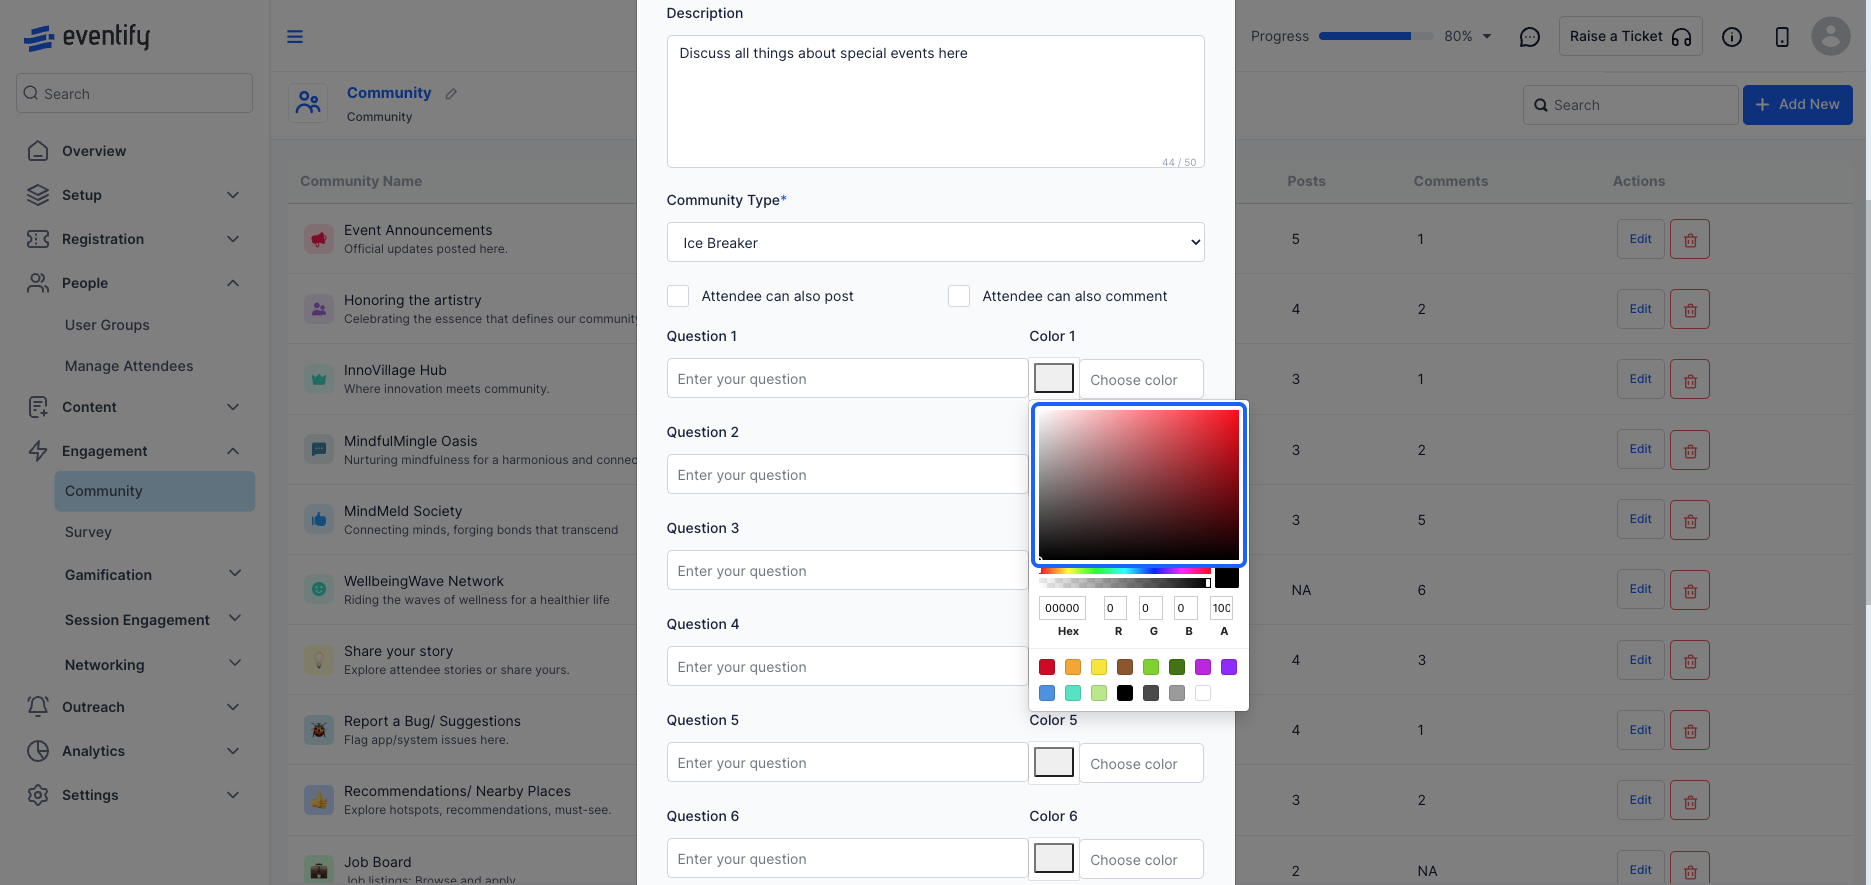
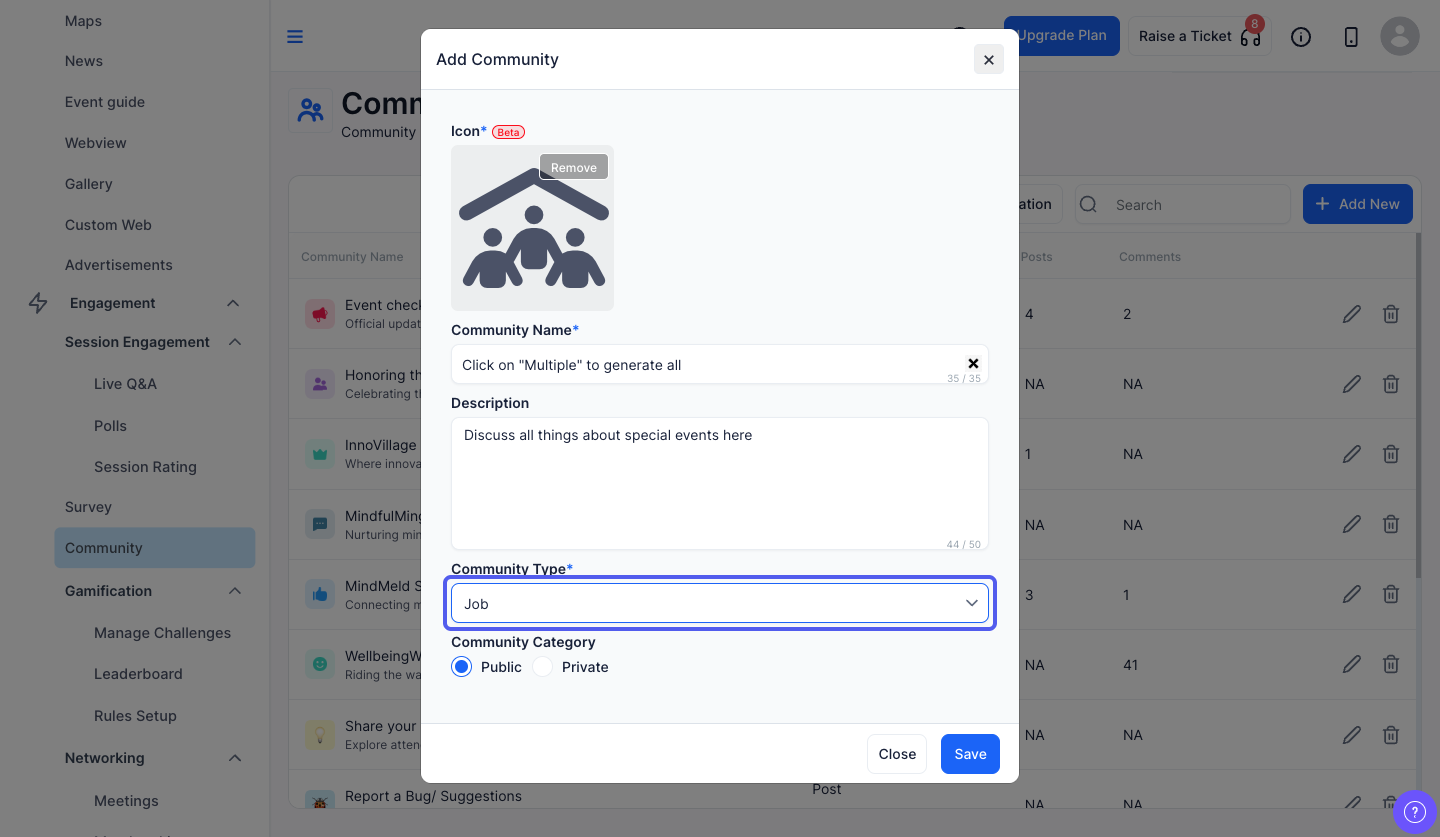
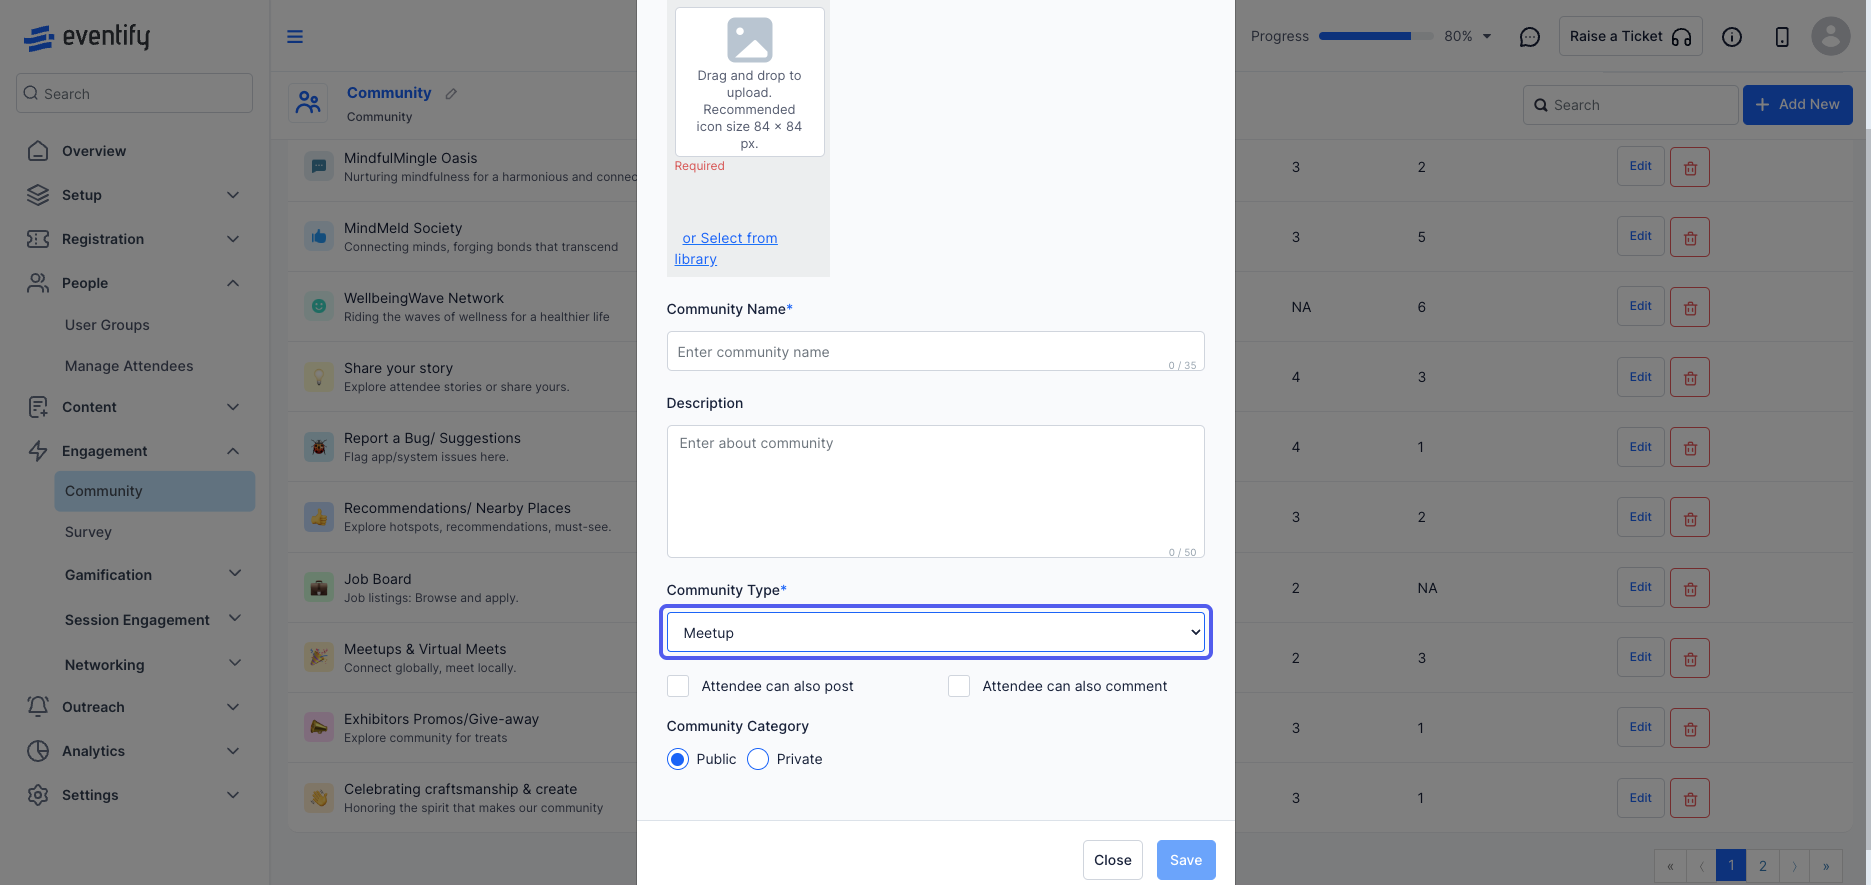
Select the community type from the drop-down menu.
To post about a specific topic with some details. These posts can be followed, liked and commented on by others.

Here members can reply to topic posts created by admin in order to contribute to the discussion.
Here, member can introduce themselves by replying to some set of questions.
Here, user groups with permission to create job posts can add job listings, and all members can apply to them
Here, members can plan any general meetup, and other people can RSVP it to join that meetup.
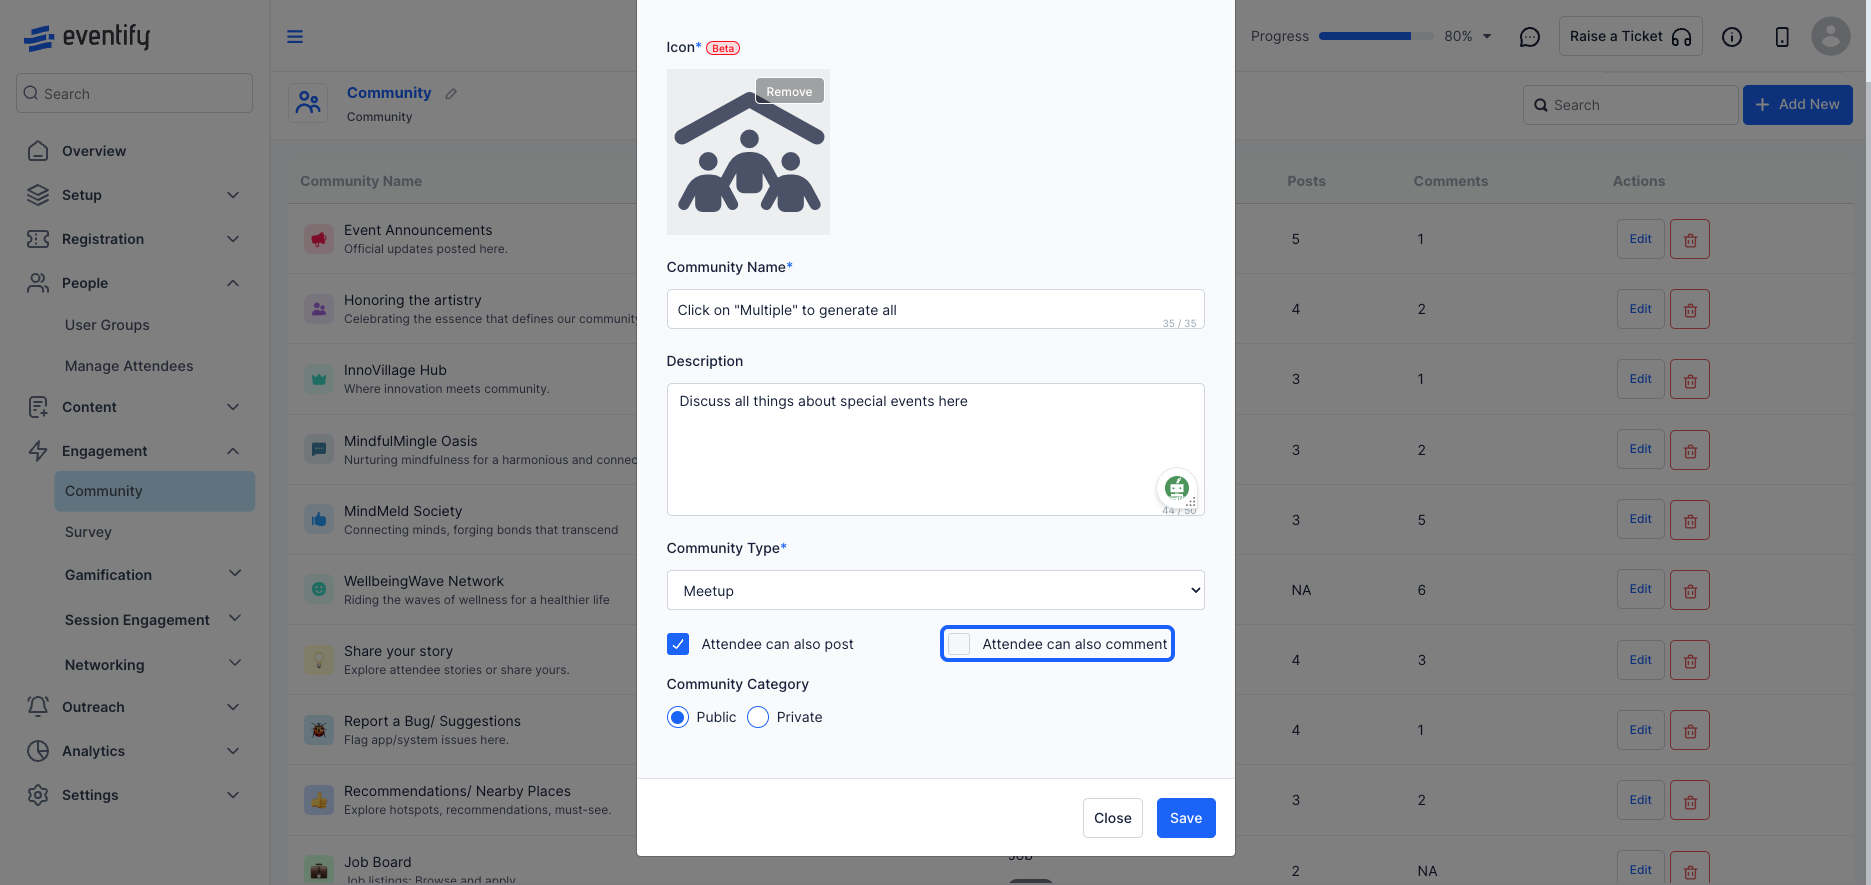
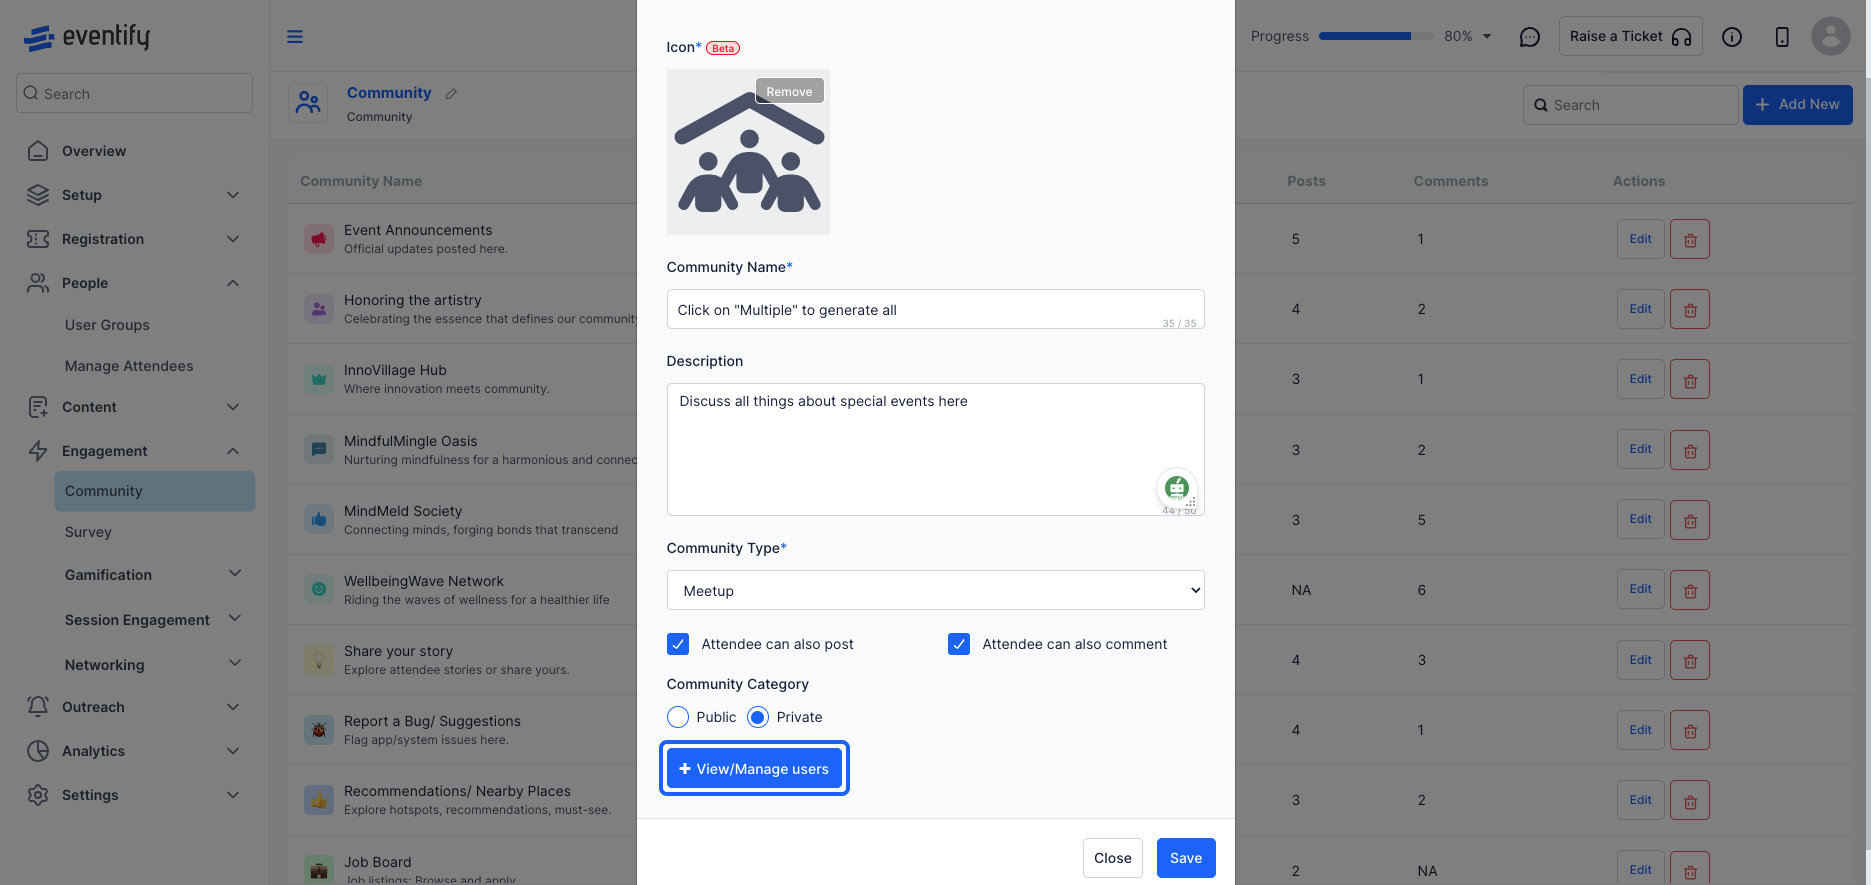
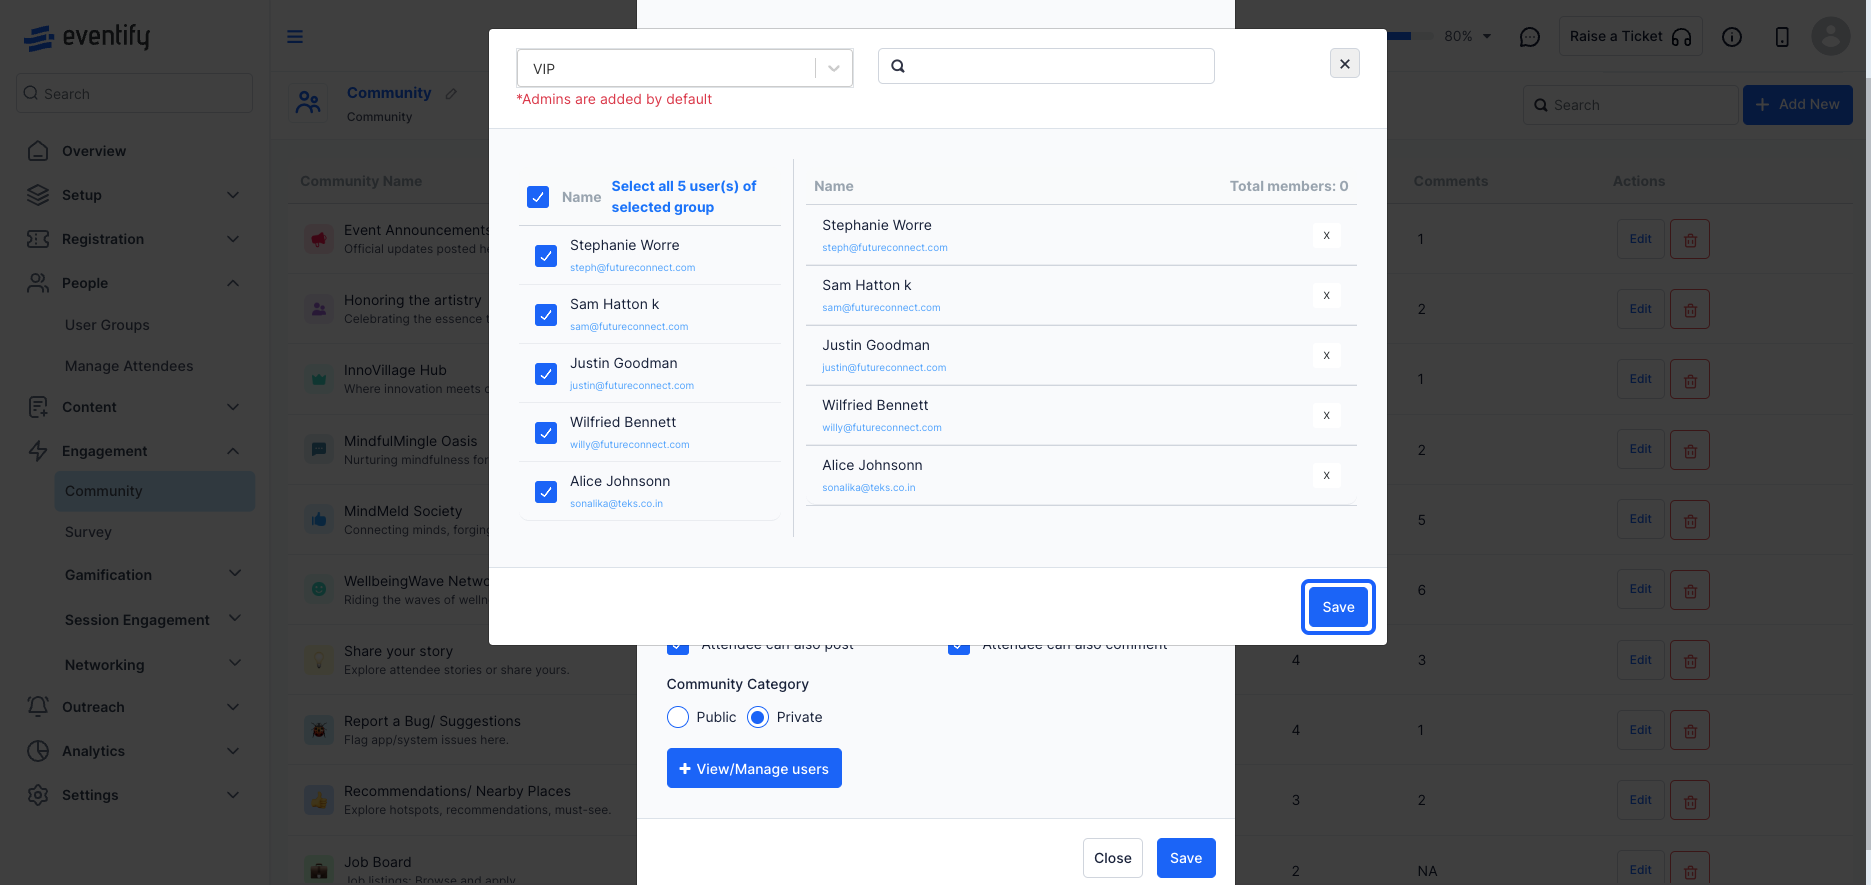
For private community, user needs to send a request, and if the host accepts, then only the user will be allowed to access the community.
For public community everyone can participate.