If your event includes special guests who do not need to purchase tickets through the regular registration flow, you can manually allocate tickets to them using Eventify’s ticketing system. This allows you to create ticket orders on behalf of guests and assign tickets directly from the admin panel.
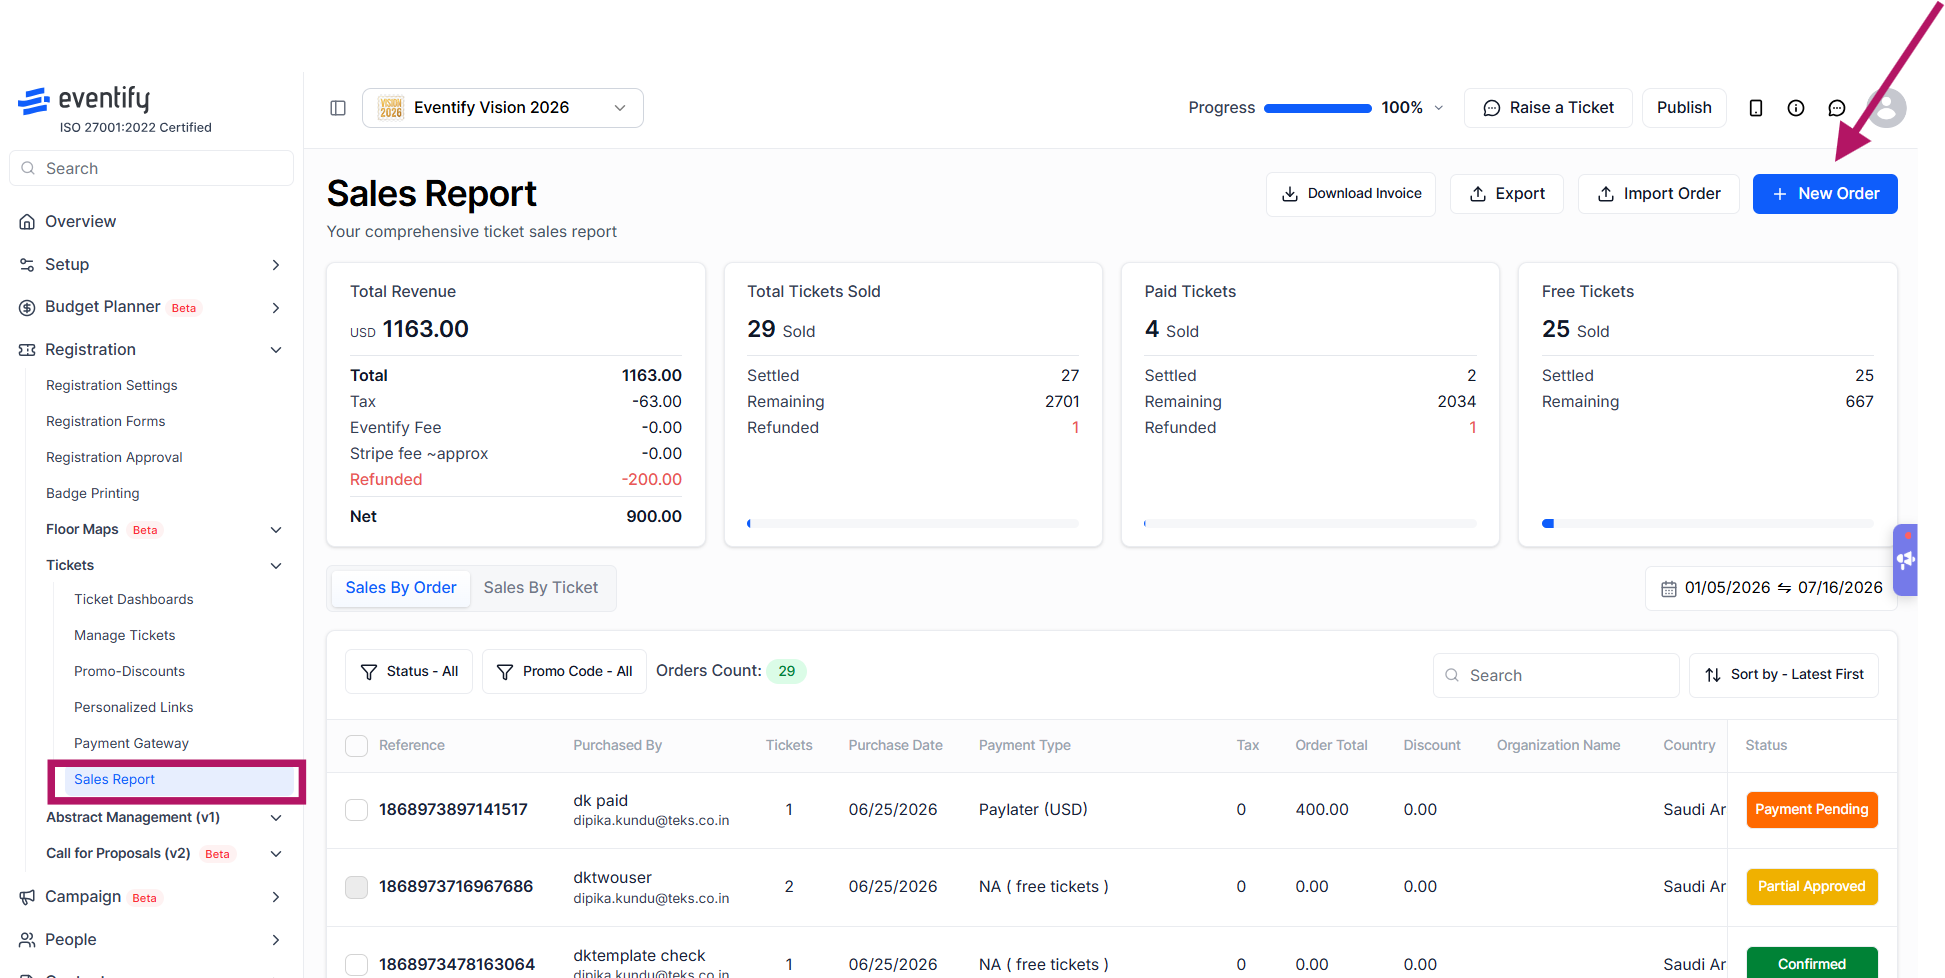
To manually allocate tickets, log in to the Eventify Admin Panel and go to Registration >> Tickets >> Sales Report. Click on the New Order button.
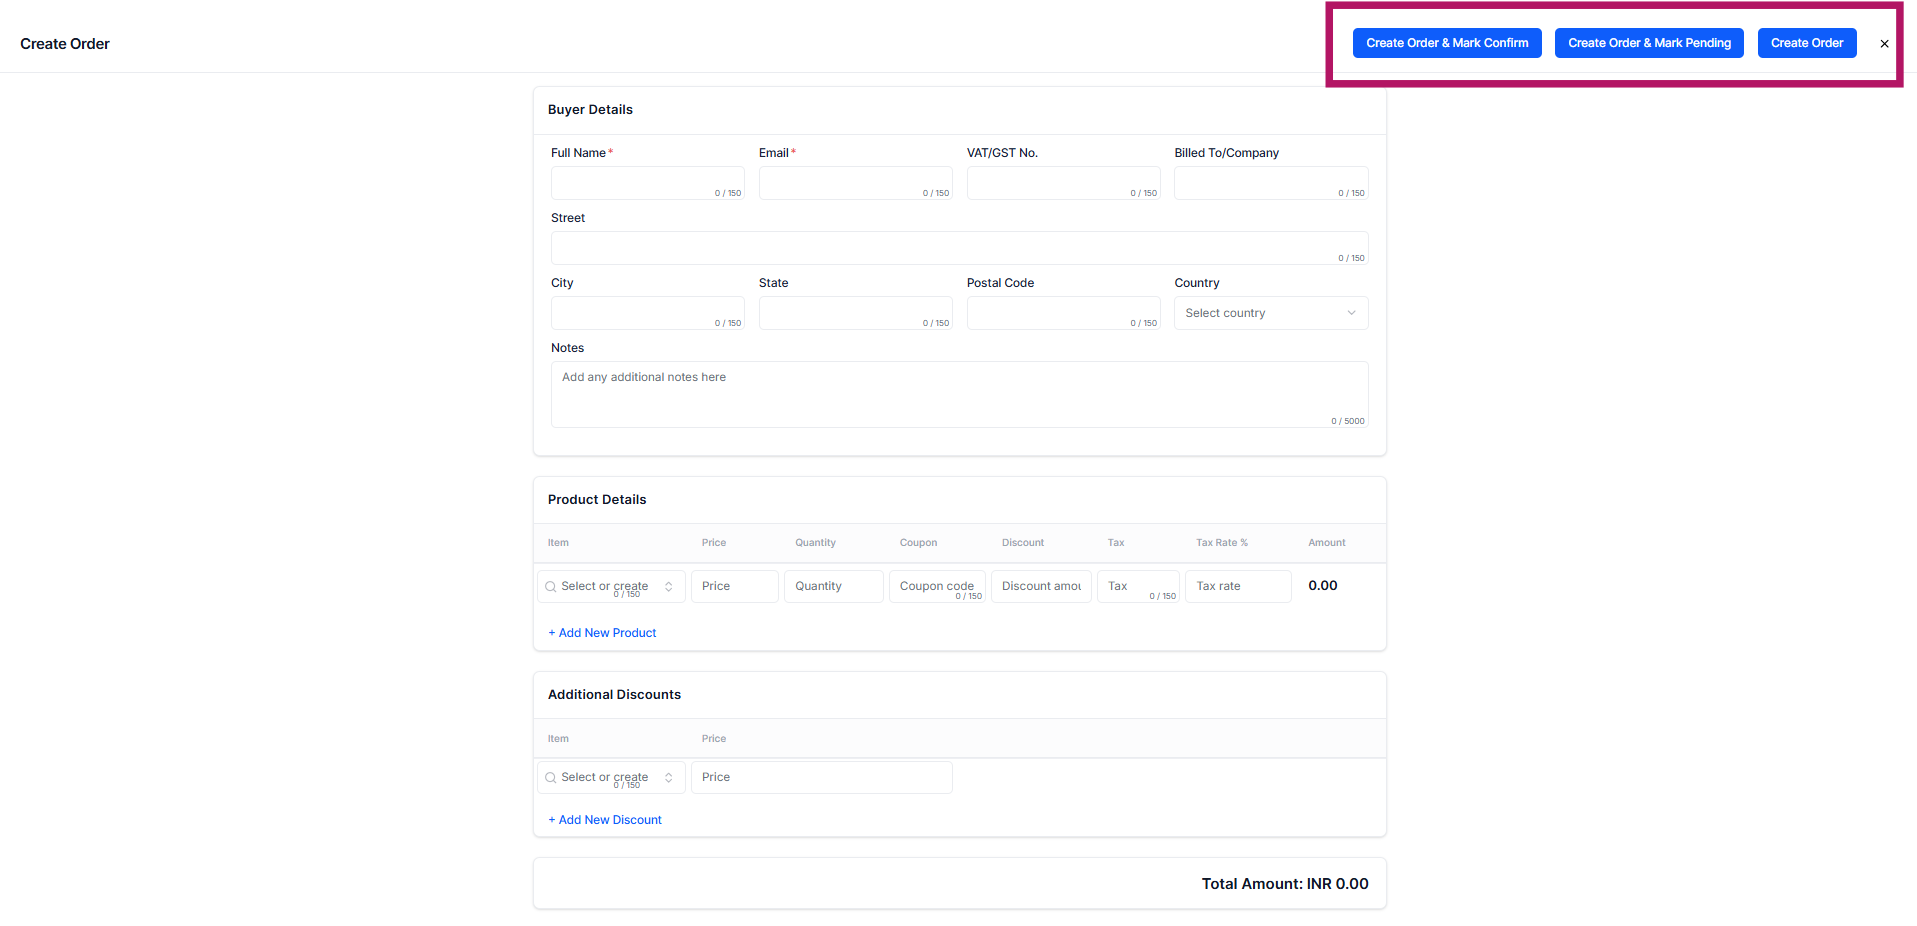
This will open the Create Order panel where you can enter the buyer information, select the ticket type, specify the quantity, and add any additional order details. You can also apply coupon codes, discounts, taxes, or add multiple products if required. Once the details are completed, you can choose one of the following options:
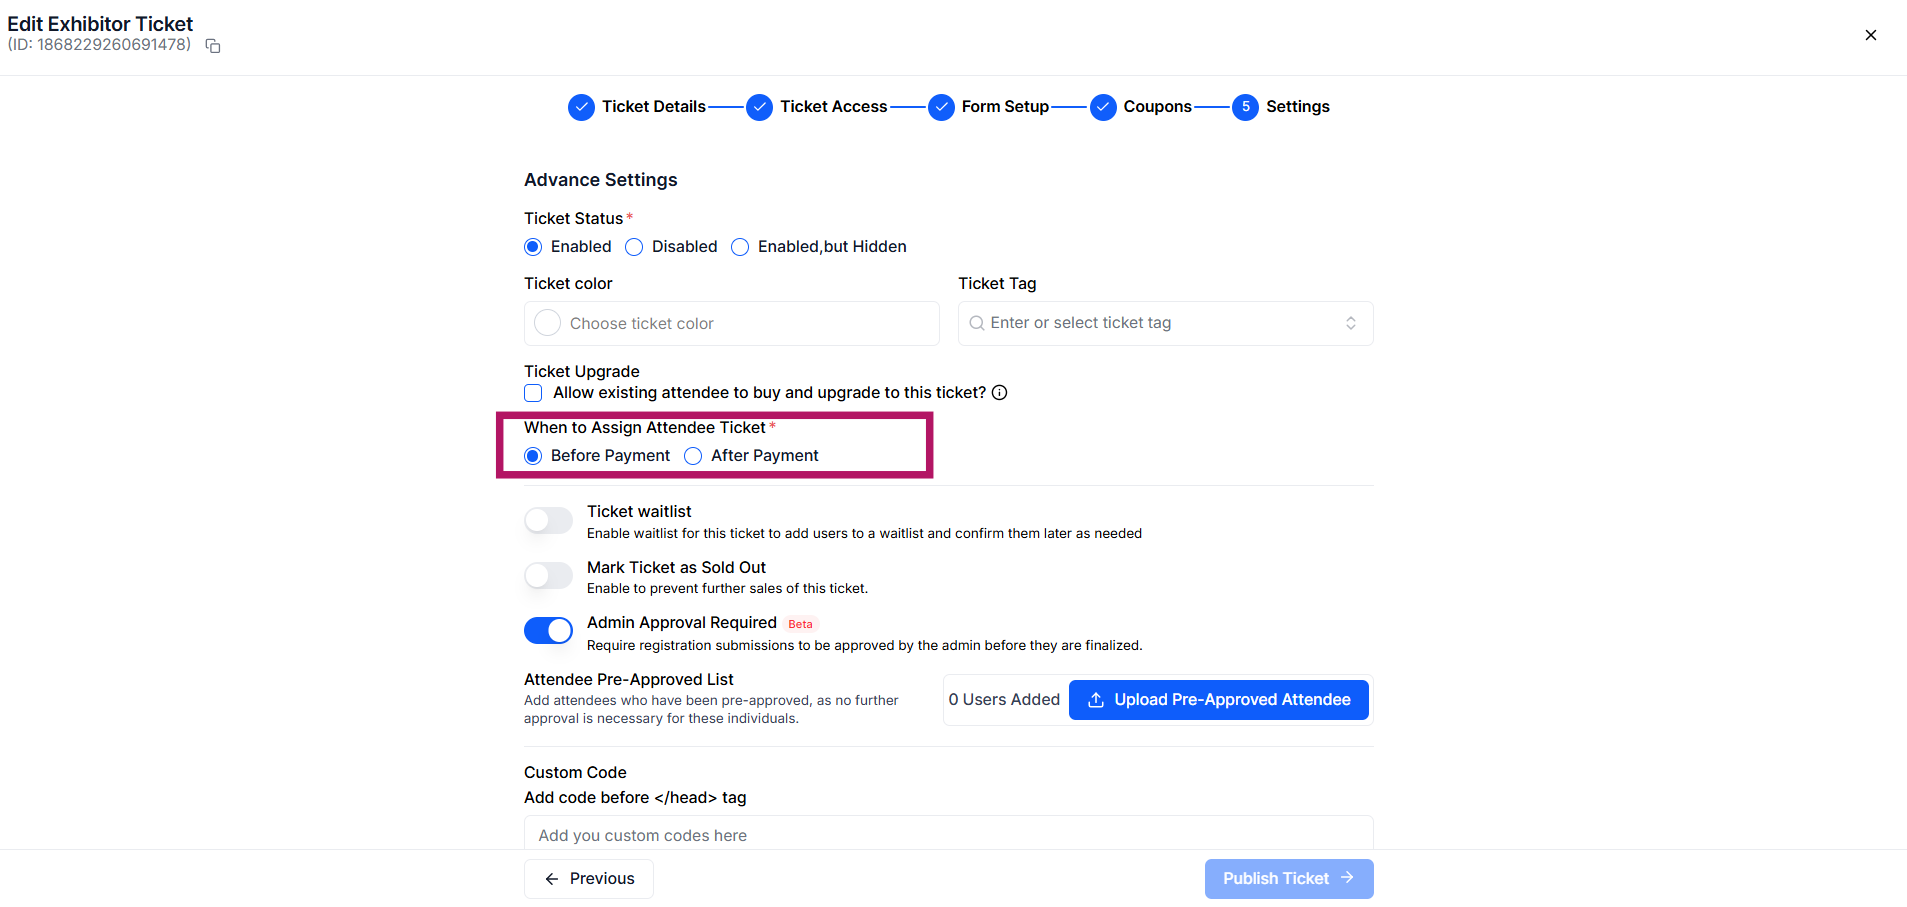
The ticket assignment flow depends on the setting configured under Registration >> Registration Settings >> Ticket Settings >> When to Assign Attendee to Ticket (before or after payment).
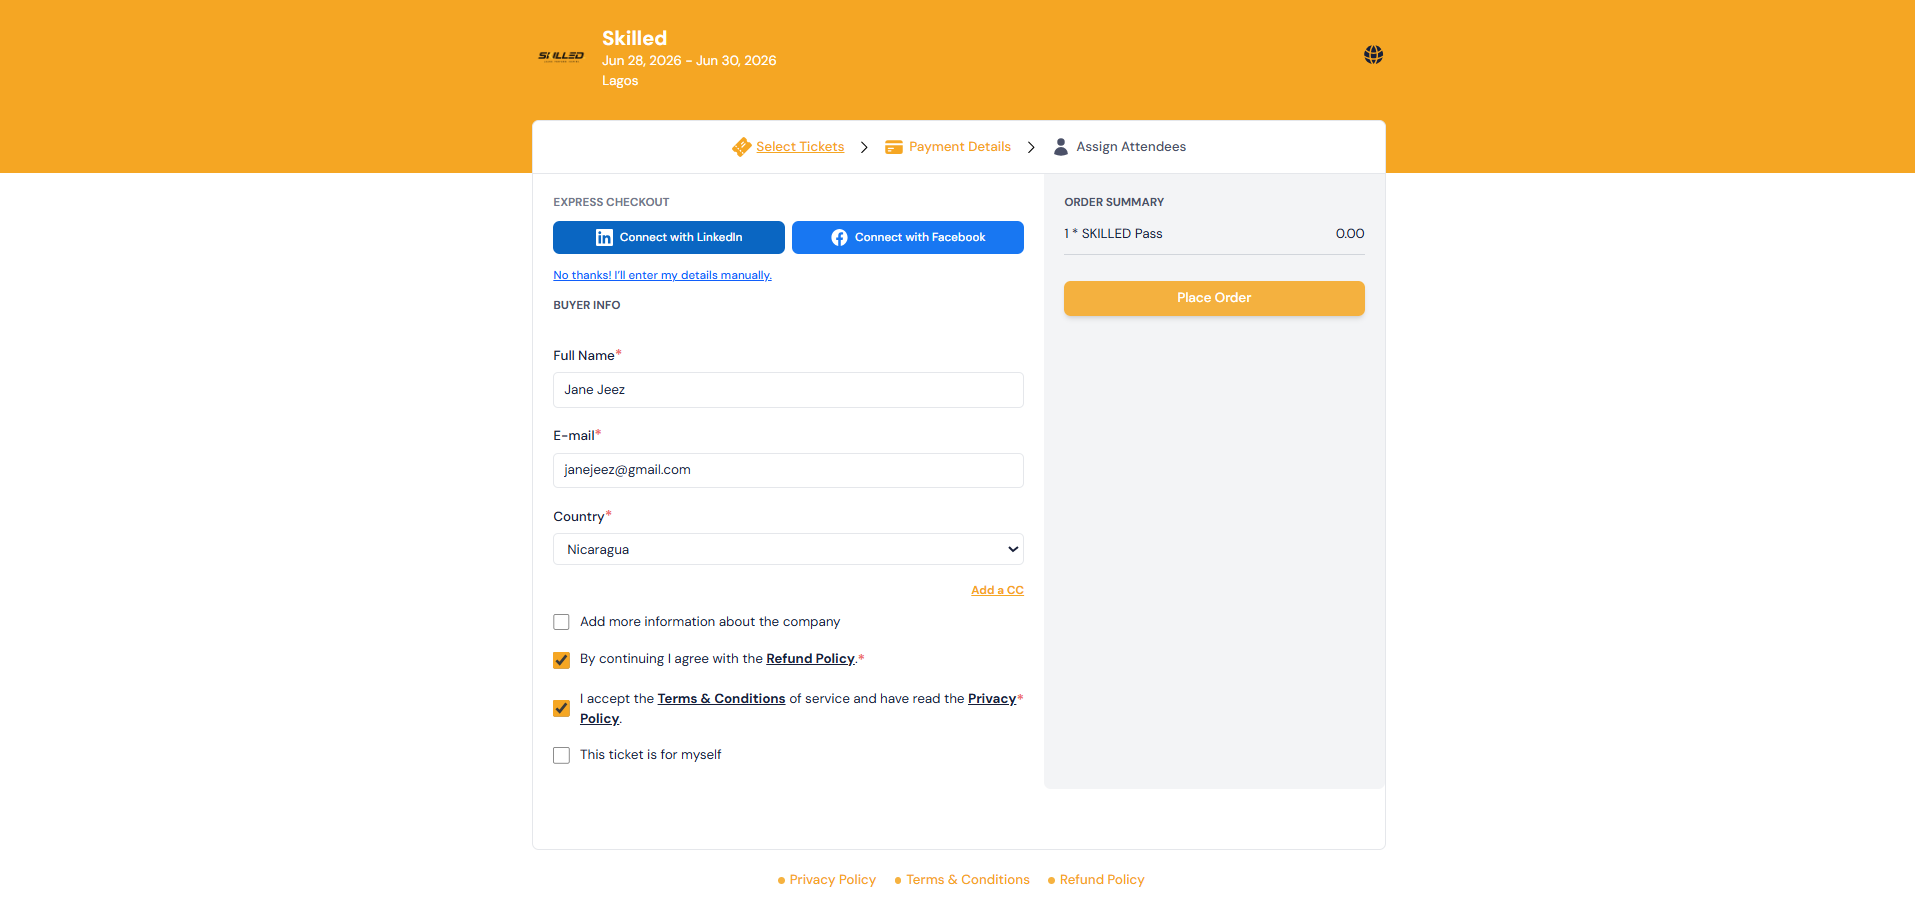
After selecting the ticket and quantity, enter the Buyer Info and accept the required terms and conditions. If the selected ticket is paid, you will see payment options such as Cash or Without Pay. For free tickets, click Place Order to continue. After the order is completed, you can assign the tickets to the guests by entering their attendee details.
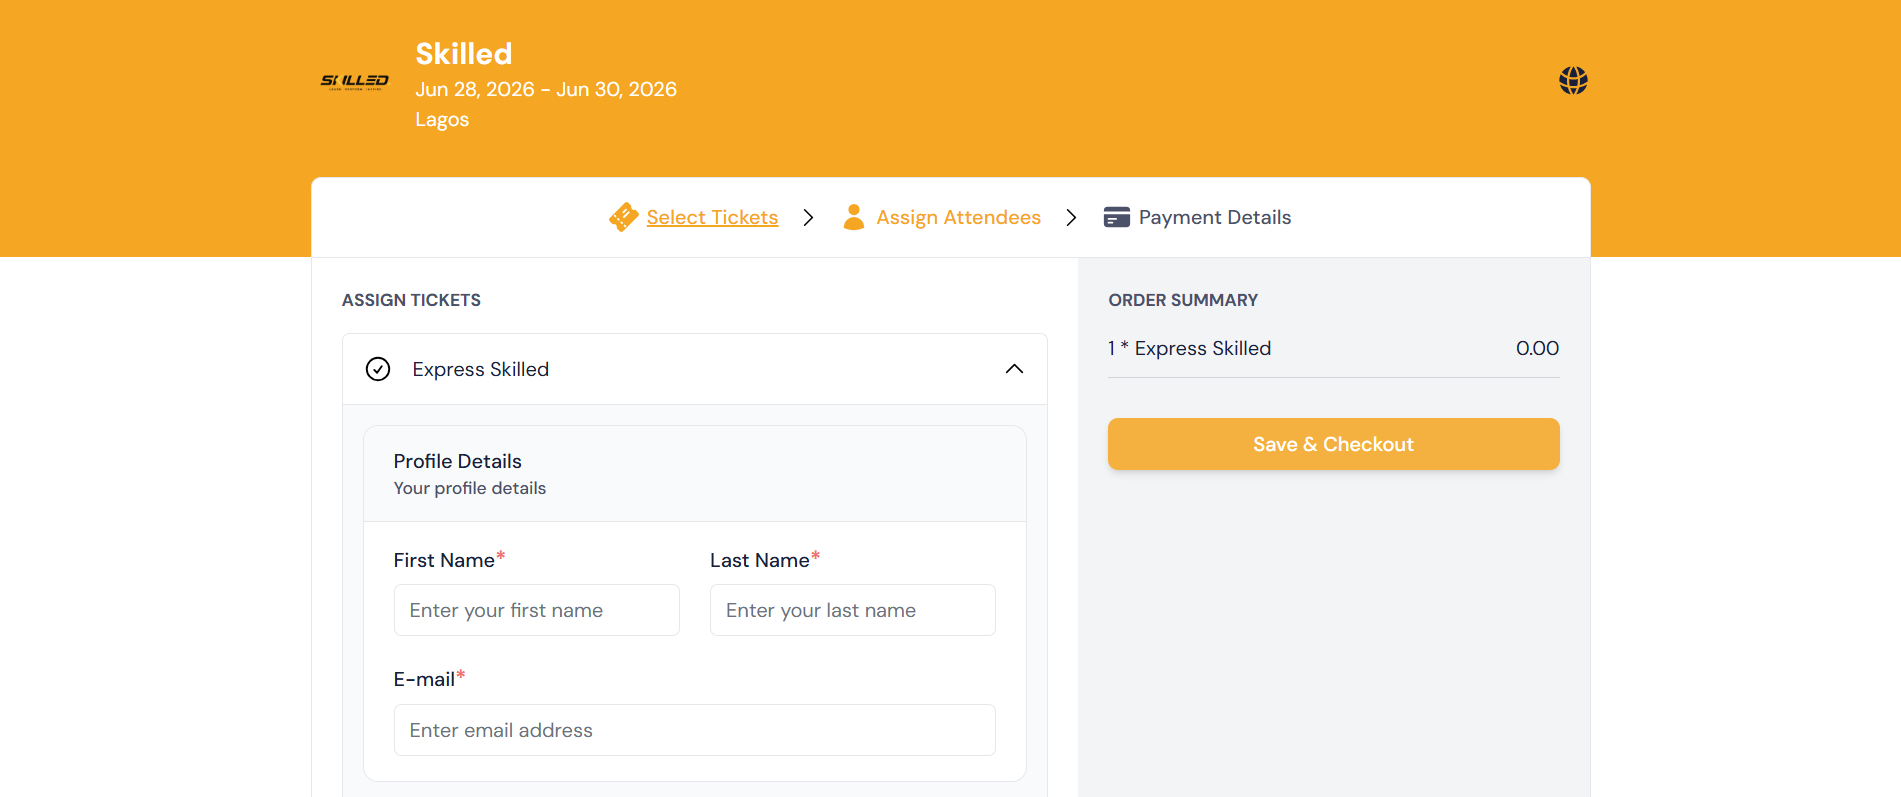
If attendee assignment is configured before payment, you will assign the tickets to the guests immediately after selecting the ticket and quantity. The attendee details must be filled before proceeding to the checkout or payment step.
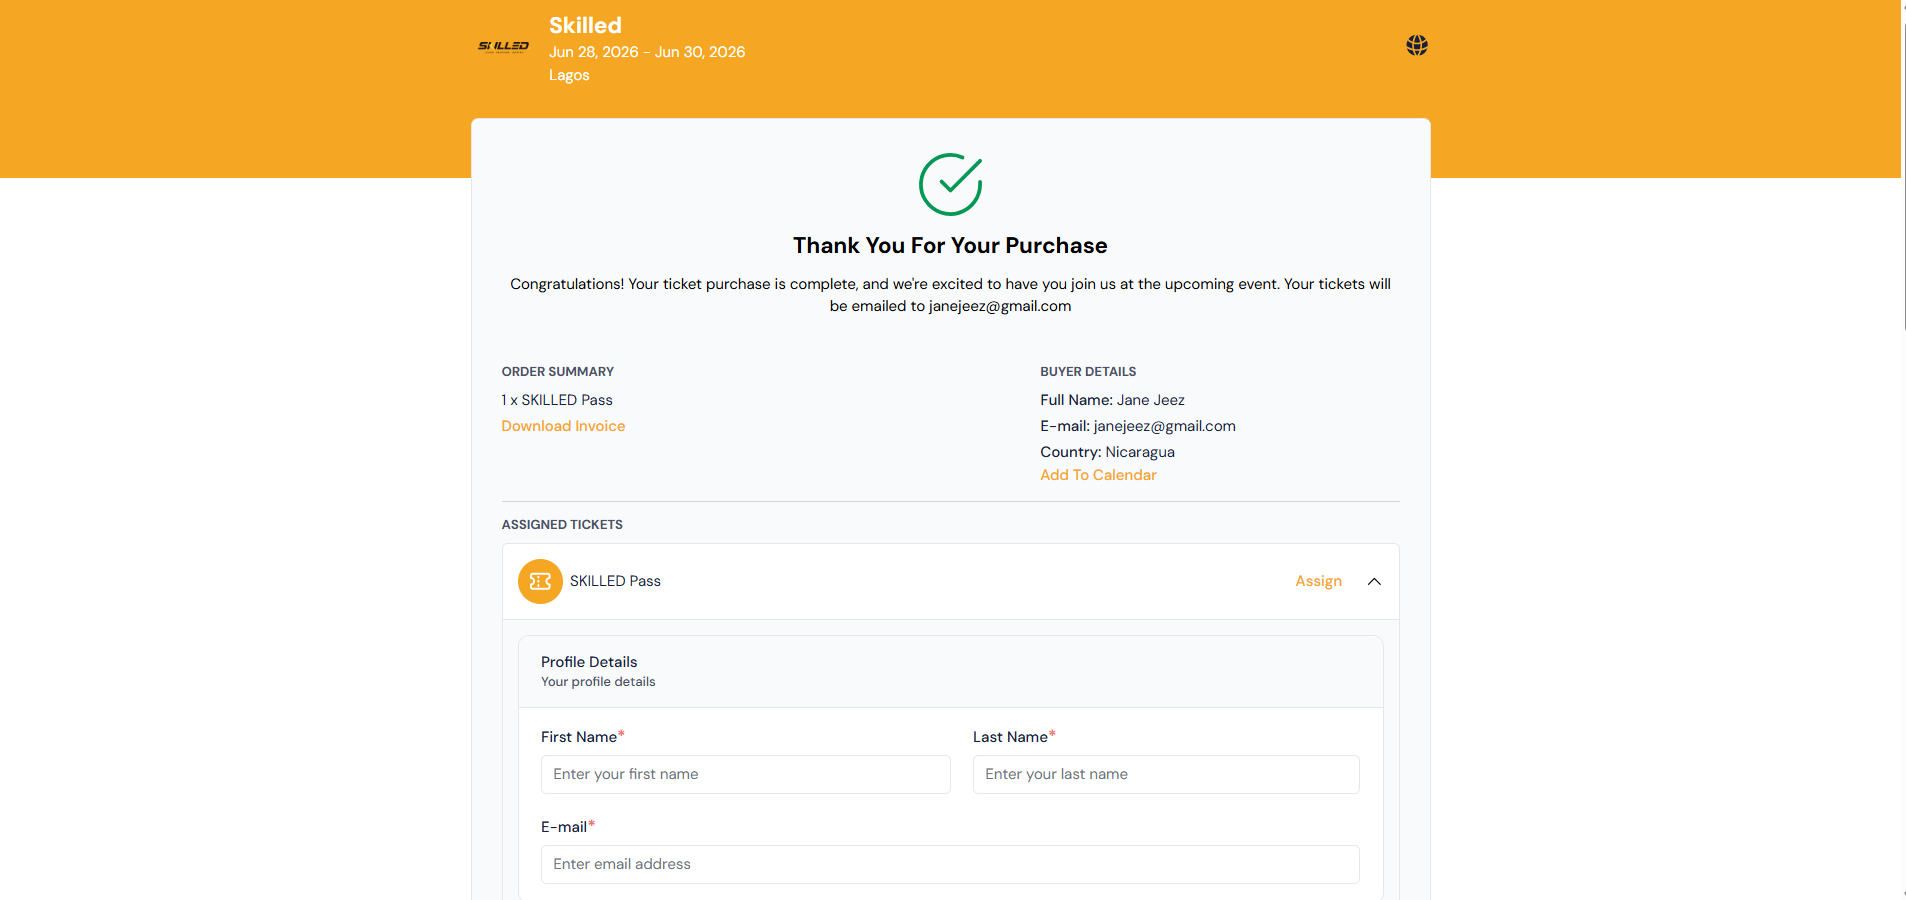
Once the tickets are created and assigned by the admin, the allocated guests will receive access to the event and can log in to the Eventify app or web platform using their assigned credentials.
