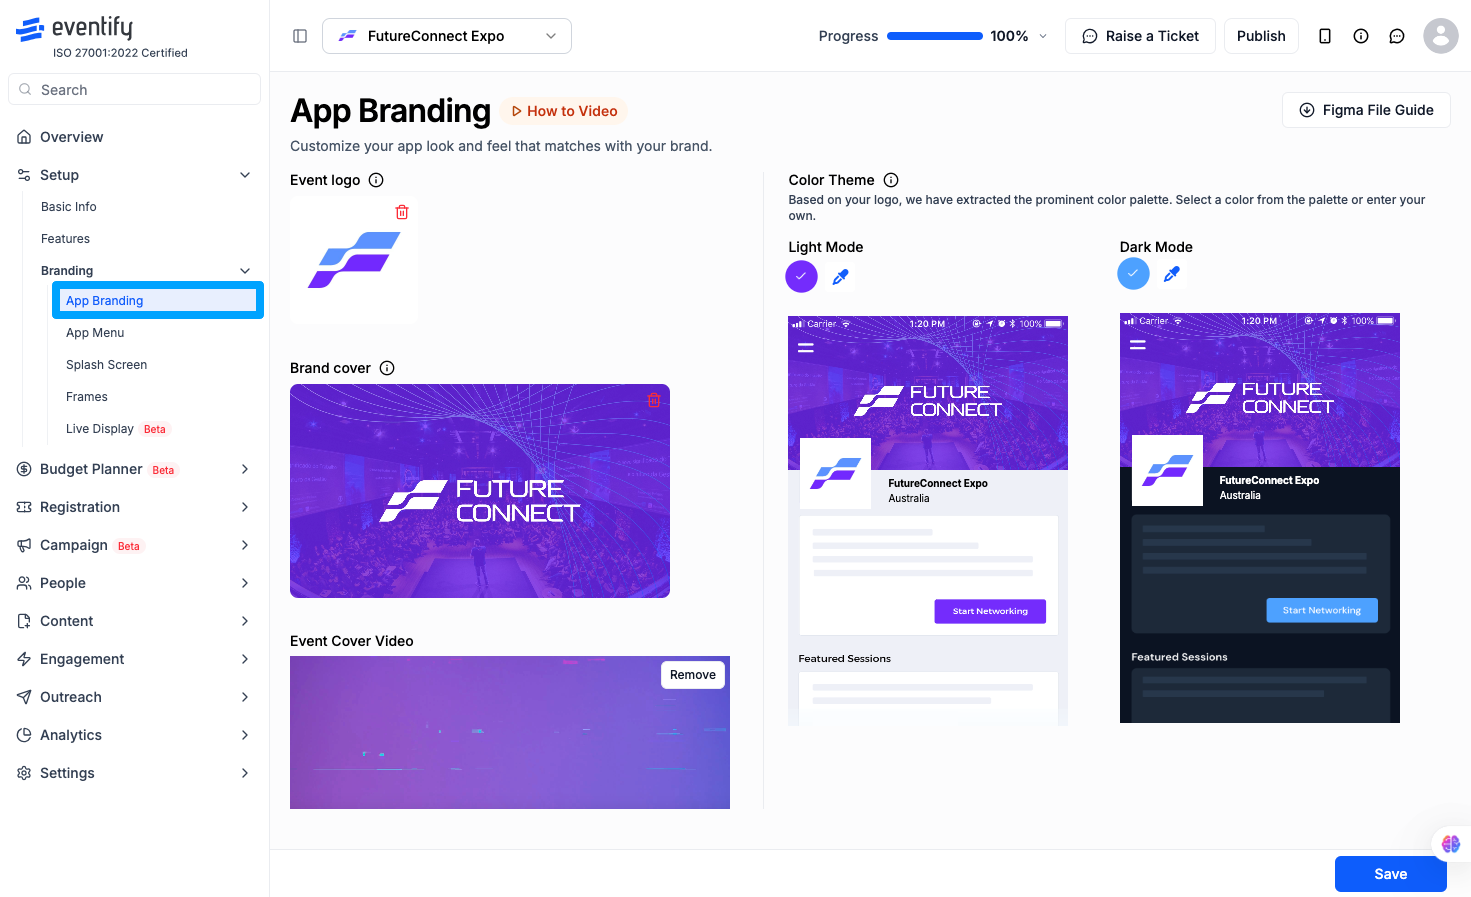
Eventify gives you full control over how your event looks and feels. The App Branding section is where you upload your logo, set a cover image, and choose the colors that run through your entire event app. Here is how to set everything up.
Where to find it: Admin Panel → Setup → Branding → App Branding
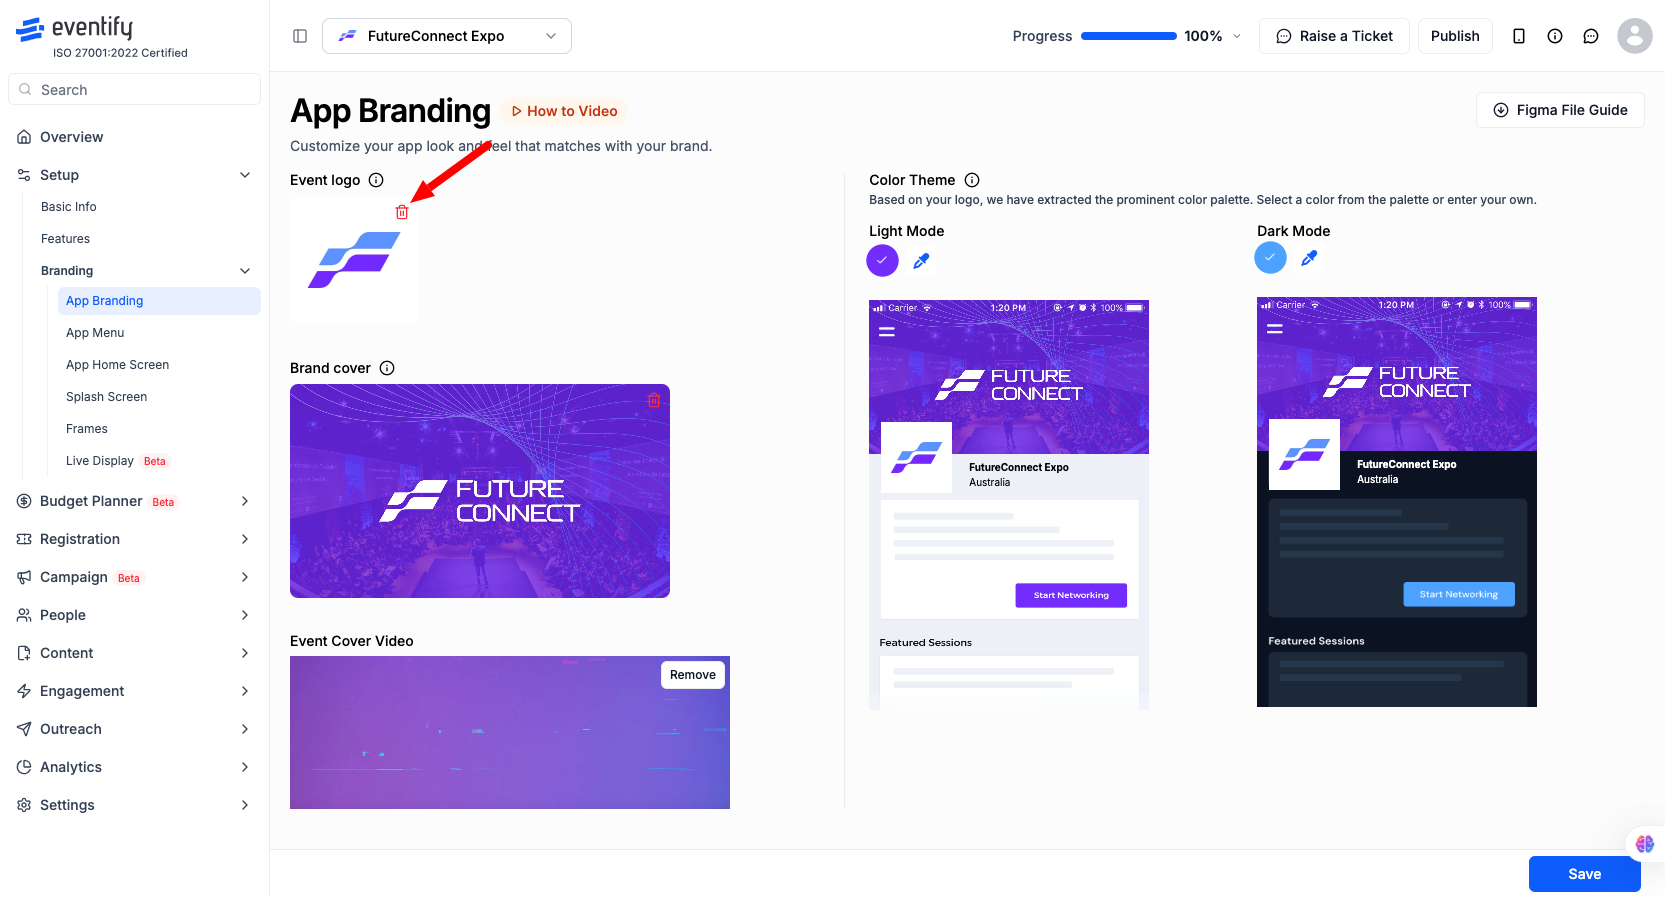
Click Replace next to the Event Logo field. Remove the placeholder logo first, then upload your own file.
Once your logo is in place, click the Save icon to confirm it.
Click Replace next to the Brand Cover field. Remove the sample cover first, then upload your own image. This is the background attendees see on the event discovery screen when they search for and open your event.
Click the Save icon once your cover is uploaded.

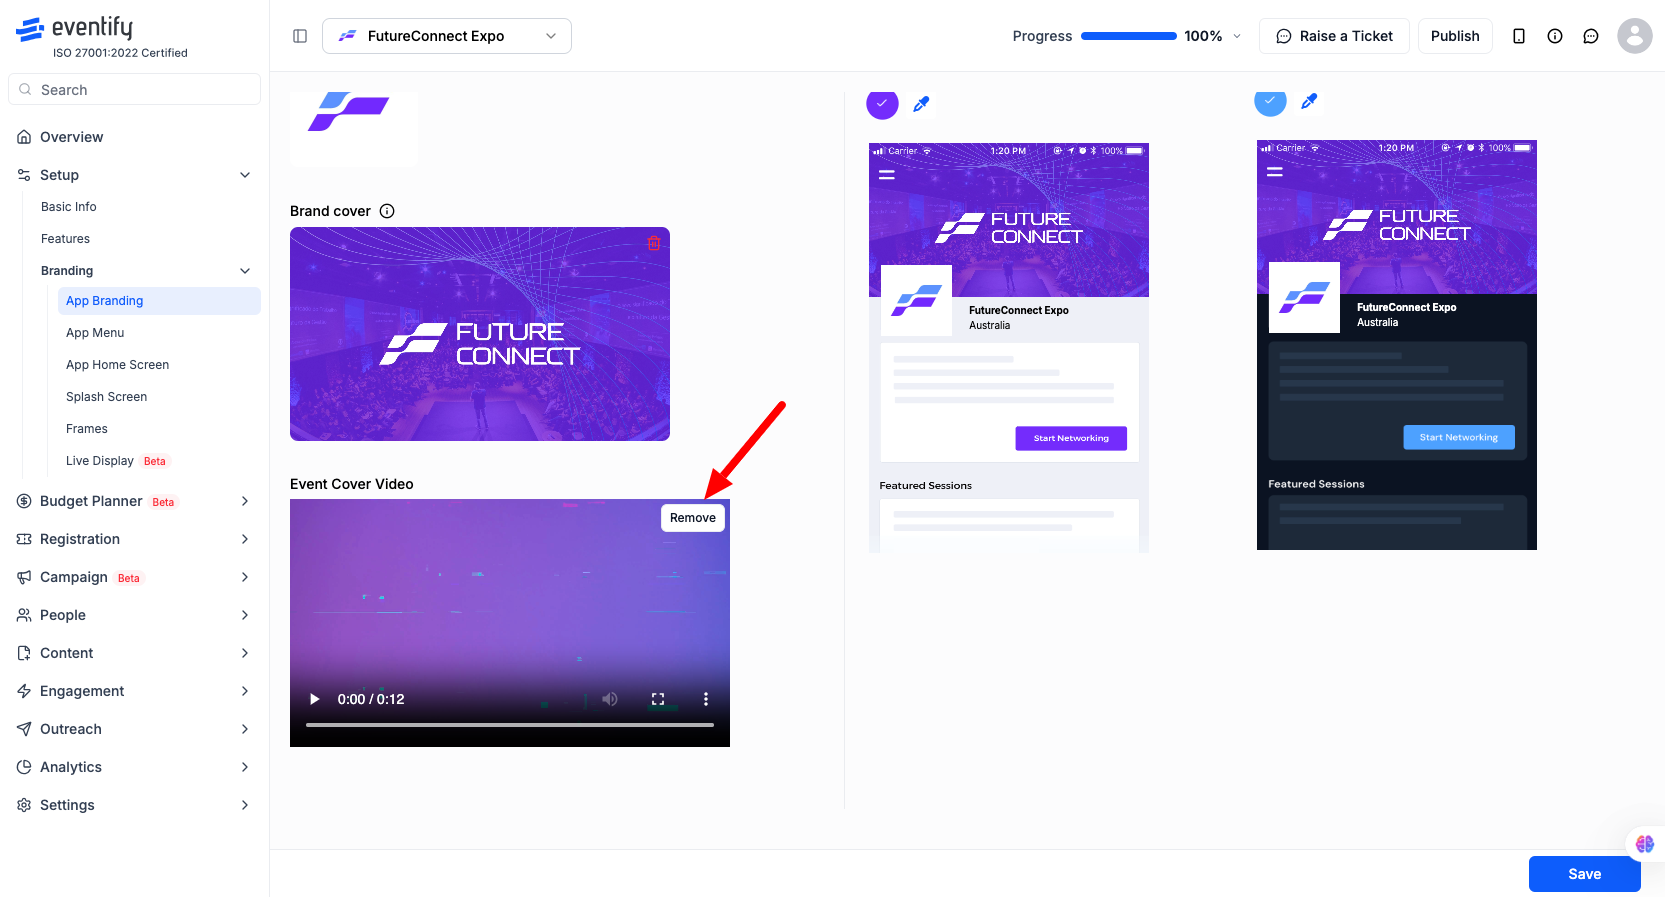
If you prefer something more dynamic, you can upload an MP4 video to replace the static cover image. It appears in the same position. Use the Remove button at any time to go back to the static image.
After you upload your logo, Eventify automatically pulls dominant colors from it and suggests a few theme options. You can pick one of these suggestions or open the color picker and type in your exact hex code (for example, #2D6FF4).
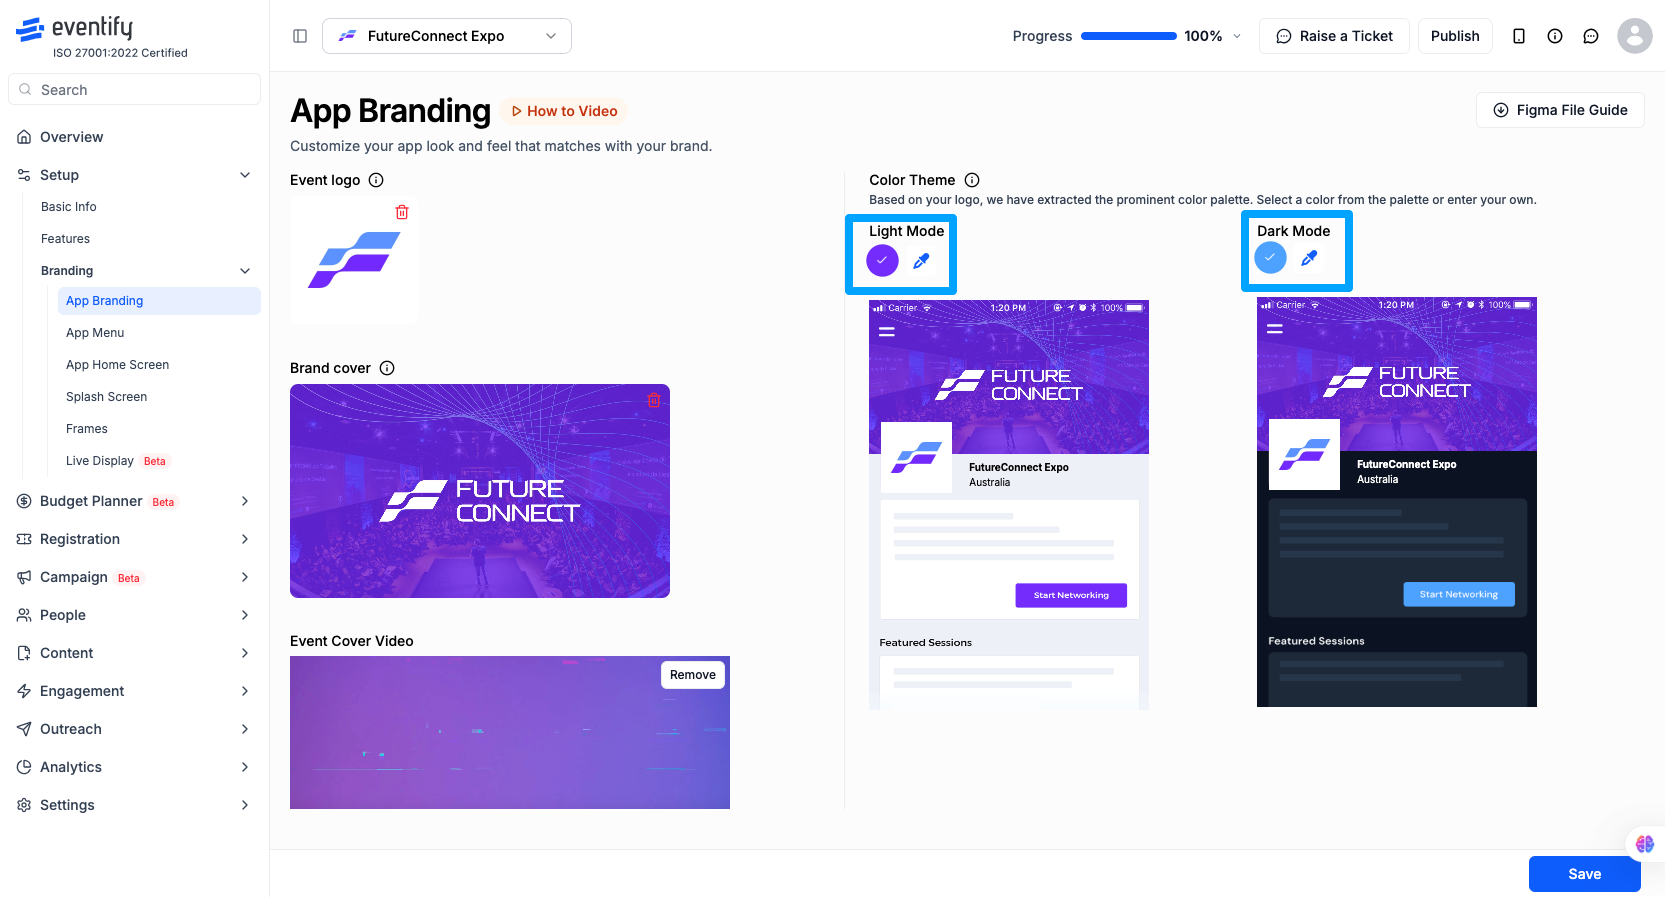
Theme colors apply to navigation bars, buttons, active menu items, and accent elements throughout the app. They do not affect your web portal — web branding is set separately.
Eventify supports separate color settings for Light Mode and Dark Mode. Set each one using the same process.
Click Save when everything looks right. Your branding updates apply to the event app immediately. Attendees may need to refresh or reopen the app to see the changes.
A Figma File Guide link is available in the top-right corner of the App Branding page. This gives you Eventify's official design specifications and asset templates — useful if you are working with a designer to prepare your branded assets.

Q: Where are the branding settings in Eventify?
Go to the Admin Panel, then navigate to Setup → Branding → App Branding.
Q: What can I customize under App Branding?
You can upload your event logo, set a brand cover image or video, and choose a theme color for both light and dark mode.
Q: Why does the suggested color not match my exact brand color?
The auto-suggested palette is pulled from your logo image. For a precise match, click the color picker and enter your exact hex code directly.
Q: Can I use different colors for light mode and dark mode?
Yes. Light and dark mode have separate color settings, so you can tailor each one independently.
Q: Do color changes affect the web portal?
No. App branding and web branding are managed separately. Set your web theme colors under the Website Editor.
Q: Can I use a video for the brand cover?
Yes. Upload an MP4 file in the cover video field. Use the Remove button to switch back to a static image at any time.
Q: Do changes go live straight away?
Yes. Once you save, the branding updates are applied immediately. Attendees may need to refresh or reopen the app to see them.
Q: Can I update branding after the event is already published?
Yes. You can return to App Branding at any point, make your changes, and save again.
