Social Boost is a comprehensive social interaction management feature designed to enhance event engagement and build stronger connections between attendees. Here is how you can set it up:

Interactive Guide
Or check the step-by-step guide
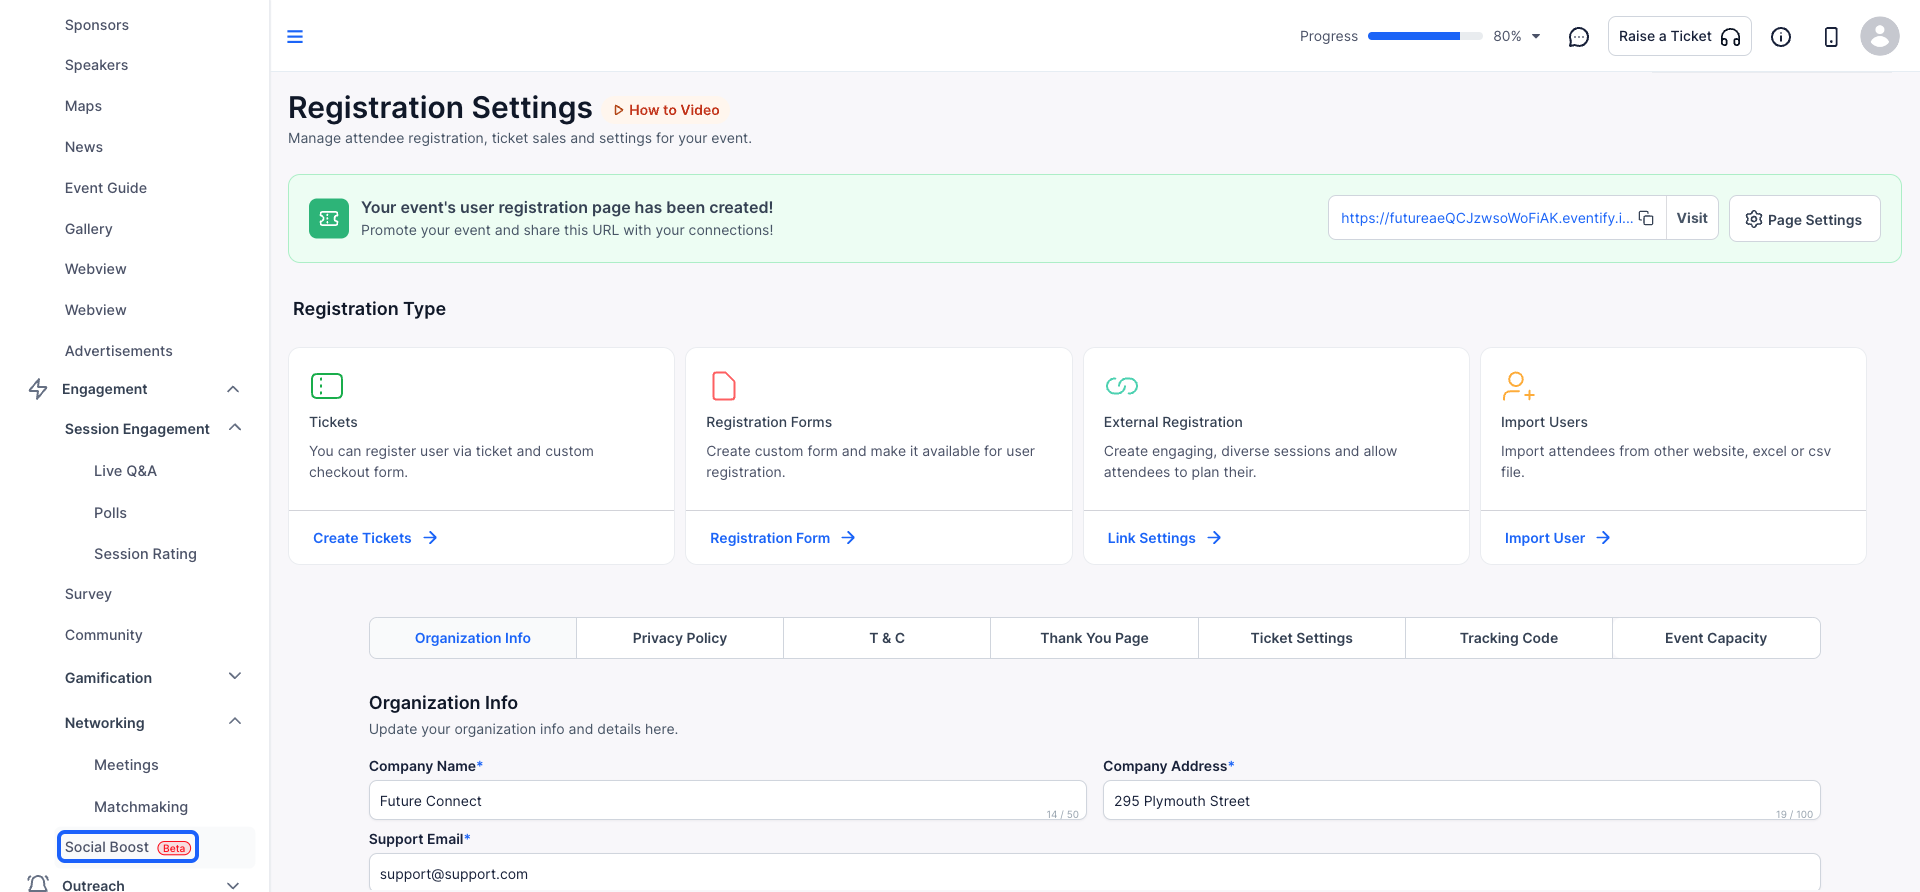
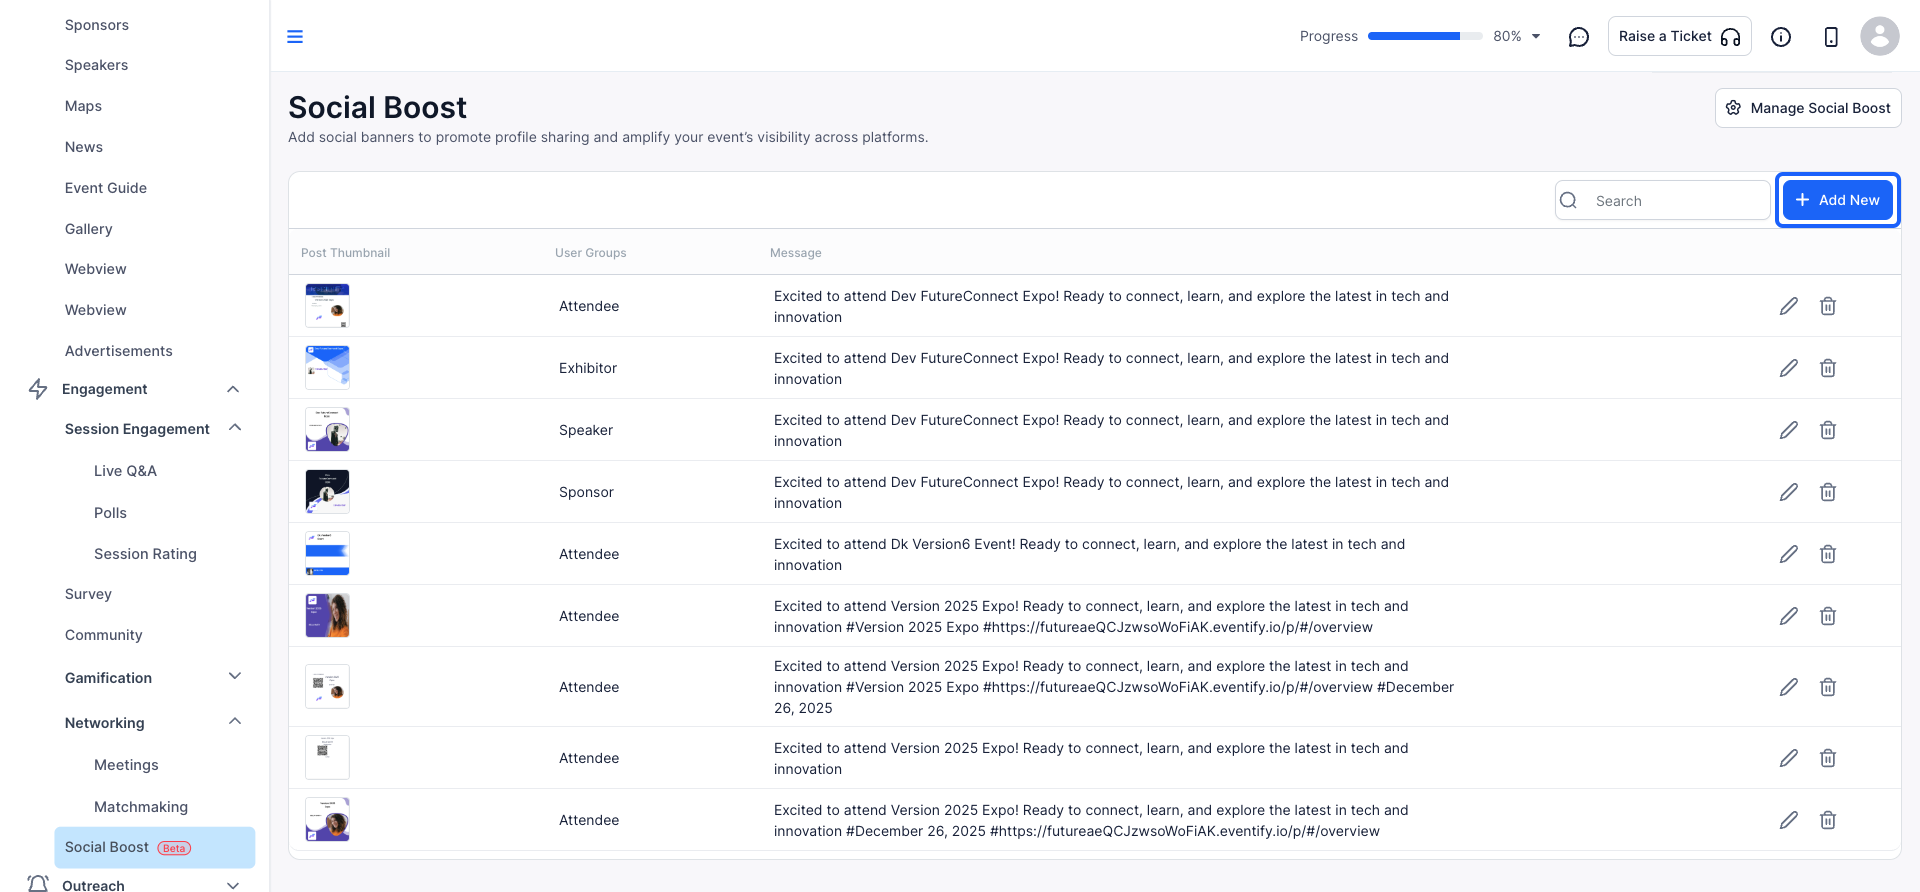
1: Navigate to the Networking section in your Eventify dashboard & click Social Boost
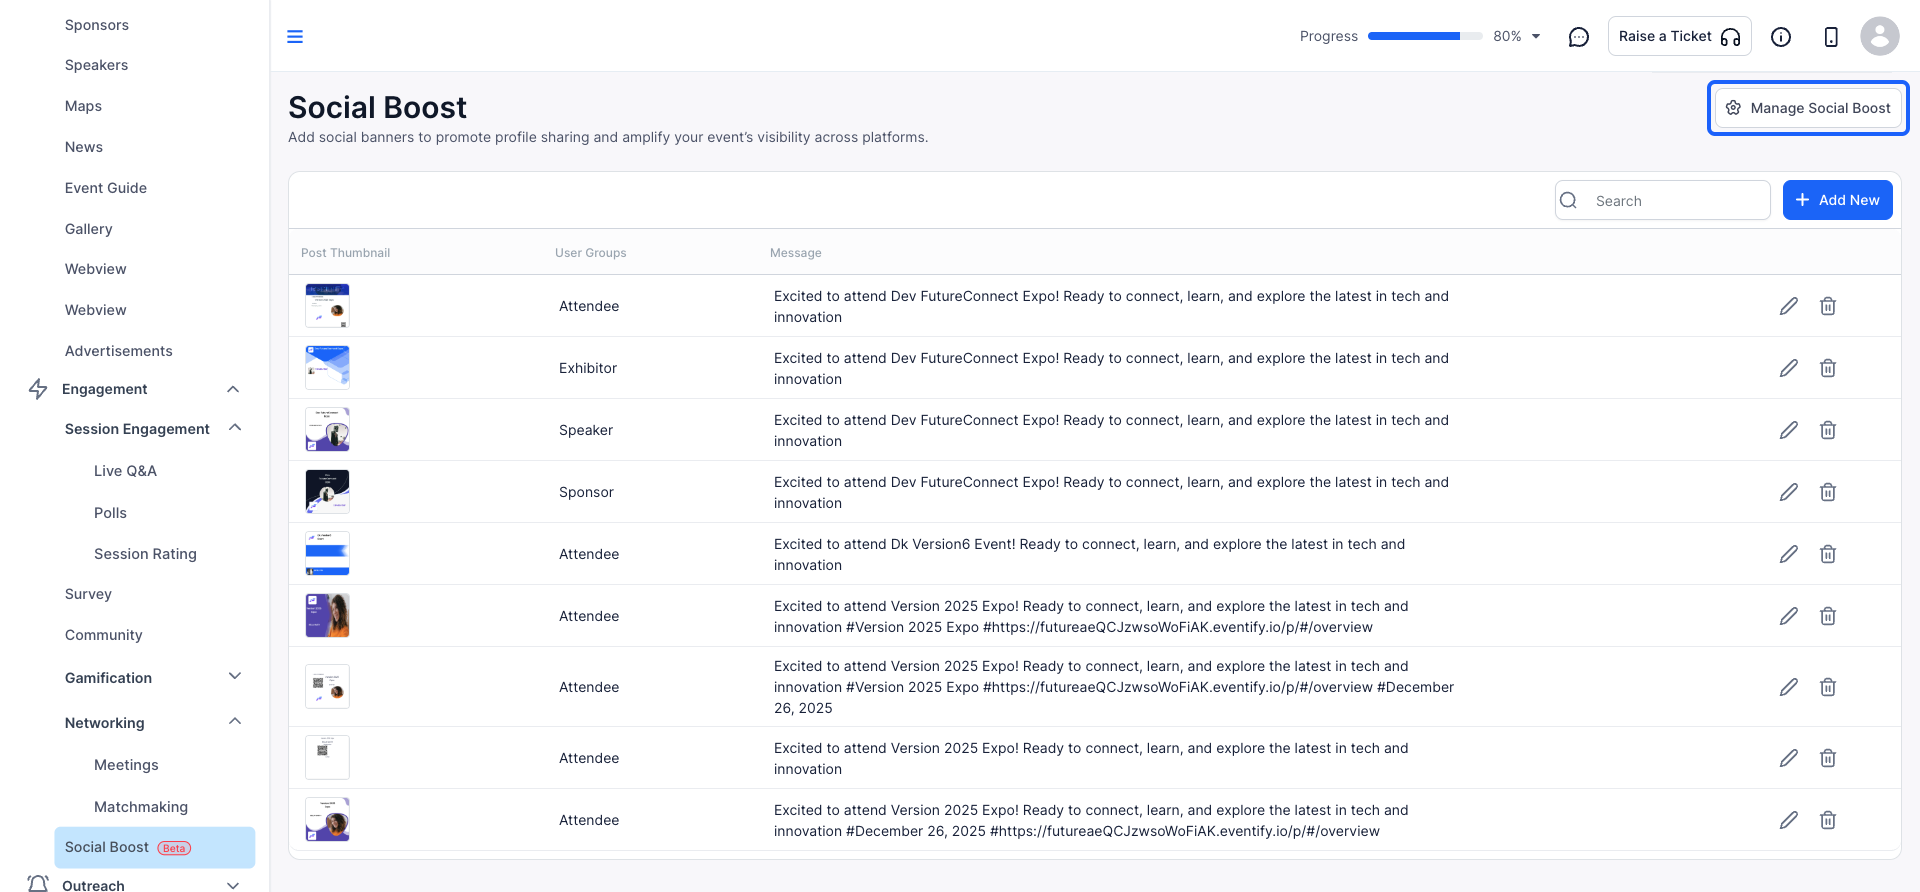
2: In the Social Boost settings, locate the Manage Social Boost section.
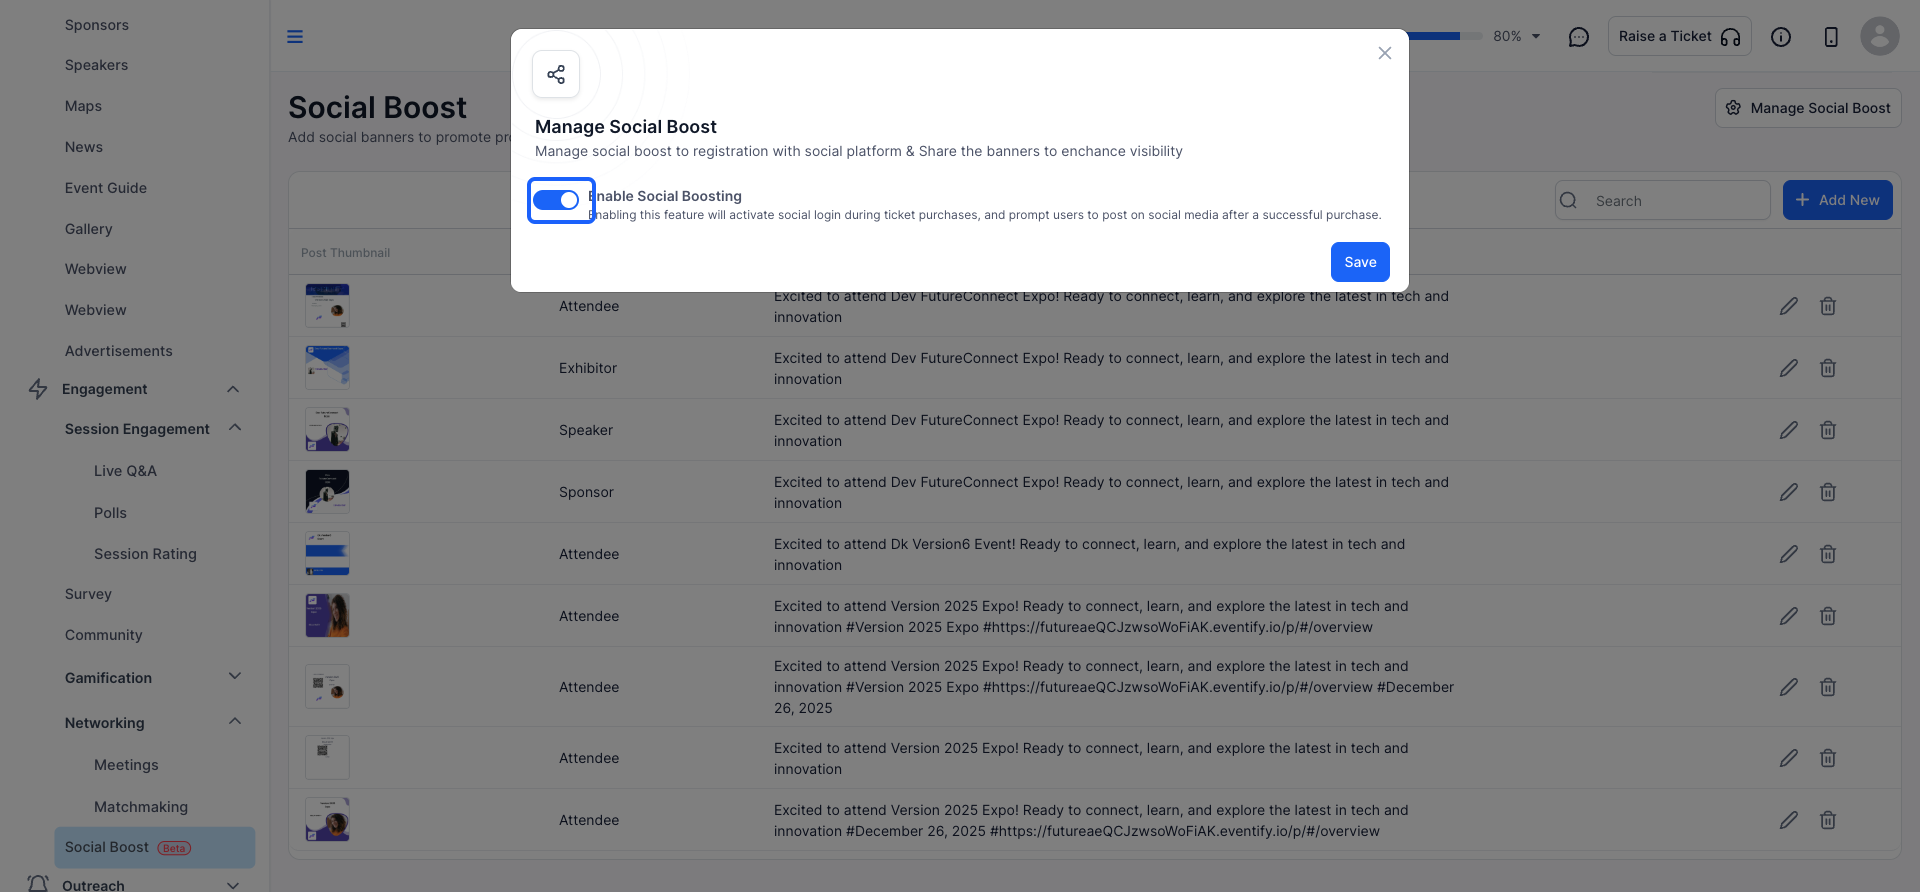
3: Toggle the option to Enable Social Boost.
This activation will prompt users to log in via social media during ticket purchases and encourage them to post on social media after a successful purchase.
4: To create & customize a new banner, click the “Add New” button to initiate the process
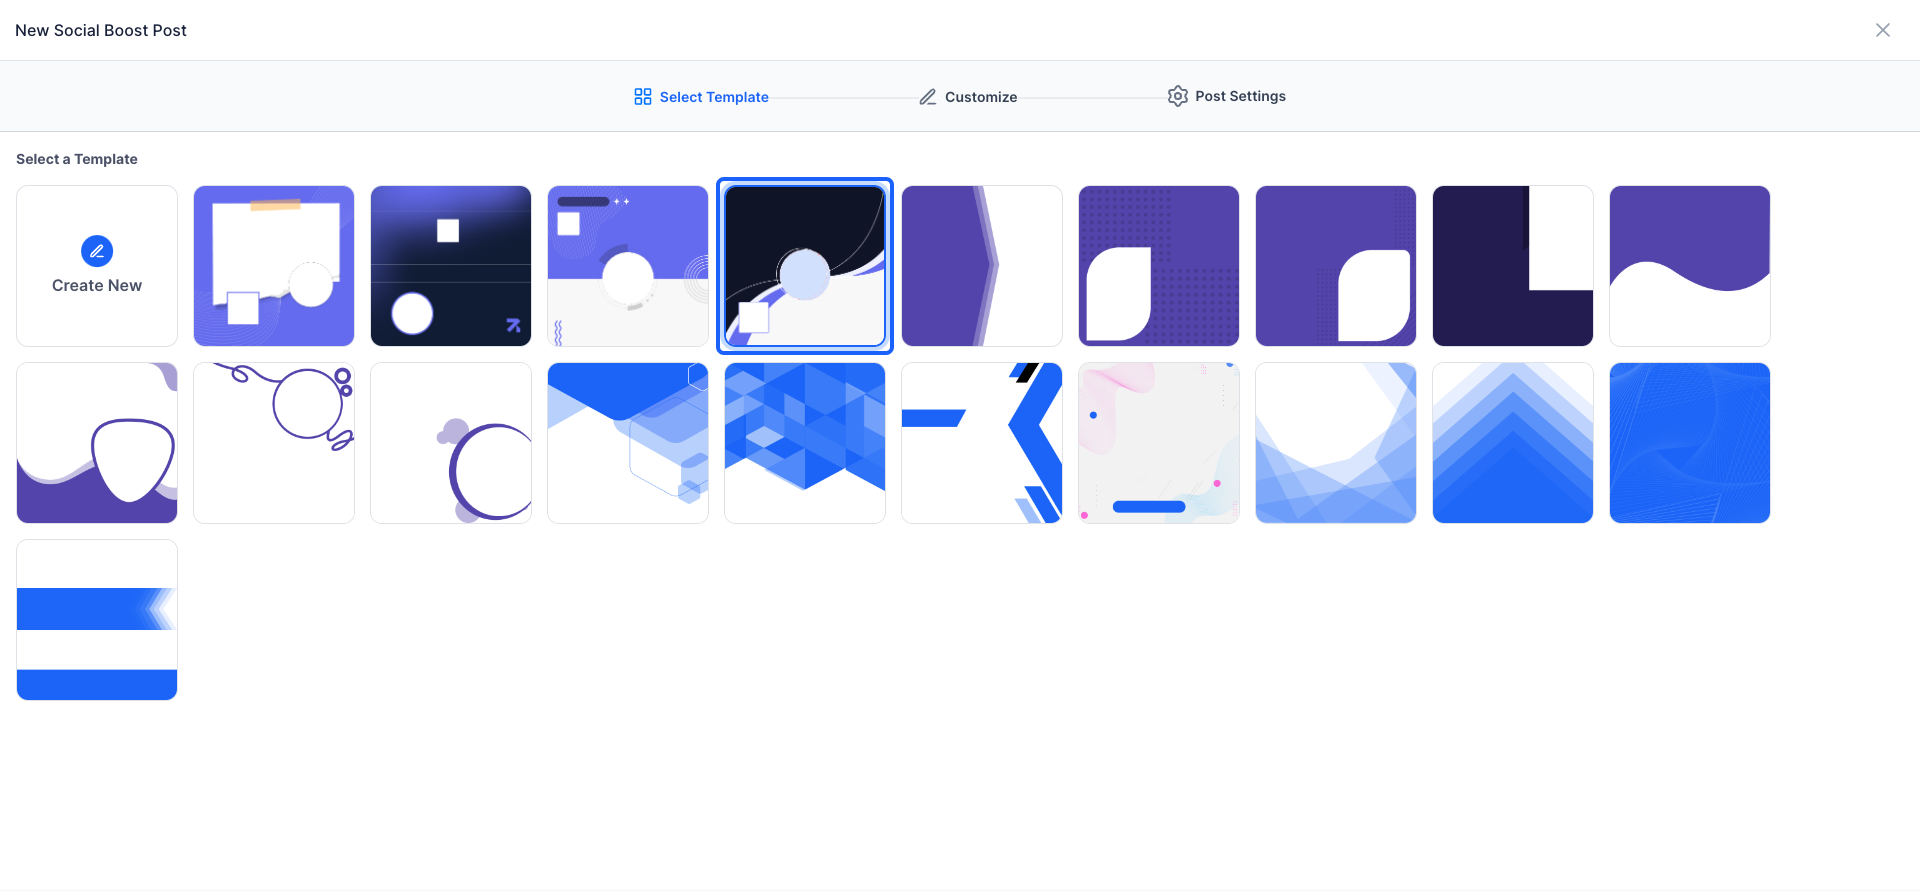
5: Within the Social Boost settings, you can select any existing template & adjust it for better look.
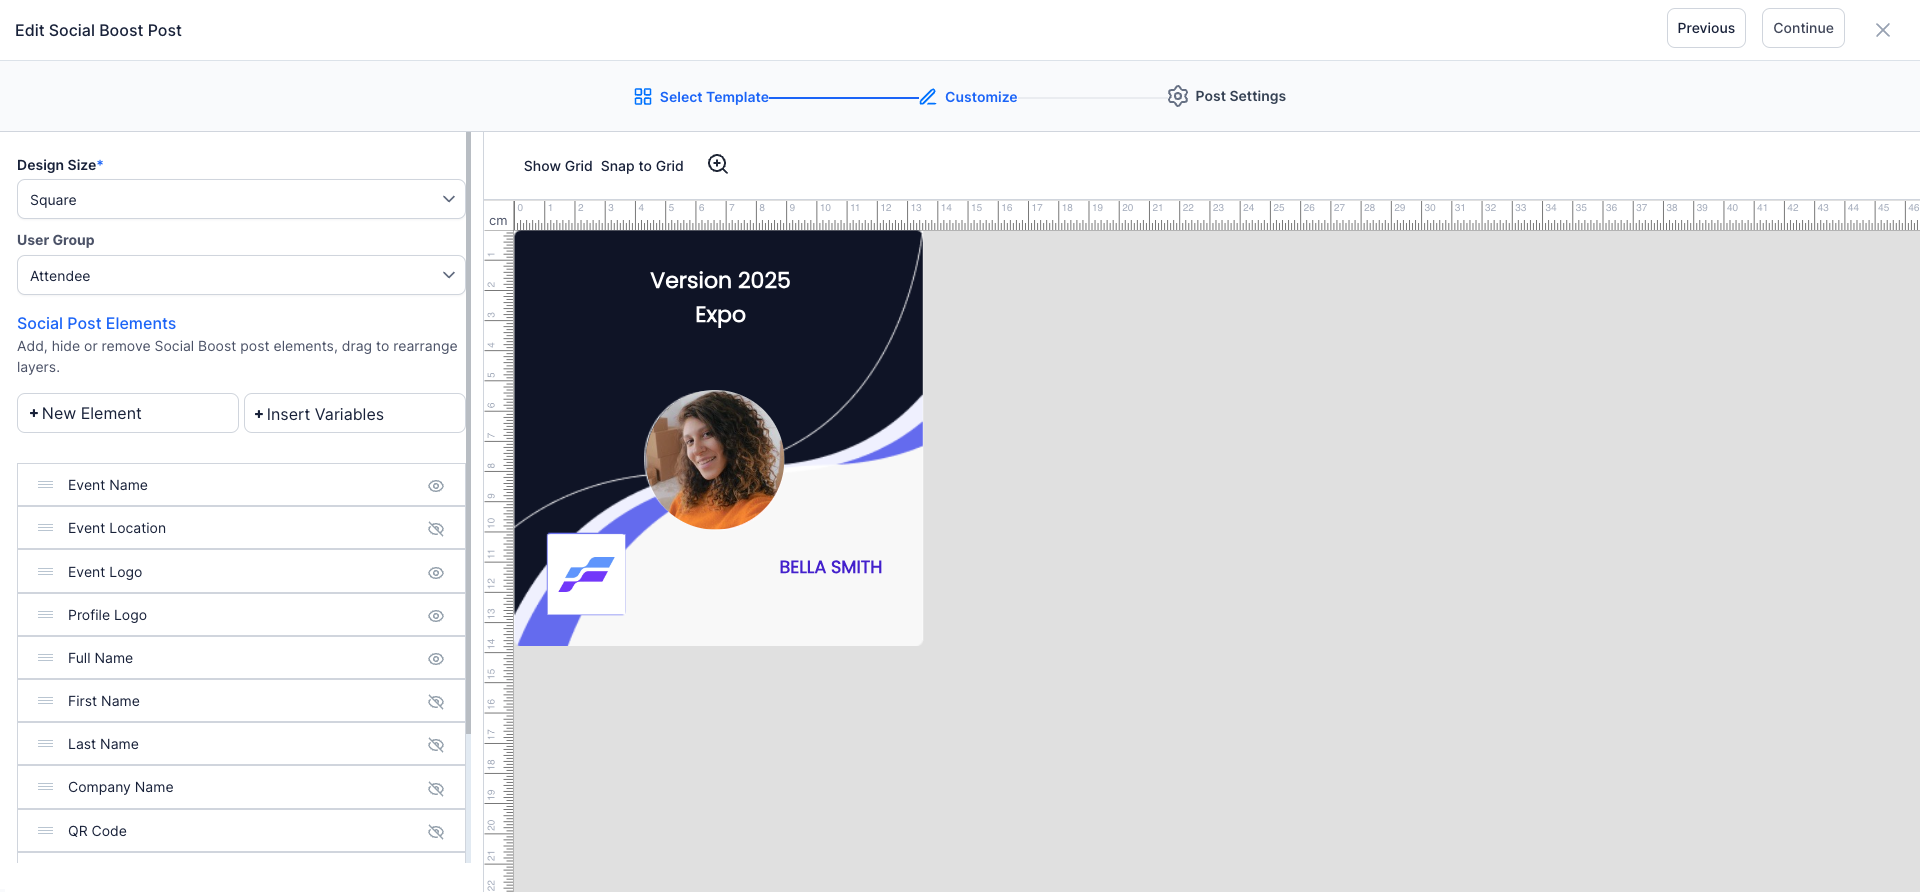
6: In the banner creation section, you can:
Add, hide, or remove Social Boost post elements. Drag to rearrange layers for optimal design. Add content and hashtags tailored to your event's theme and objectives.
Also select the user group for the one this banner is created.
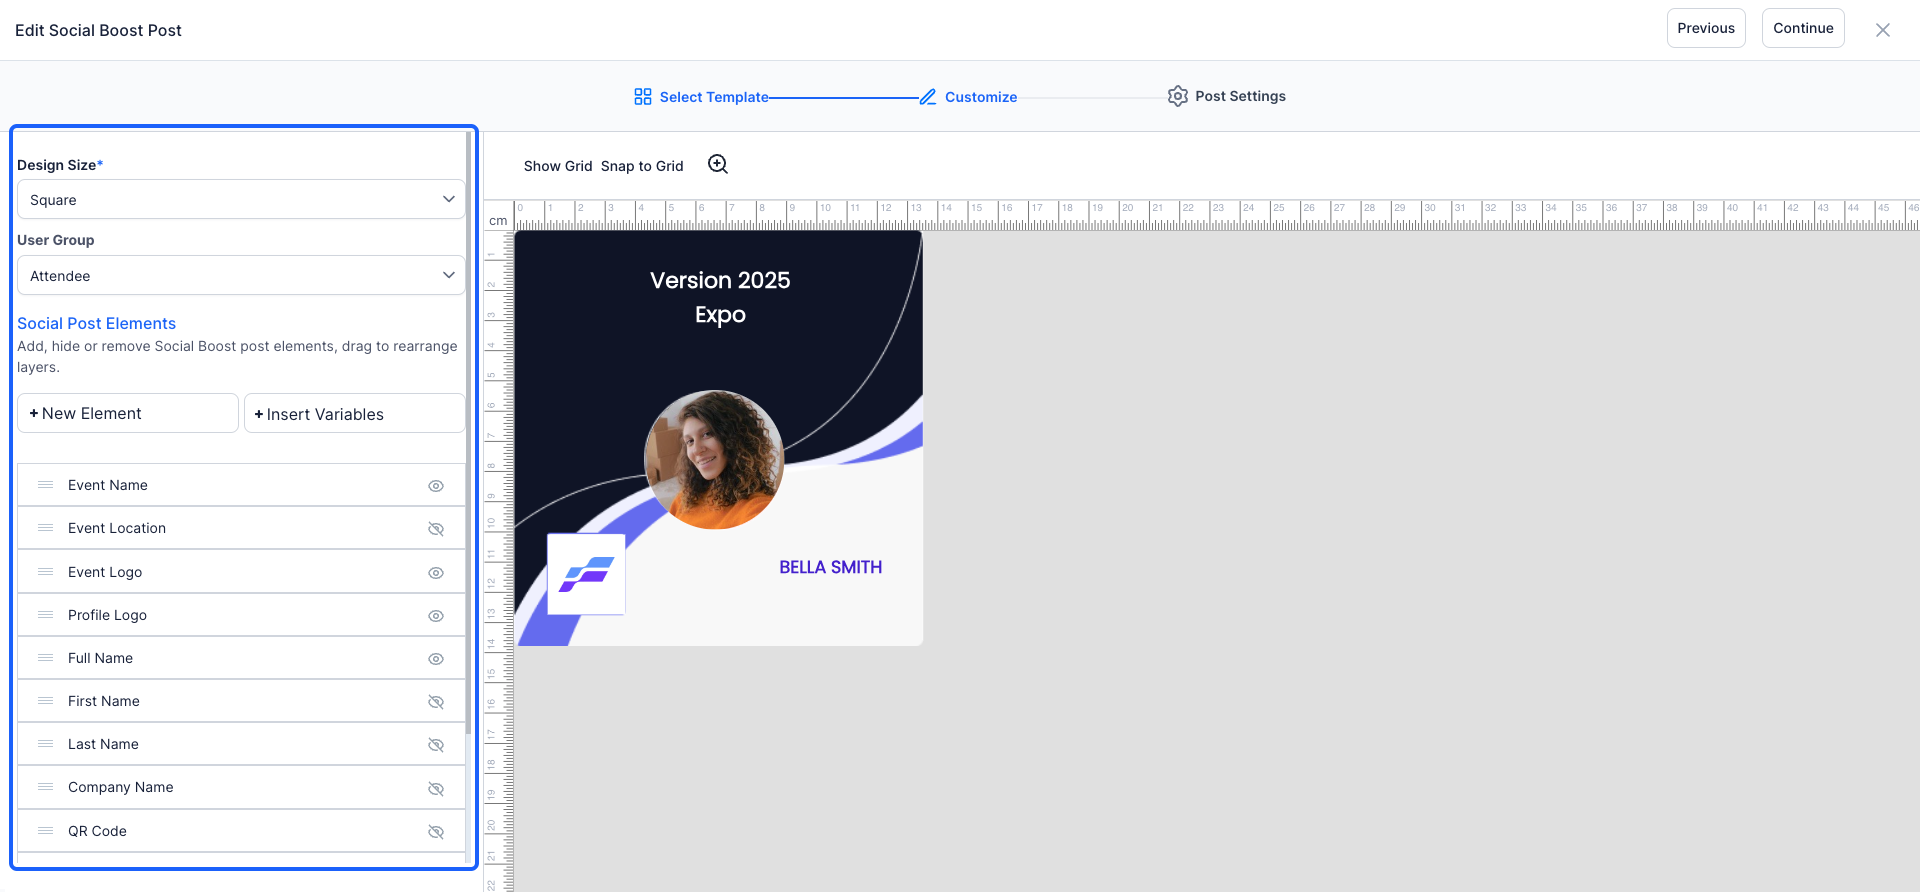
7: Click the “Continue” button to proceed with the ongoing social boost process.
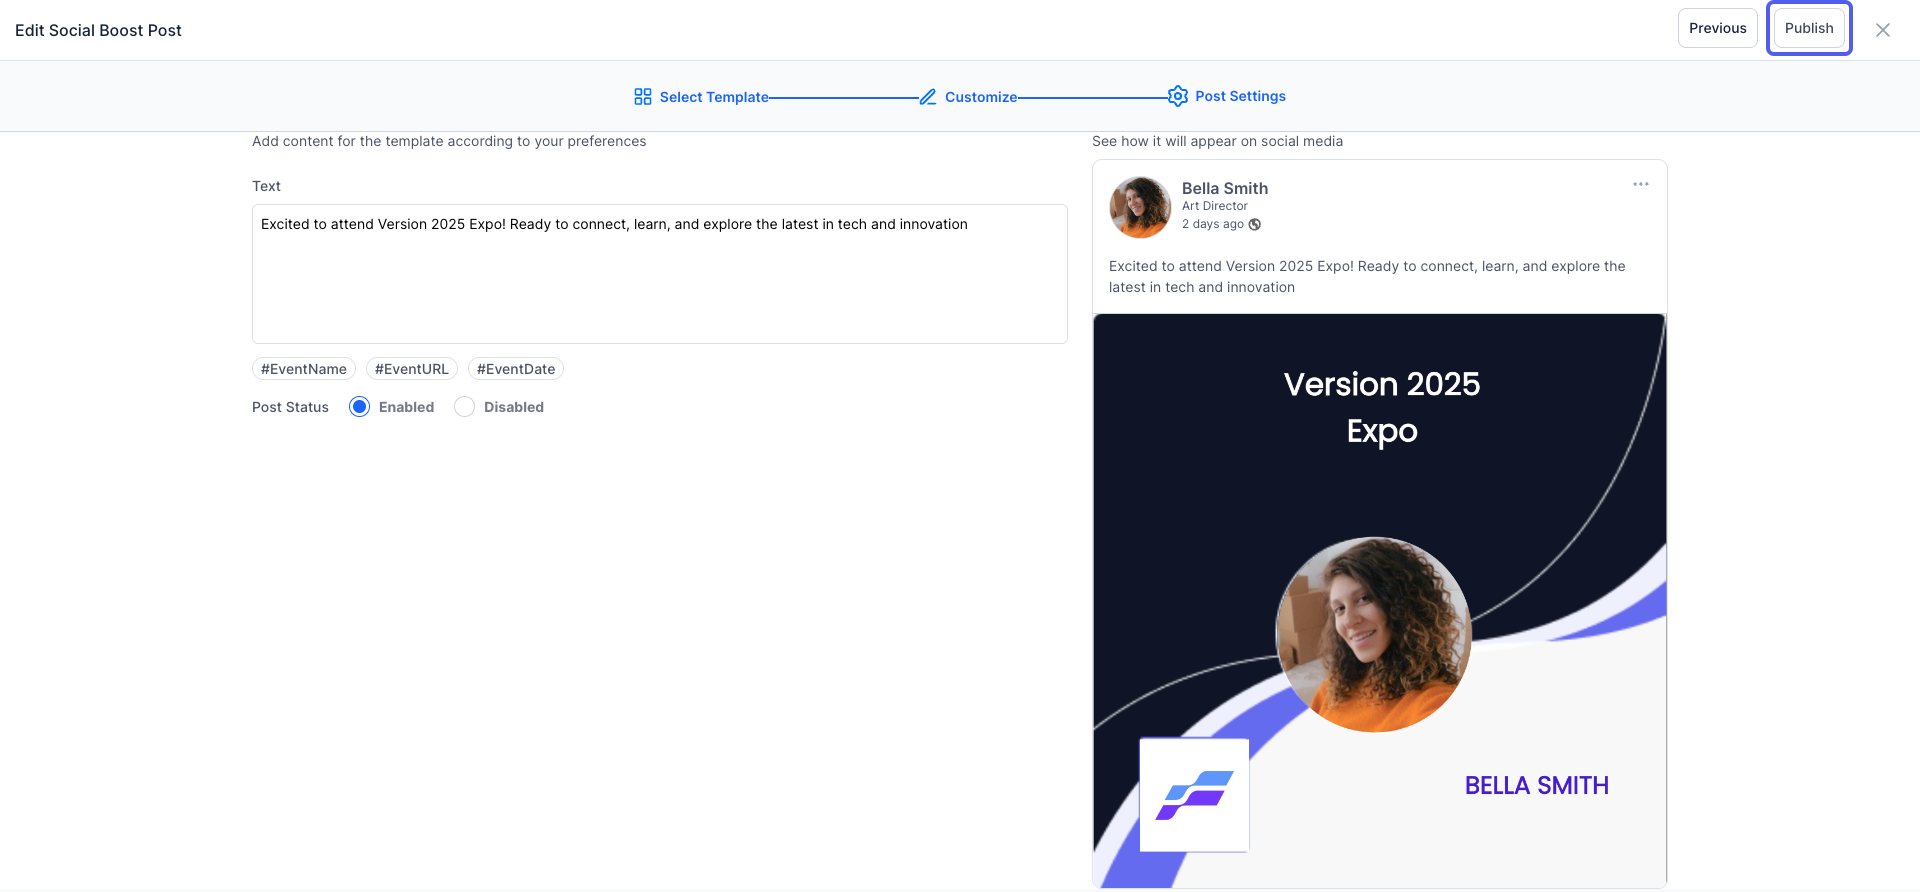
8: After finalizing your banner design, proceed to add content
Input the message or content you want to share.
You can also add relevant hashtags to enhance visibility and engagement on social media platforms.

9: Once all content and design elements are set, click on 'Publish' to save and activate your Social Boost template.
10: The Attendees Perspective
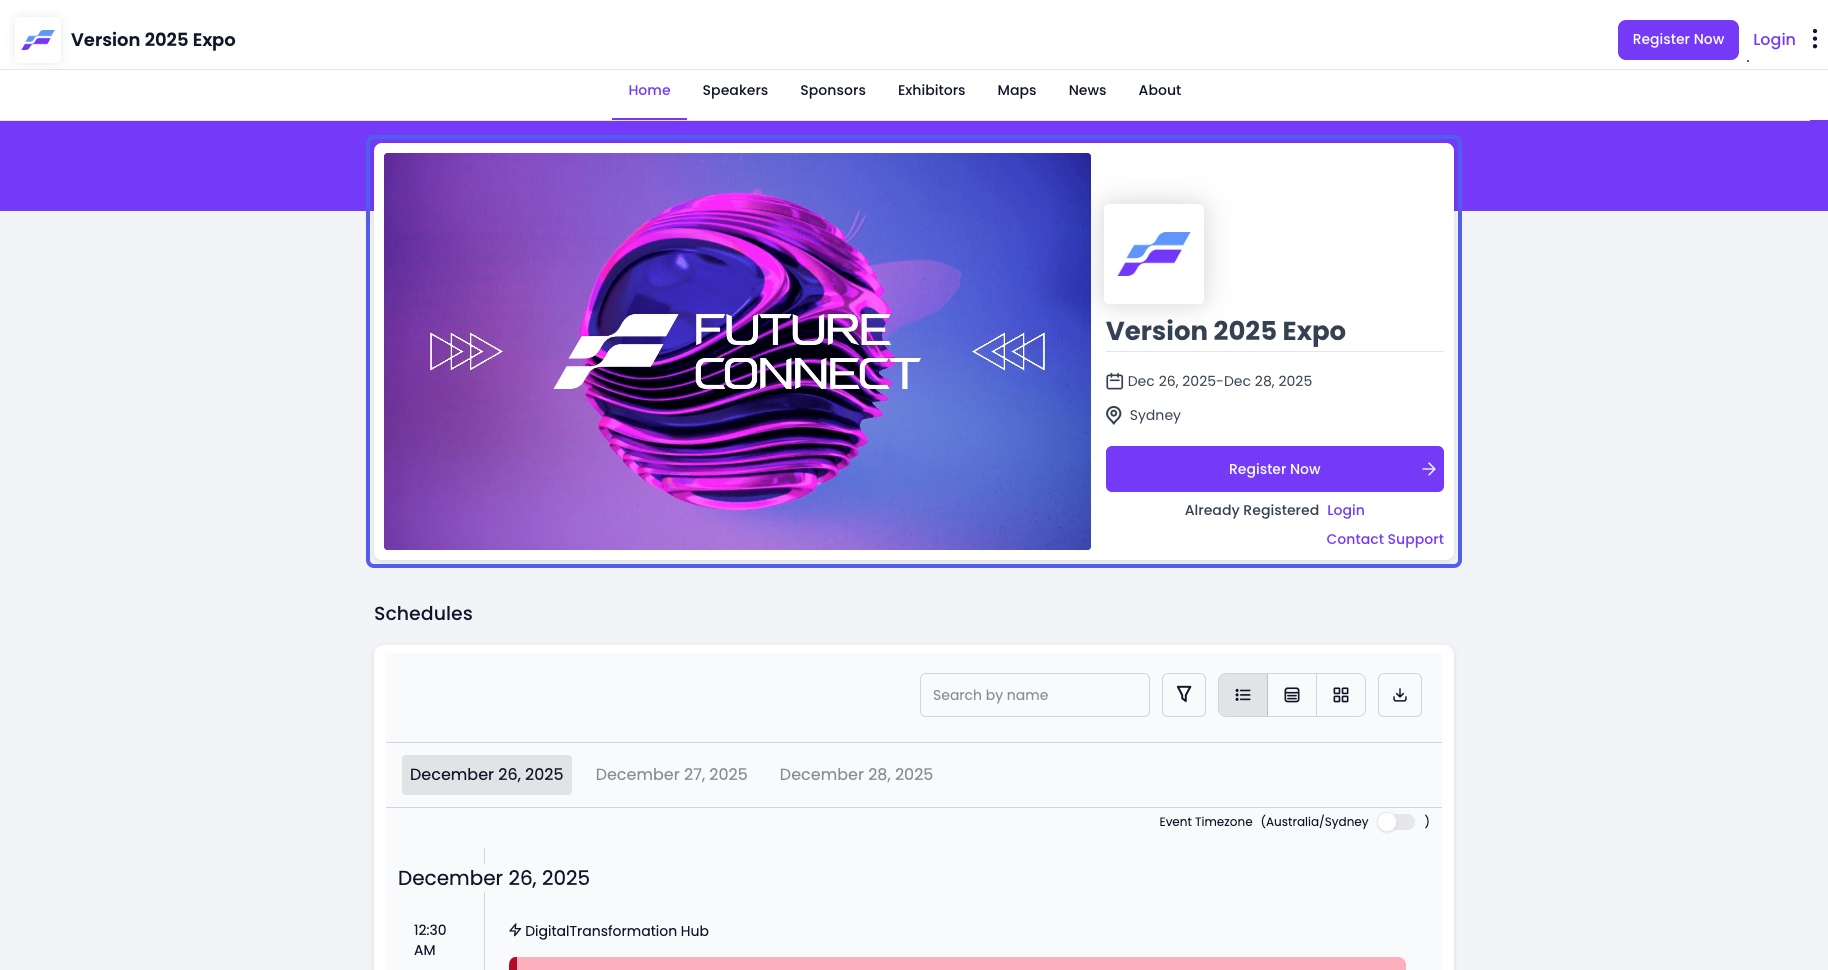
When the Social Boost feature is enabled, attendees get the option to register with social platforms like X, LinkedIn, and Facebook
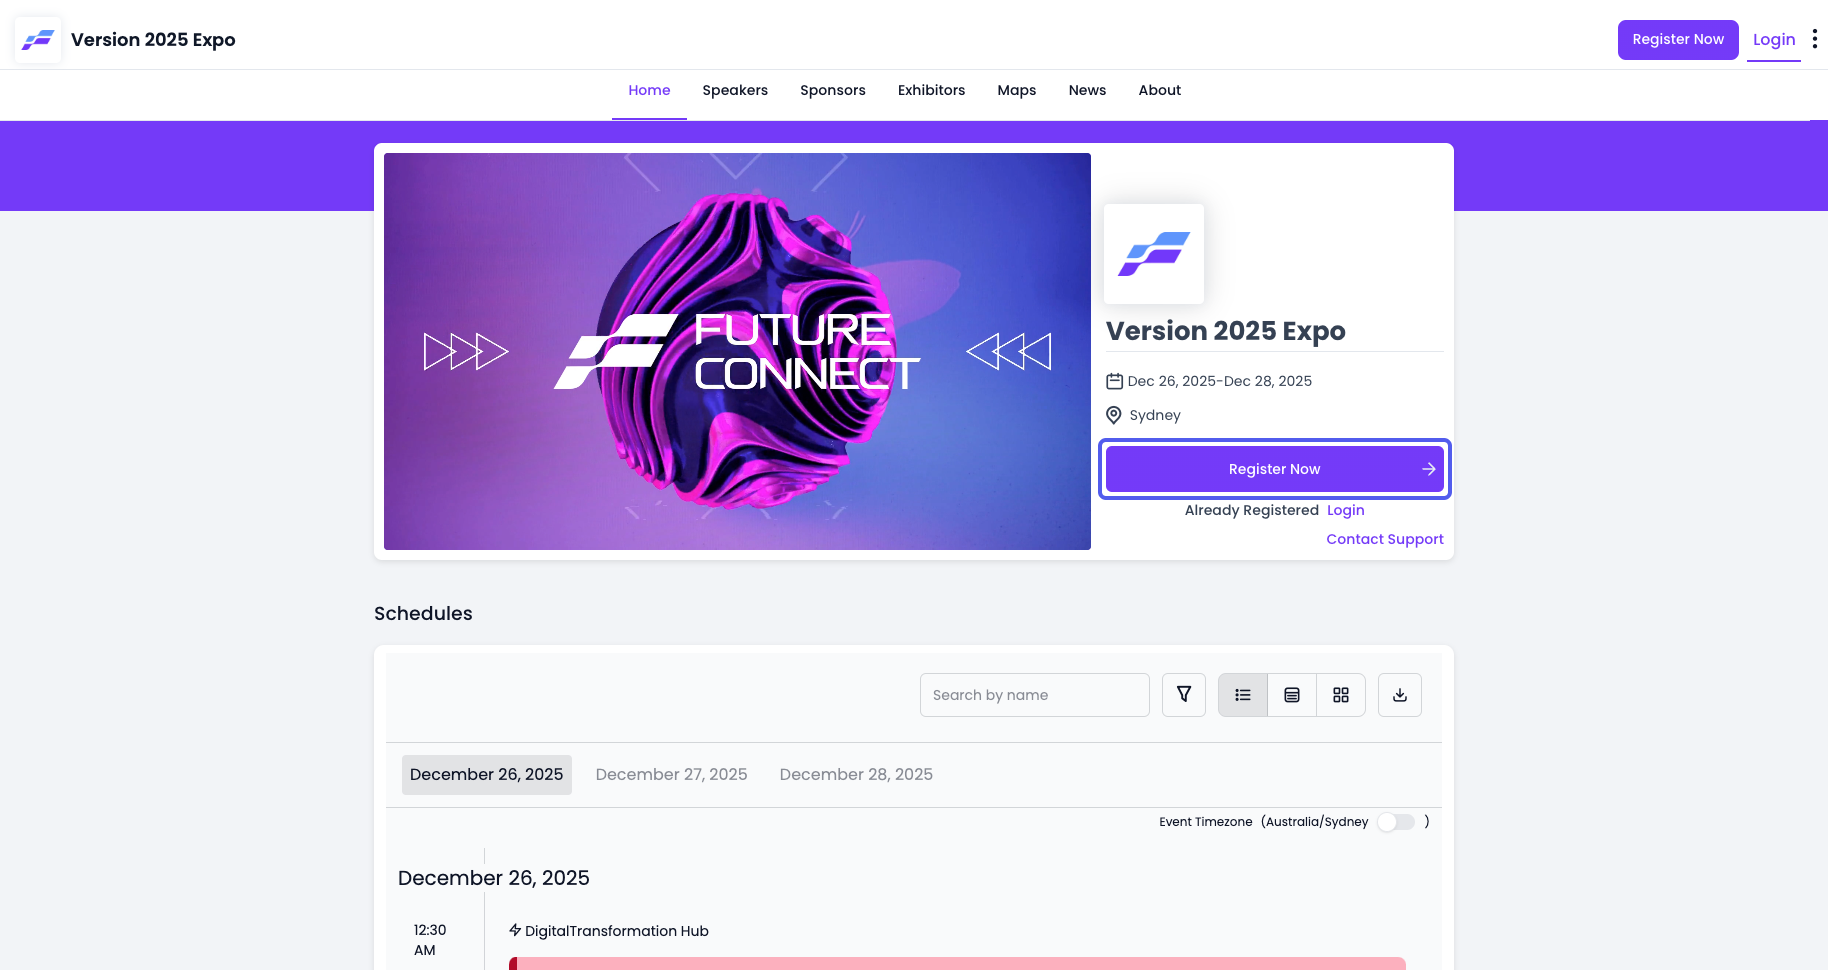
11: Click the “Register Now” button
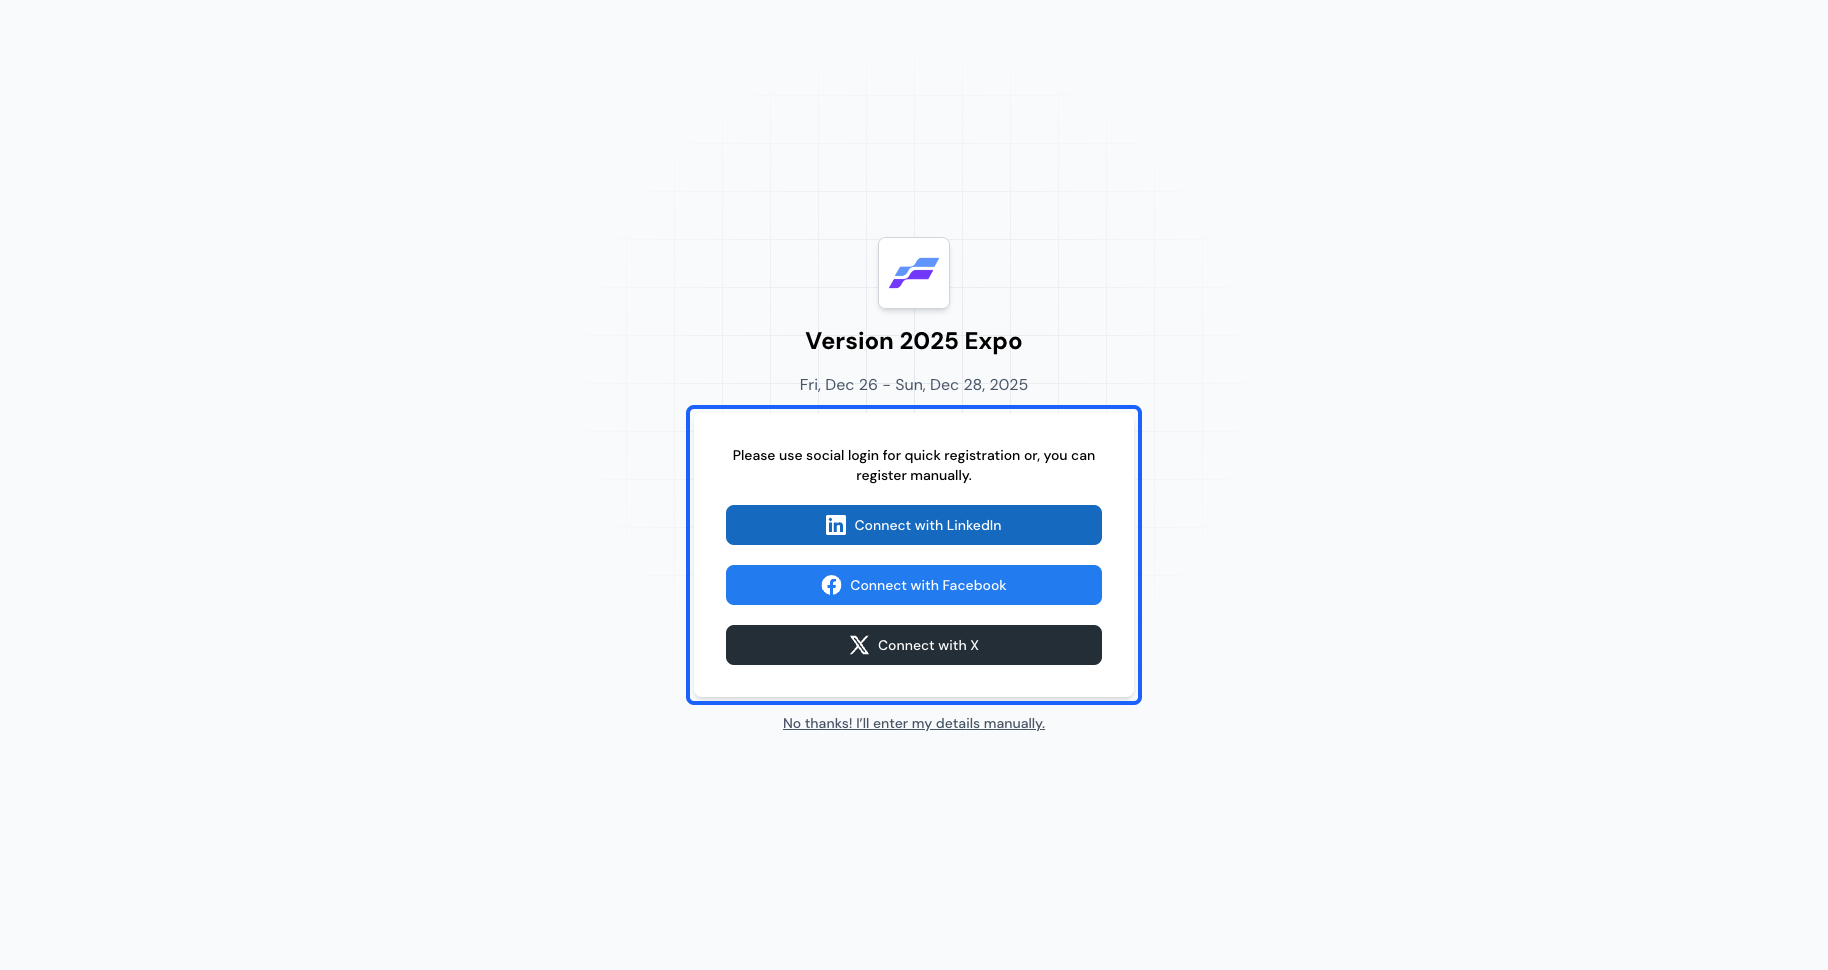
12: Users can select the preferred social option and Eventify will fetch the profile picture & basic info like First name, Last name to make the registration process easier
13: Once the social login is authenticated, the registration form will open with prefilled basic information as available on the social platform
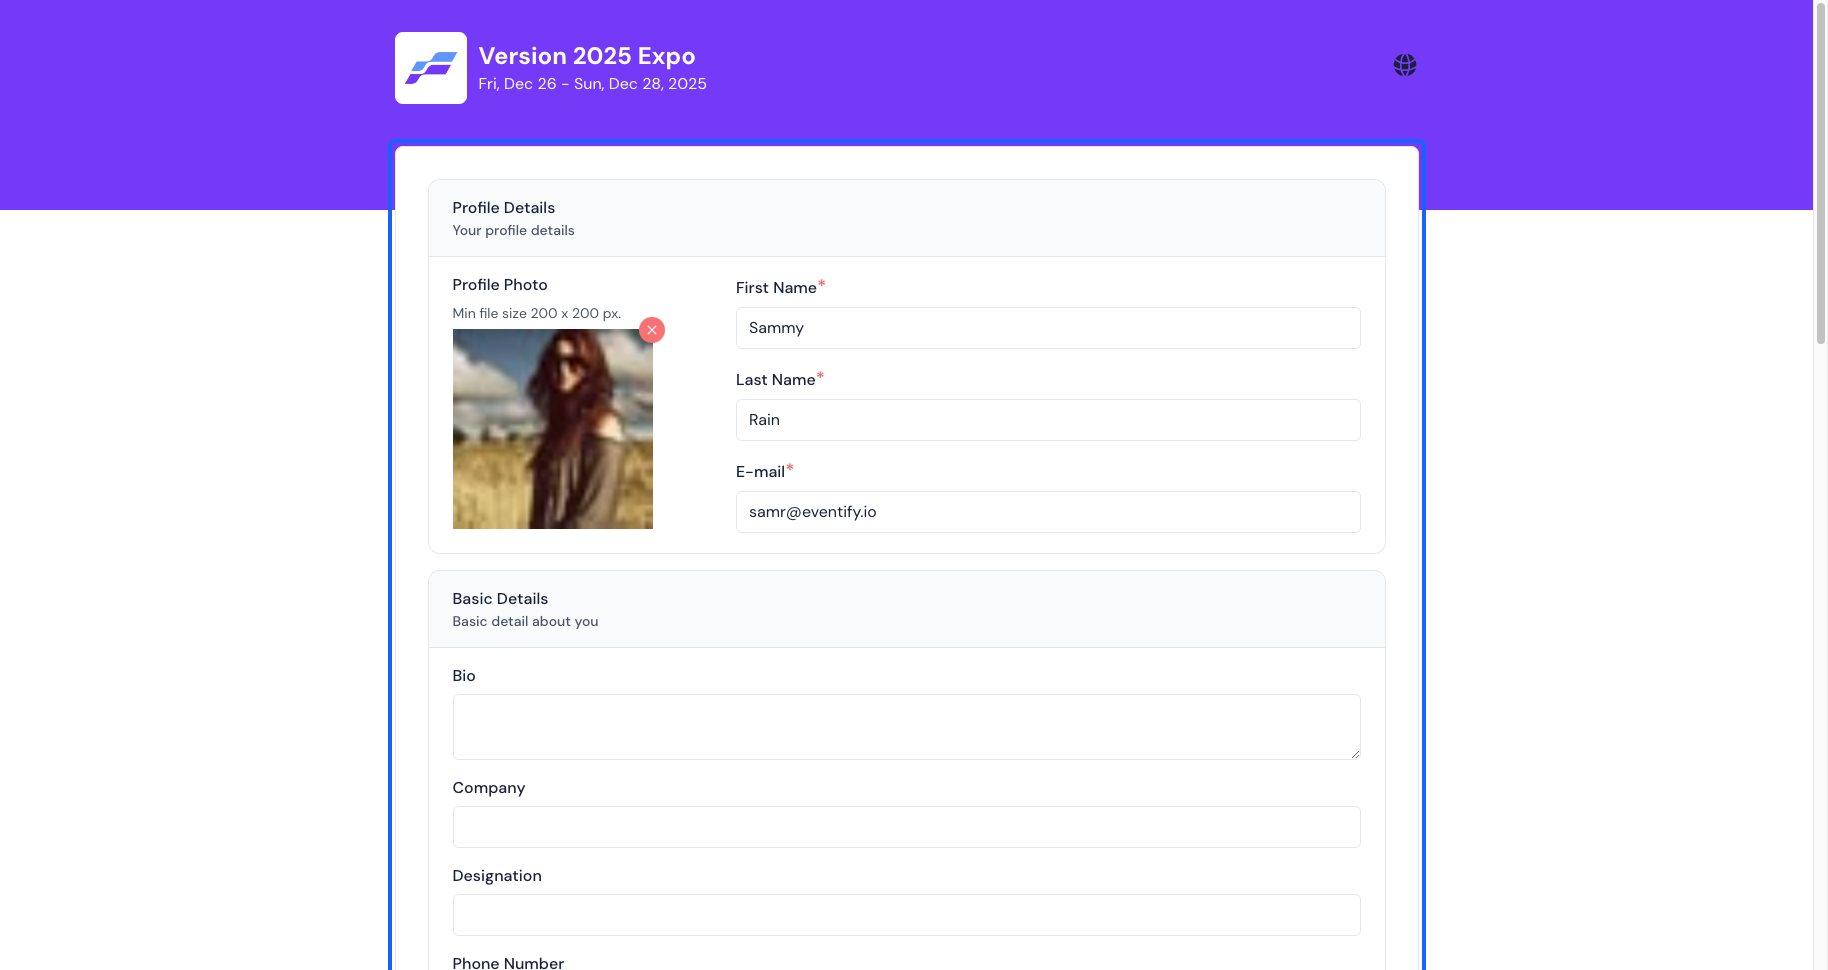
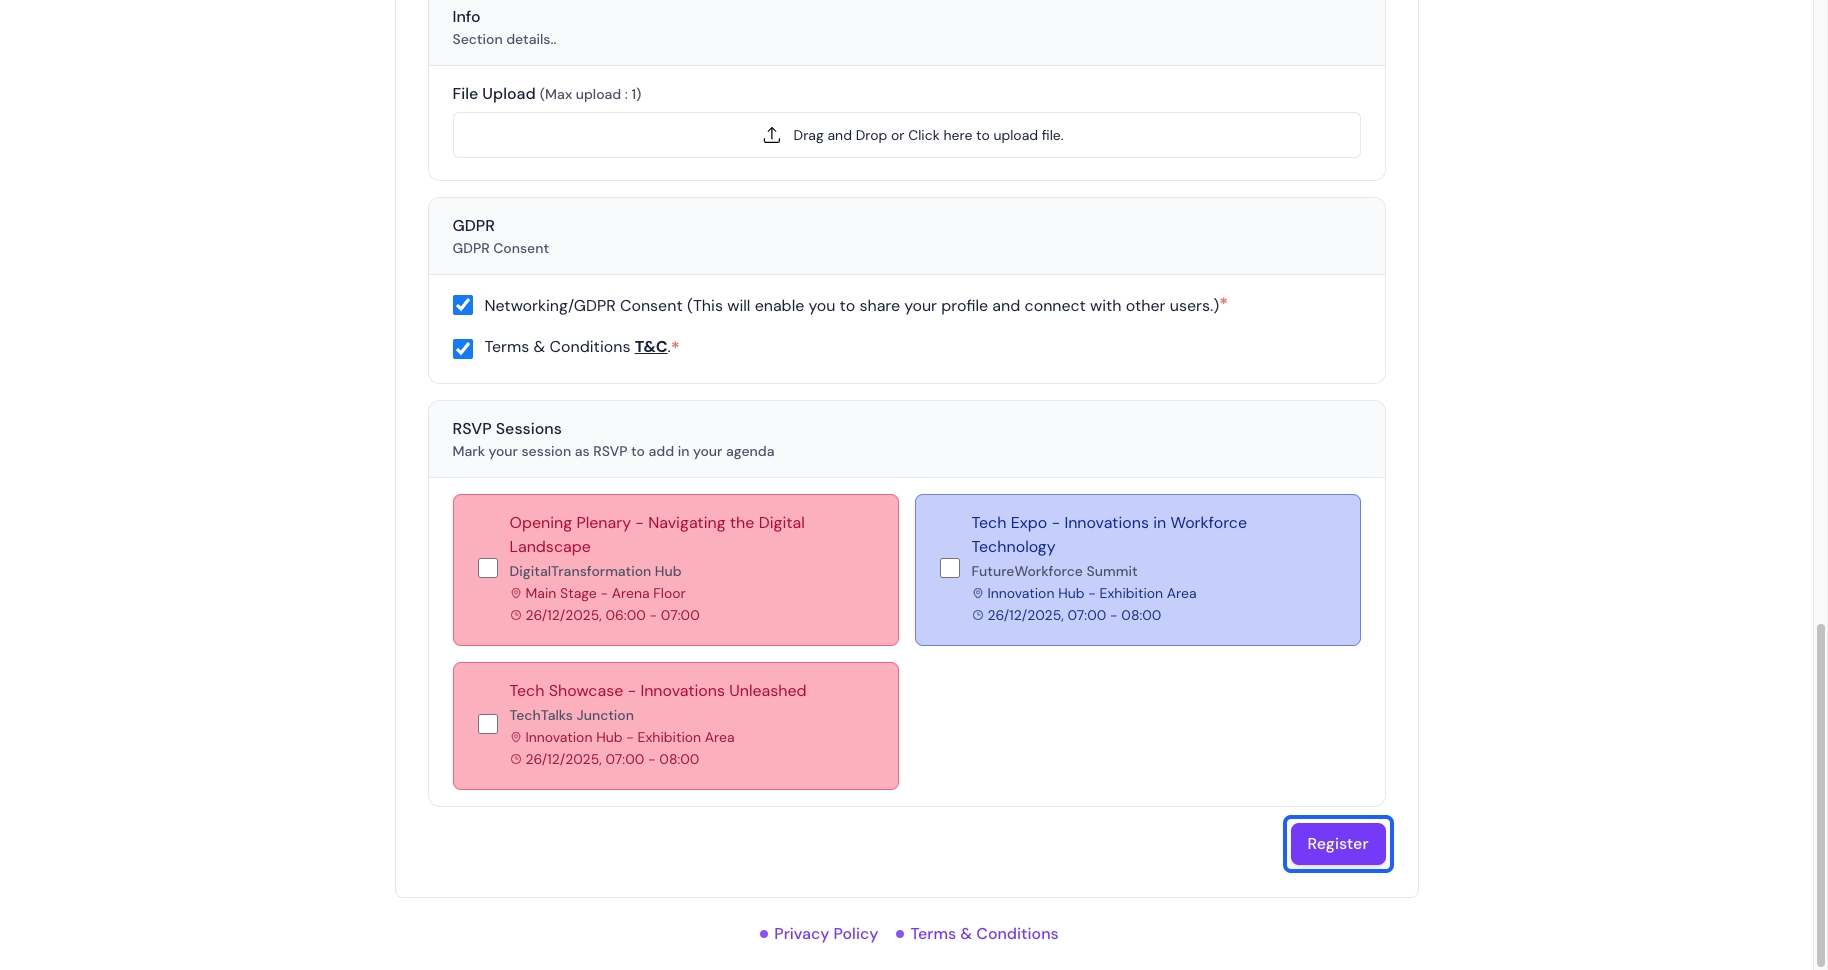
14: Once the form is filled, users can complete the Registration
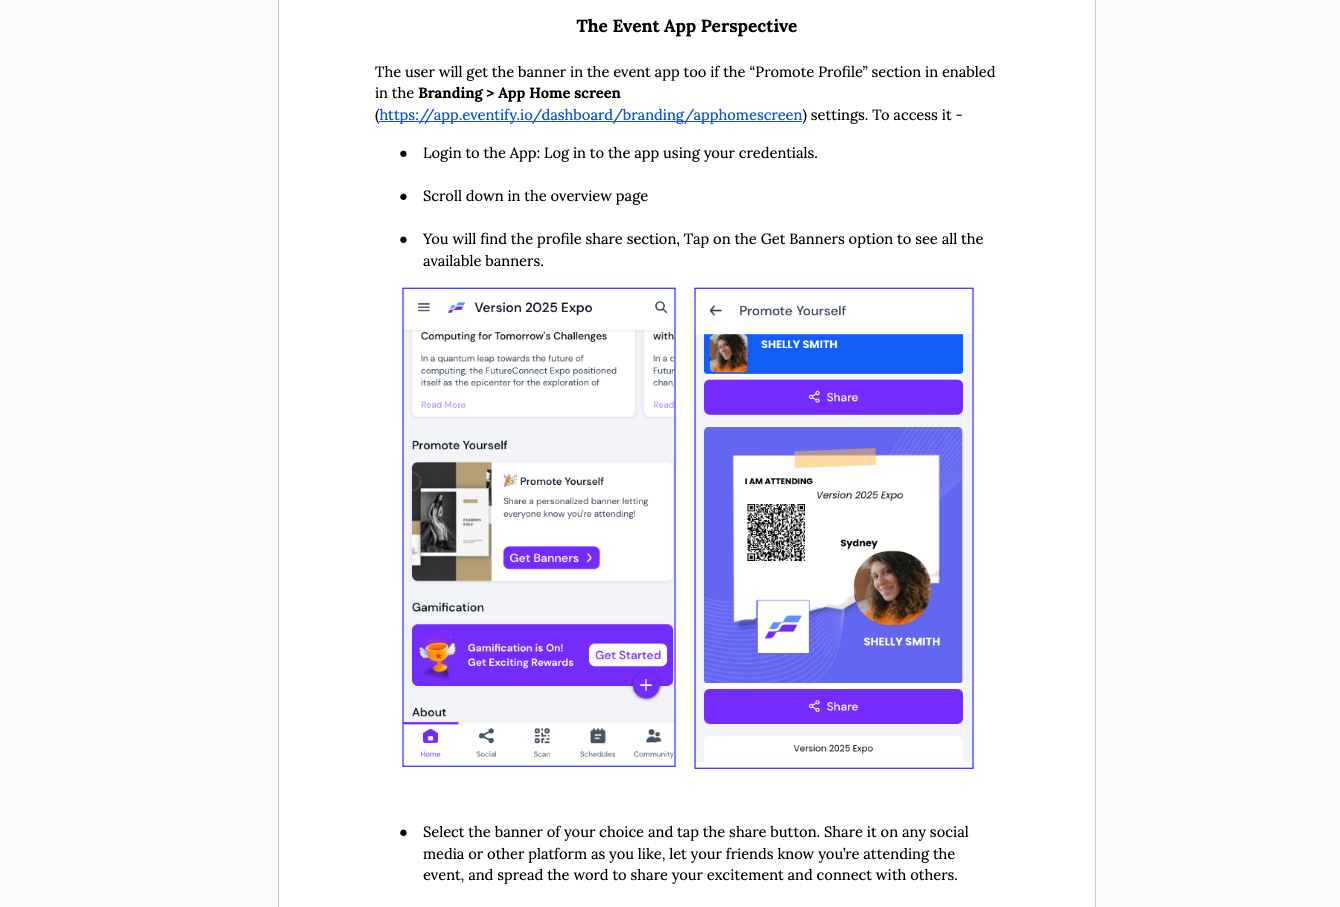
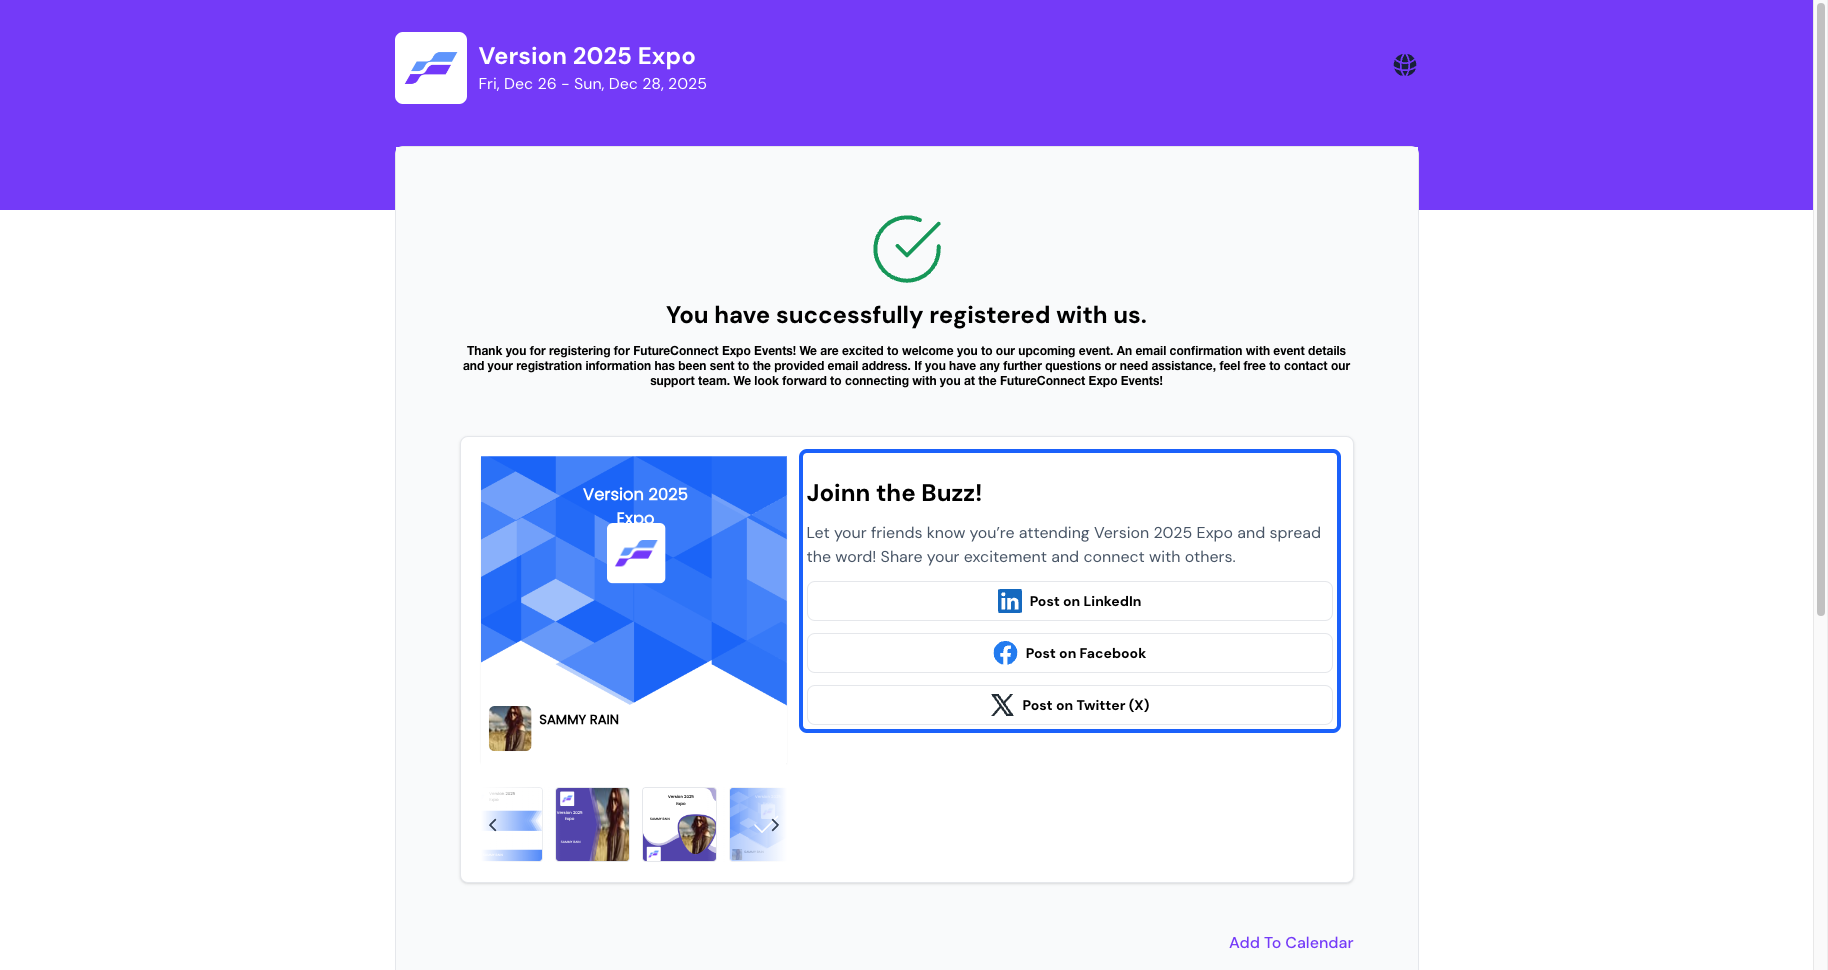
15: After completing the registration process successfully, users will receive all of the banner images assigned to that user's primary group, along with the login information
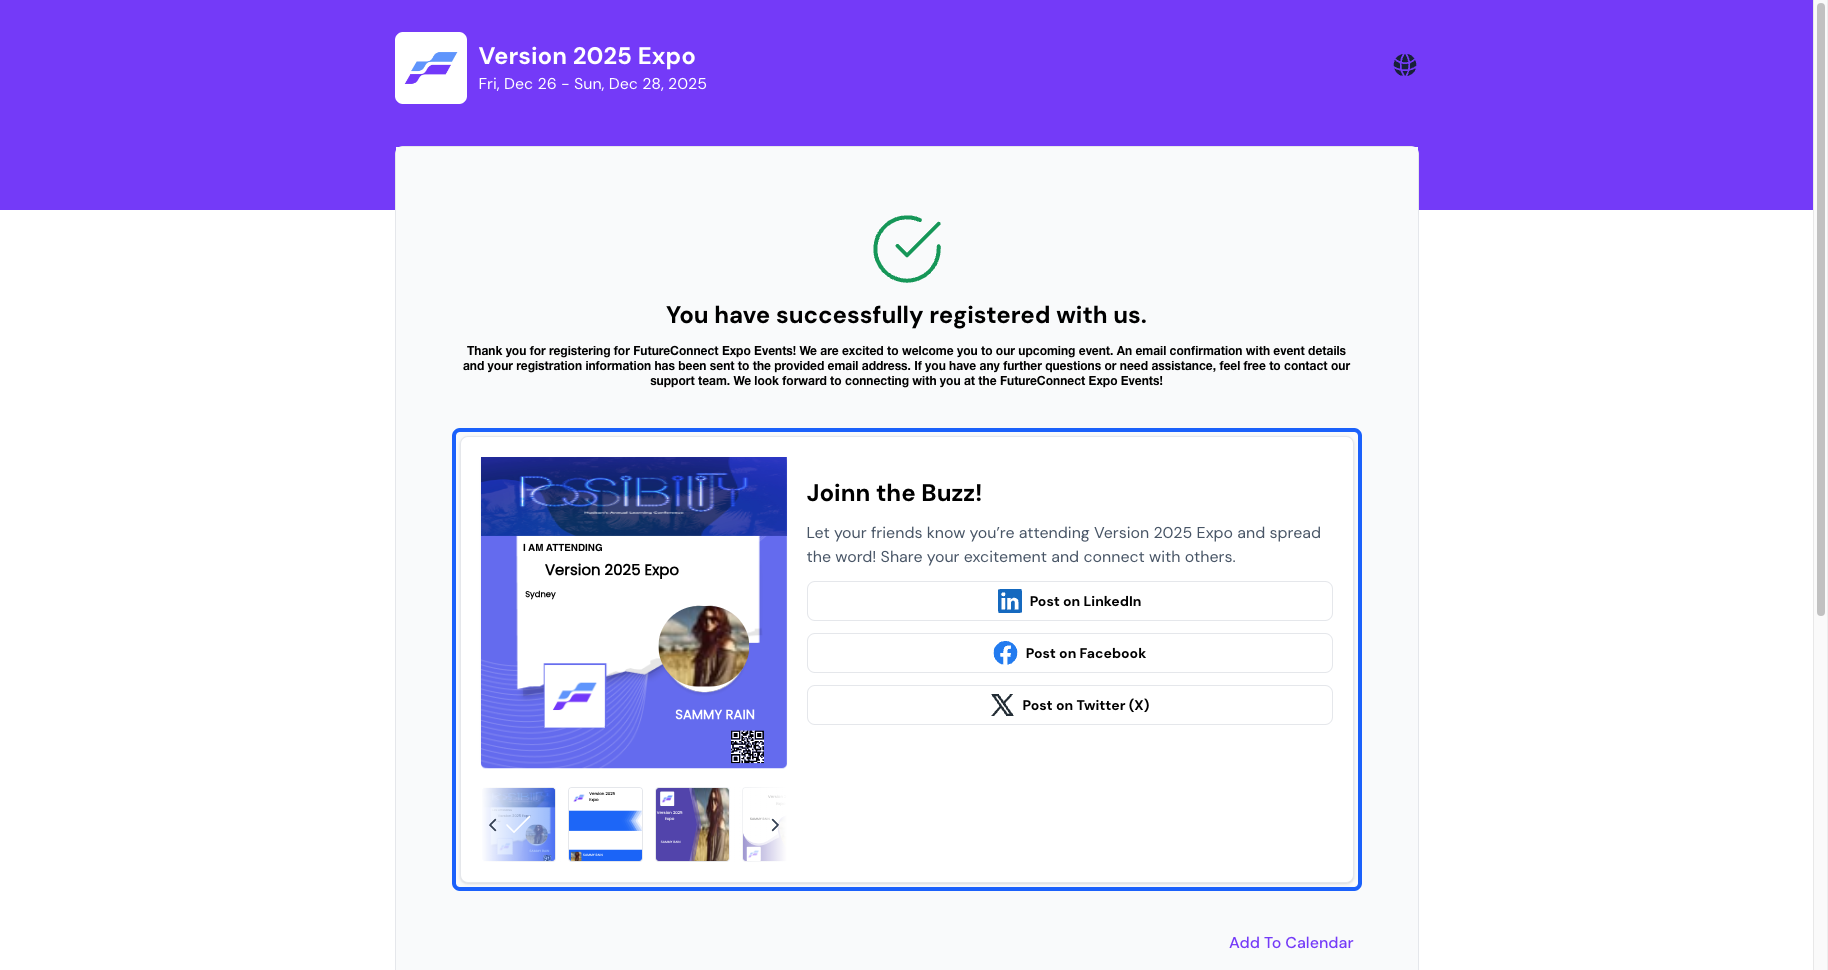
16: From here, they can select the banner of their choice
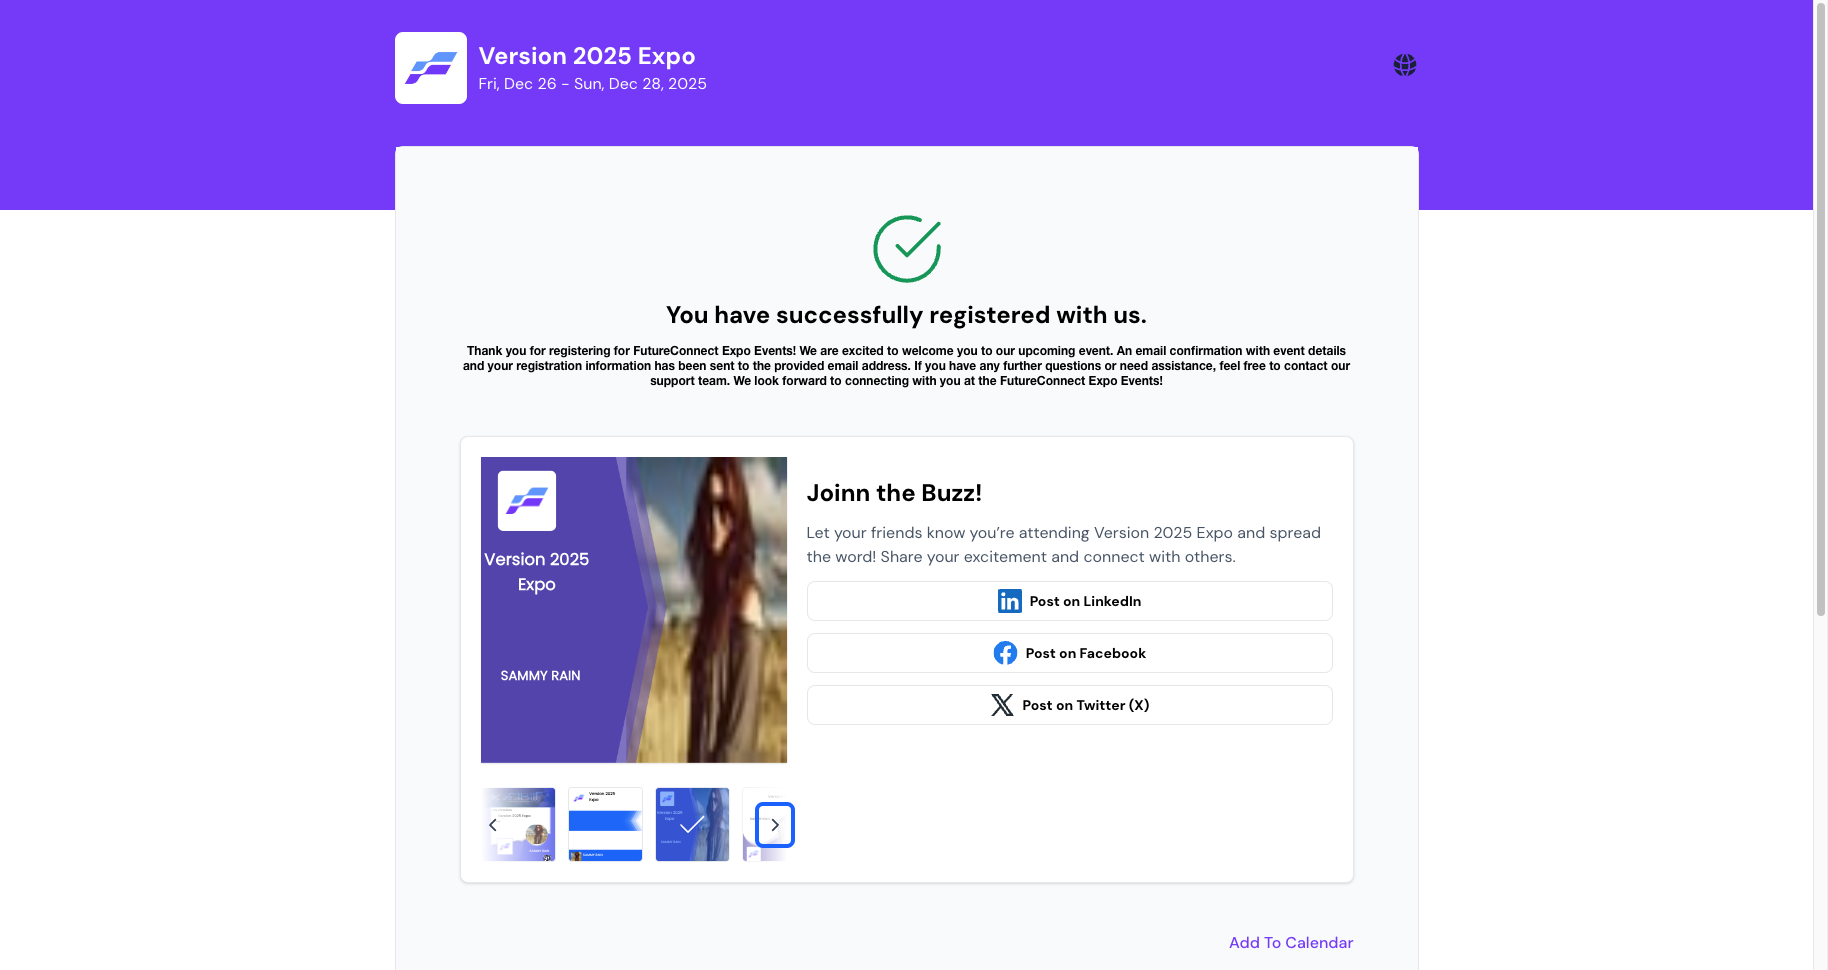
17: They can post & share the banners to any of the social media by clicking the post on buttons
18: Here's the mobile app perspective