Eventify allows organizers to create and manage tickets for different attendee categories, including attendees, speakers, sponsors, exhibitors, add-ons, and custom user groups. Tickets can be created directly from the Ticket Dashboard or from the Manage Tickets page, making it easy to organize registration options for your event.
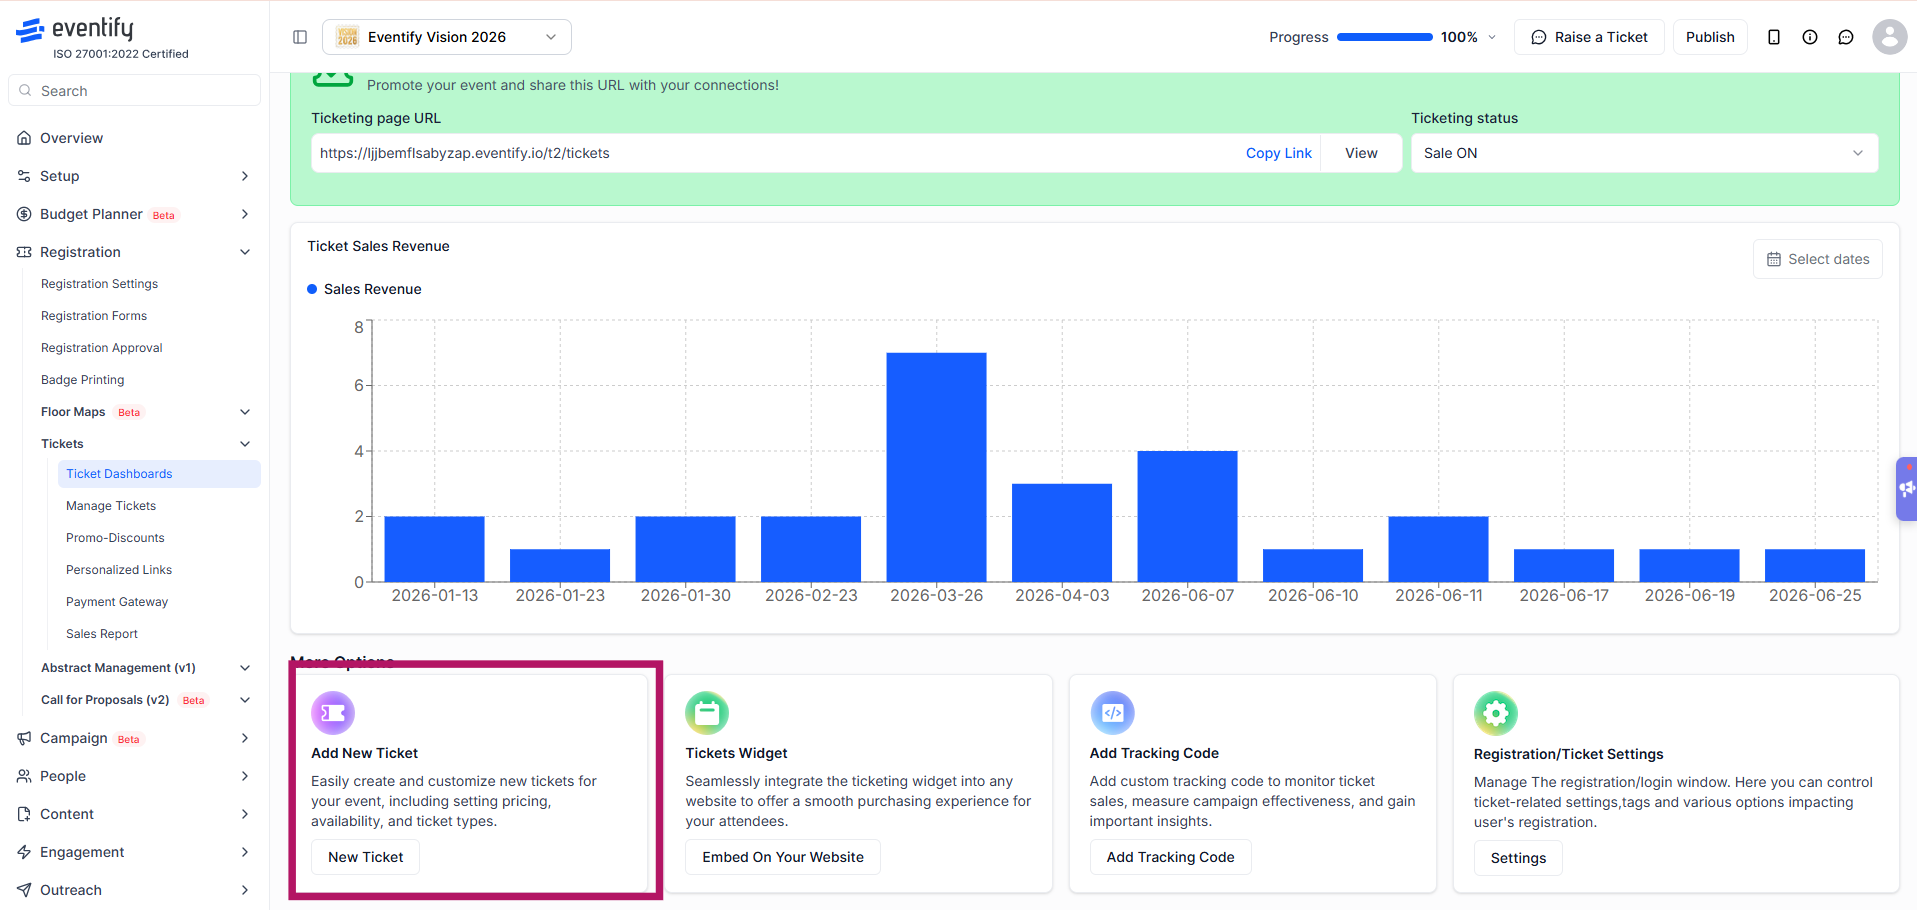
To create a new ticket, log in to the Eventify Admin Panel and navigate to Registration → Tickets → Ticket Dashboards. From the Ticket Dashboard, click the New Ticket button under the Add New Ticket section. Alternatively, you can navigate to Registration → Tickets → Manage Tickets and click the Add New button in the top-right corner.
On the Manage Tickets page, click Add New to display the list of available ticket categories and user groups, such as Attendee, Speaker, Sponsor, Exhibitor, Addon, or any custom groups created for your event. Select the appropriate group, complete the required ticket details, and click Save to create the ticket.

