Managing event passes properly helps you control ticket sales, attendee access, and ticket visibility throughout your event lifecycle. Once you have created your tickets, connected your payment gateway, and completed the required ticket settings, your ticket sales page is ready to go live.
To access your ticket sales page, log in to your Eventify Admin Panel and go to Registration >> Tickets >> Ticket Dashboards. The ticket sales page is automatically created once you create your first ticket. From the dashboard, you can view total tickets sold, track ticket revenue, monitor ticket availability, copy and share your ticketing page URL and turn ticket sales on or off. You can also access additional options such as creating new tickets, embedding the ticket widget on your website, adding tracking codes and managing registration and ticket settings.

After the setup is done, here is how you can manage each individual ticket.
To manage event tickets, go to Registration >> Tickets >> Manage Tickets. From this page, you can organize, update, and control all your tickets. You can choose how tickets are displayed on the ticket sales page. Available sorting options include:

You can use the search bar at the top-right corner of the Manage Tickets page to quickly find a specific ticket. Also, each ticket includes several management options:
🔔 The delete option is only available if the ticket has never been sold. The same ticket order will appear on the public ticketing page.
You can associate sessions with specific tickets so only attendees holding those tickets can access the linked sessions. Click Sessions beside the ticket you want to manage. The Associated Sessions popup will appear.
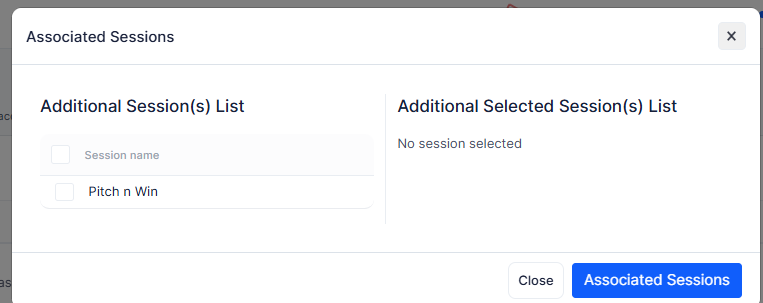
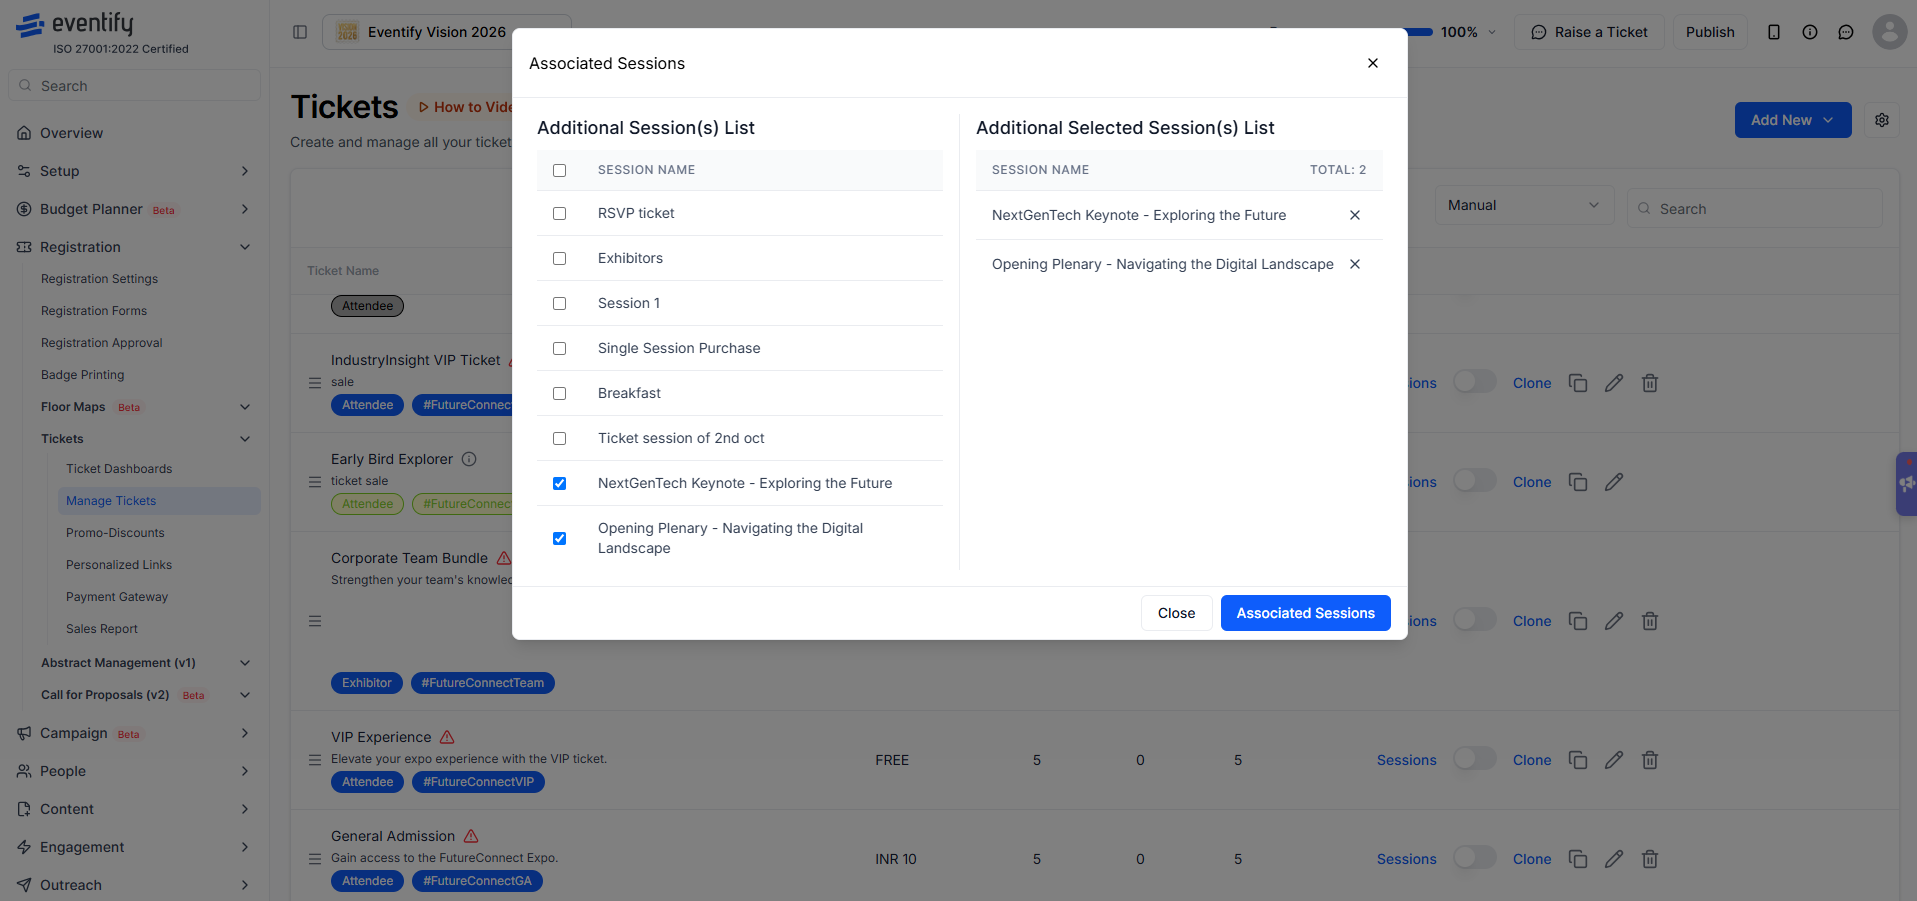
After selecting the required sessions, click Associated Sessions to save the changes.
