Bulk editing sessions allows organizers to update multiple session details at once, saving time and ensuring consistency across event sessions. Follow the steps below to bulk edit sessions
Step-by-step guide
1: Access the Eventify Admin Panel and navigate to Content > Schedules
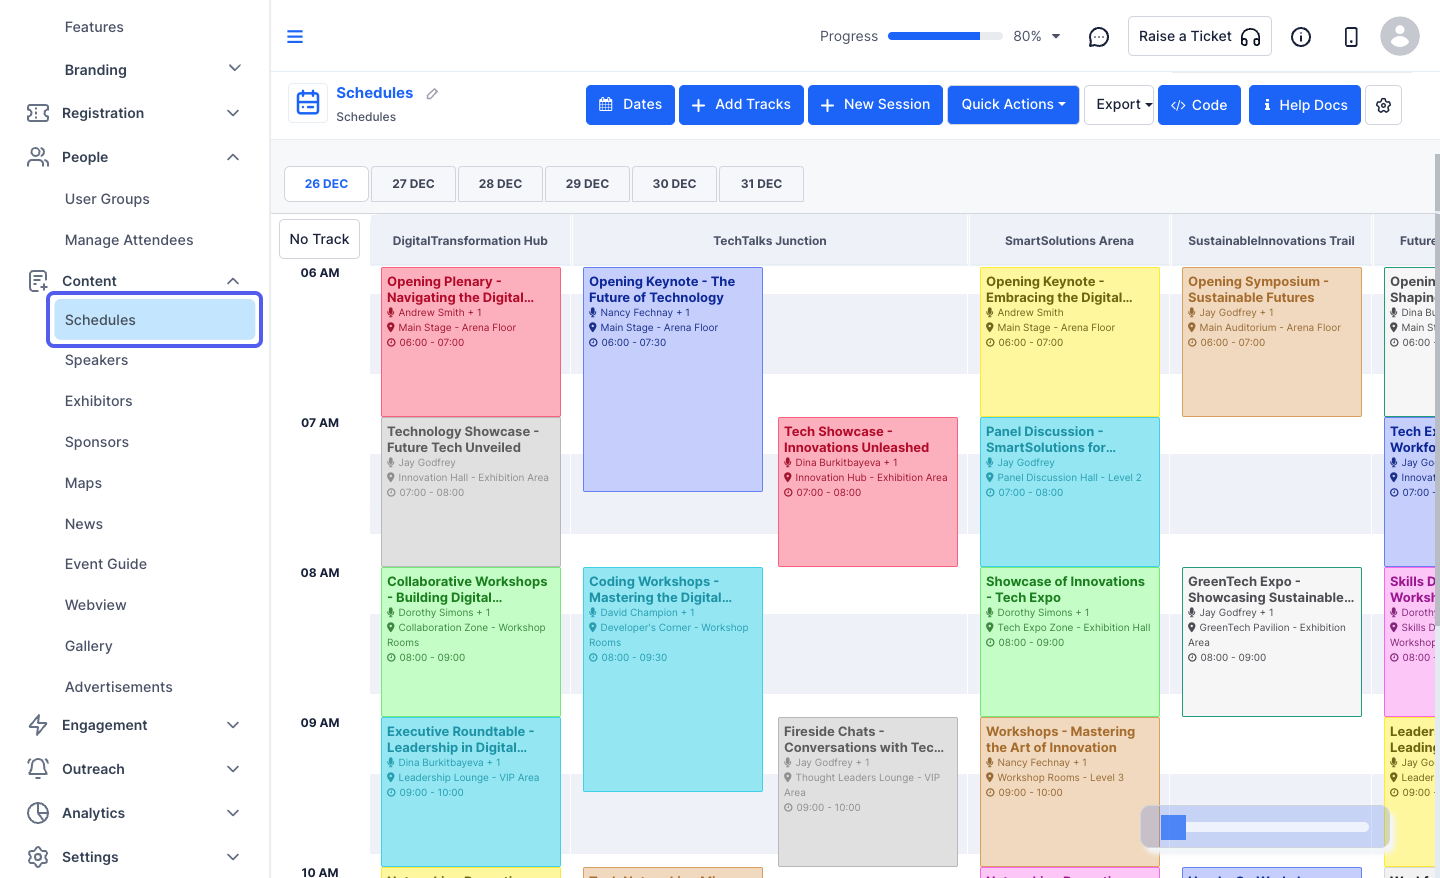
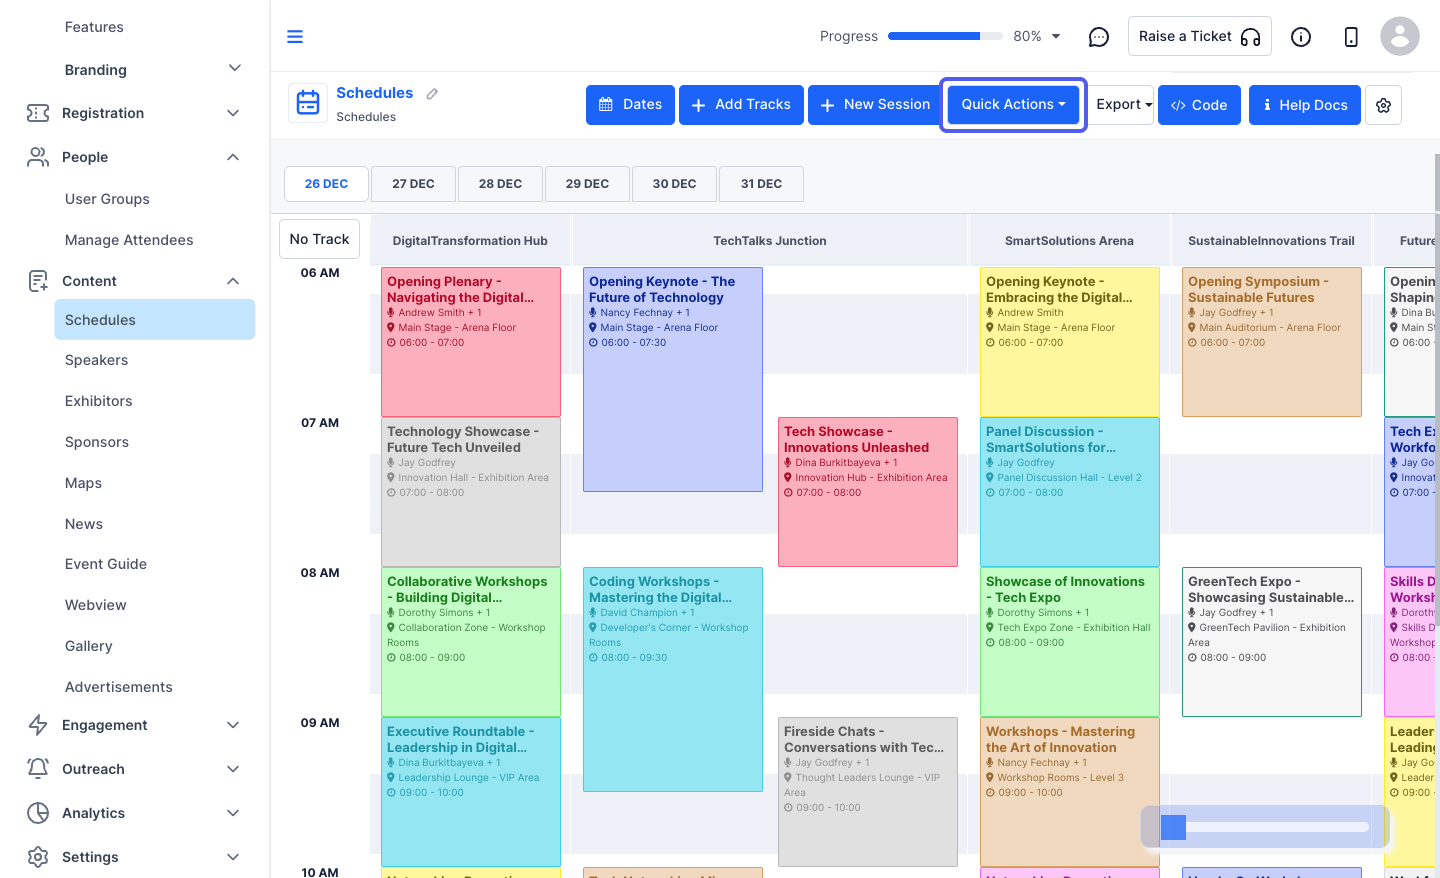
2: To bulk edit sessions, click on Quick Actions
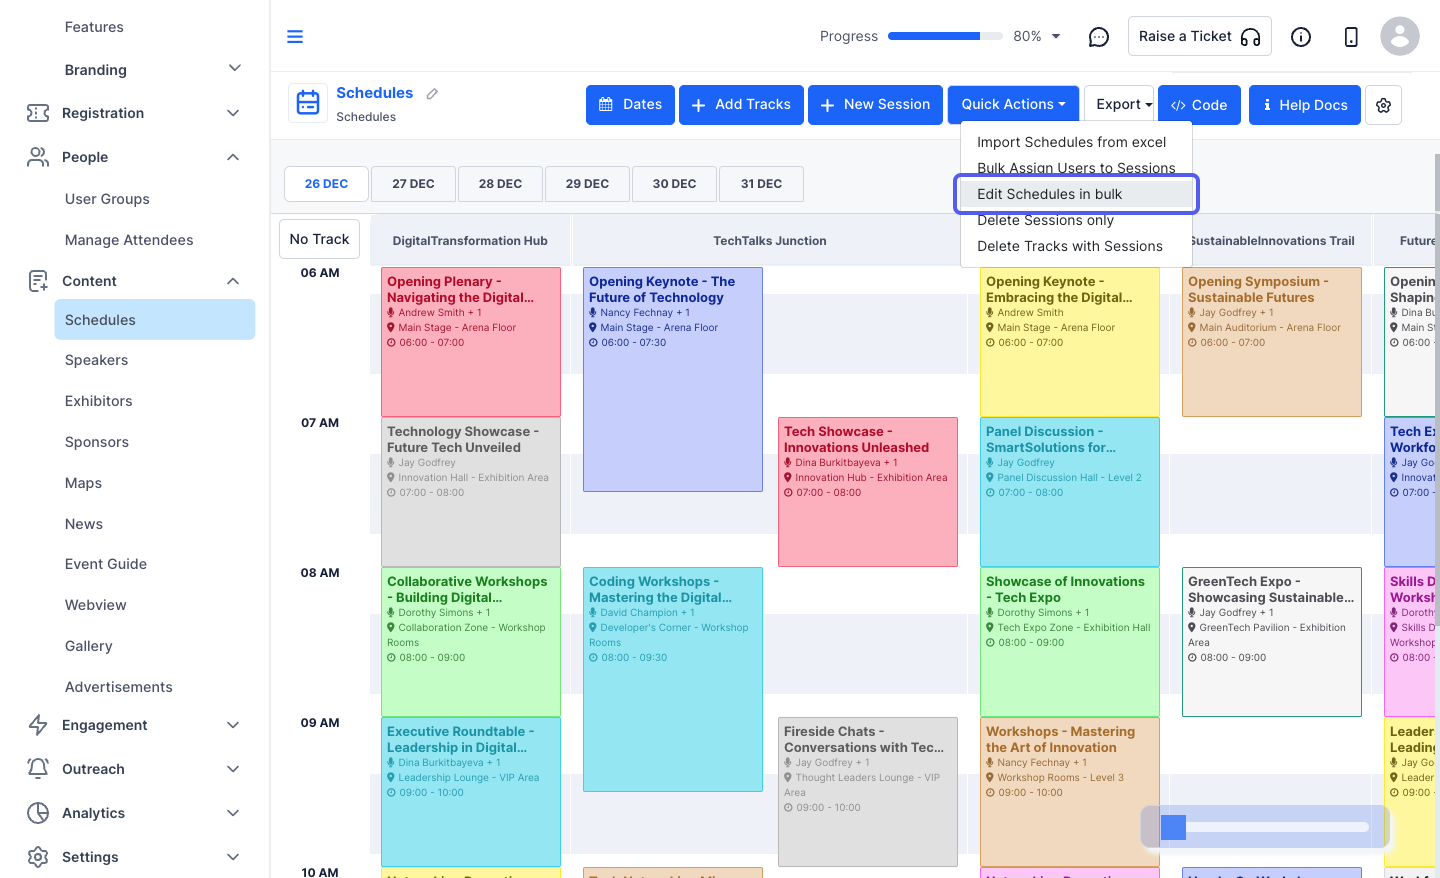
3: Then click on "Edit Schedules in bulk"
4: You will get all the created schedules along with their data for all the dates
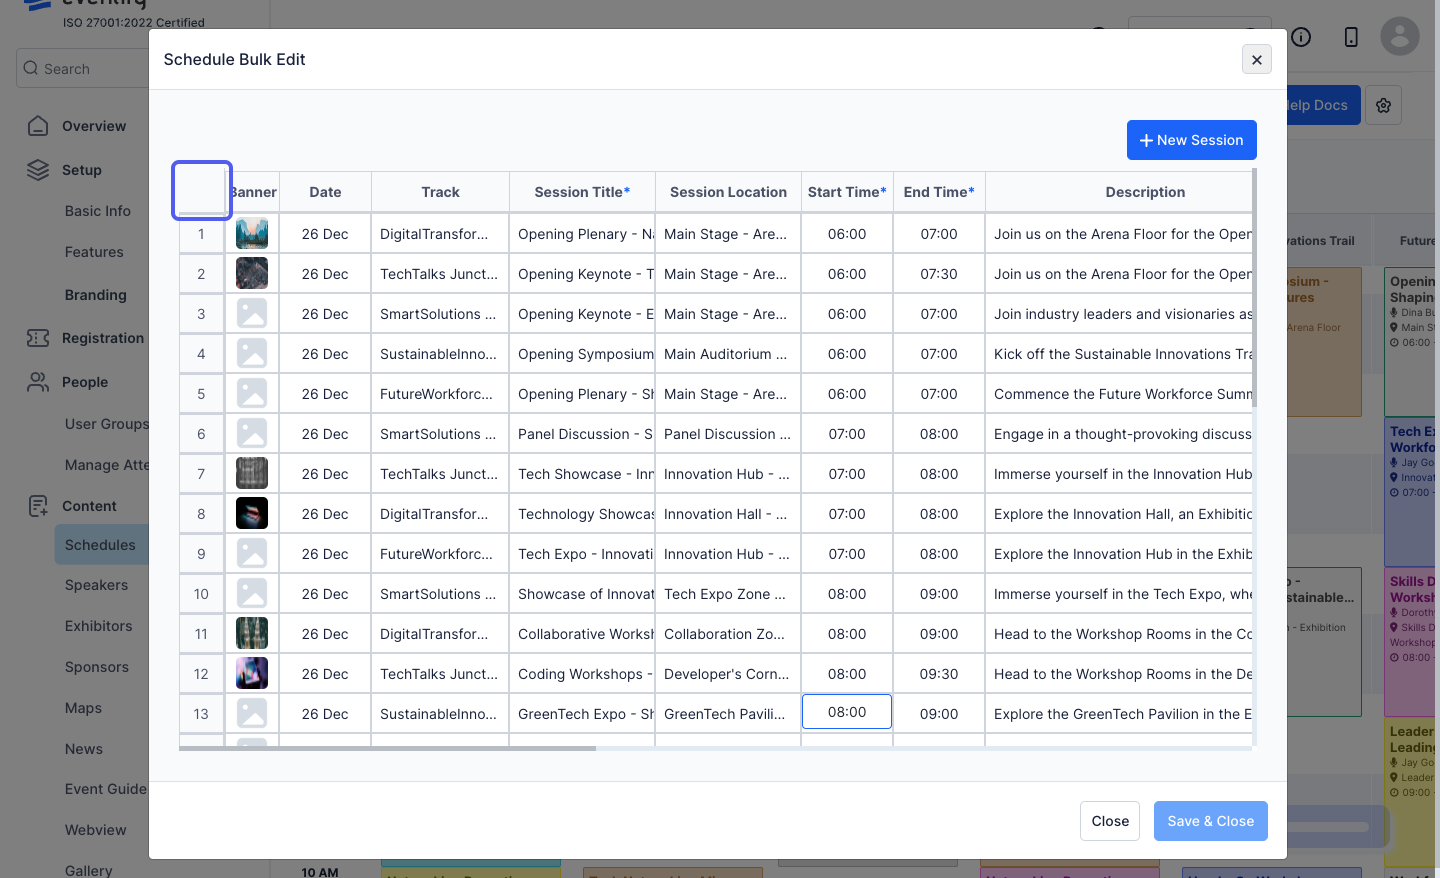
5: You can edit the banner image
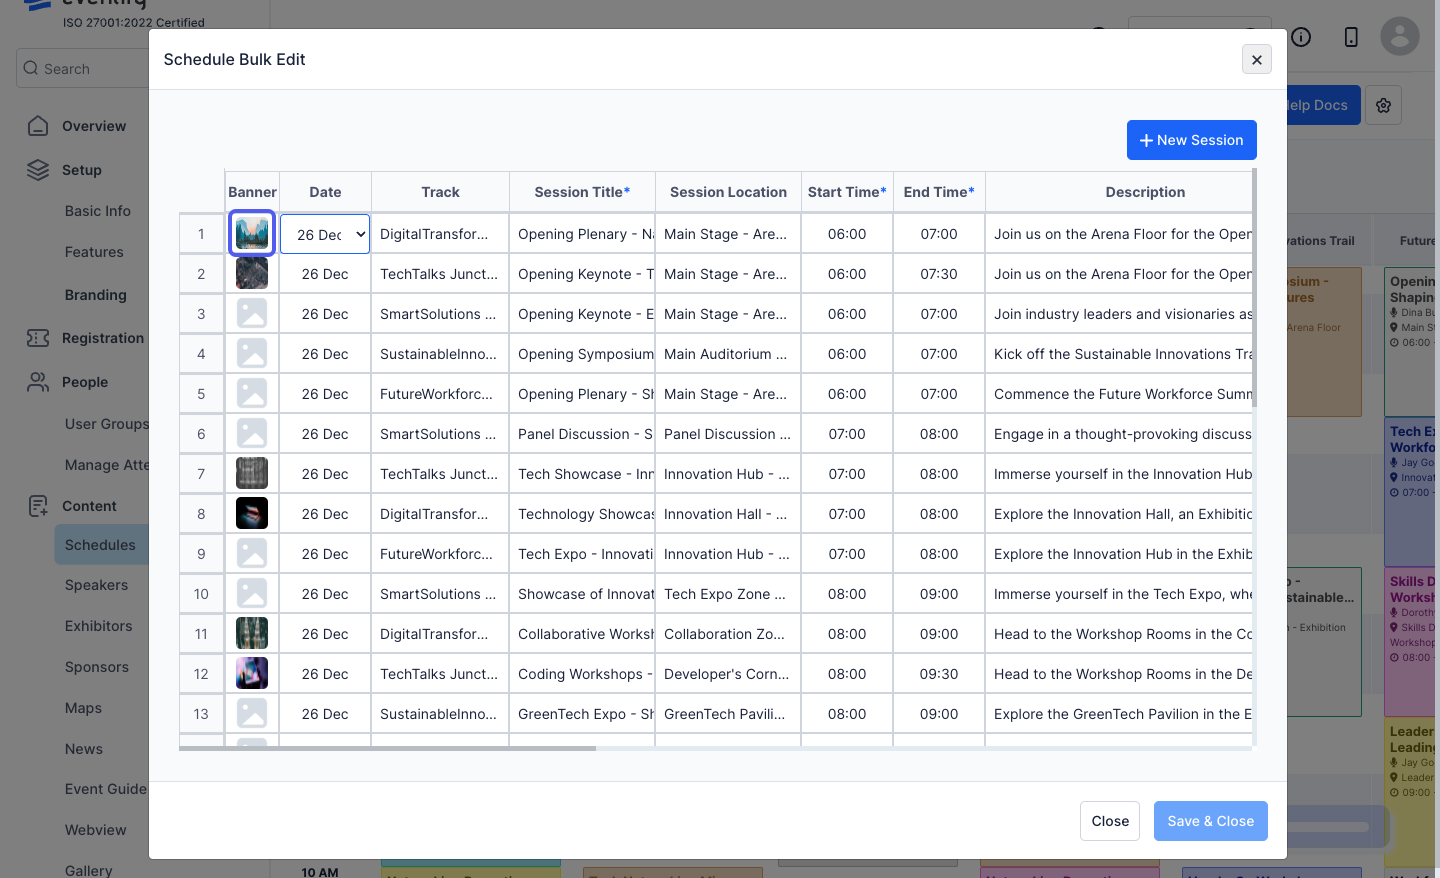
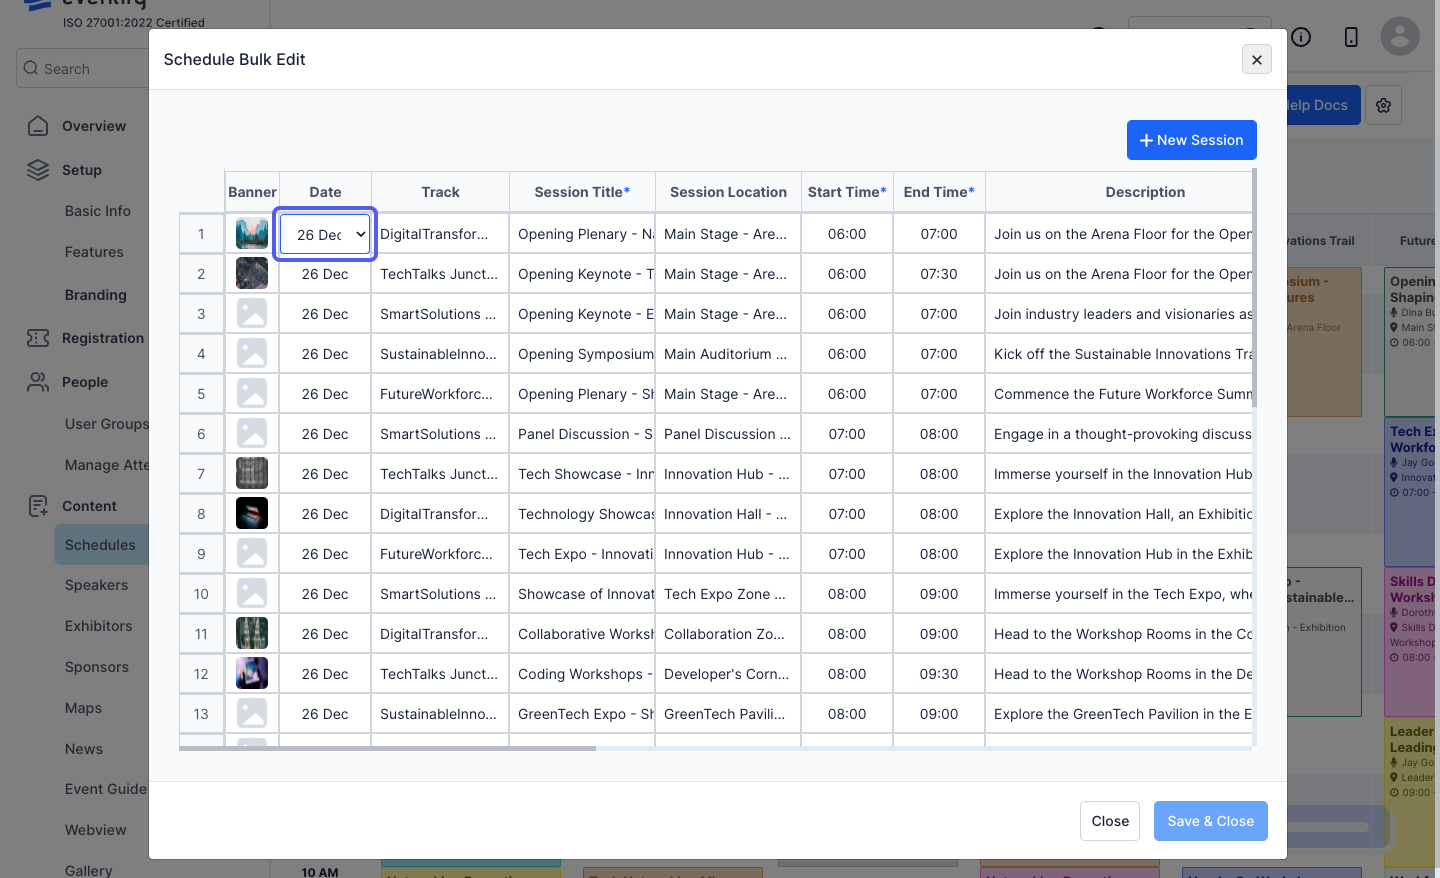
6: You can change the date of the session
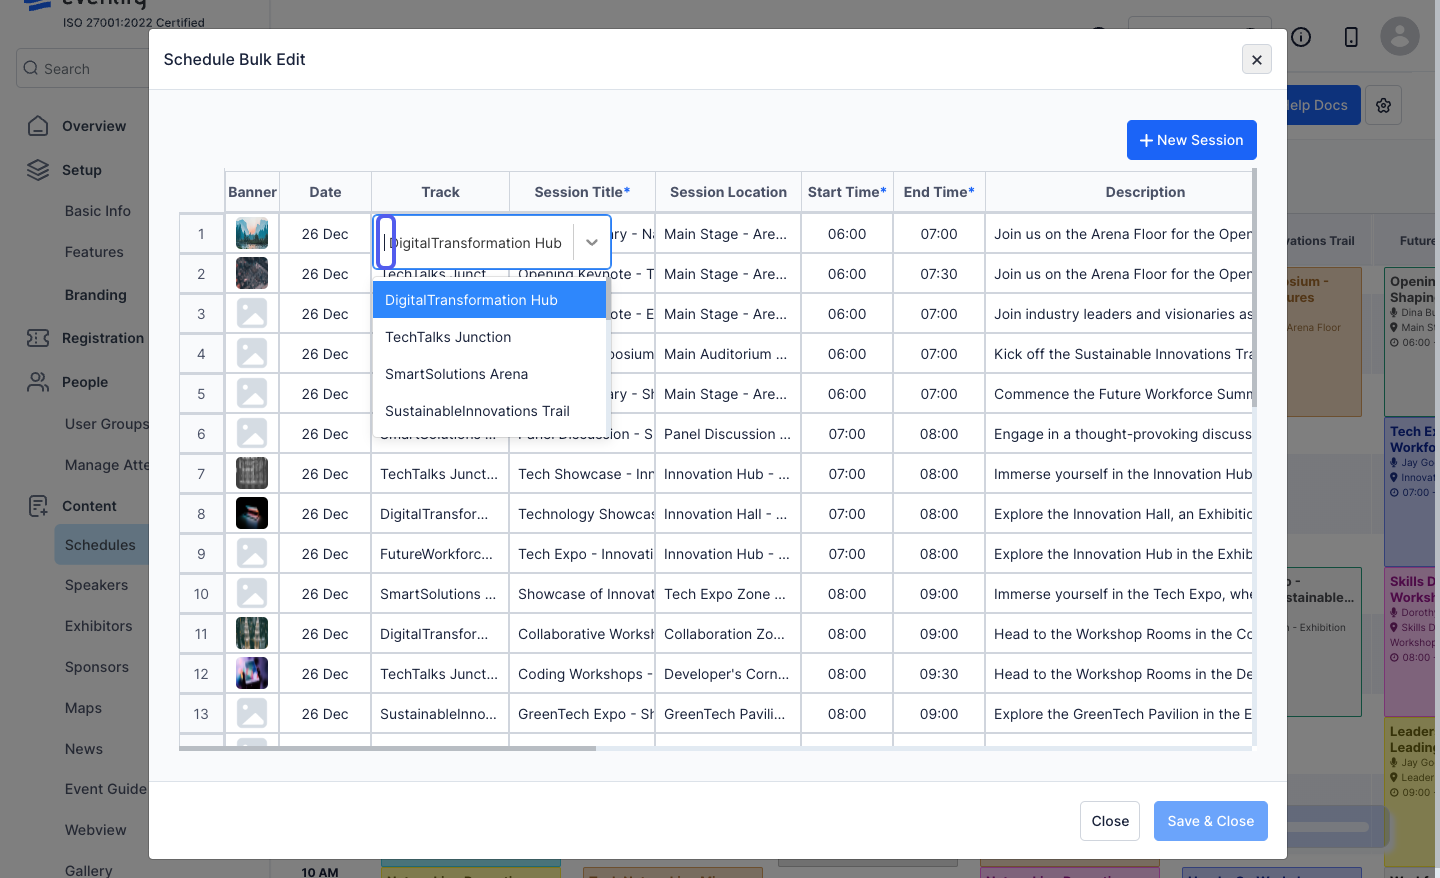
7: You can update the track of the session
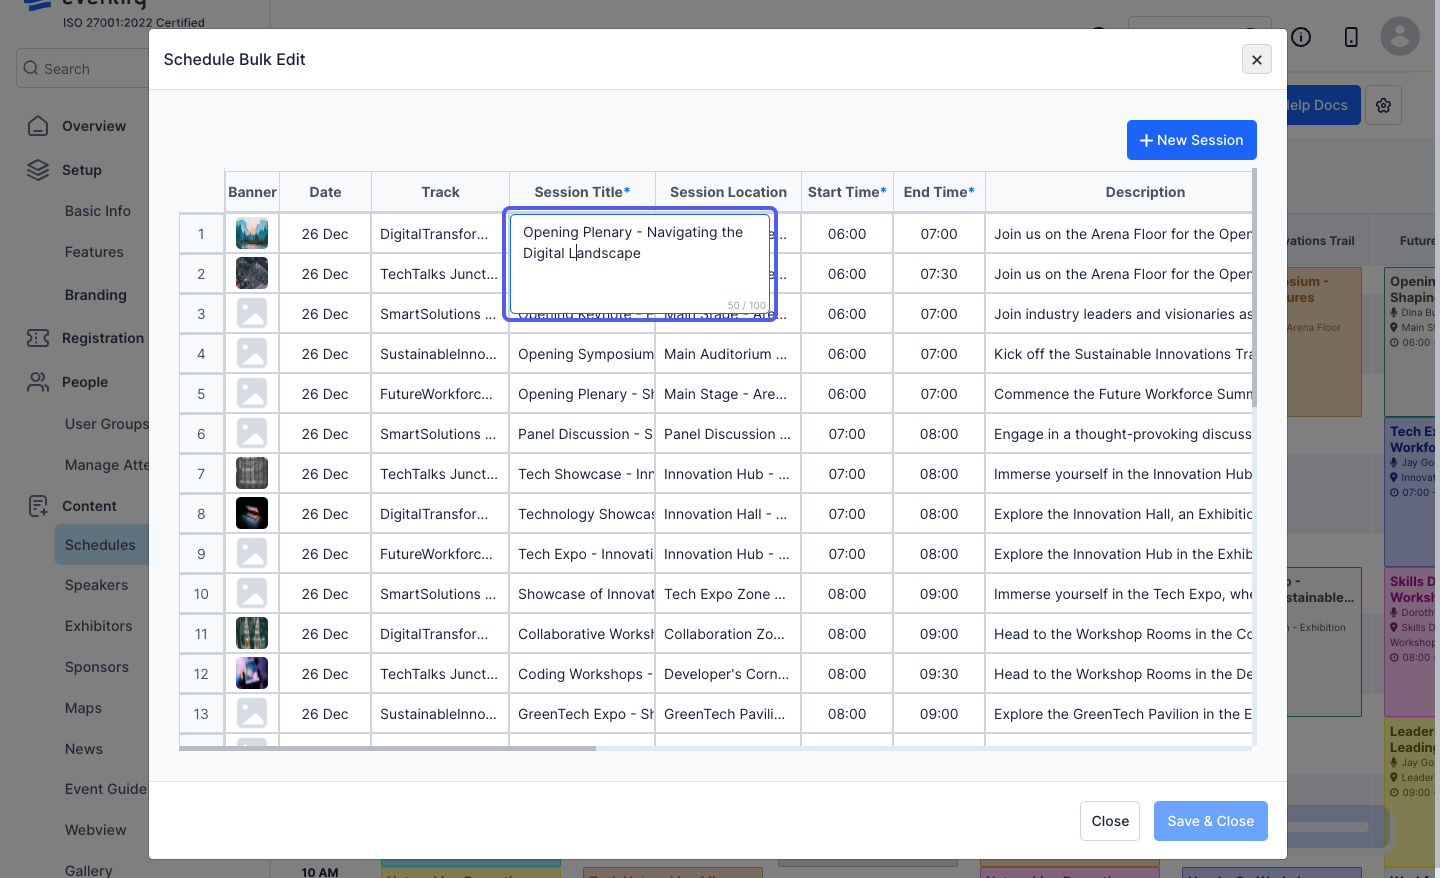
8: You can edit the session title
9: You can edit the session location
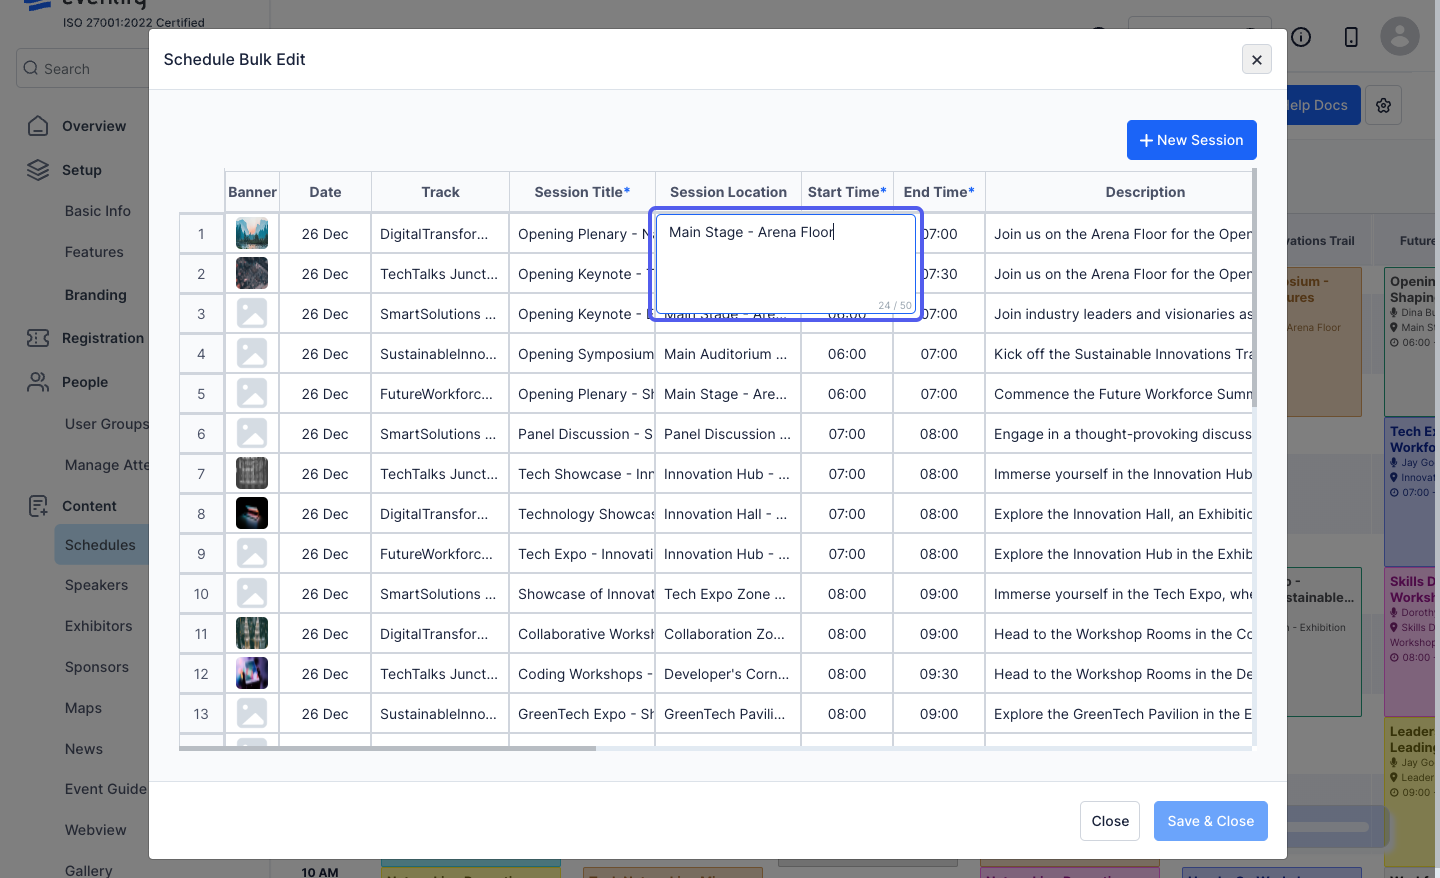
10: You can edit the session start and end time
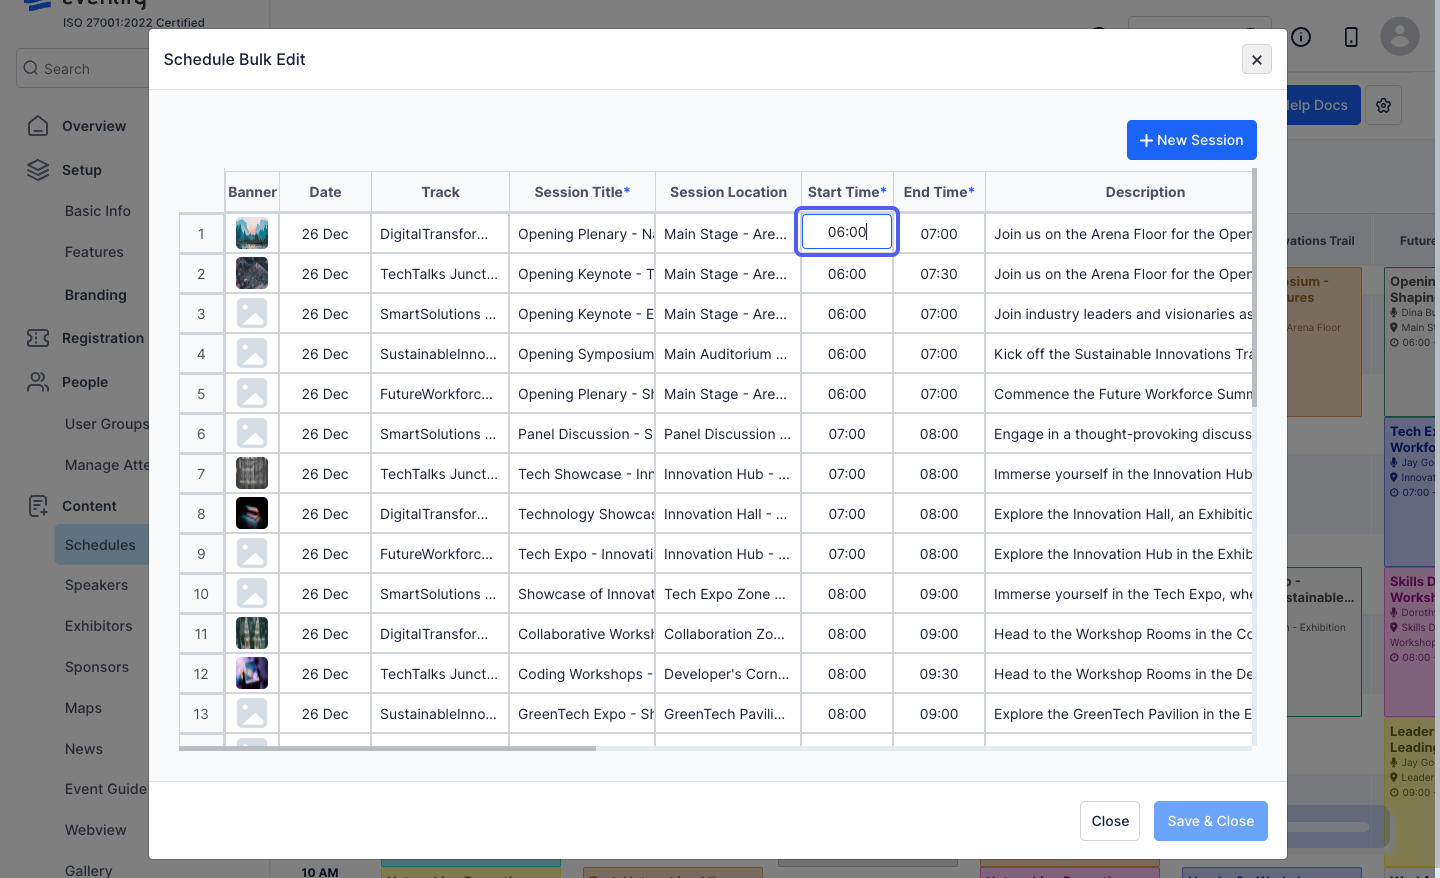
11: You can edit the session description
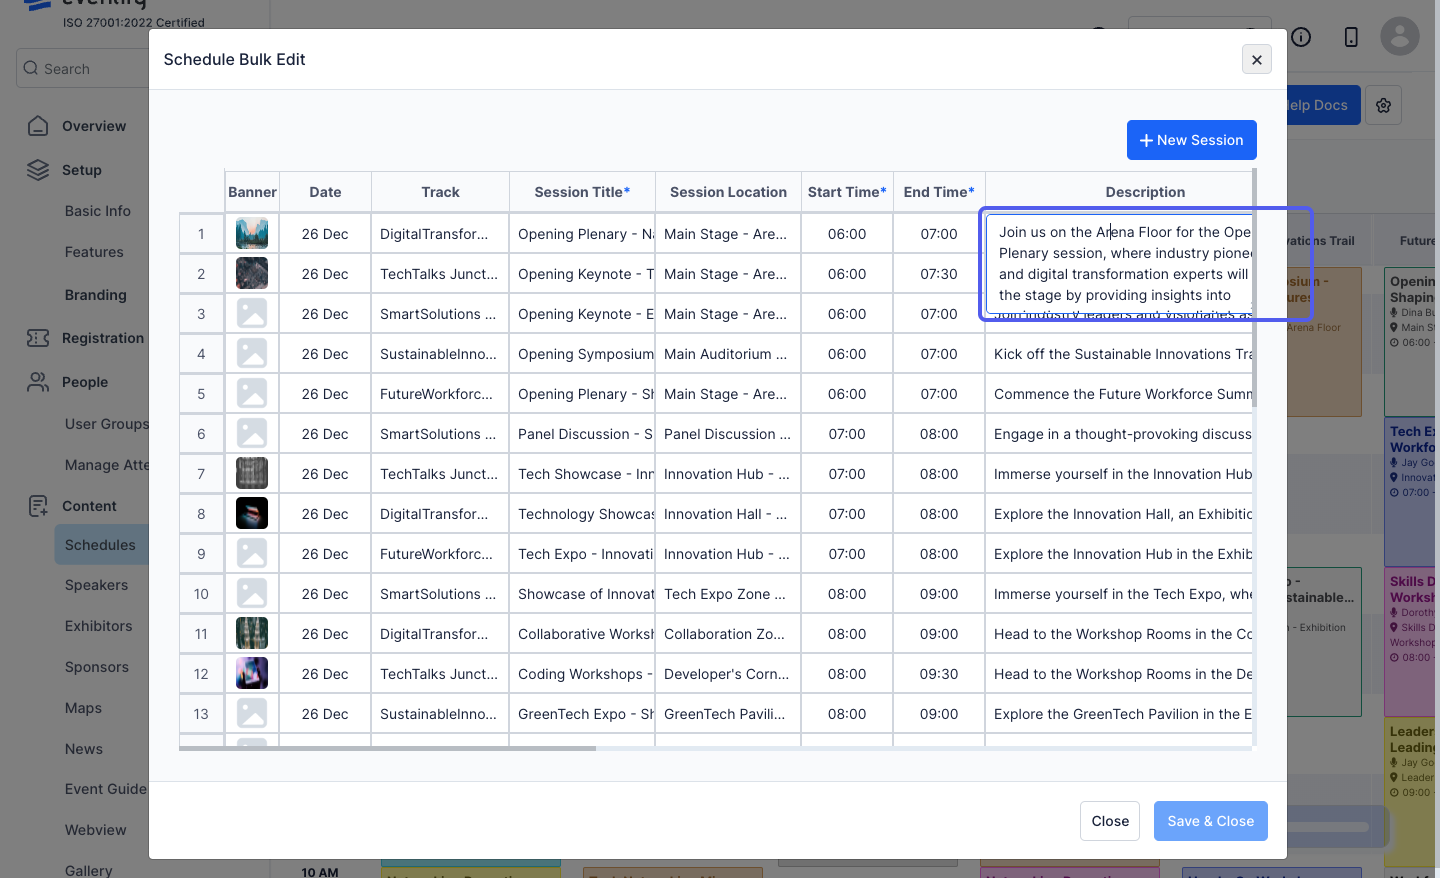
12: You can update the session speakers
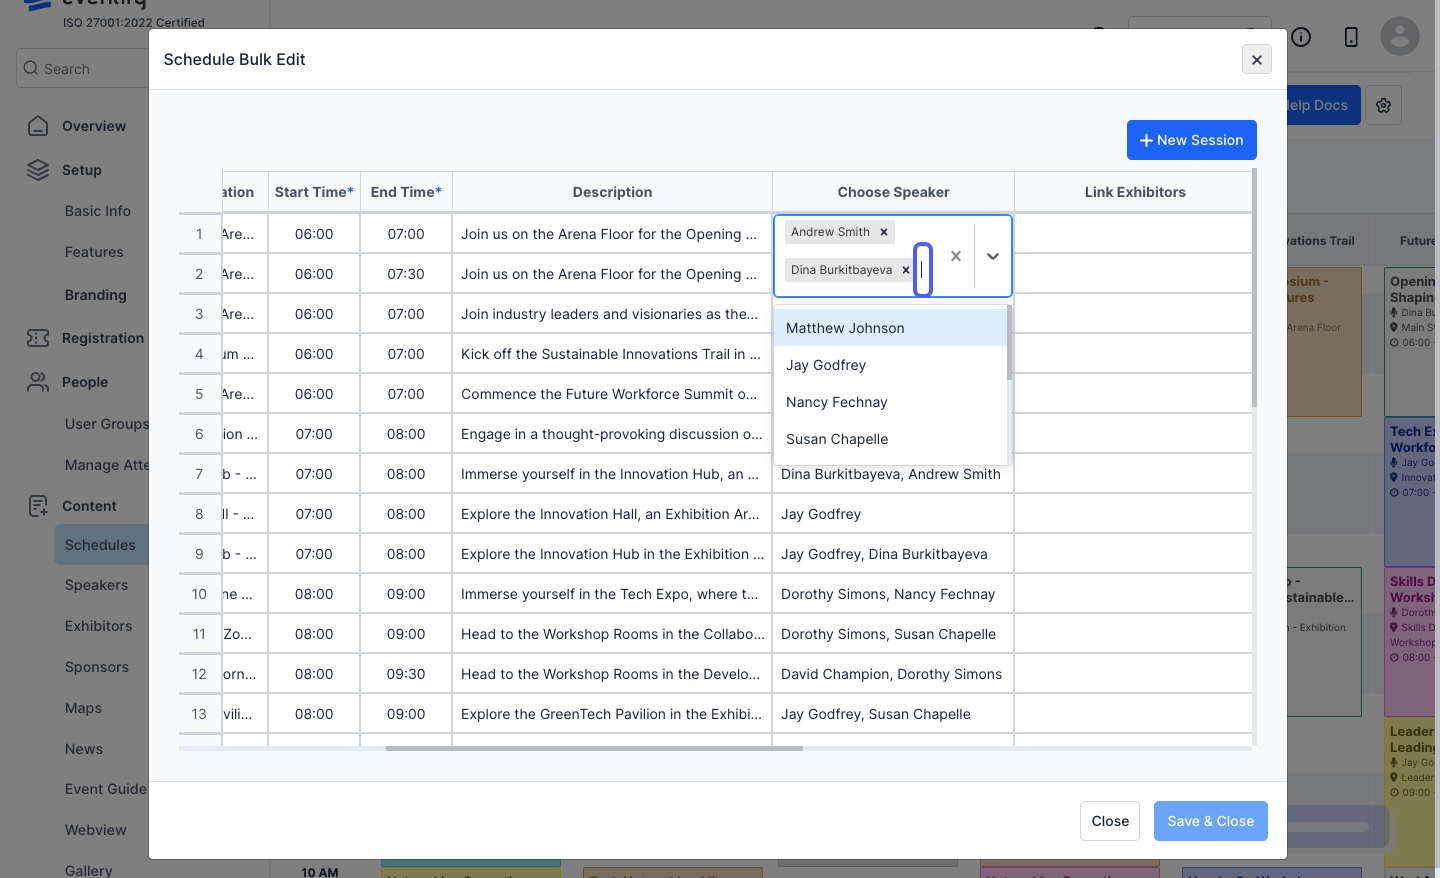
13: You can update the session exhibitors
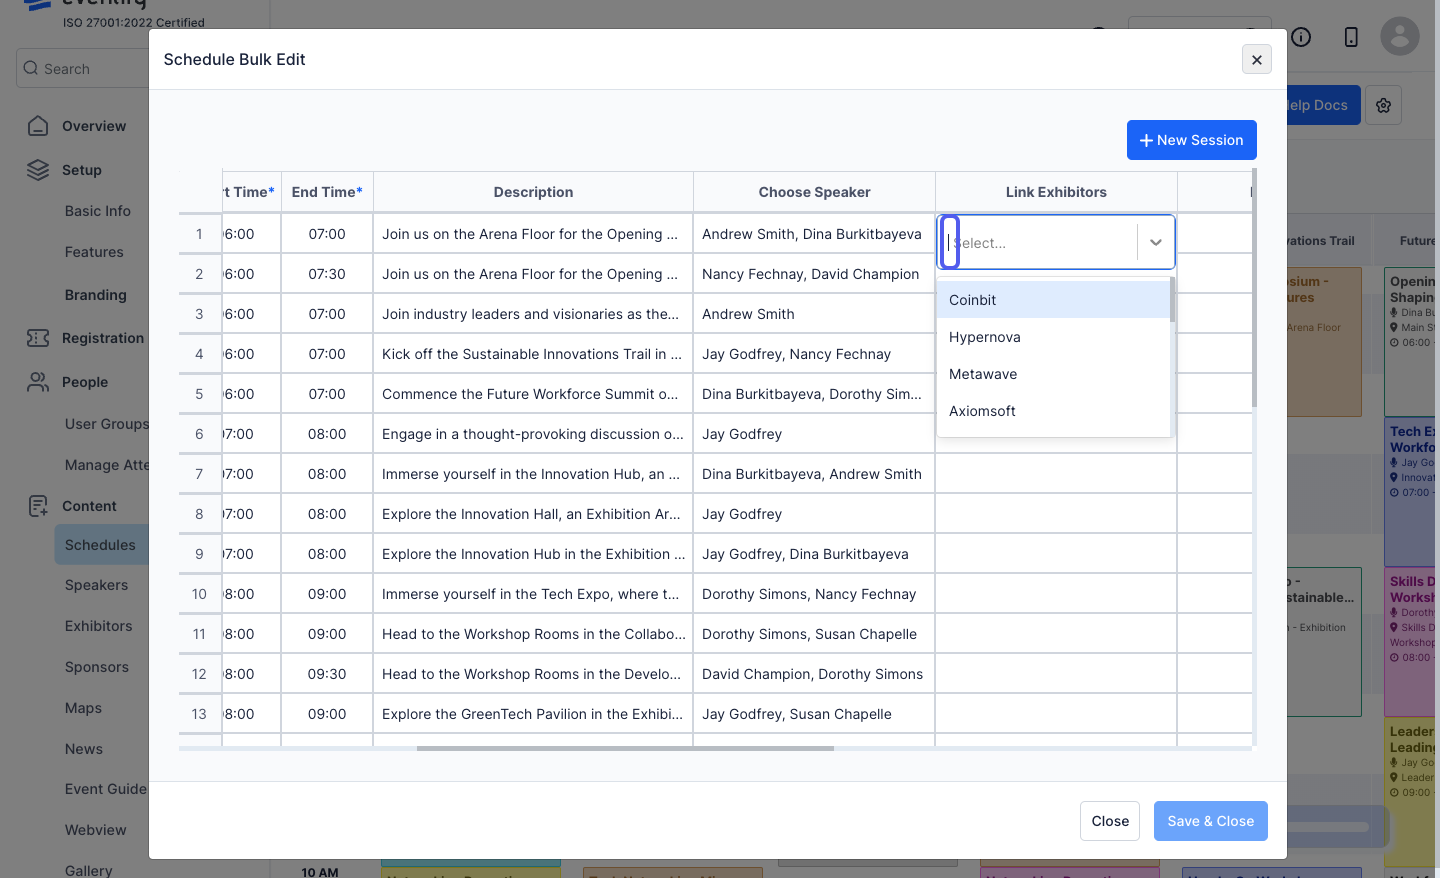
14: You can update the session sponsors
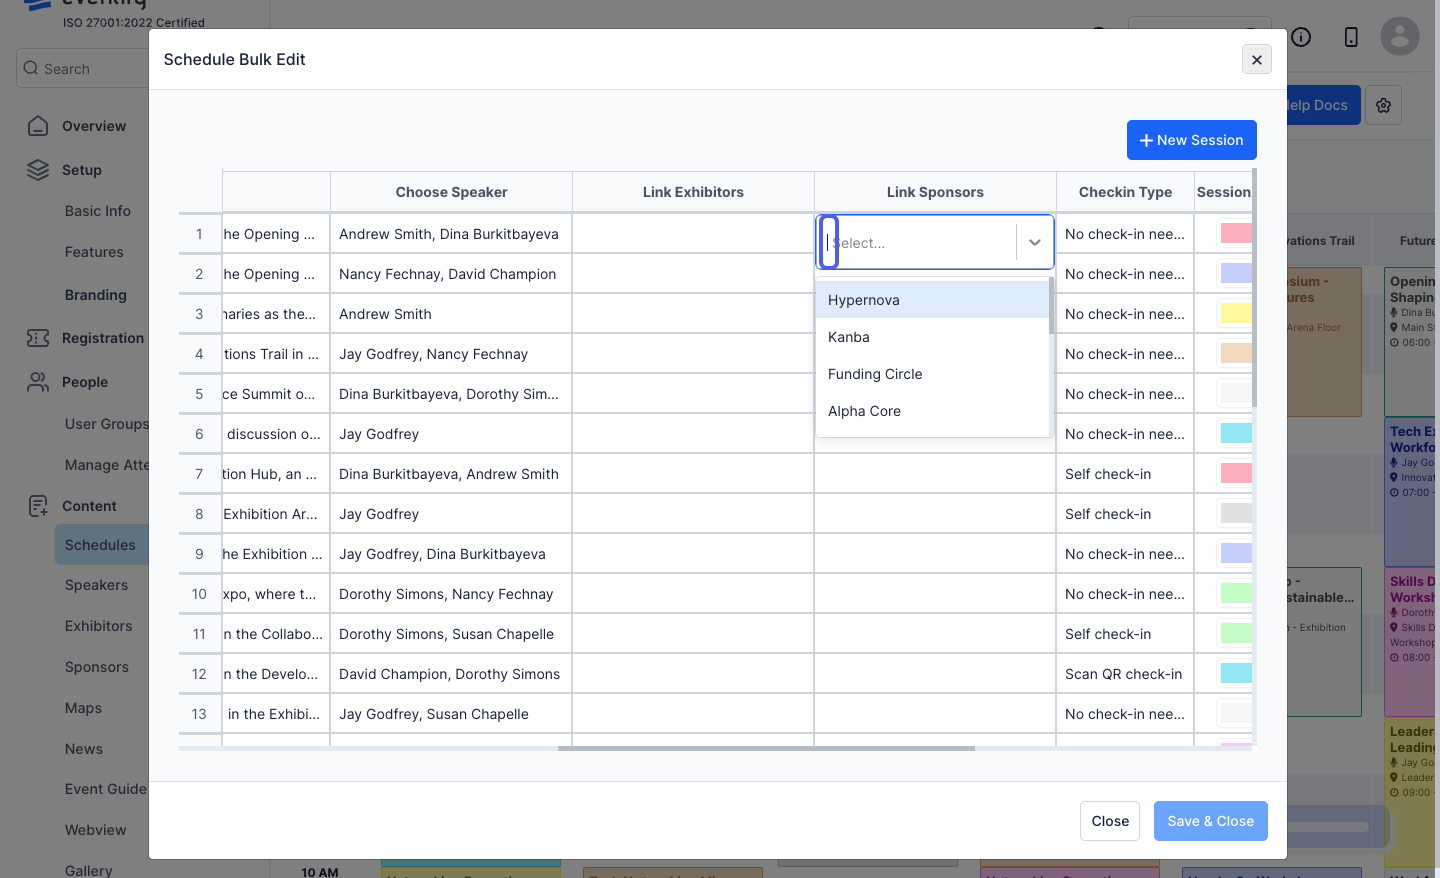
15: You can update the check-in type
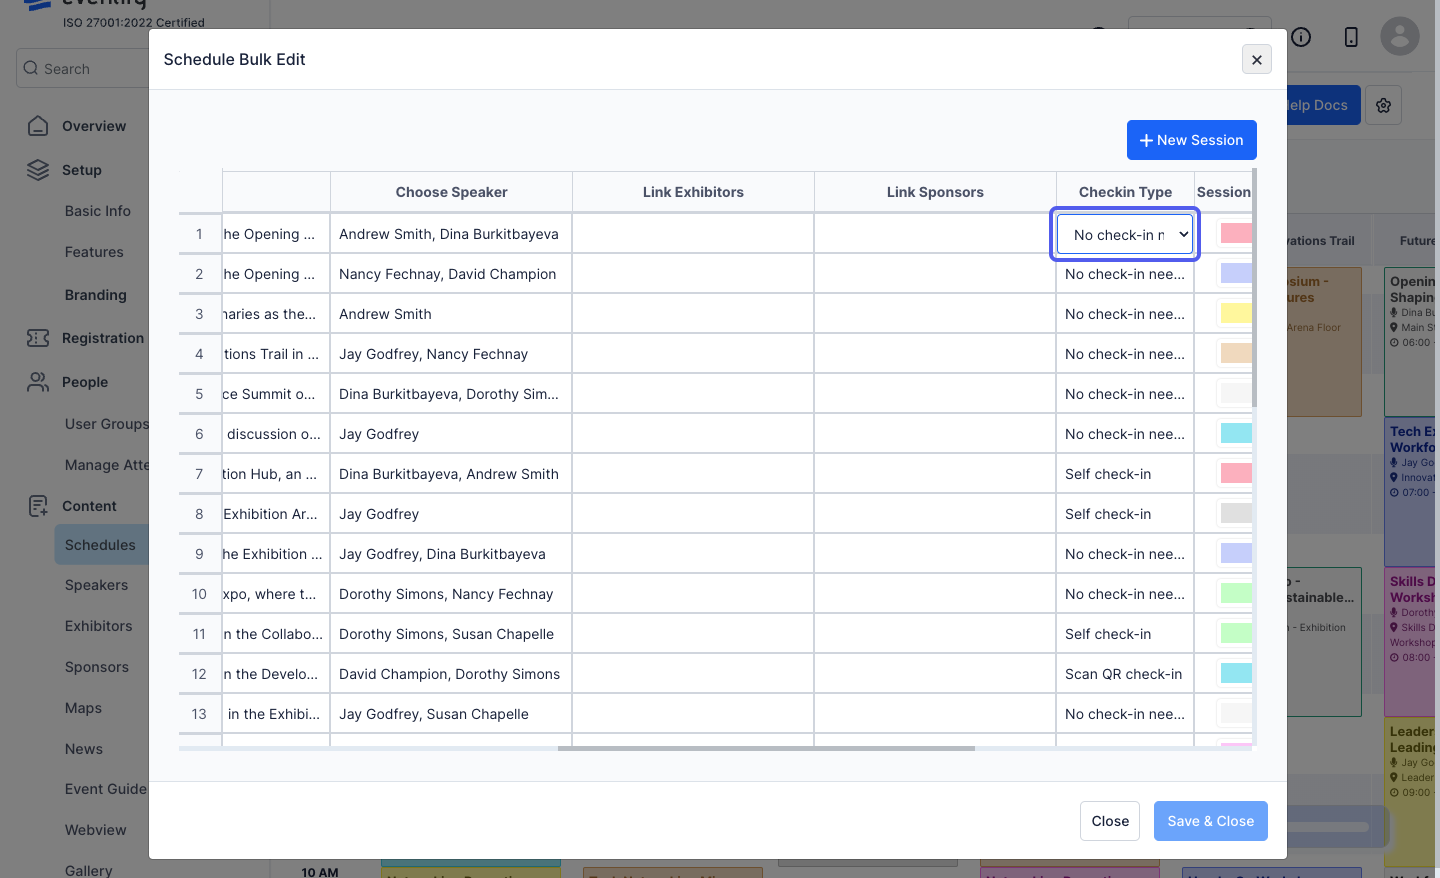
16: You can update the session colour
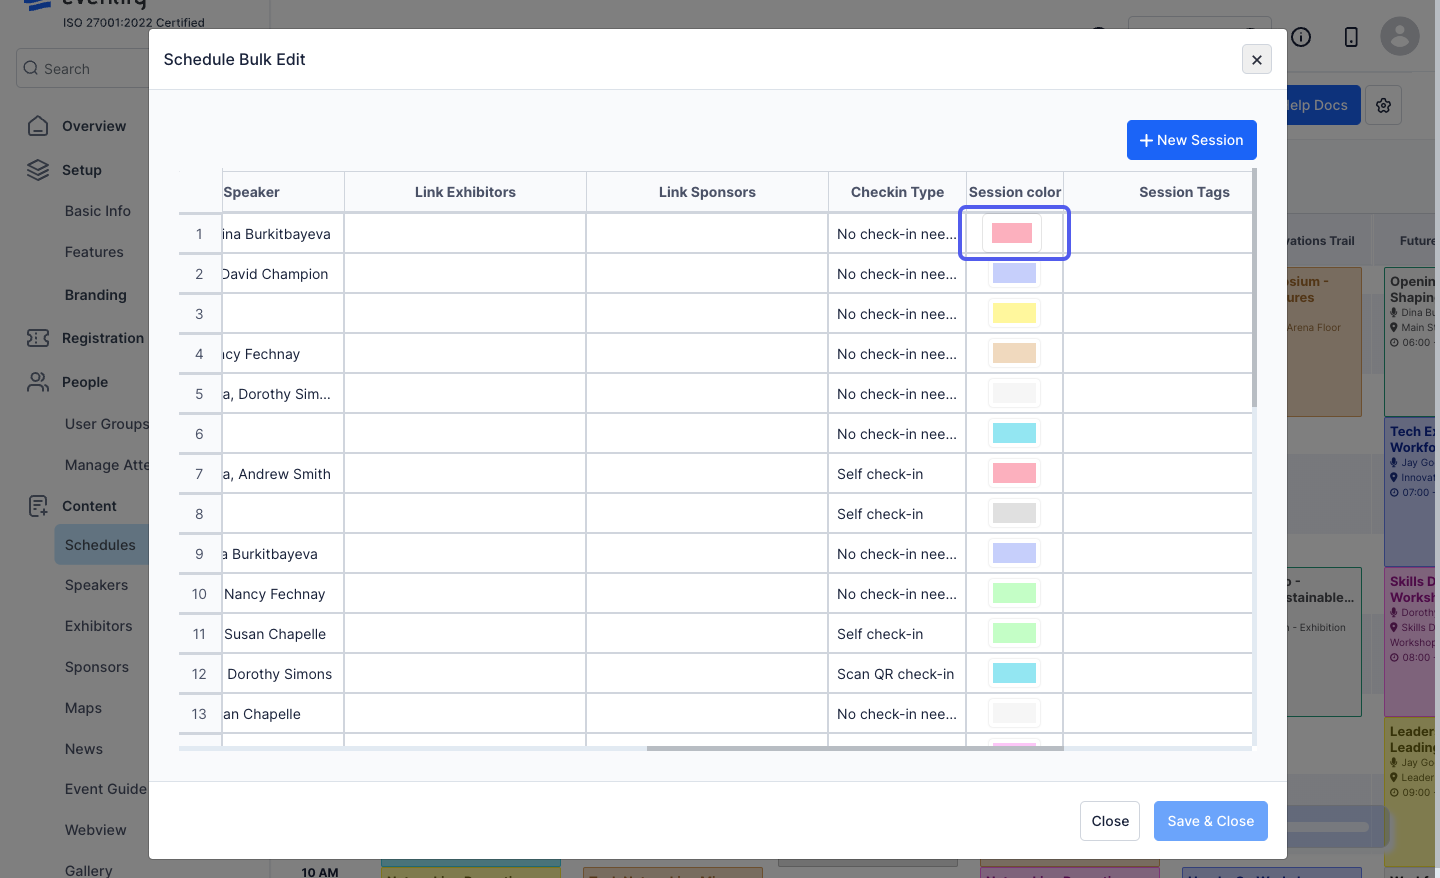
17: You can update the session tags
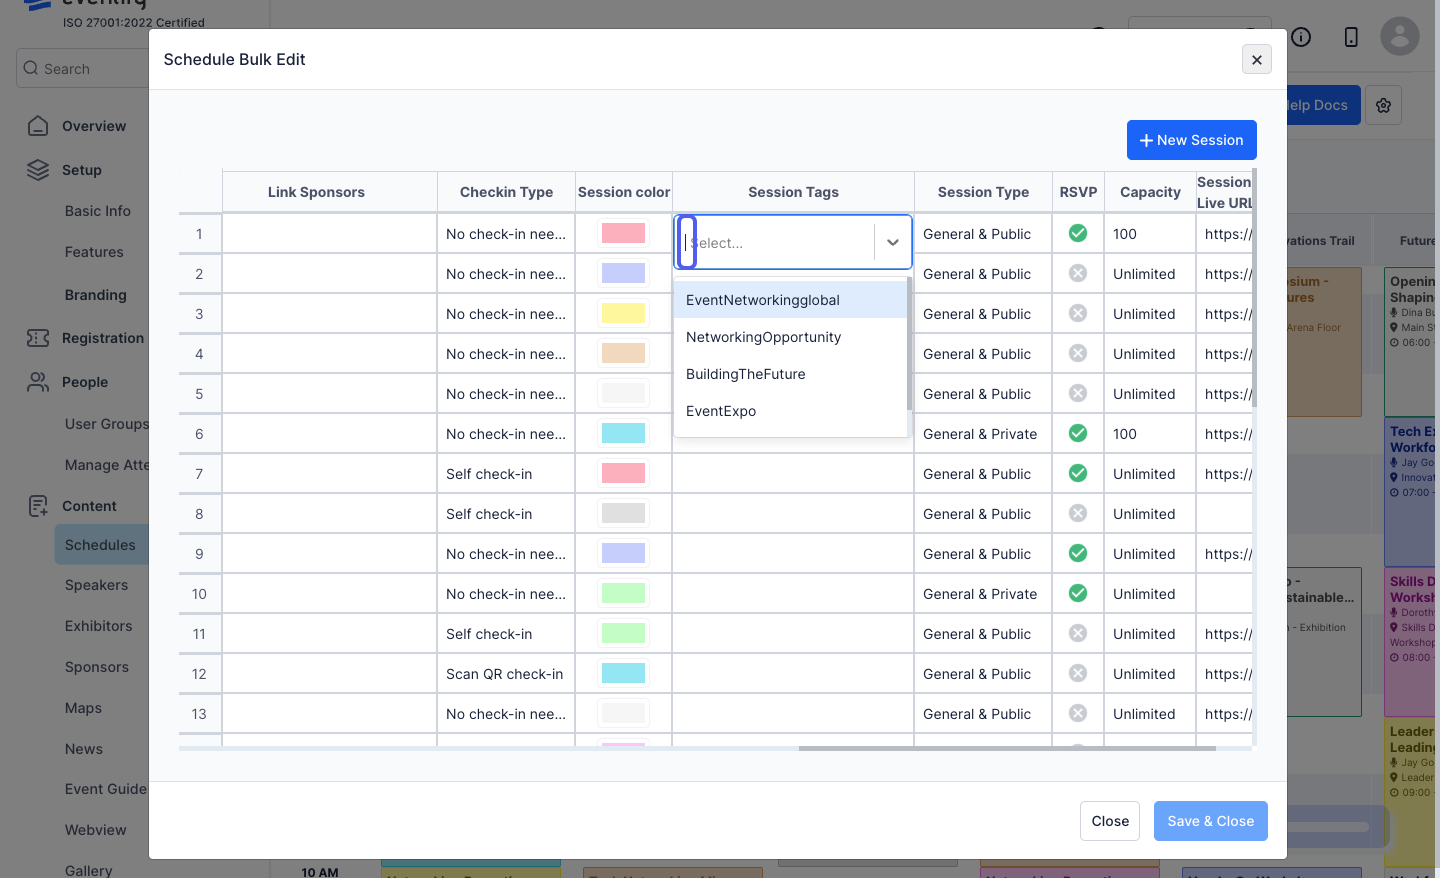
18: You can update the session type
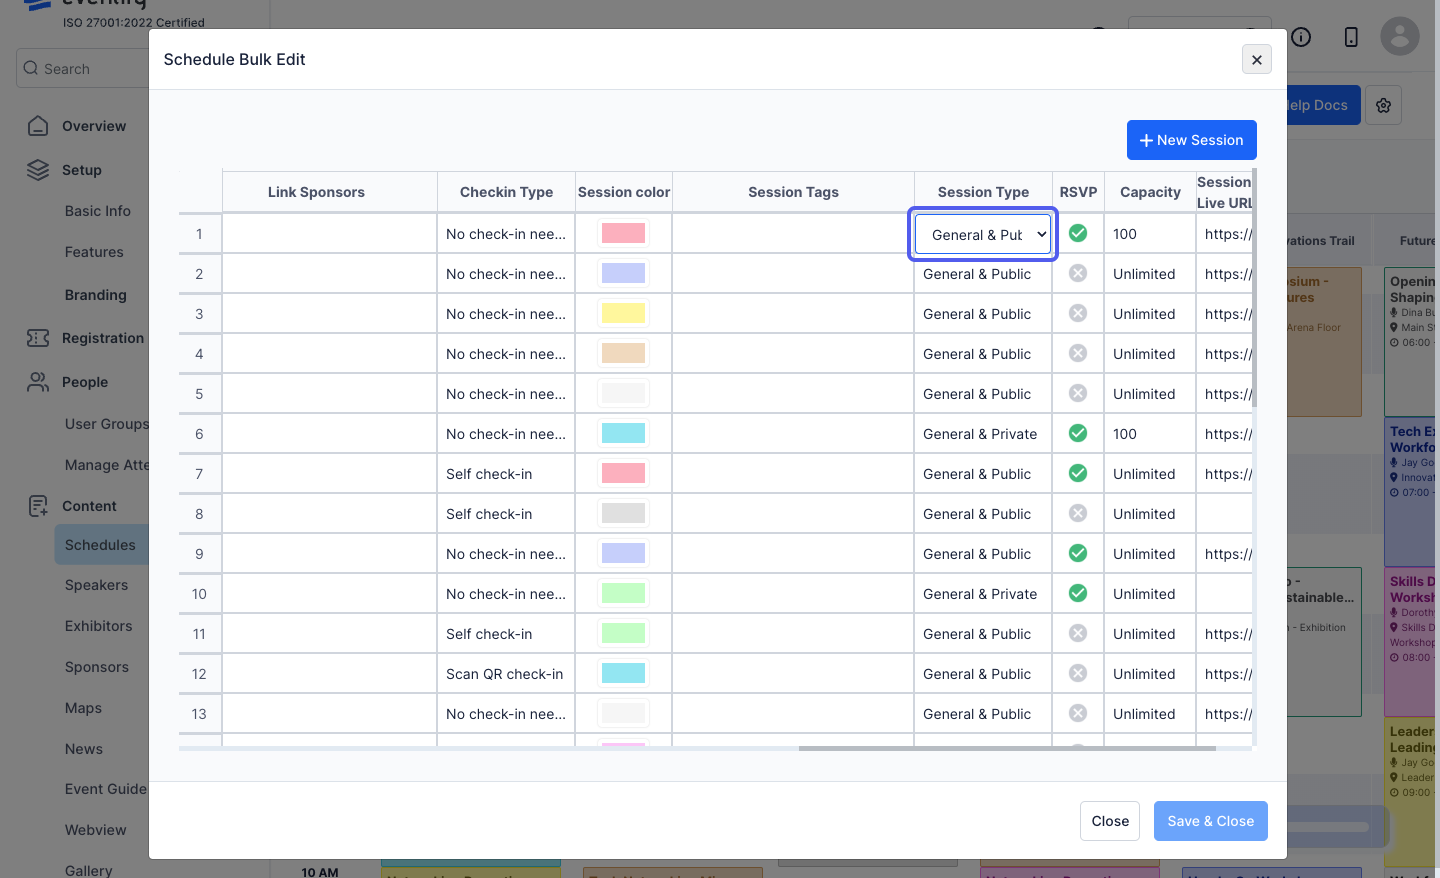
19: You can update the RSVP setting
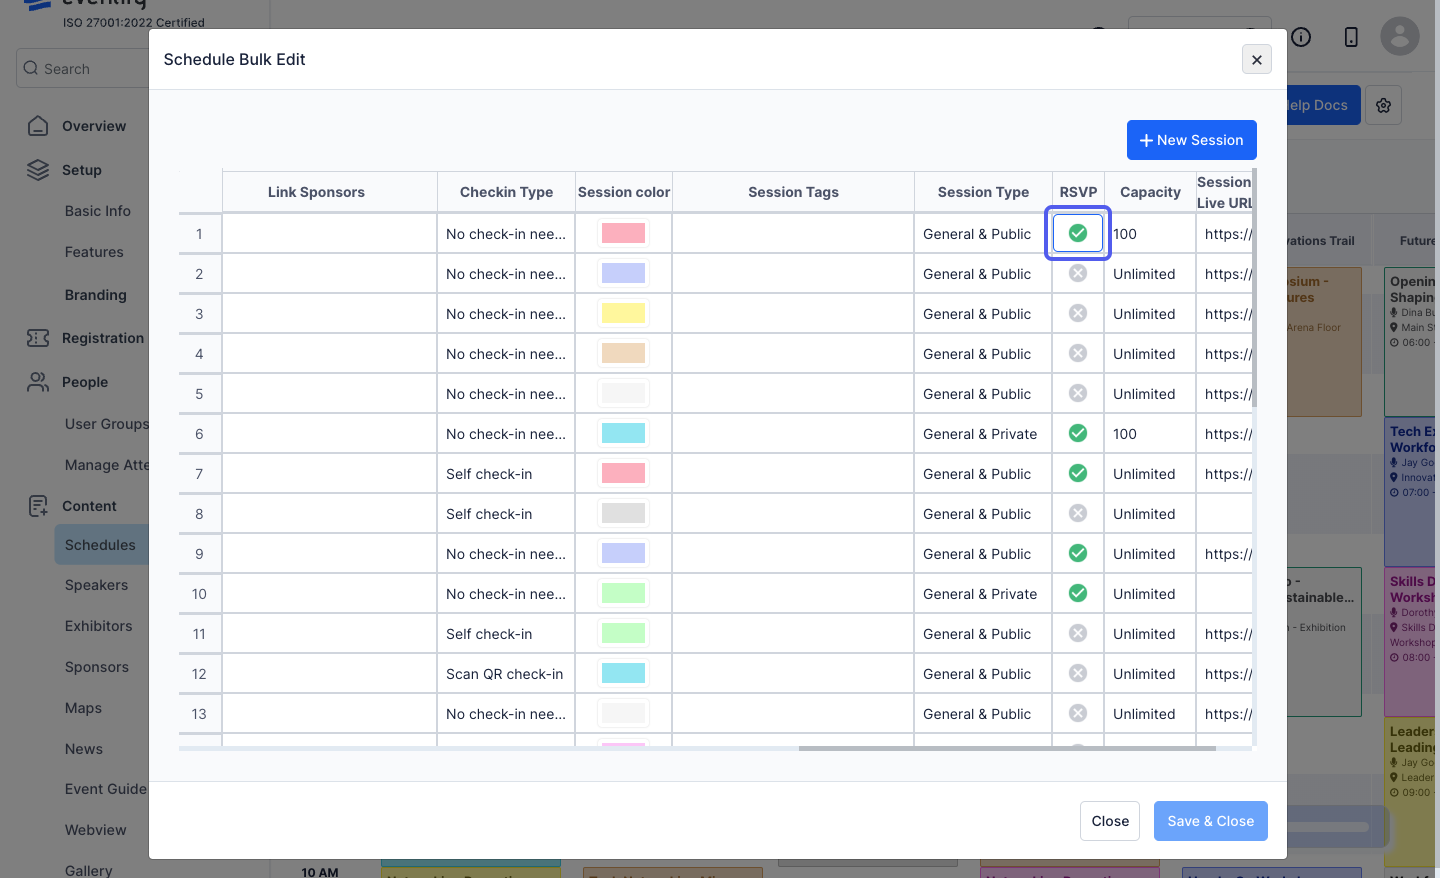
20: You can change the capacity
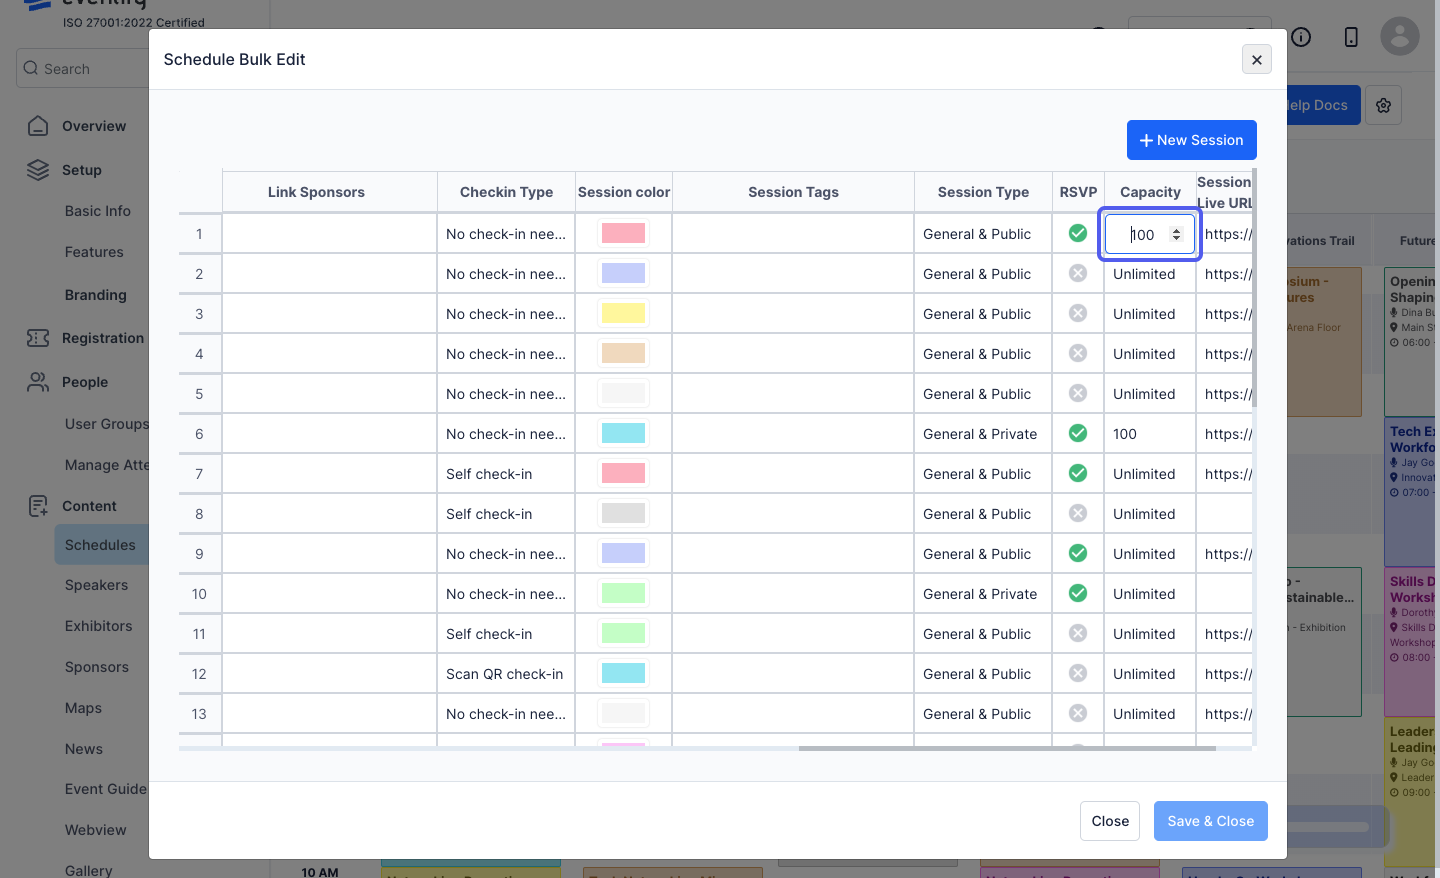
21: You can update the session Youtube Live URL / Zoom ID
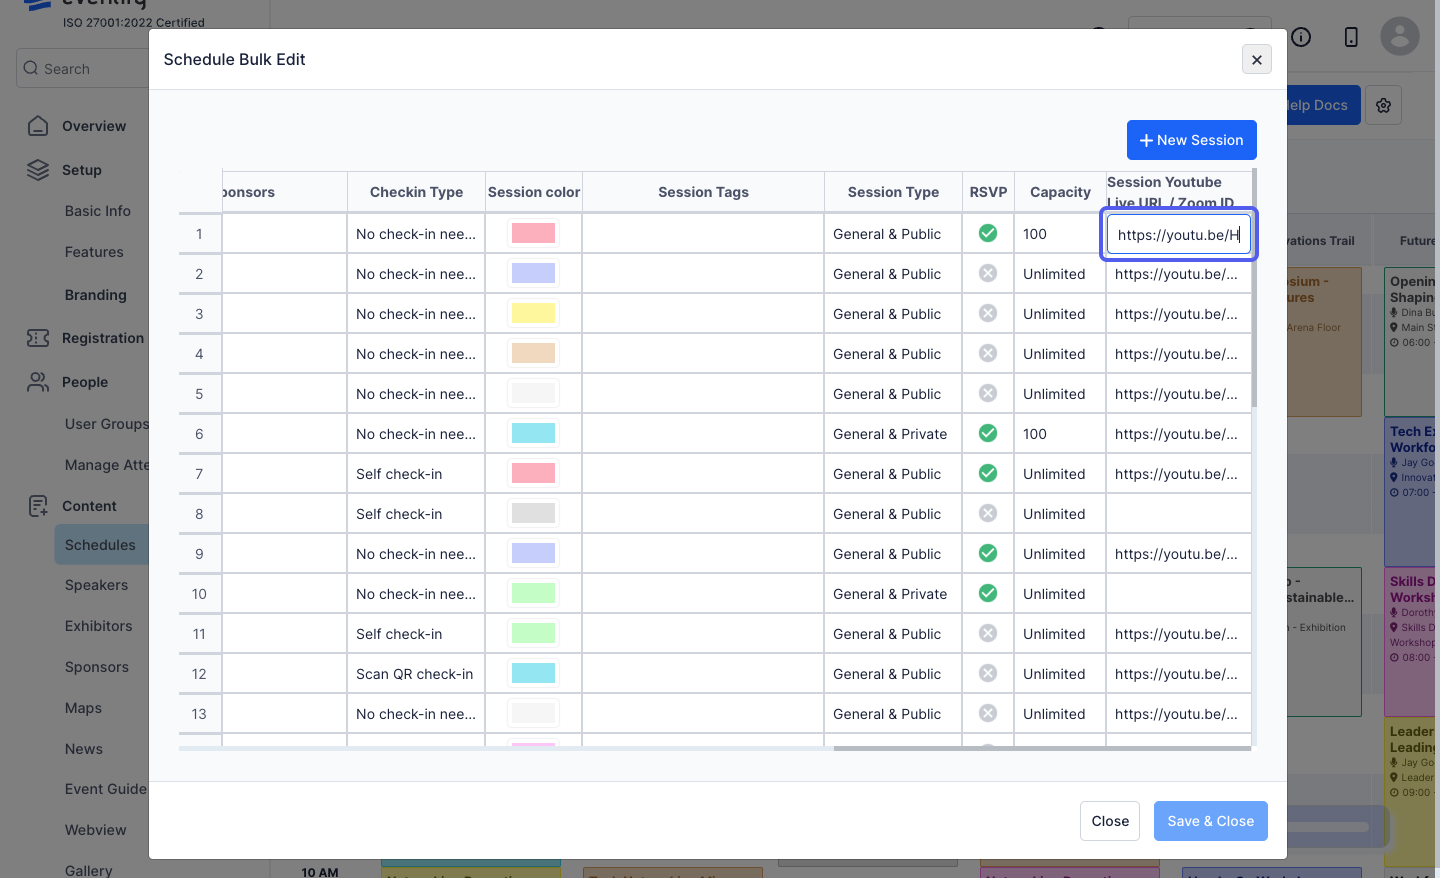
22: You can also add a new session from here
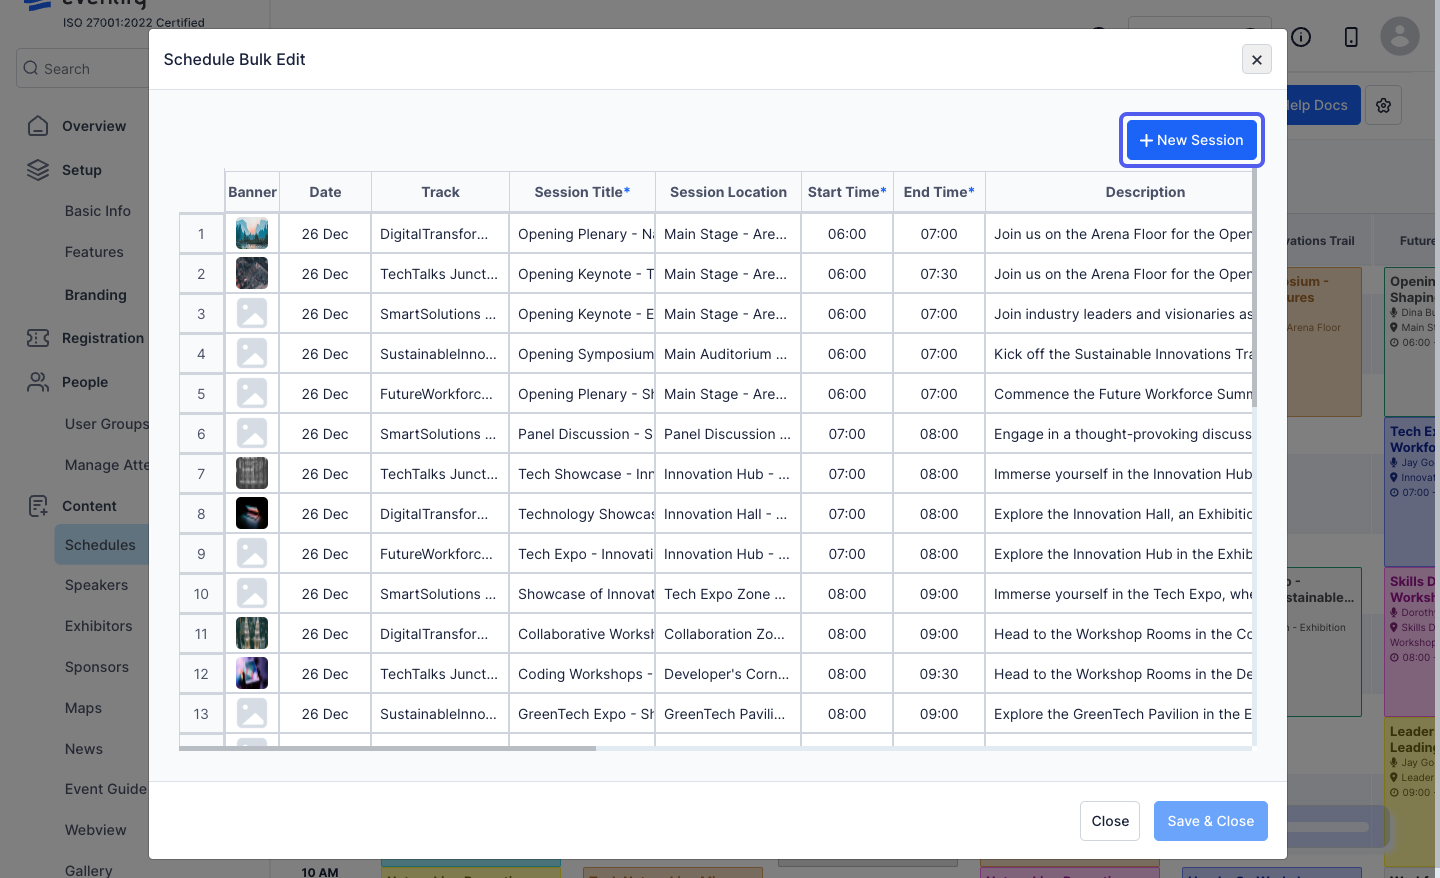
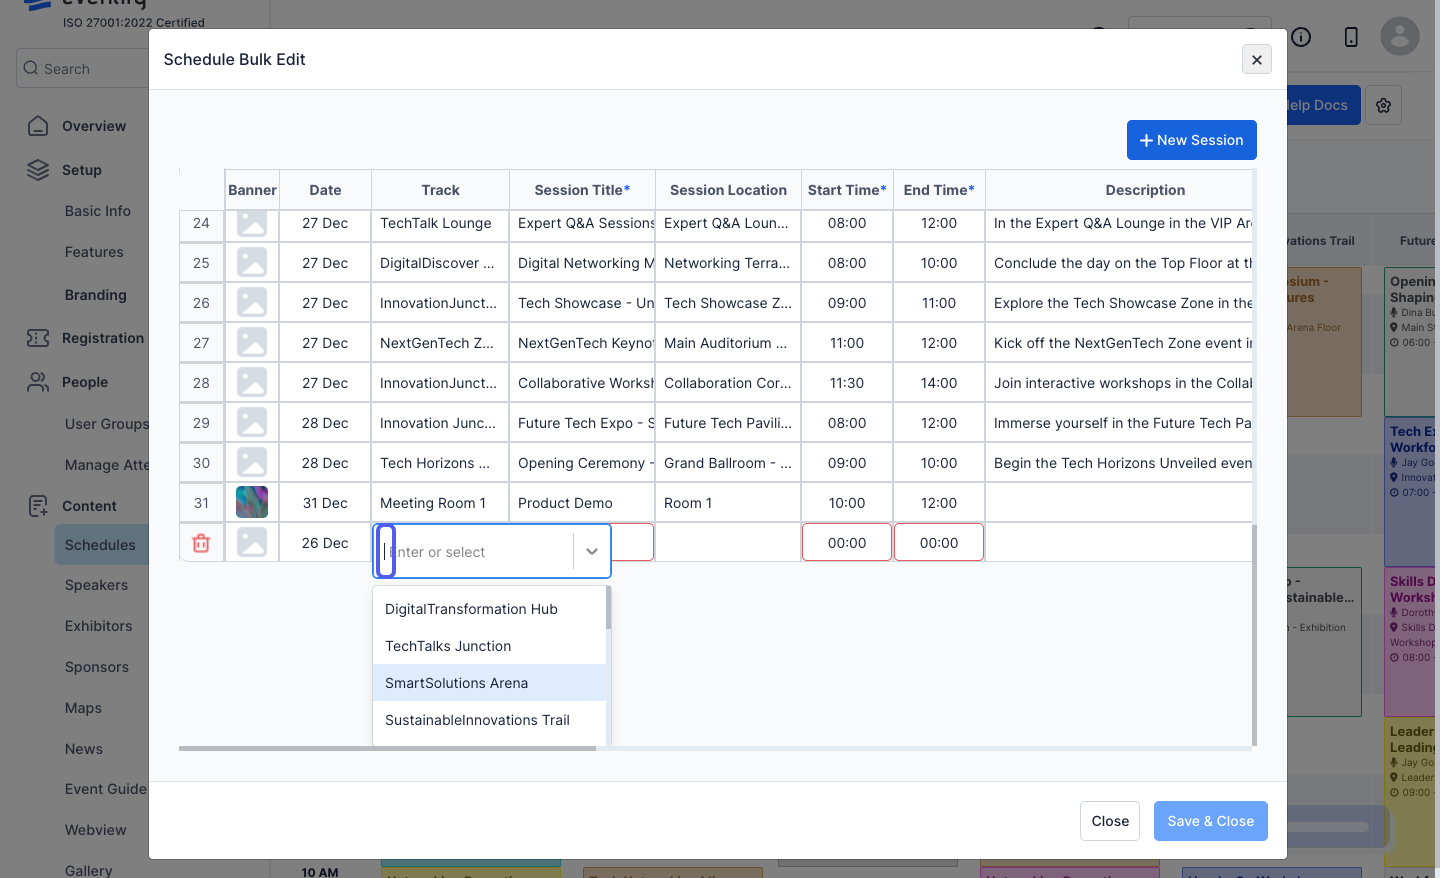
23: To add a new session, you need to fill up all the necessary details for the session
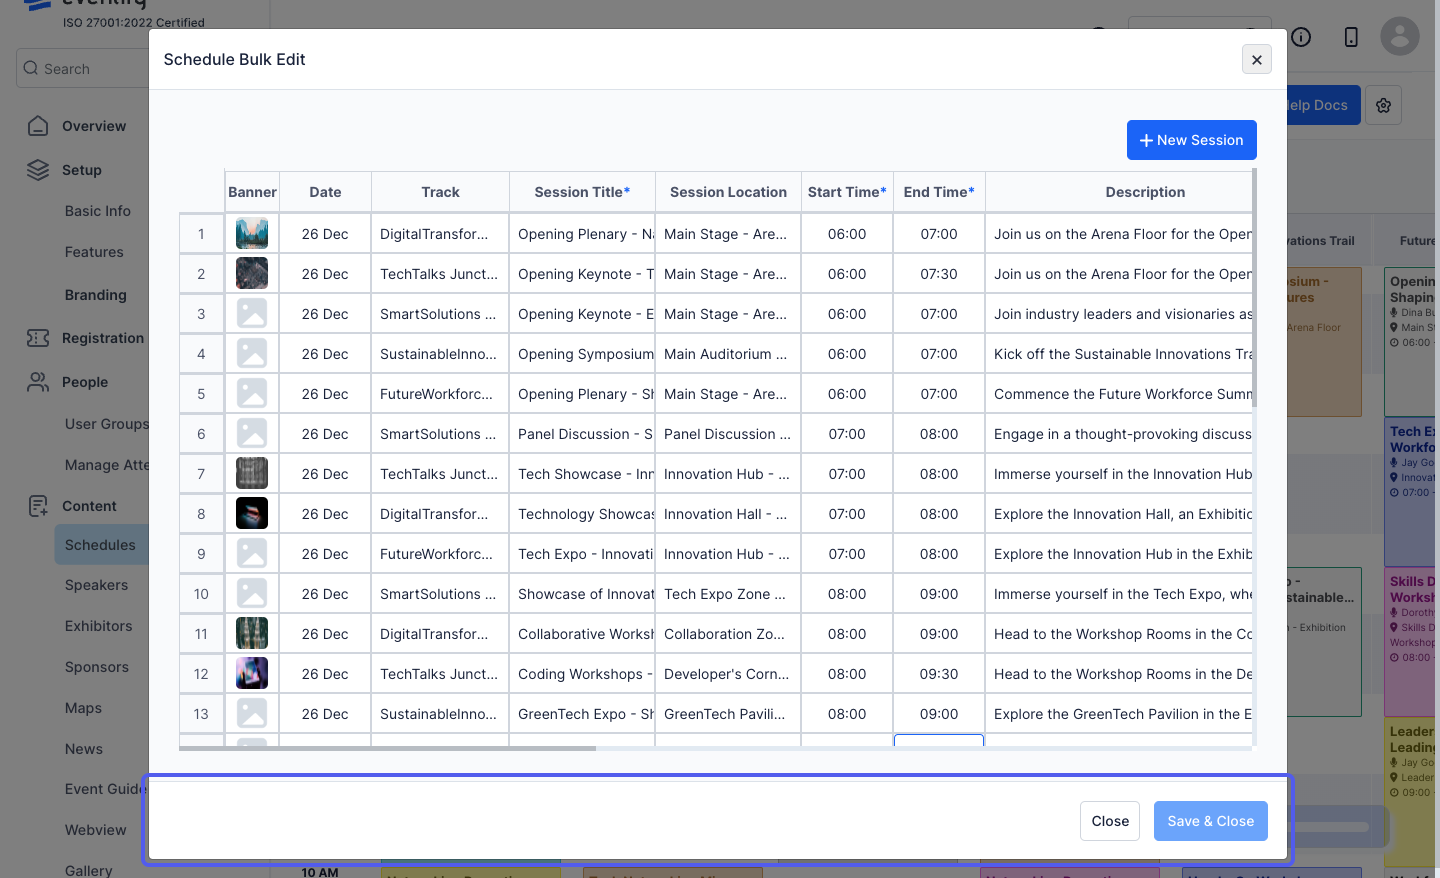
24: Once done, you can click on save to update all the changes in one go
Frequently Asked Questions
Which session fields can I bulk edit?
You can edit the banner image, date, track, title, location, start and end time, description, speakers, exhibitors, sponsors, check-in type, colour, tags, session type, RSVP, capacity and YouTube Live URL or Zoom ID.
Can I add new sessions while bulk editing?
Yes. You can add a new session from the bulk edit screen by filling in its details, then save all changes together.

