Maximize the potential of your Eventify data by automating exports with Zapier's event-based triggers.

Interactive Guide
Or check out the step-by step guide
1: Access the Eventify Admin Panel and navigate to Settings > Integrations
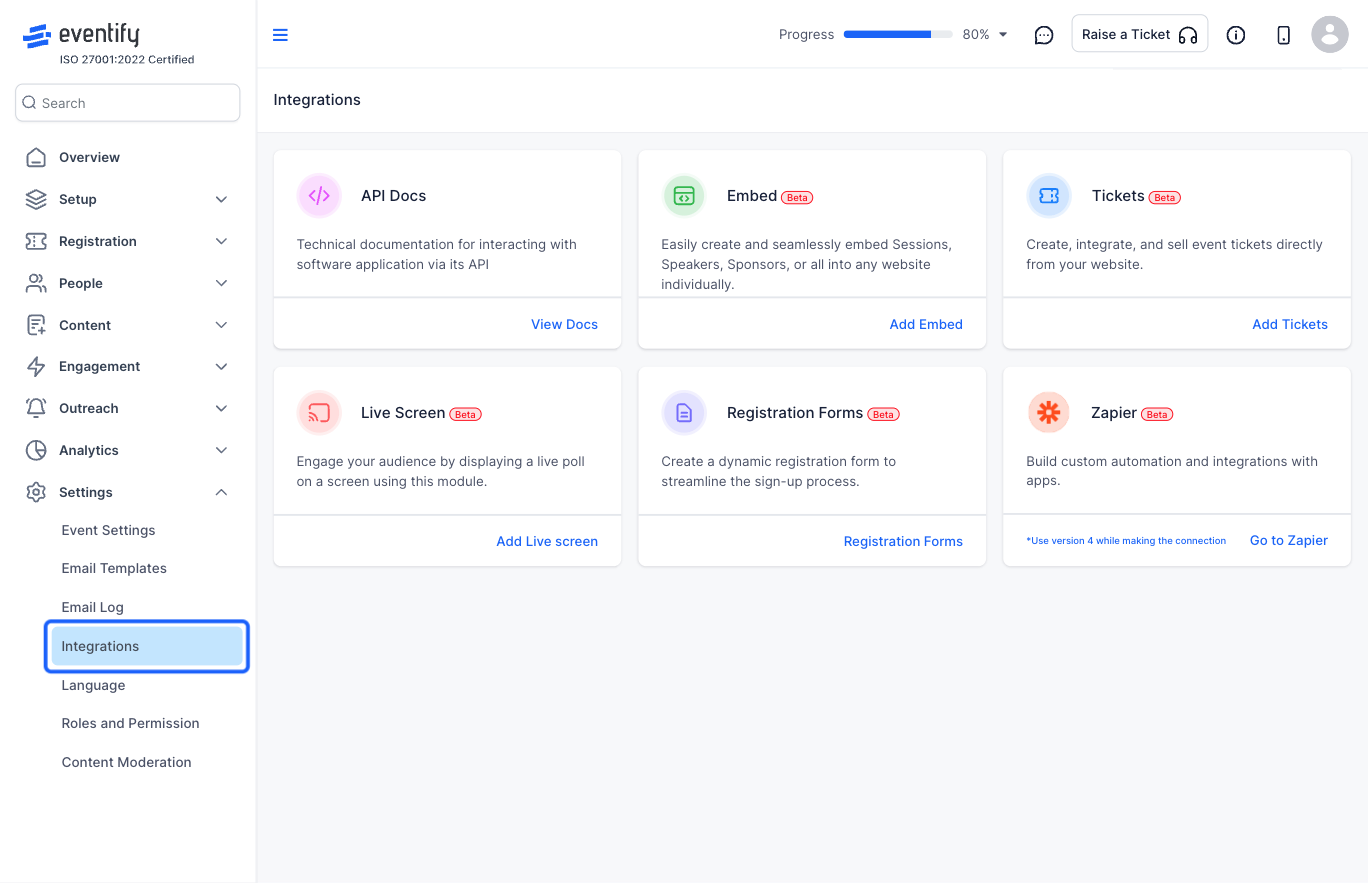
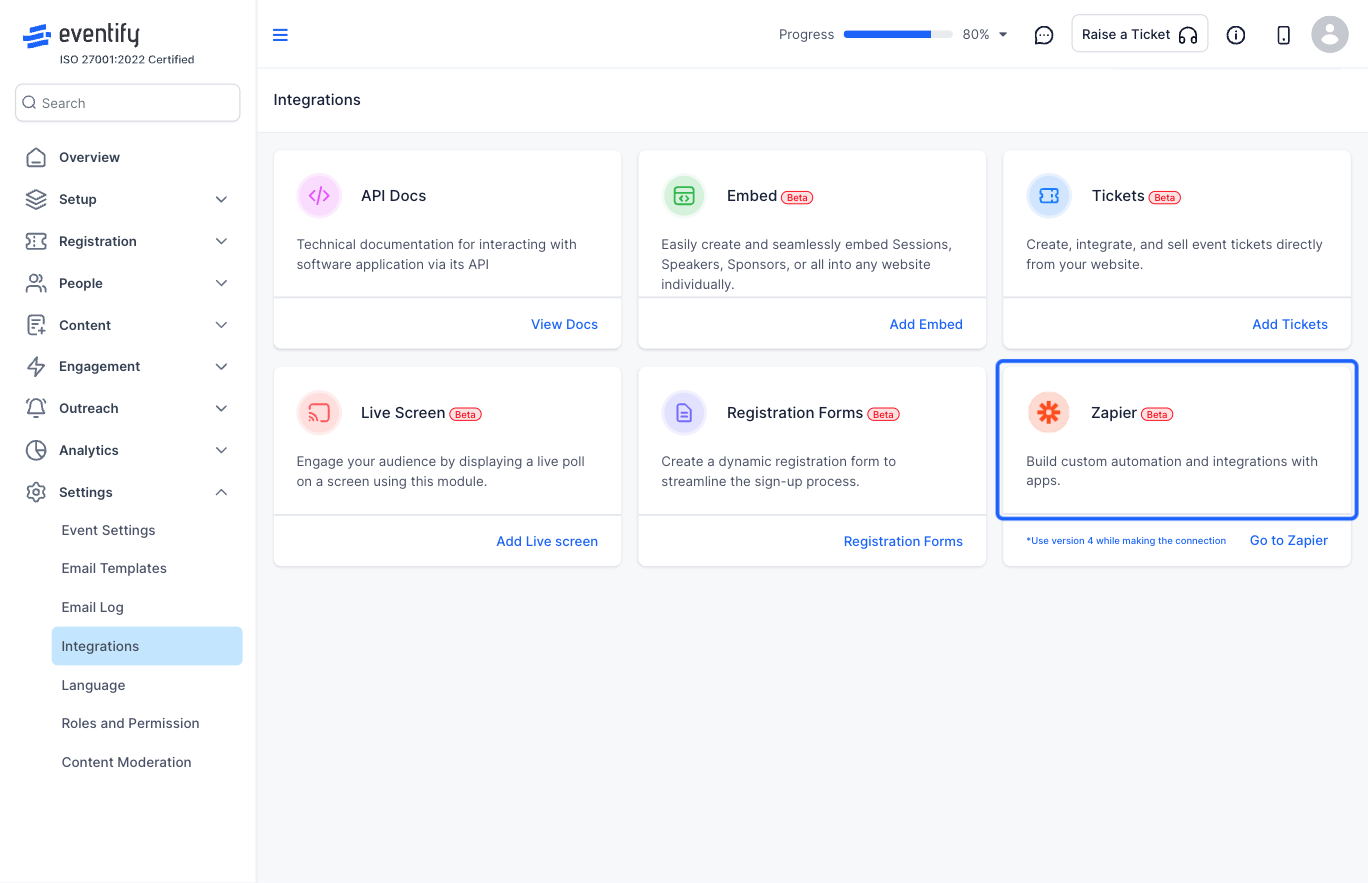
2: Find the Zapier integration
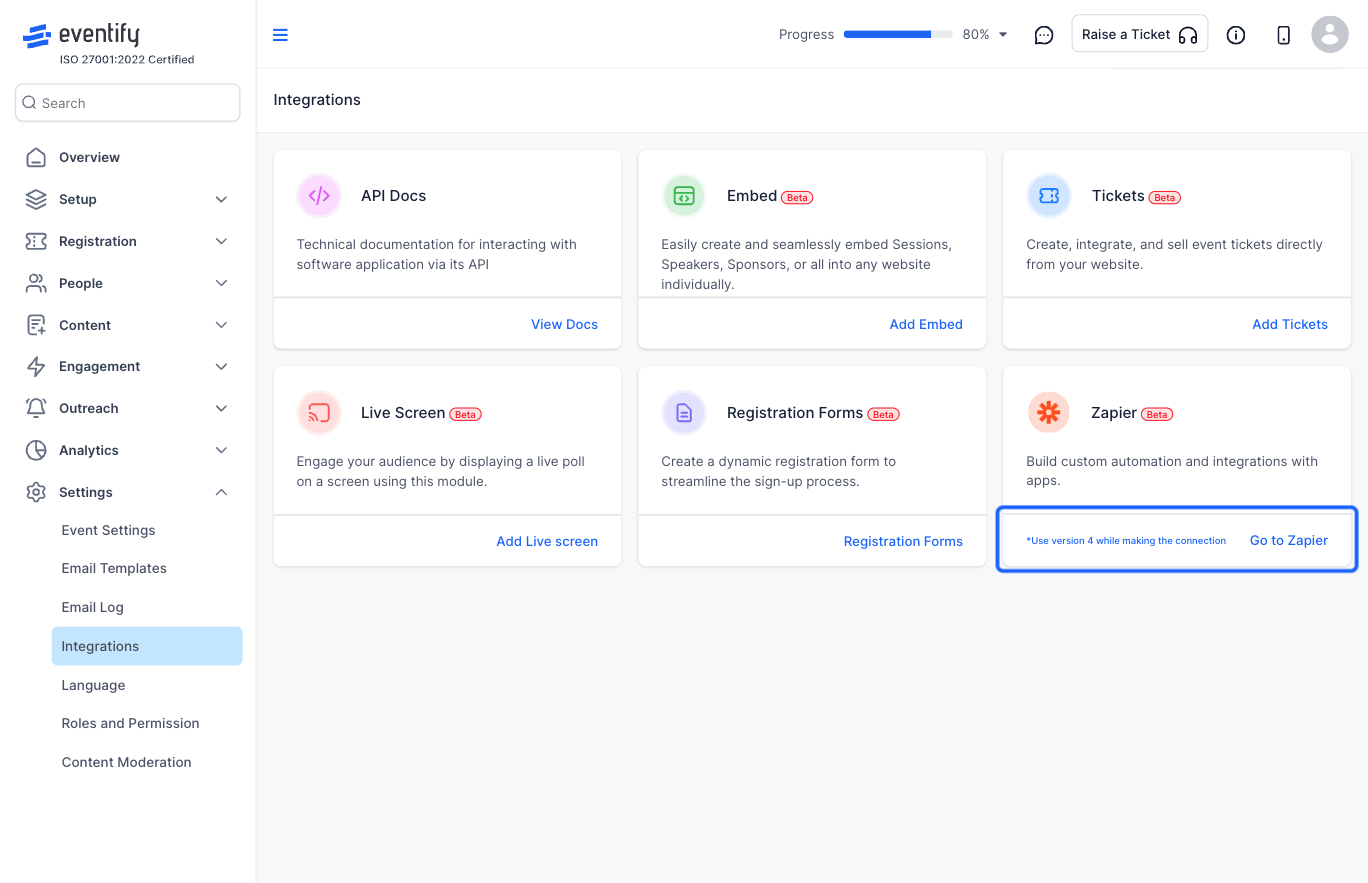
3: Click on Go to Zapier
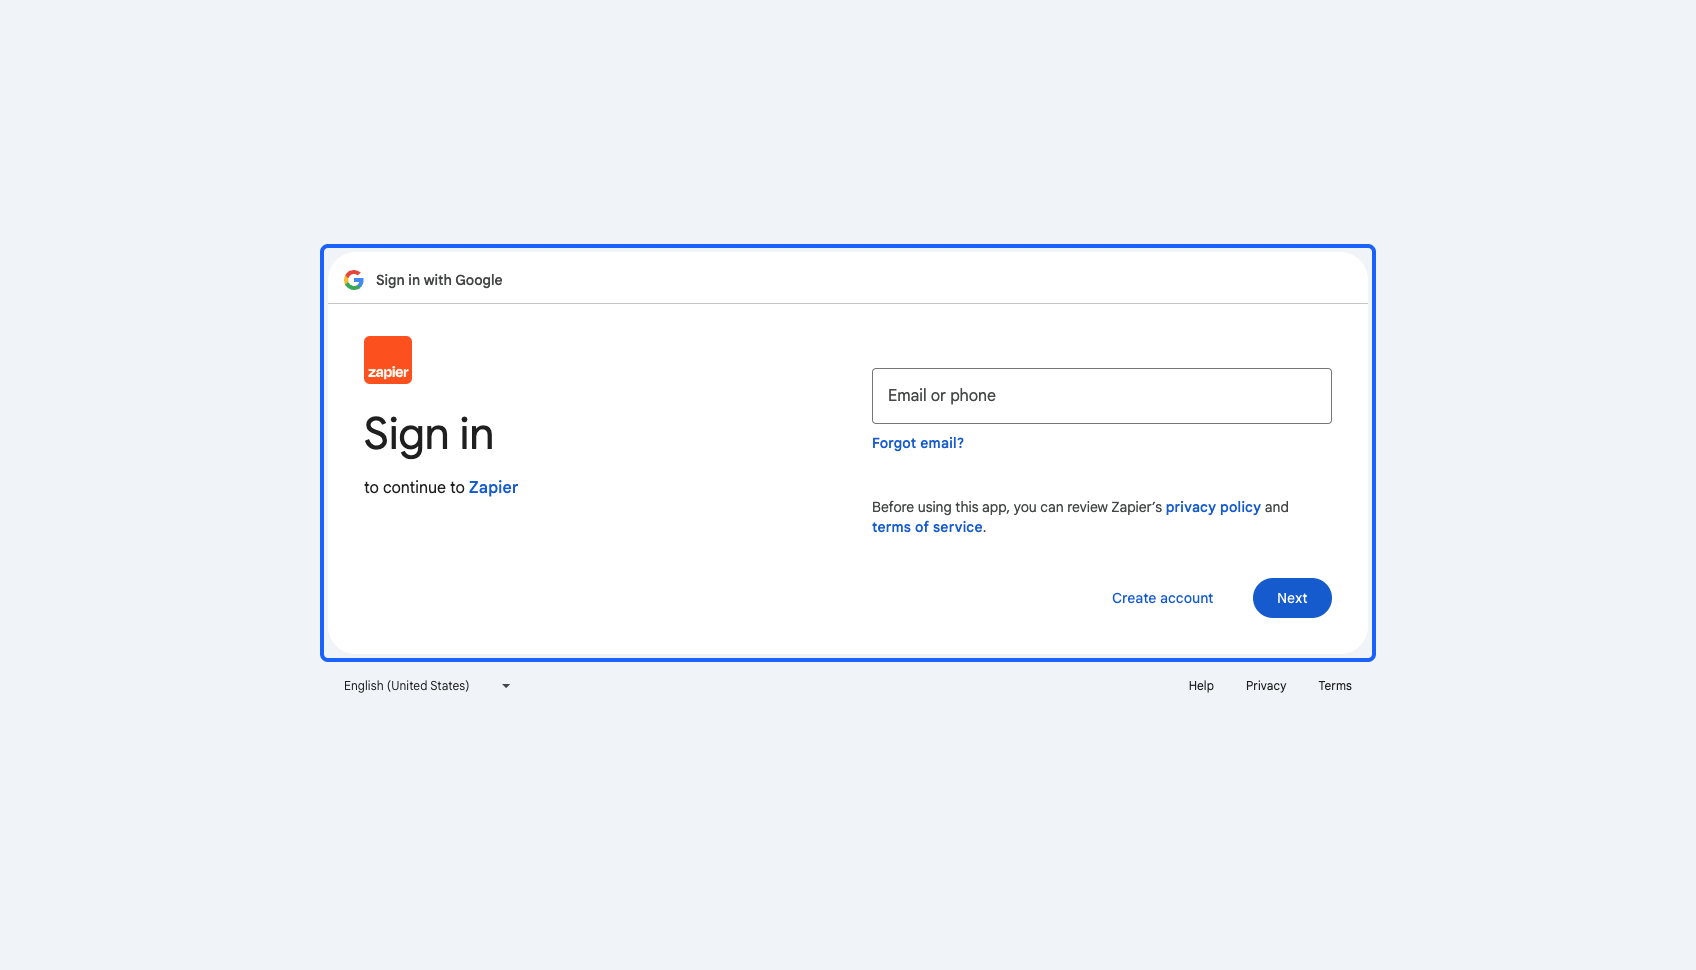
4: Sign in to your Zapier account
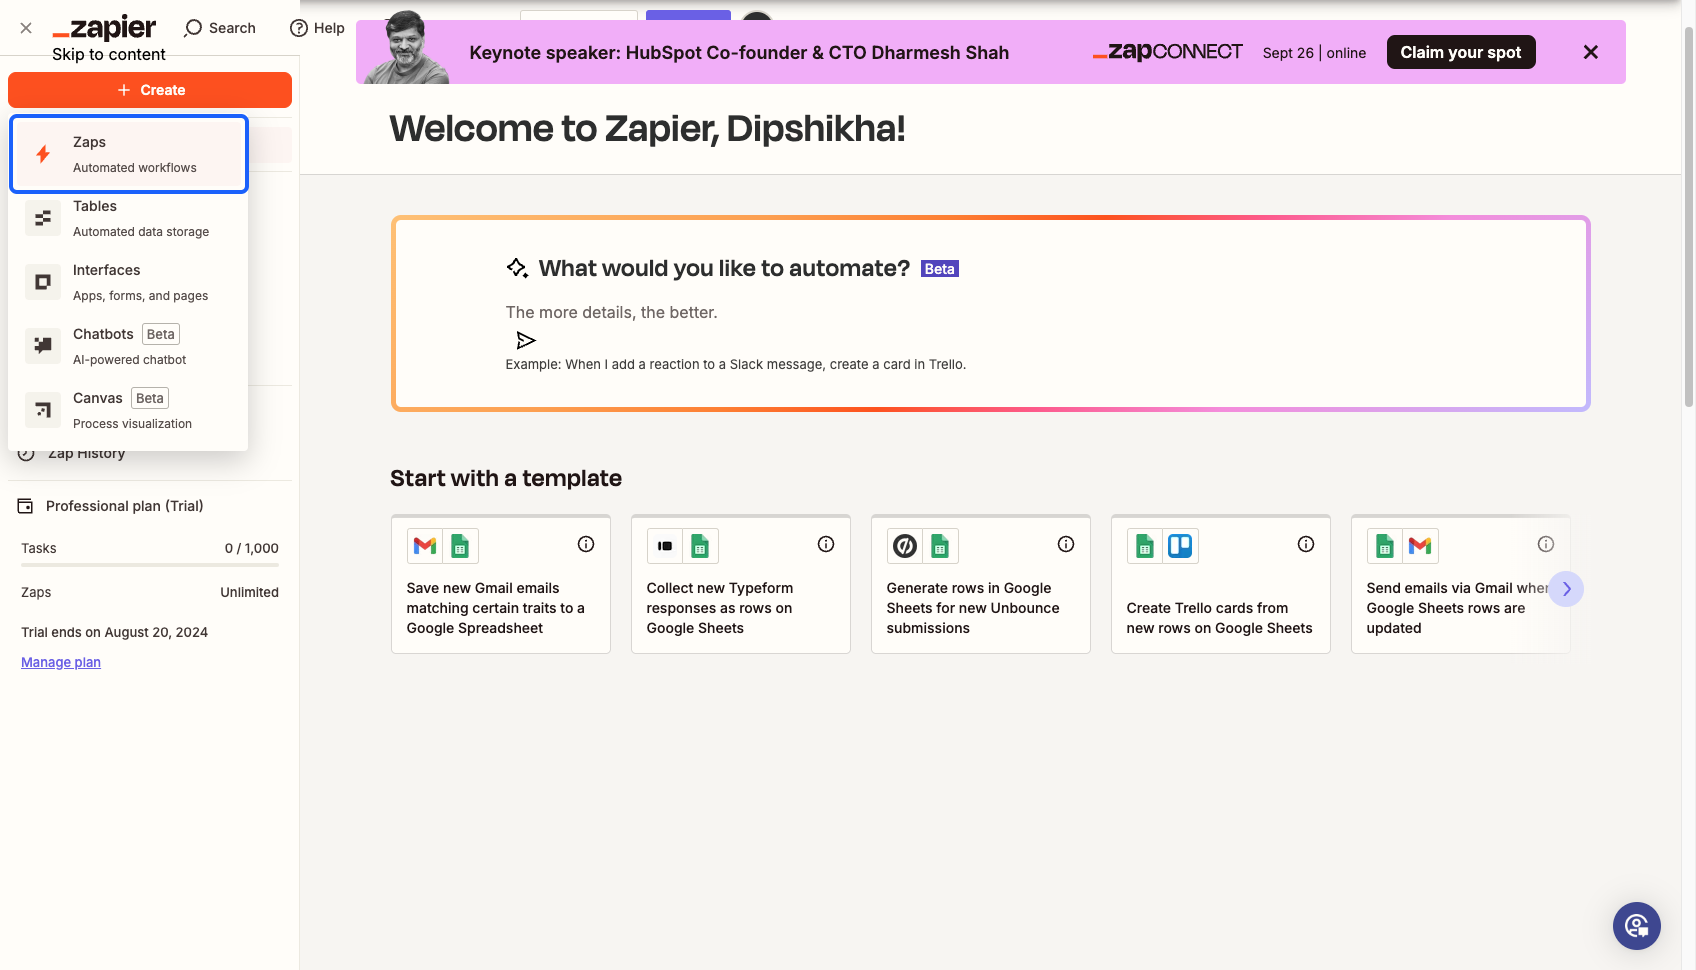
5: Click on the “Create” button

6: Click on “Zaps” to create a new Zap
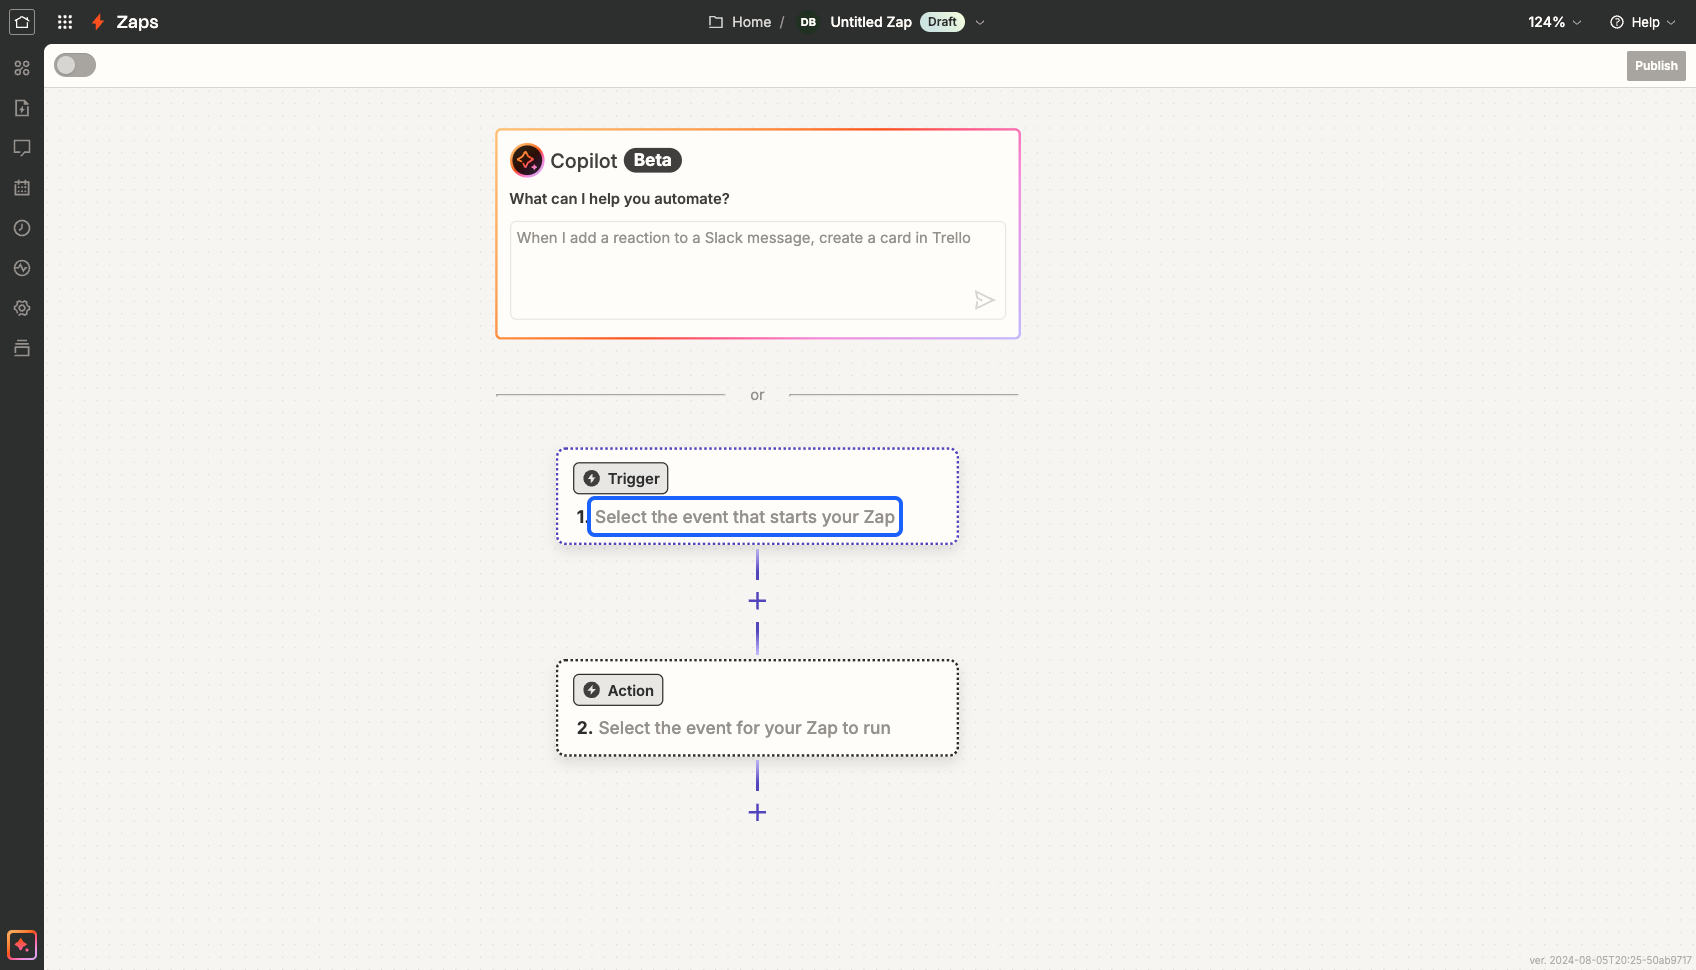
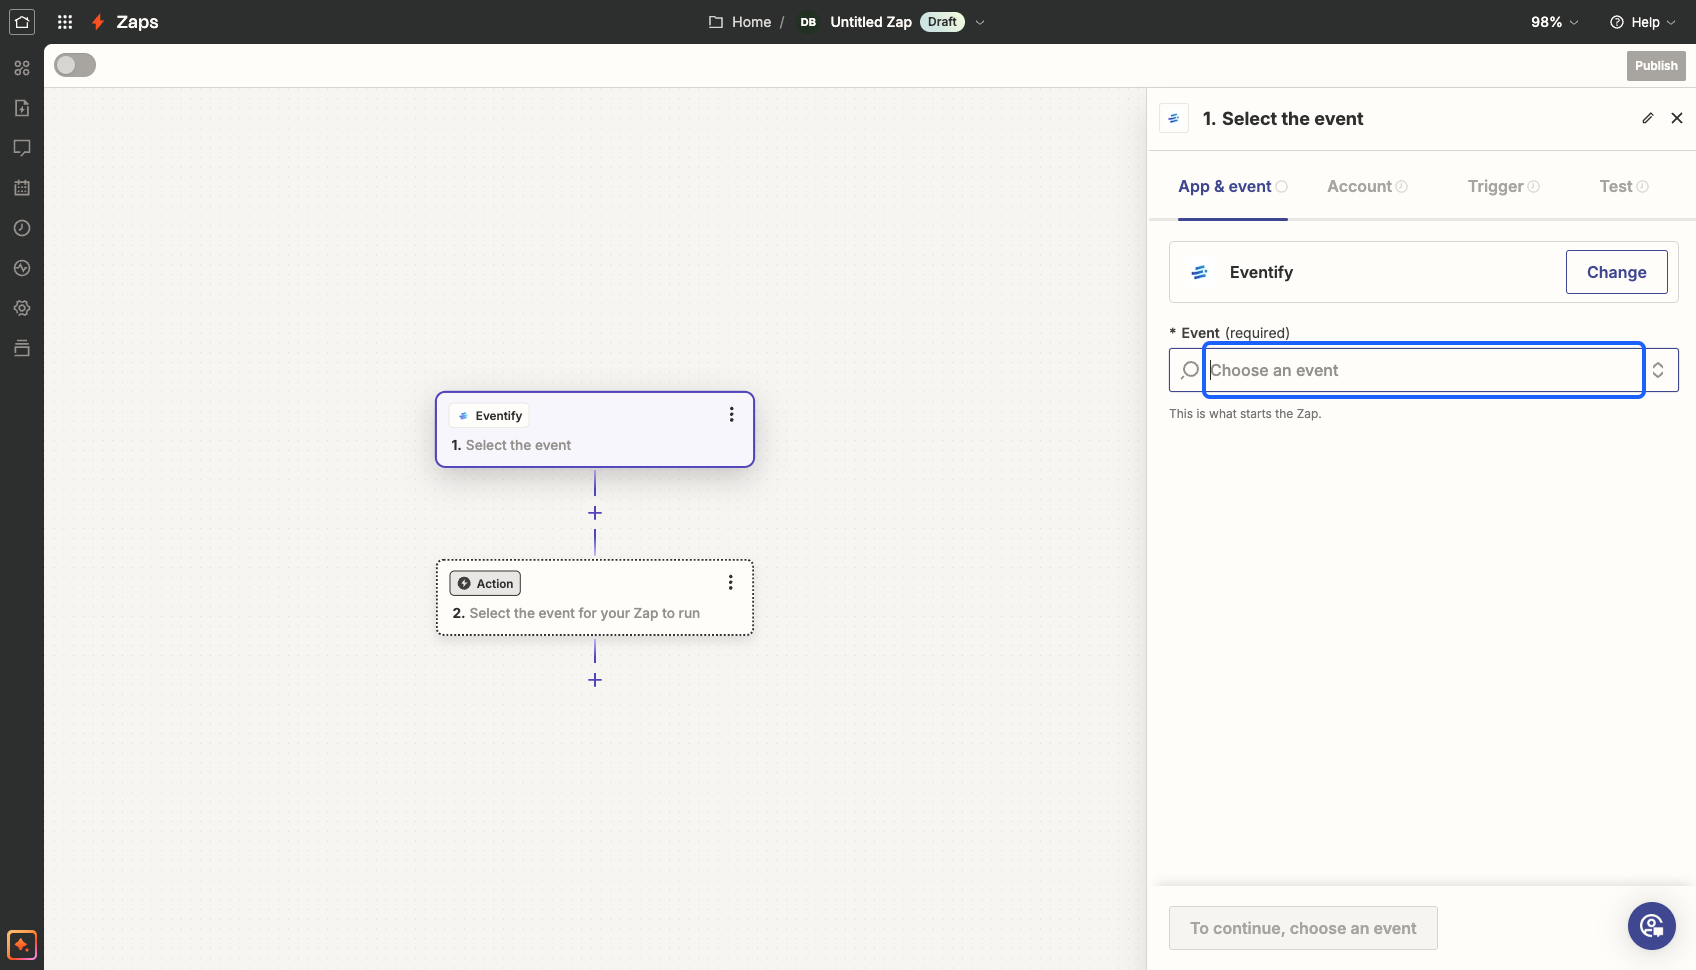
7: Select the trigger for the zap
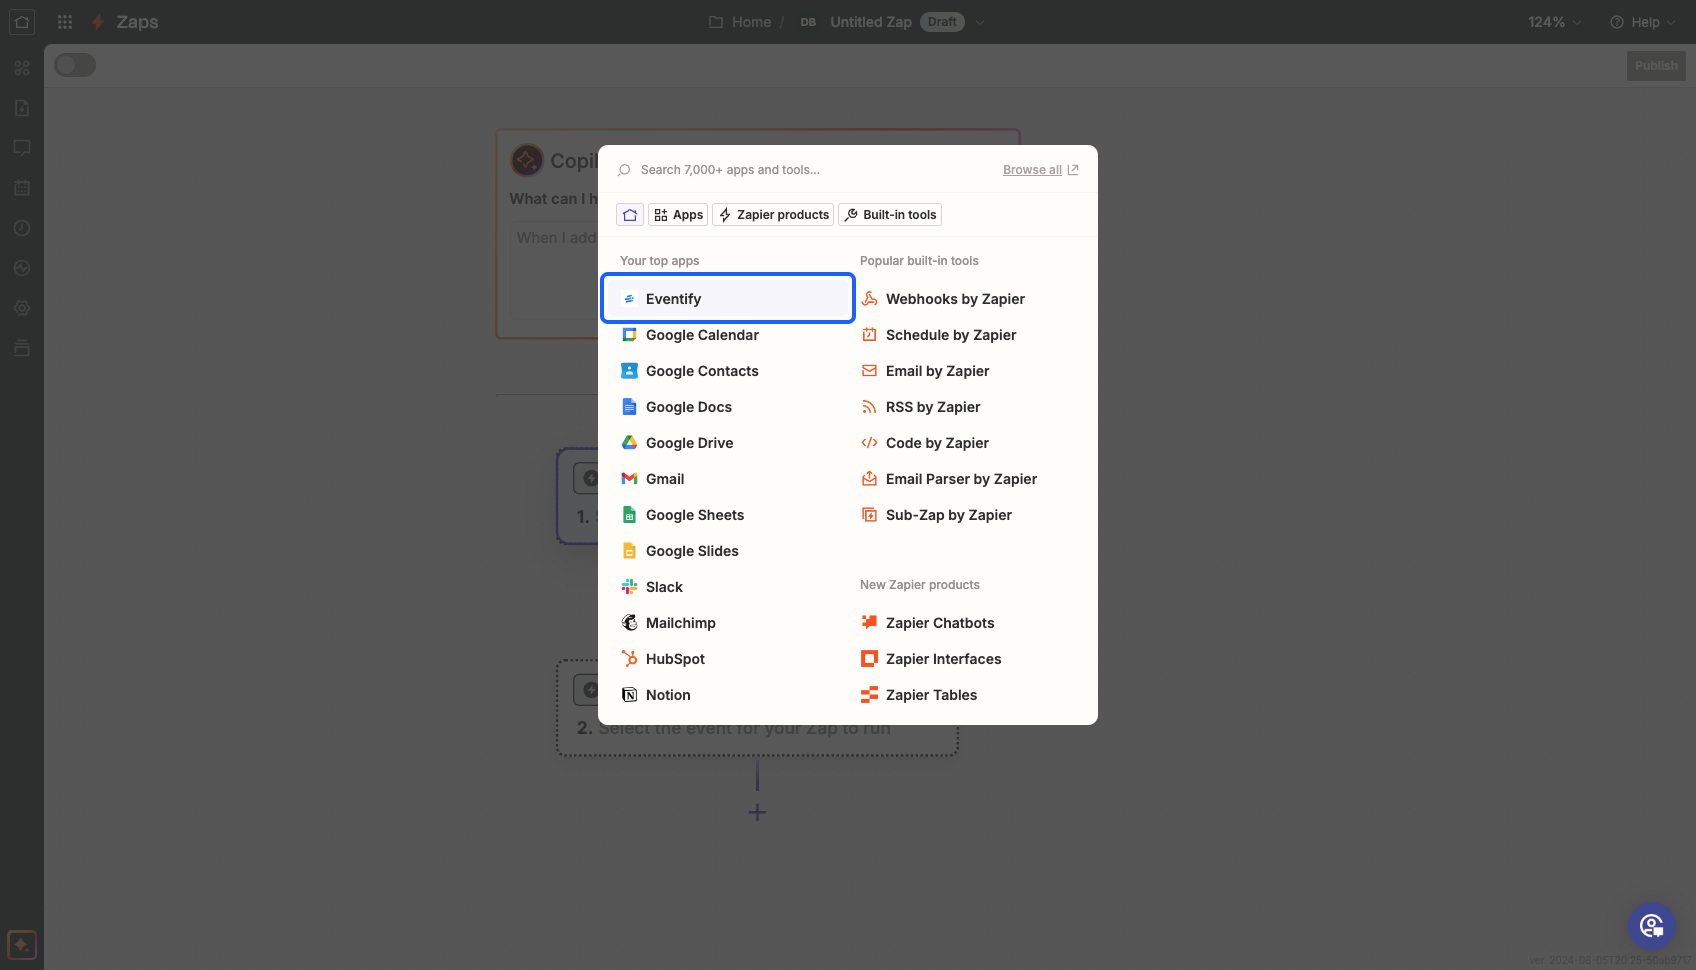
8: Select Eventify from the apps
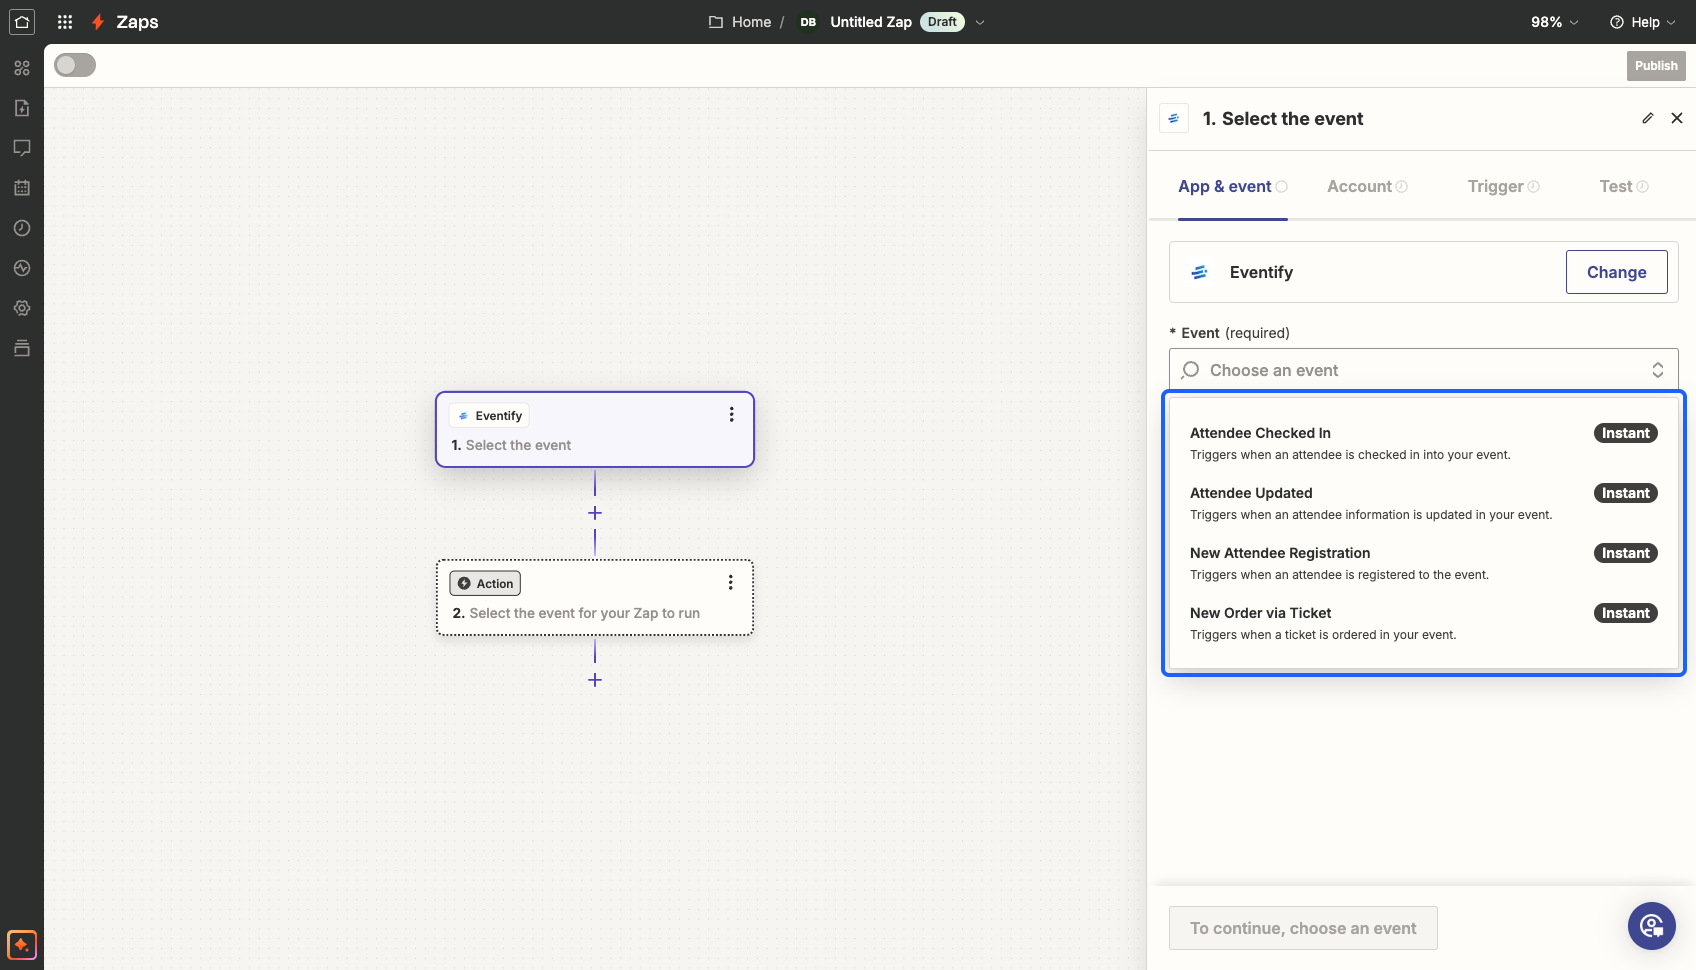
9: Choose the action for which you want to record the data
10: Select from the available actions
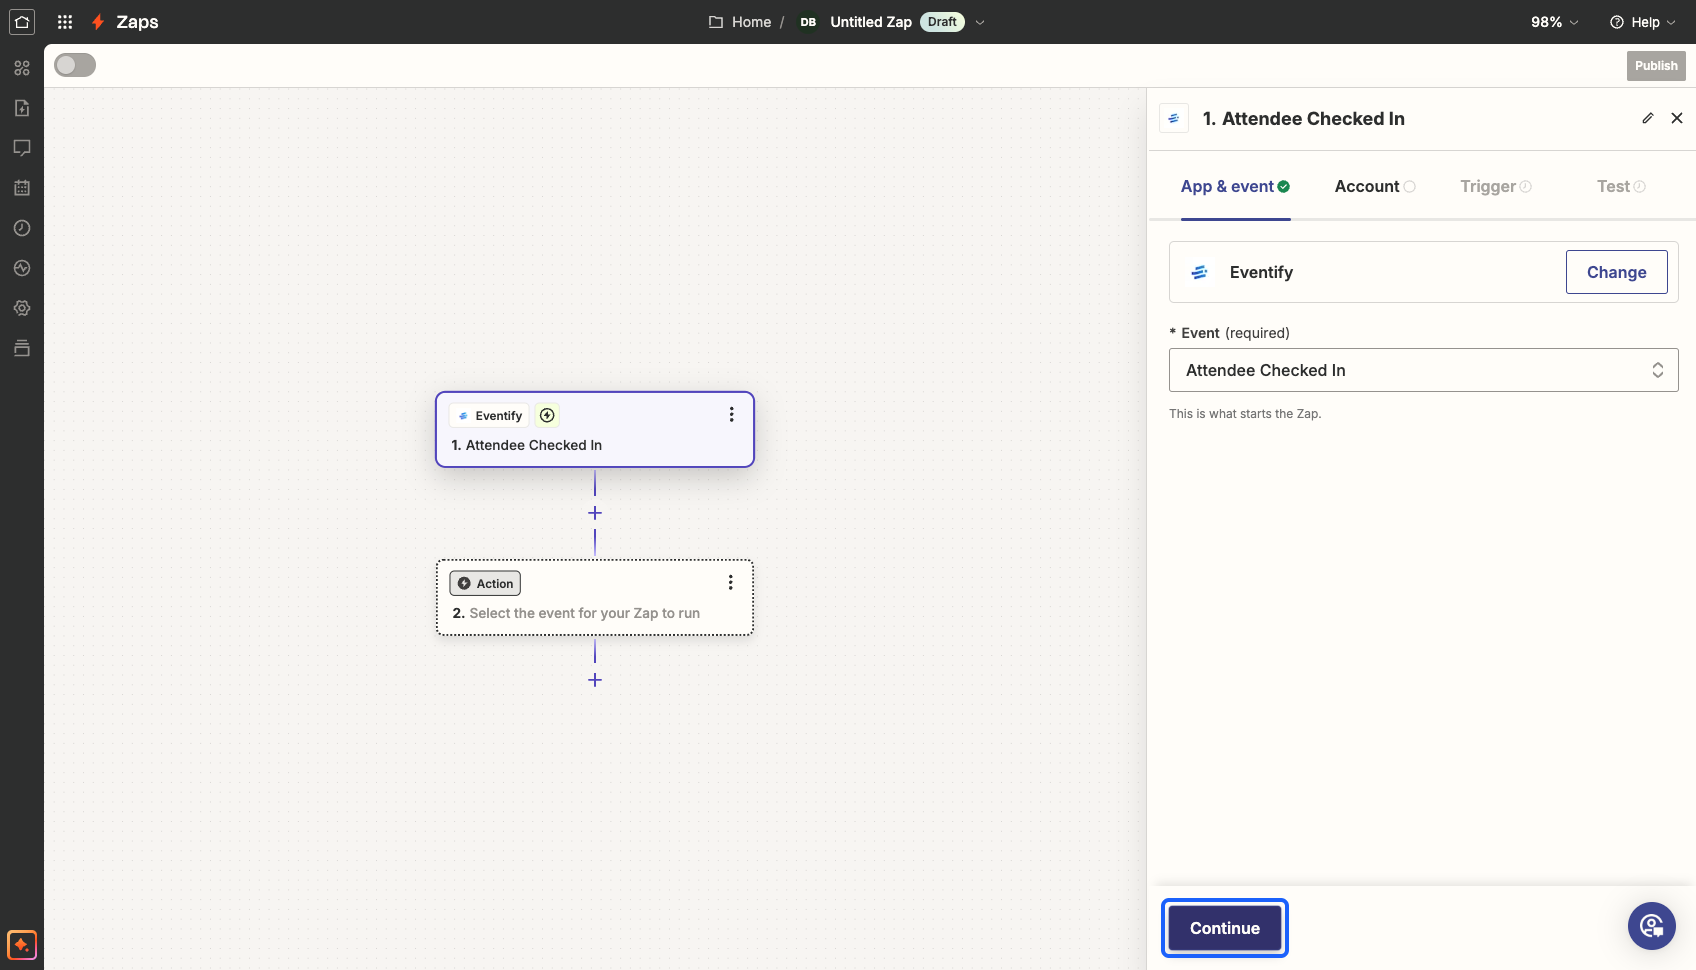
11: Click on the “Continue” button
12: Click on the “Sign in” button to sign in to Eventify with your admin account
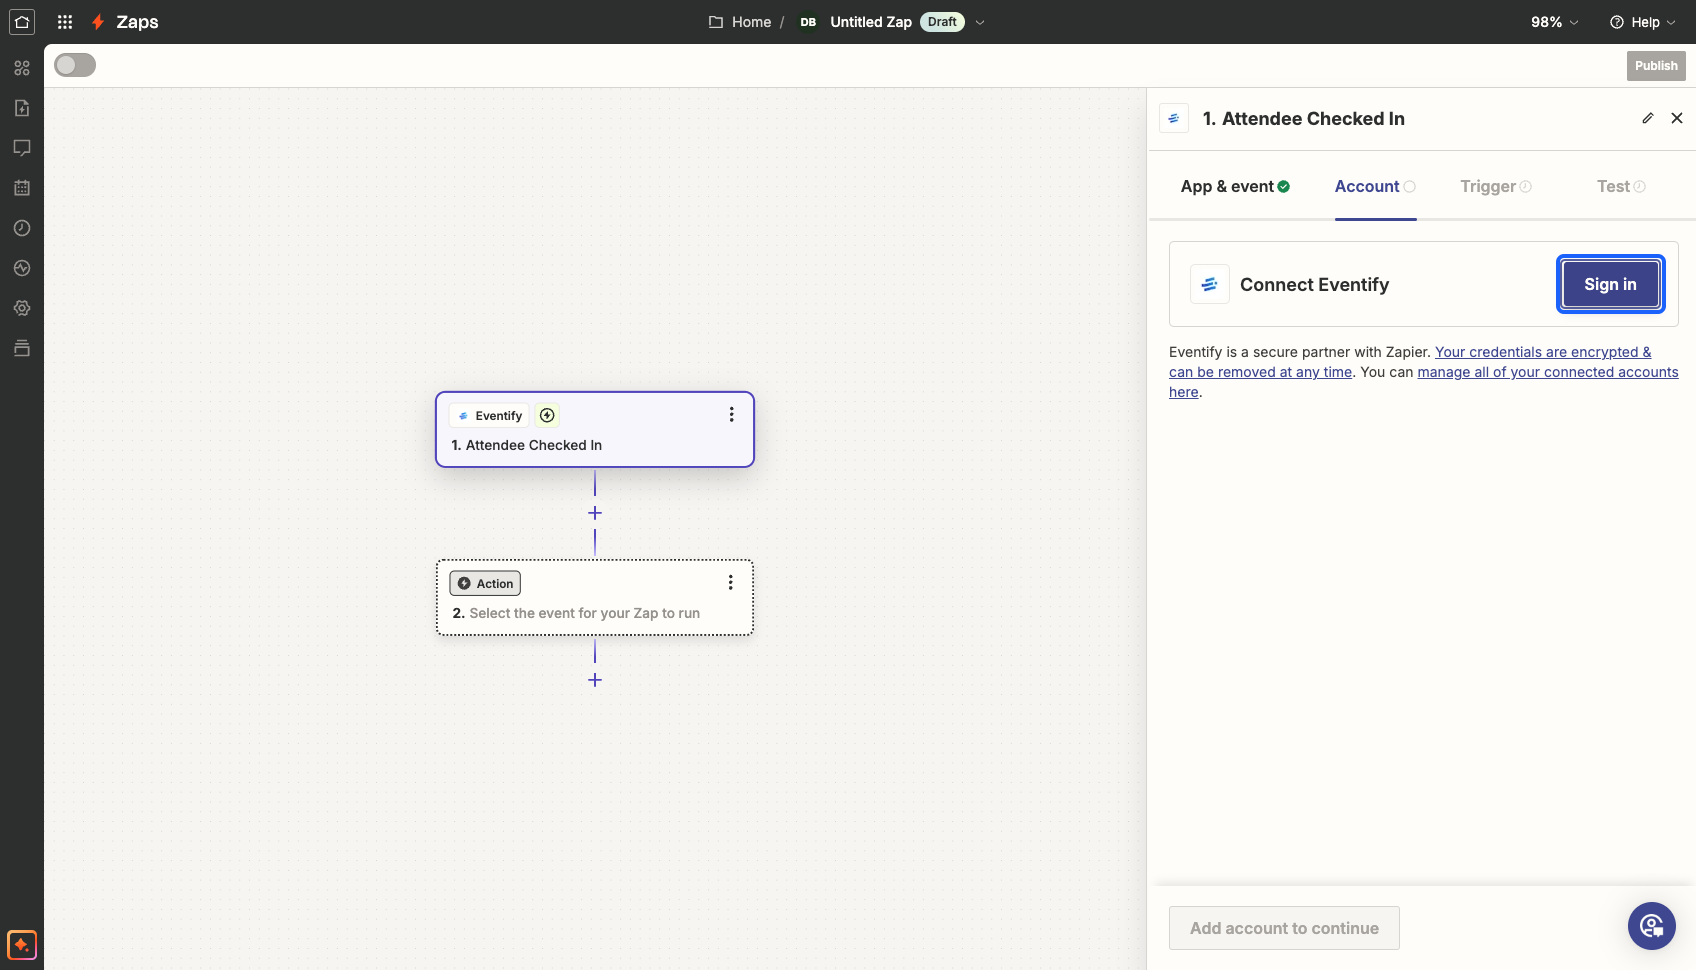
13: Authorize Zapier to connect to Eventify
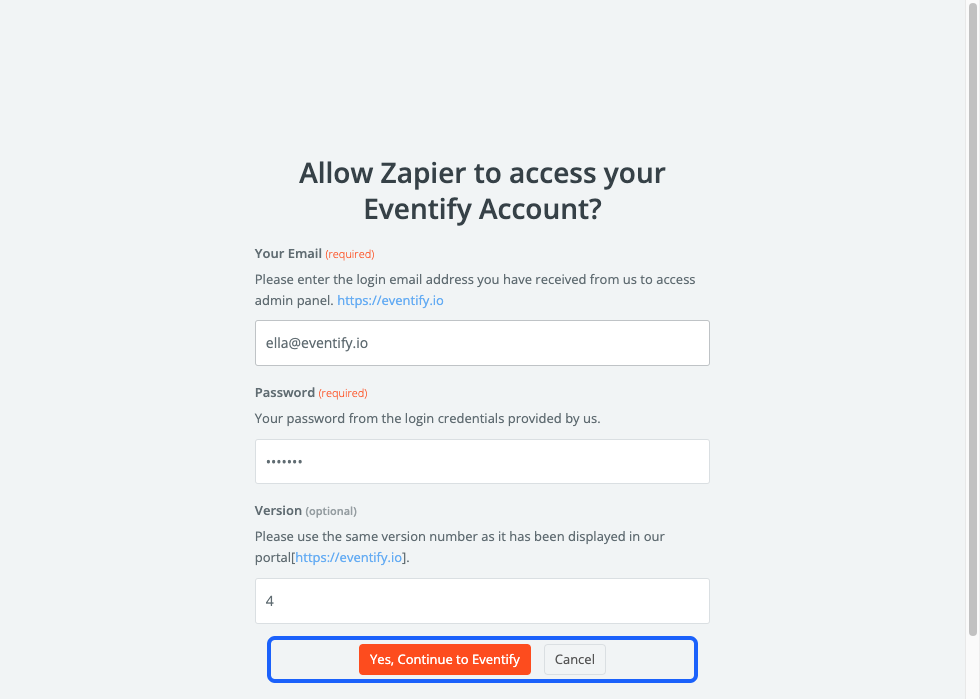
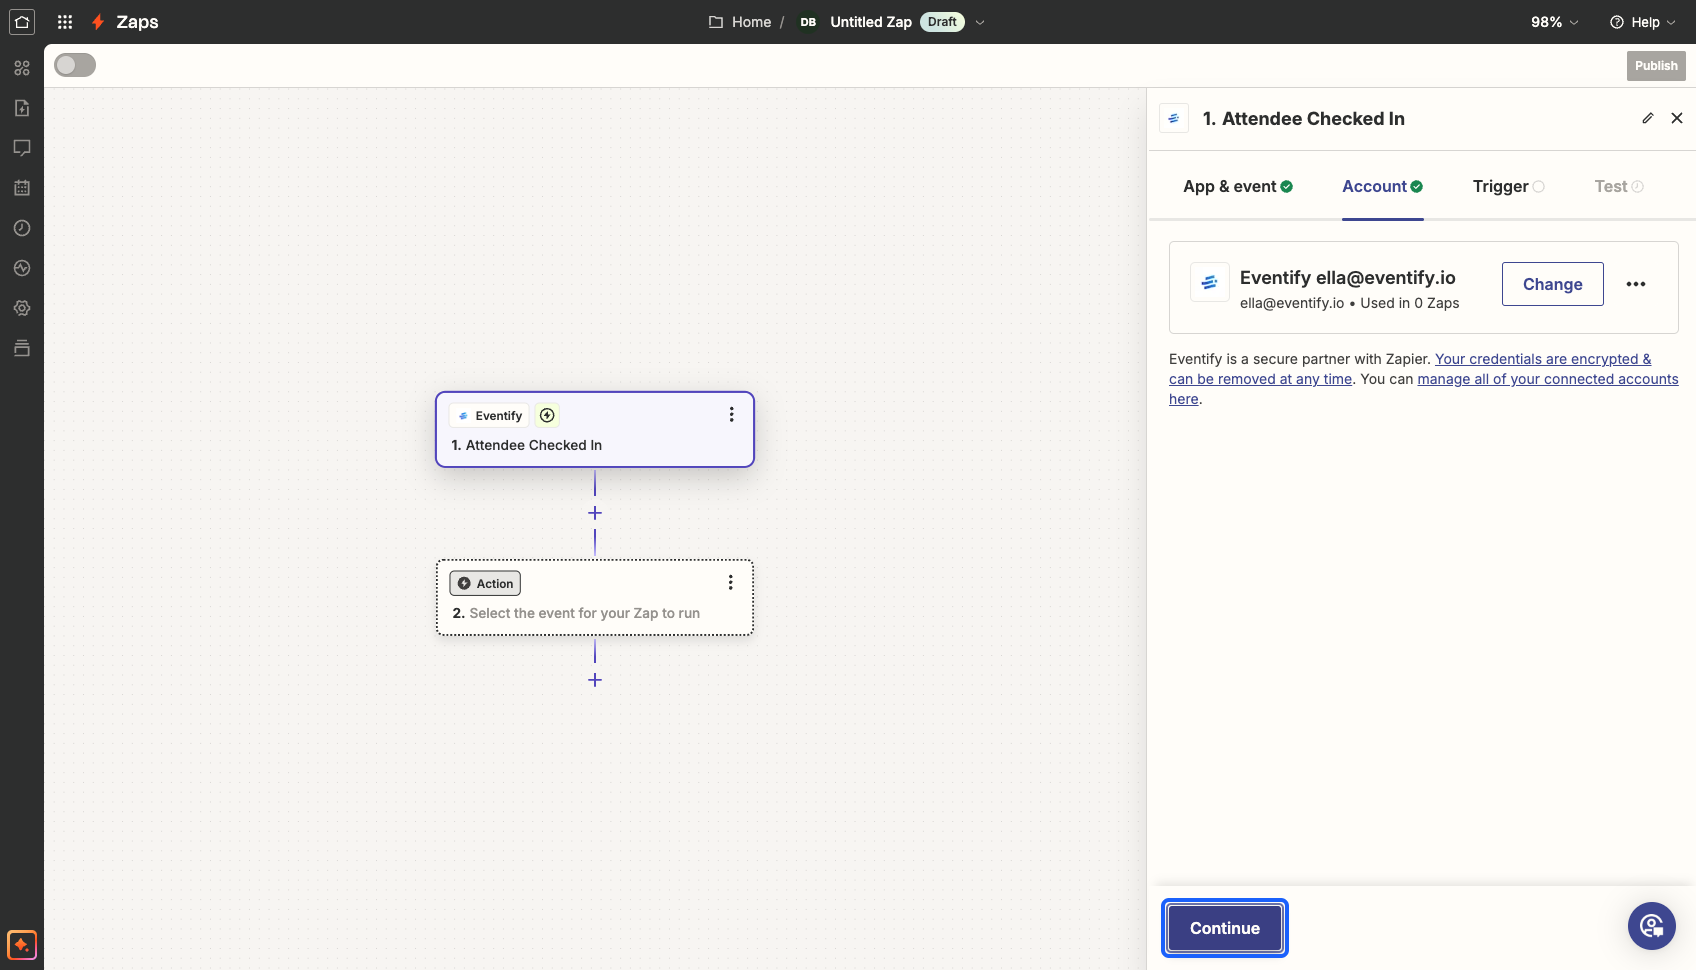
14: Click on the “Continue” button
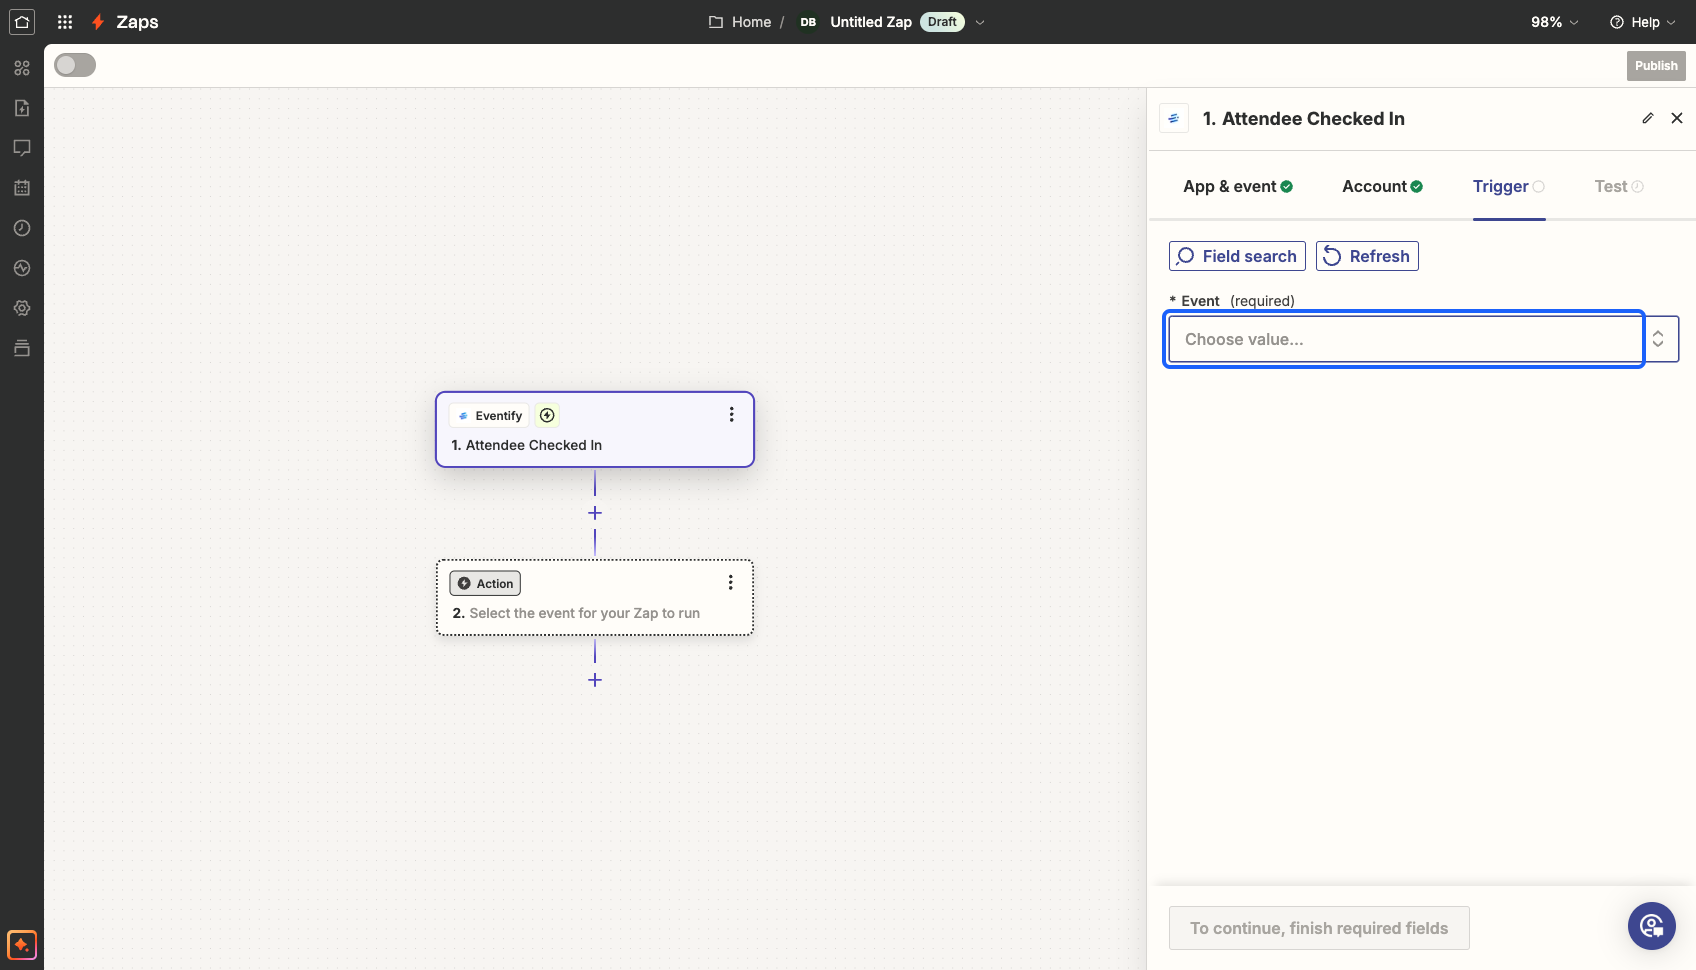
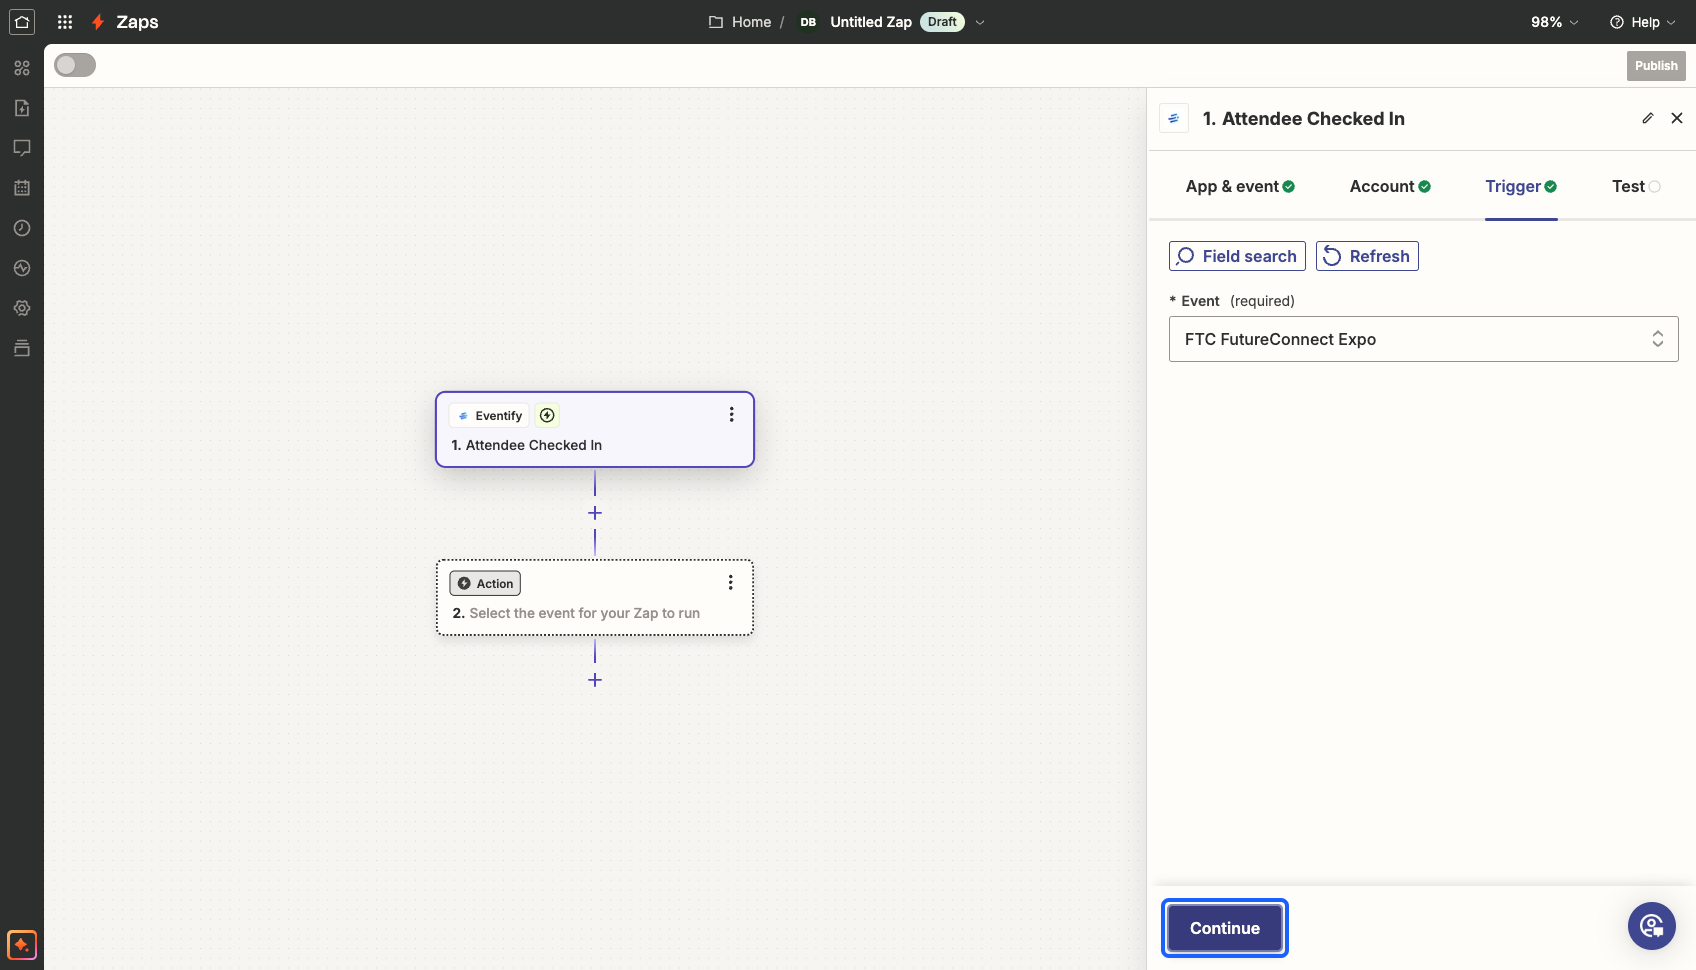
15: Select the “Event" from which you want to migrate the data
16: Search and select the event
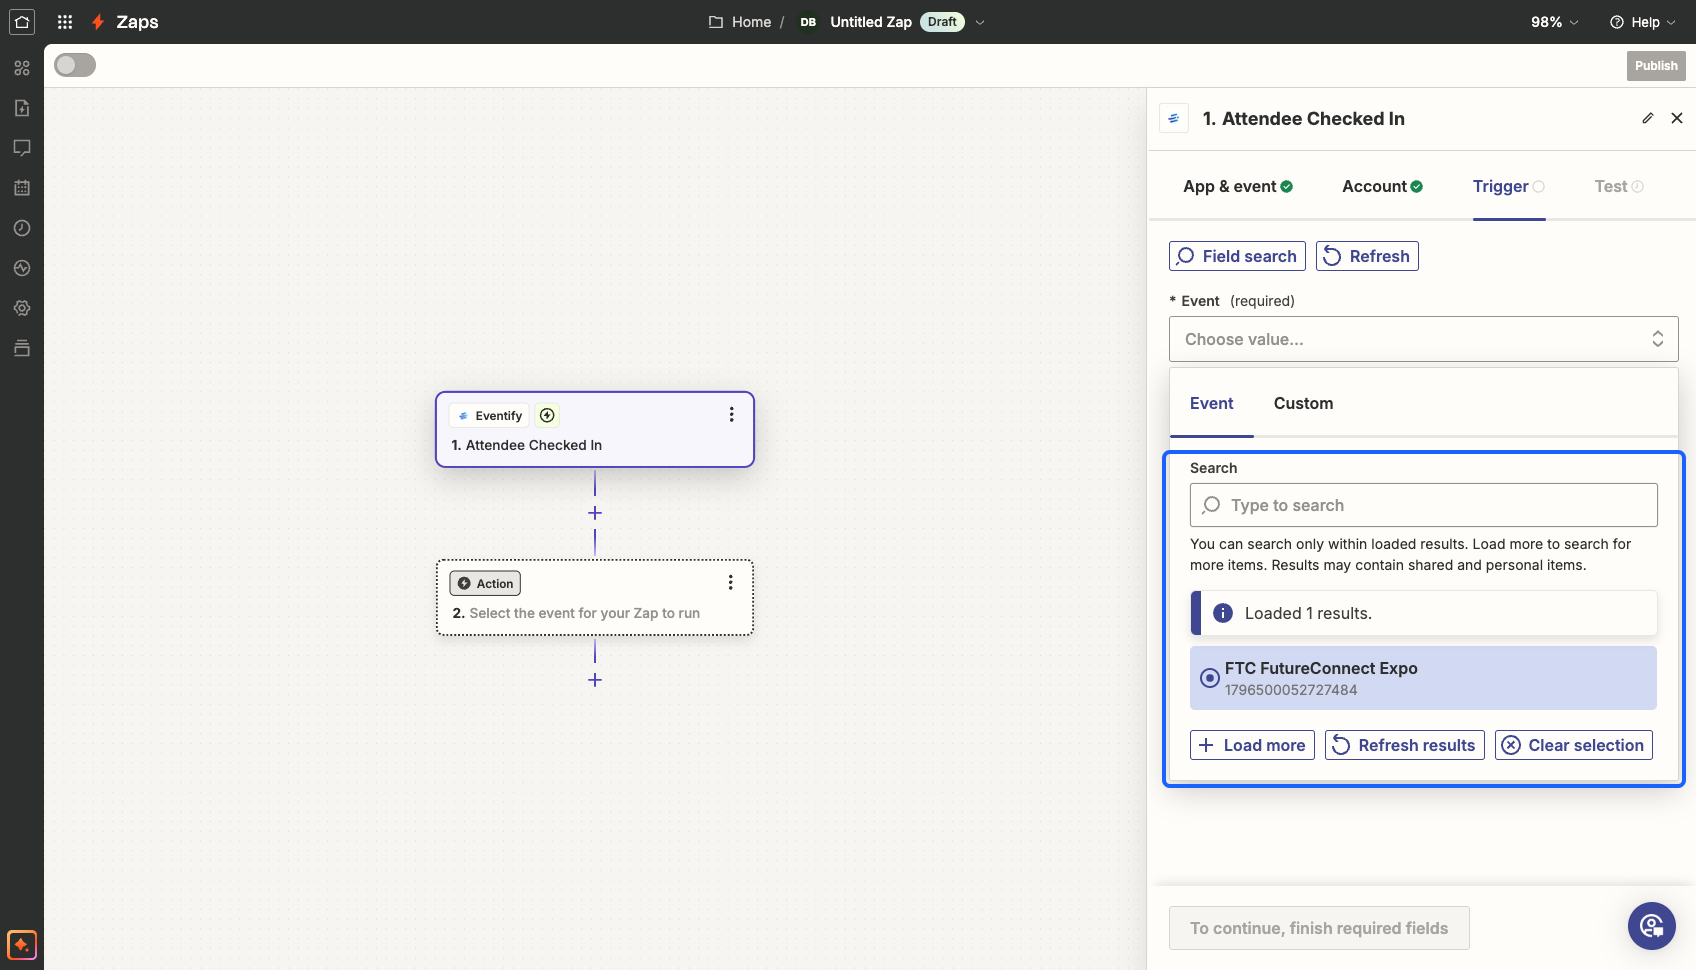
17: Click on the “Continue” button
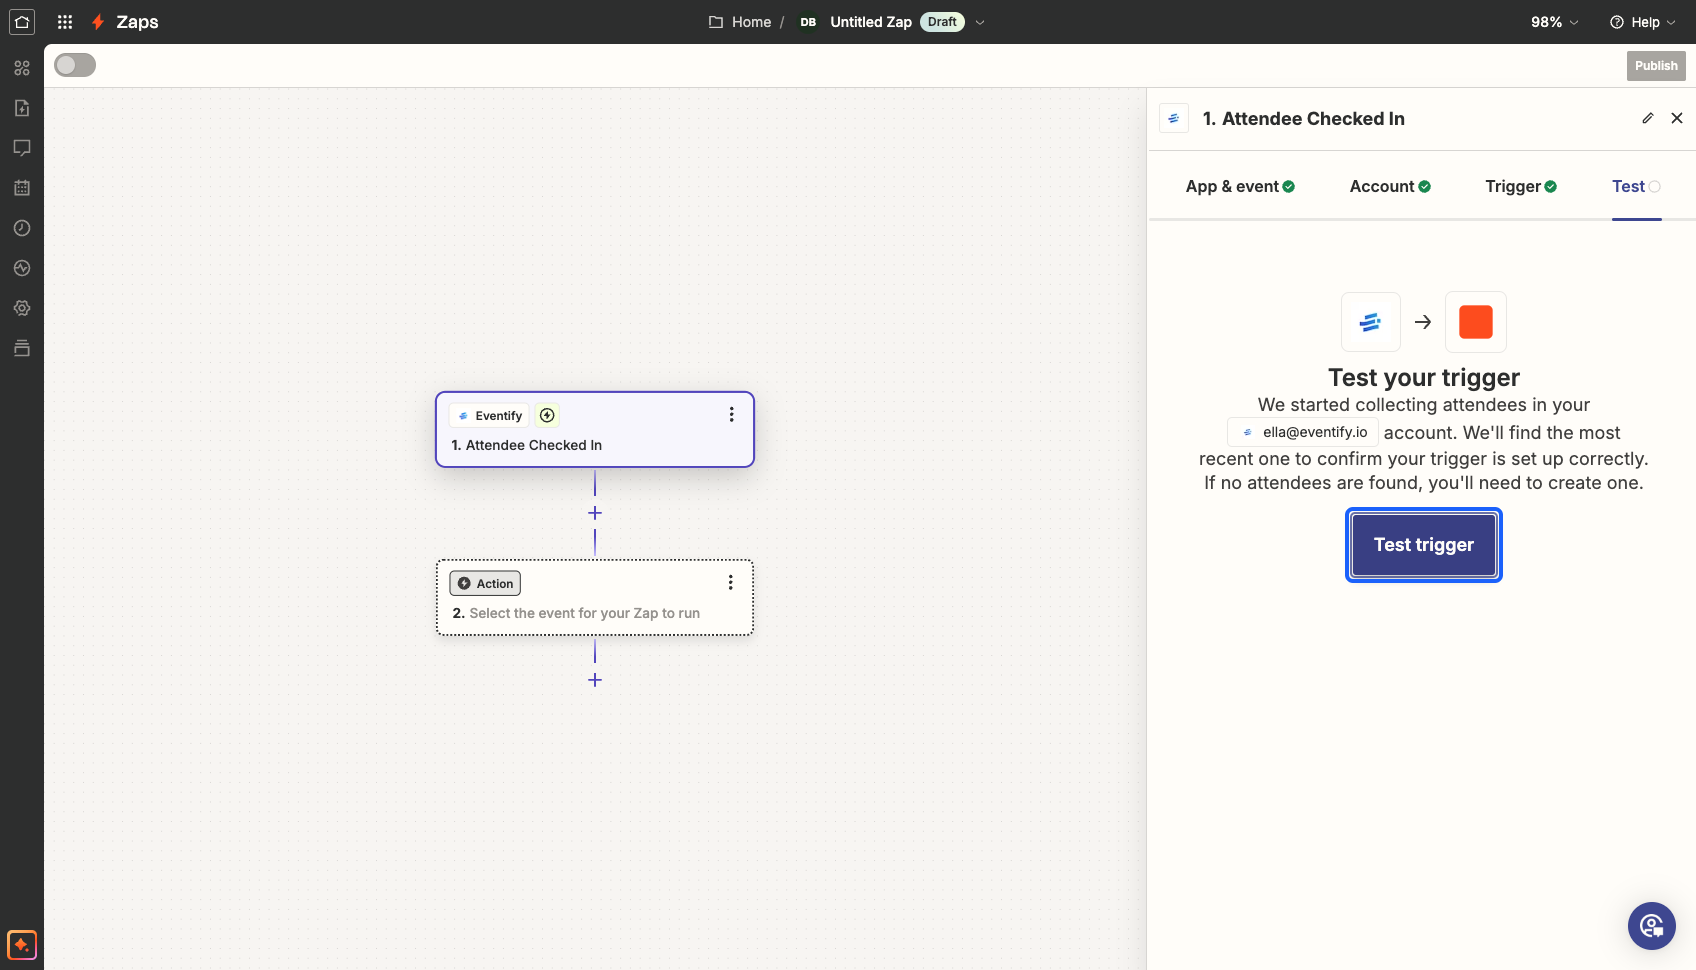
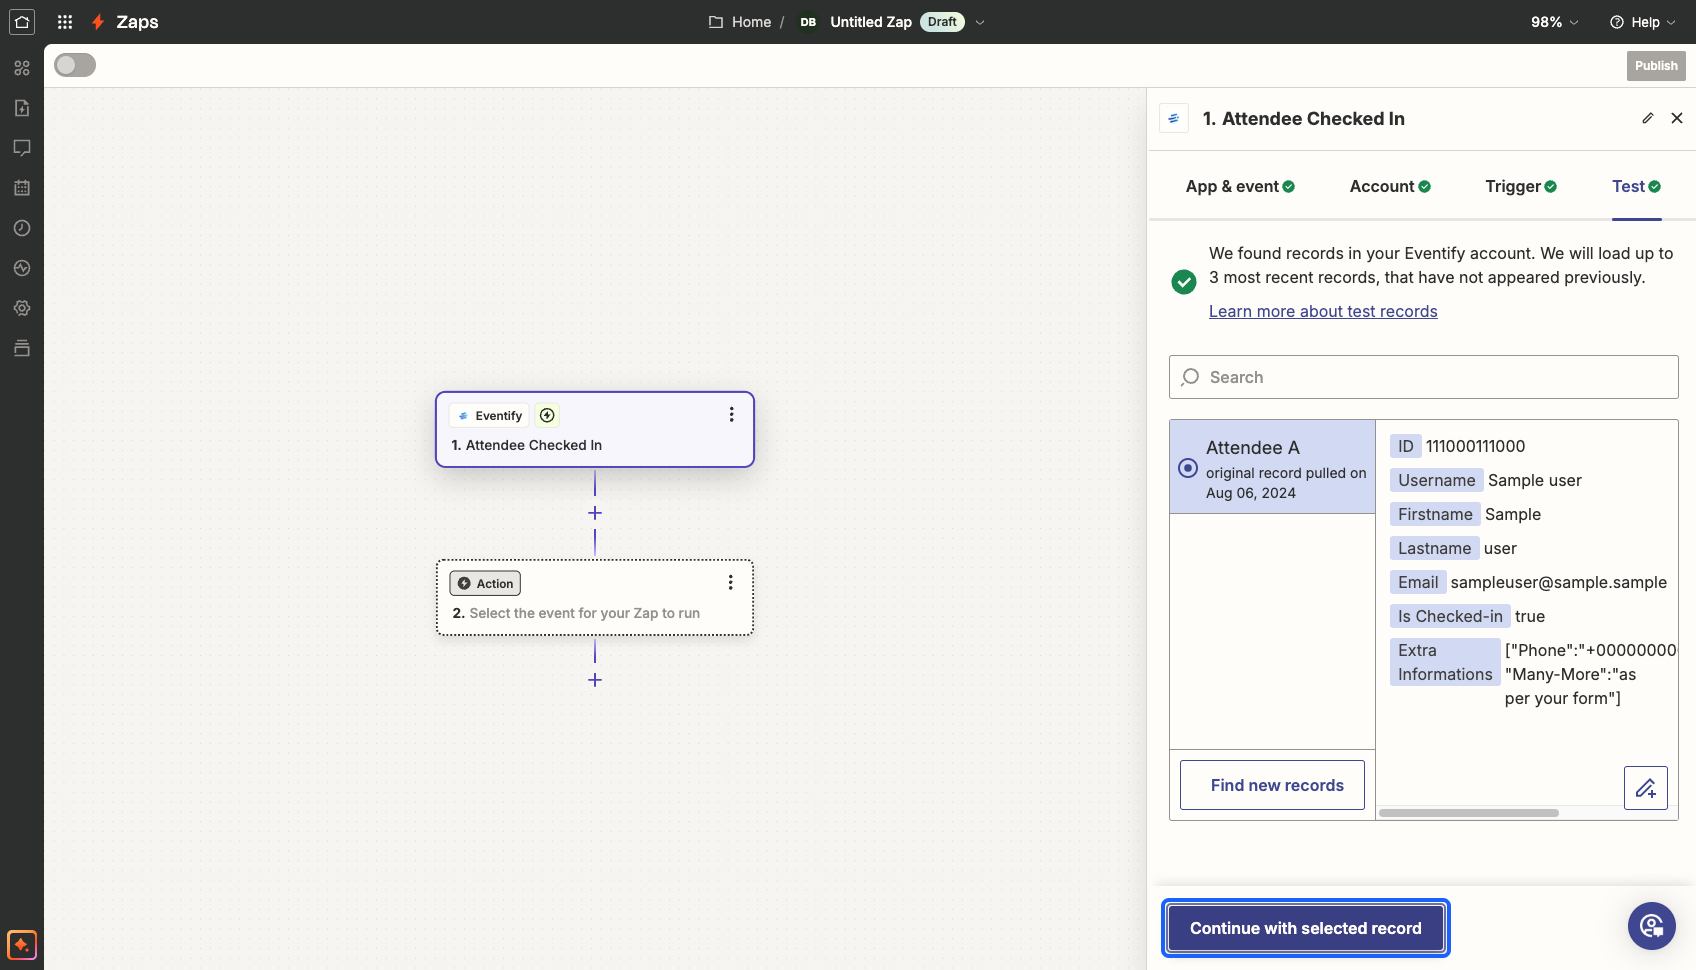
18: You can now test the trigger that you have set
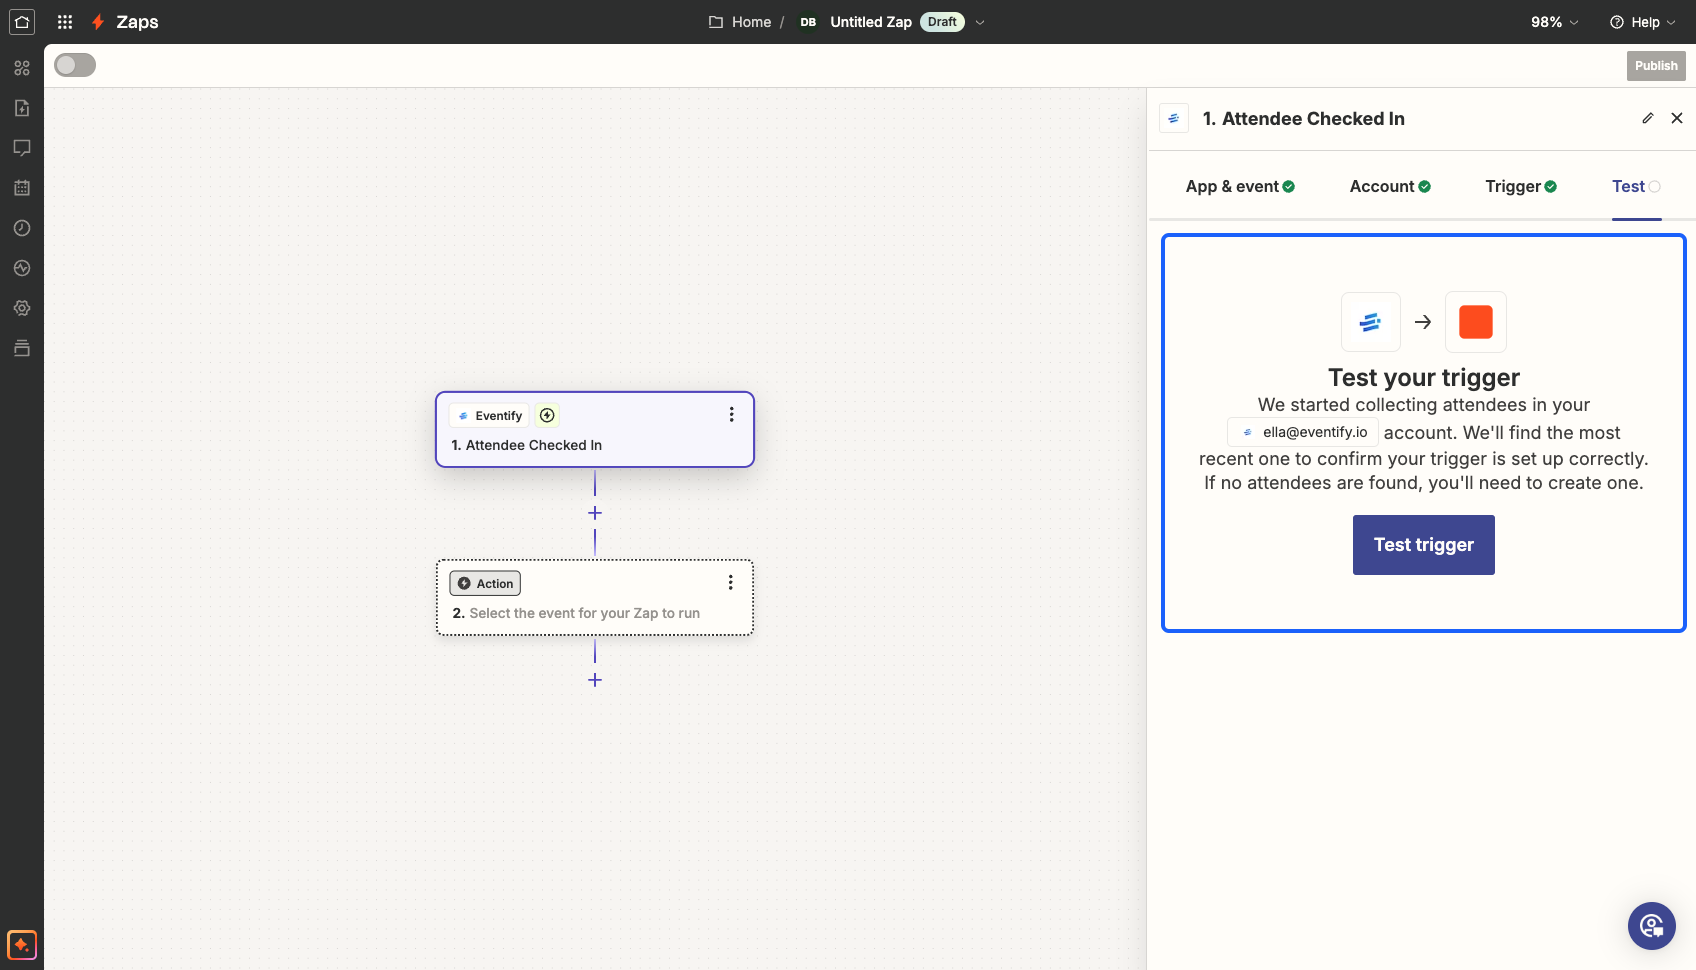
19: Click on the “Test trigger” button
20: It will trigger the selected action and show you the result
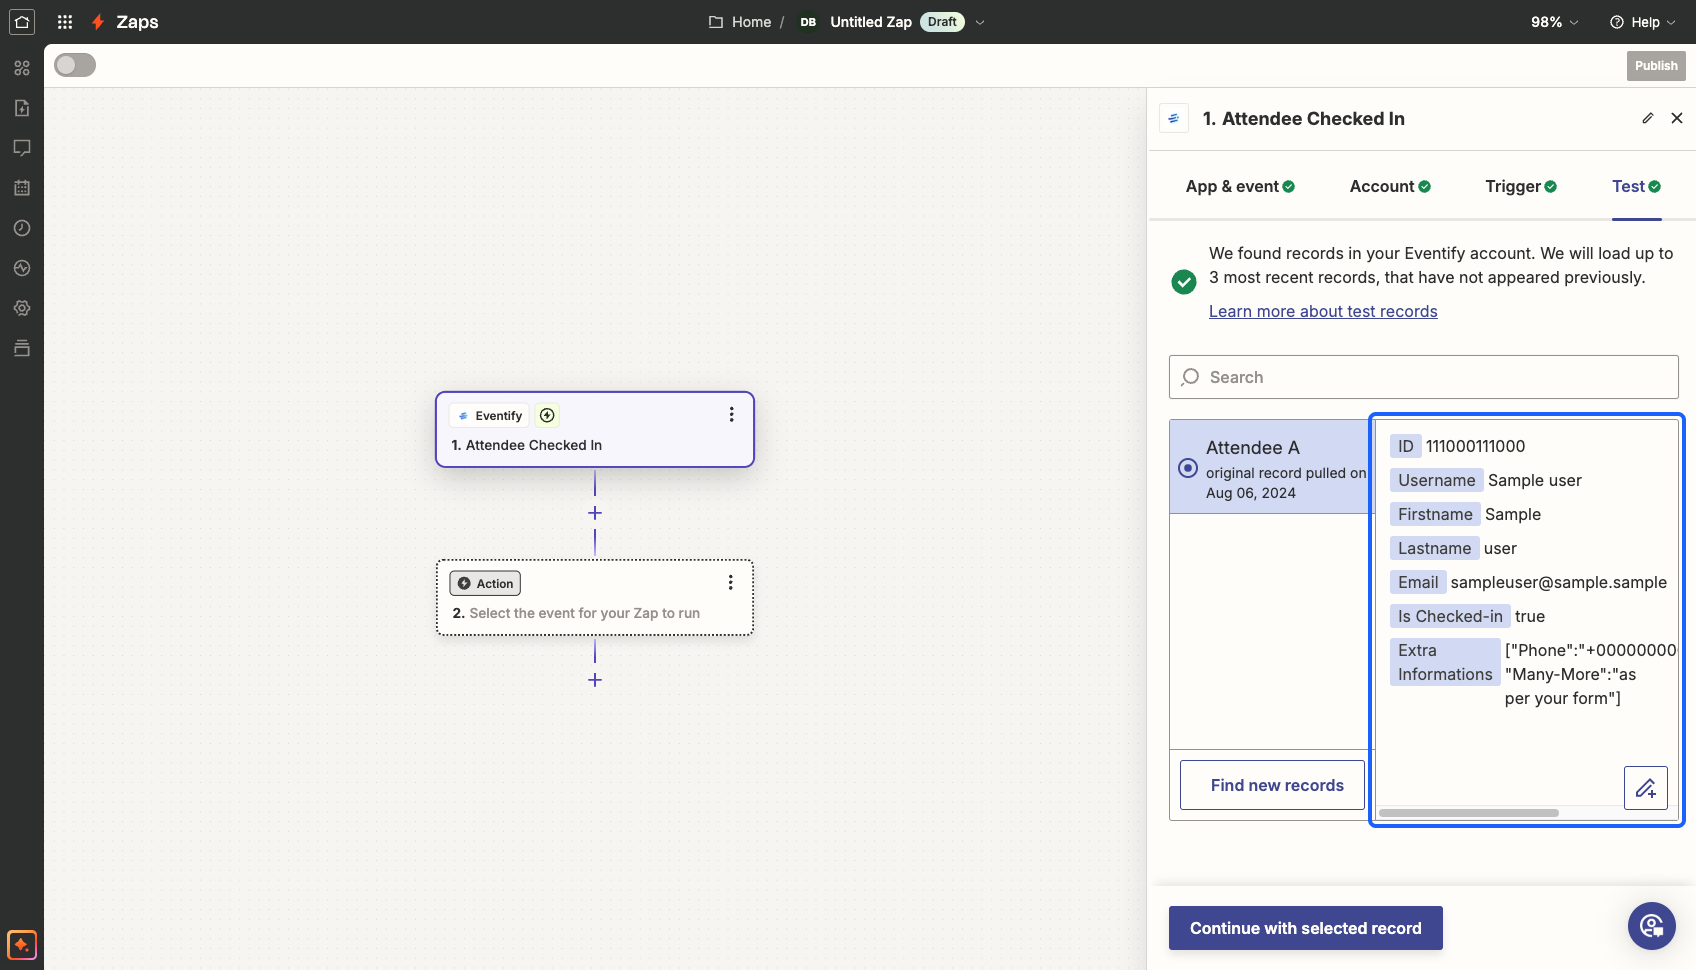
21: Click on the “Continue with selected record” button
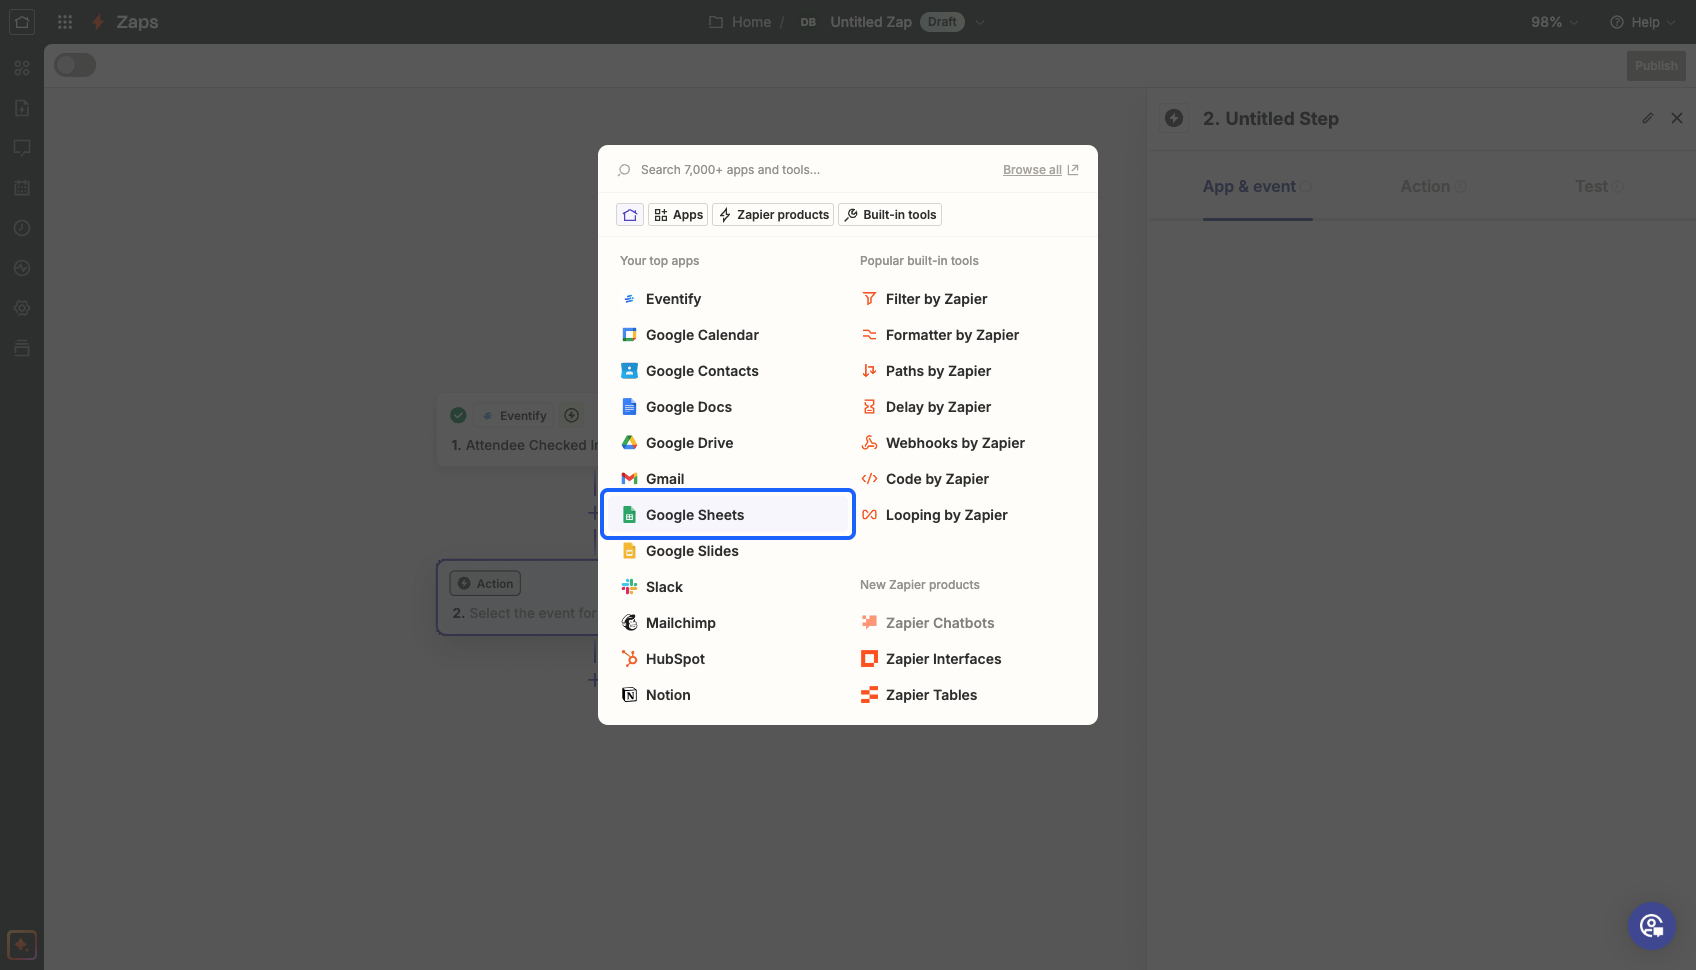
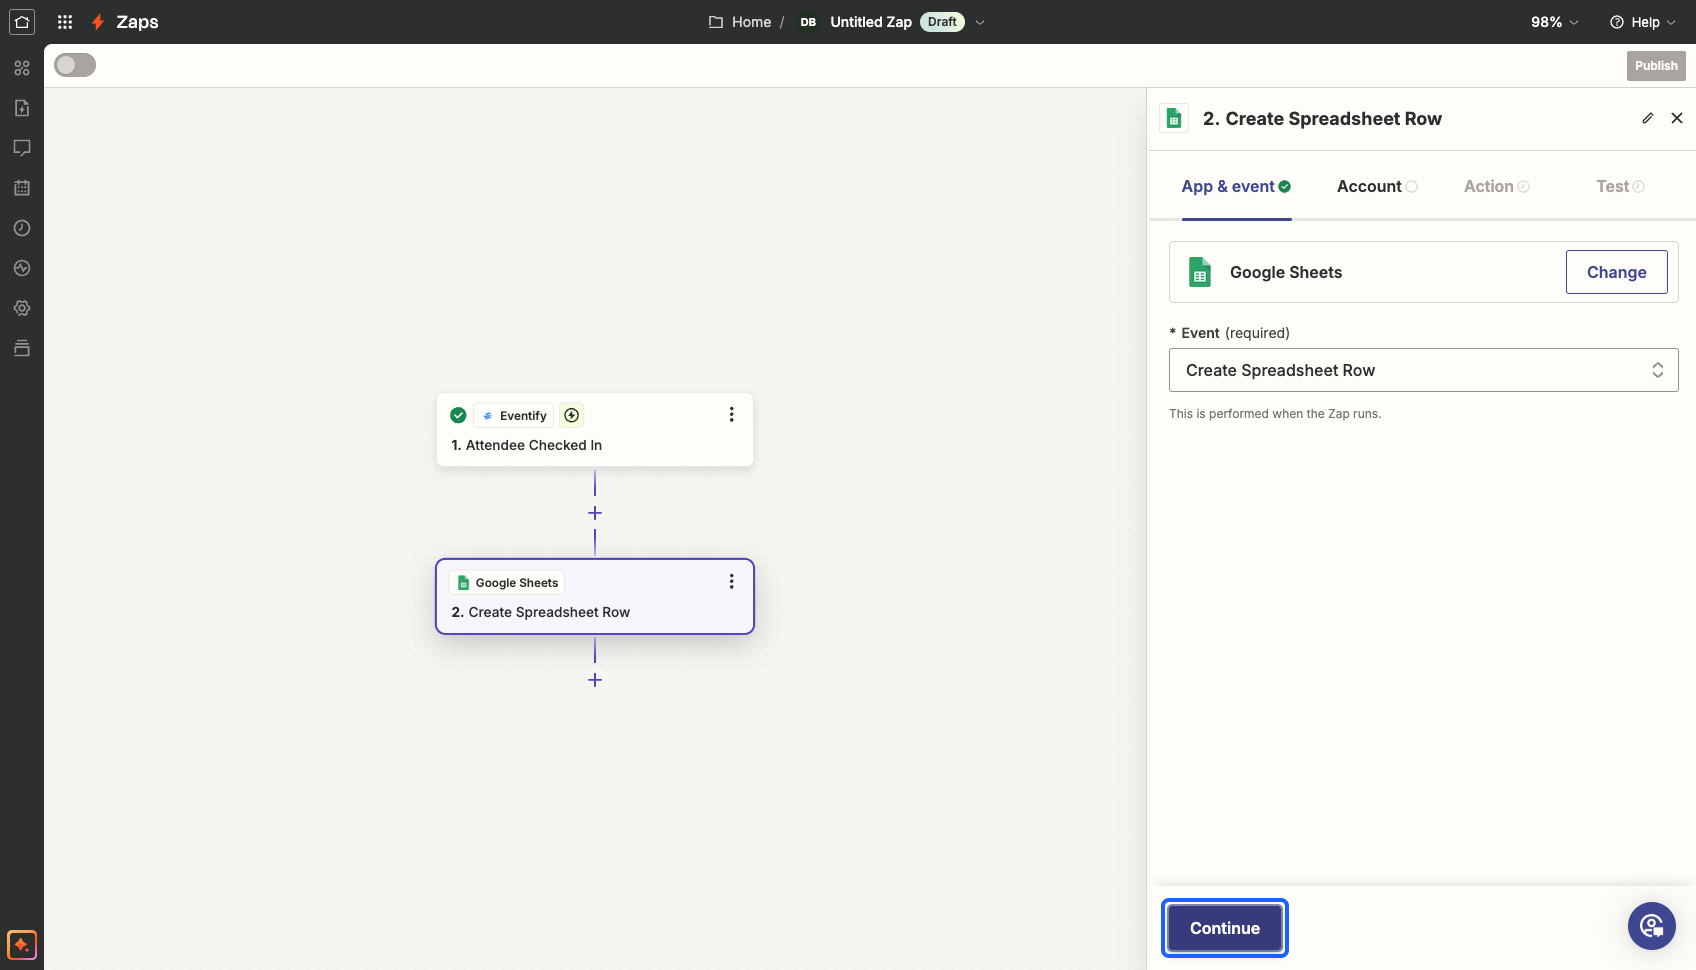
22: Select the place you want to save the data to. For eg: Google Sheets
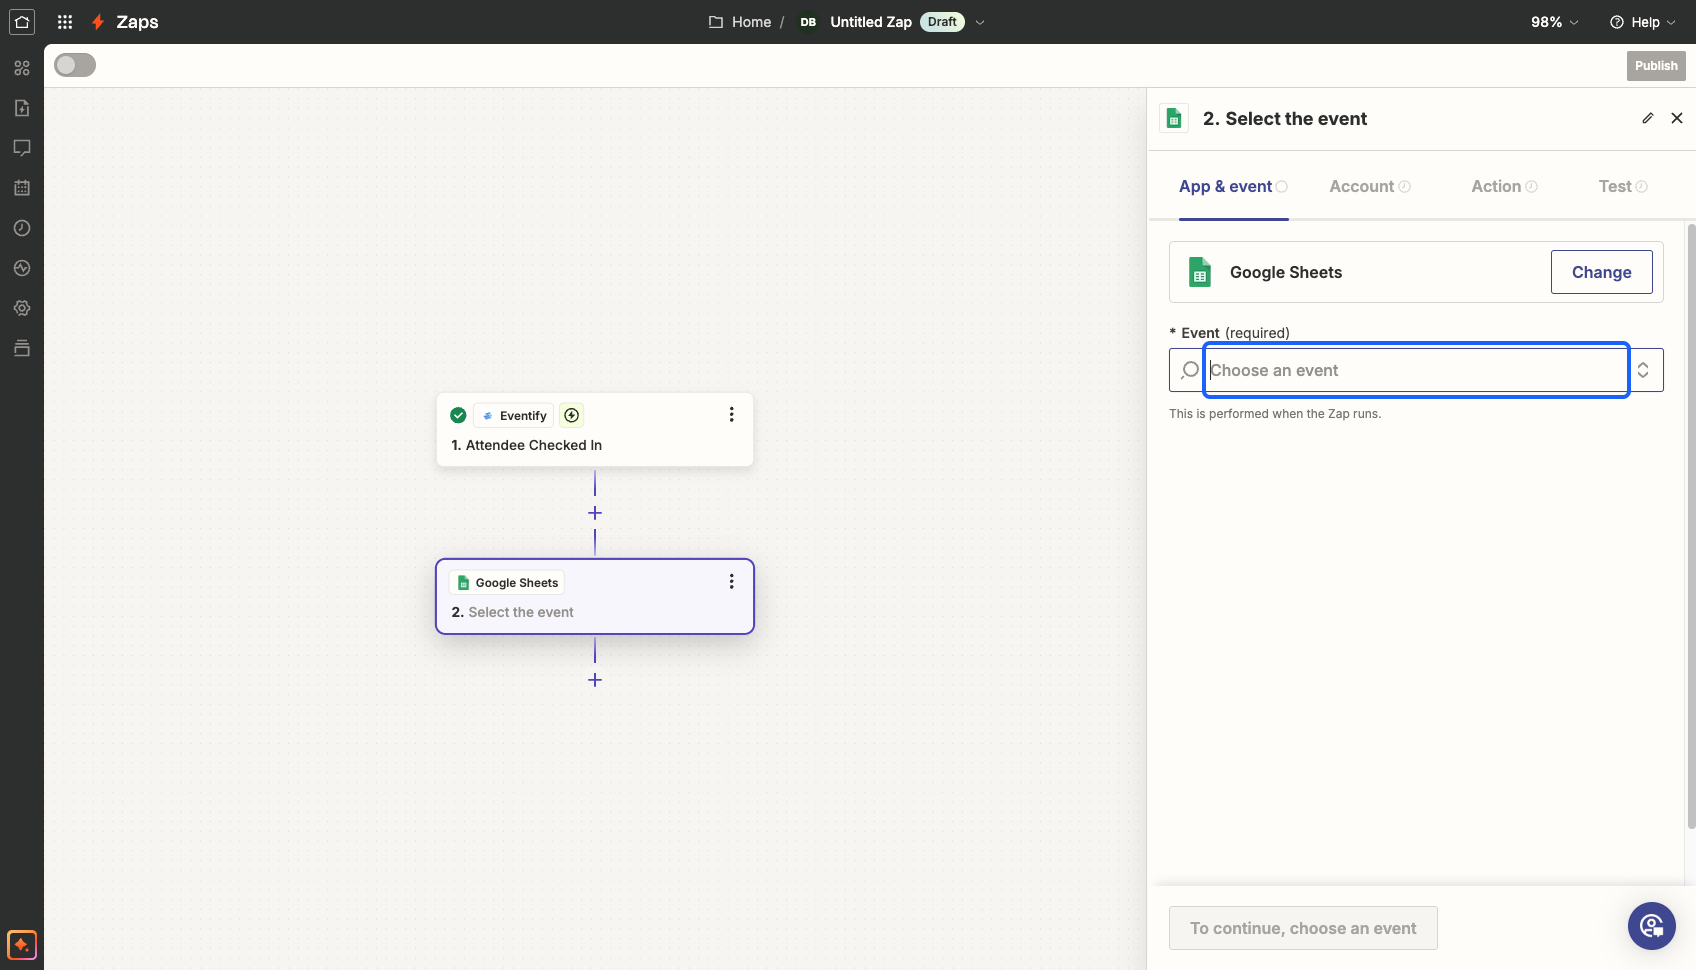
23: Select the action that happens for every triggered record
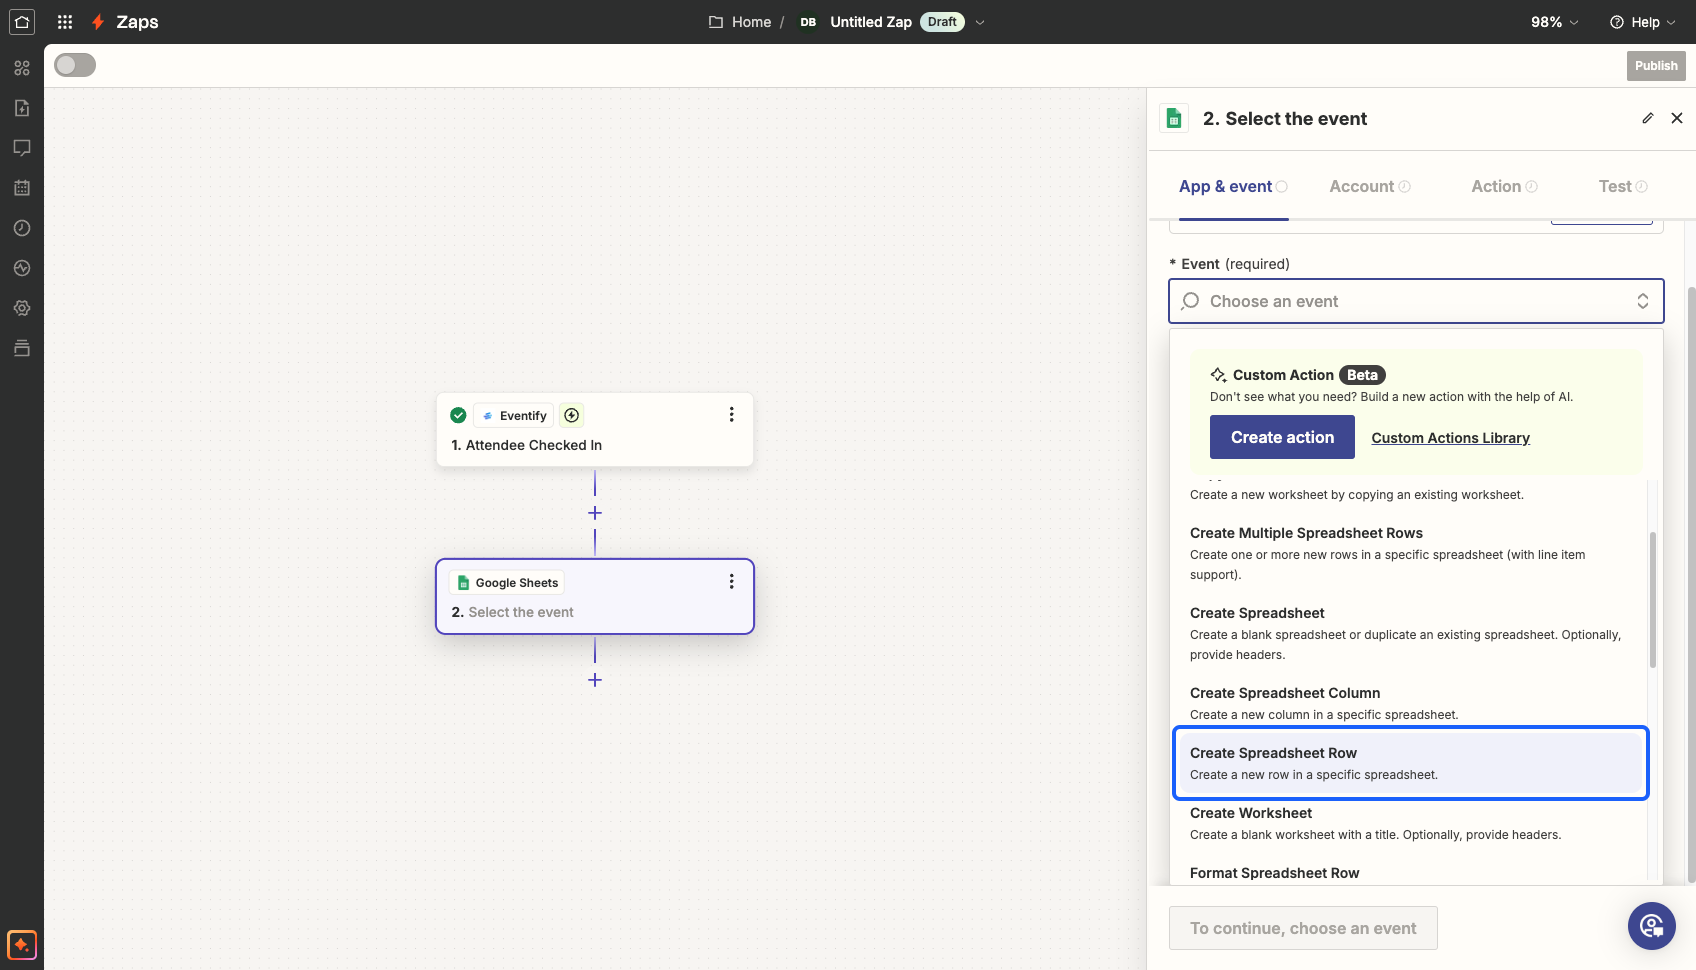
24: Select the action. For eg: Each new attendee checkin will create a new record in the spreadsheet
25: Click on the “Continue” button
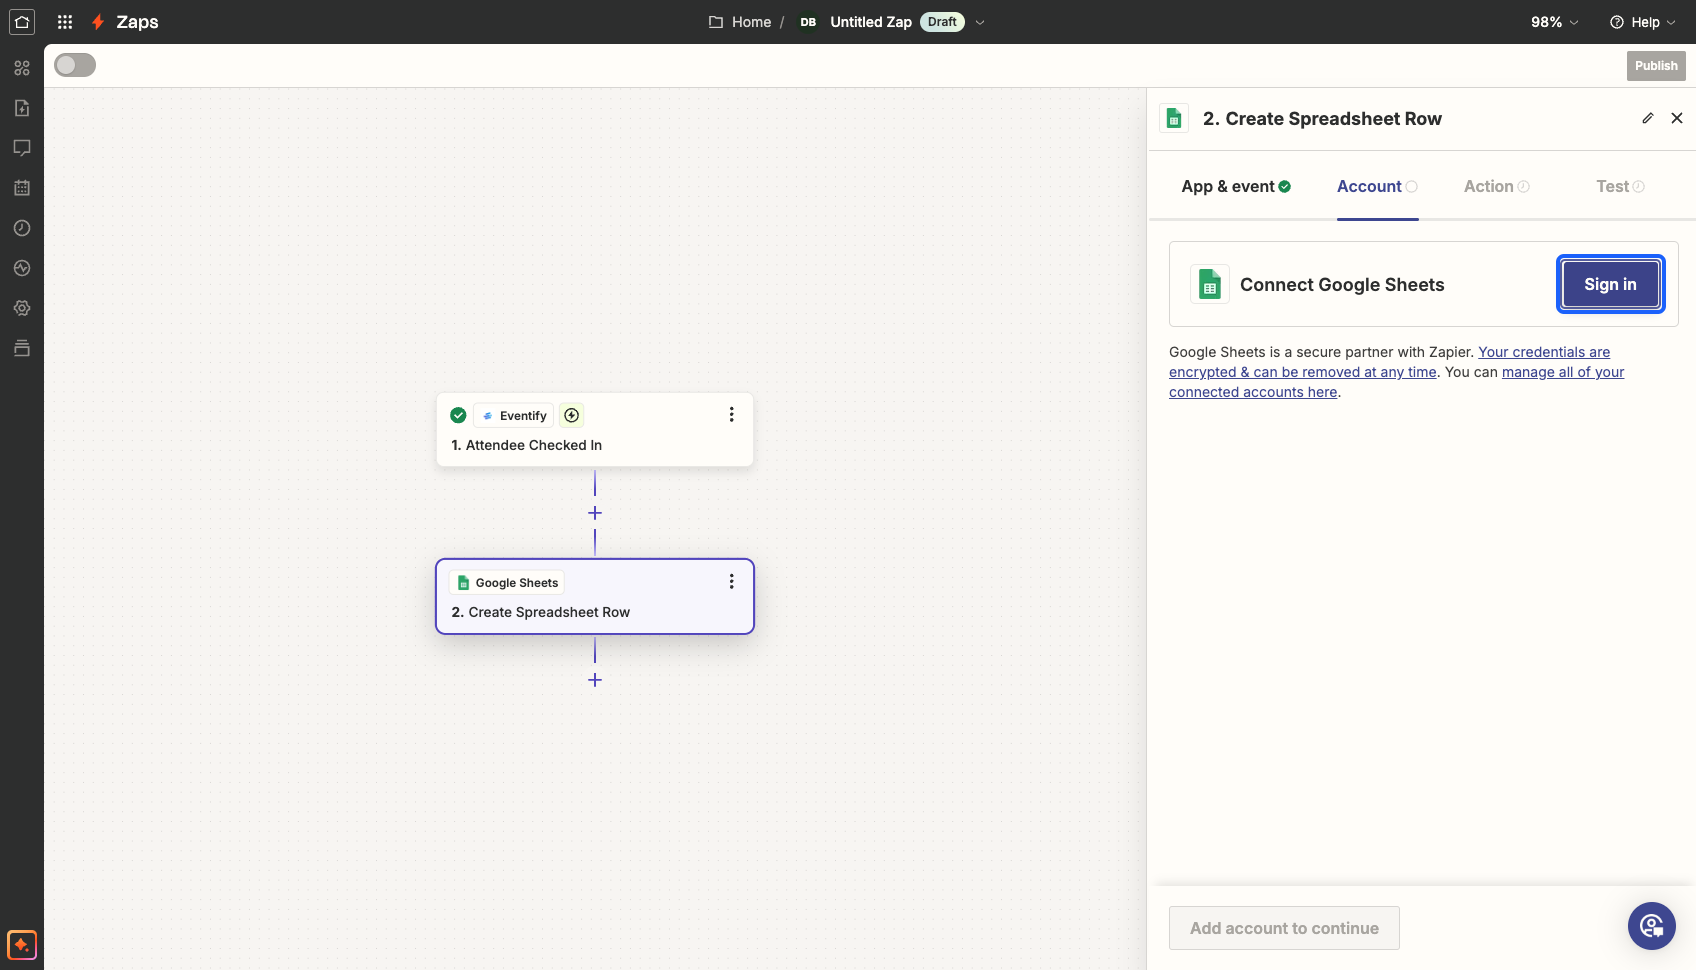
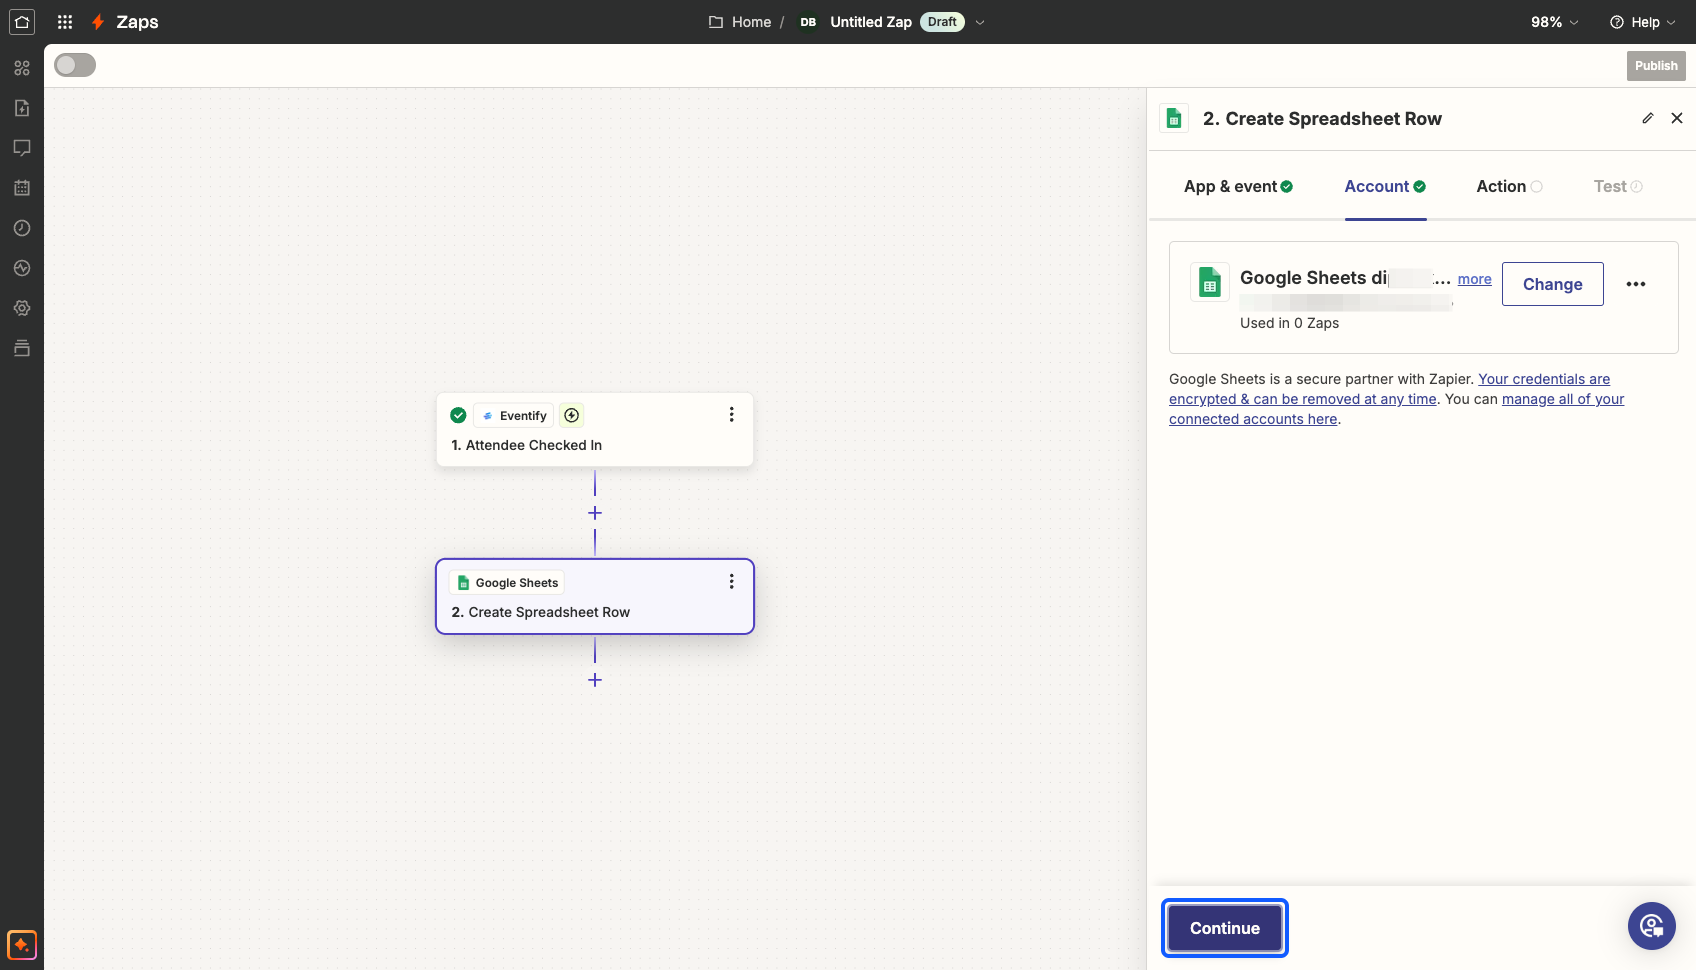
26: "Sign in" to connect the Google account in which the sheet is created
27: Click on the “Continue” button
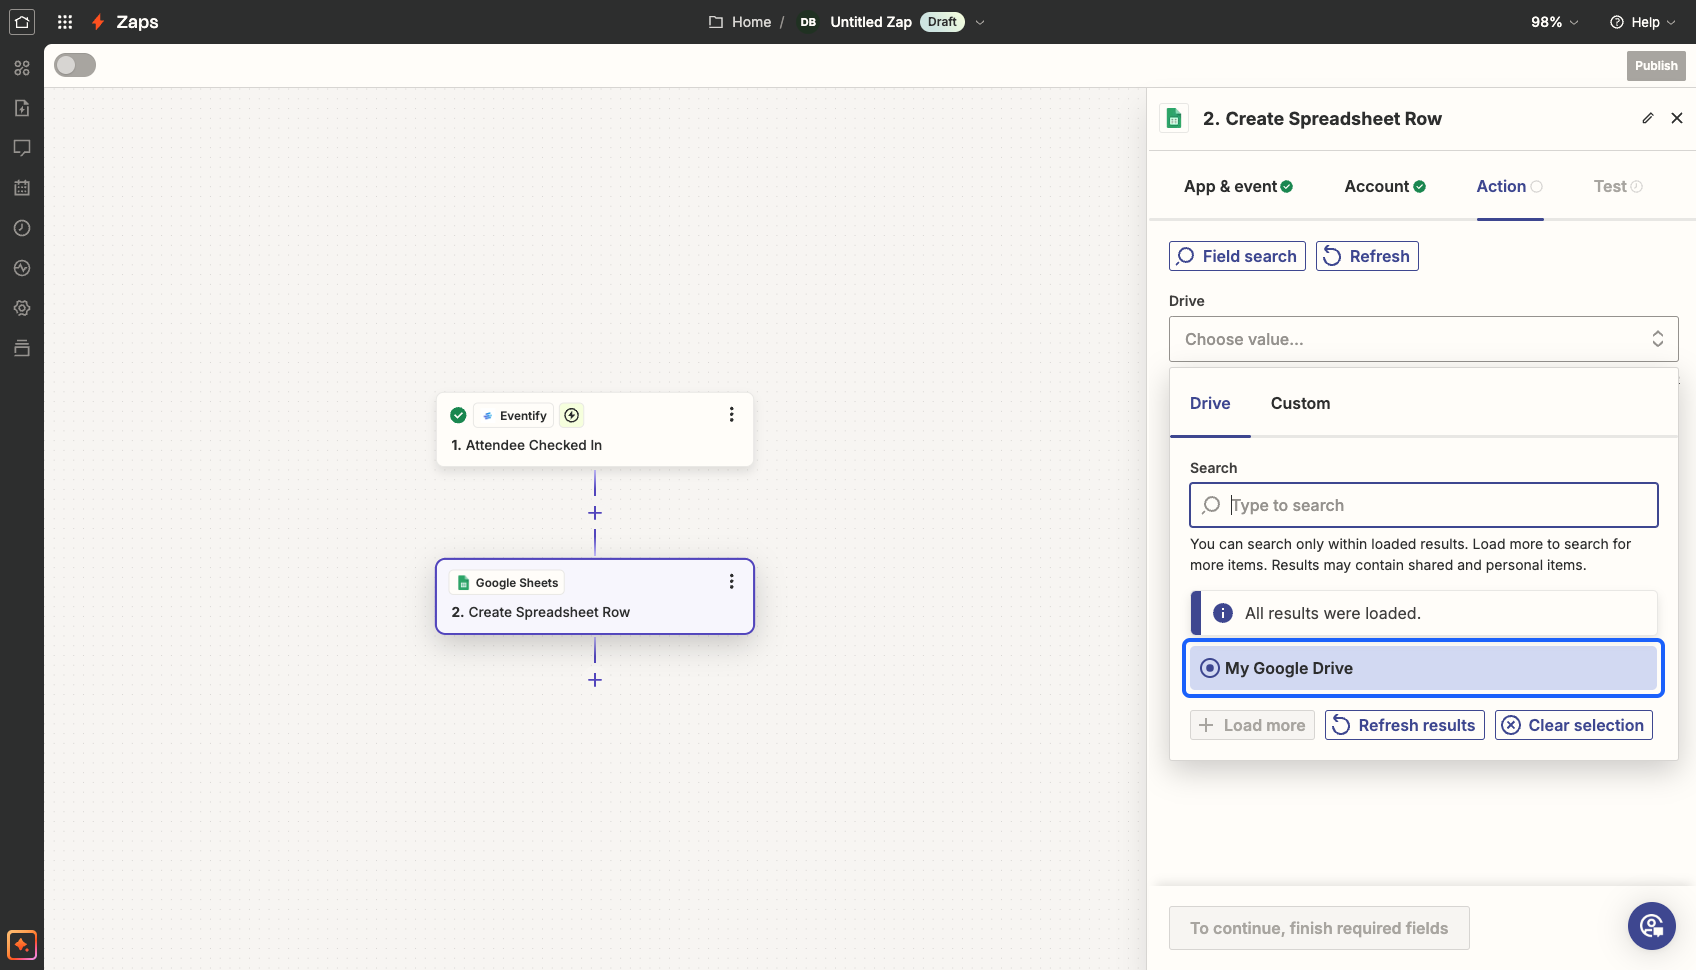
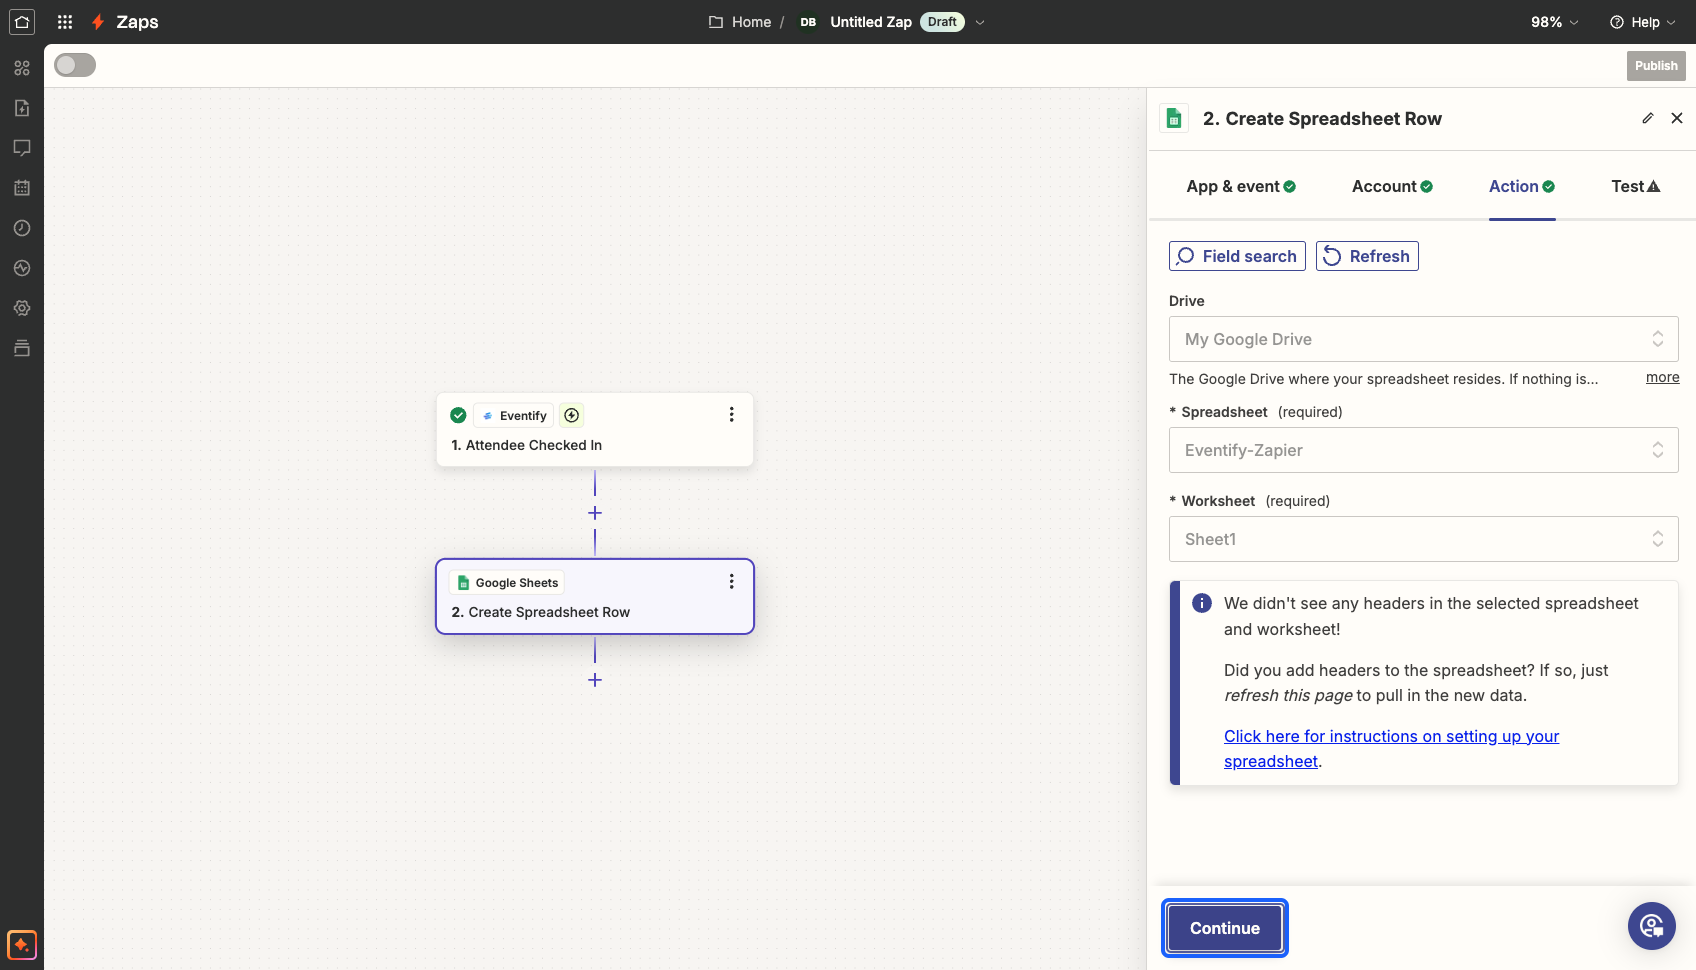
28: Select the “Drive" in which the spreadsheet is available
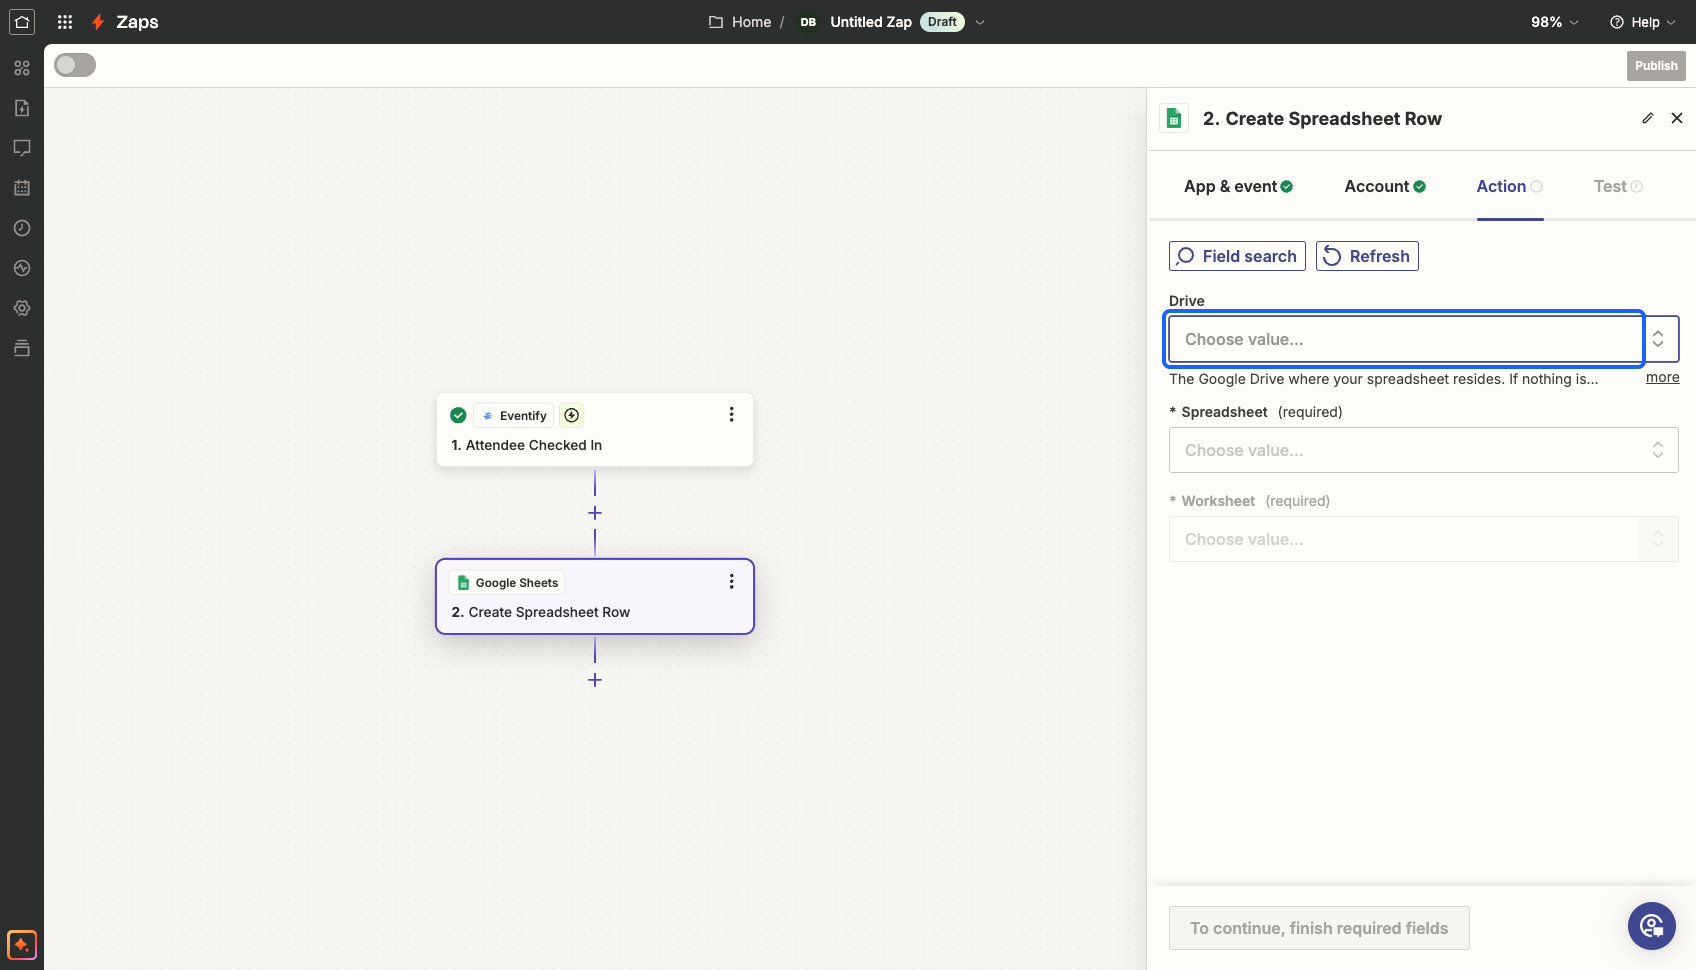
29: Select the Drive
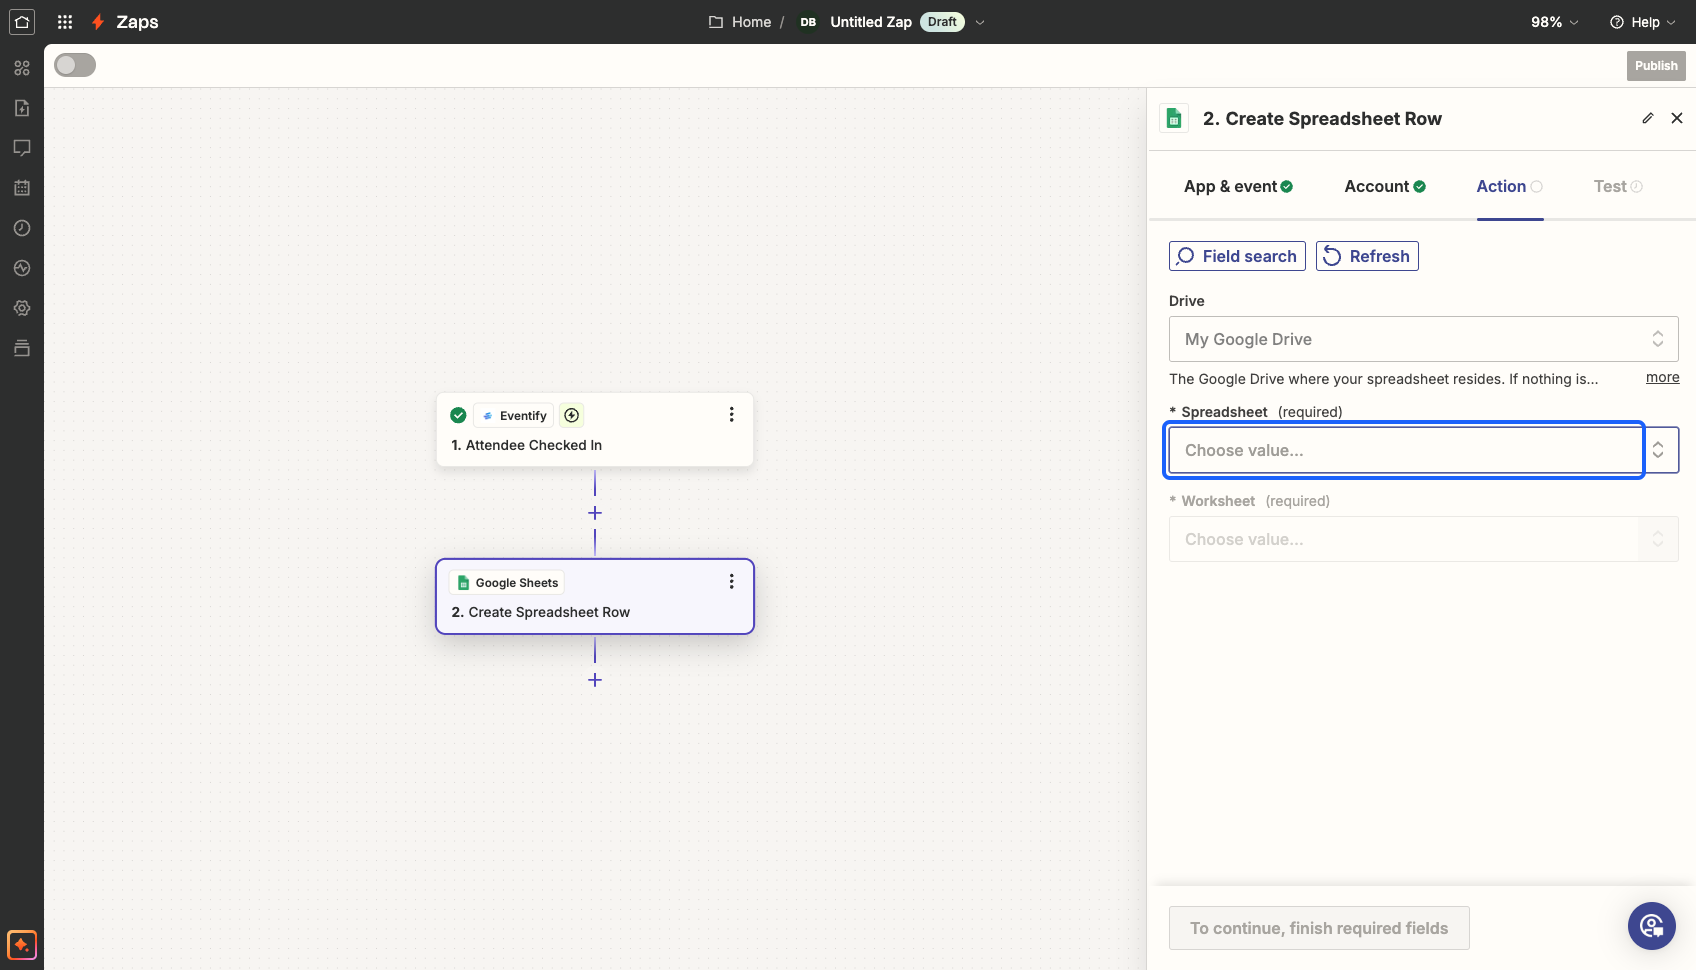
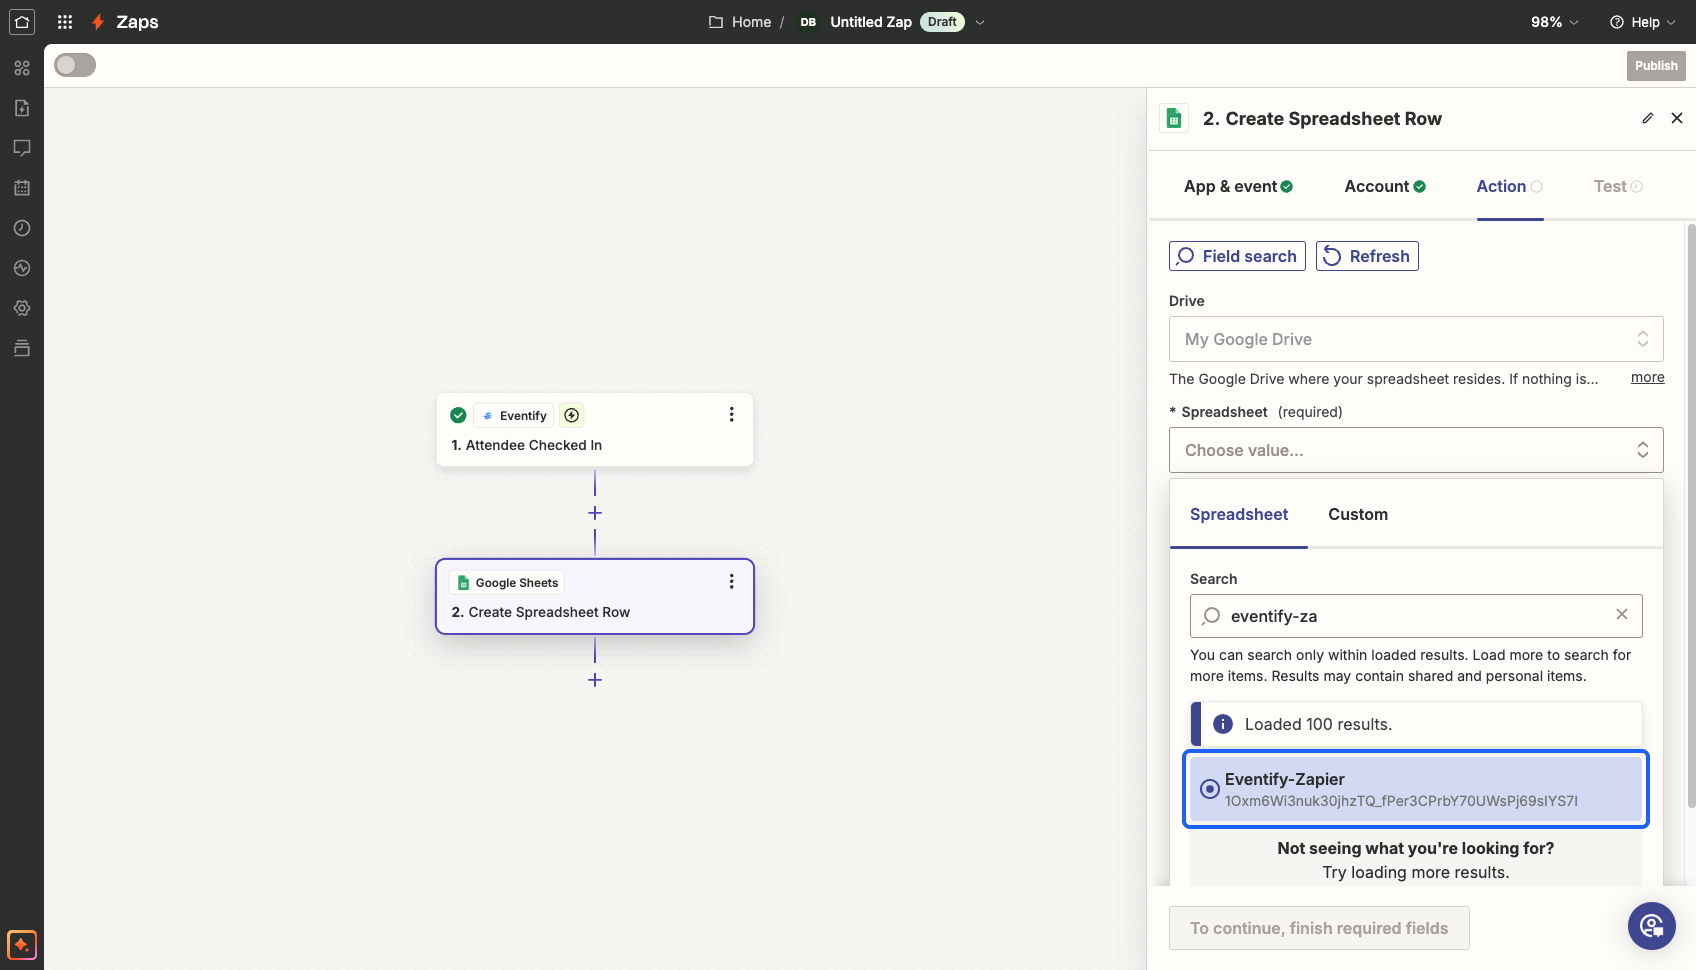
30: Select the spreadsheet
31: Search and select the spreadsheet
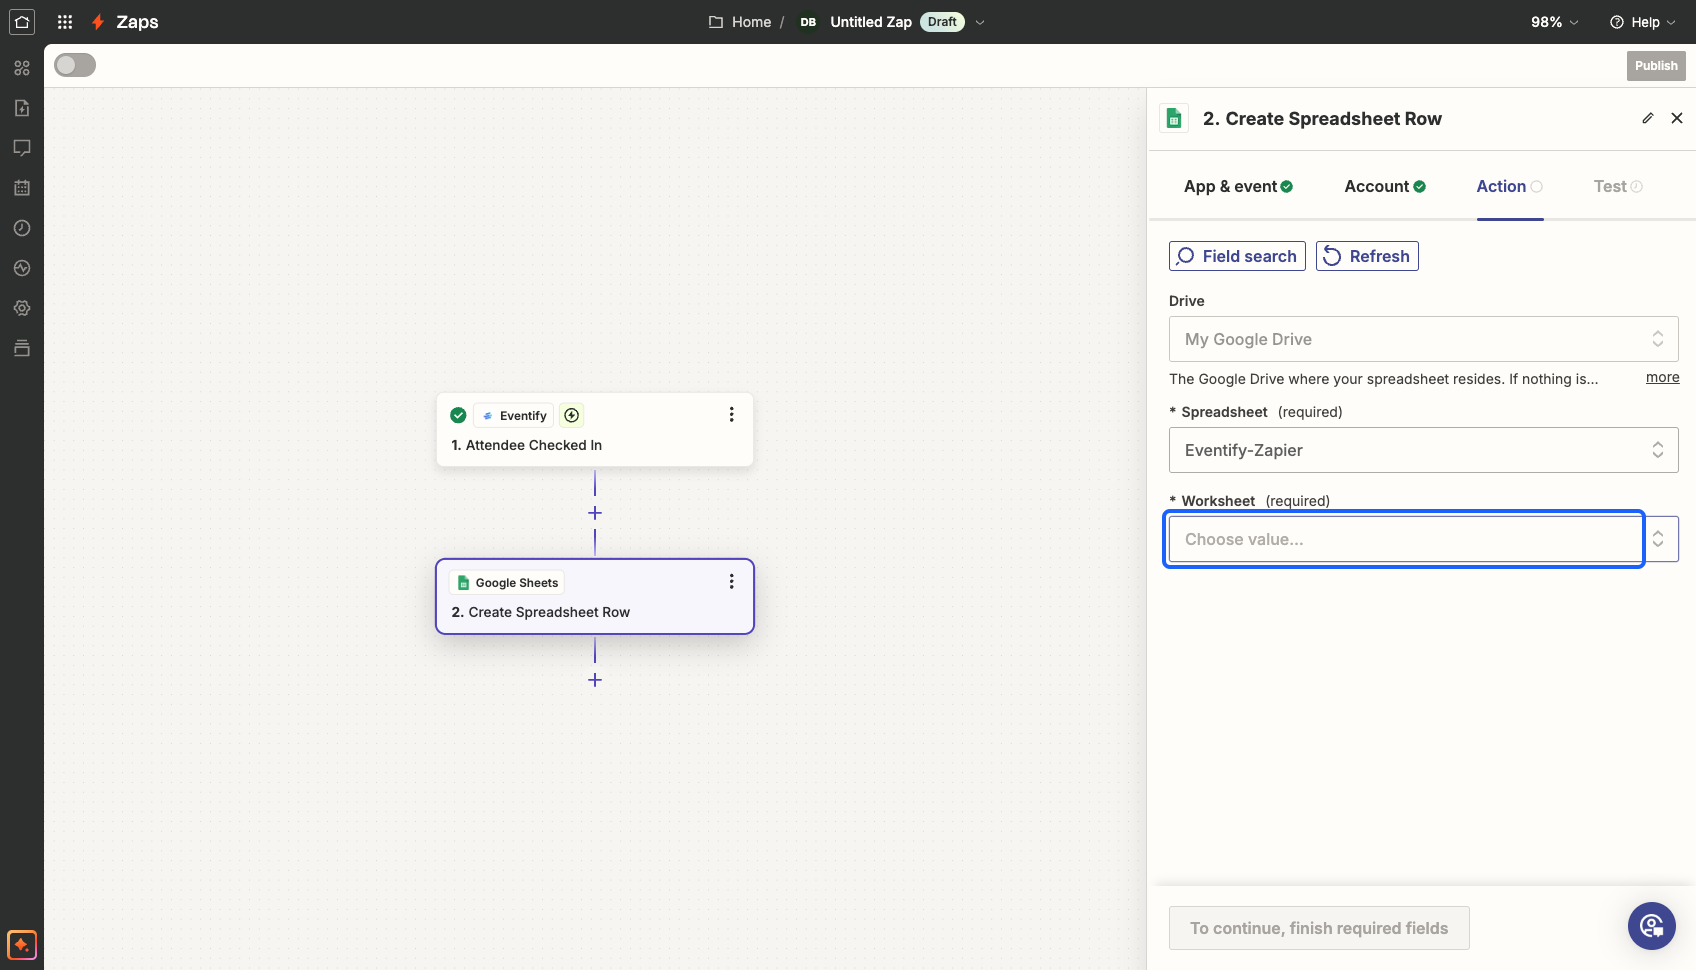
32: Select the “Worksheet"
33: Click on the “Continue” button
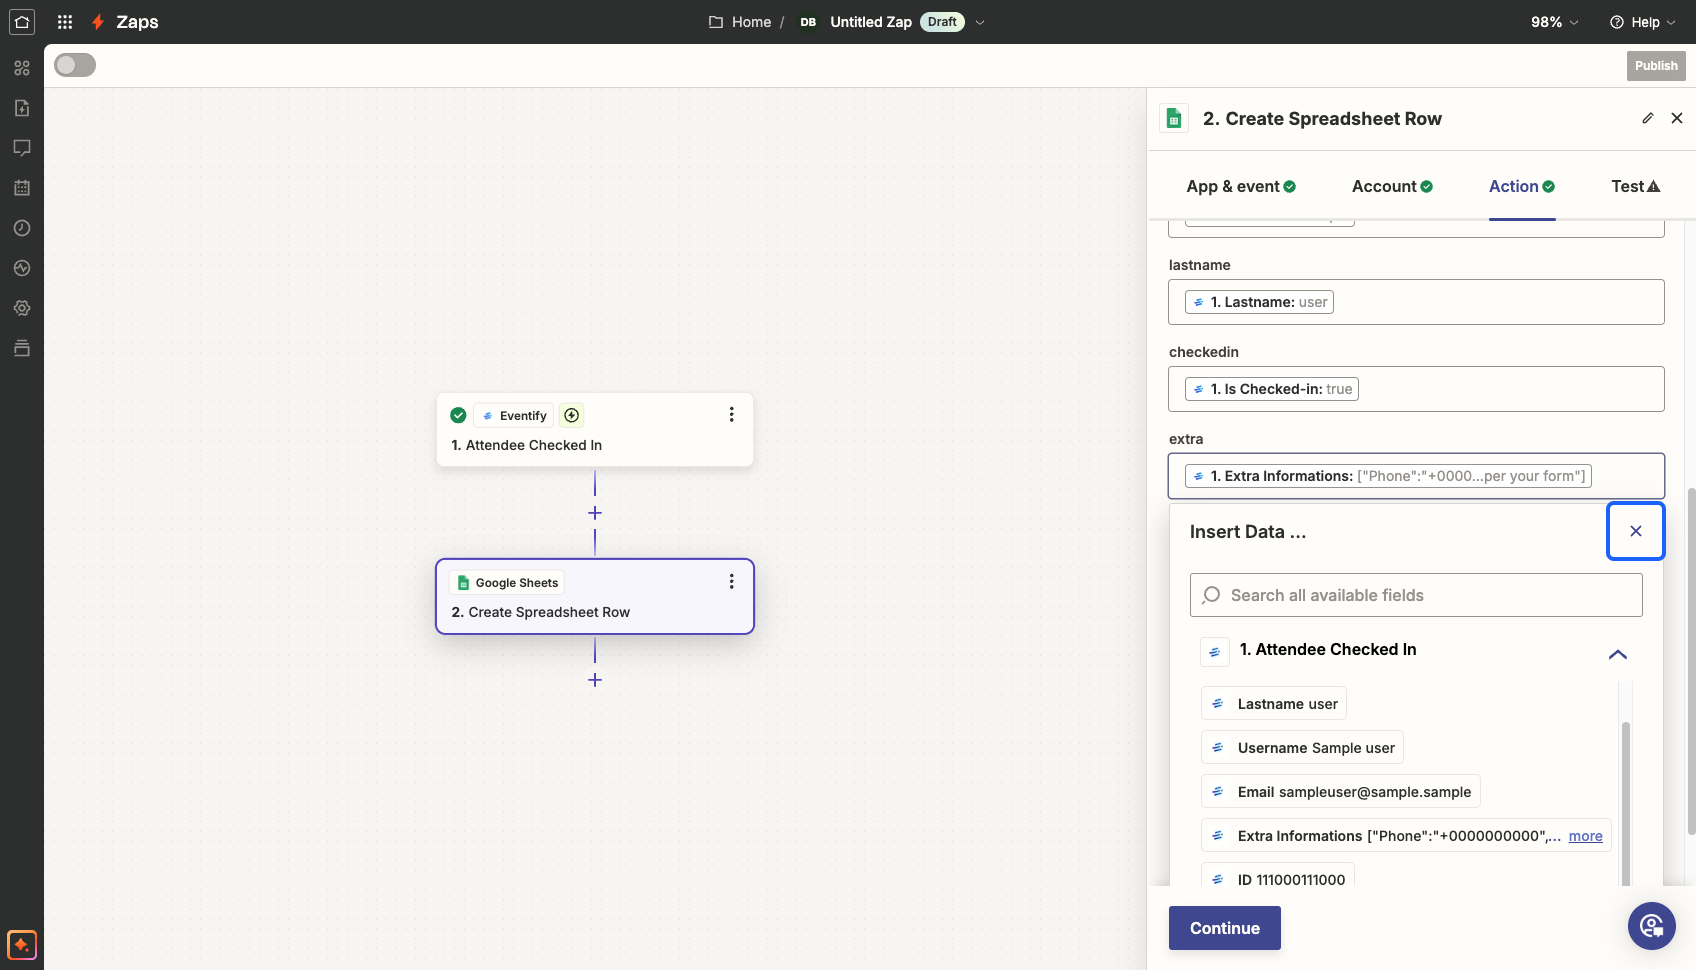
34: Here each field is according to the Spreadsheet columns. Map the fields of the spreadsheet with the Zapier fields. It defines which field data enters in which column of the spreadsheet
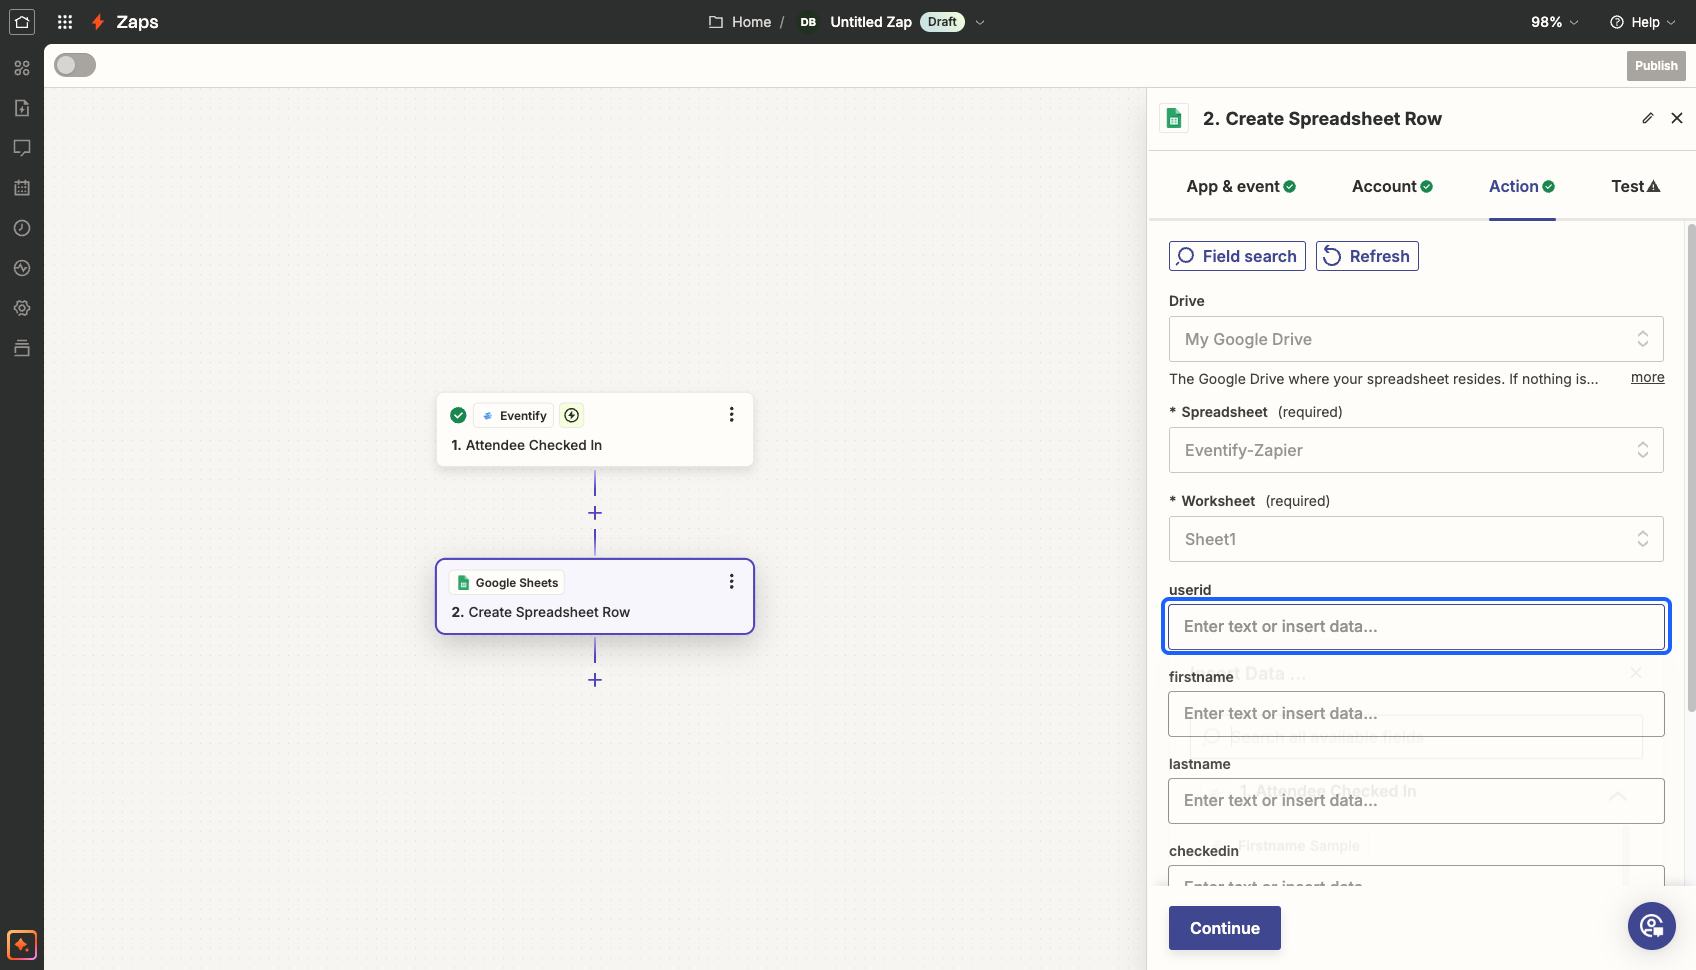
35: Carefully map all the fields
36: Click on the “Continue” button once the mapping is done

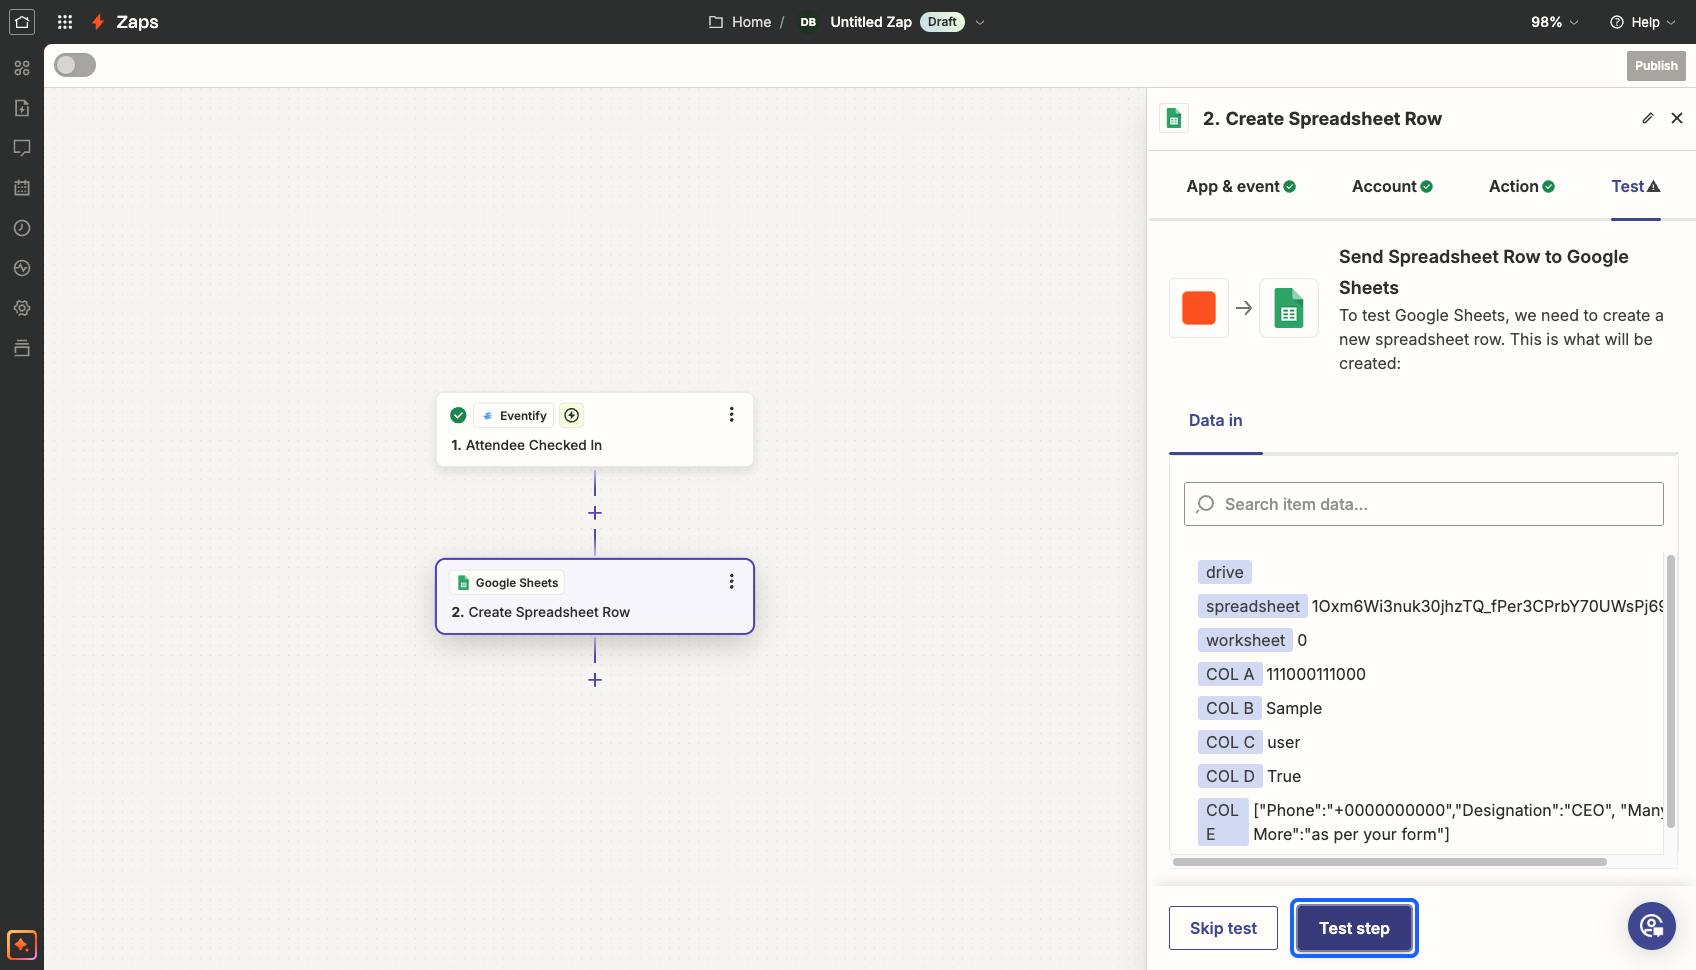
37: Verify the mapping with the spreadsheet columns
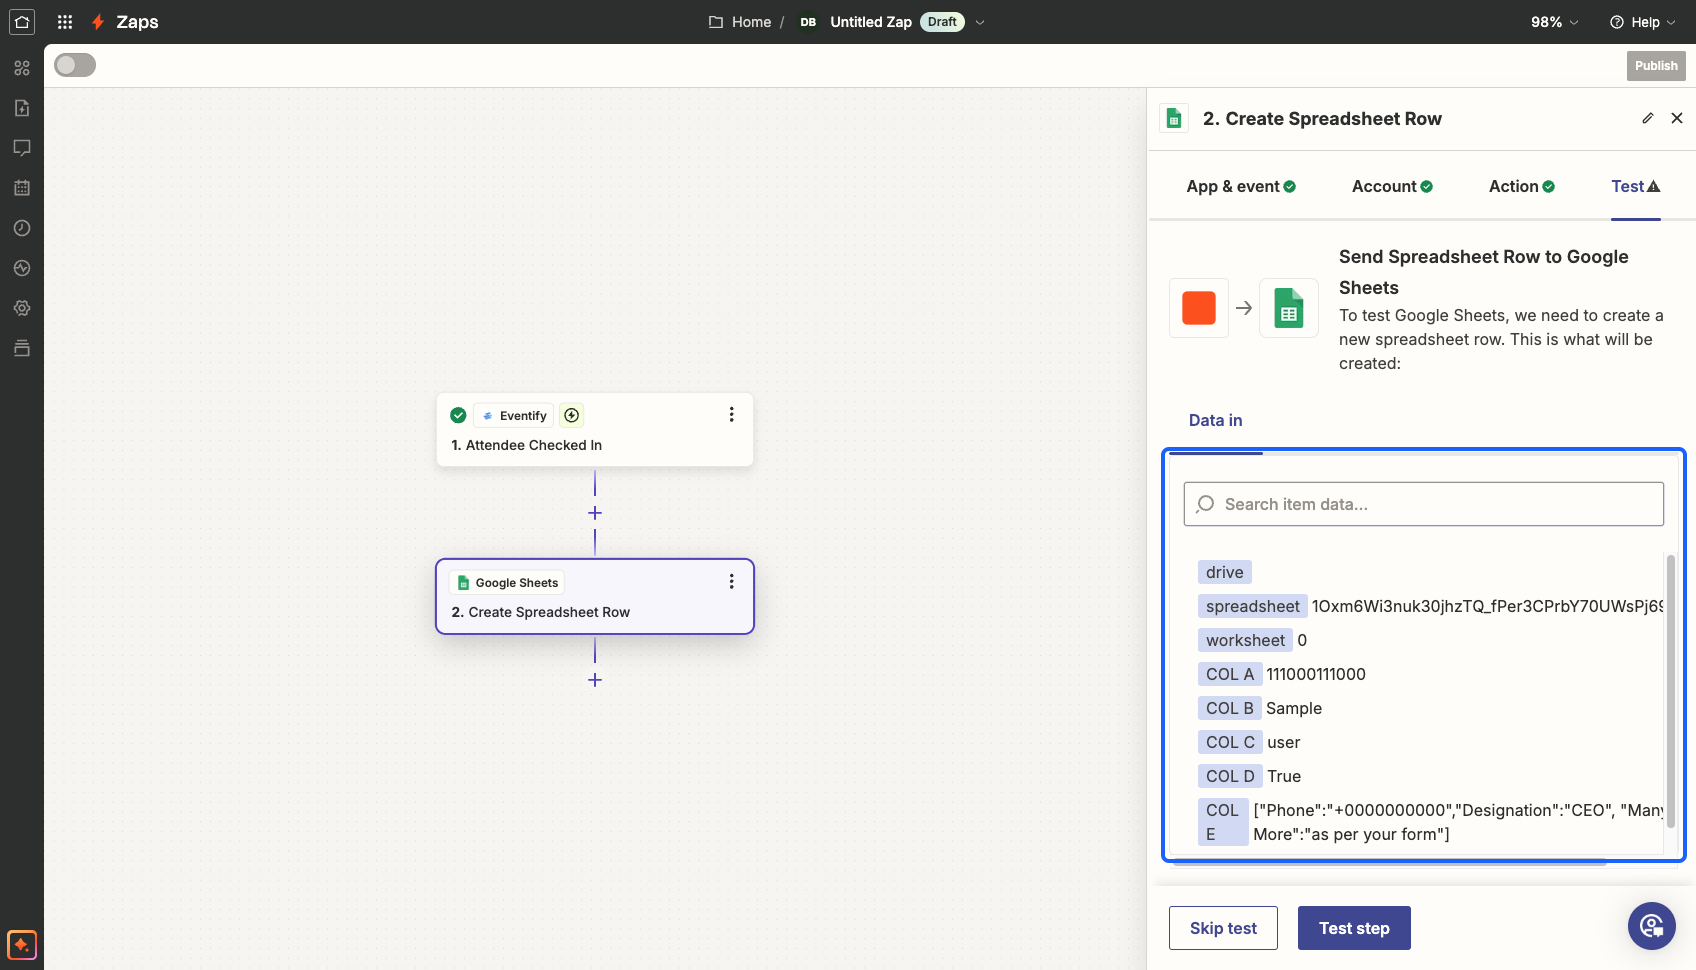
38: Click on the “Test step” button to verify a record
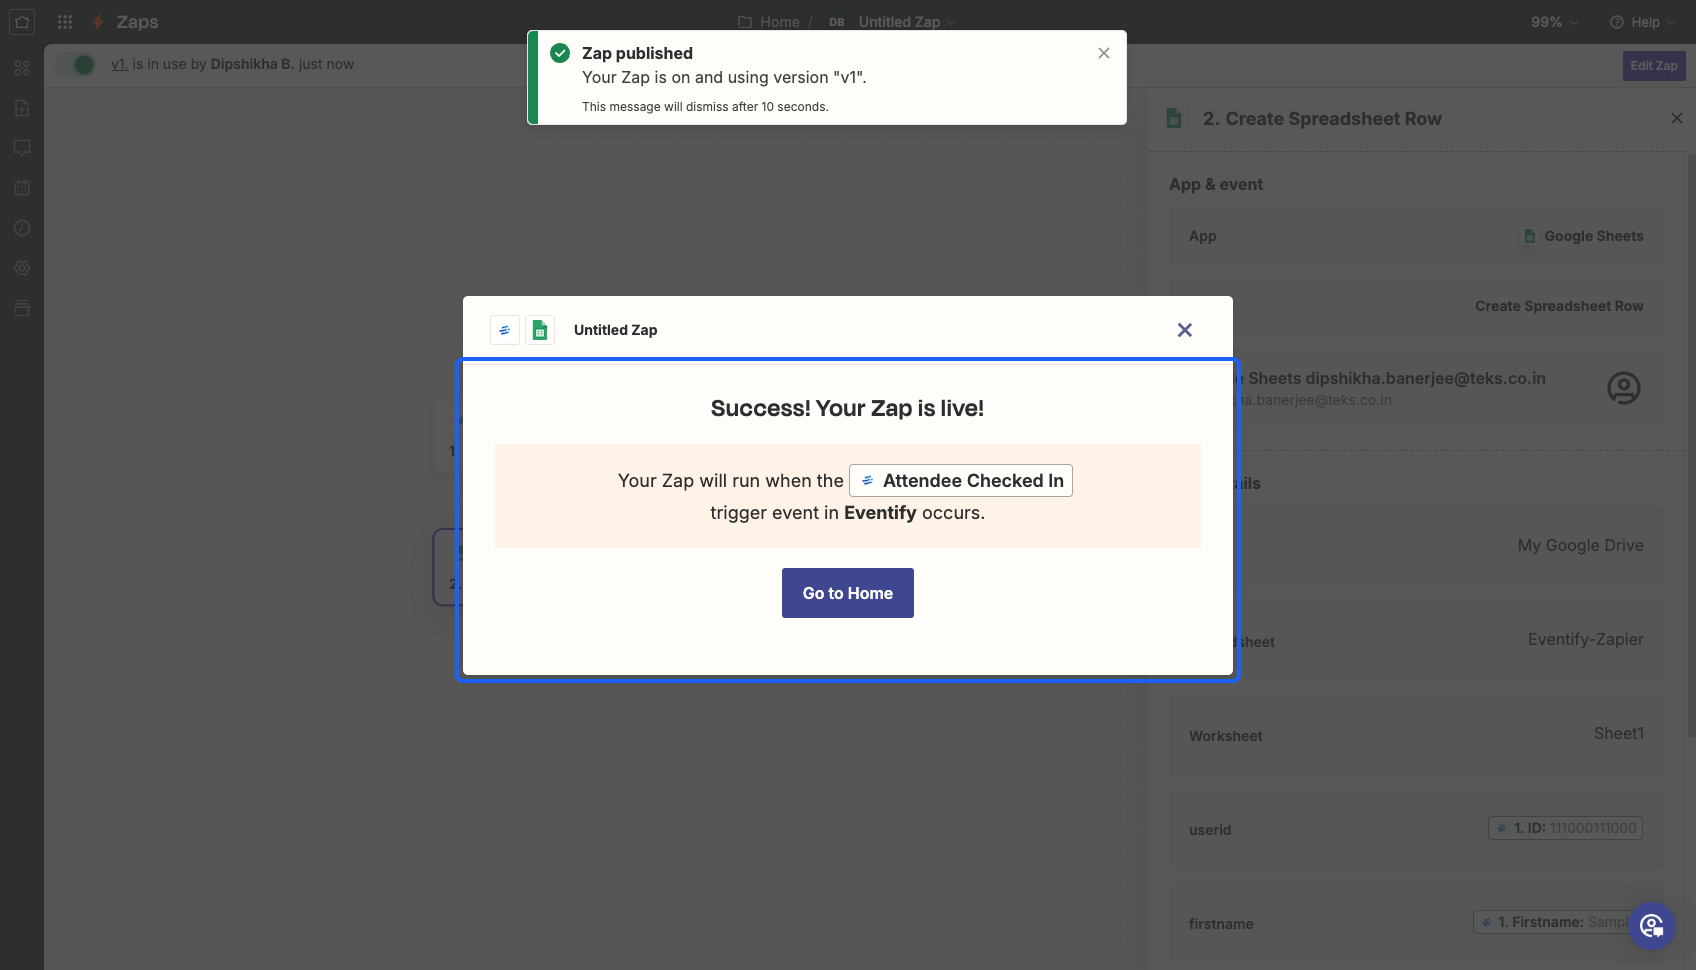
39: Click on the “Publish” button to start the zap

40: Your zap will be live after this step and the data will be recorded as set