This guide shows organizers how to design event badges in Eventify that pull attendee data from registration forms, then generate them for badge printing.
Eventify's badge design feature allows event organizers to create personalized badges for attendees, enhancing event engagement and professionalism.
Here's a step-by-step guide to designing accurate badges:
Step-by-step guide
1: Visit the Eventify Admin Panel
Once logged in, go to the Registration section in the left-hand menu.
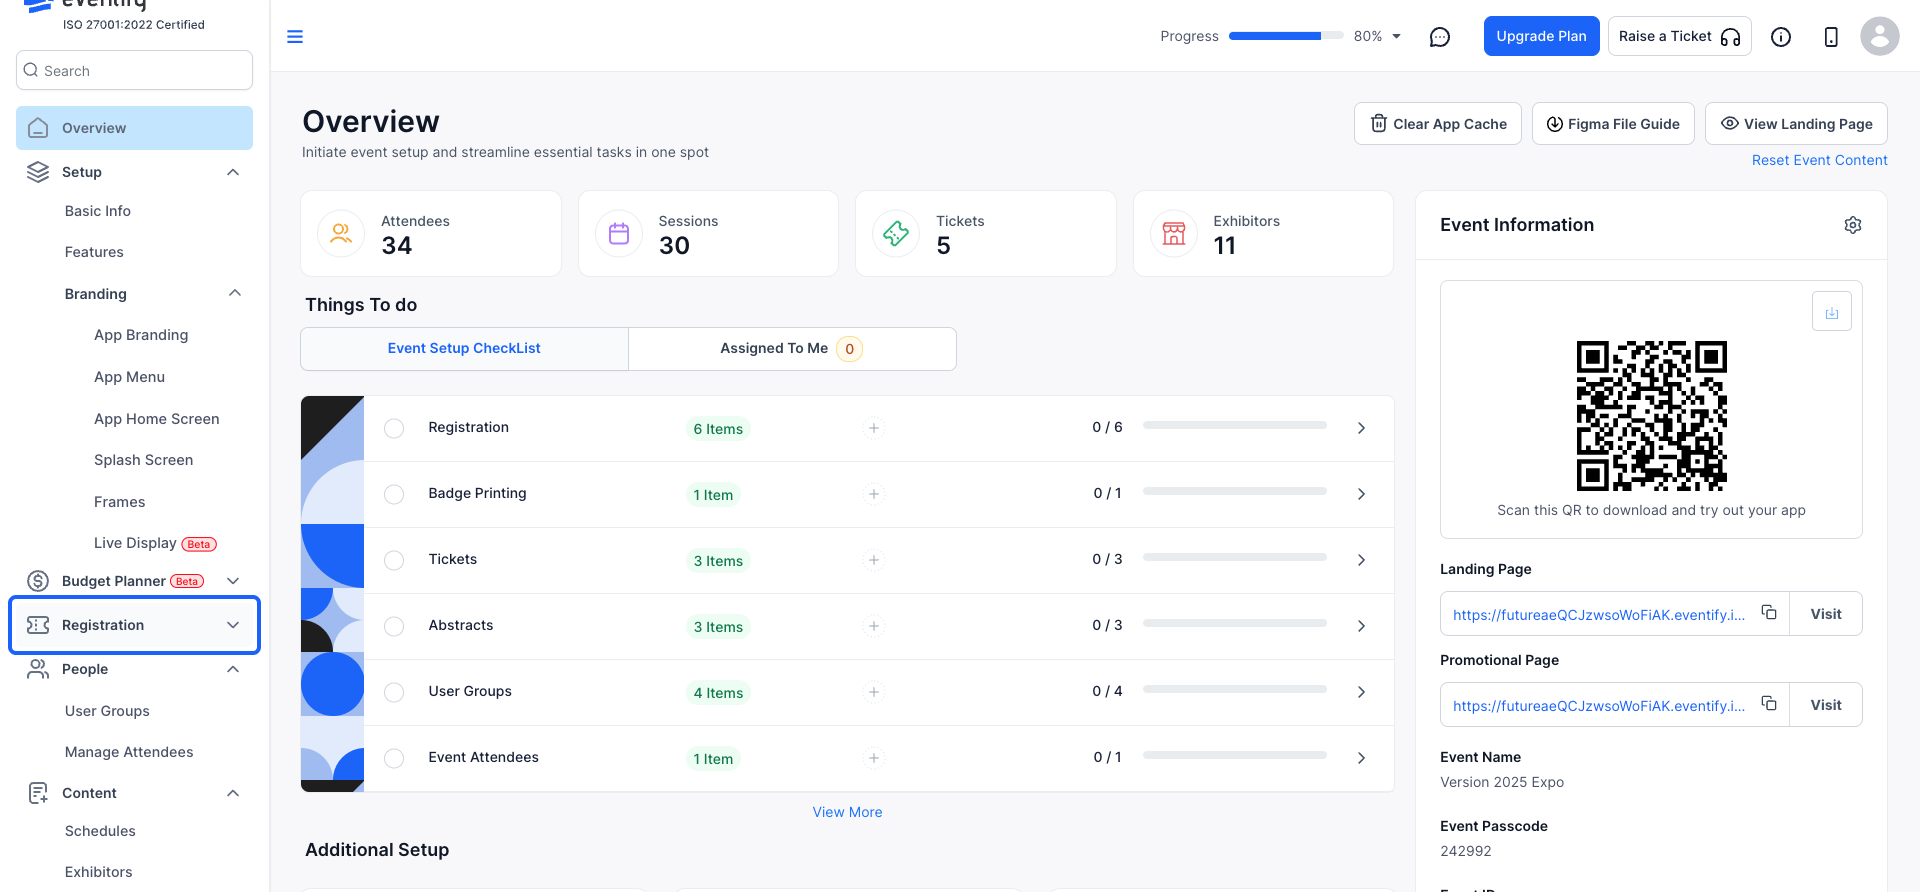
2: Select "Badge Printing" to access the badge management interface.
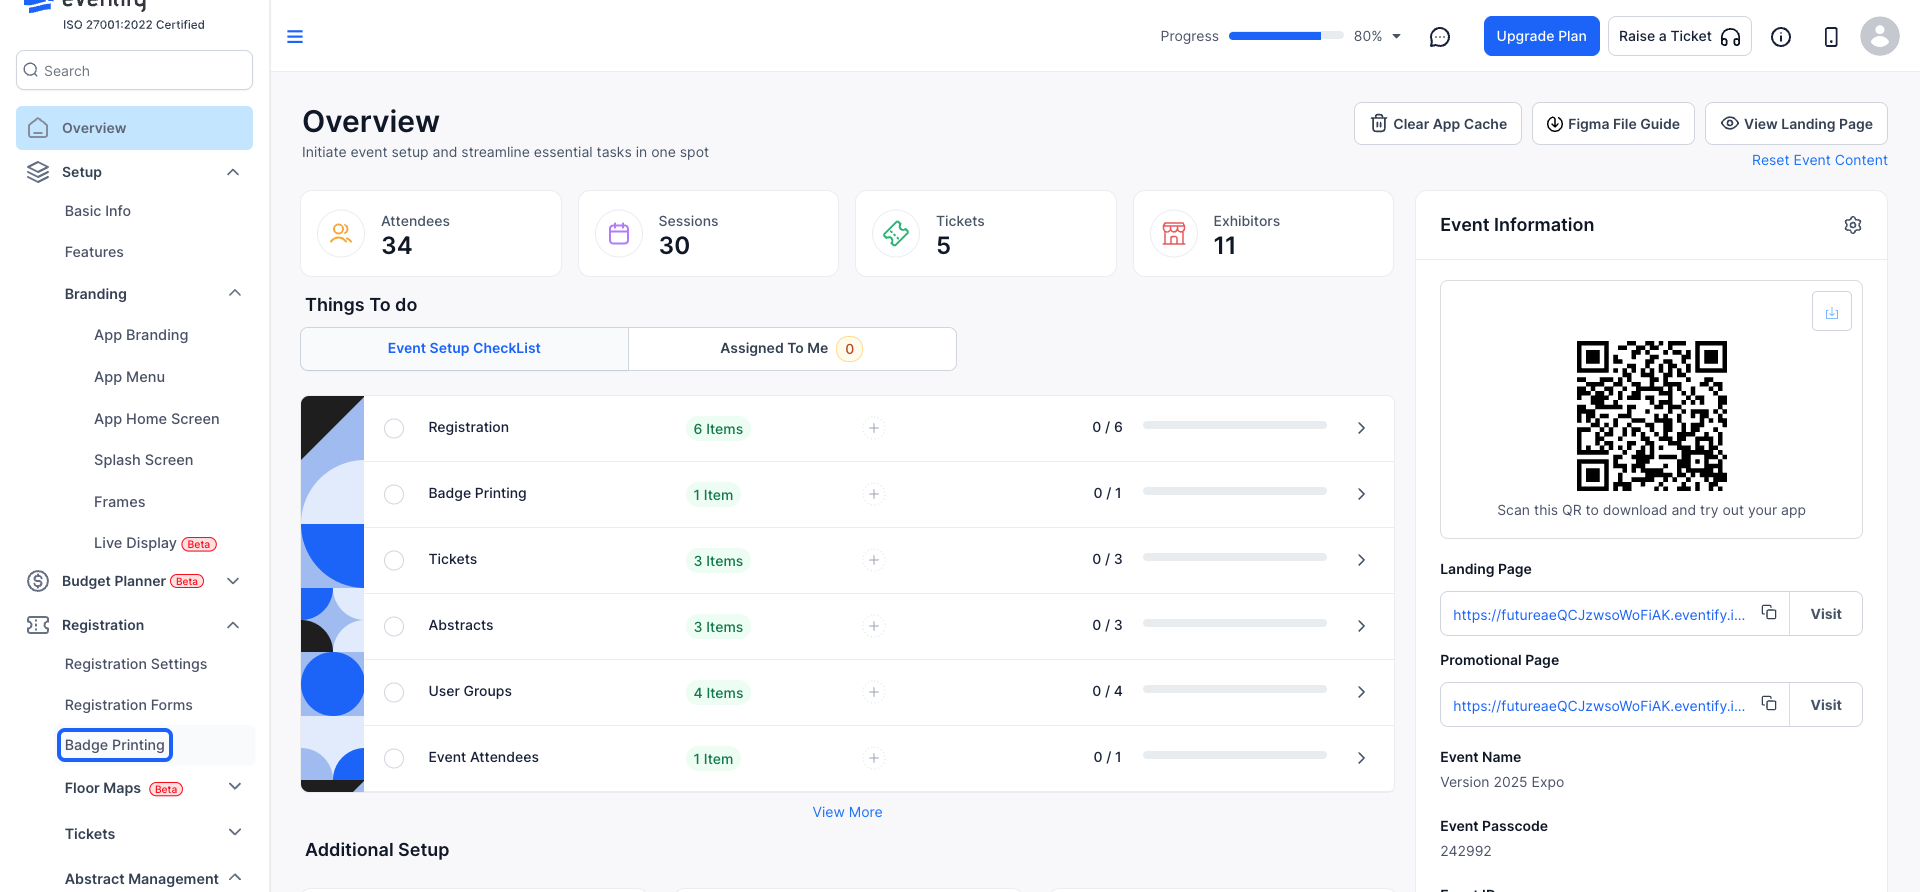
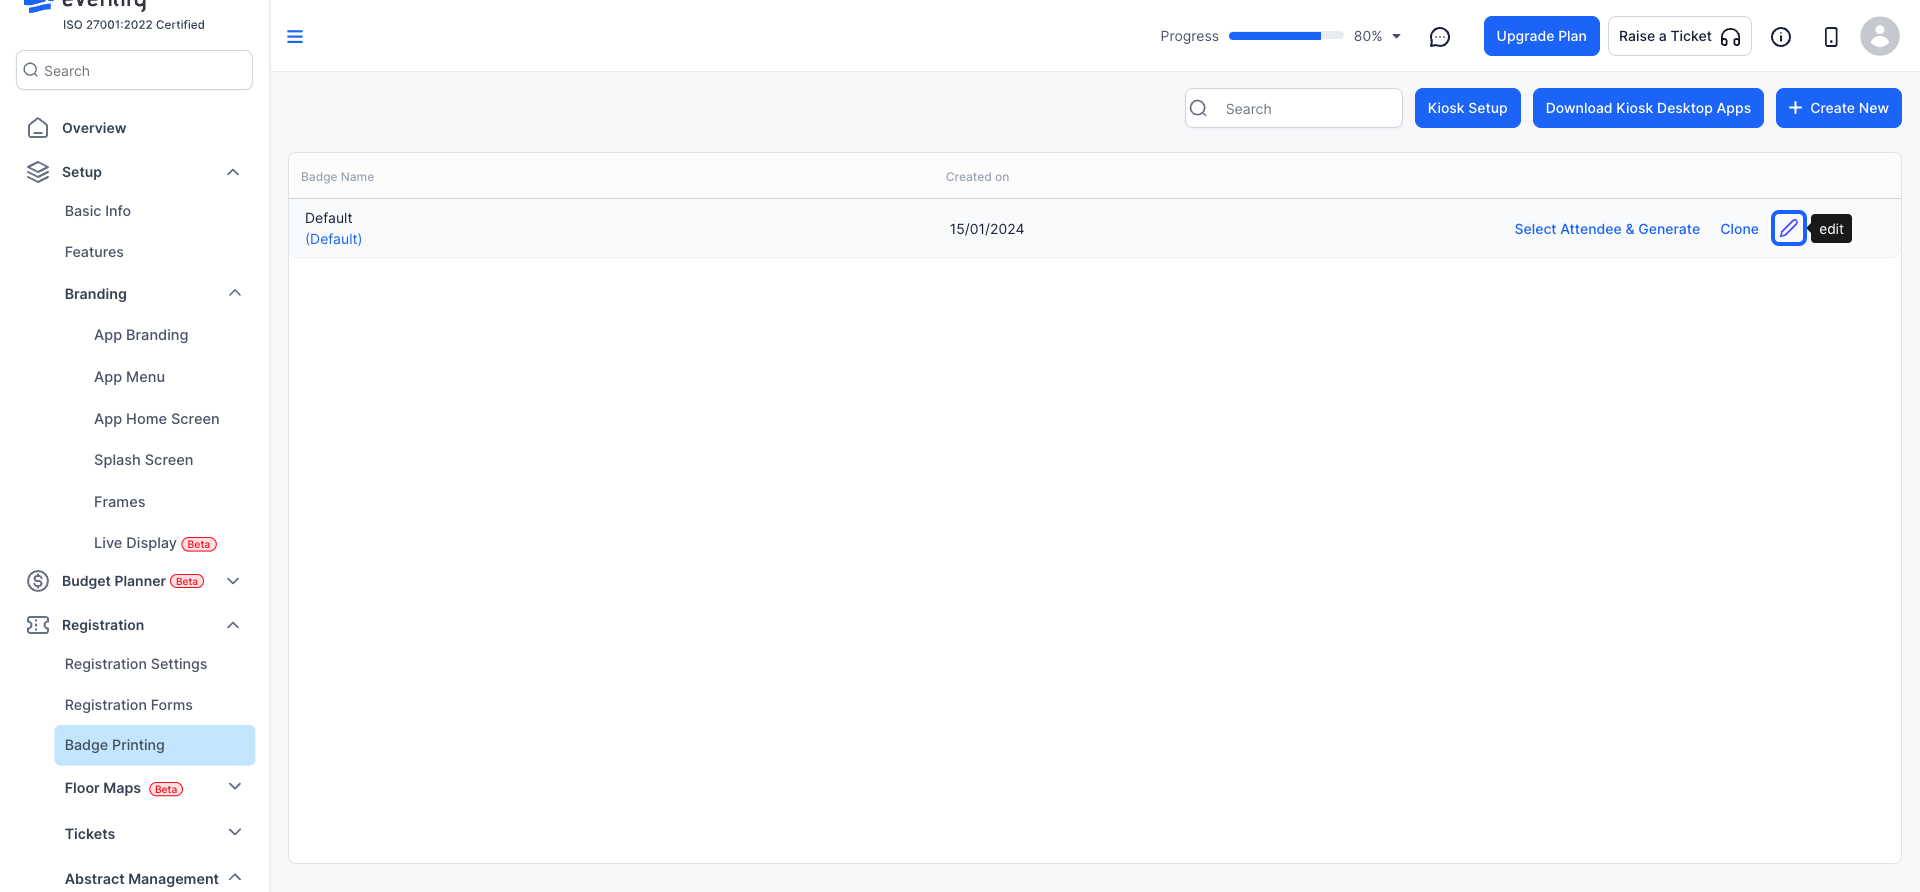
3: A default badge template will be available for you to modify.
you can edit this pre-designed template to suit your event’s needs
4: Assign a distinctive name to each badge design.
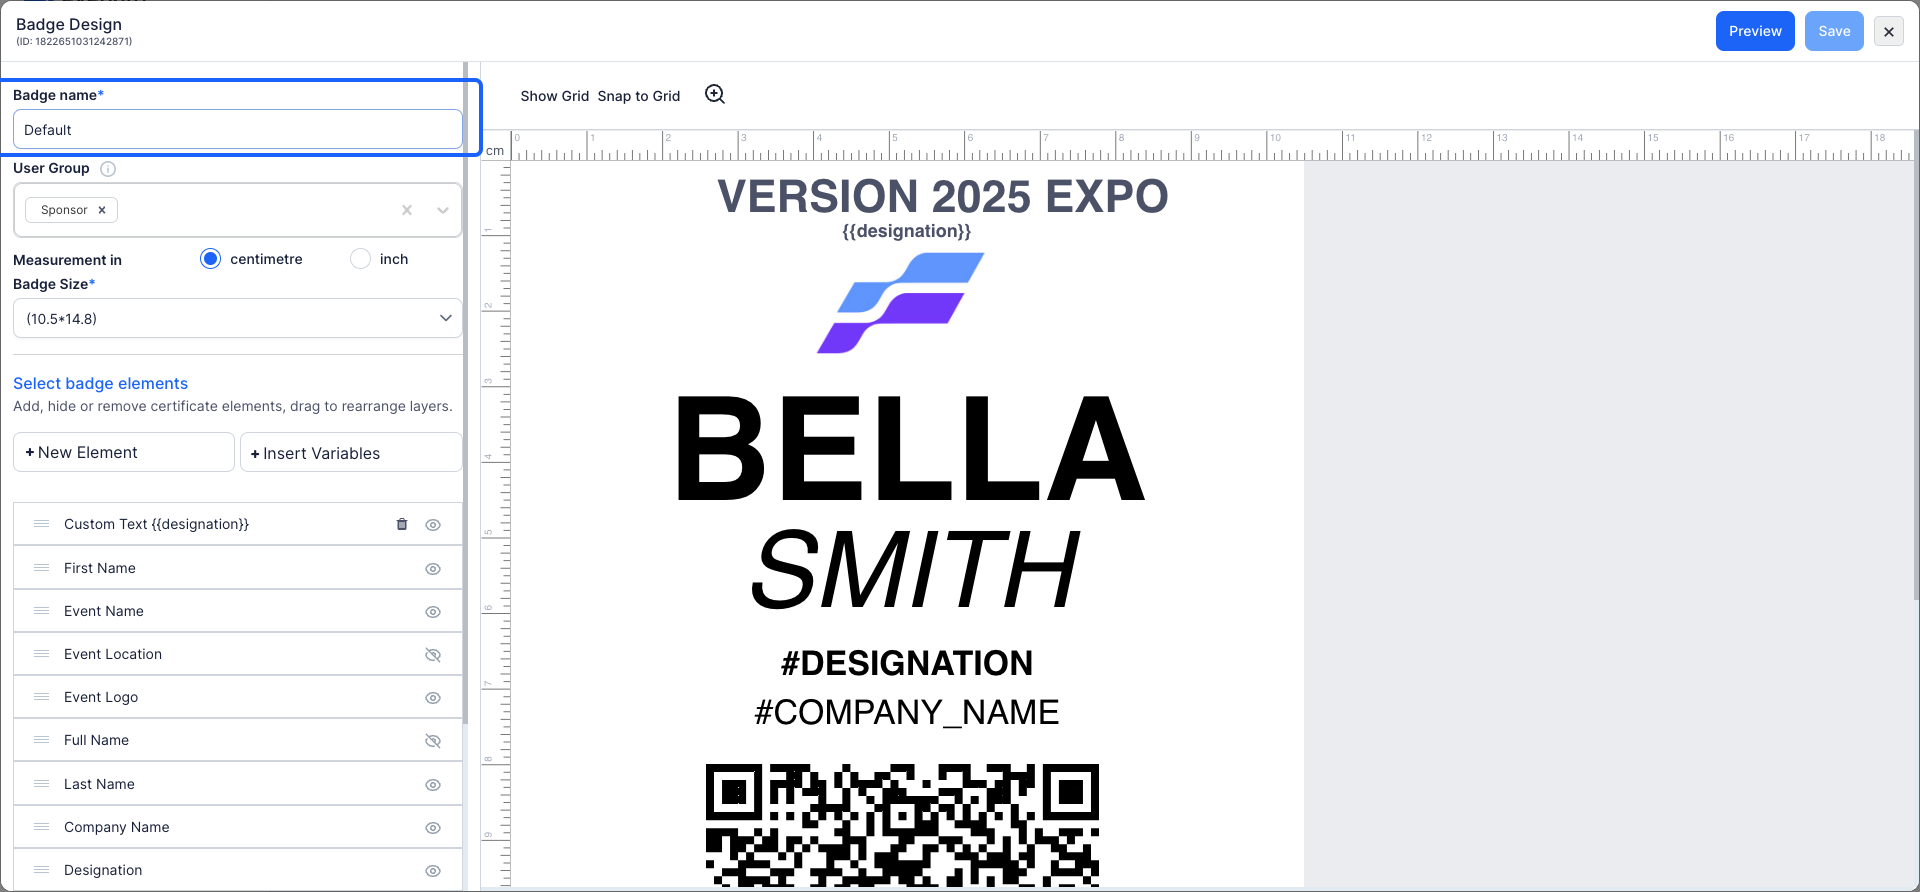
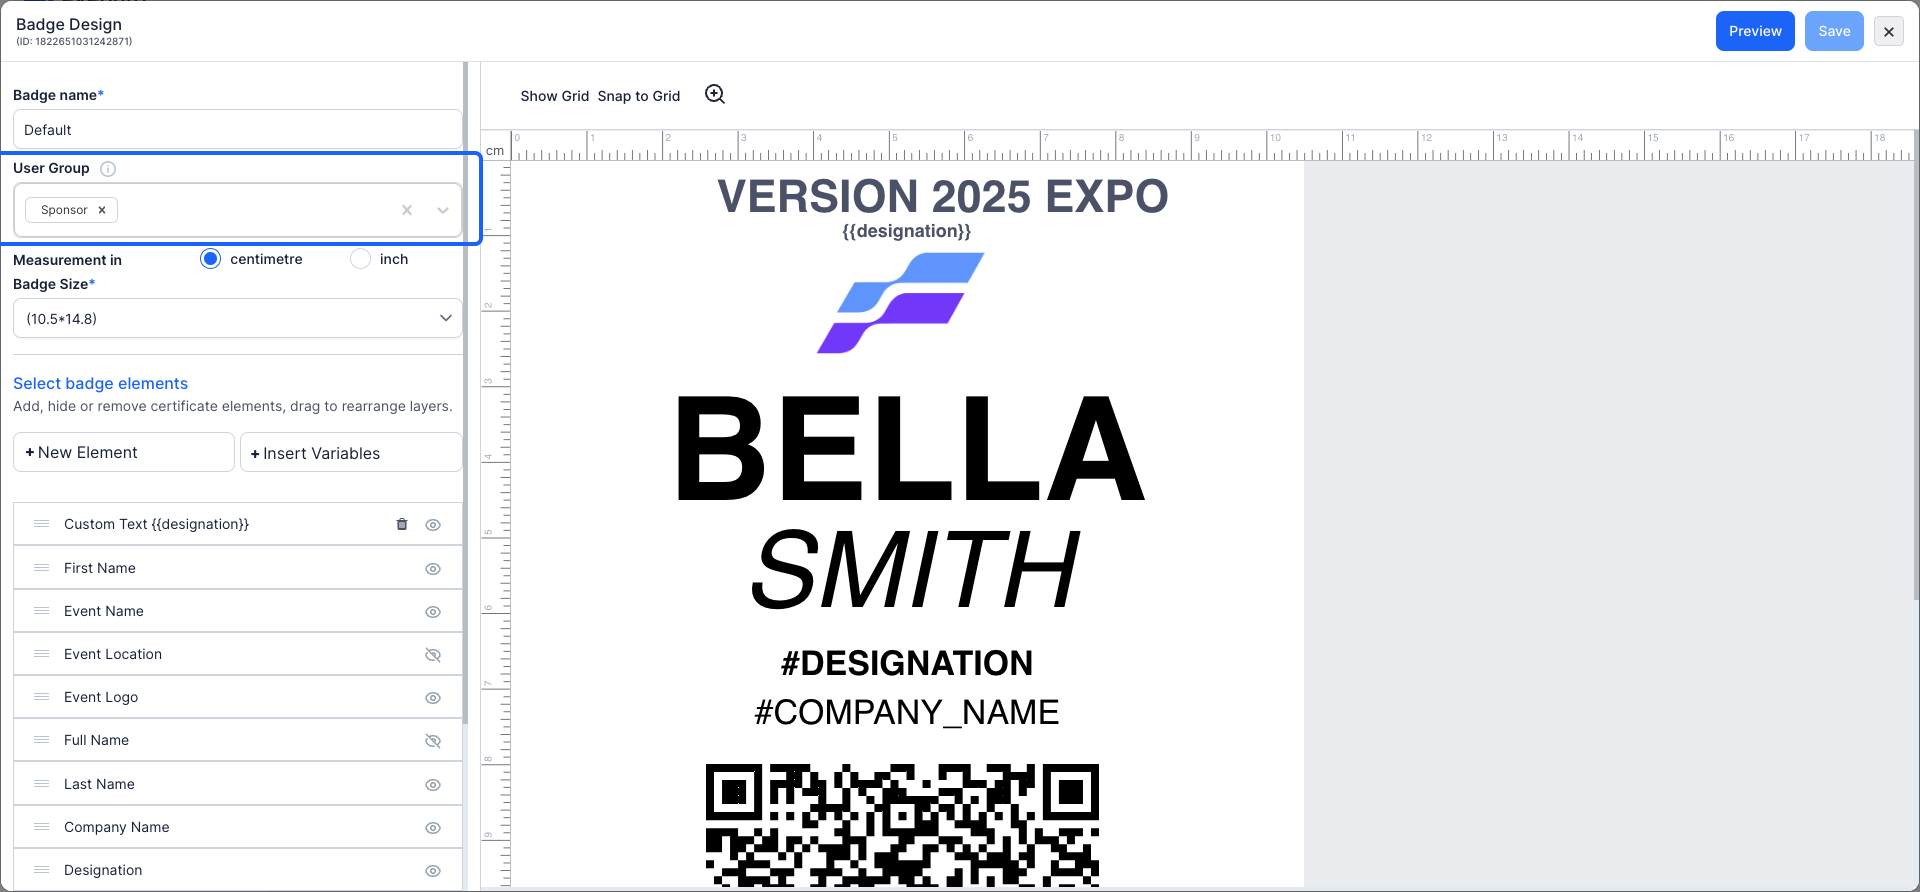
5: Select the relevant user group category, such as "Attendee, Speaker, Exhibitor, Sponsor, or Admin", to associate the badge with the right group.
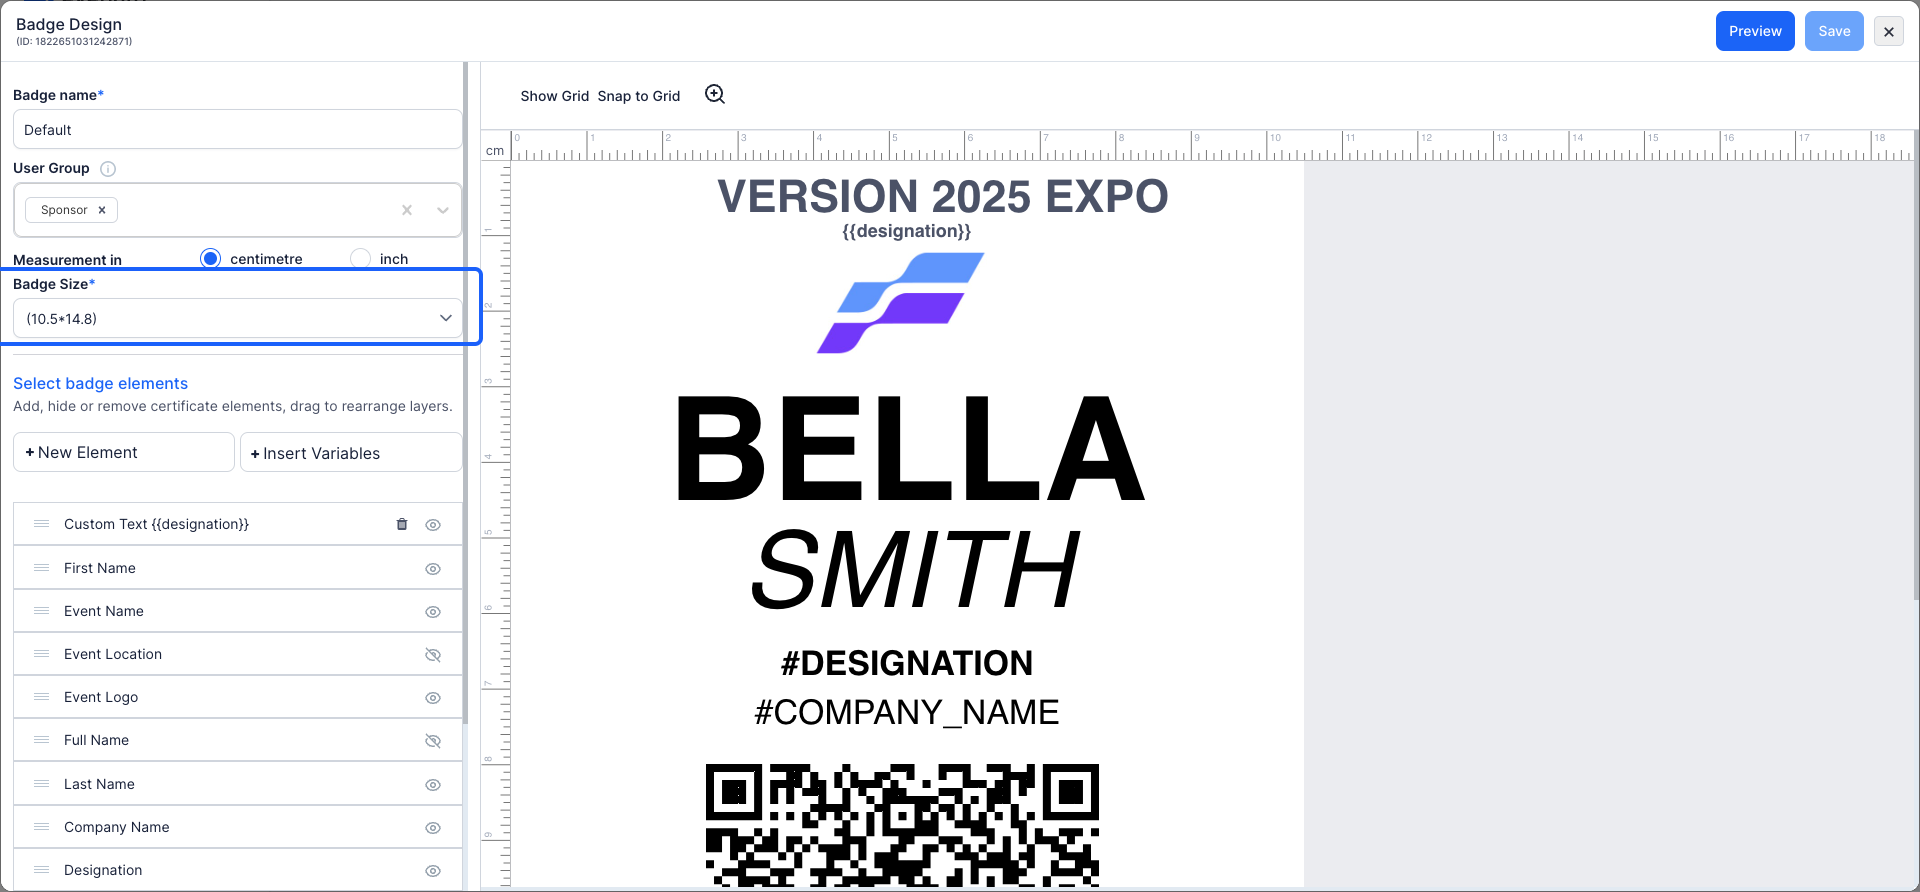
6: Adjust the badge size to meet your specific requirements
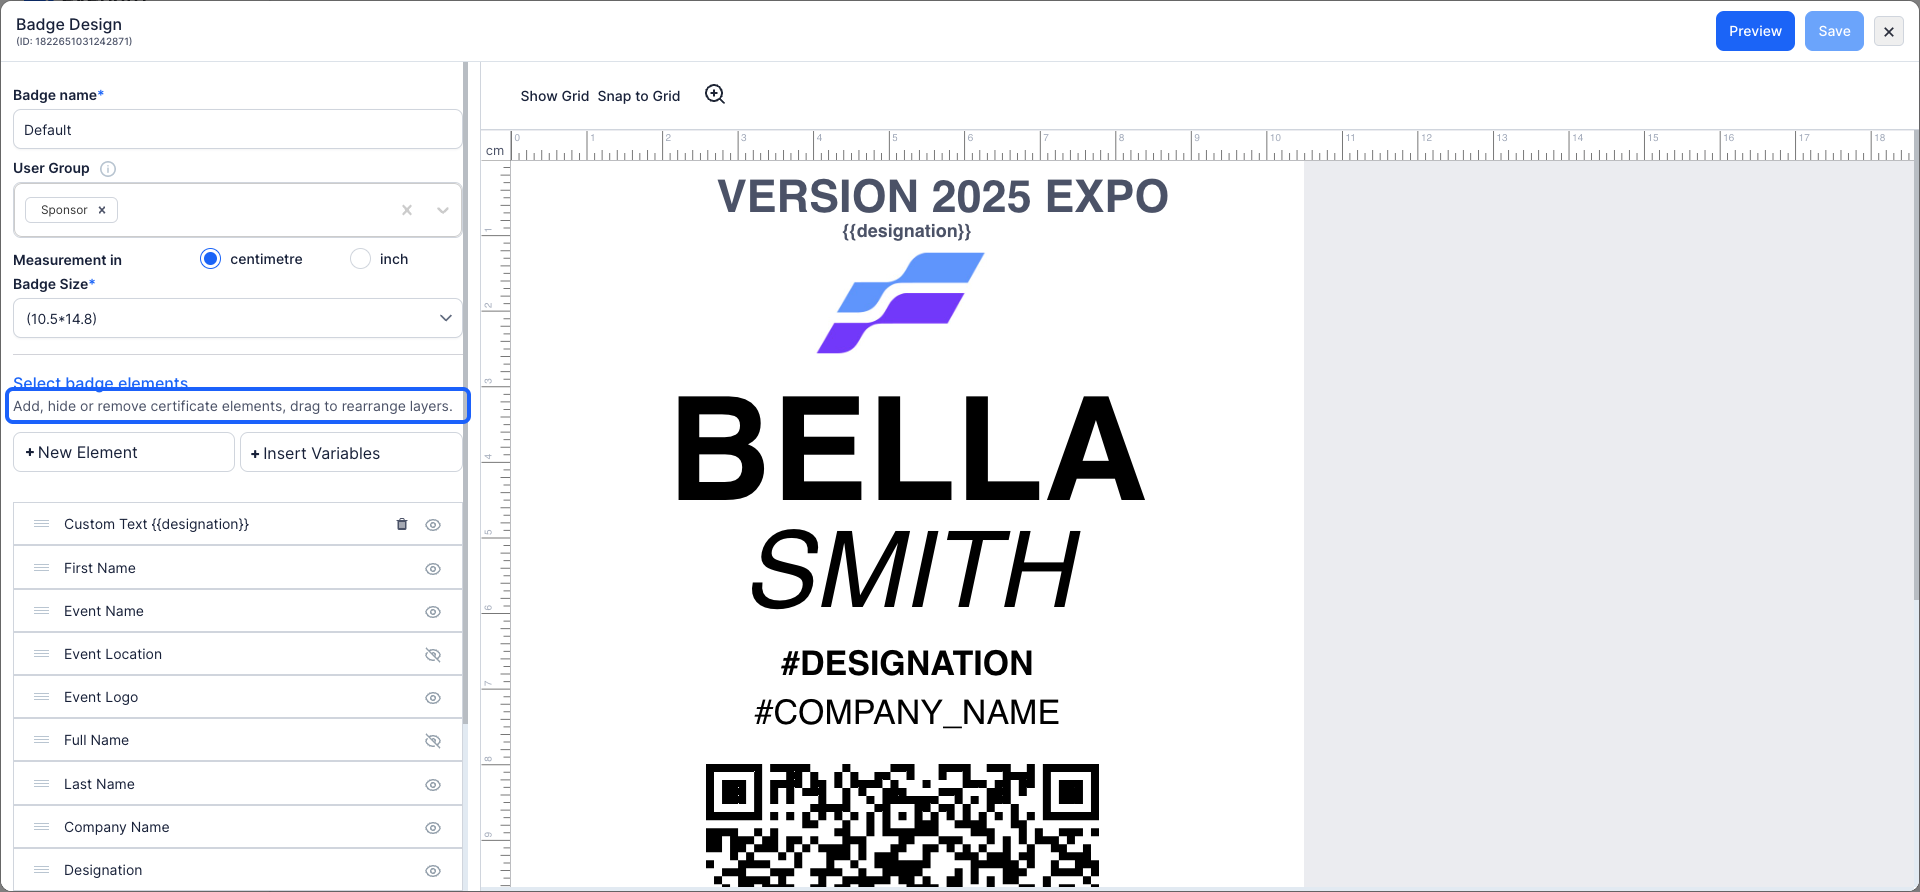
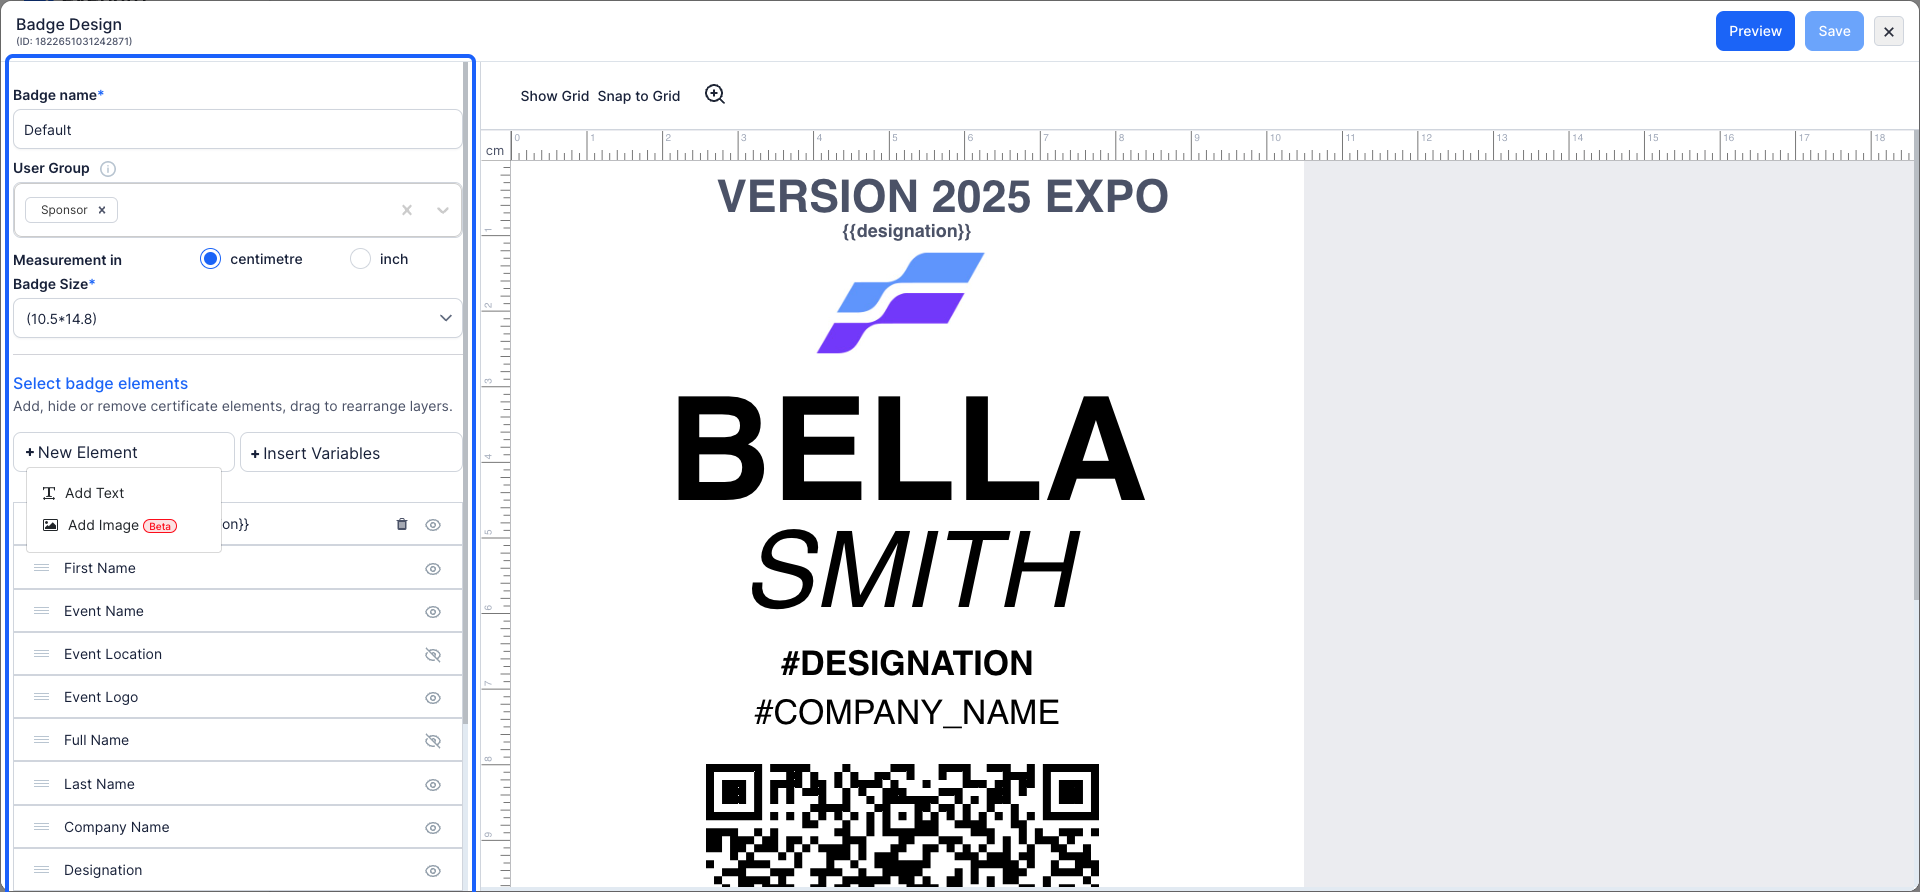
7: You can add, edit, hide, or remove badge elements
8: Use the Design, Text, Elements and Uploads tabs on the left to build your badge.
The Design tab holds the badge name, size and user groups, and the option to add a back page for a double-sided badge (see How to Design a Double-Sided Event Badge). Use Text to add and style text, and Elements to add shapes. On the Uploads tab, Add Elements lets you add a text field or click Insert Variables to place attendee data, and Upload Image adds your own images. The Layers panel lists every element so you can hide, delete or drag them into order.
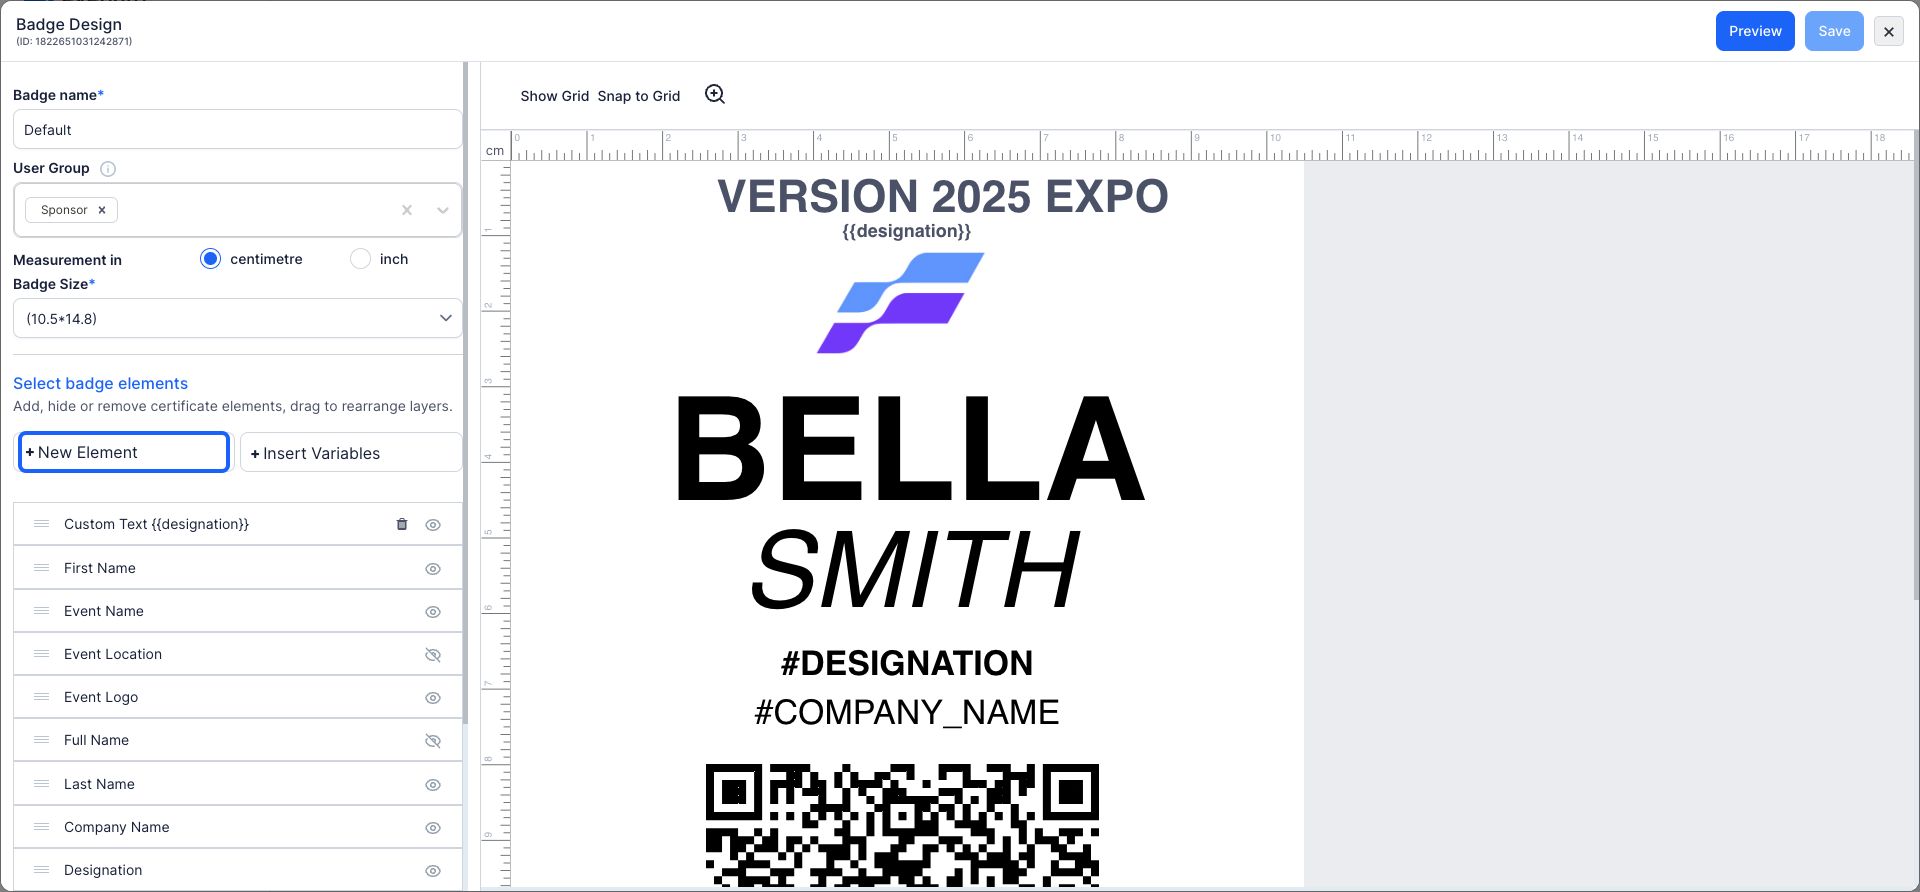
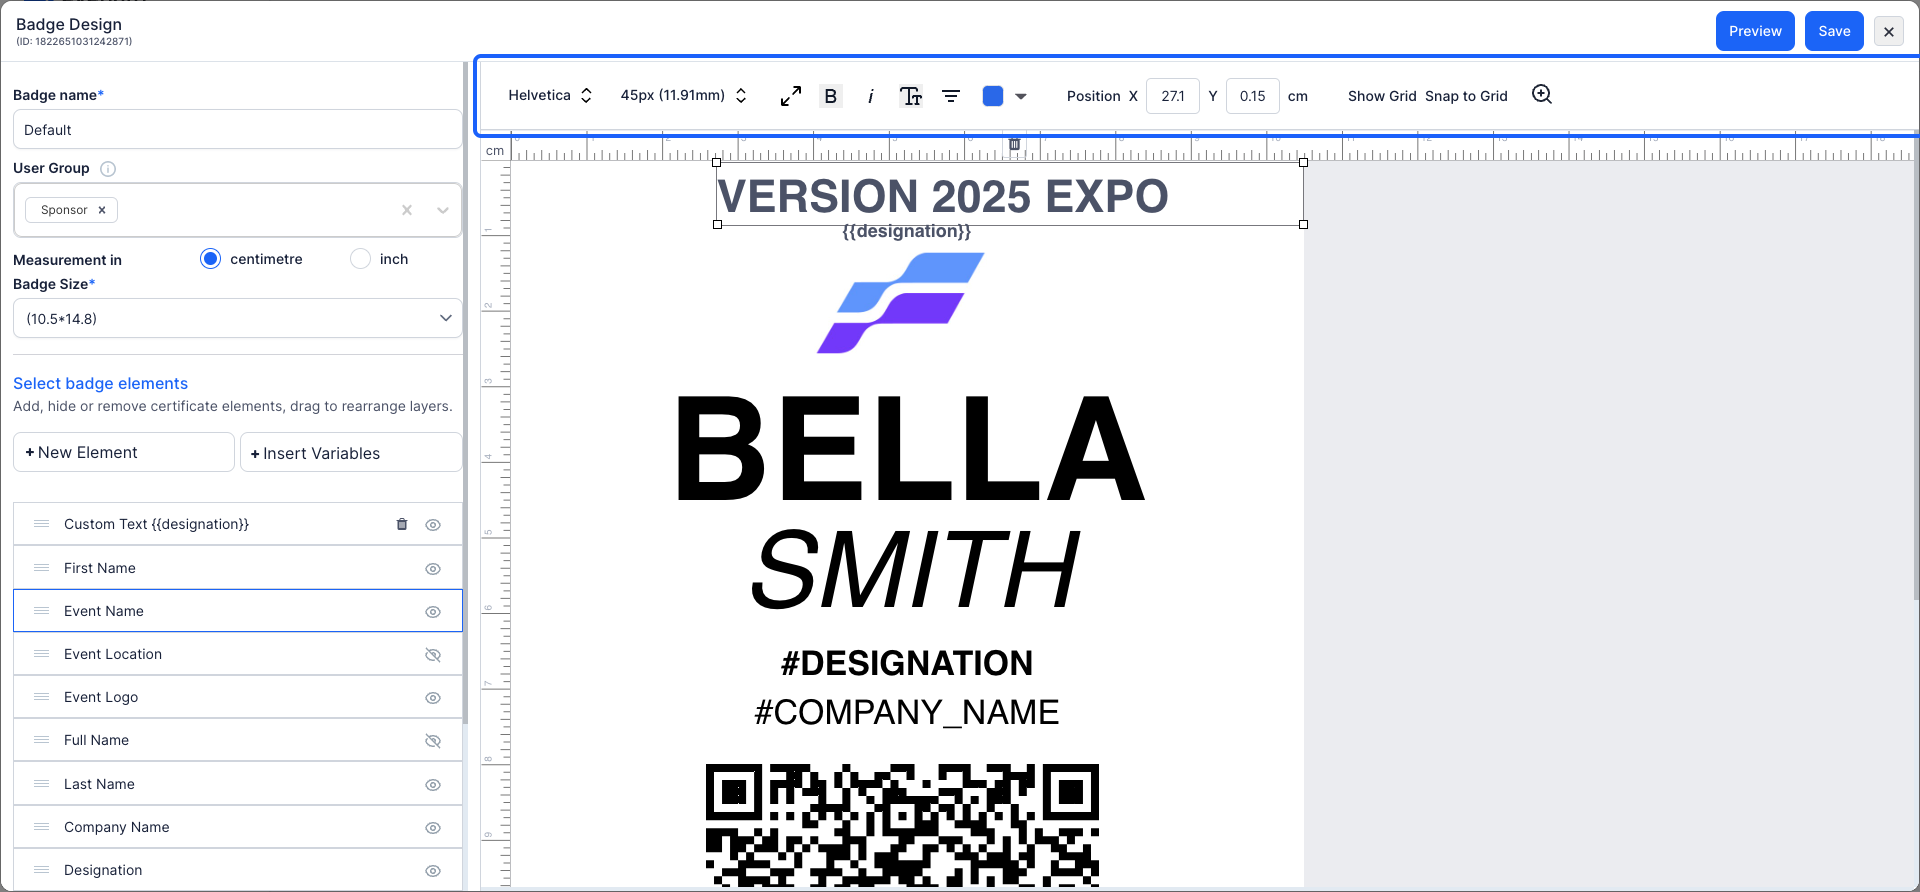
9: You can add, drag and rearrange layers to ensure a personalized and visually balanced design.
10: You can modifying the text style, font size, text color, and other formatting options.
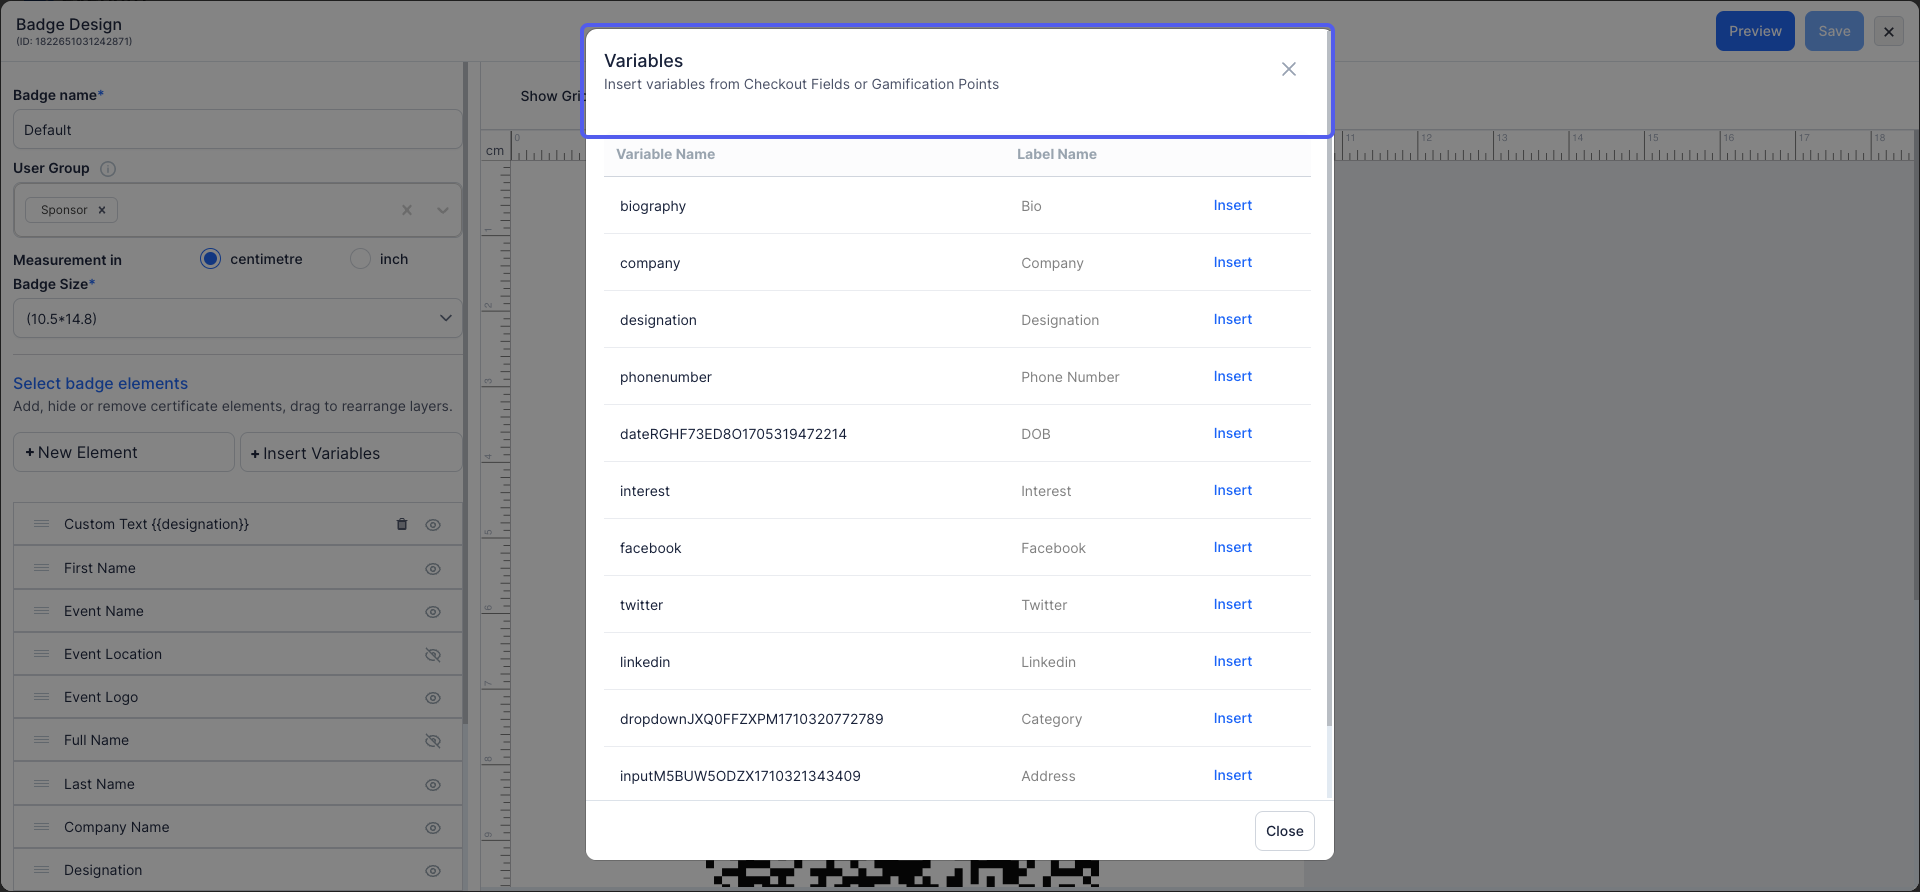
11: Here you can find all the User's registration form variables from the checkout forms and by clicking on the "Insert", the filed will be included in your badge design.
Also you can insert gamification points to personalize each badge.
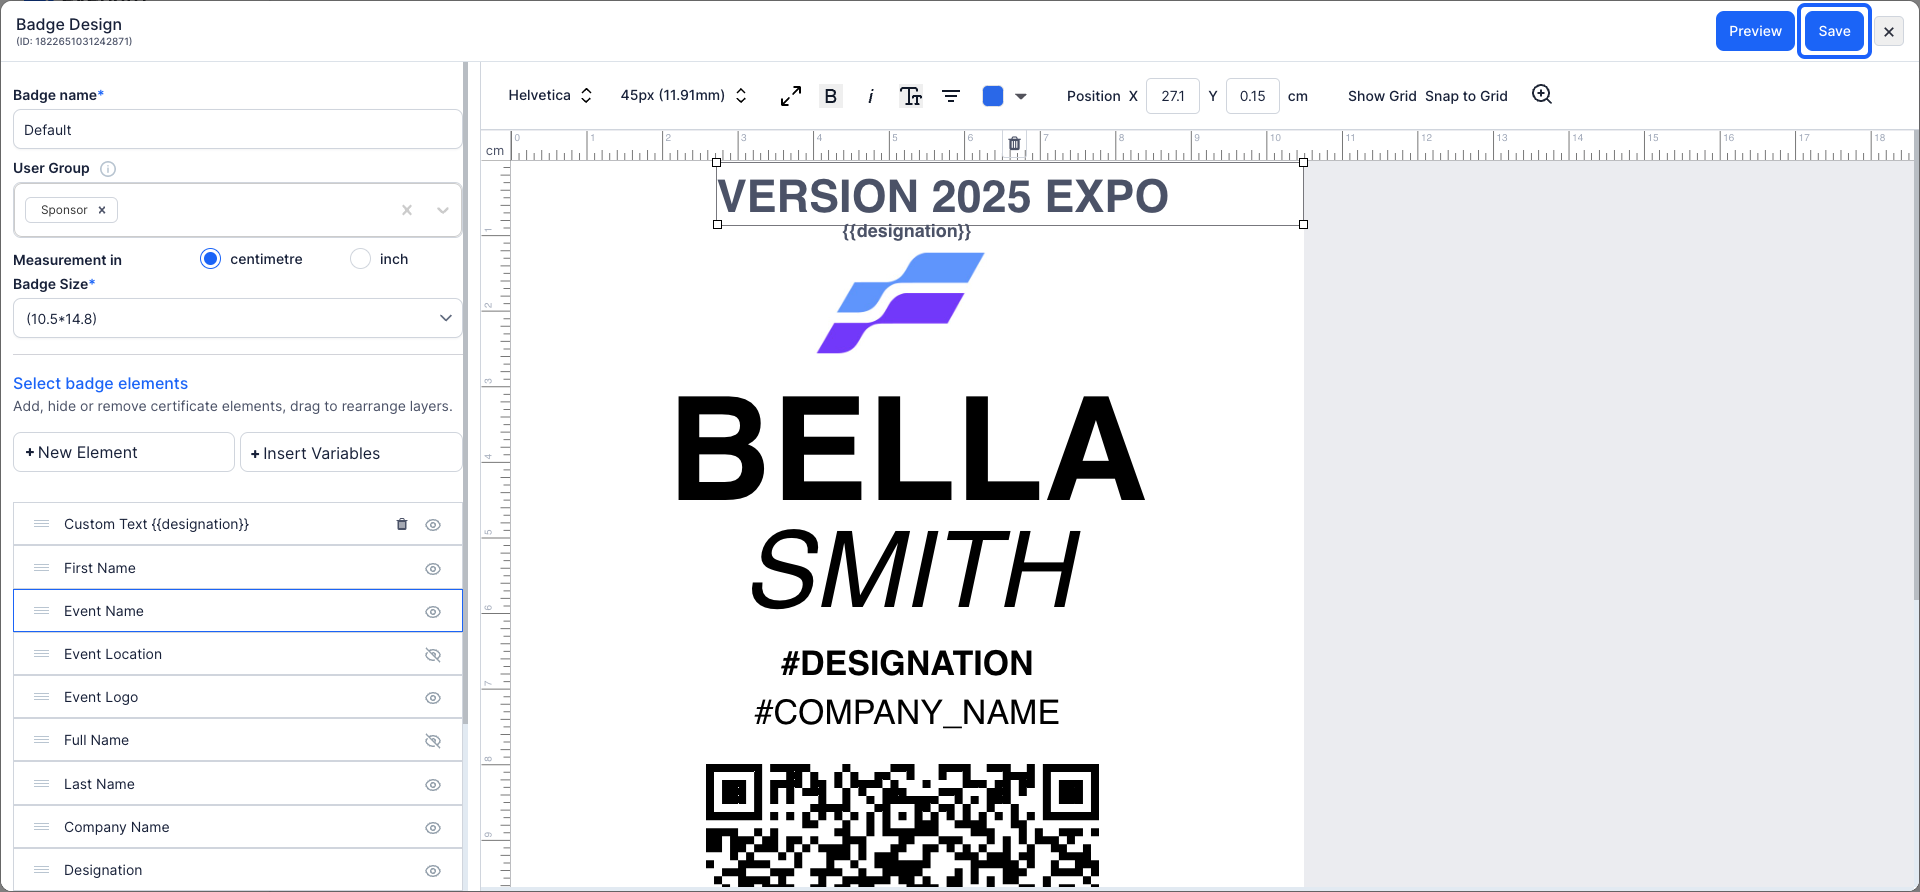
12: Once you are satisfied with your badge design, proceed to "save" your changes.
13: Within the badge section, you can generate a badge for attendees
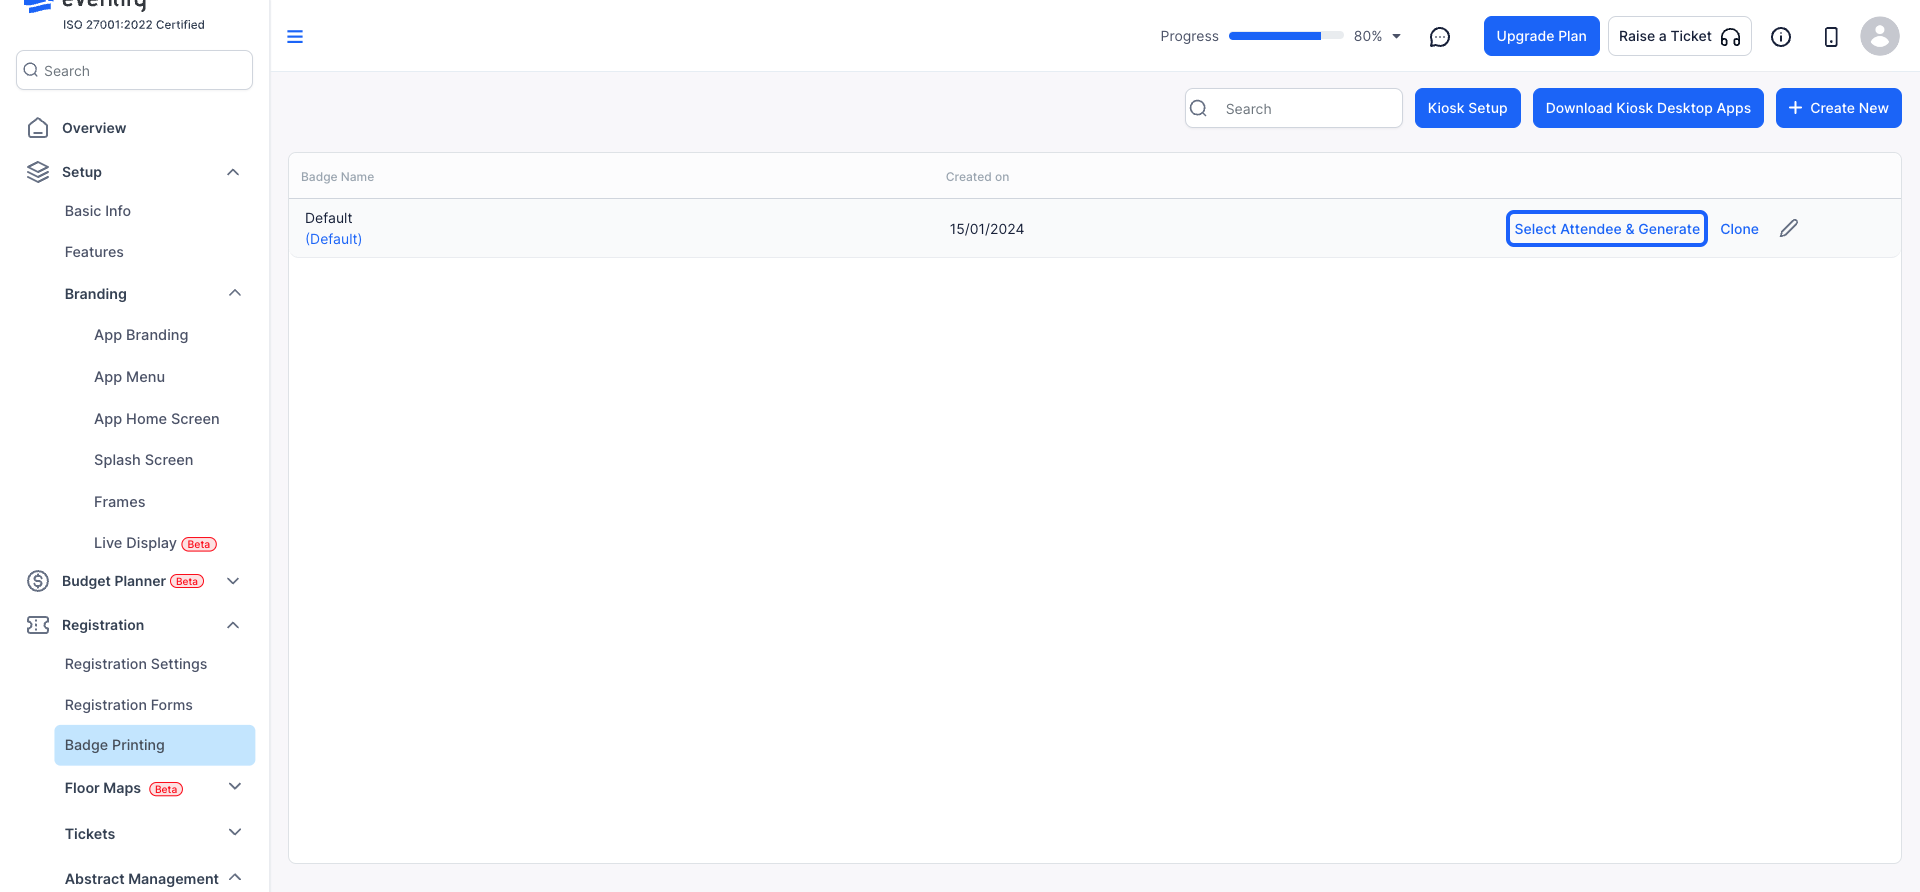
14: You have the option to create badges for individual attendees or multiple attendees simultaneously.
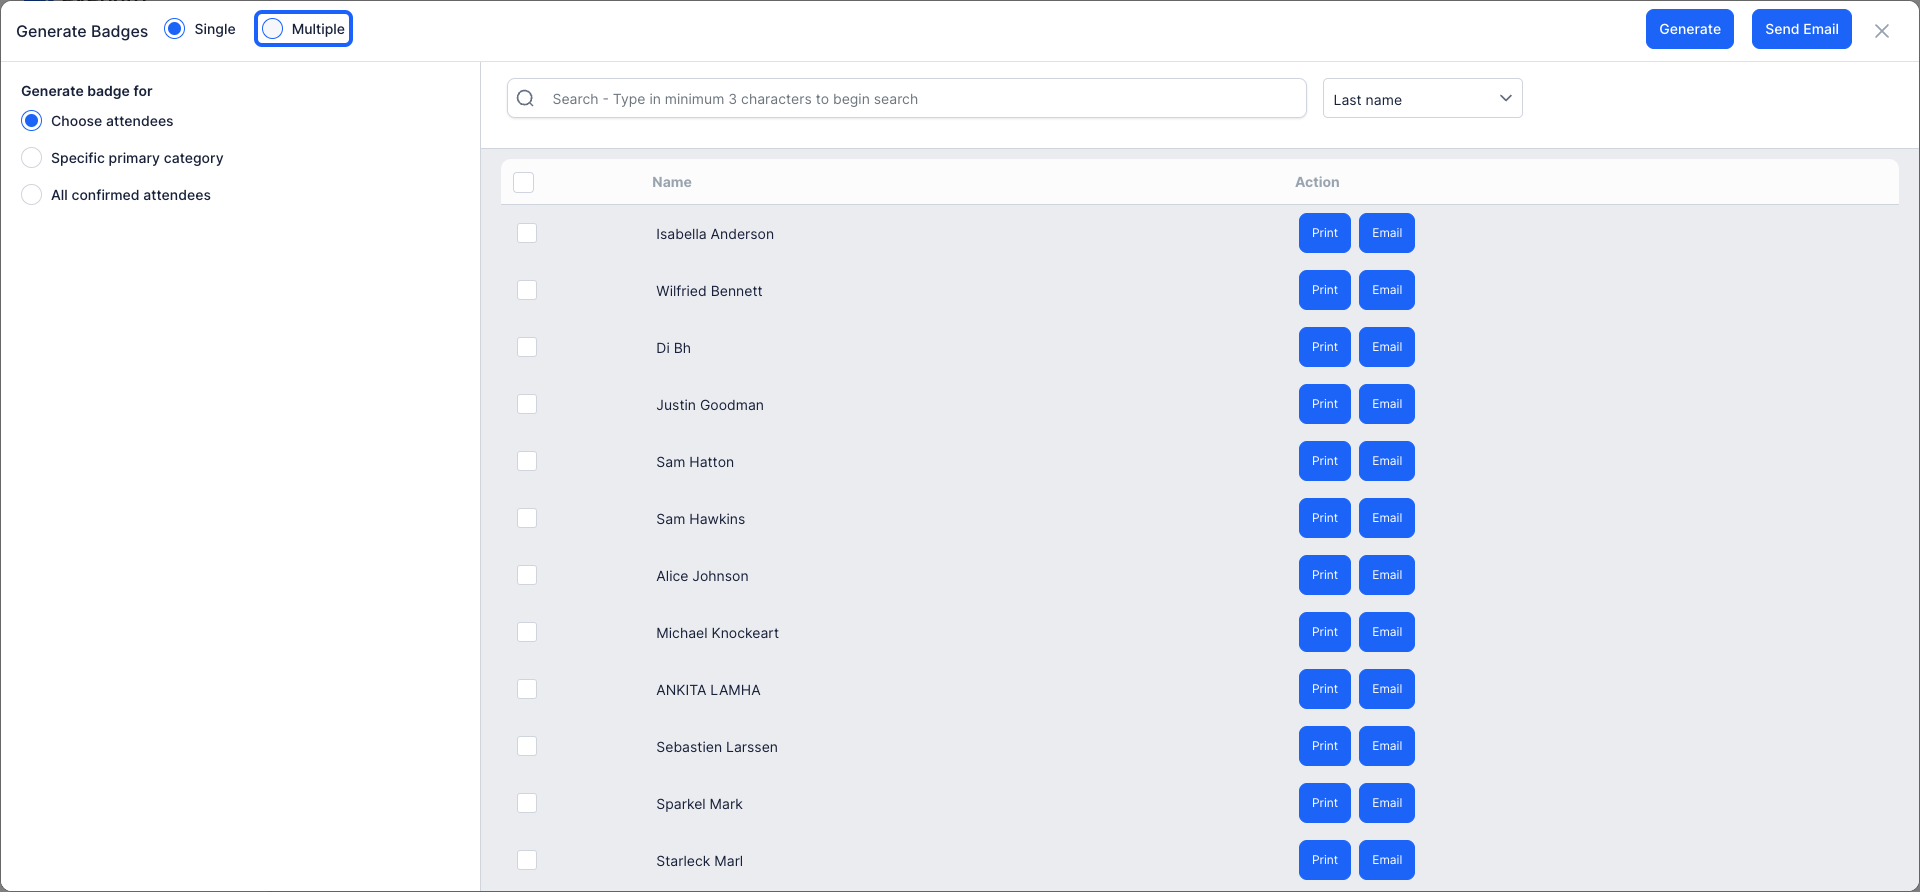
15: Choose the appropriate paper size for printing. You can select from the provided list or define a custom size to fit your needs.
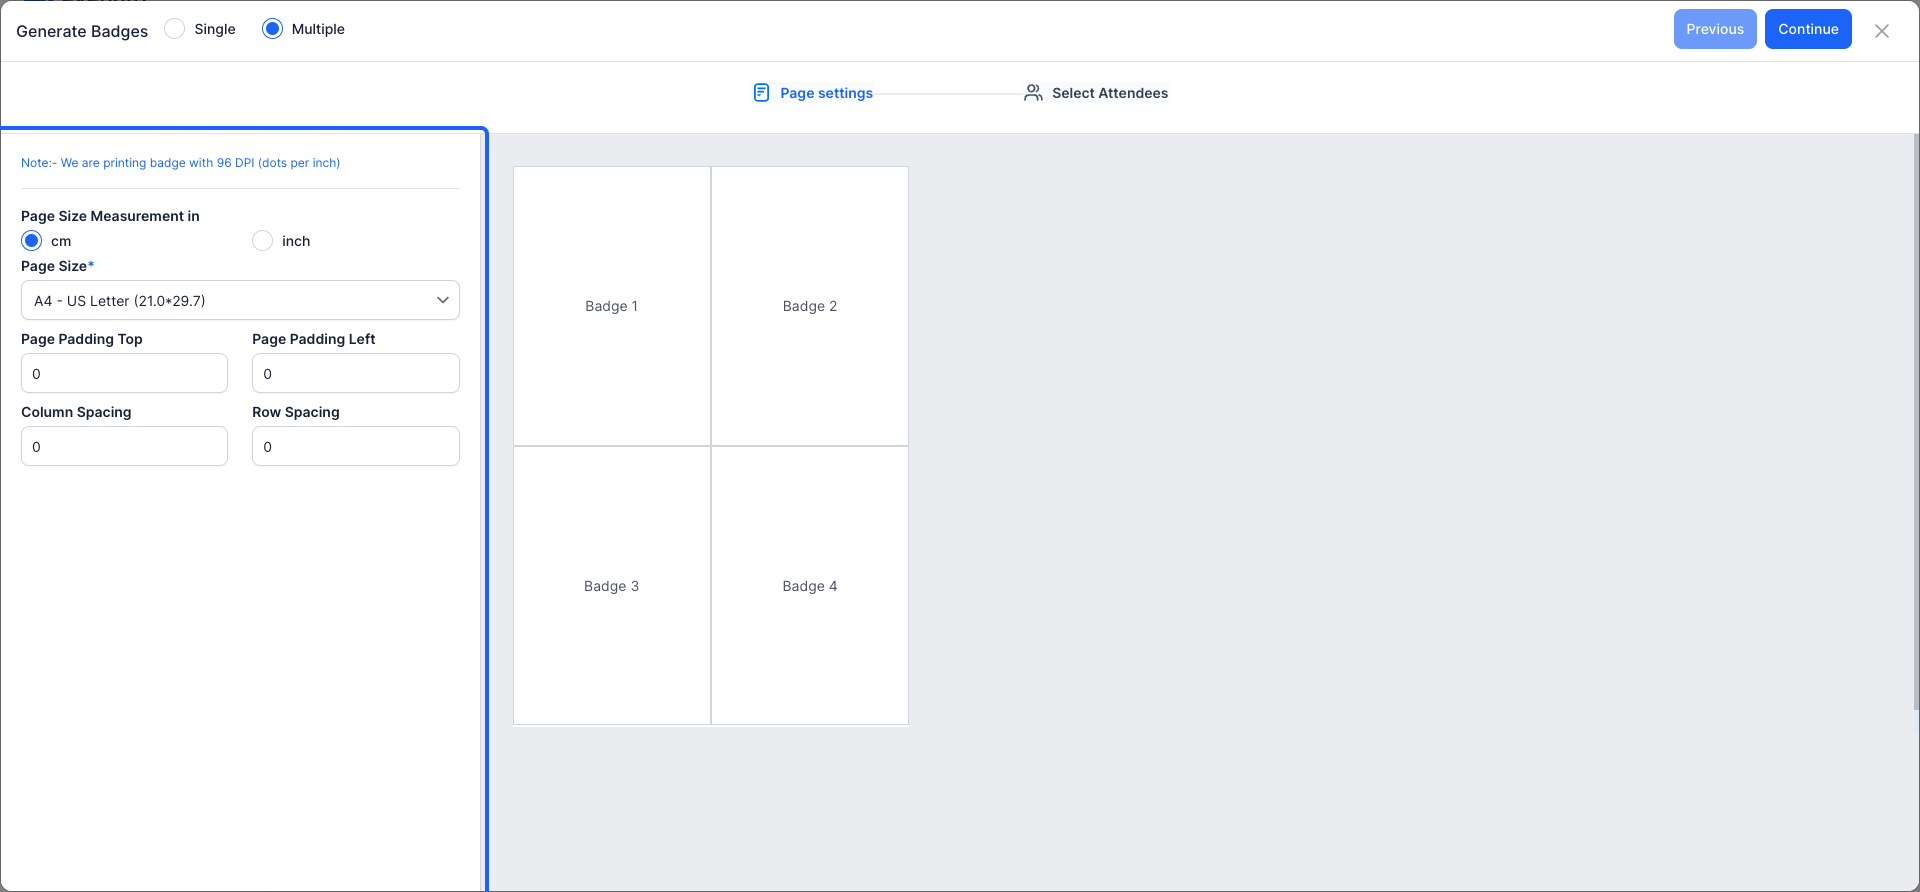
16: After finalizing your badge design, proceed to the next step.
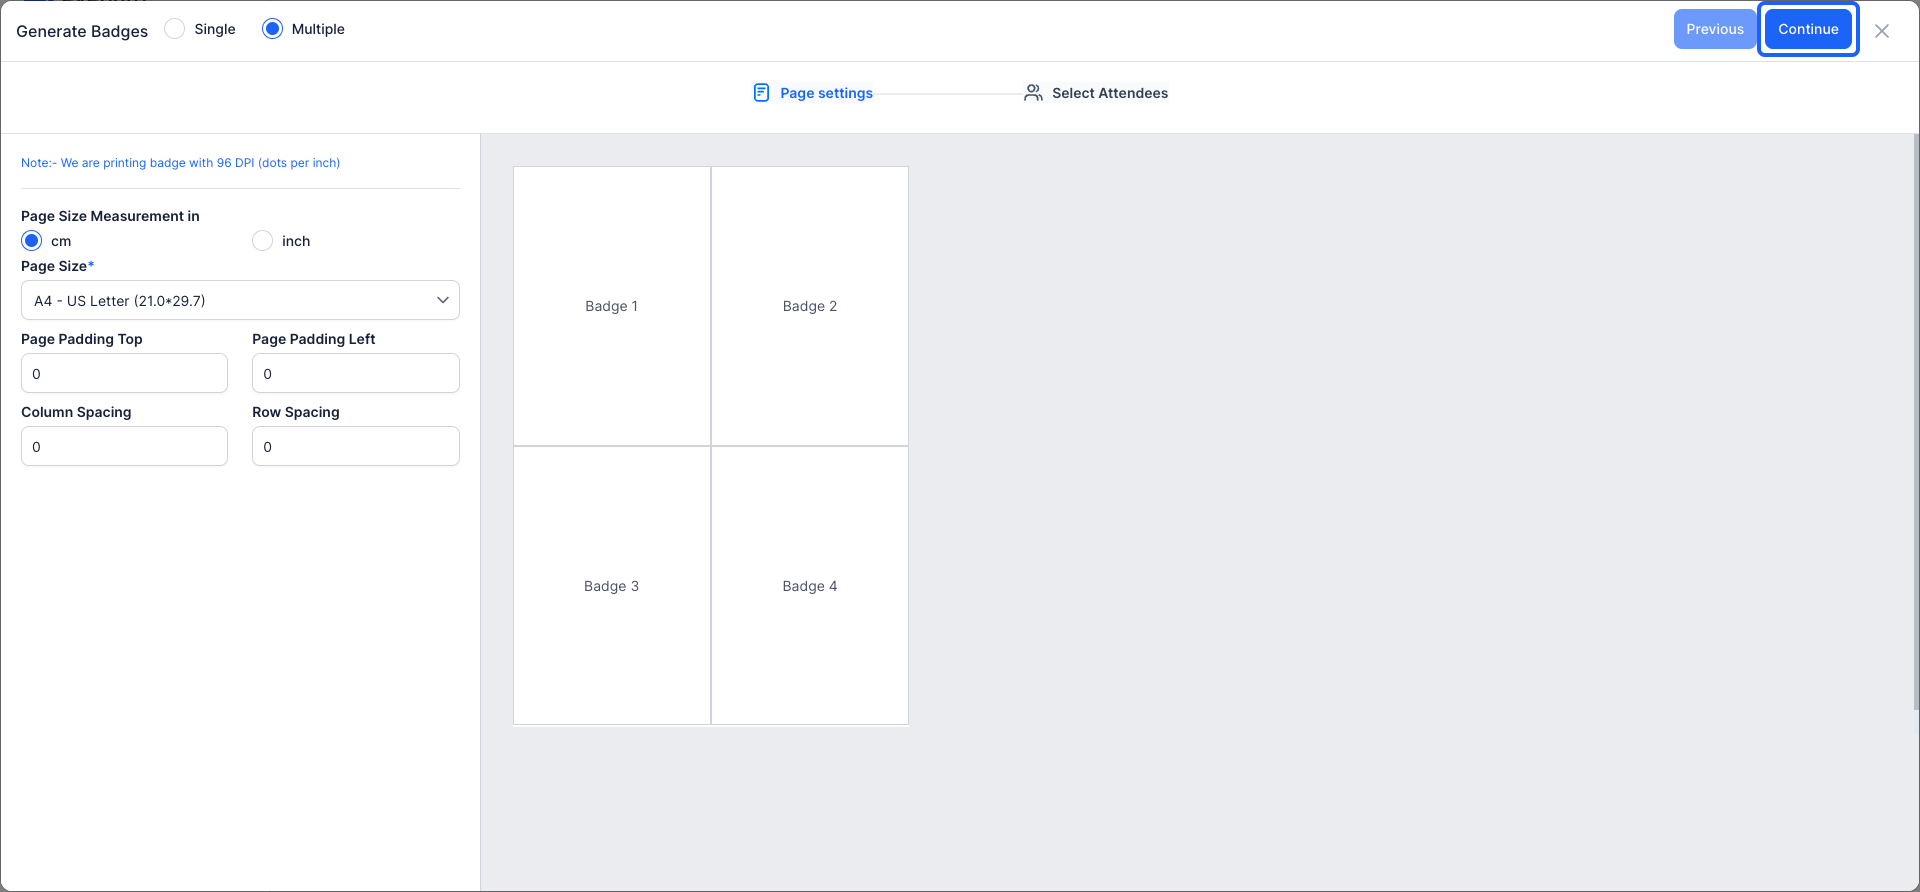
17: Choose to generate badges collectively or by name, or assign a primary category to group attendees properly.
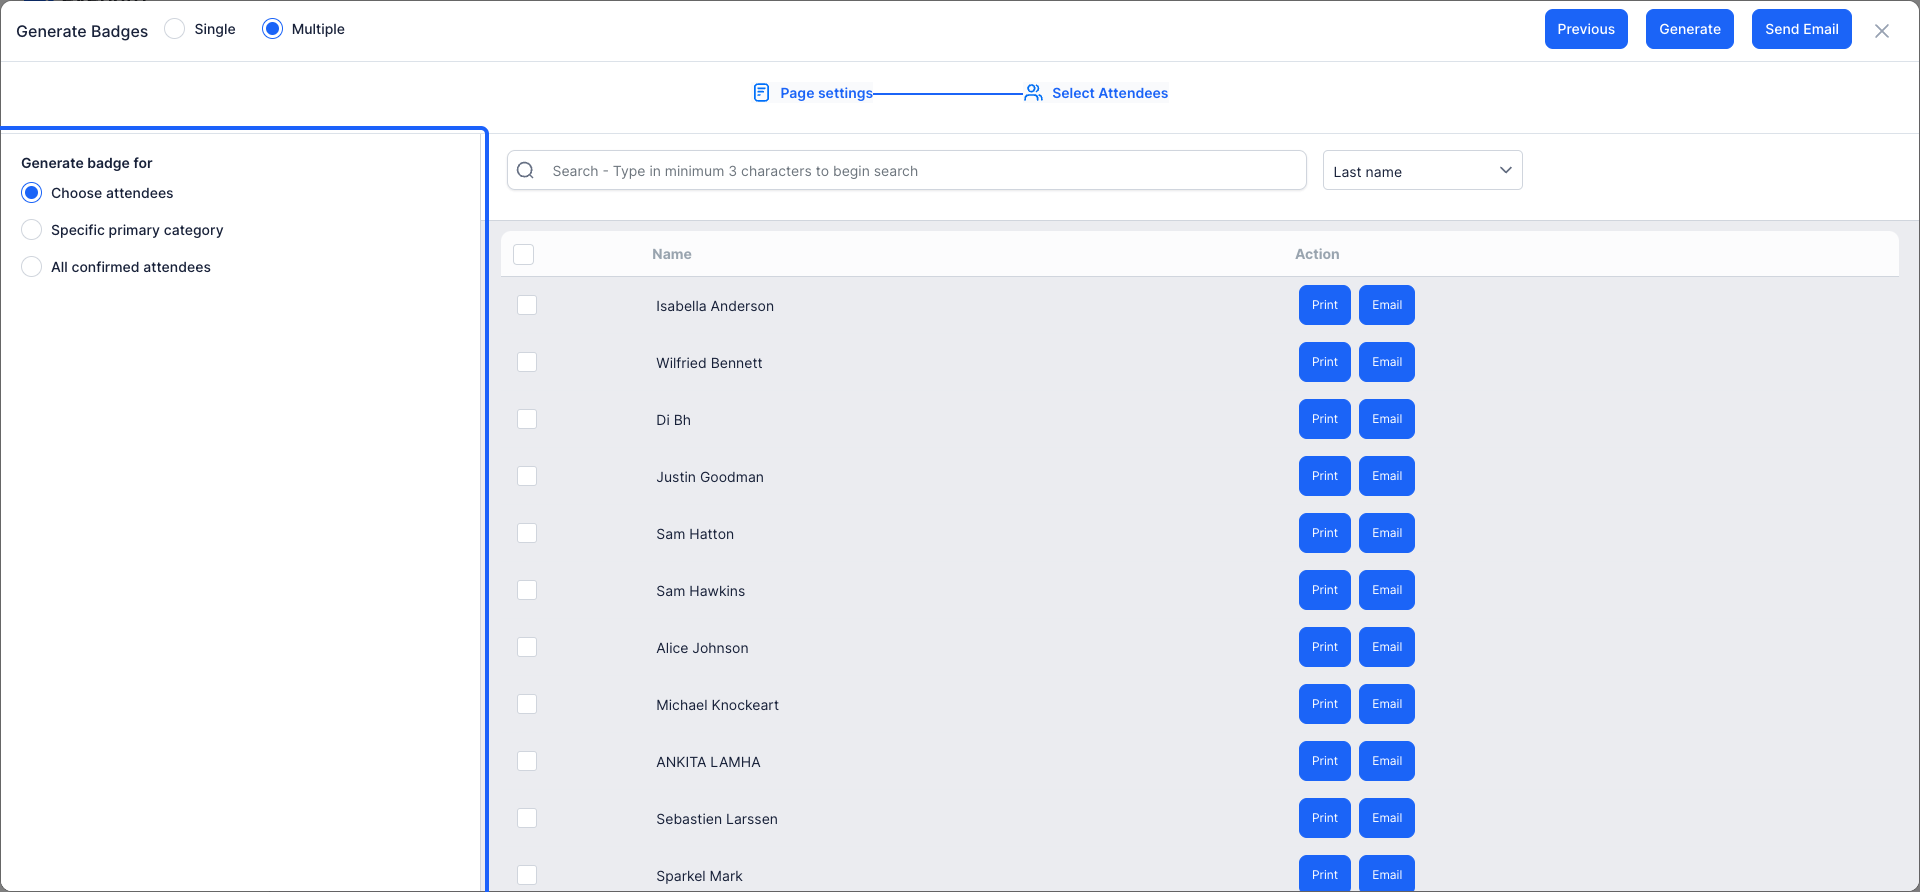
18: Once your design is complete,
Click the “Generate” button to generate the badges.
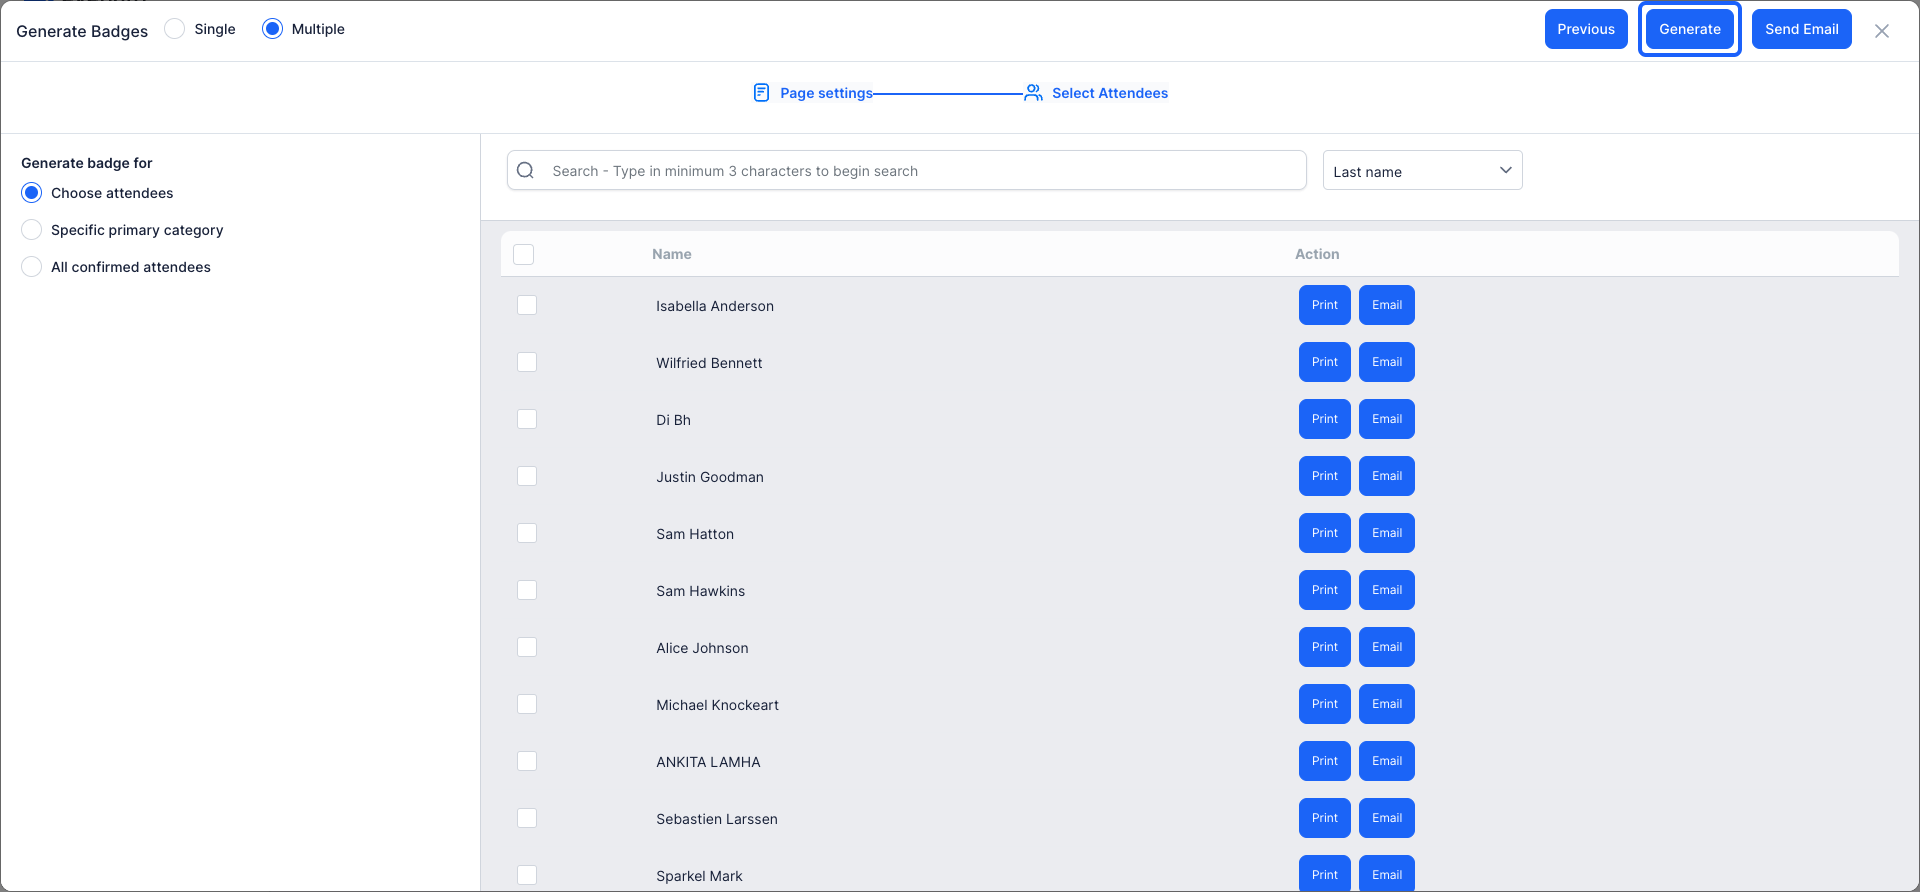
🔔The default badge gives a common design for all user groups. You can design a single style for all or have specific layouts for individual groups.
Additional Tips:
- Design for Readability: Ensure the text on the badges is clear and easy to read from a distance.
- Consider Badge Size: Choose an appropriate badge size that is comfortable for attendees to wear.
- Test Printing: Print a few test badges to check for any issues with design or printing quality.
- On-Site Printing: If possible, consider using Eventify's on-site badge printing feature for last-minute changes or additions.
- We recommend a max of 15 fields on the badge to enable smooth badge generation.
Frequently Asked Questions
How many fields can I add to an event badge?
We recommend a maximum of 15 fields on a badge so that badge generation runs smoothly.
Can speakers and exhibitors have different badge designs?
Yes. Each badge design is linked to a user group such as Attendee, Speaker, Exhibitor, Sponsor or Admin. The default badge uses one design for everyone, or you can create a separate layout per group.
What paper size should I use to print event badges?
When generating badges, choose a paper size from the provided list or define a custom size that fits your badge stock.

