Organizers can schedule push notifications, with or without an email, to go out at a set date and time from Outreach > Push Notifications in the Eventify admin panel.
To optimize attendee engagement and streamline communication, the Eventify Admin platform provides a robust feature for scheduling notifications, ensuring your audience stays informed throughout the event.
Step-by-step guide
1: Access the Eventify Admin Panel and navigate to Outreach > Push Notifications
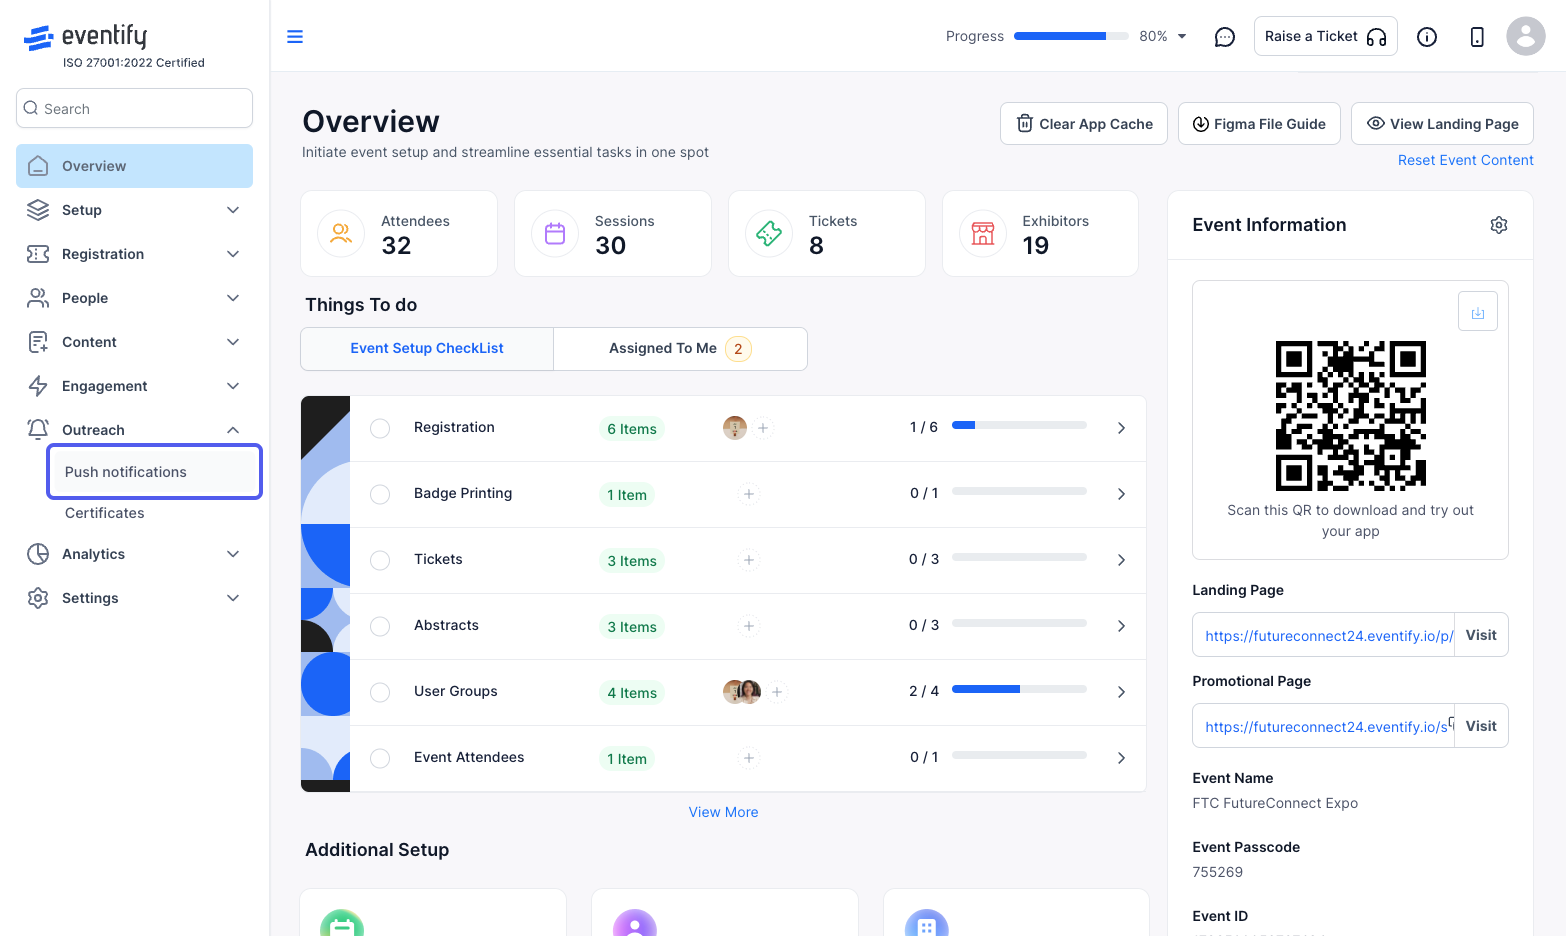
2: Click on Create New to create a new notification
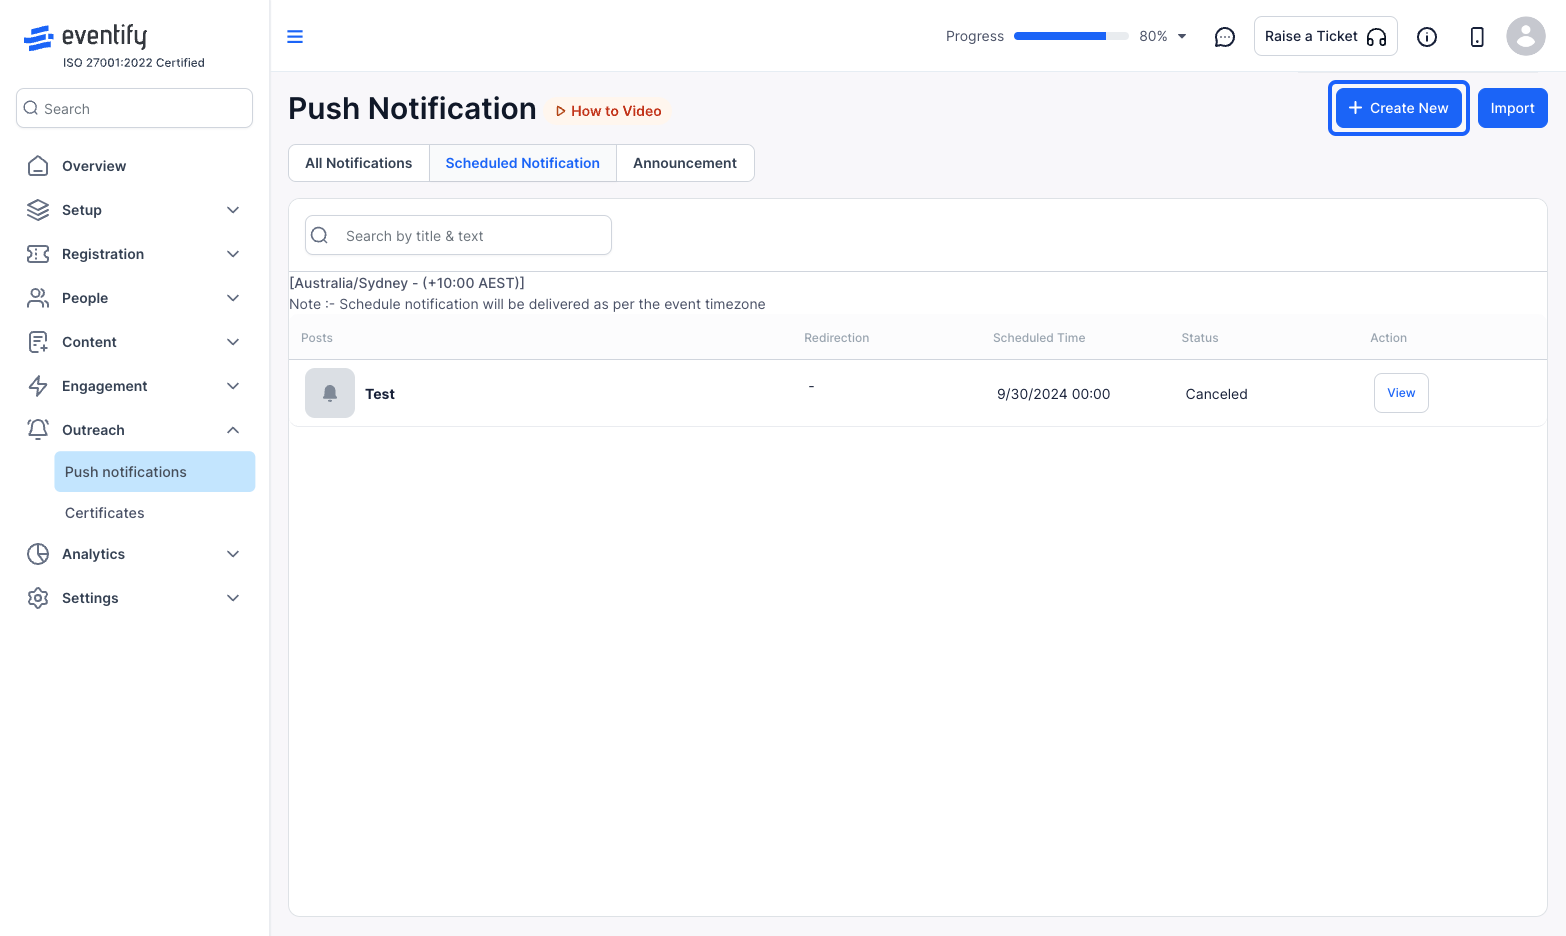
3: Select “Email & Push Notification” if you want to notify users in email too
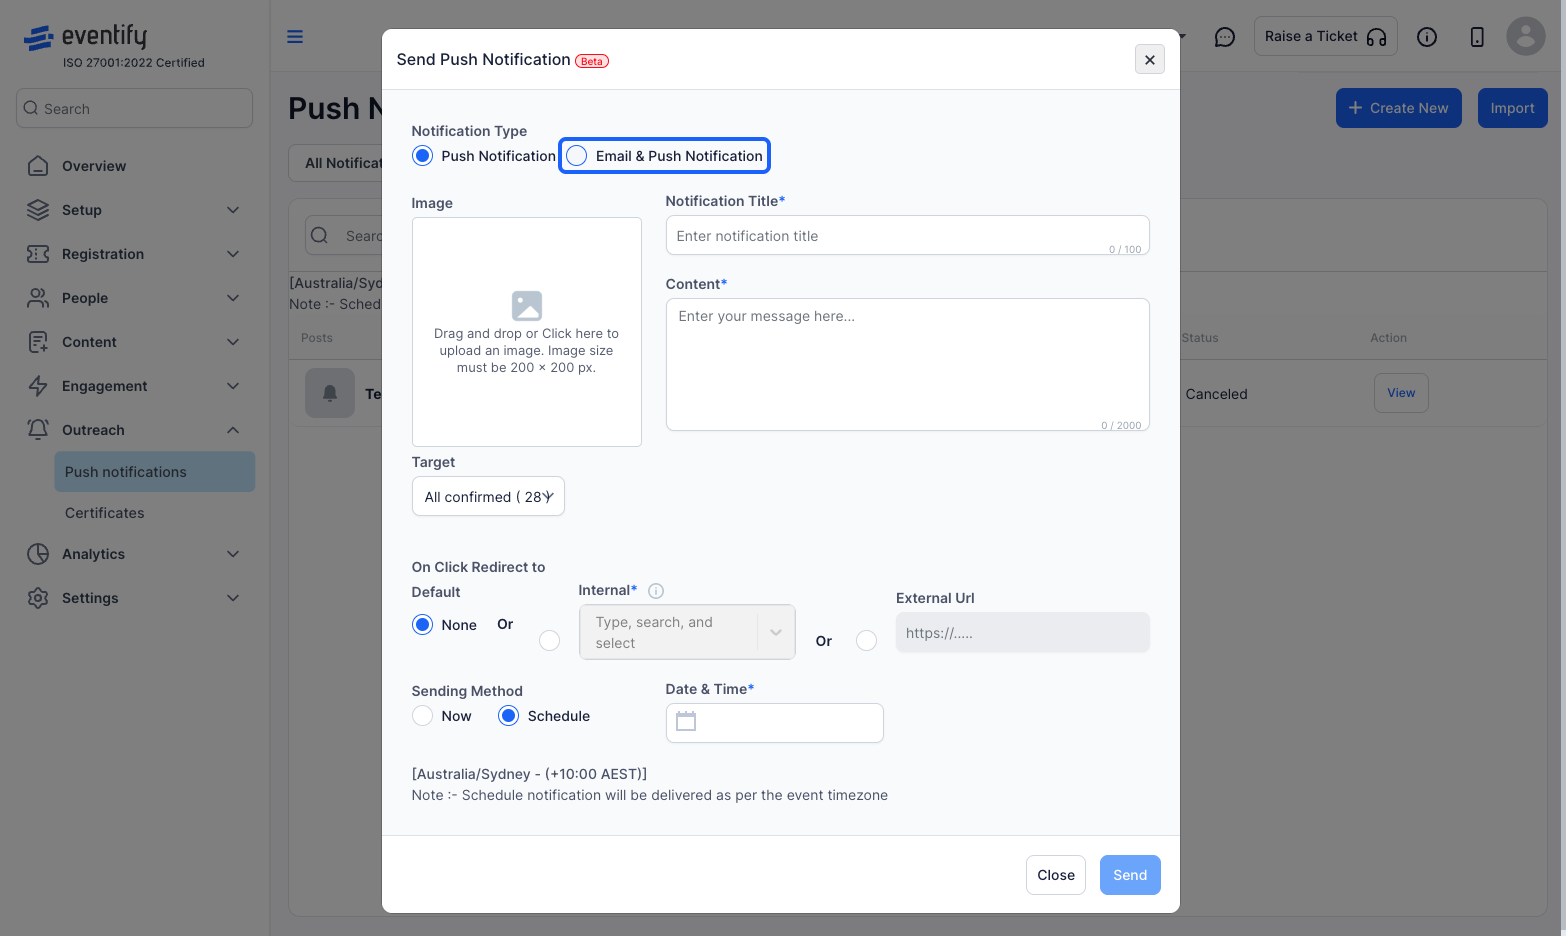
4: Select "Push Notification" if you want to send just a push notification without email
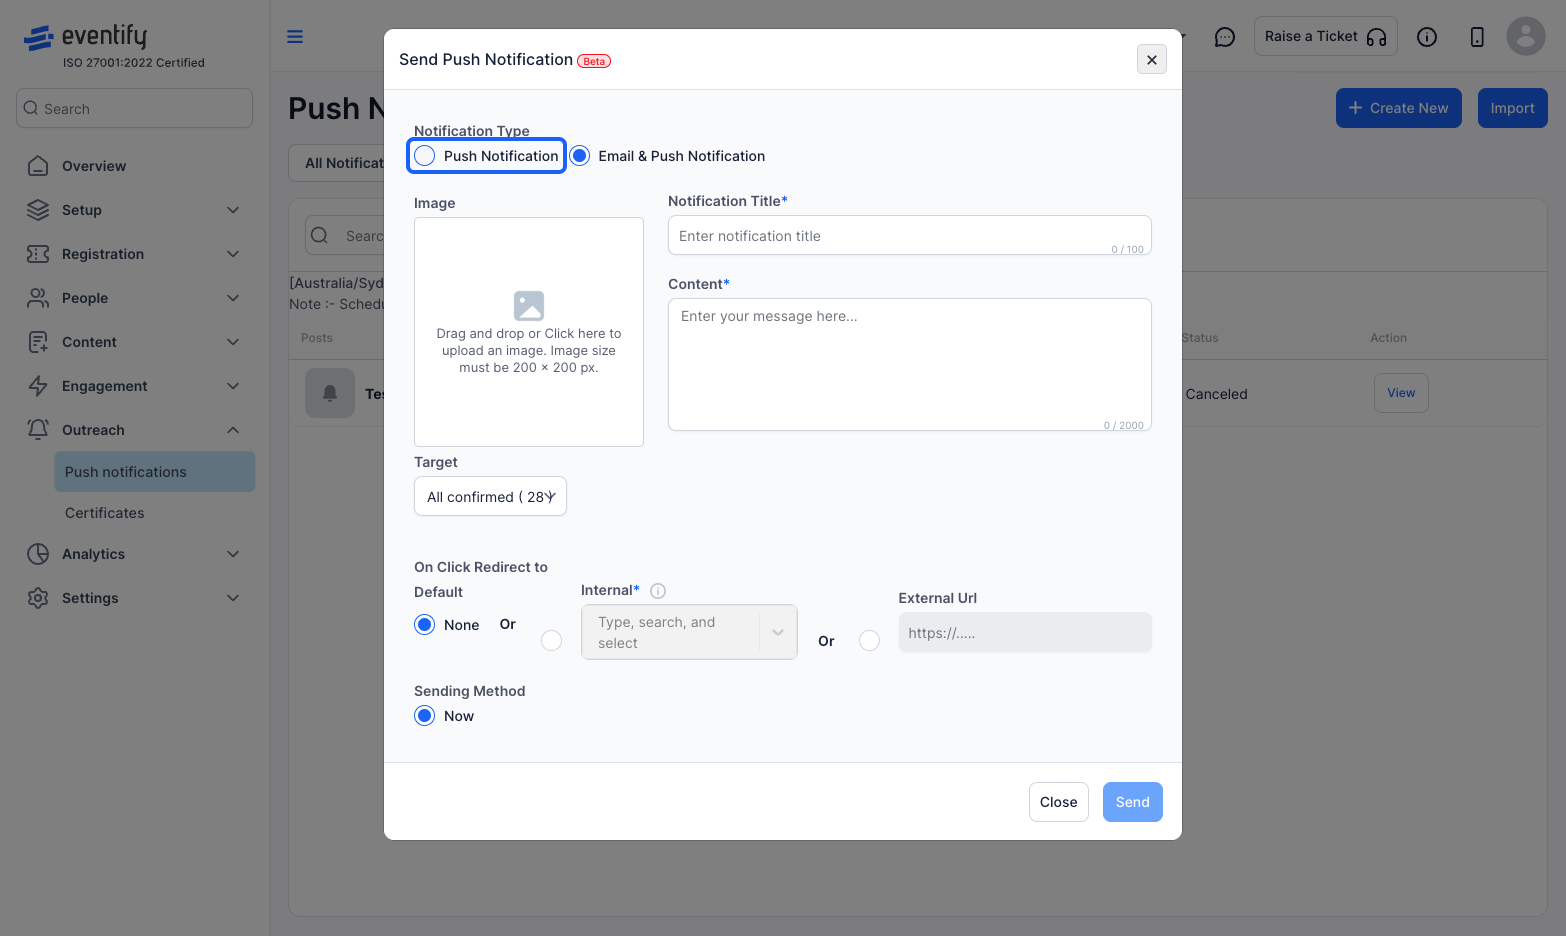
5: Enter the Notification Title
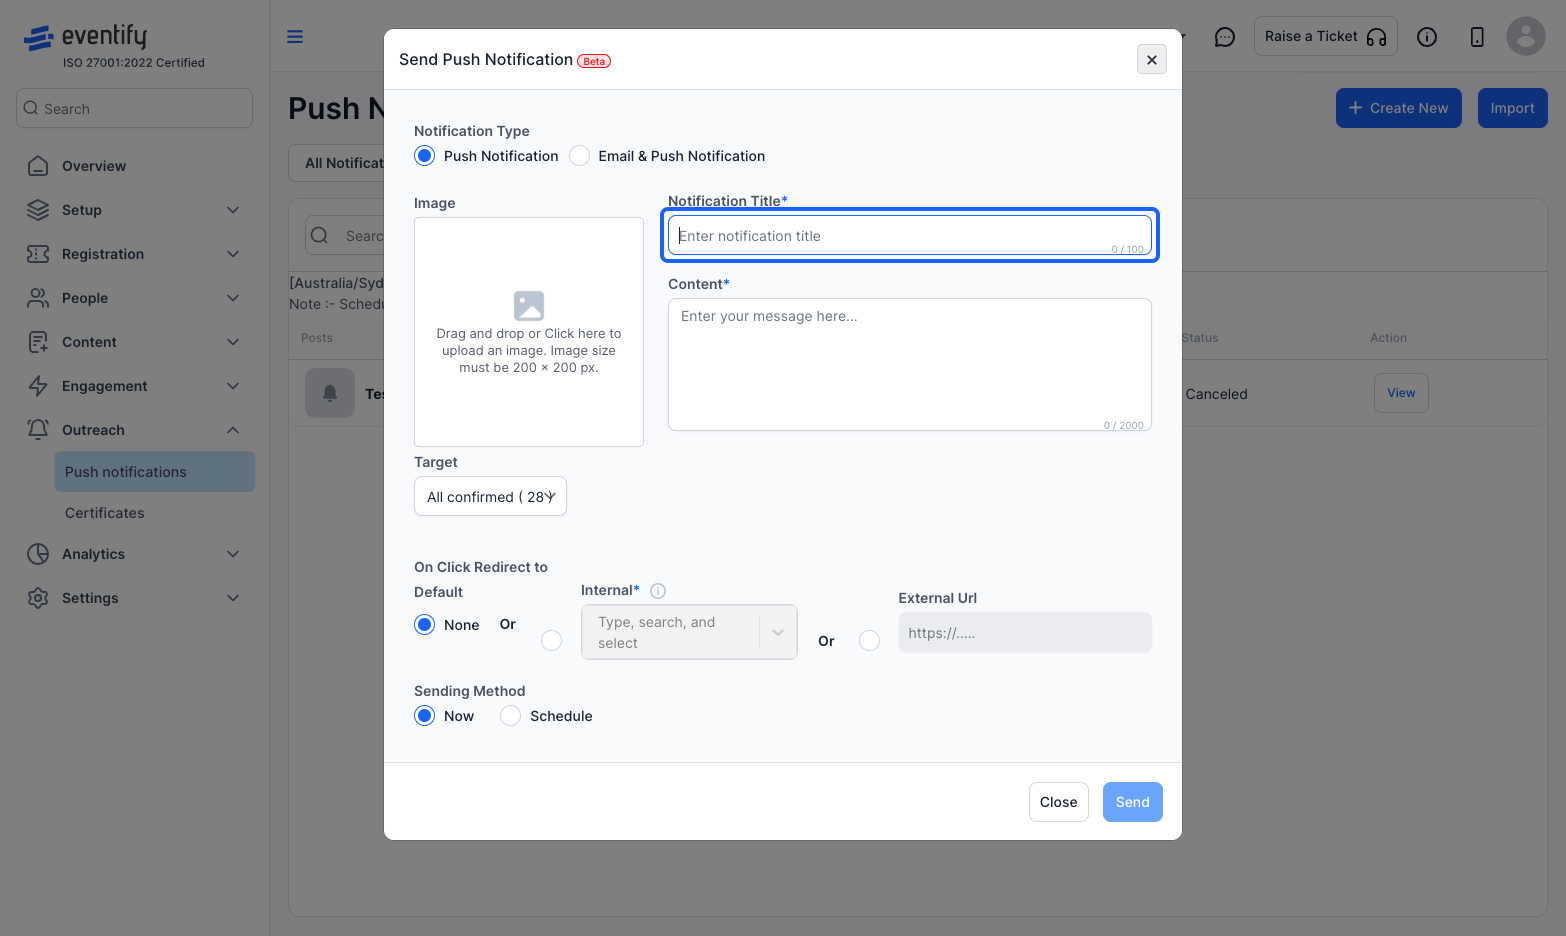
6: Enter the notification message
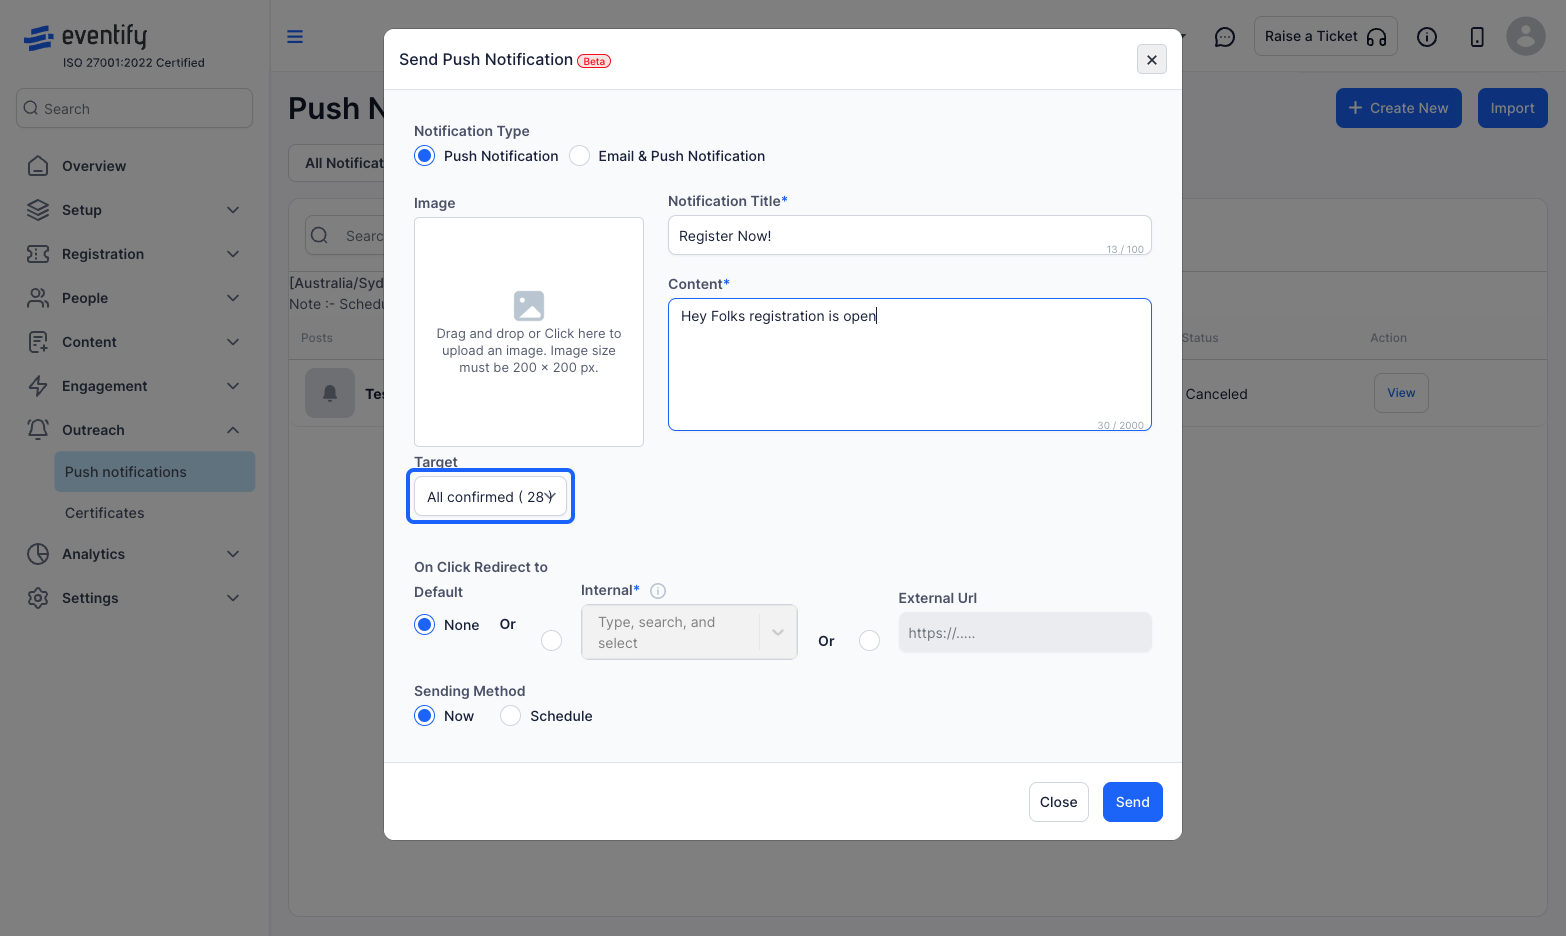
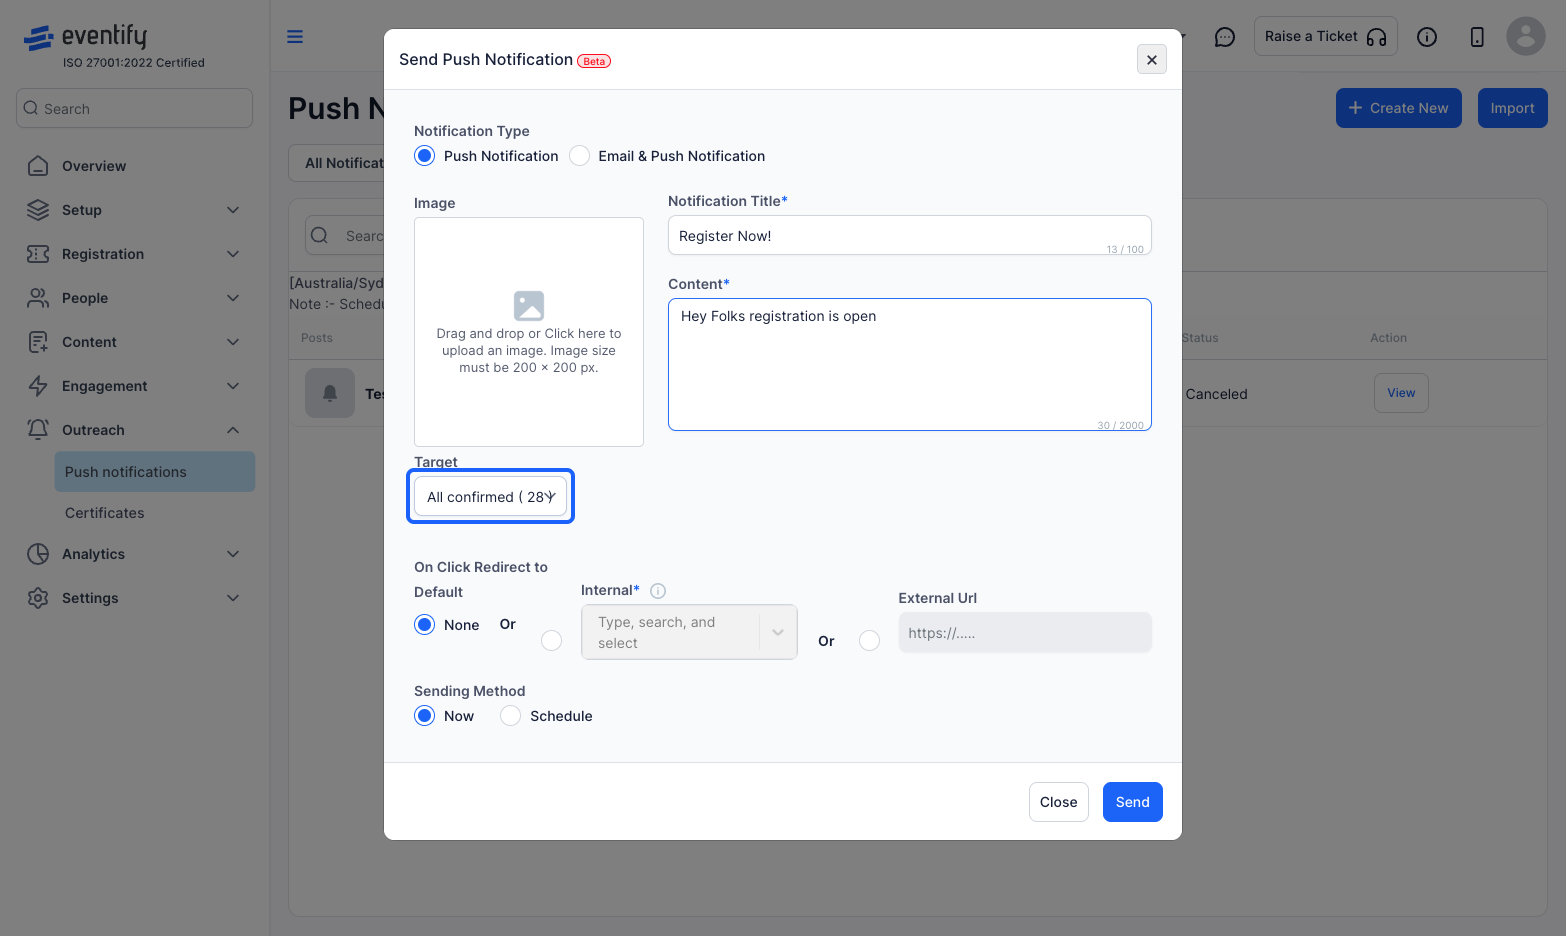
7: Select the target group you want to send
8: Associate the feature with which you want to associate this push. Tapping on the notification on the app will take the users to the associated section
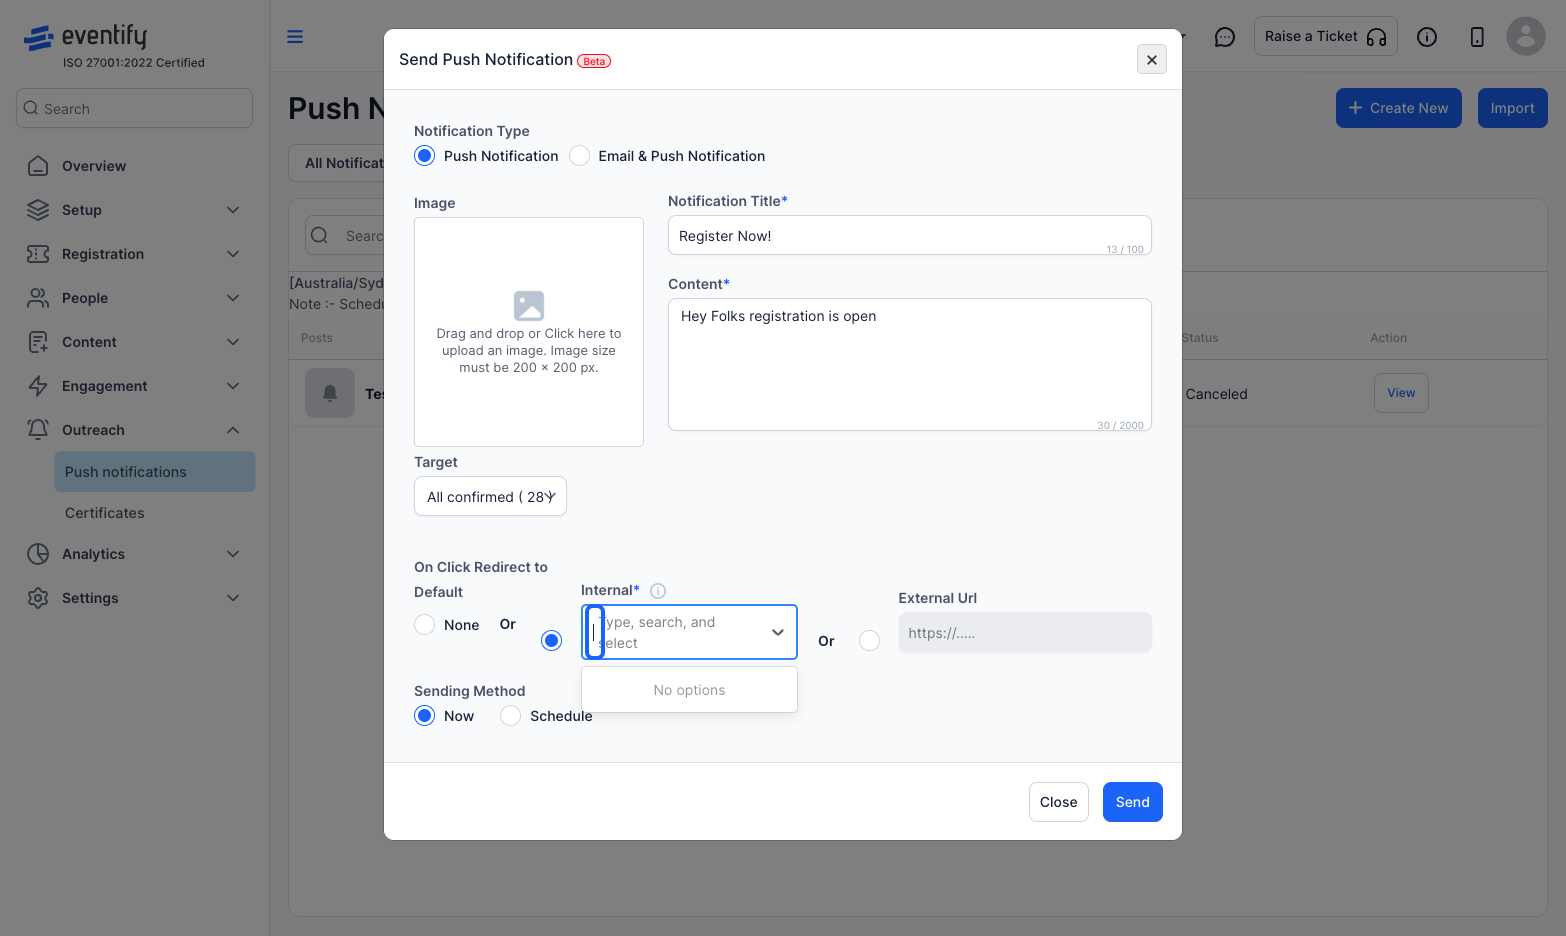
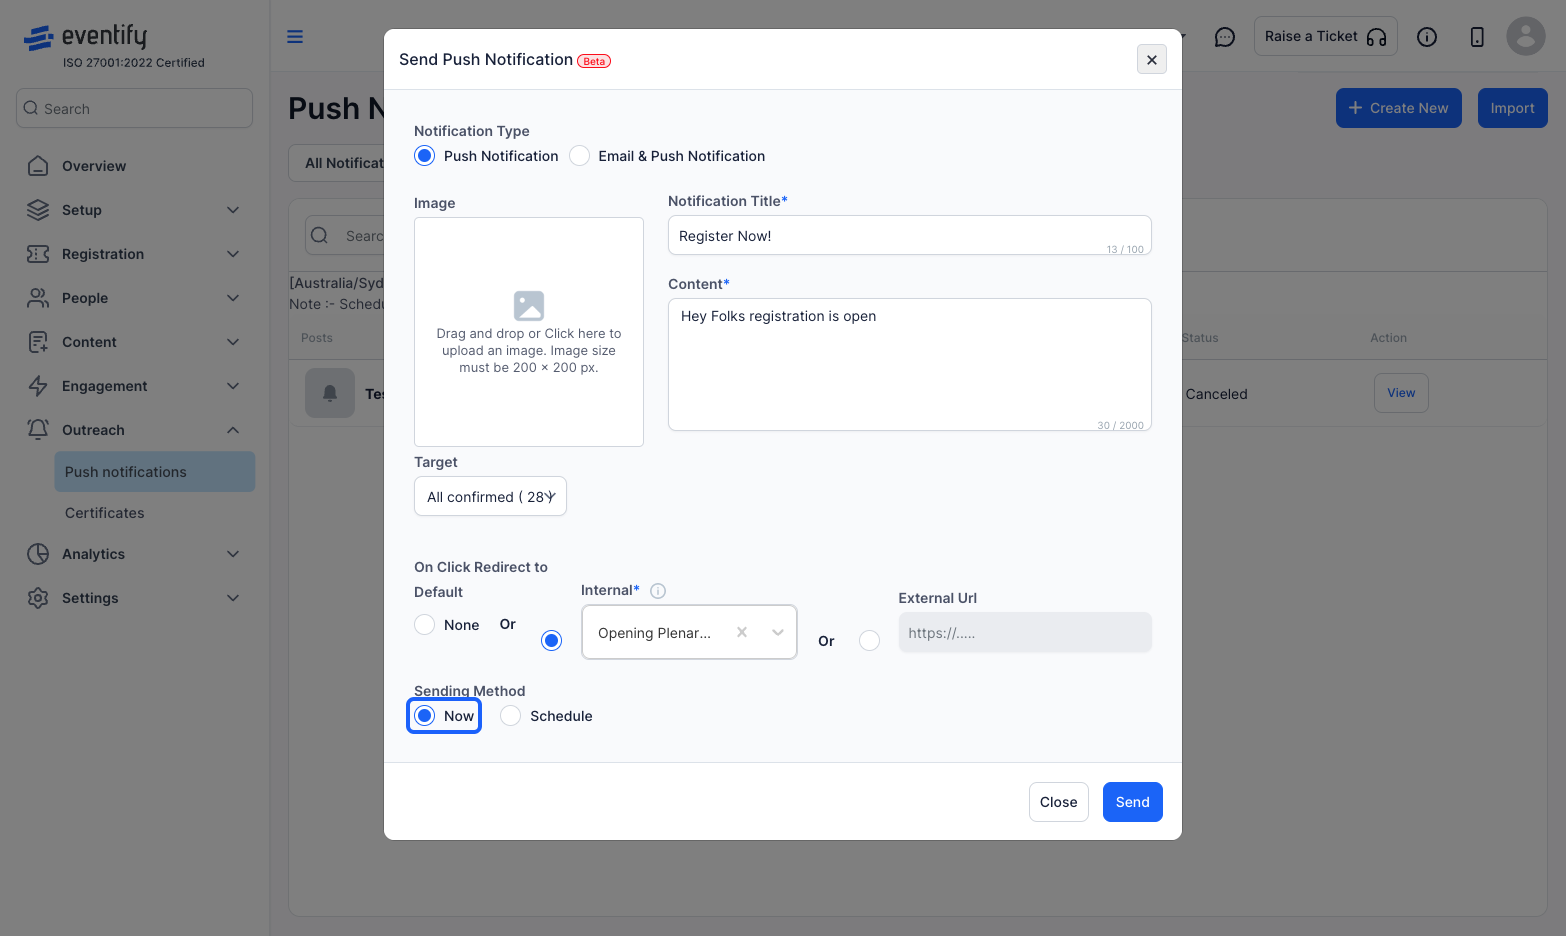
9: Select "Now" if you want to send immediately
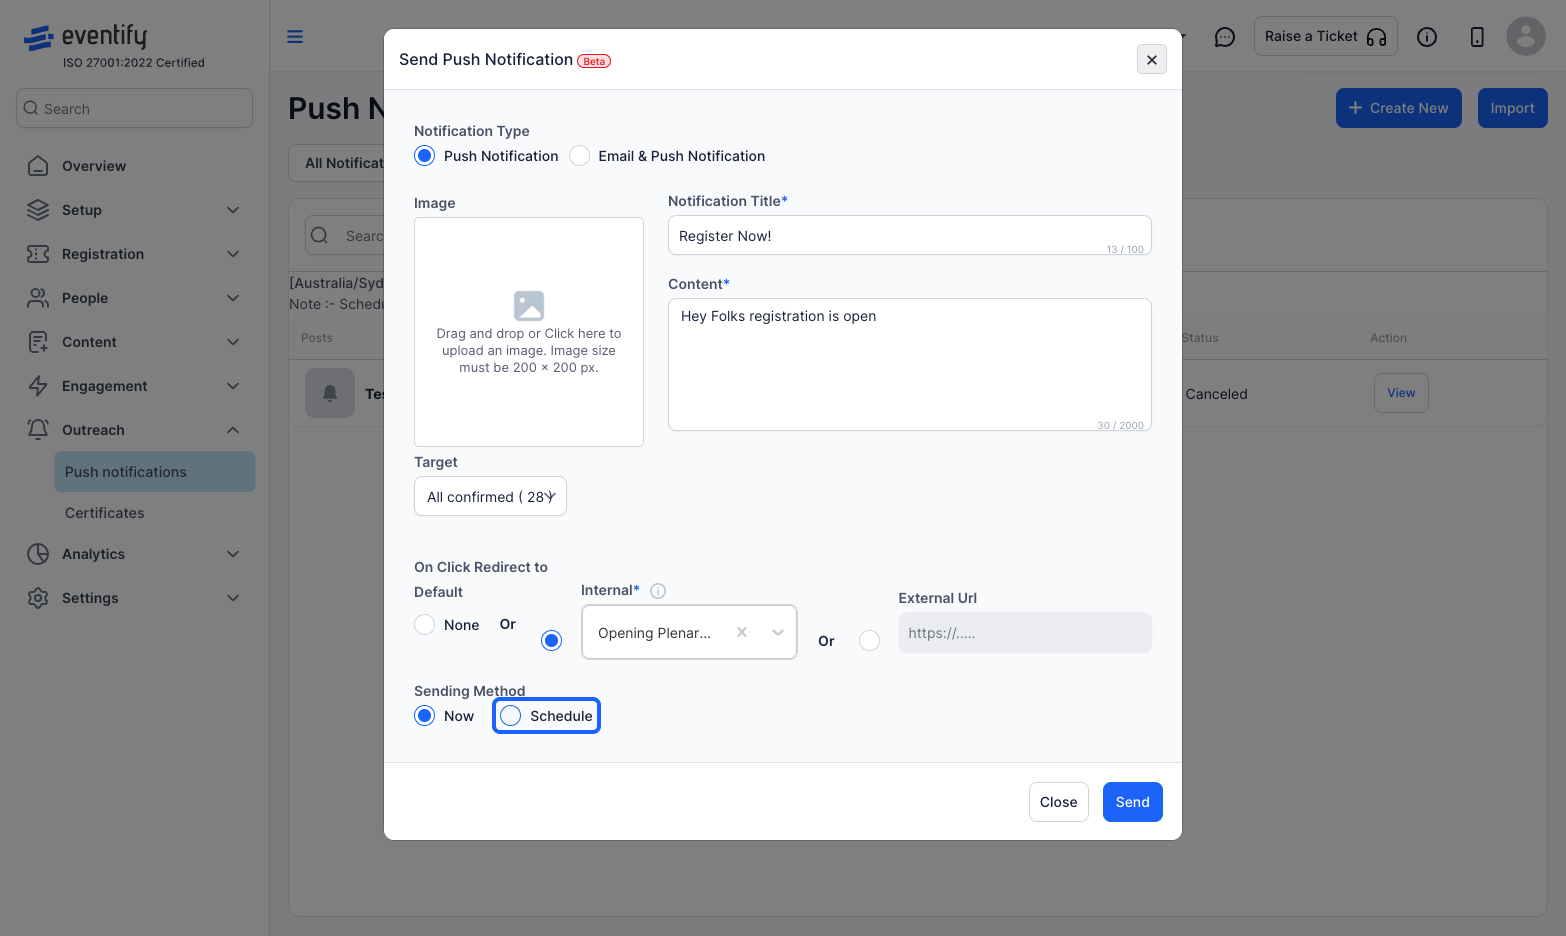
10: Select "Schedule" if you want to send it on a specific date and time
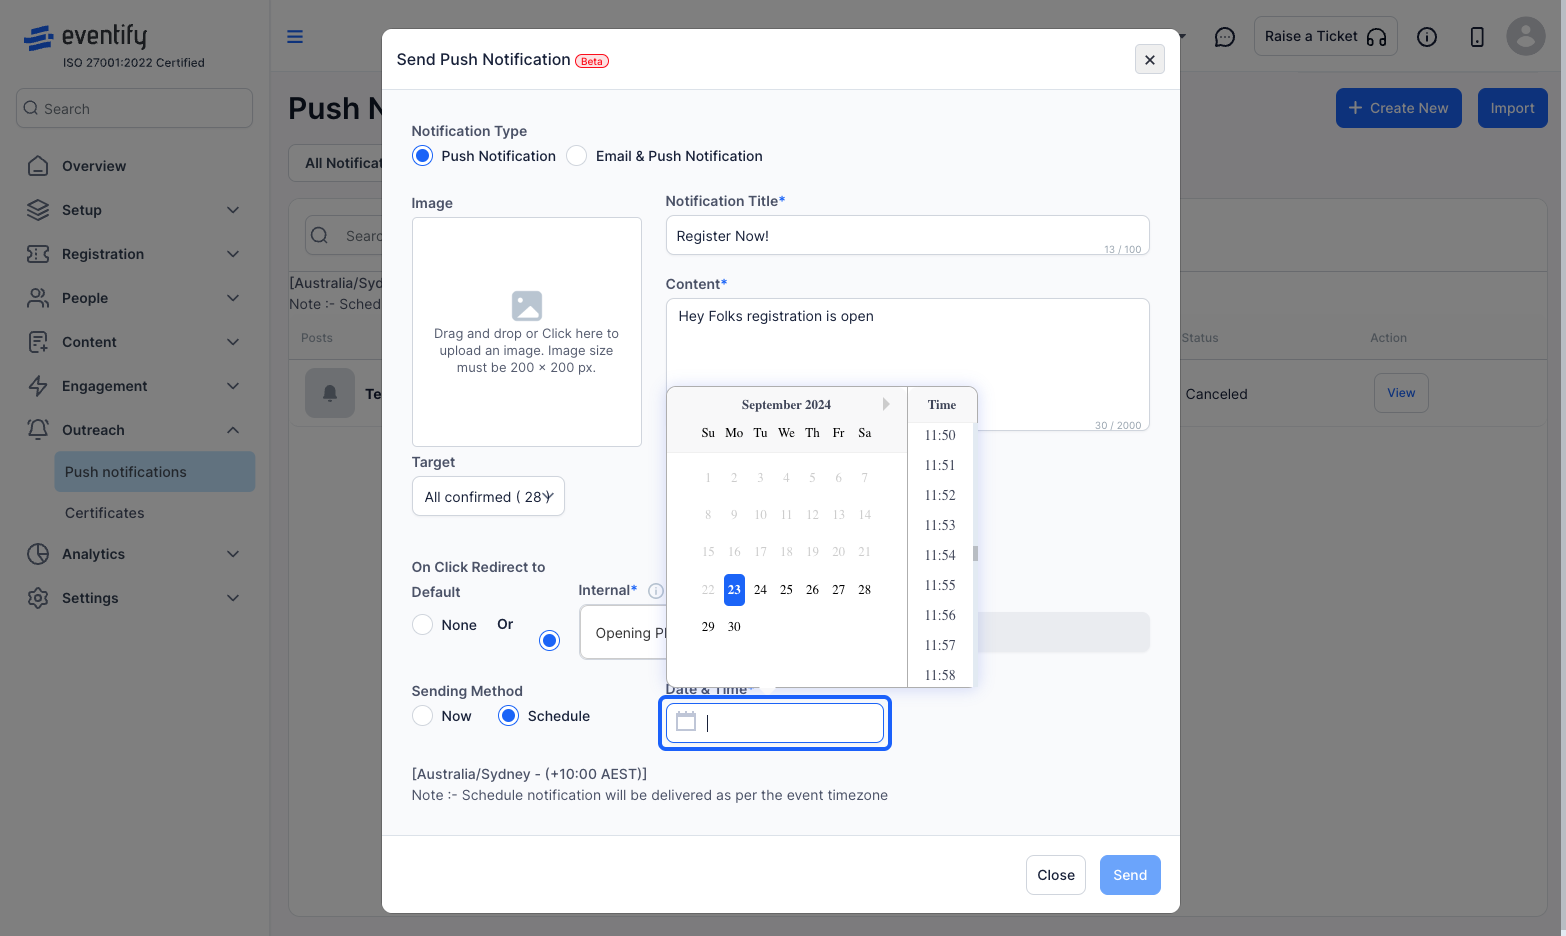
11: Set the date and time
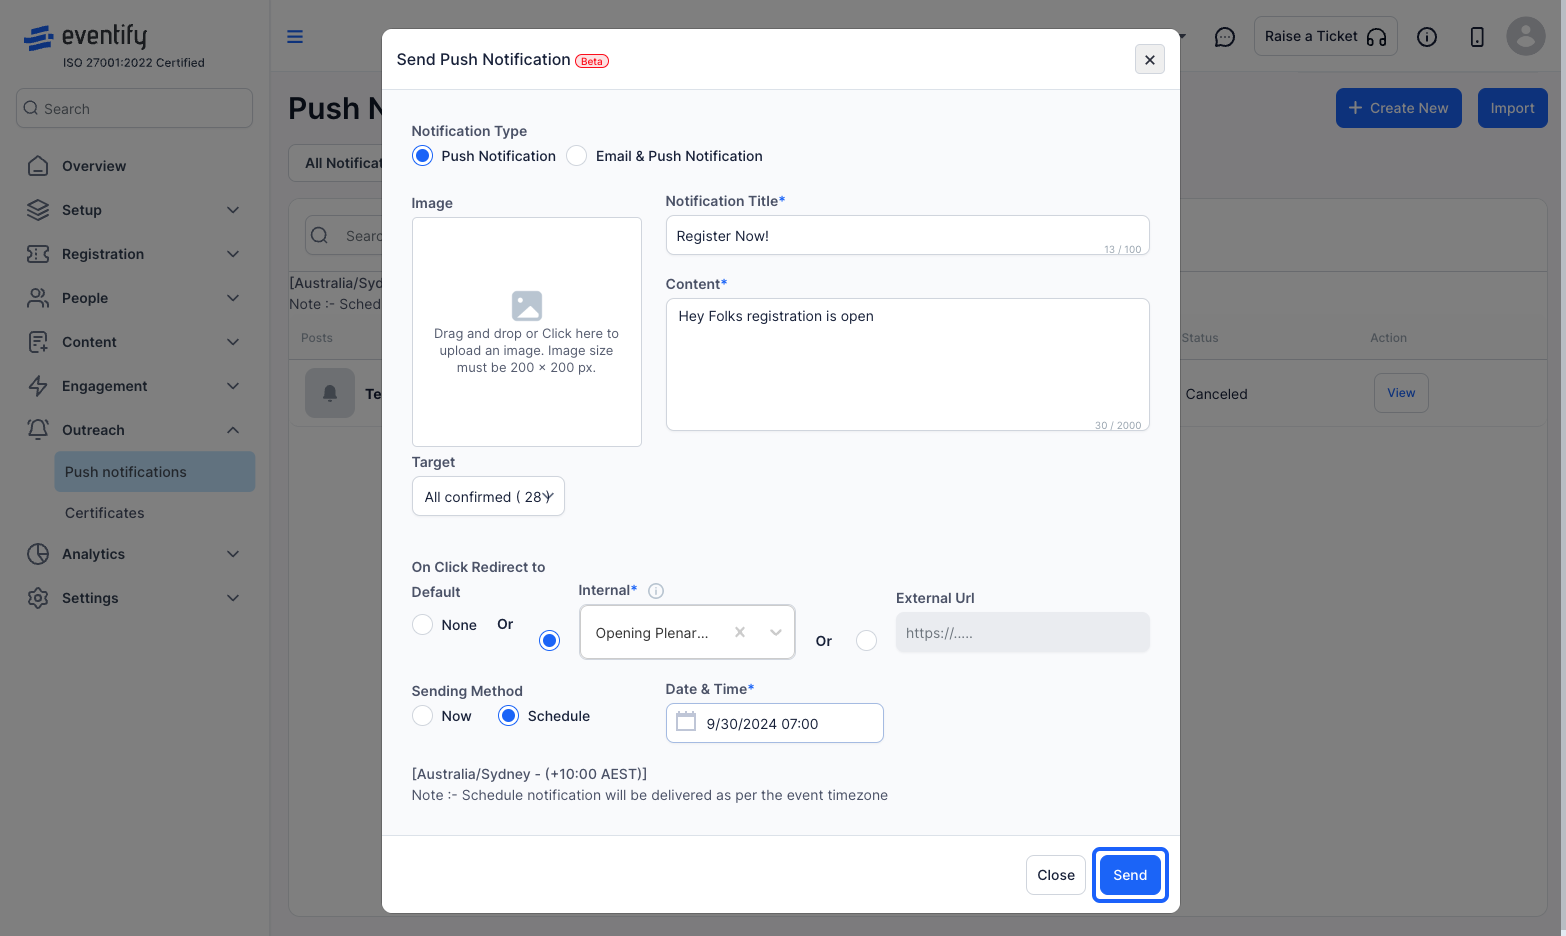
12: Click on "Send" to Schedule the notification
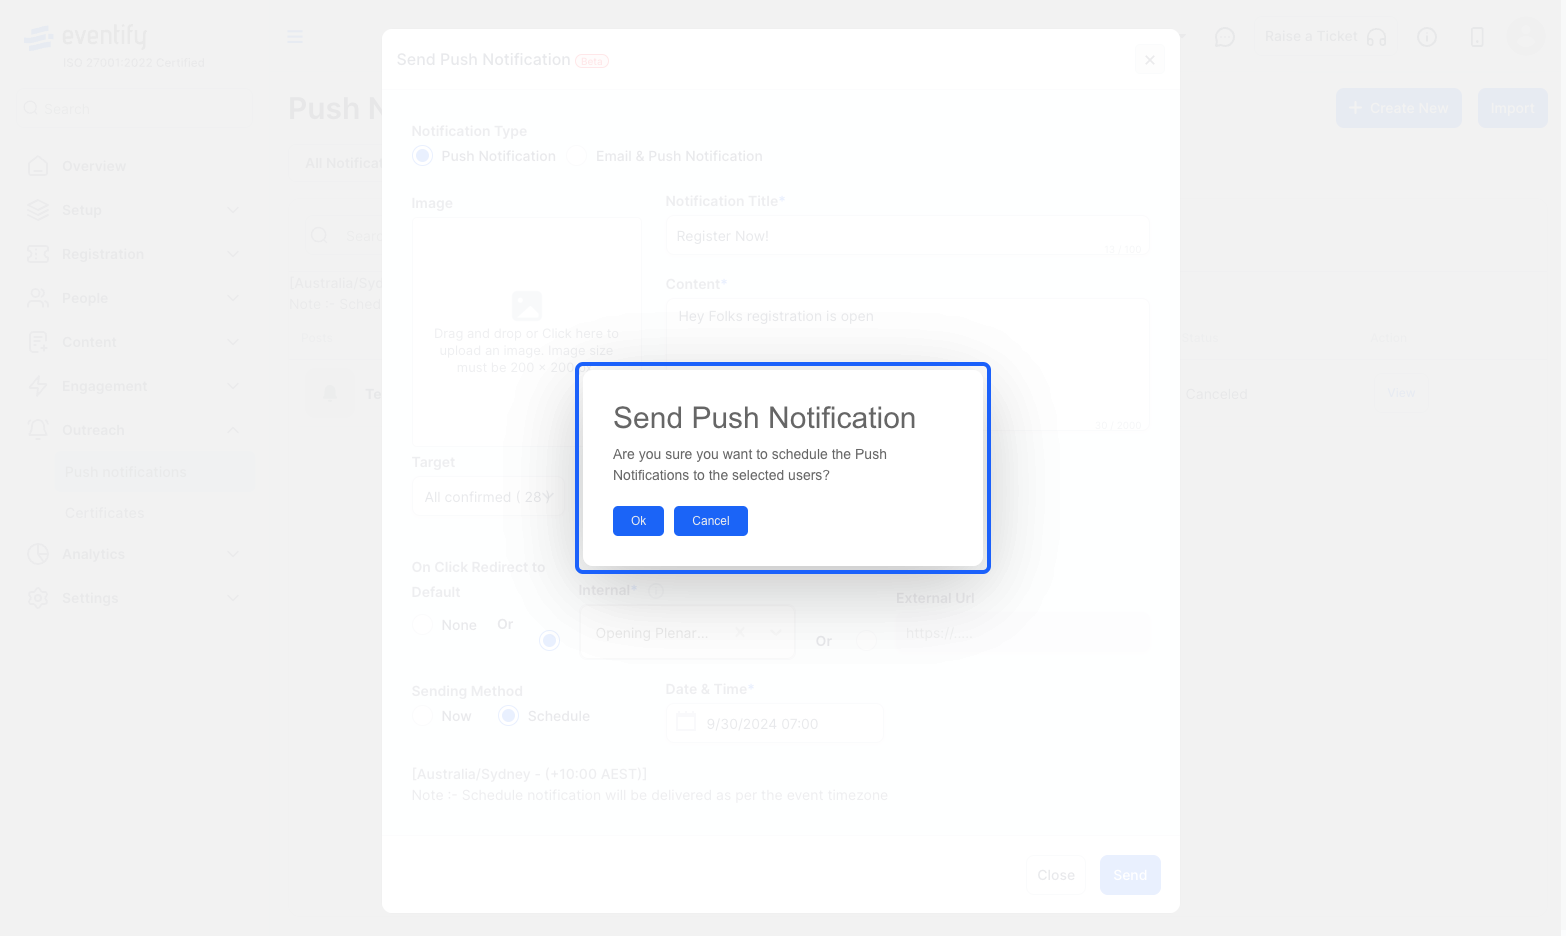
13: Confirm the notification
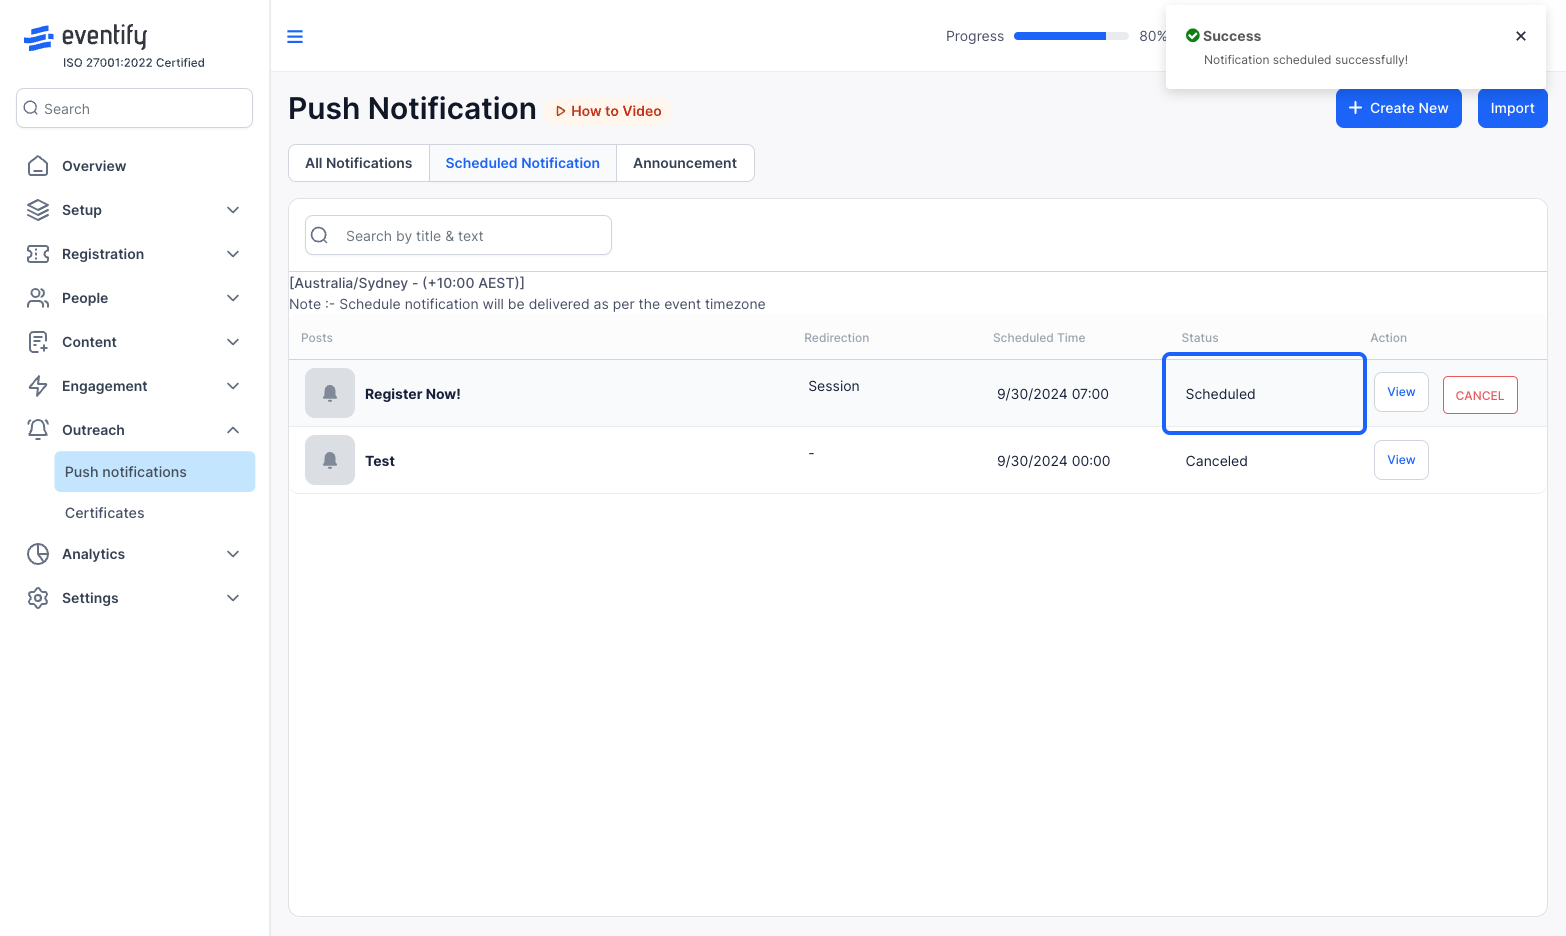
14: You will find the scheduled notification listed here
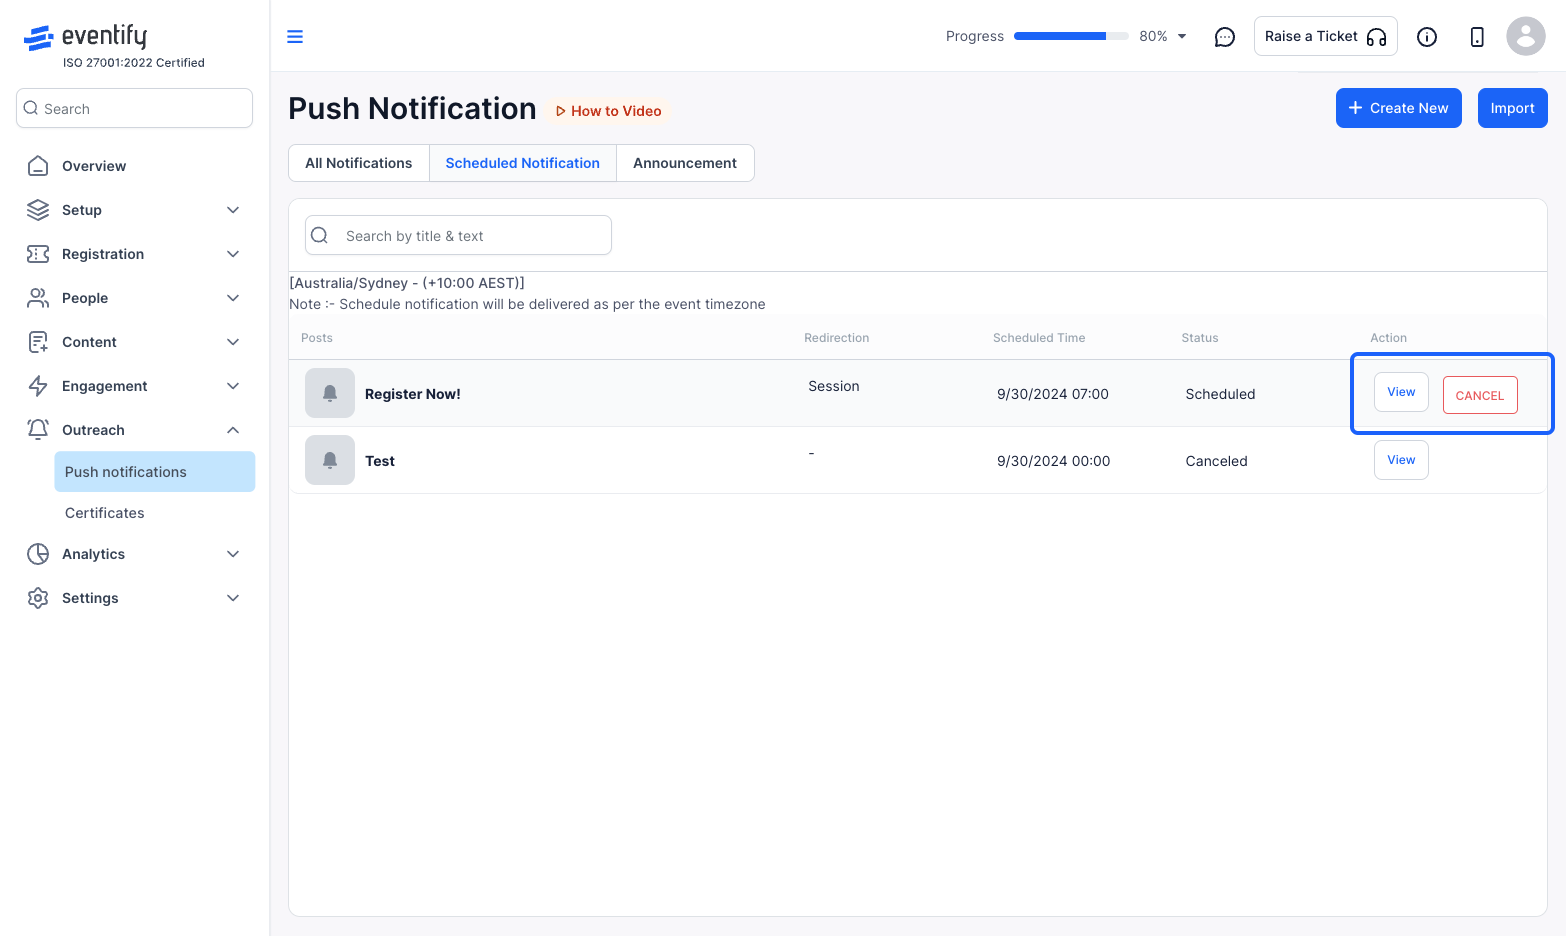
15: You can view the notification stats (once it's triggered) or cancel it
🔔Scheduled notifications will be delivered based on the event time zone.
Frequently Asked Questions
Which time zone do scheduled notifications use?
Scheduled notifications are delivered based on the event time zone.
Can I cancel a scheduled notification?
Yes. Scheduled notifications are listed in the admin panel, where you can cancel one or view its stats once it has been sent.

