To schedule and manage event content, you can manually add individual sessions to your agenda. Follow these steps to add a new session.

Interactive Guide
Or check the step-by-step guide
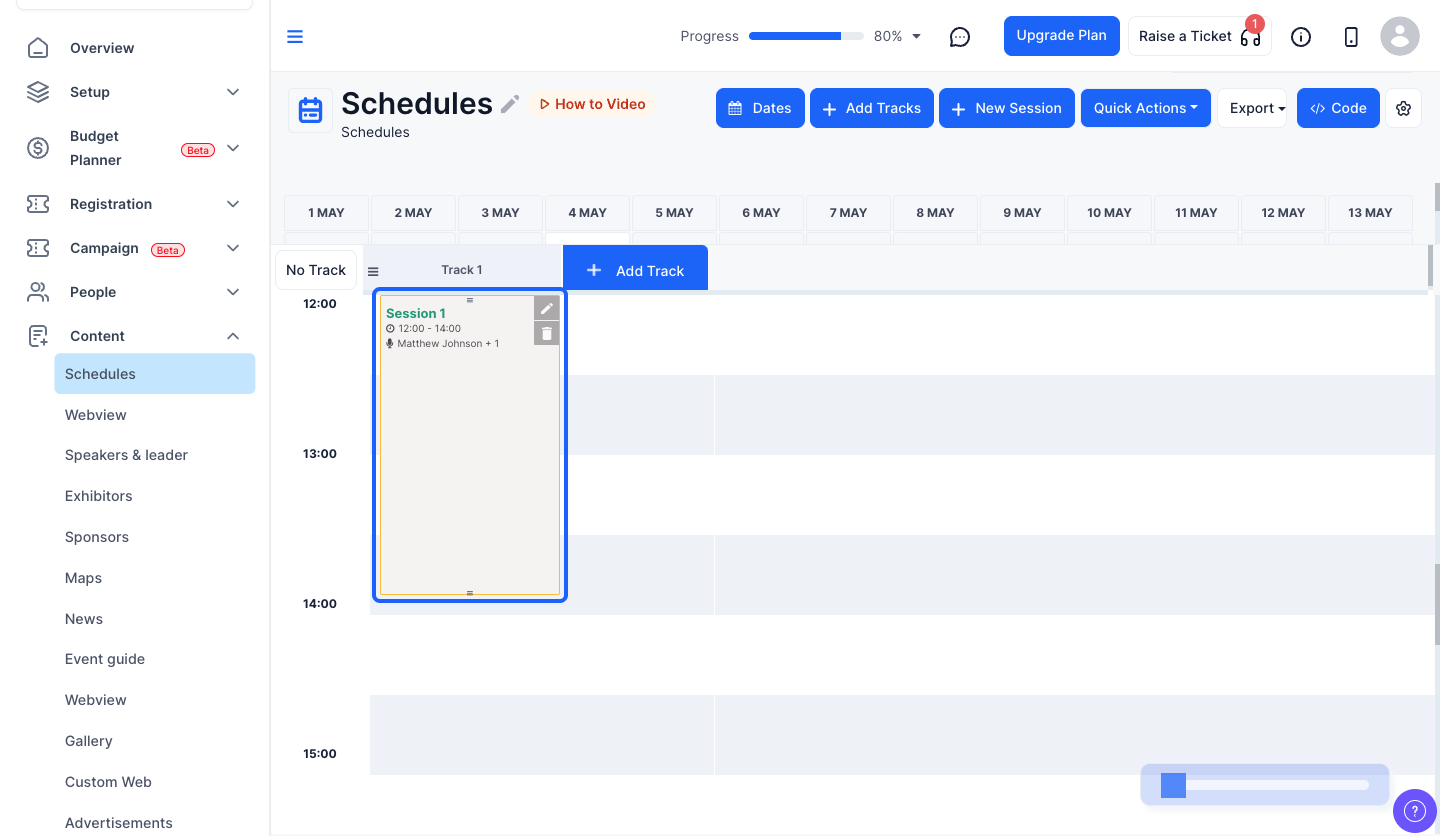
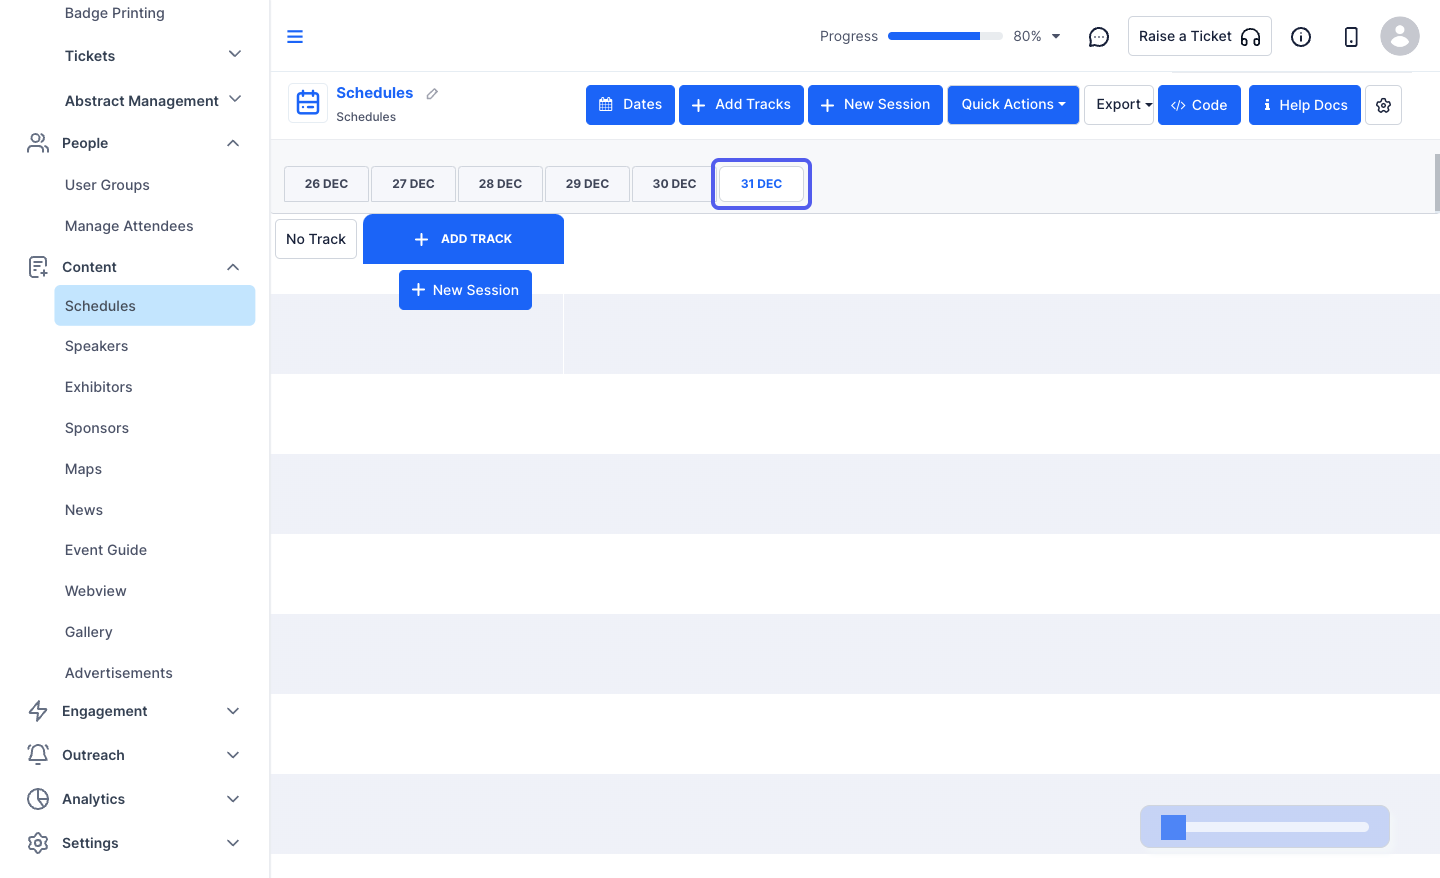
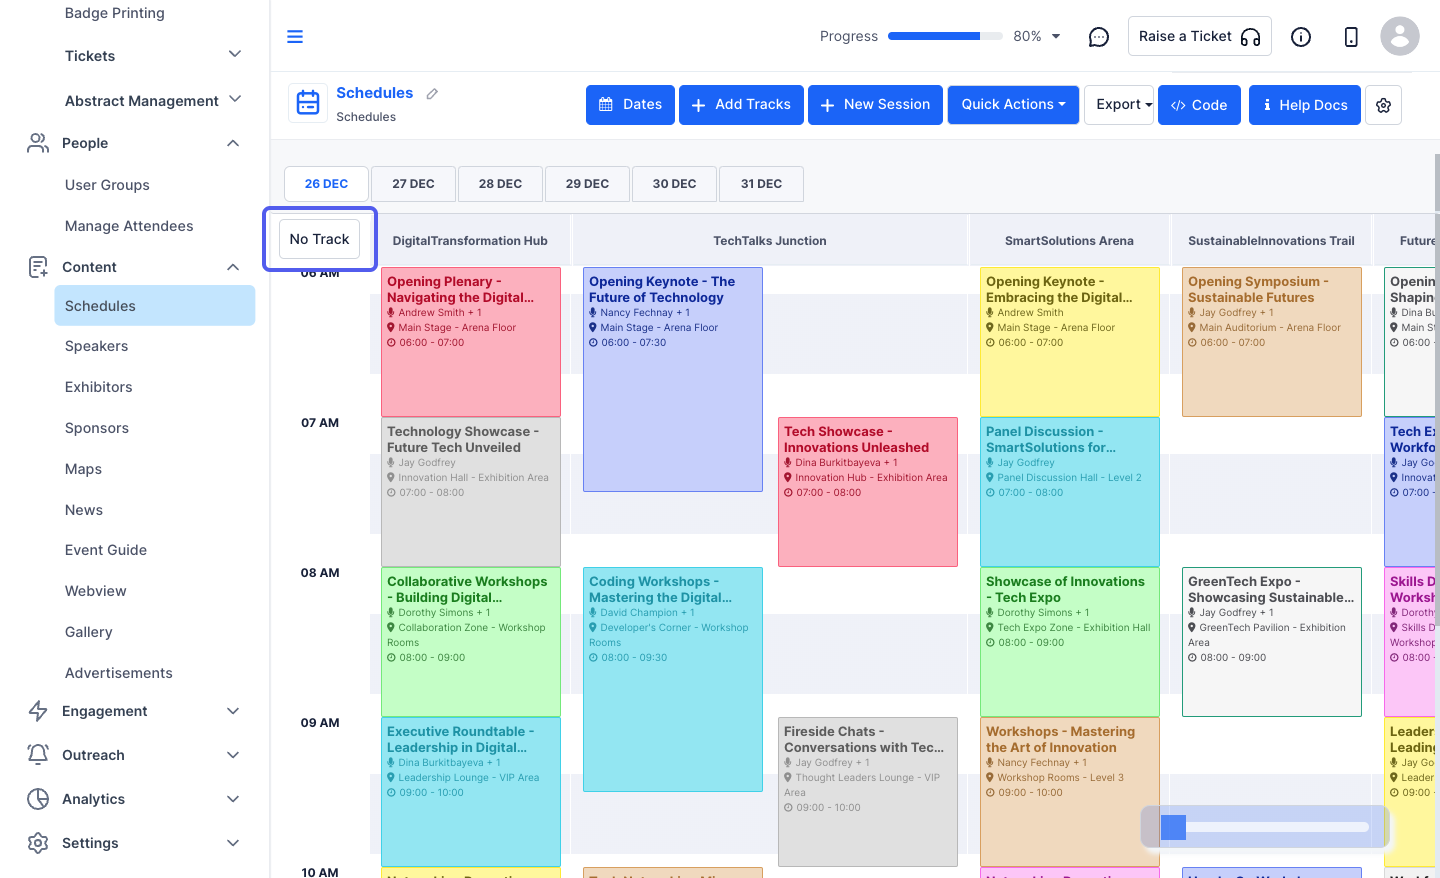
1: Access the Eventify Admin Panel and navigate to Content > Schedules
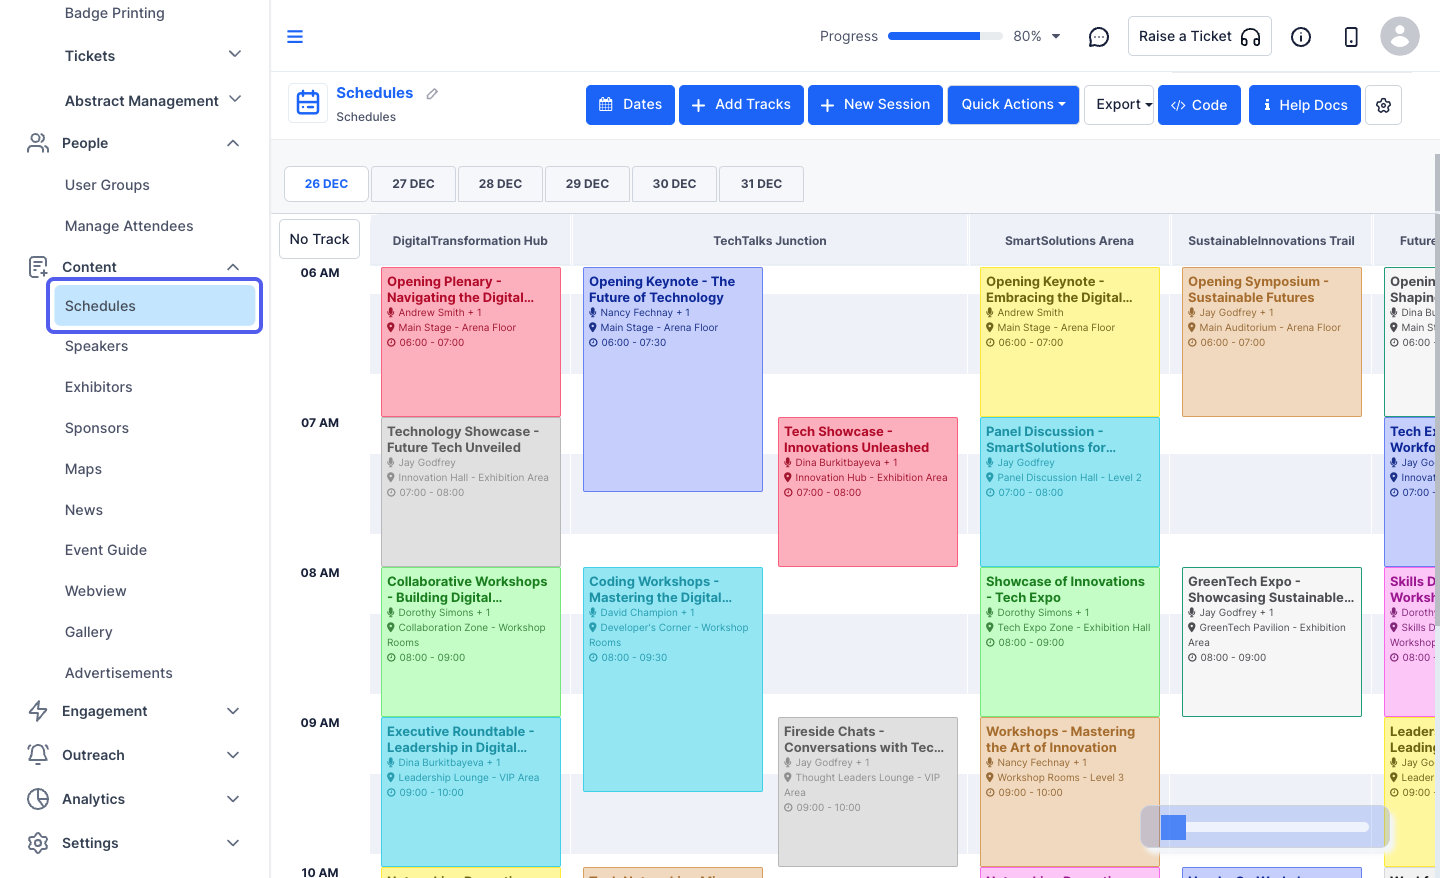
2: Select the date you want to add the session to
3: You can have either a session associated to a Track or without Track
4: Click on the “Add Tracks” button here
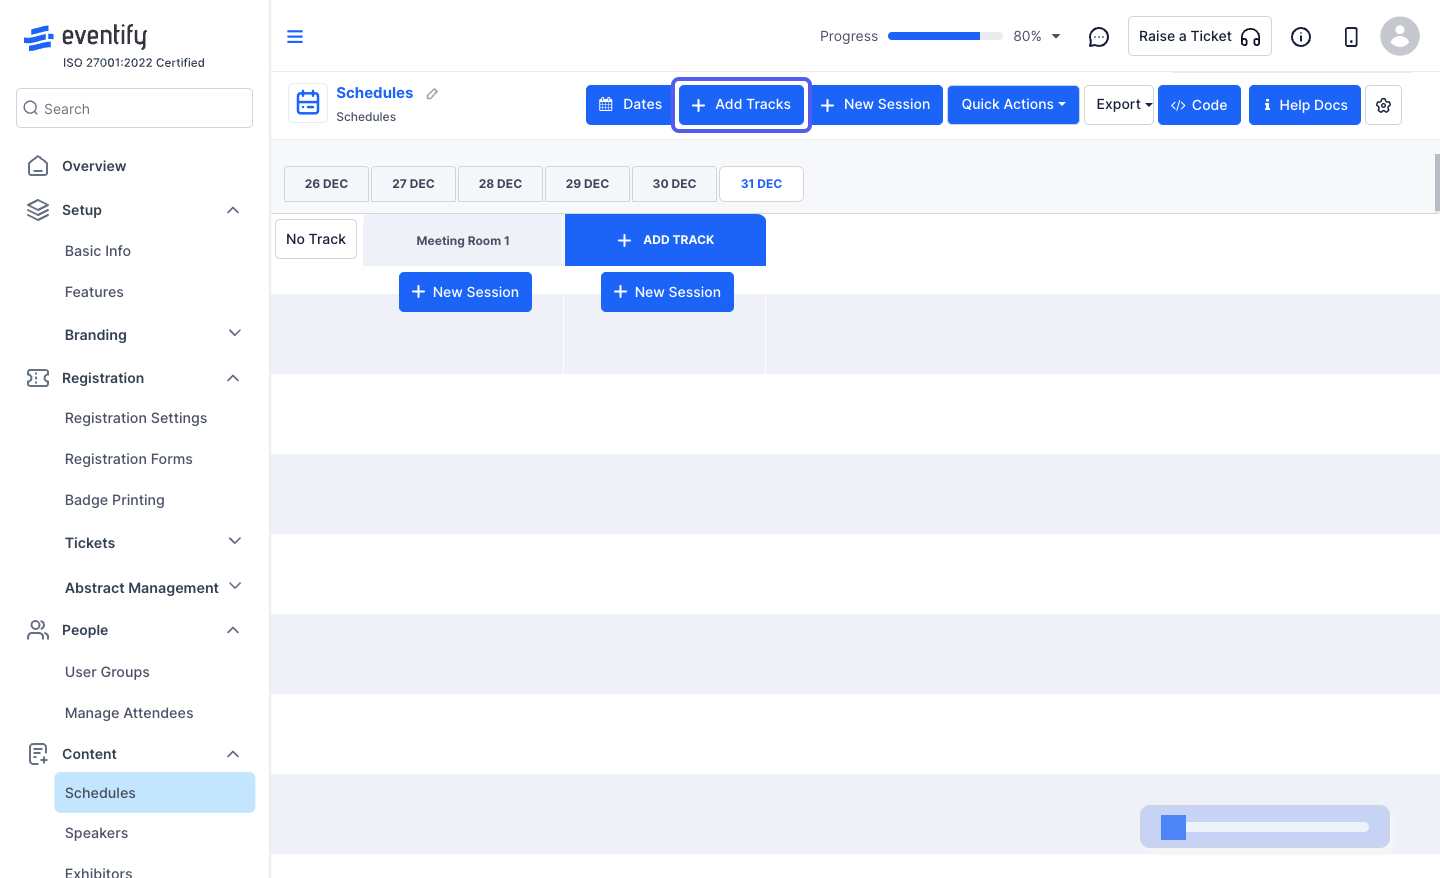
5: Or click on the "Add track" button here to add a new track

6: Enter the track name
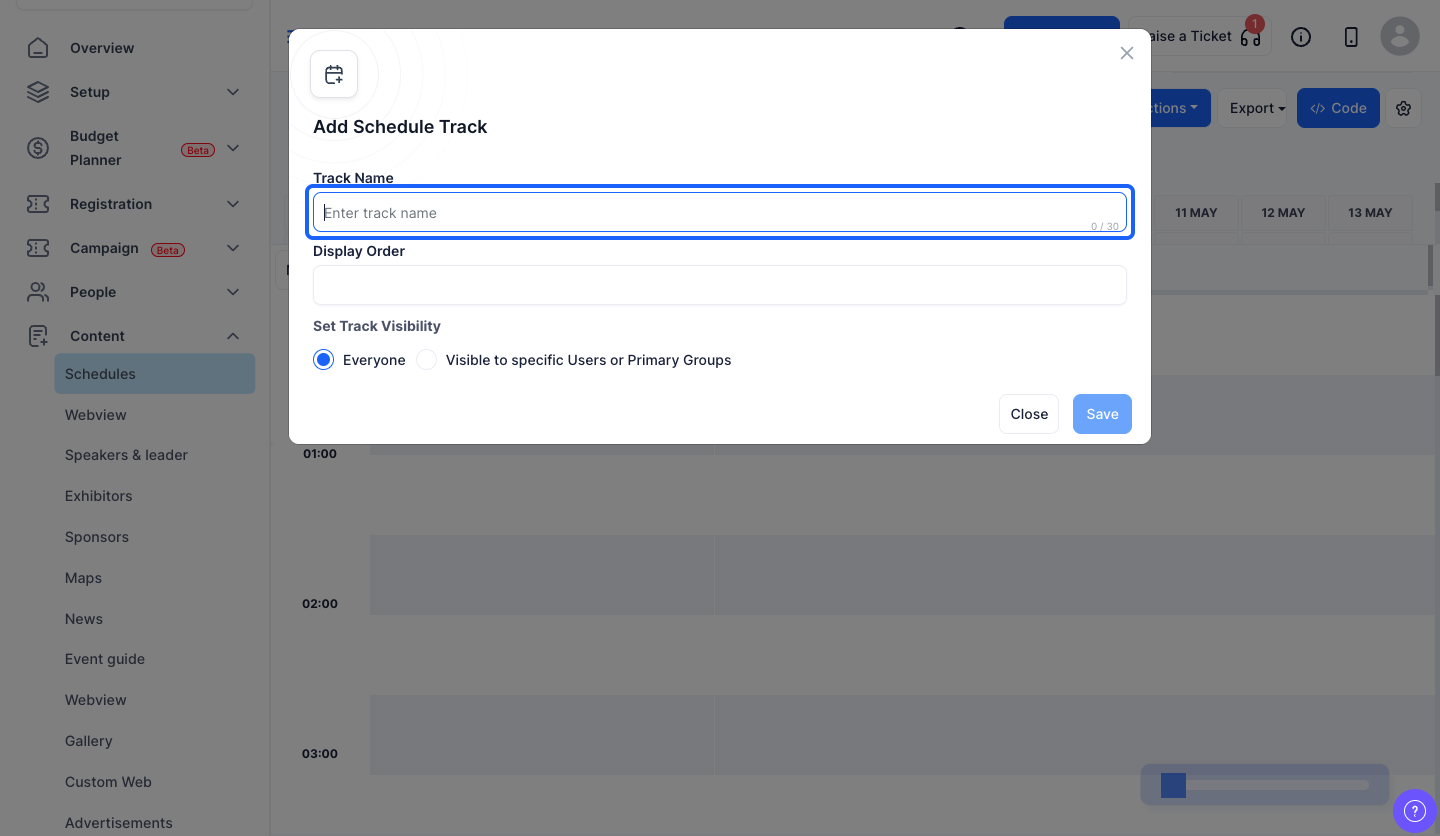
7: You can give the display order if required
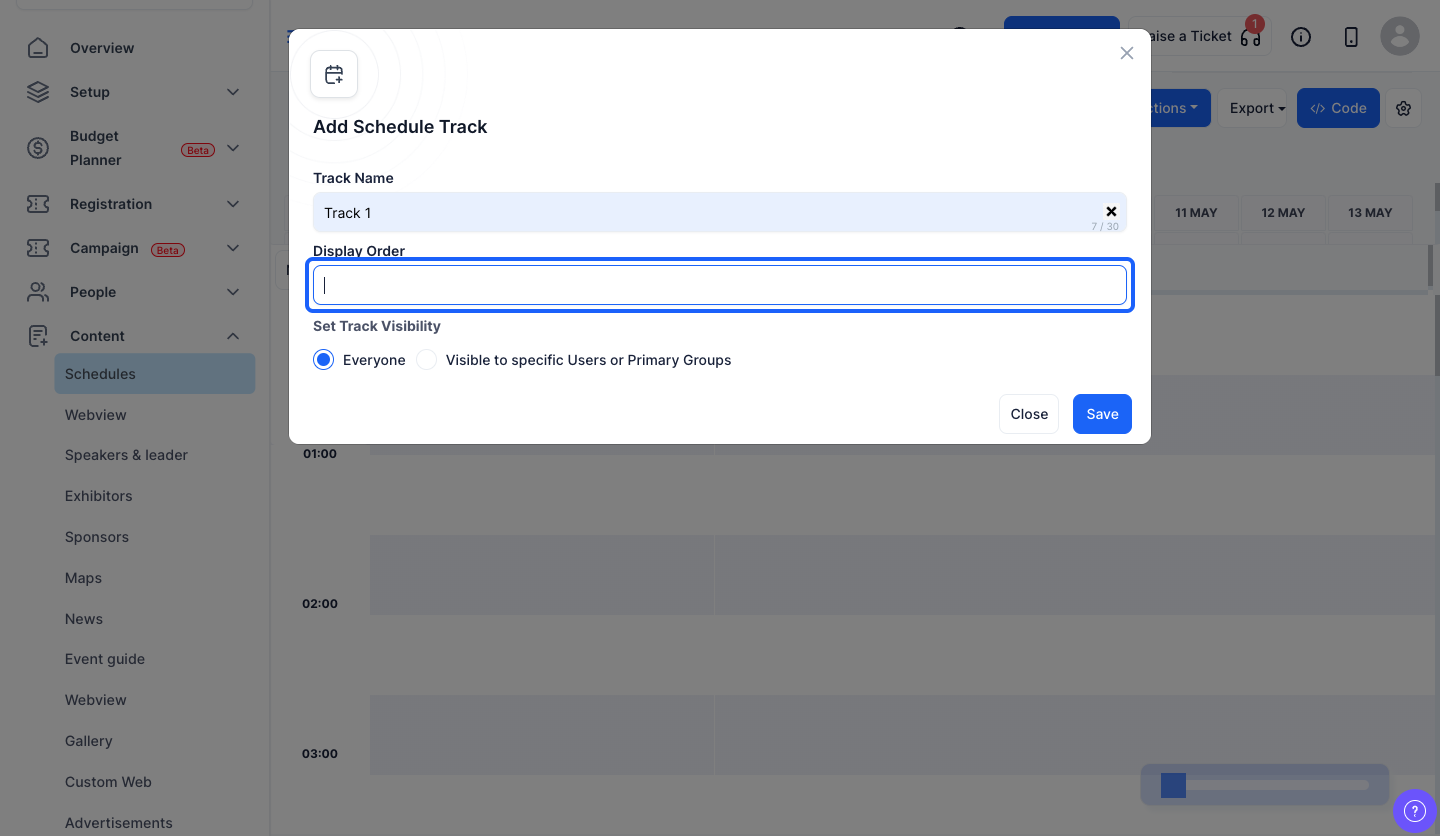
8: You can either make the track visible to everyone
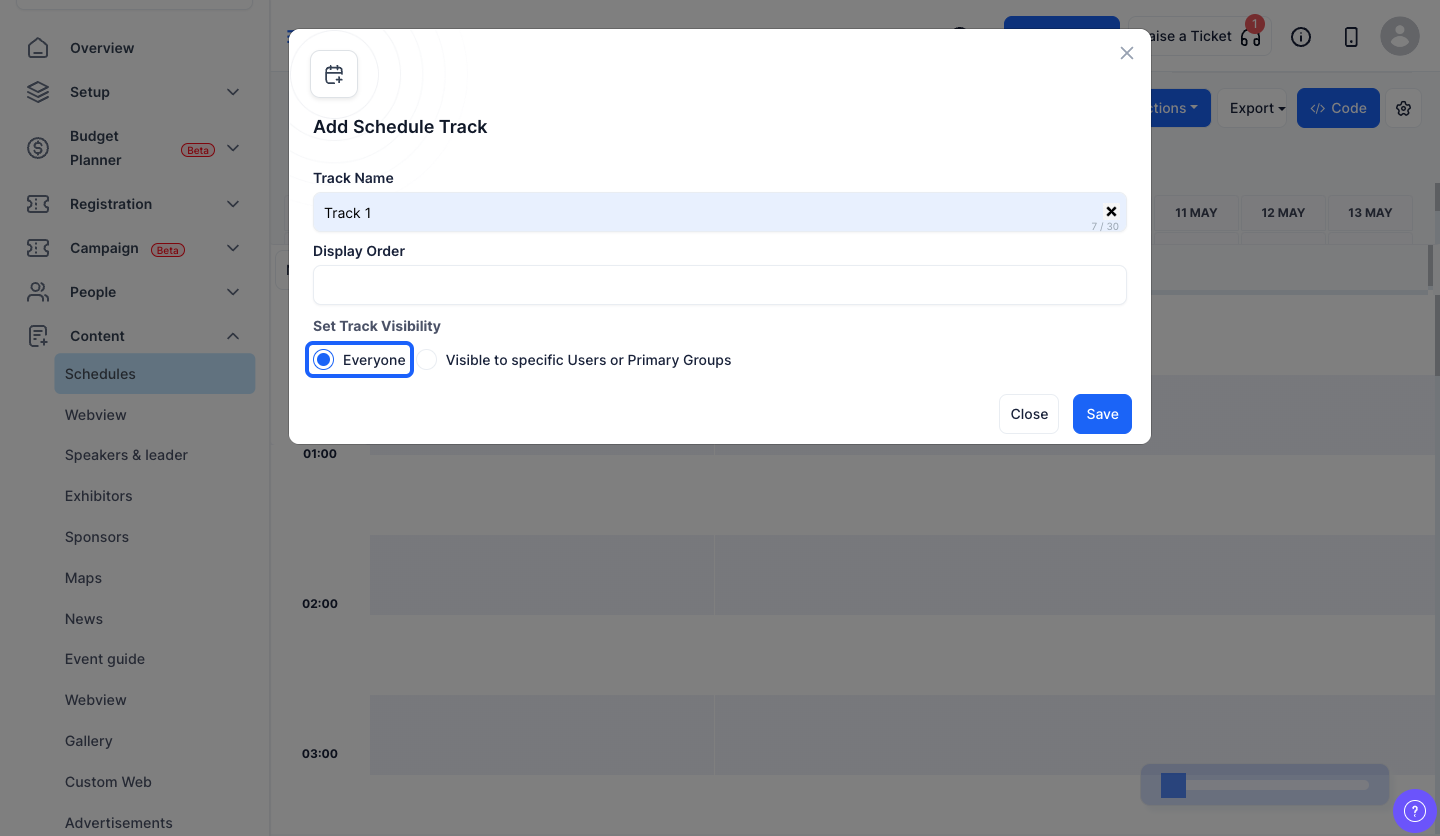
9: Or you can make the track visible only to specific users or primary groups
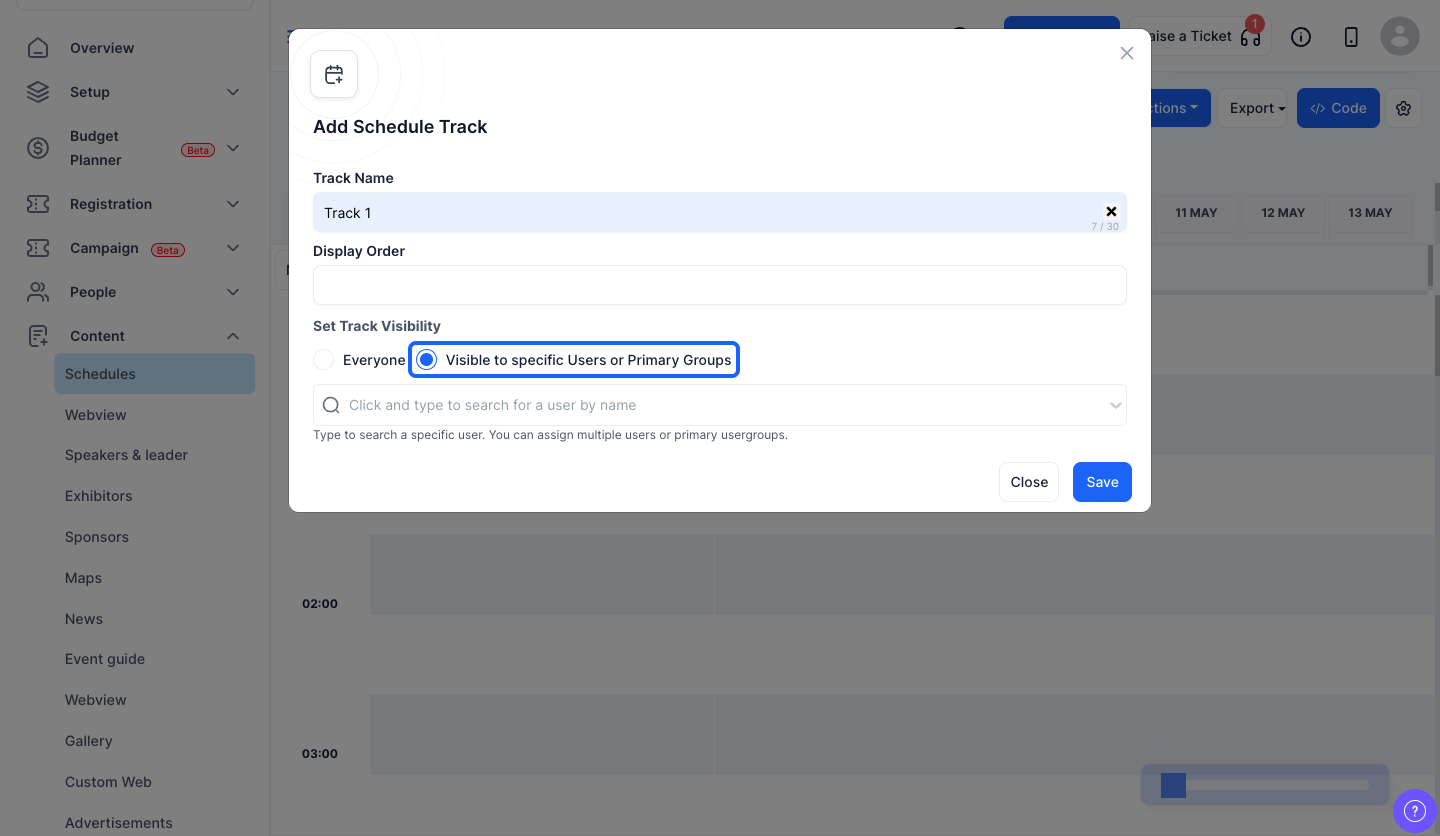
10: Search and select specific users or primary groups from here

11: The track has been added and sessions can be added in this track
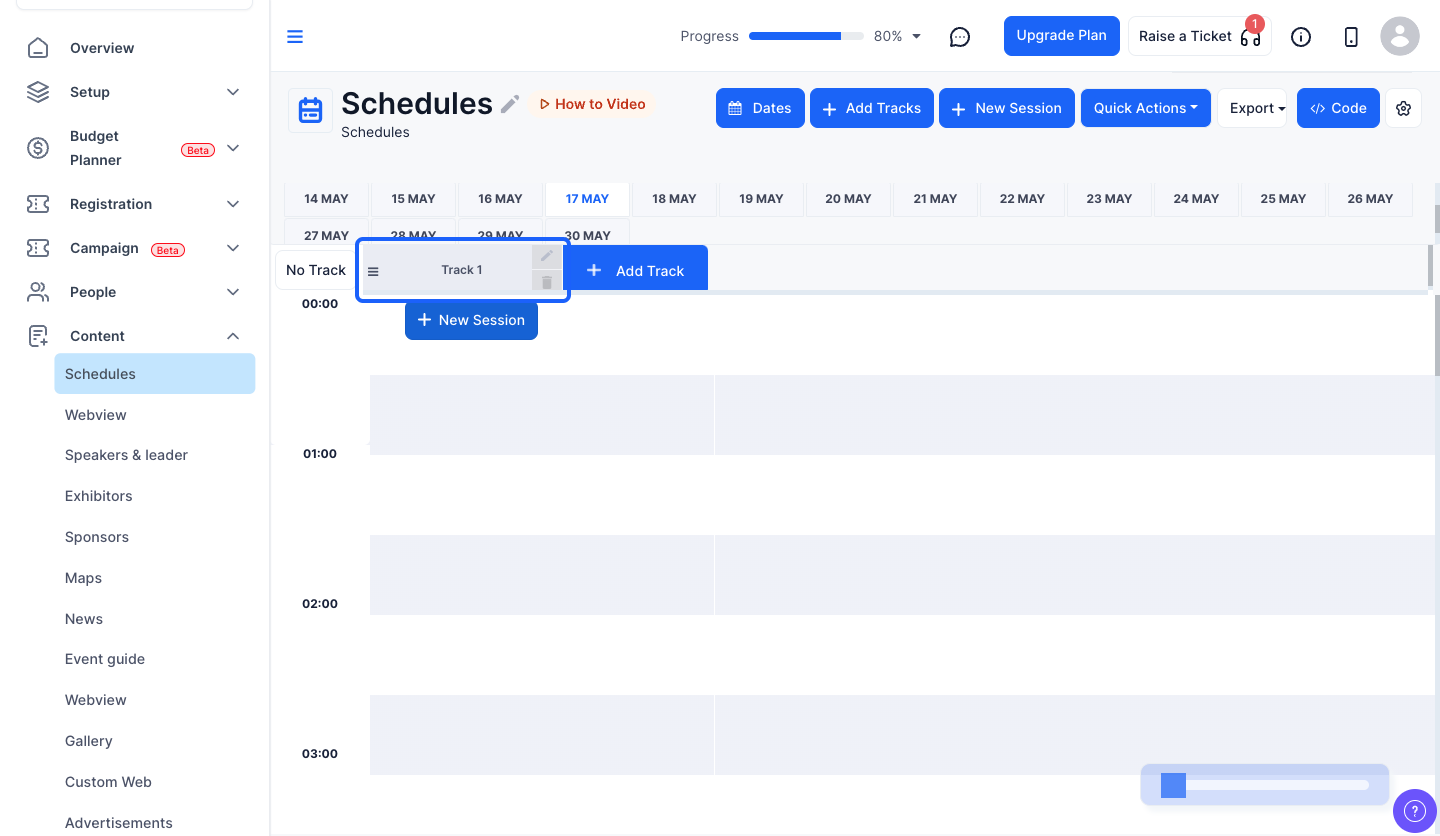
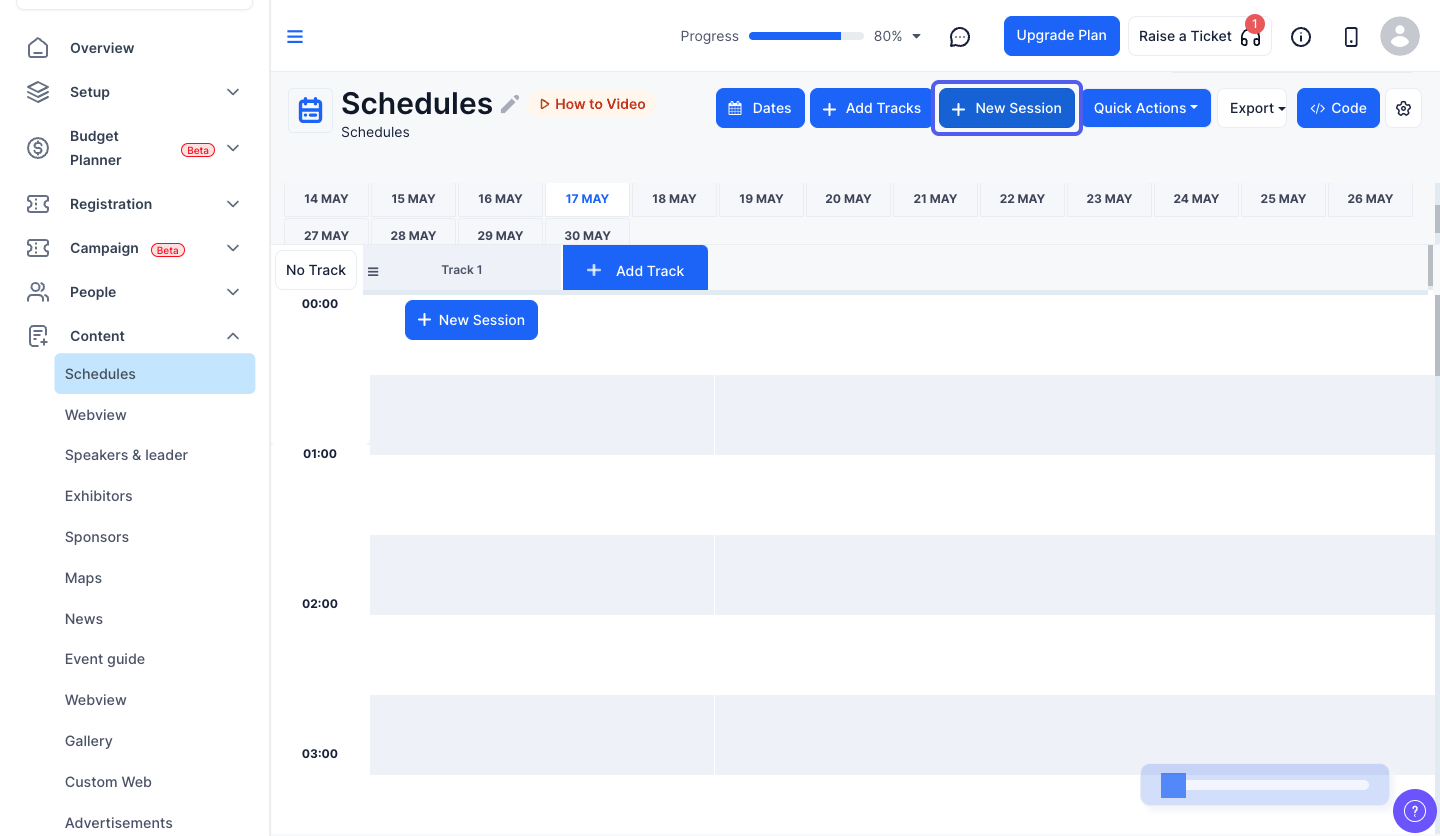
12: Click on the “New Session” button here
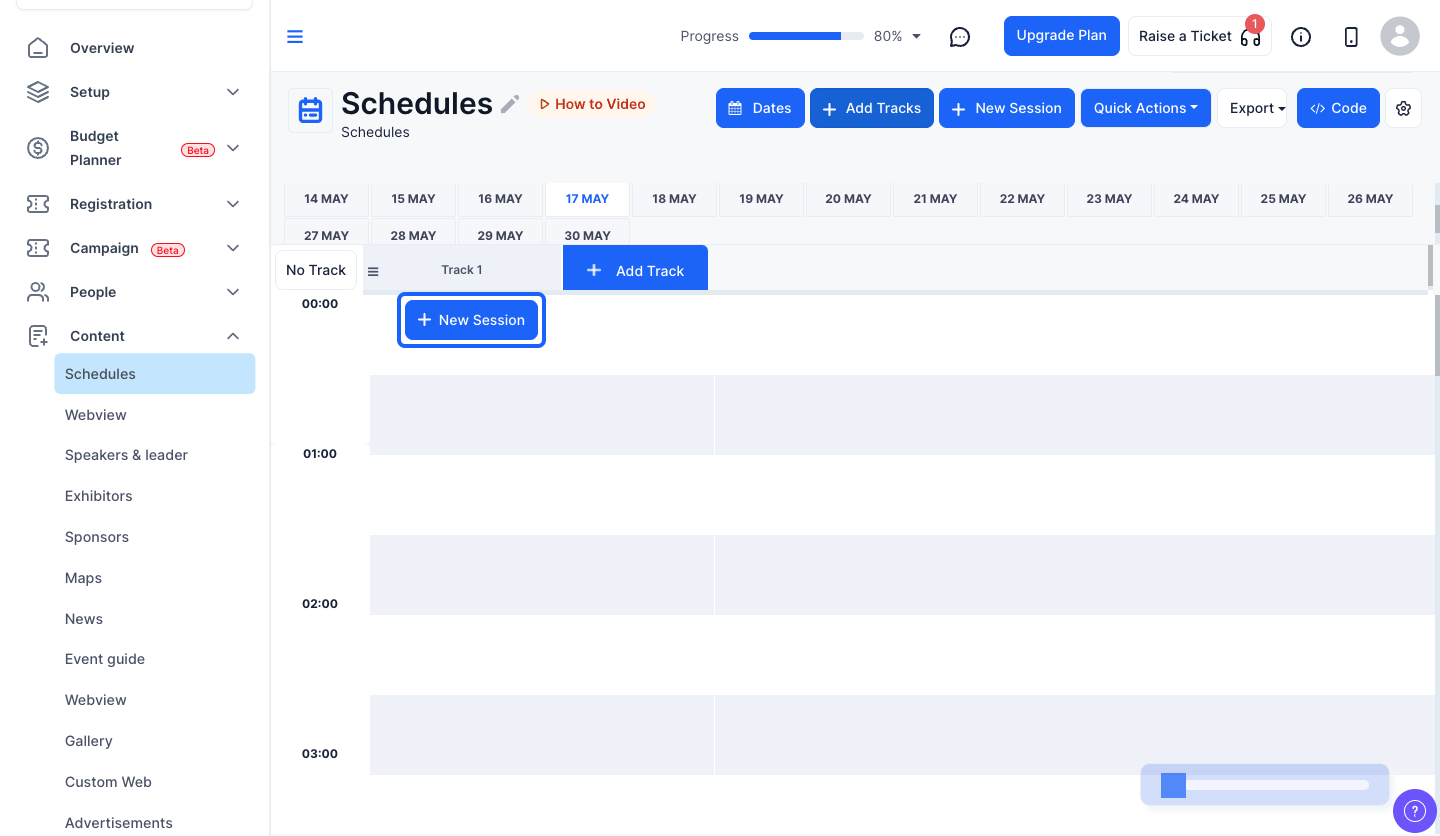
13: Or click on the “New Session” button here to add the session in this track
14: You can add a session cover if required
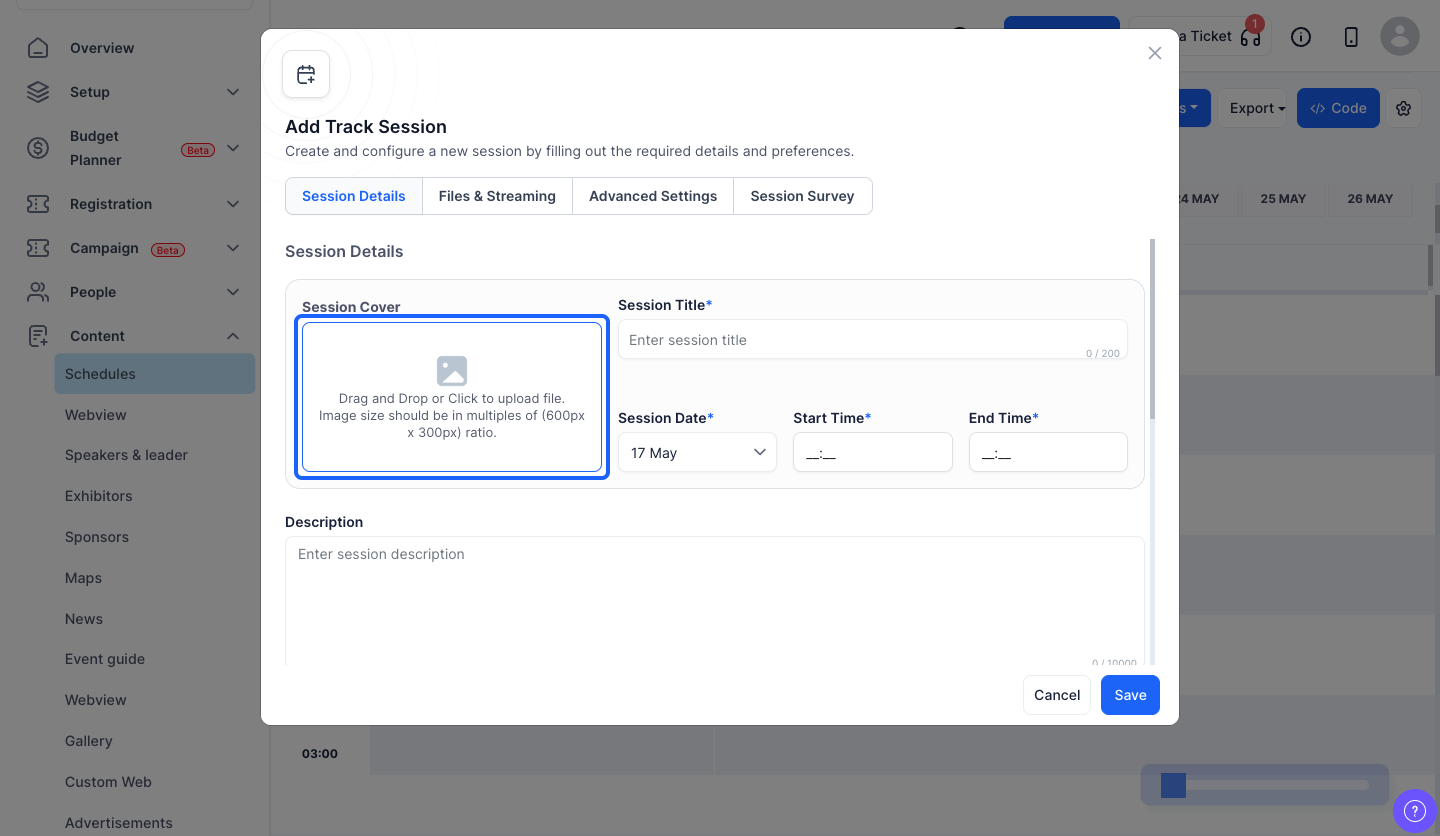
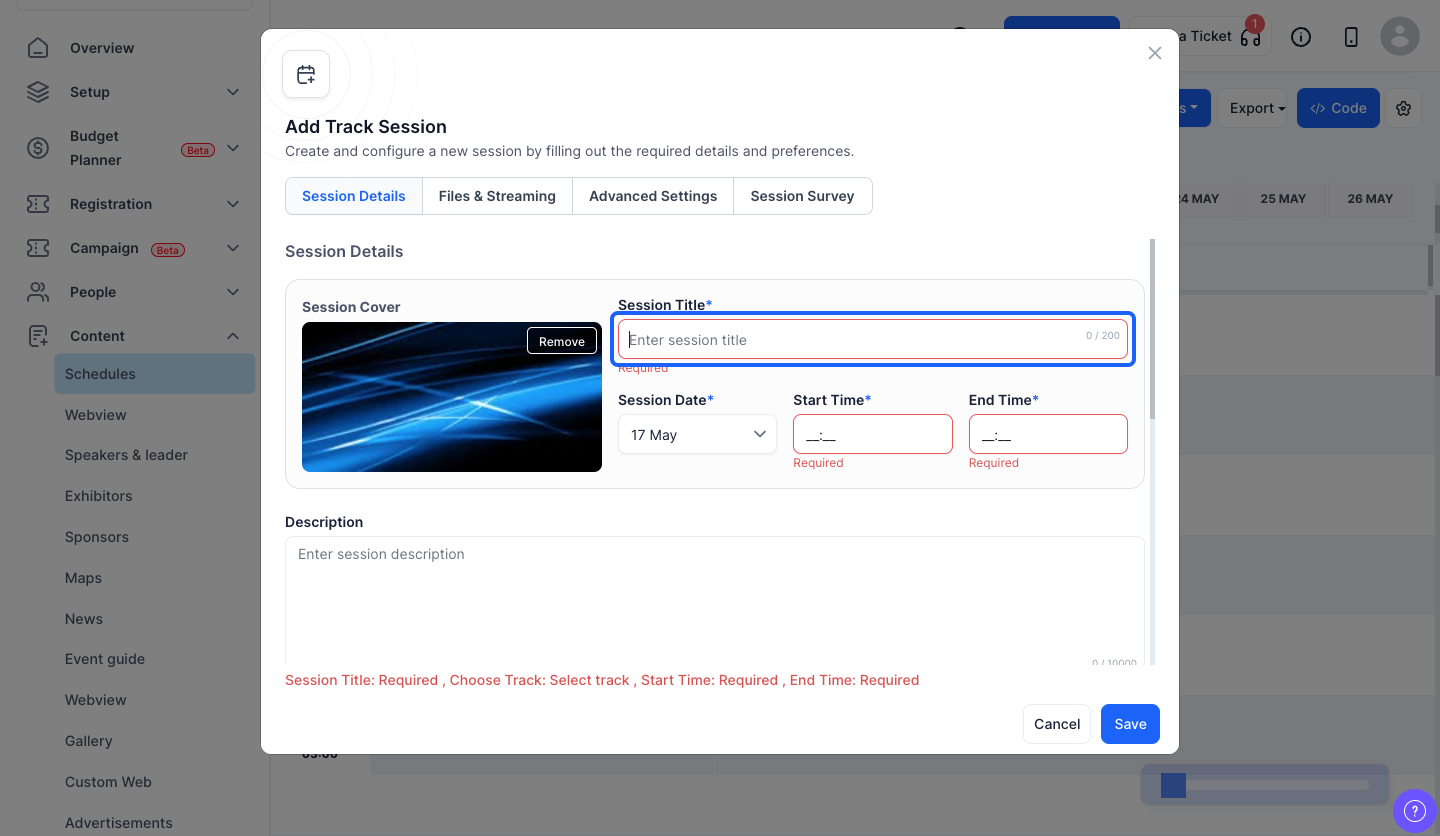
15: Enter the Session Title
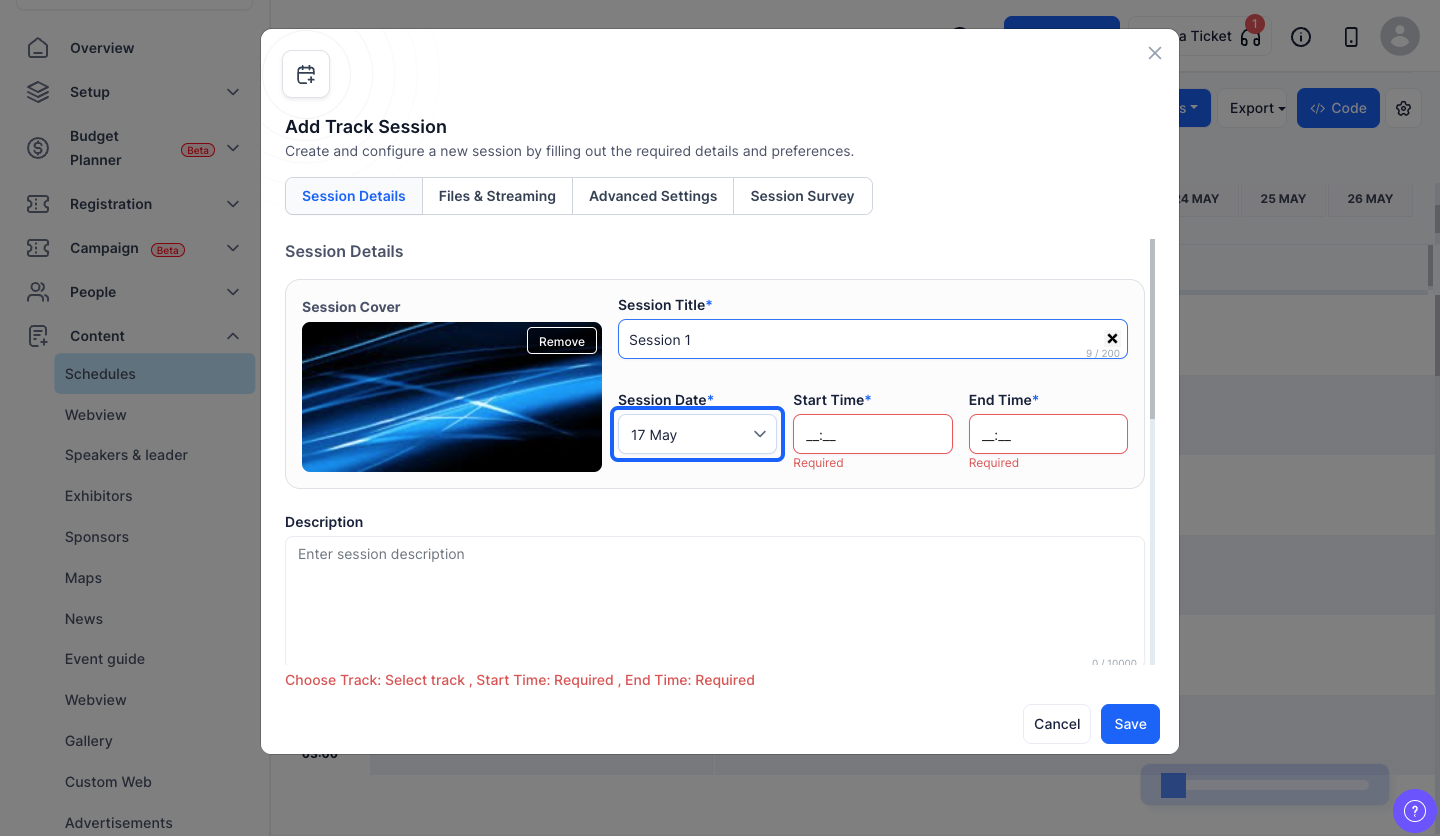
16: Select the Session Date
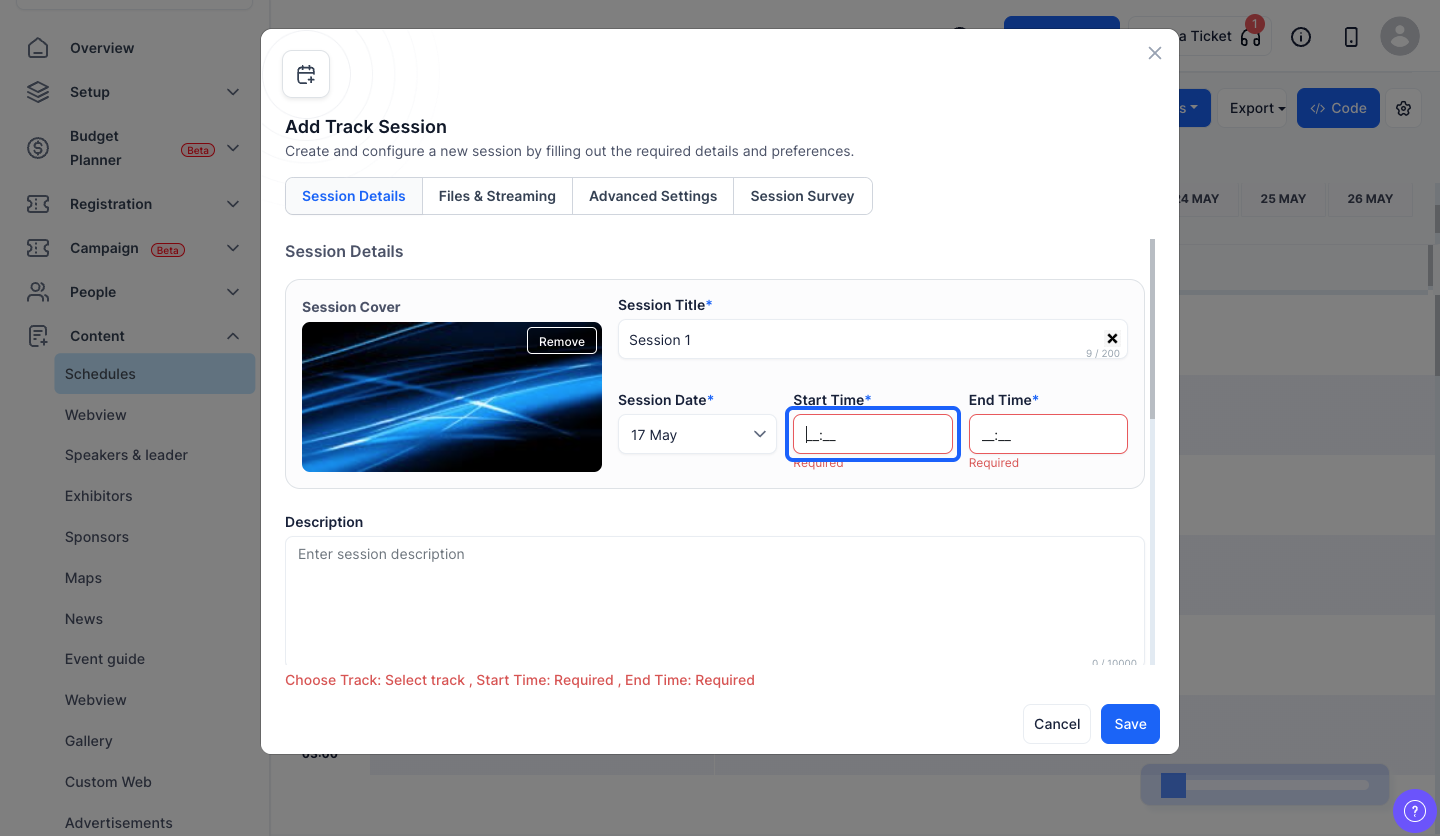
17: Enter the Start Time of the session
18: Enter the End Time of the session
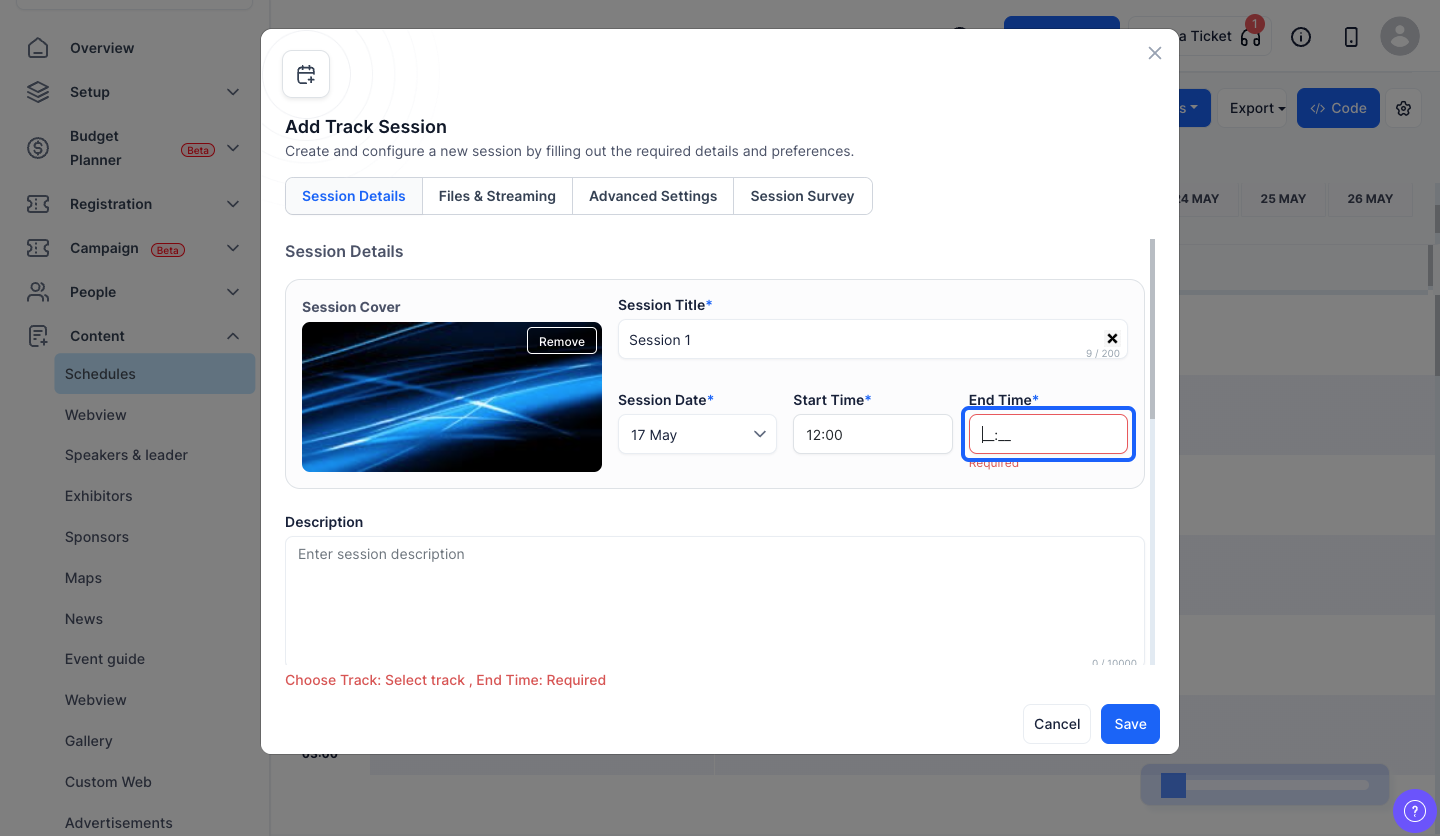
19: You can additionally add a session description
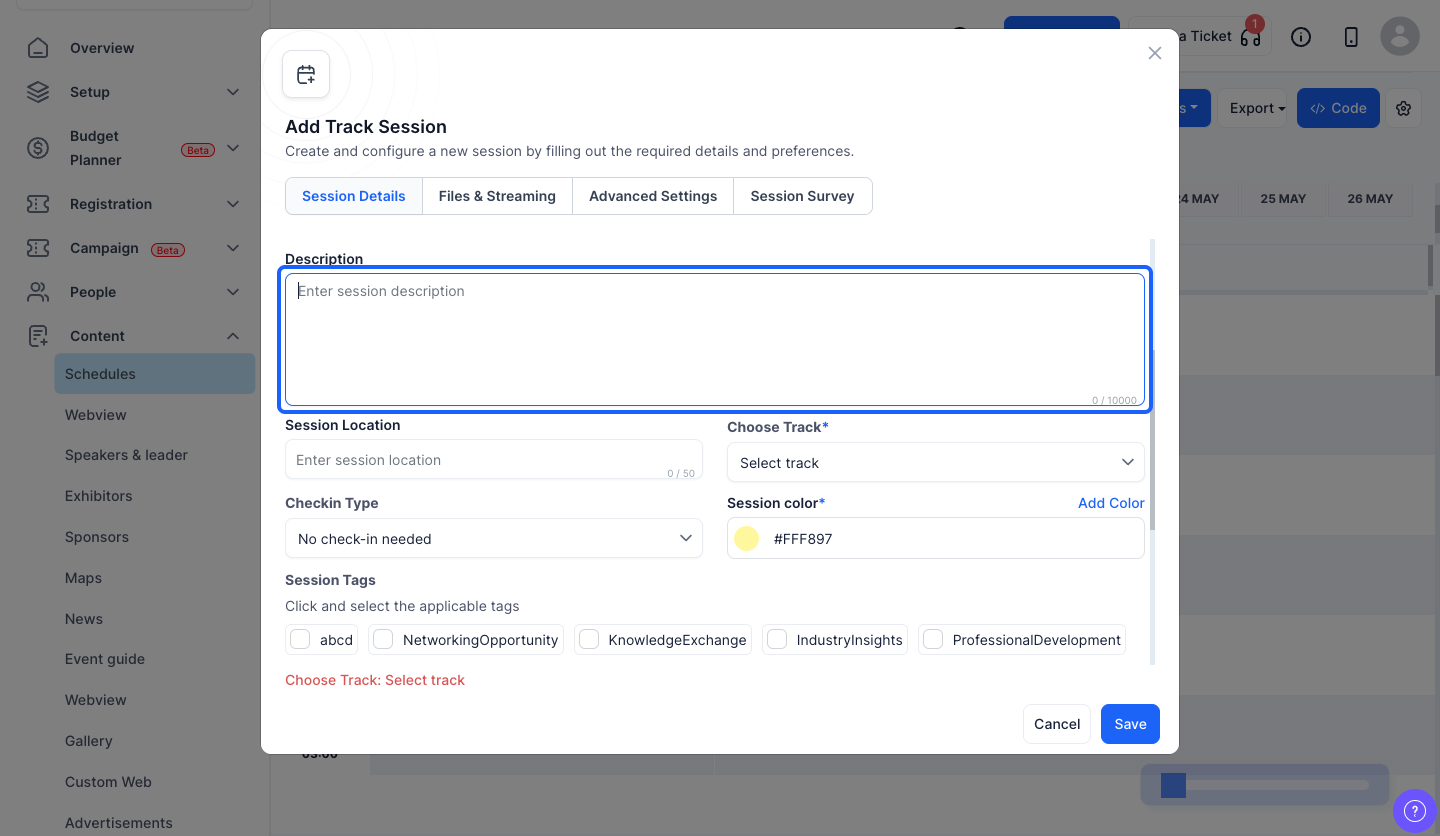
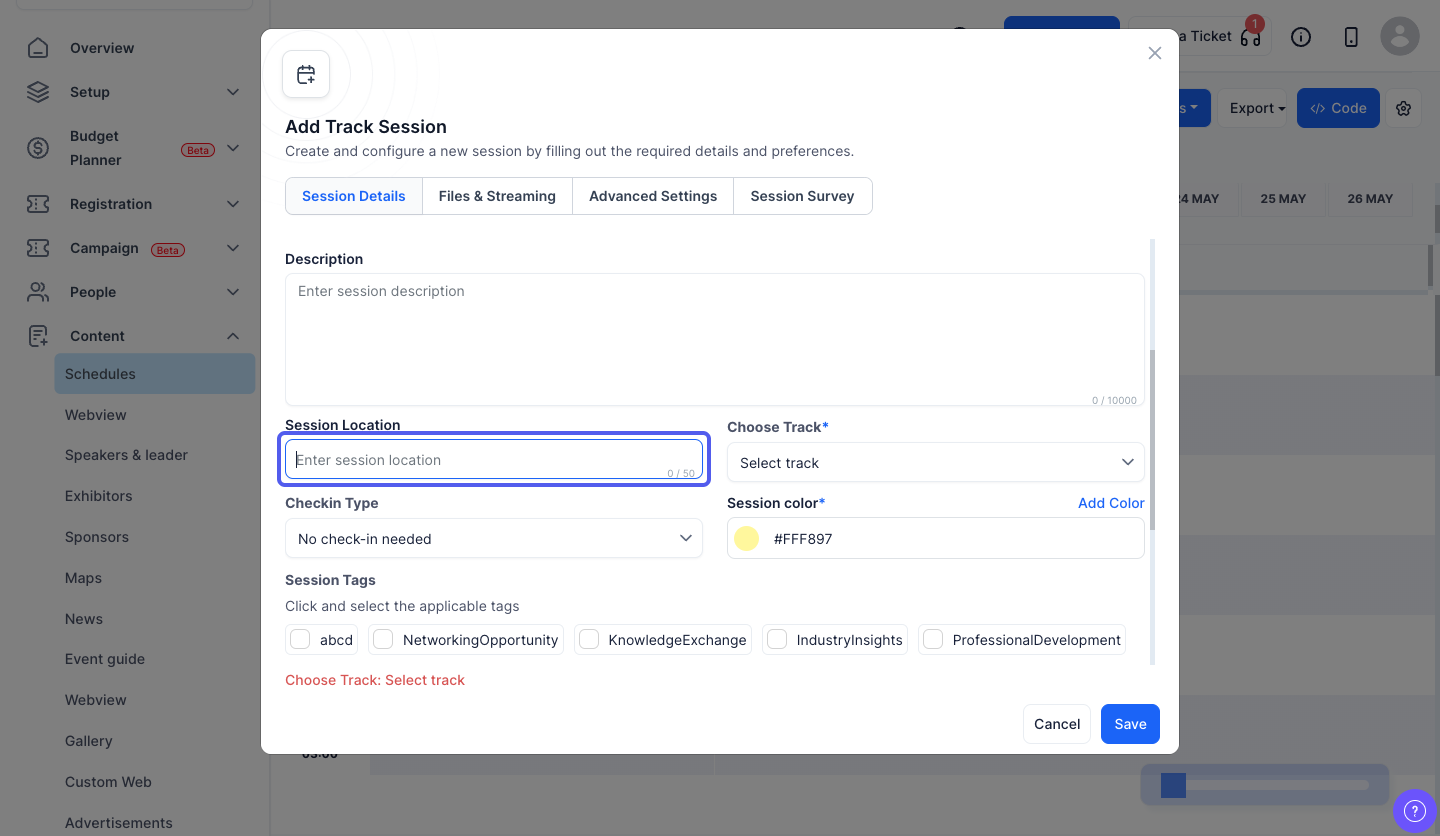
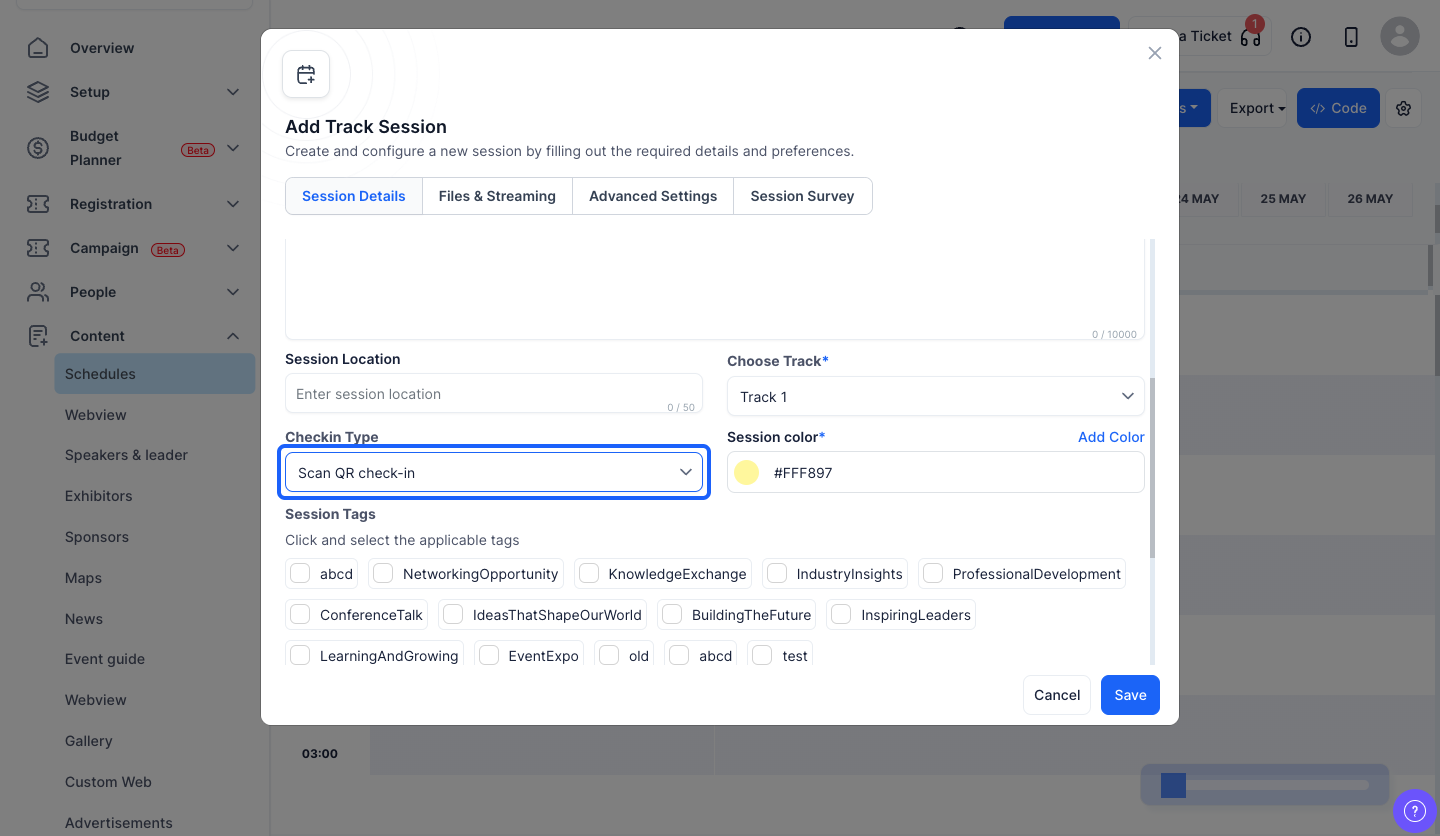
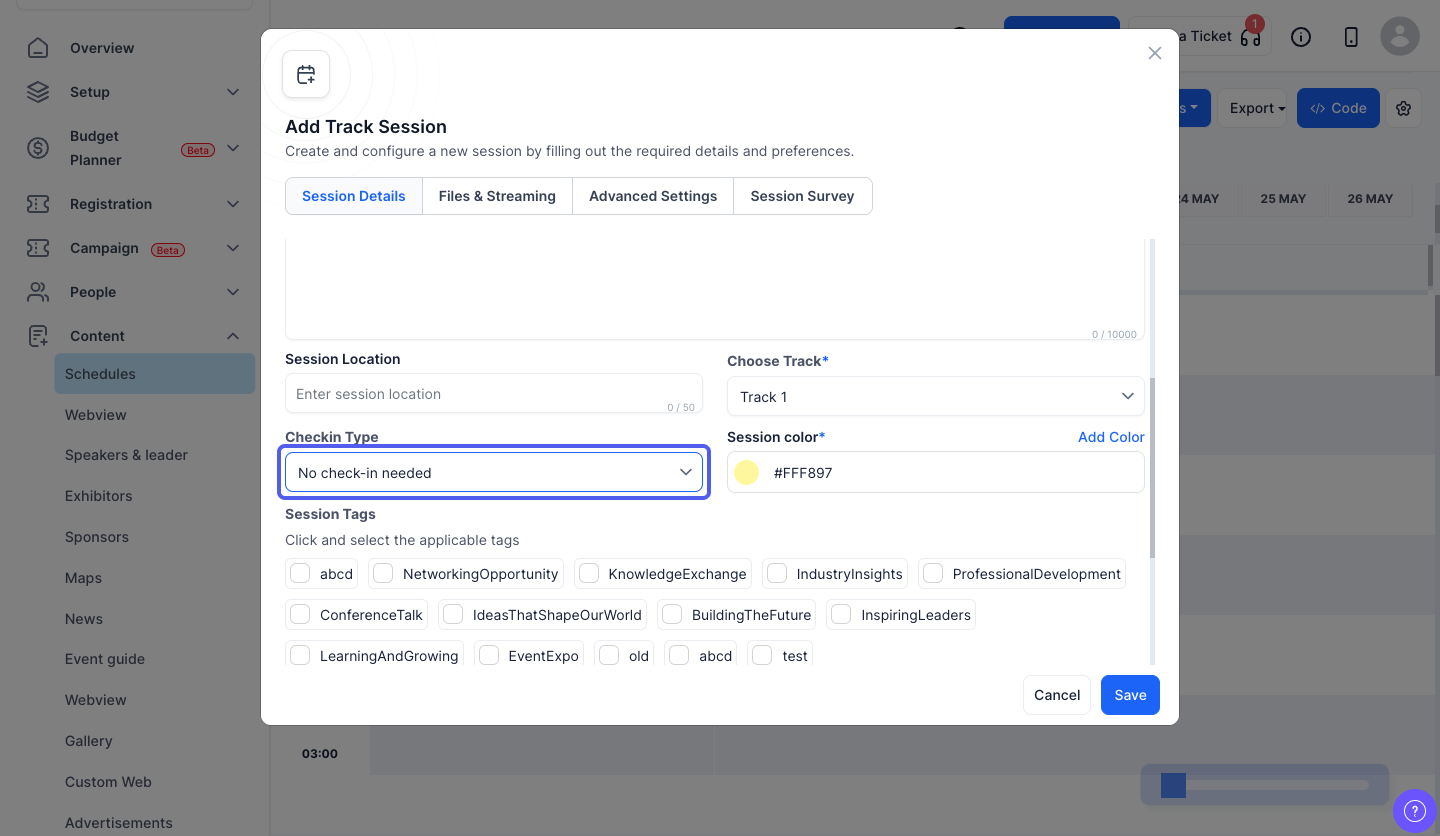
20: Add a session location
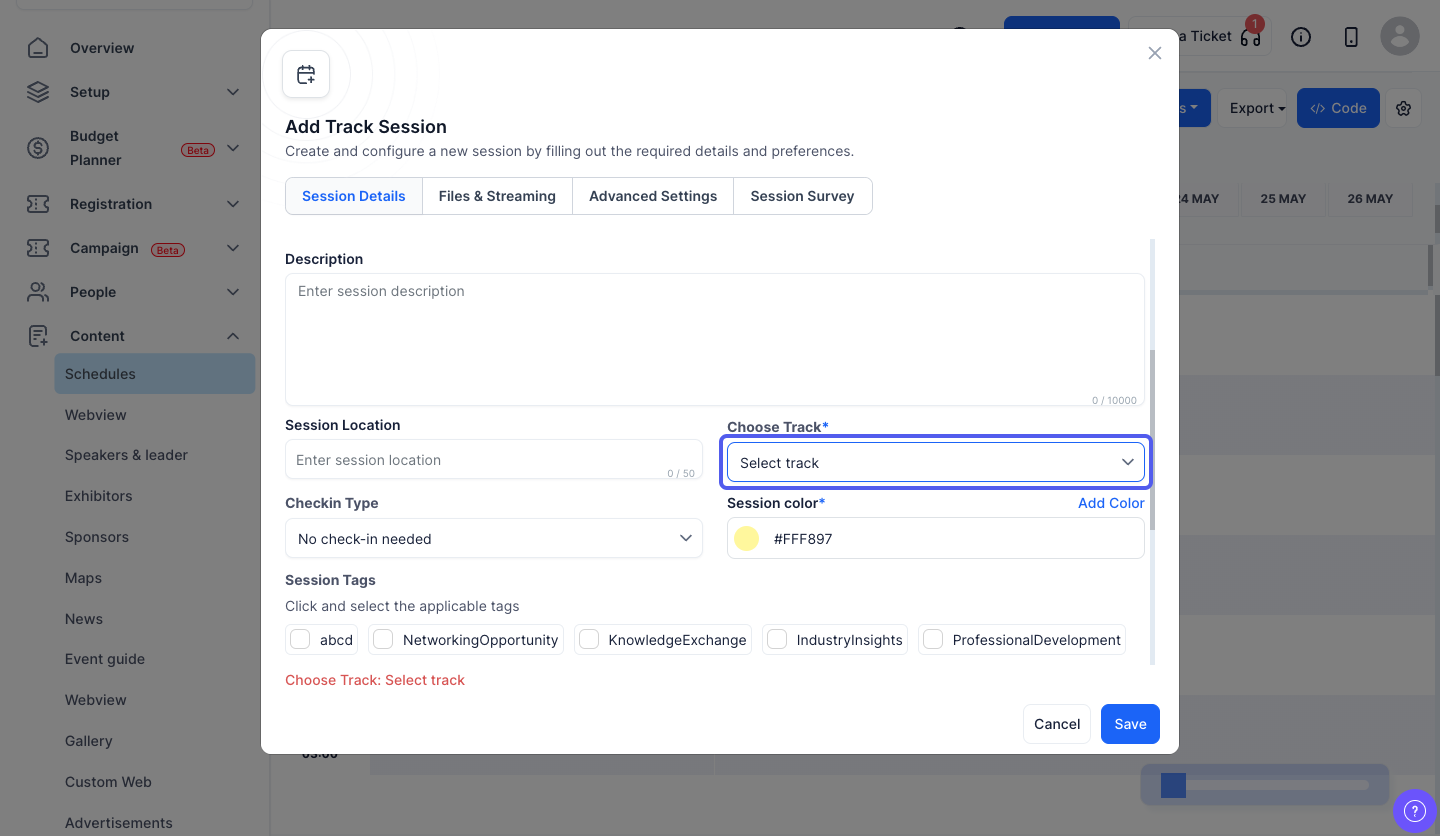
21: Select the track from here
22: Set the session check-in type

23: Setting it to Scan QR check-in will require users to scan their QR codes before entering the session
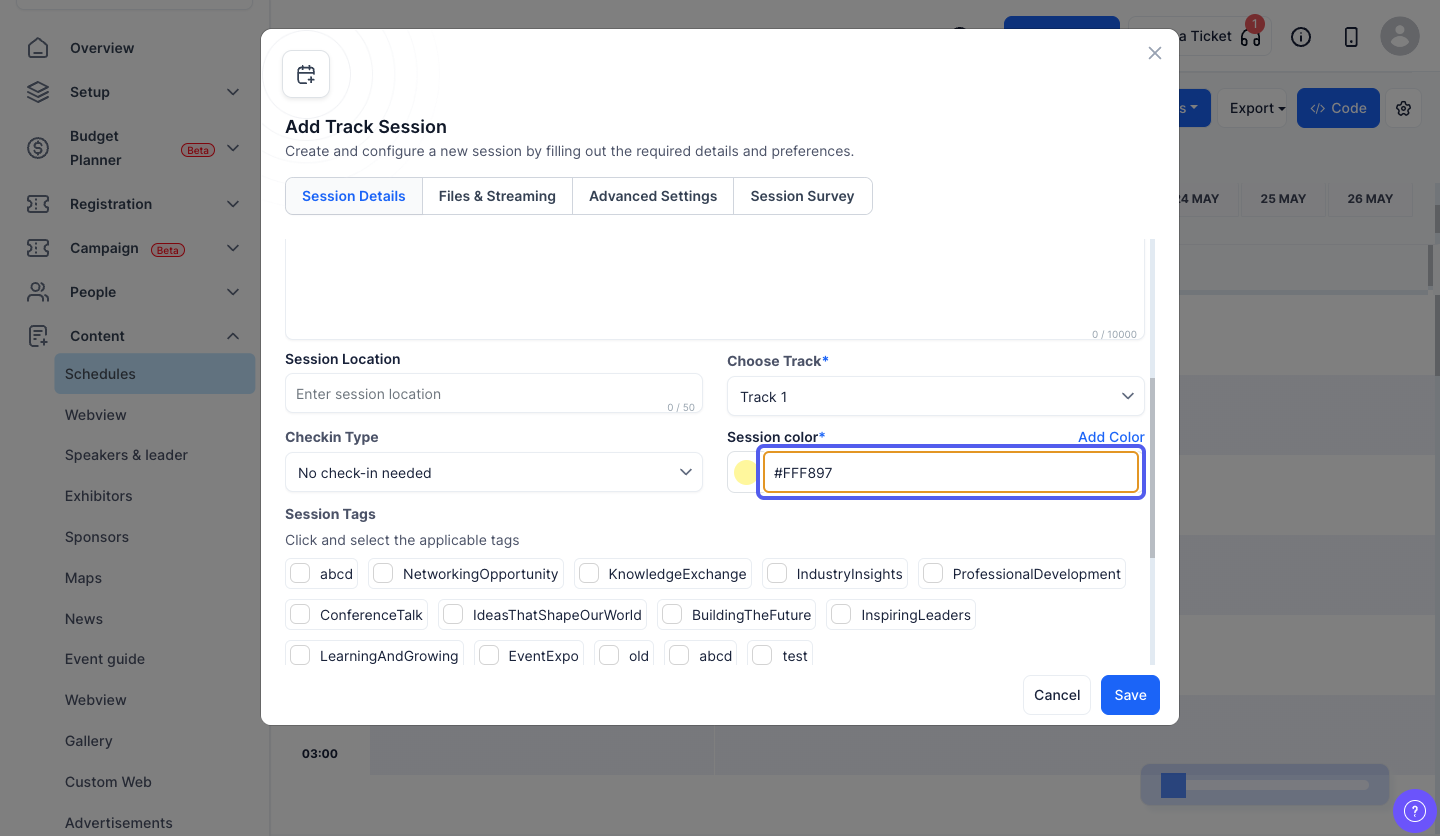
24: Self check-in refers to sessions where the attendees can check themselves in without any QR scan

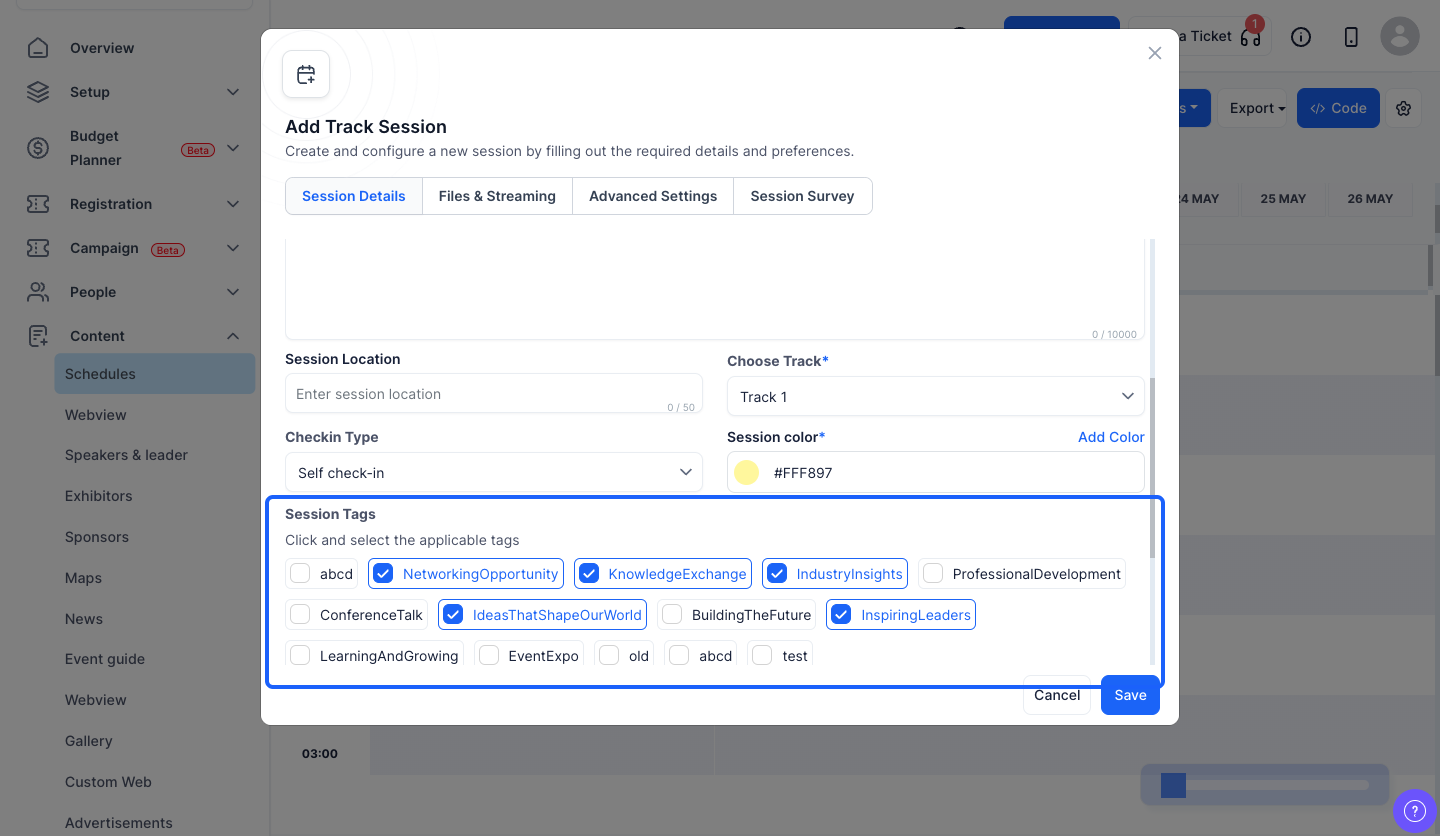
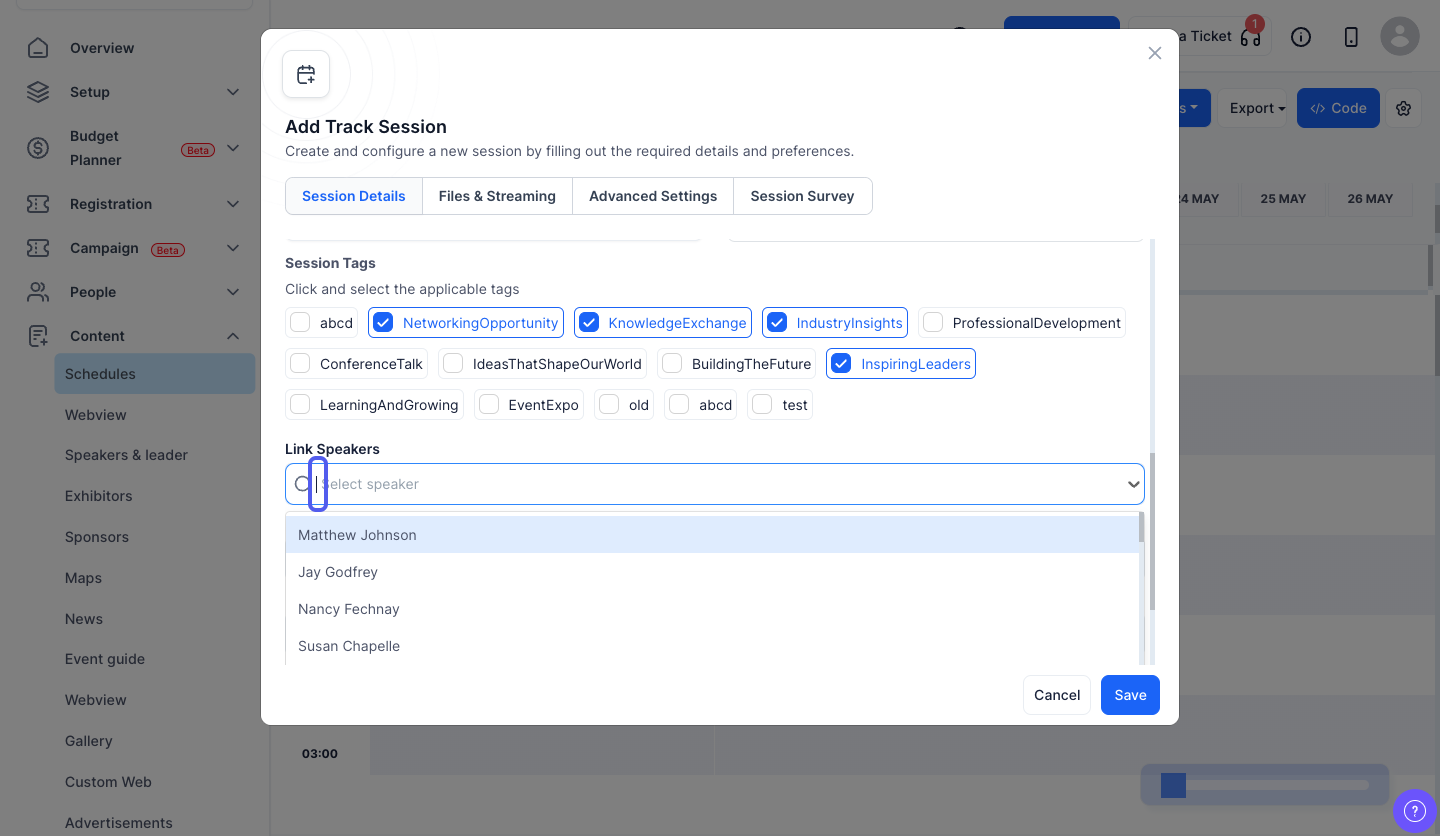
25: No check-in refers to open sessions where anyone can join
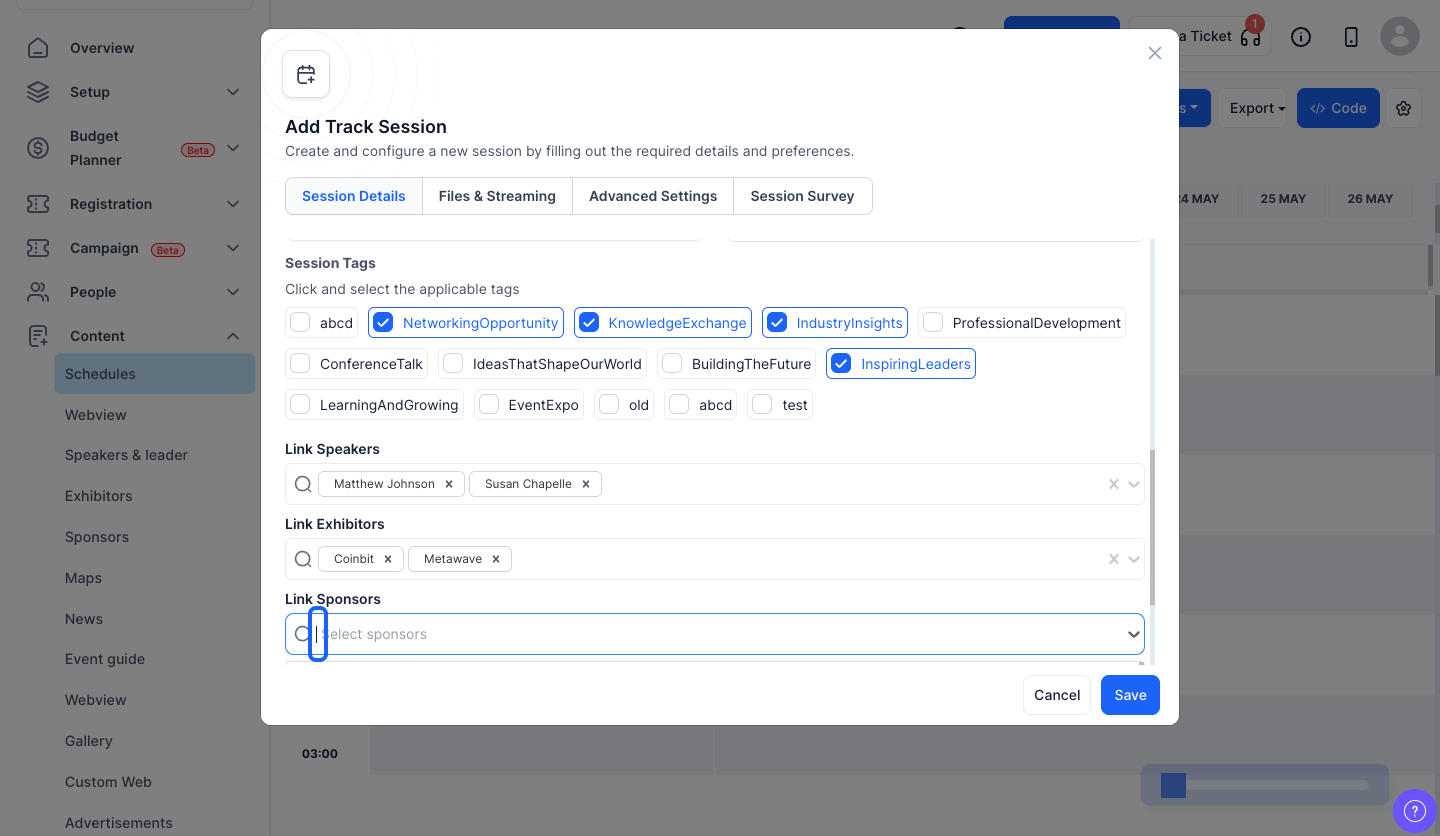
26: Set the session colour
27: Set the session tags
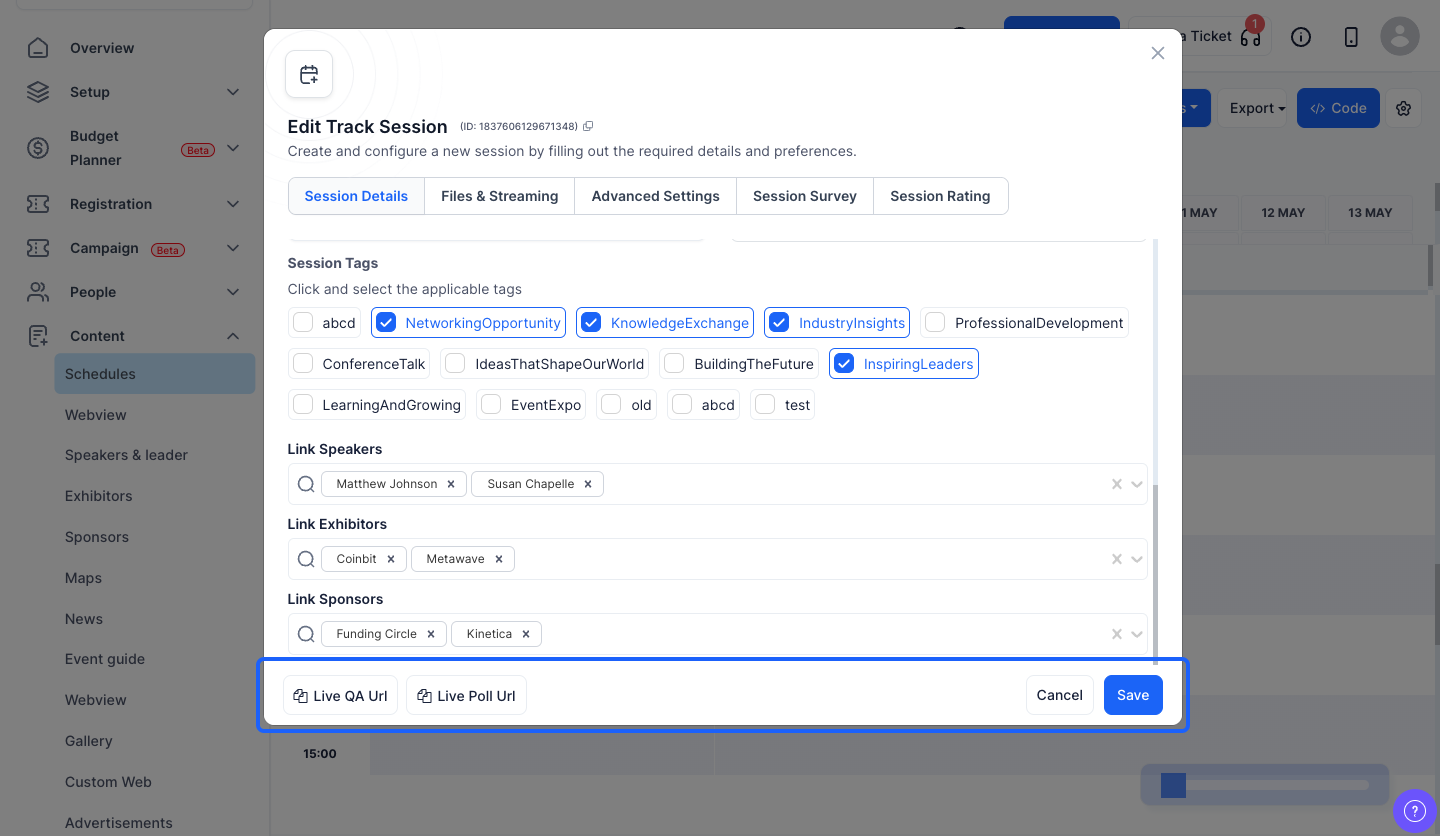
28: You can link speakers to the session from here
29: You can link exhibitors from here

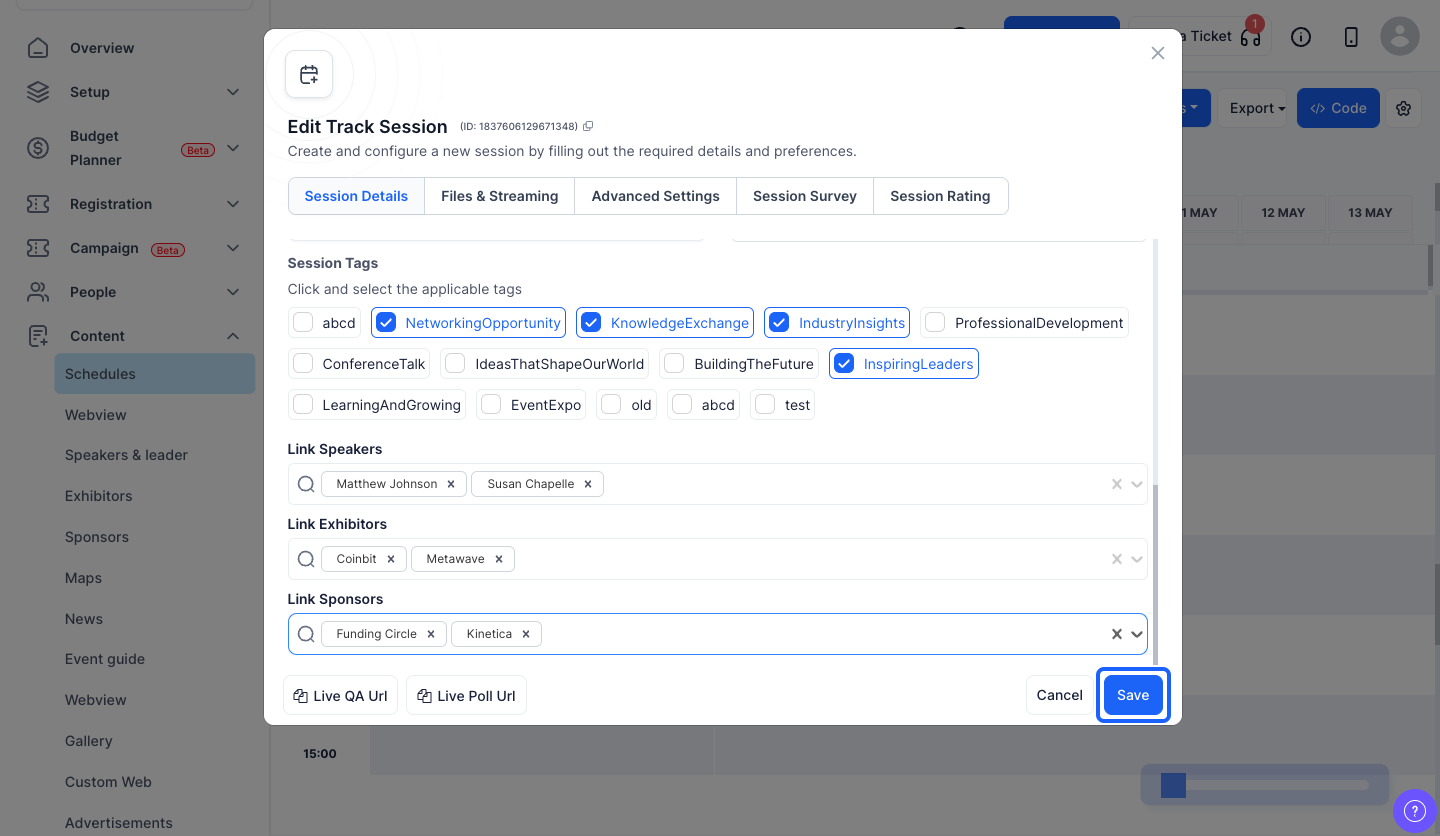
30: You can link sponsors from here
31: You can Save the session at this point or set up additional settings
32: Click the “Save” button
33: The session will be listed according to the selected track along with set date and start time