Checkout forms serve the purpose of gathering essential attendees details during ticket purchases, while also providing attendees with the option to enrich their profiles through optional fields. Eventify facilitates customization of these forms according to the specific needs of the event host.
🔔 Any user's profile fields will be shown based on these checkout forms.

Interactive Guide
Or check the step-by-step guide
1: Log in to your Eventify Admin Panel.
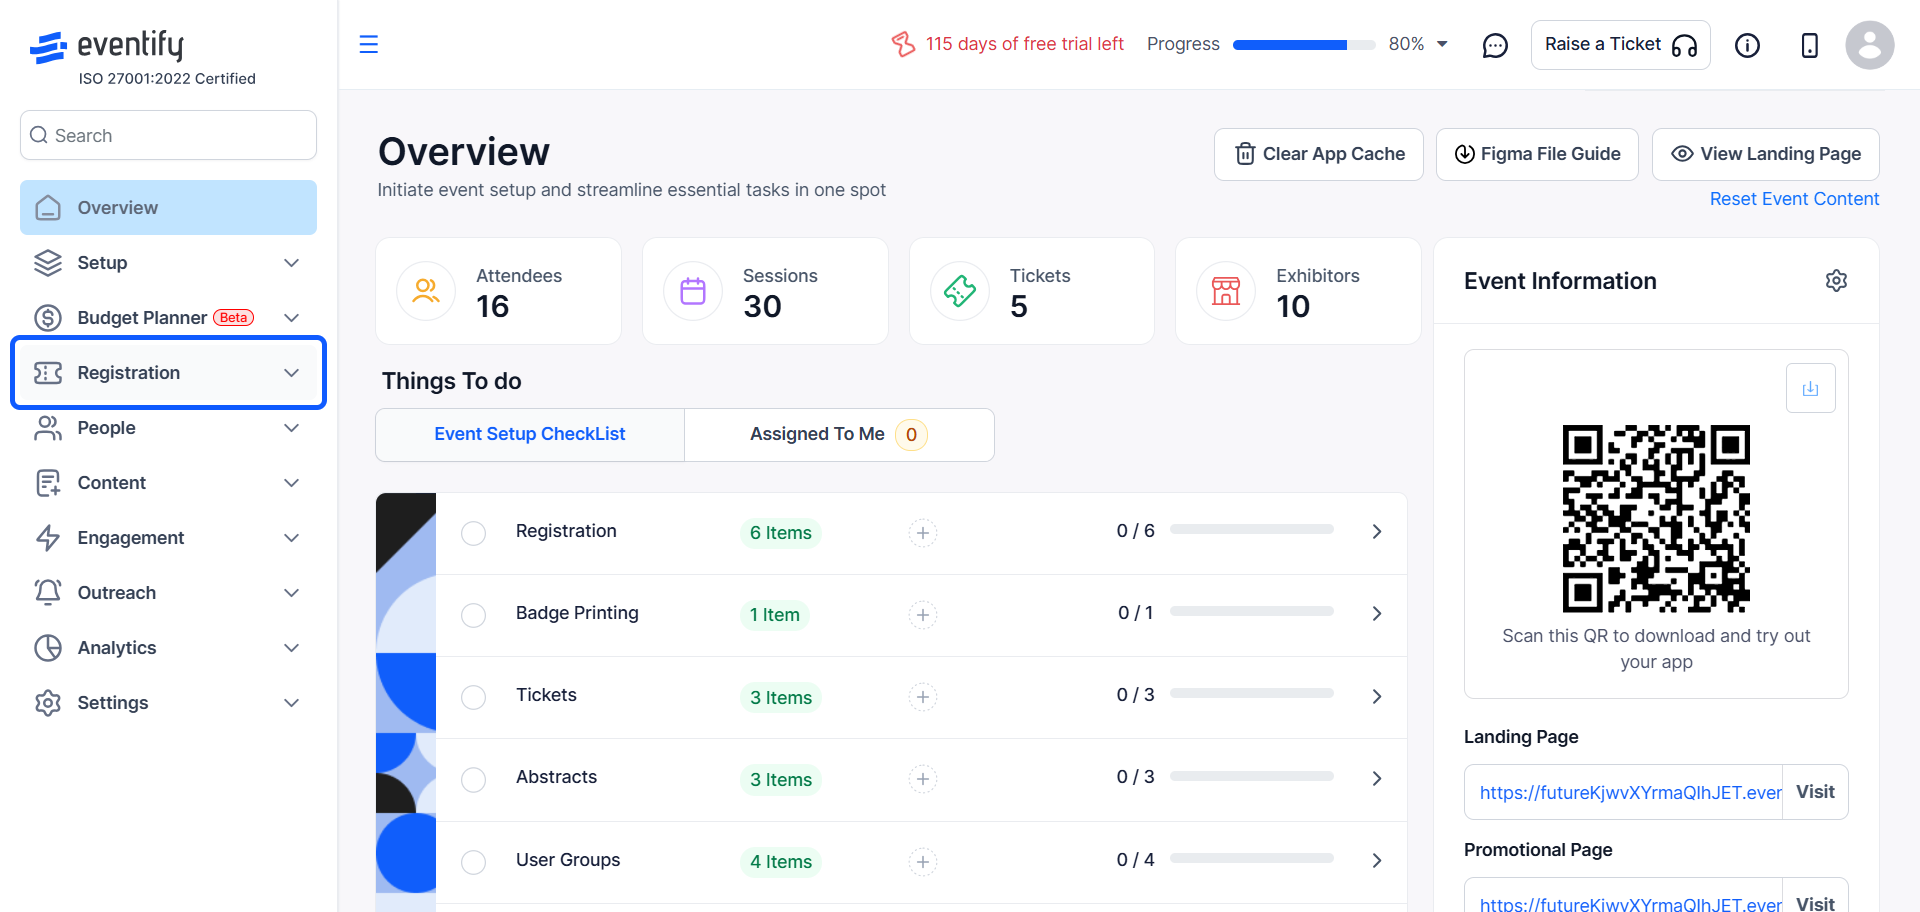
Navigate to the Registration section in the side menu.
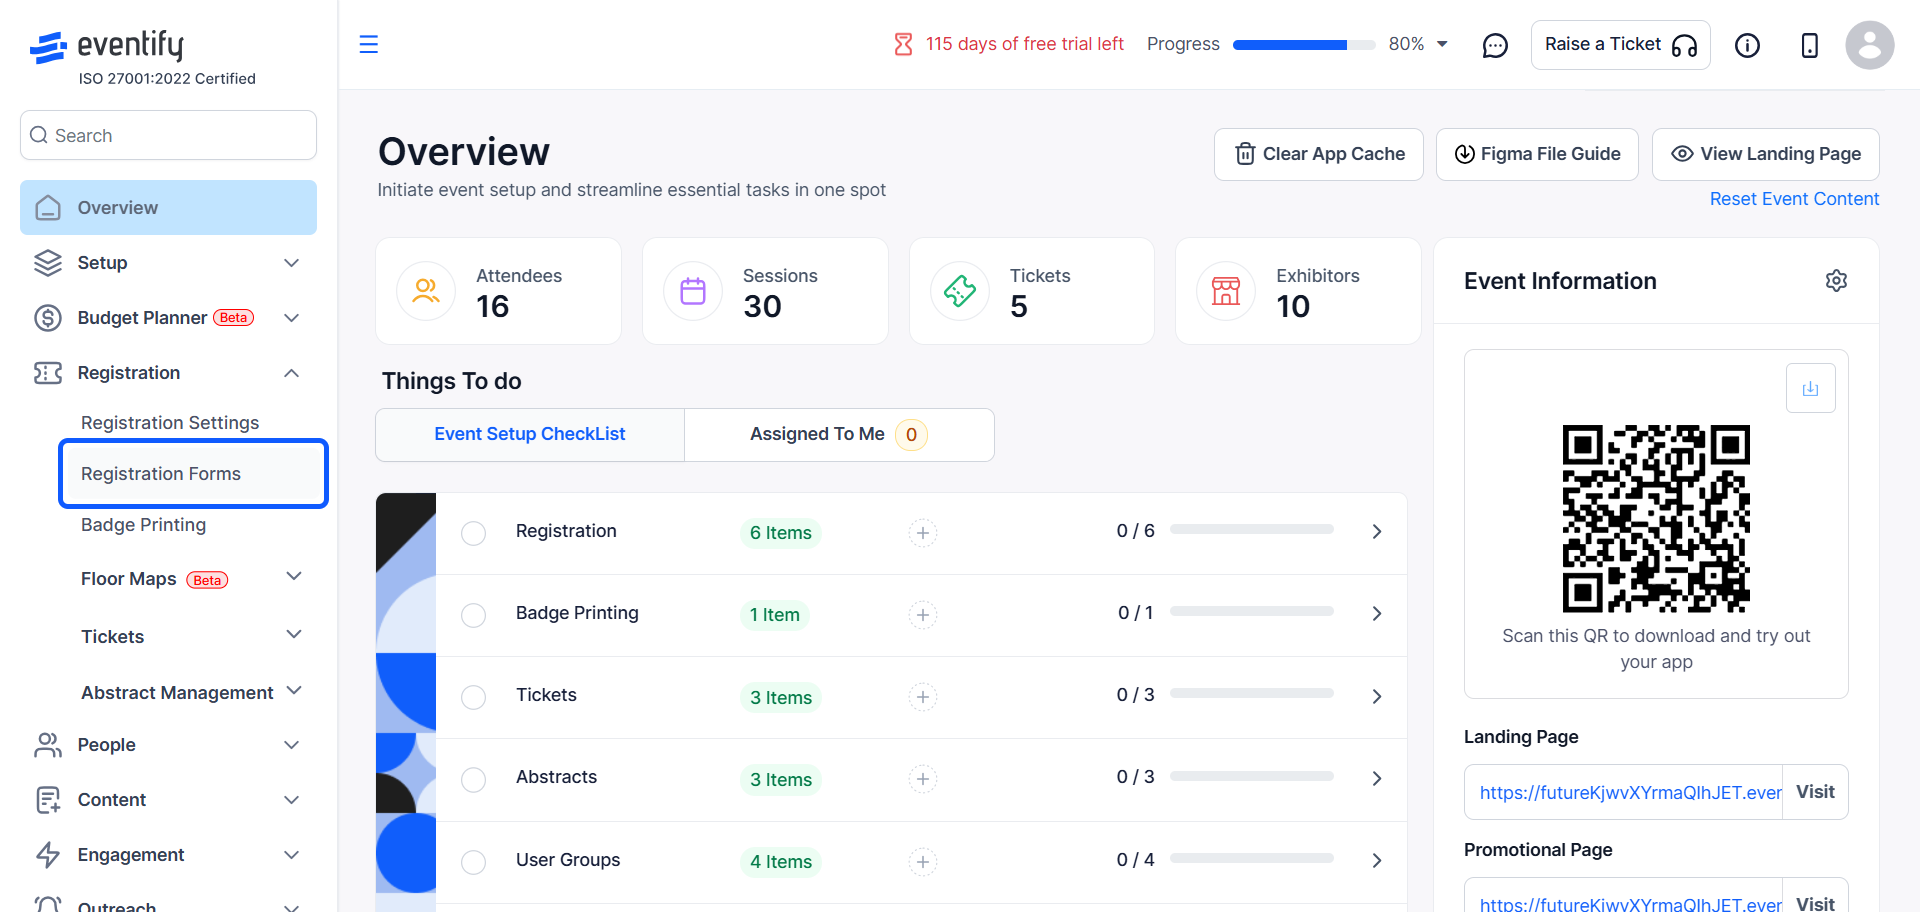
2: Select "Registration Forms" to view existing forms or create a new one.
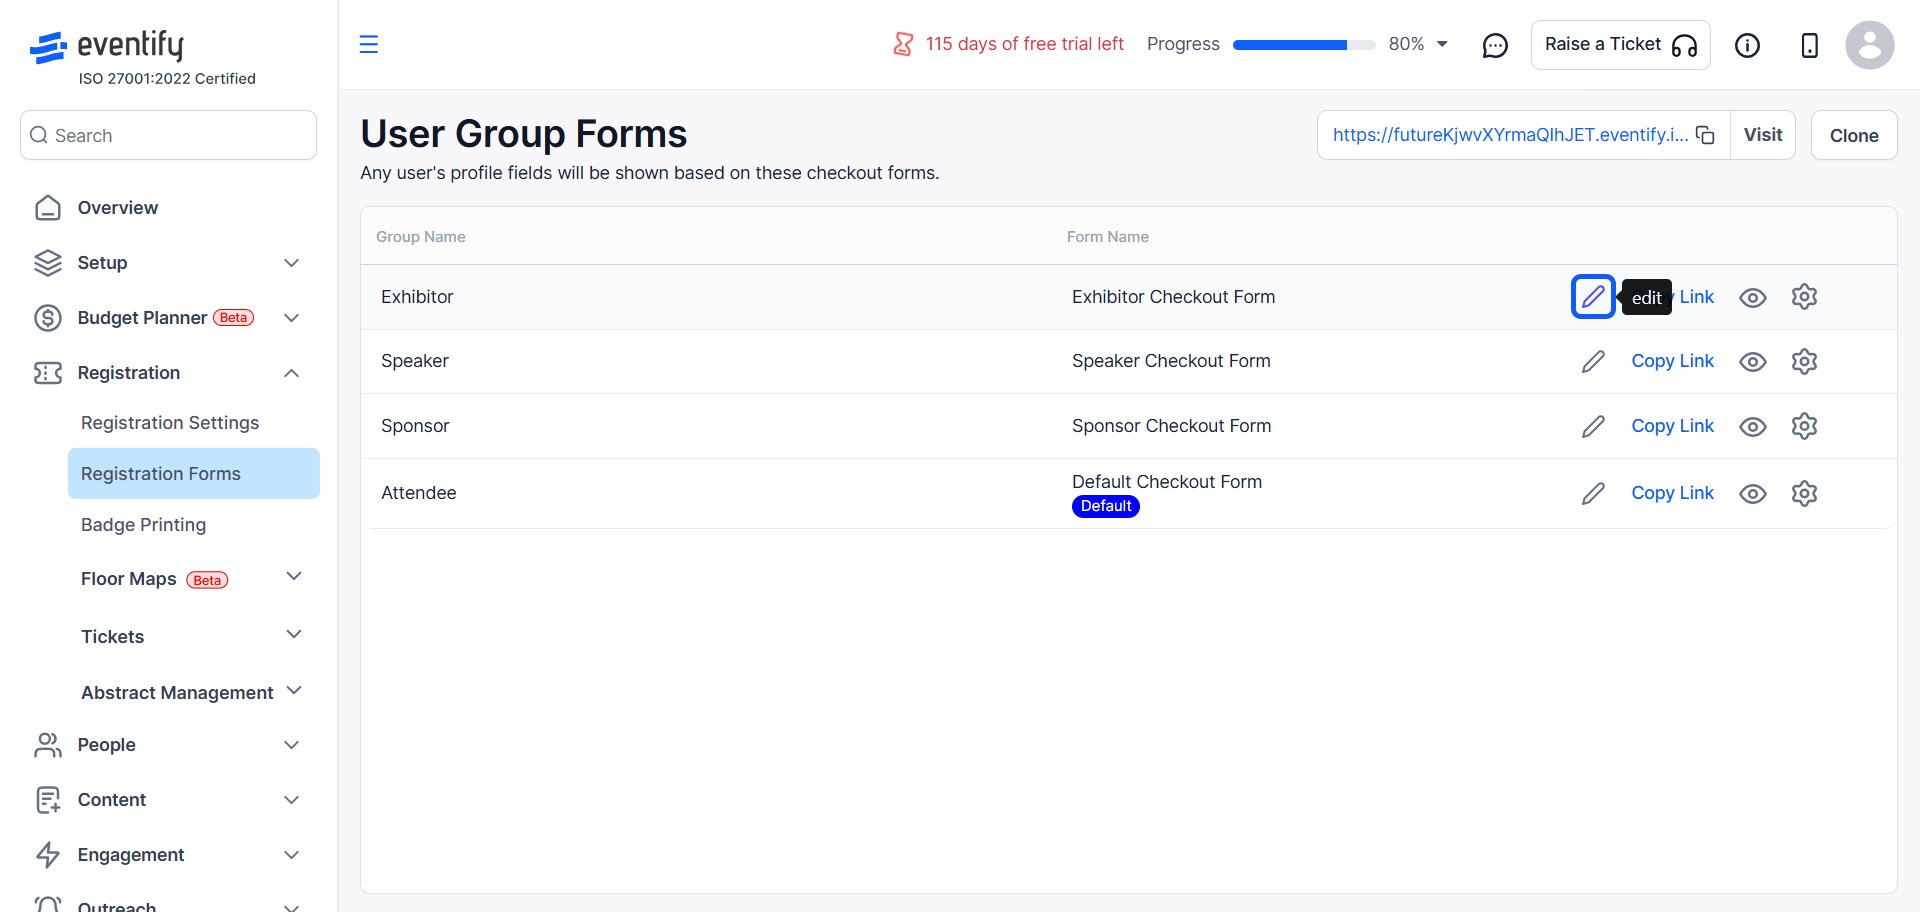
3: To modify an existing form, click the "Edit" button next to the desired form.
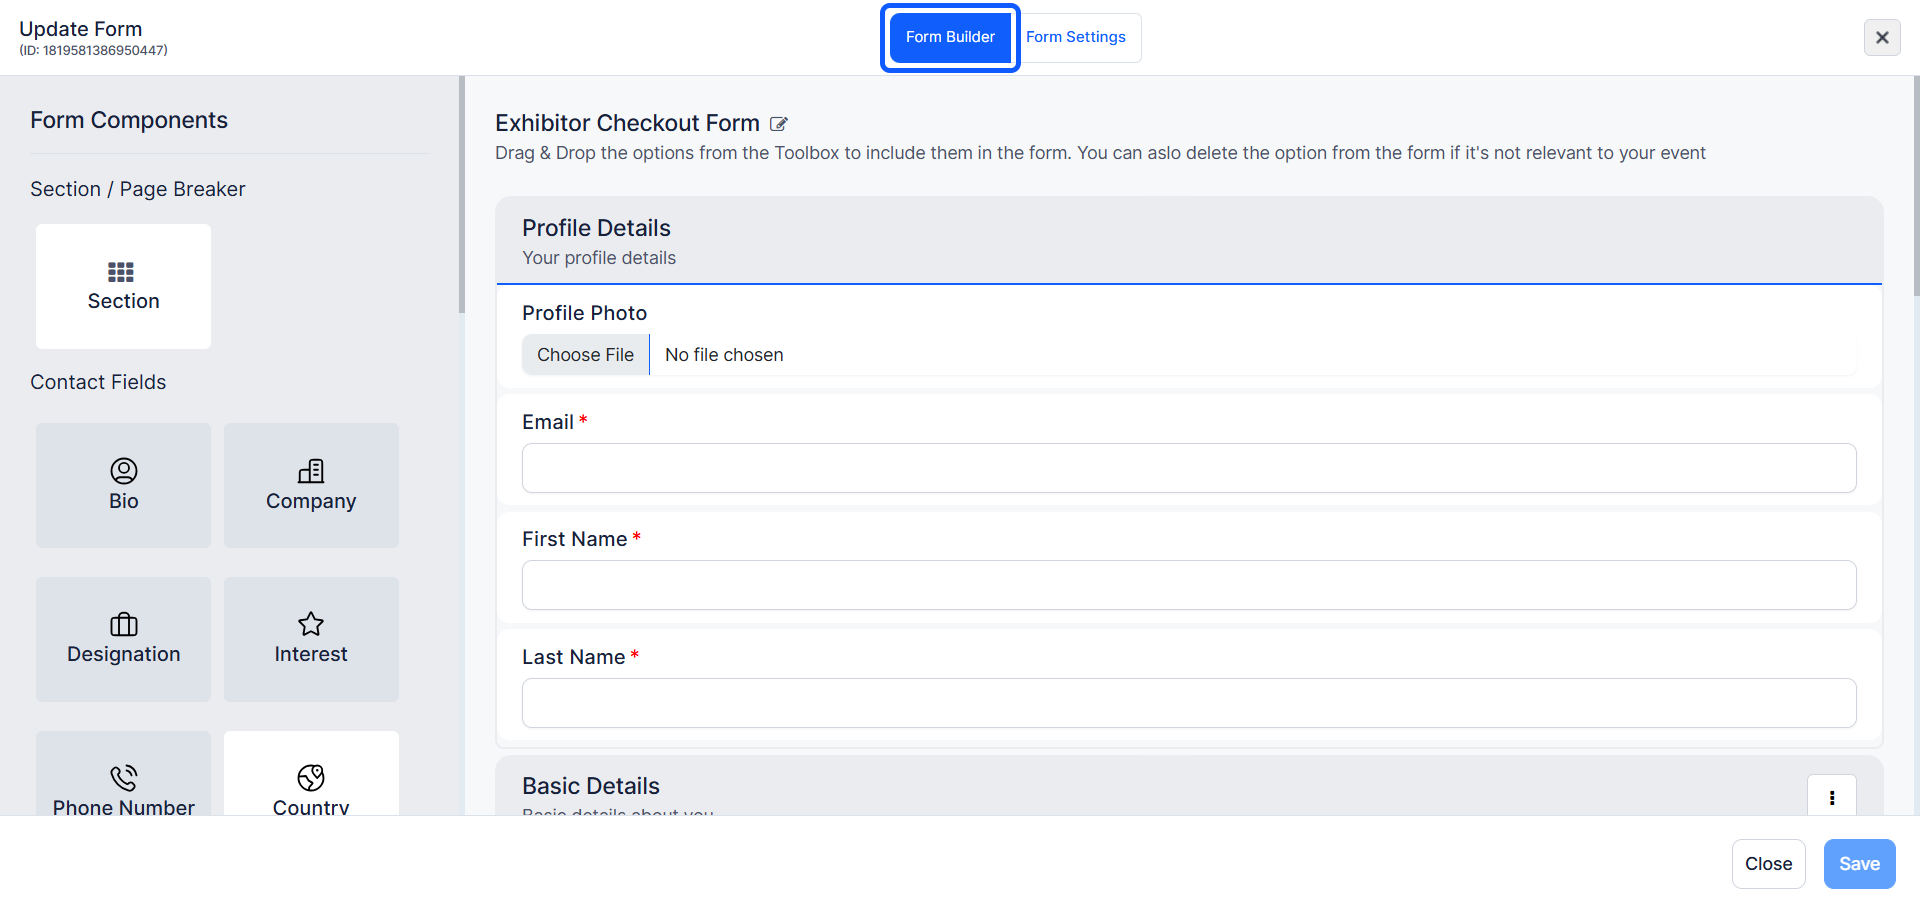
4: You will find a "Form Builder" section in the form
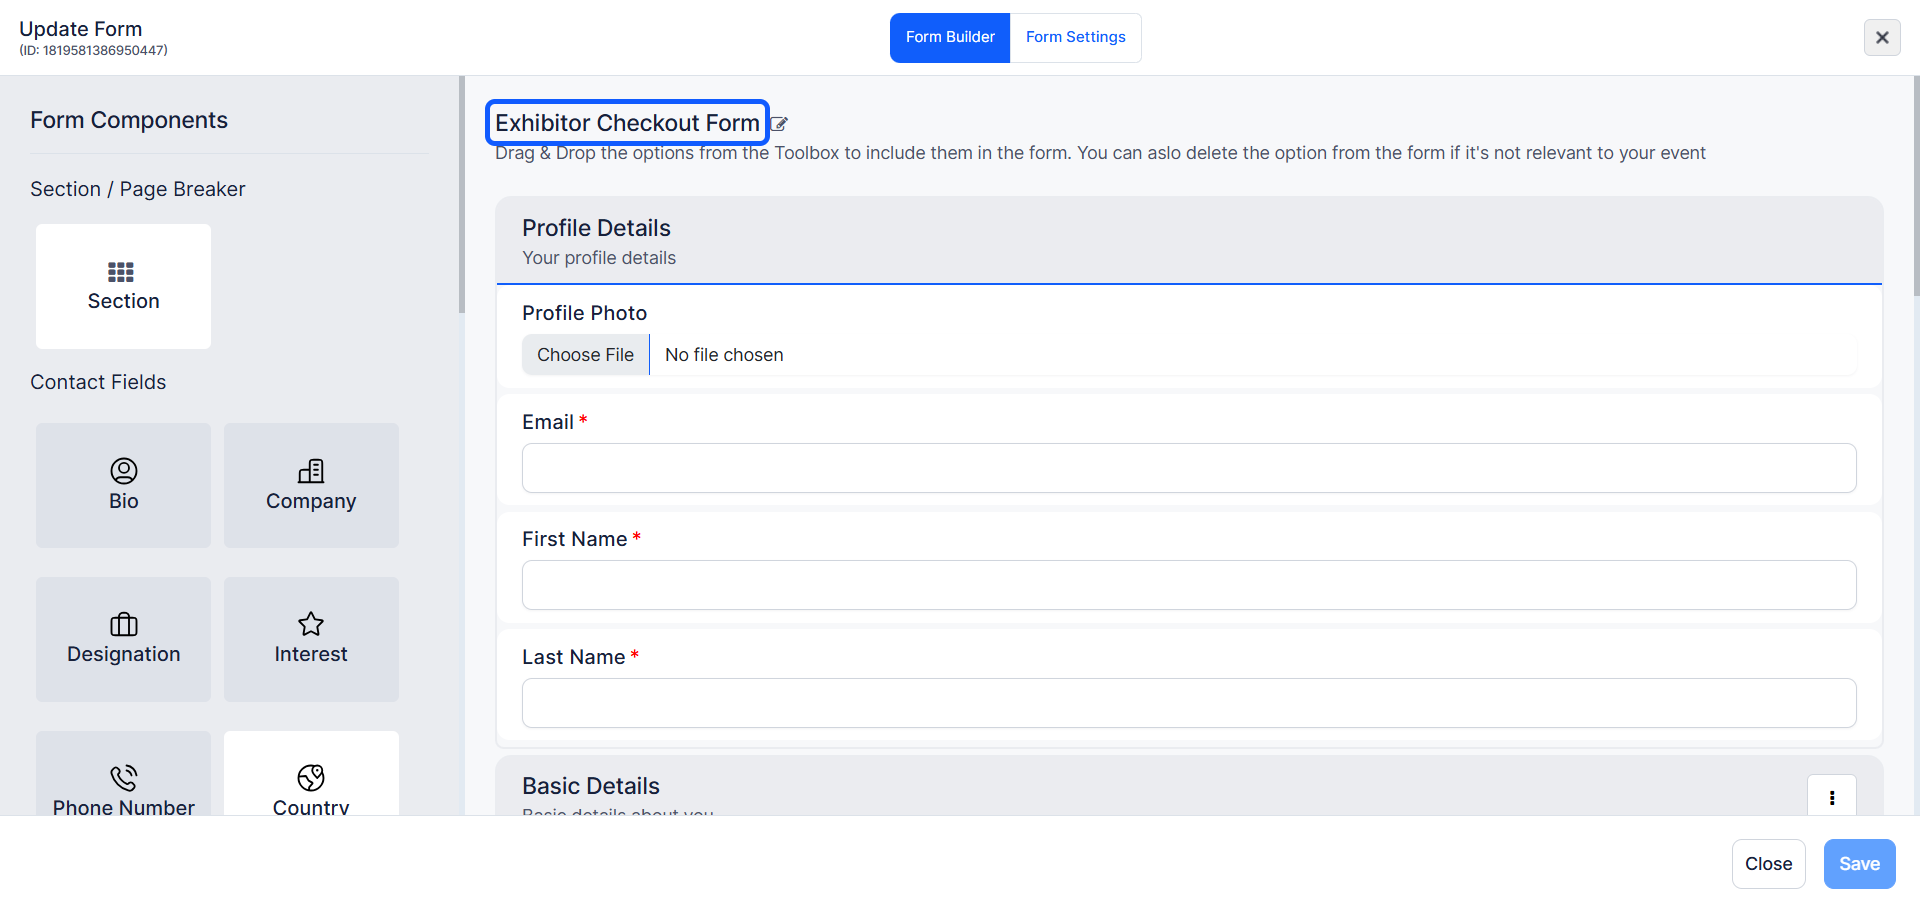
5: Update the form name by clicking on the form title and entering the desired name.
Ensure to save your changes after updating the form name.
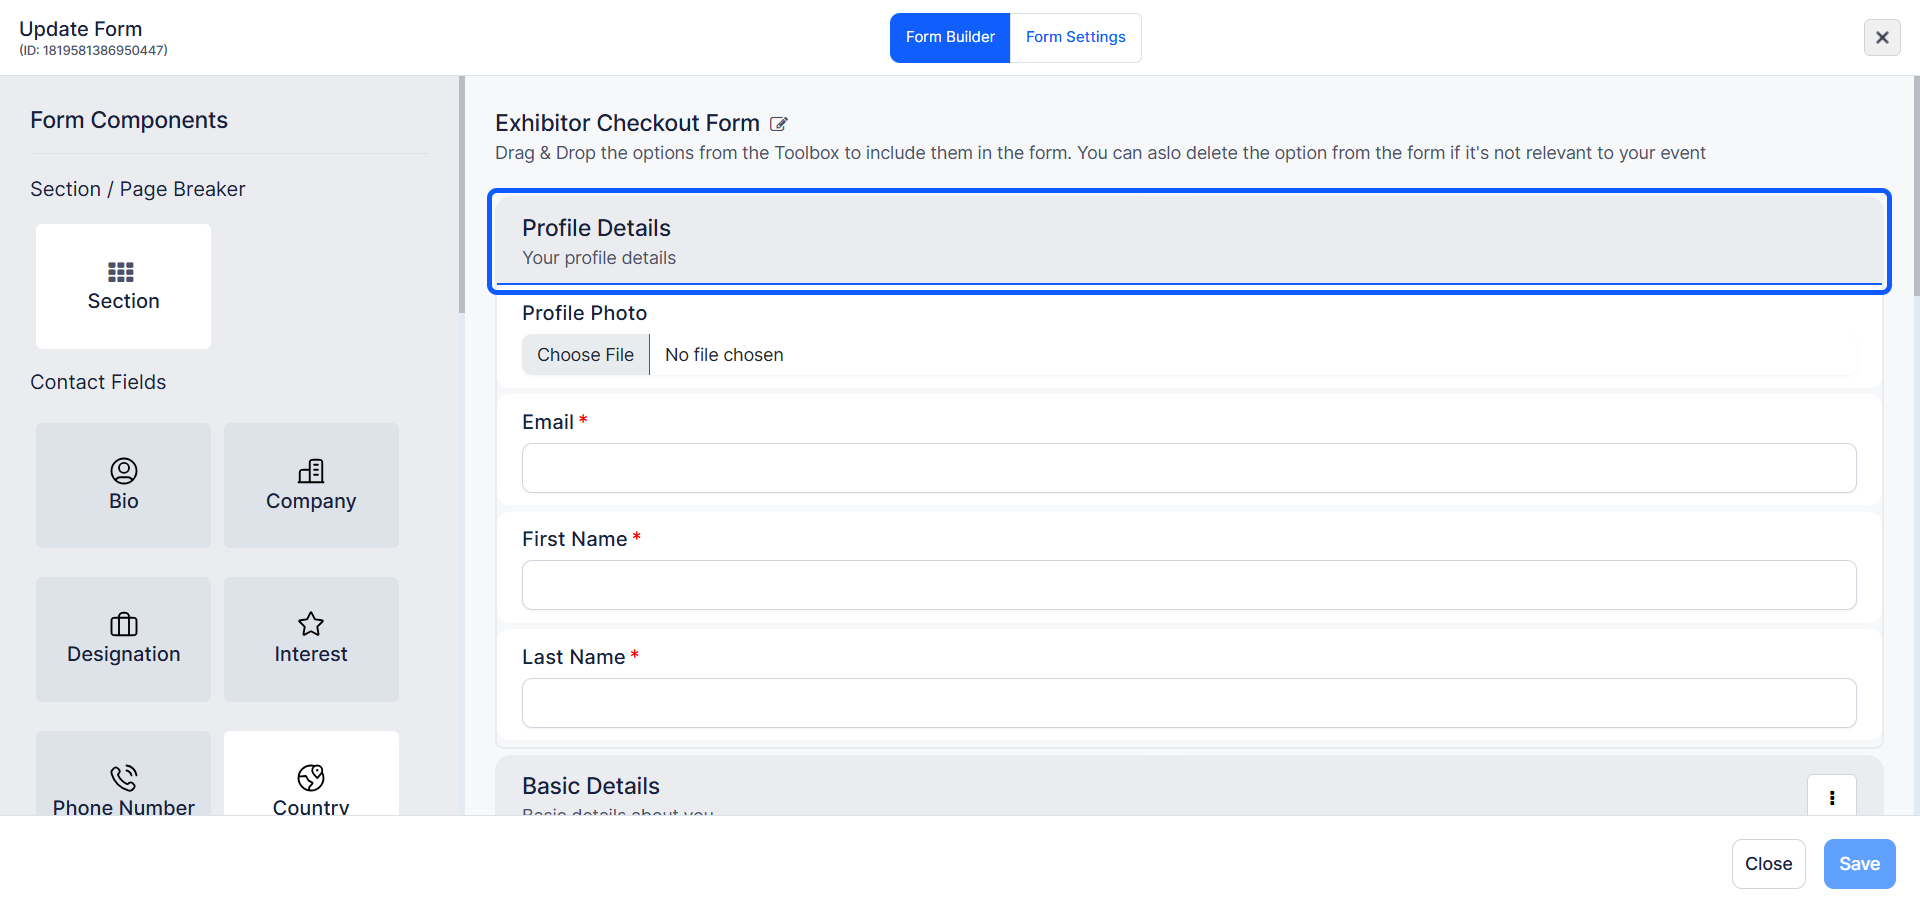
6: The "Profile Details" section is mandatory
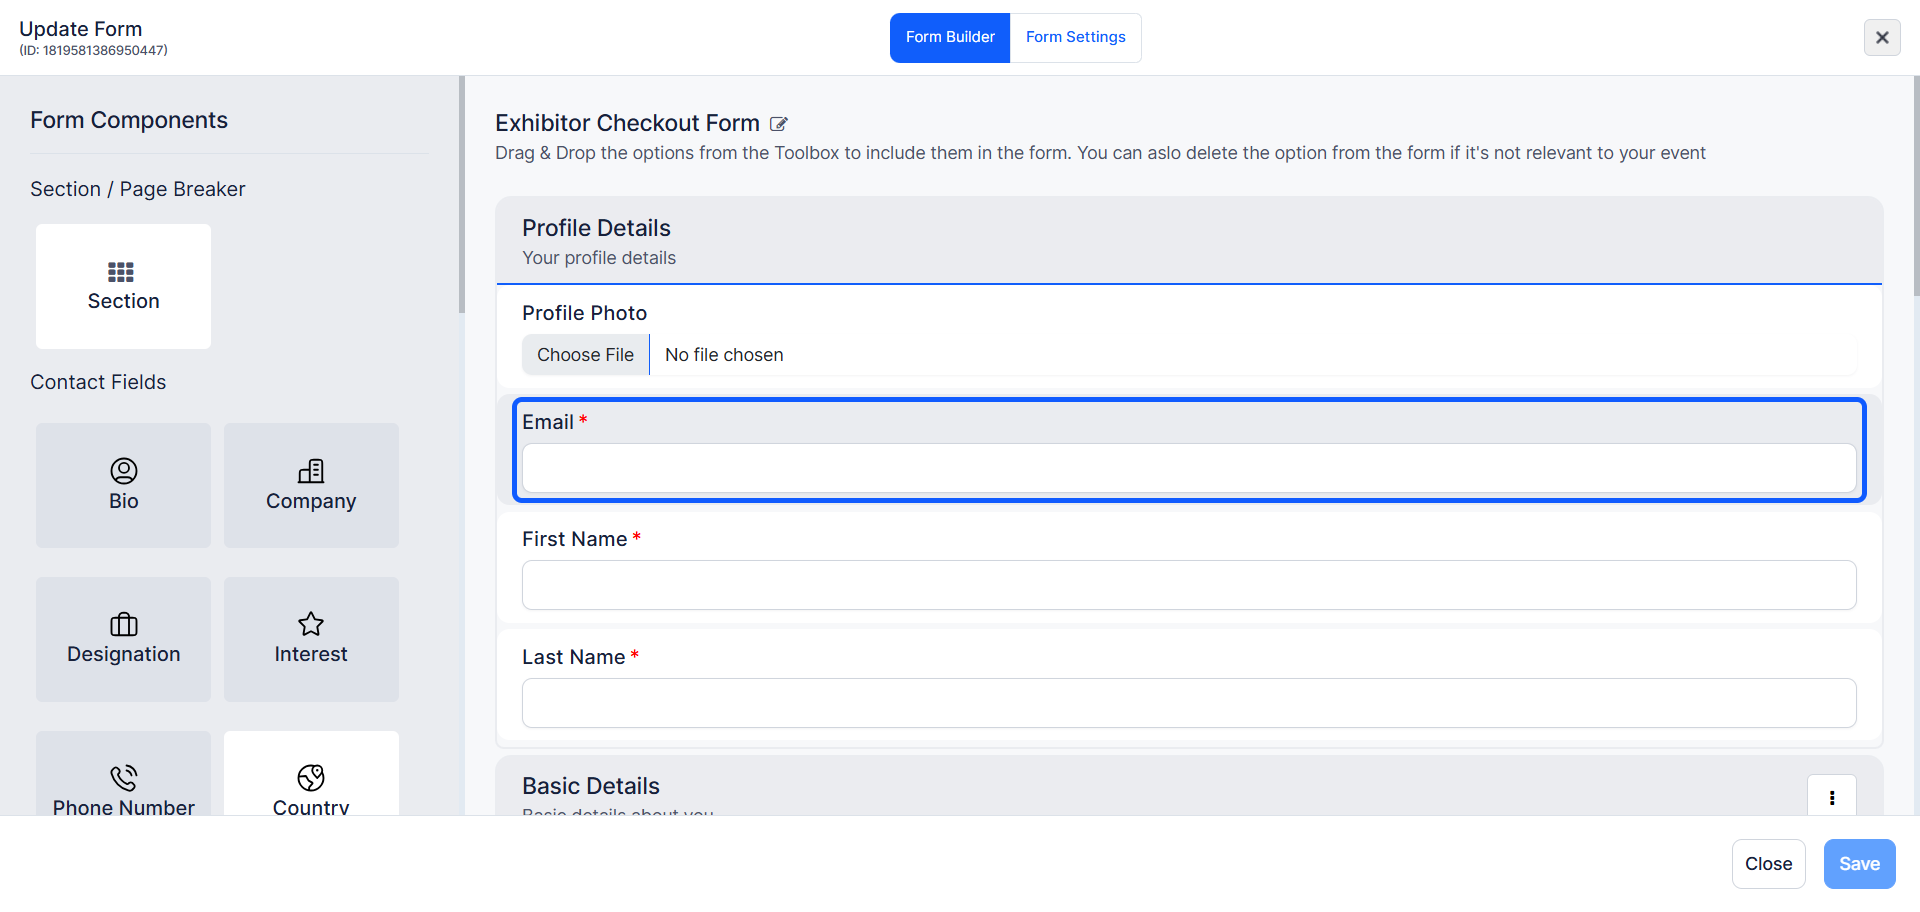
7: The "Email ID" is used for registering a user
8: The "First name" and "Last Name" are for identifying the users
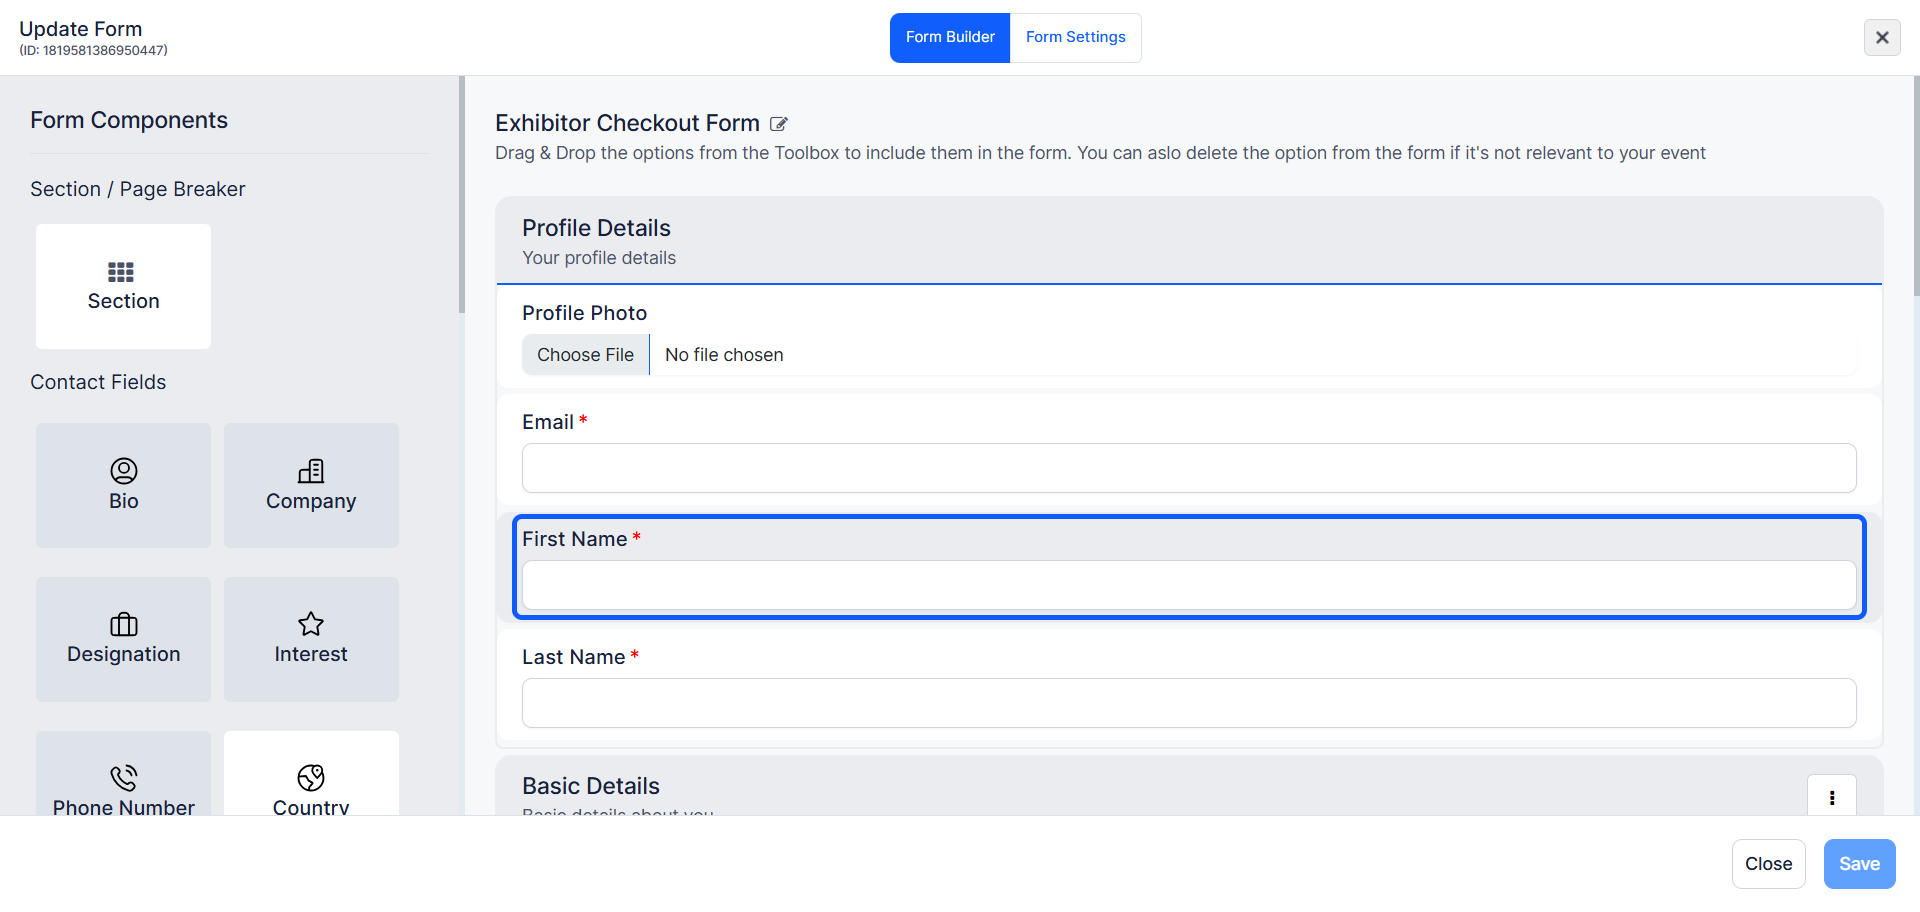
9: You can Edit or Add any section
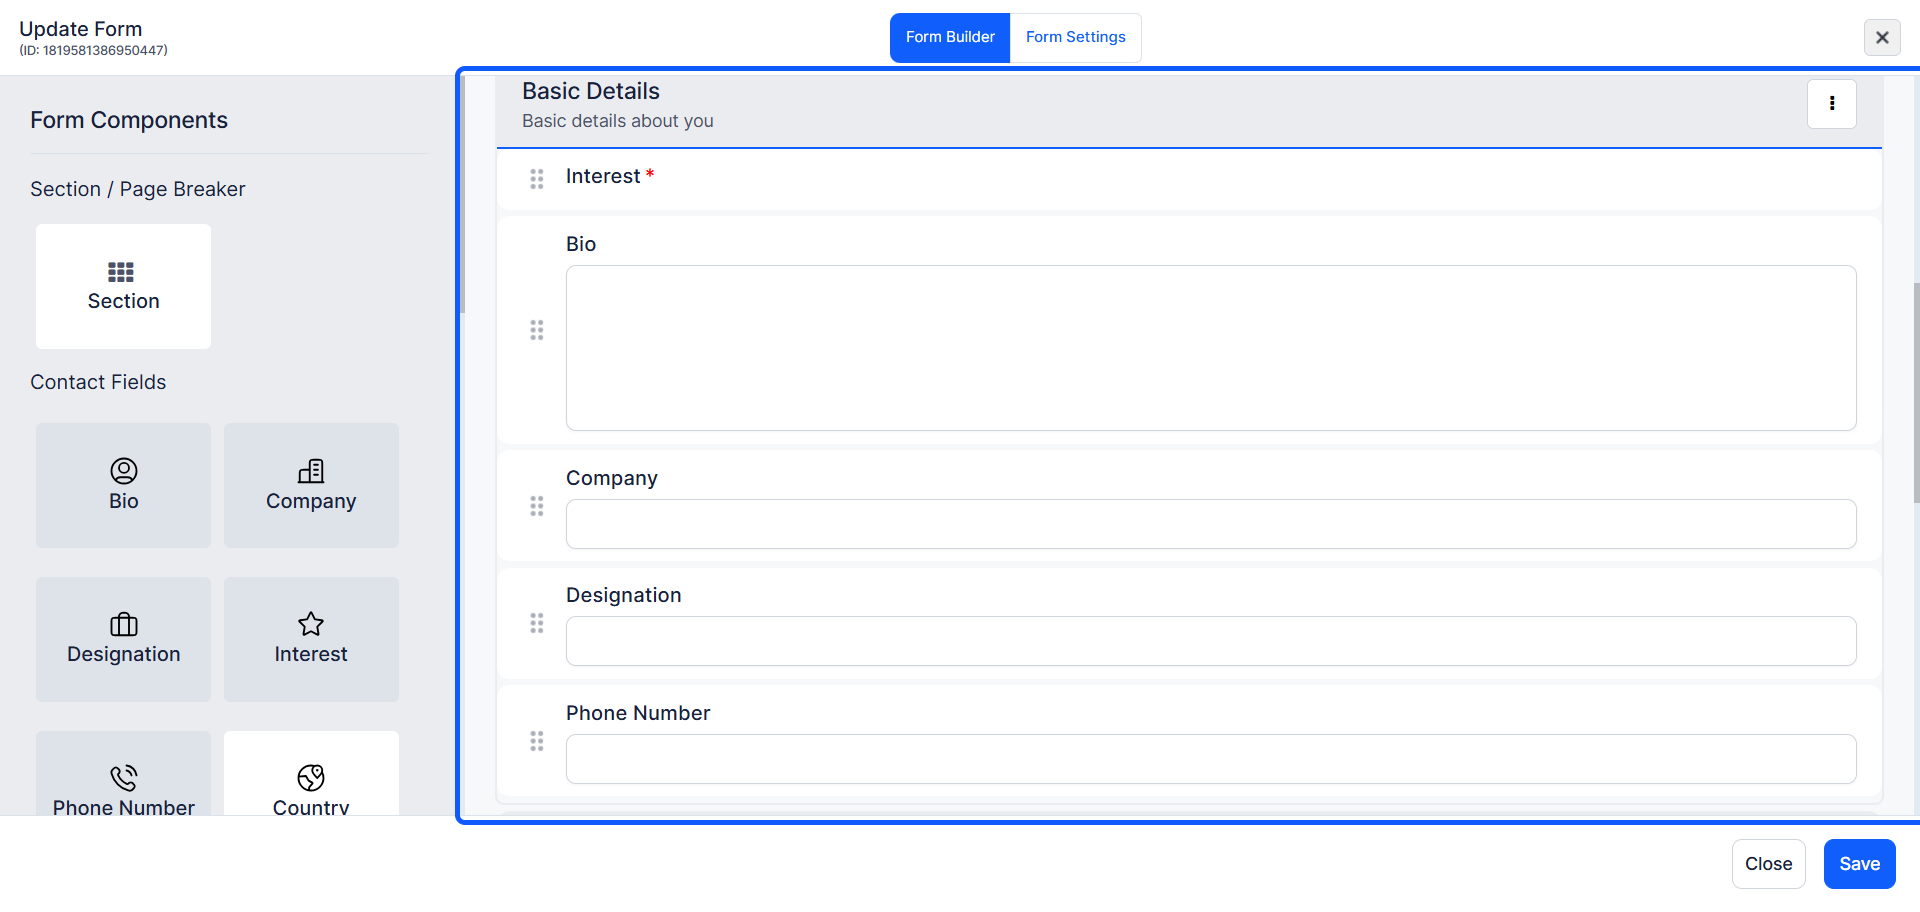
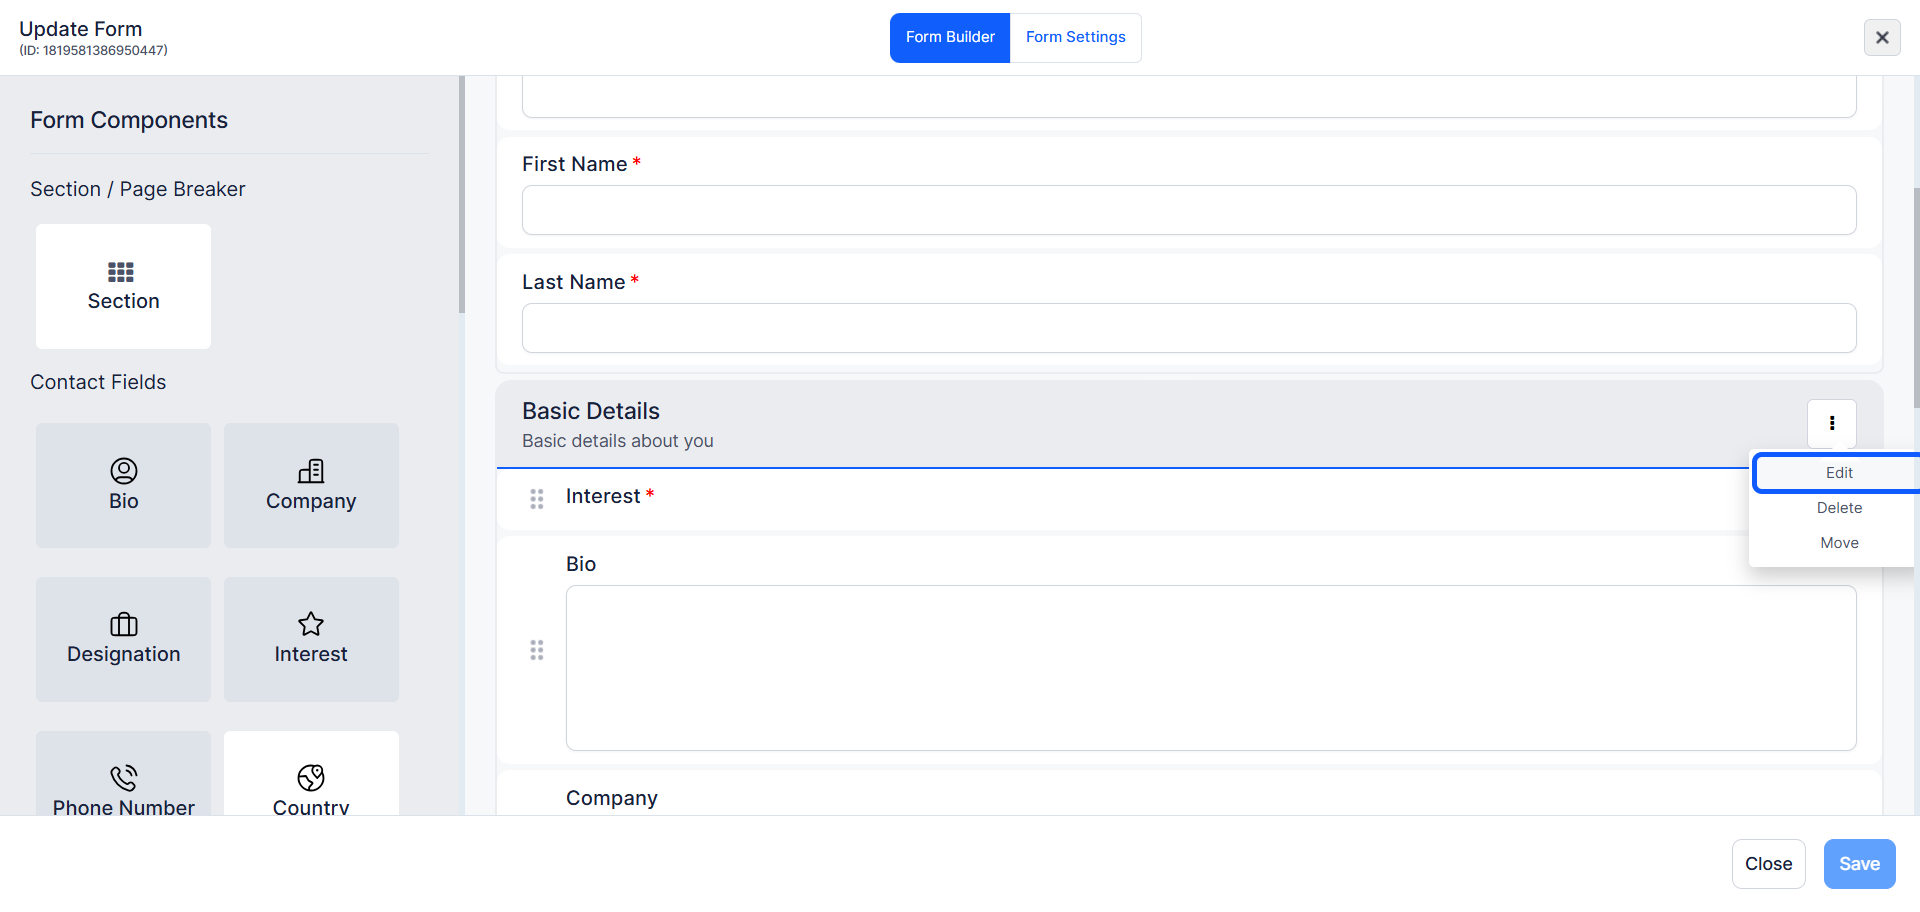
10: You can edit any section by clicking the Edit icon next to the section title.
11: Modify the "Label" and "Description" as needed
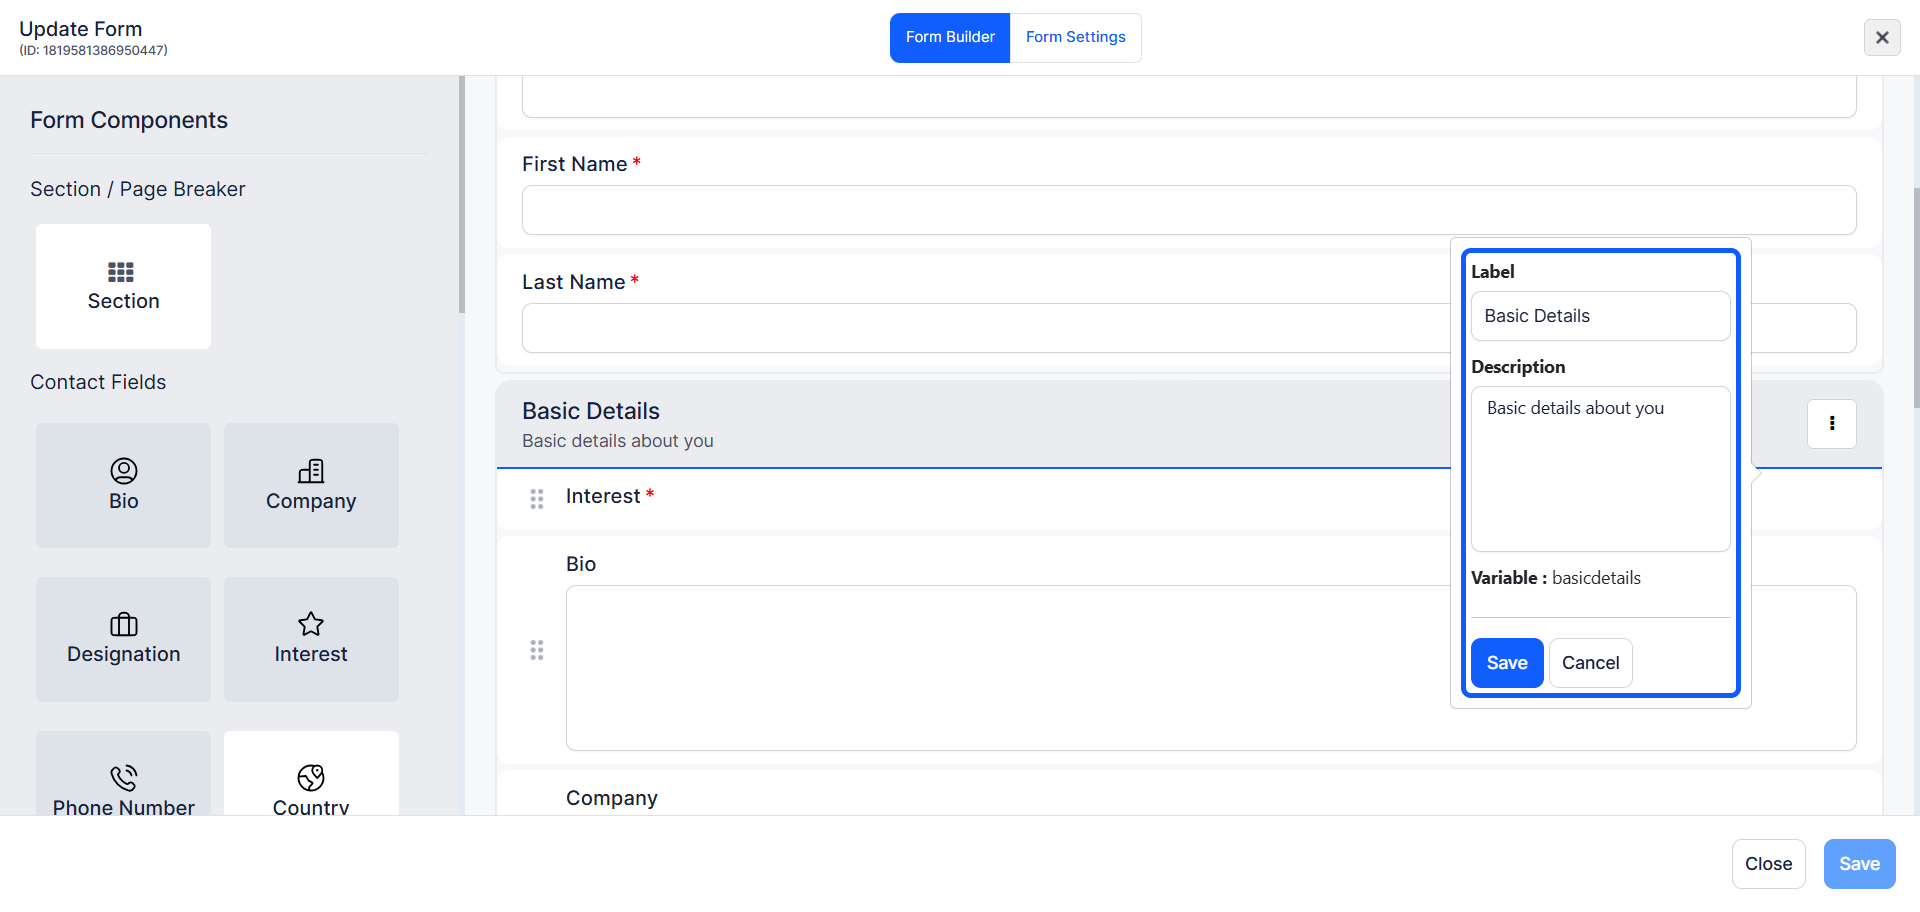
12: Click the "Save" button to save the updated details.
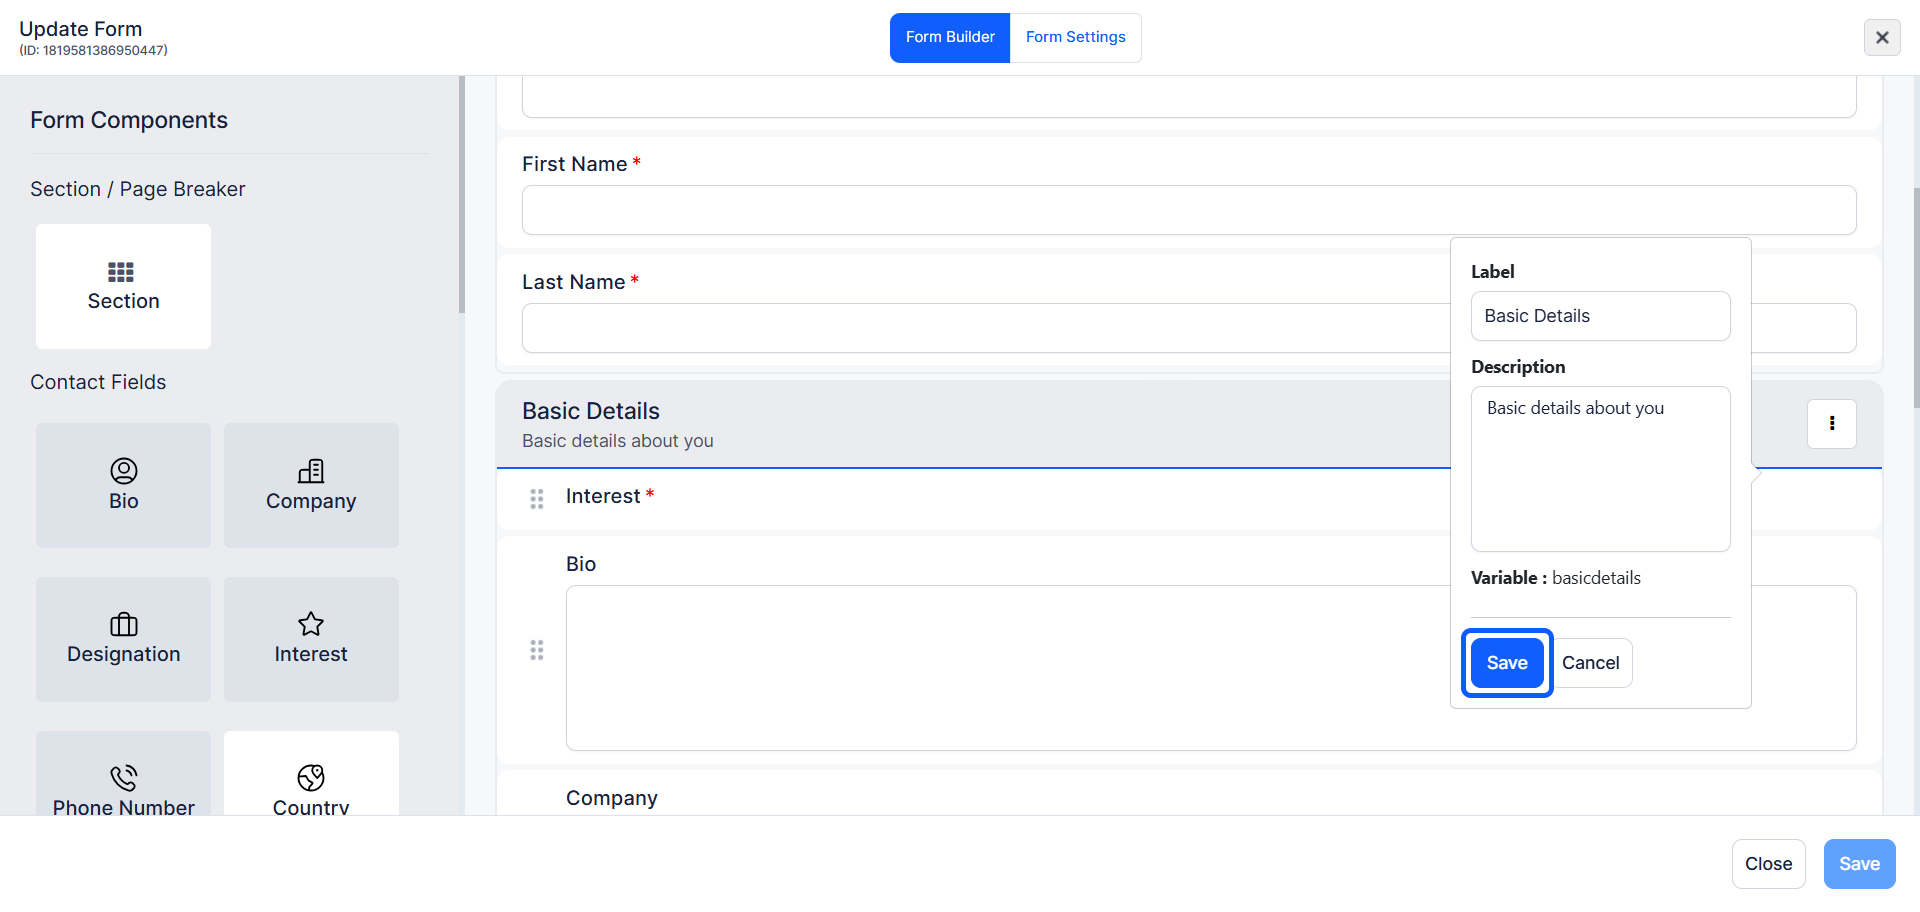
13: The following sections can all be edited if you want
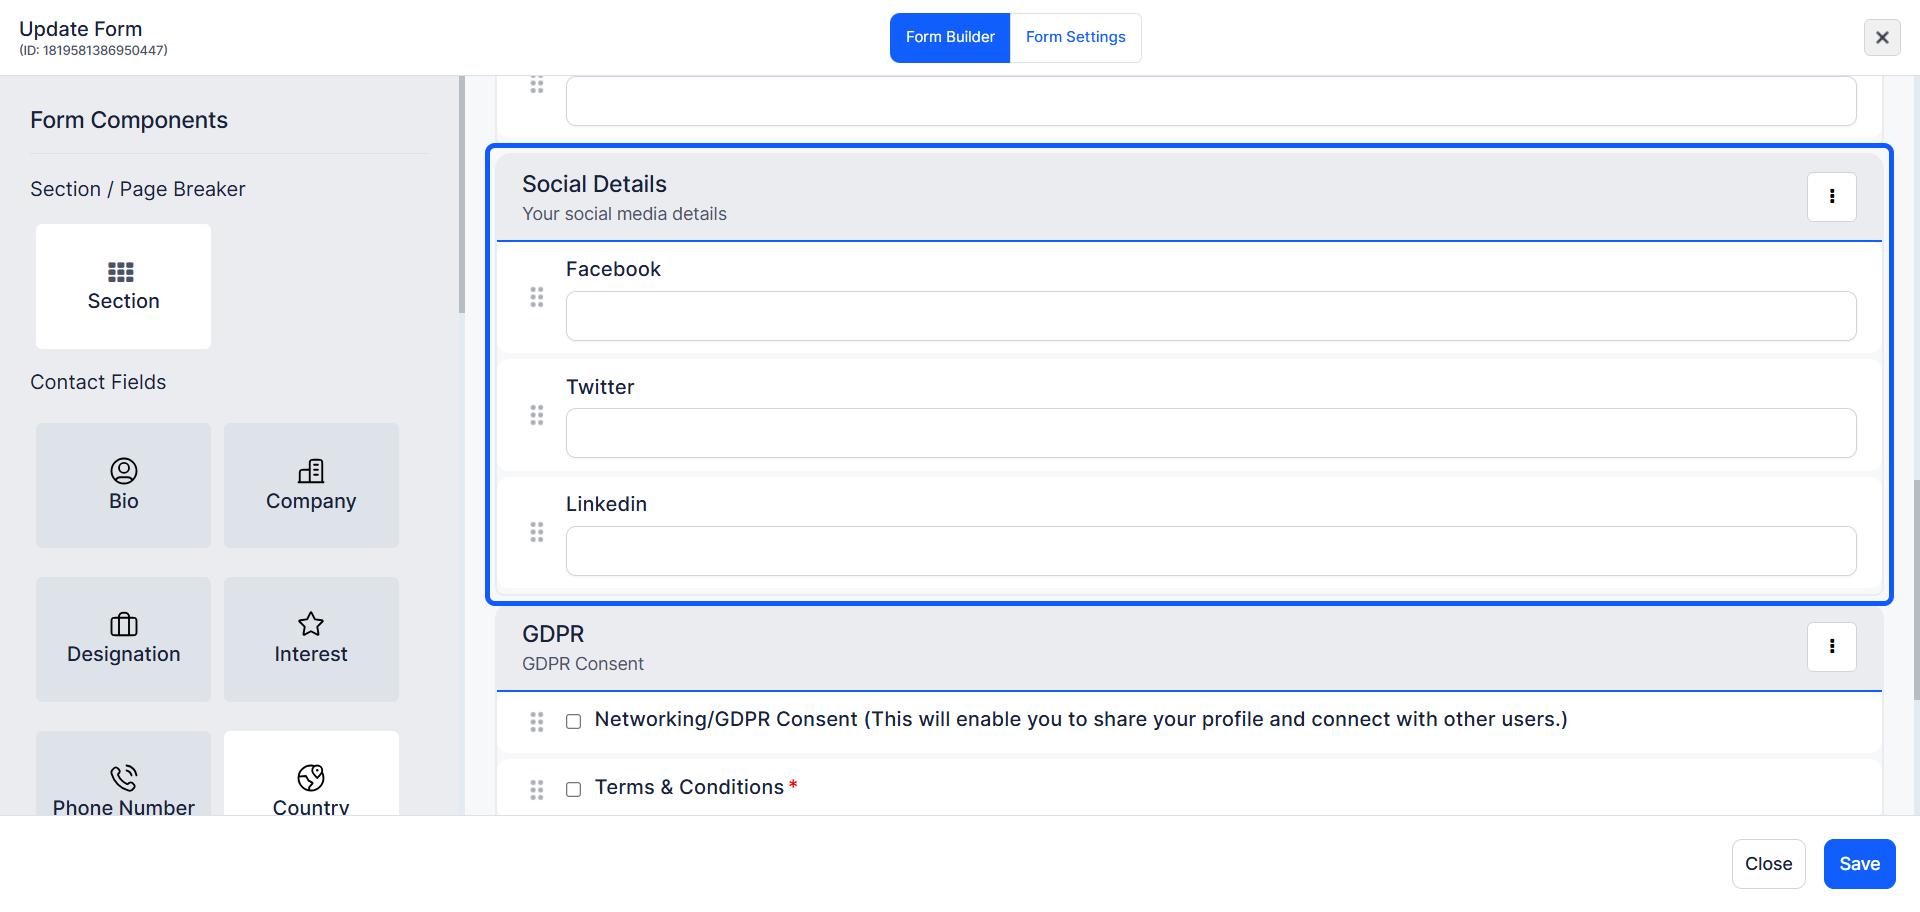
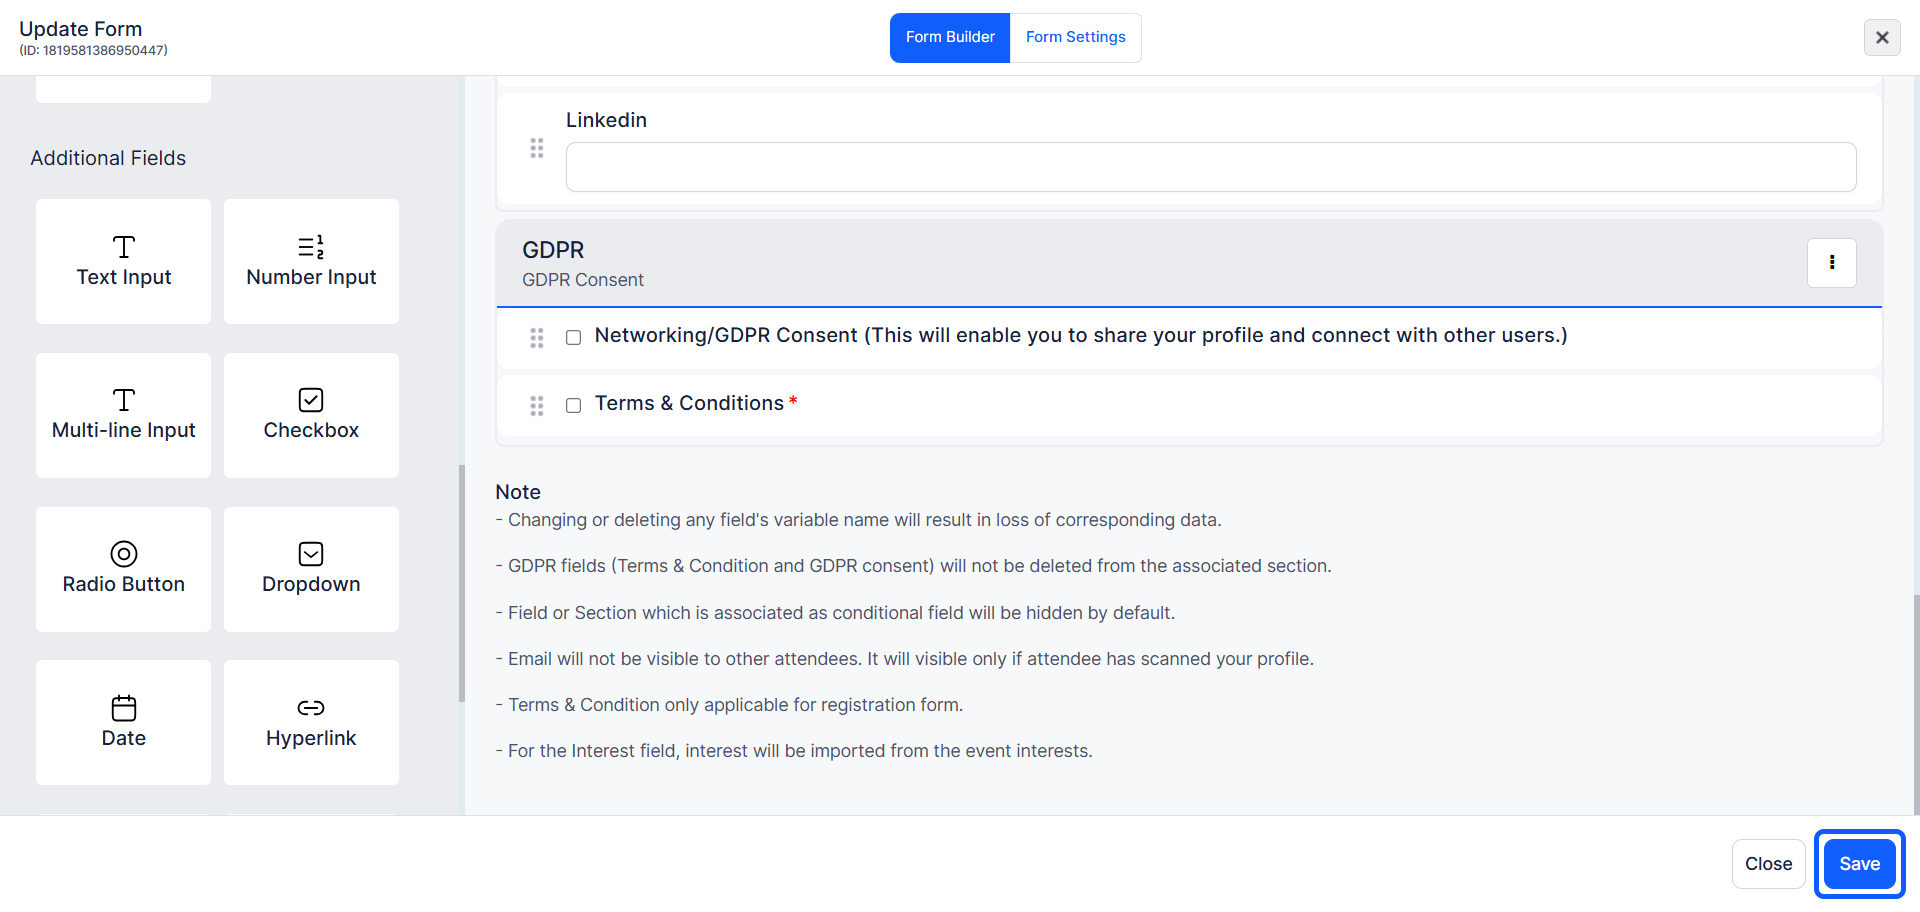
14: The "GDPR consent" and "T&C" fields are not deletable
Any other fields in this section can be deleted
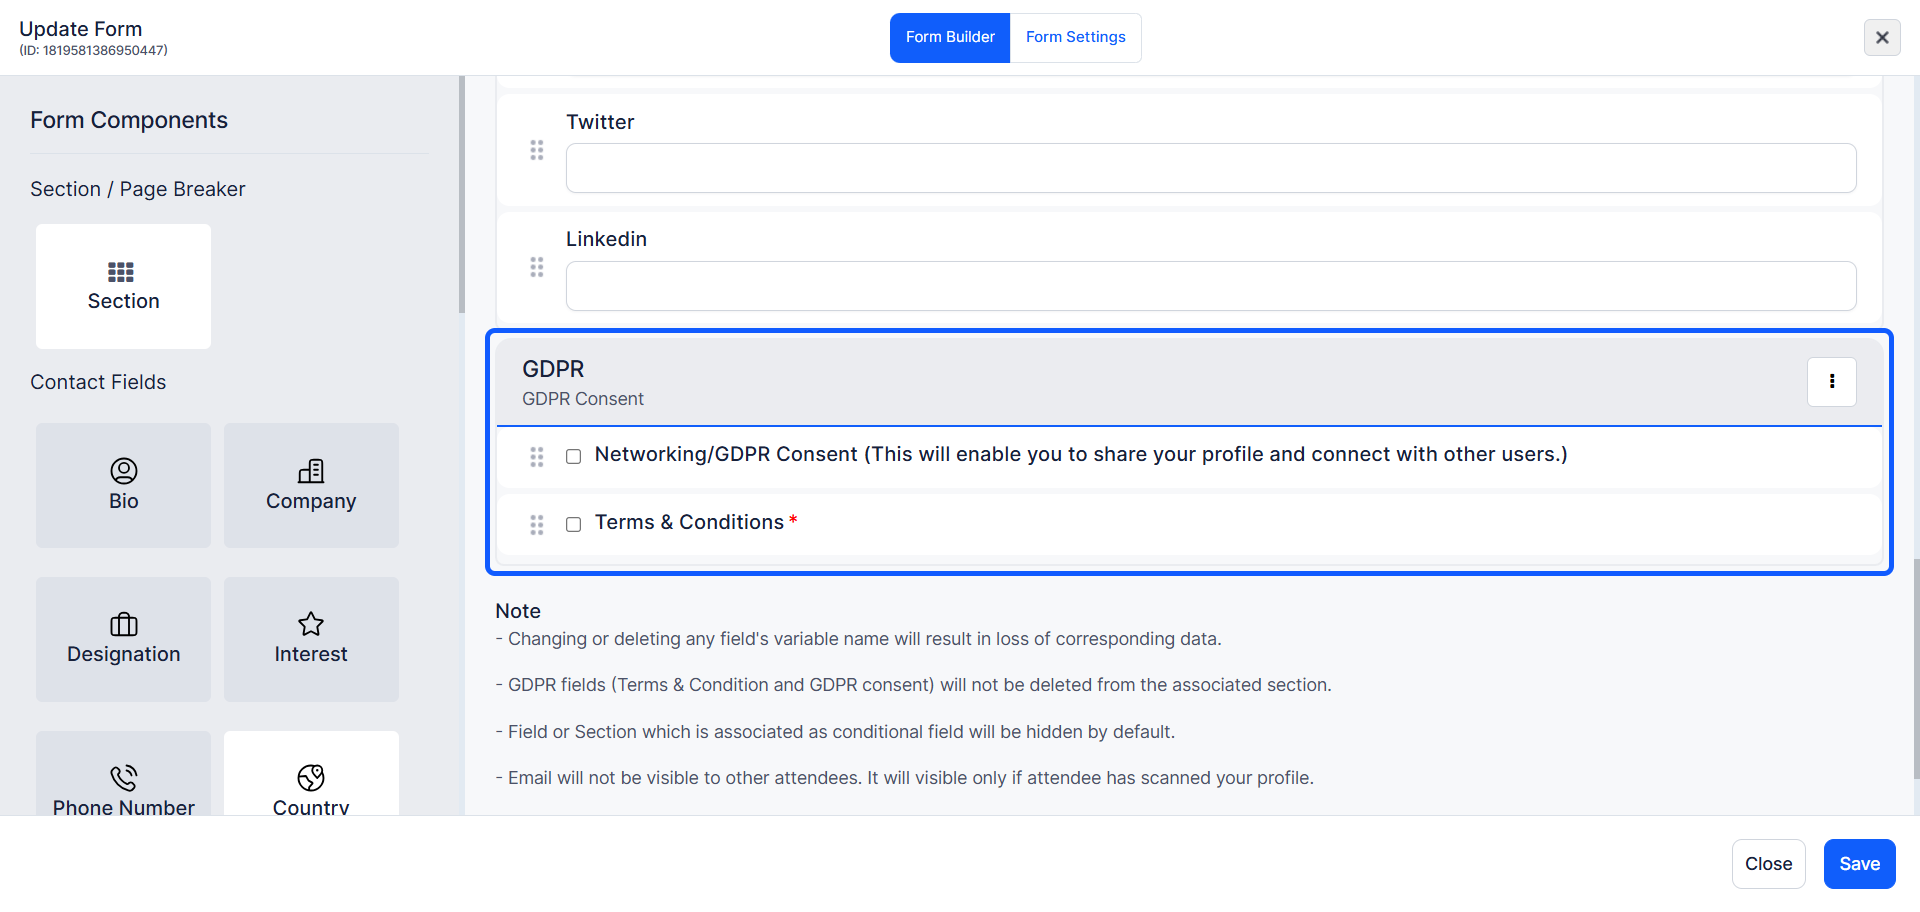
15: If you want, you can add new sections.
In the form builder, select Section from the Form Components on the right side, then drag and drop it into the desired position on the form.
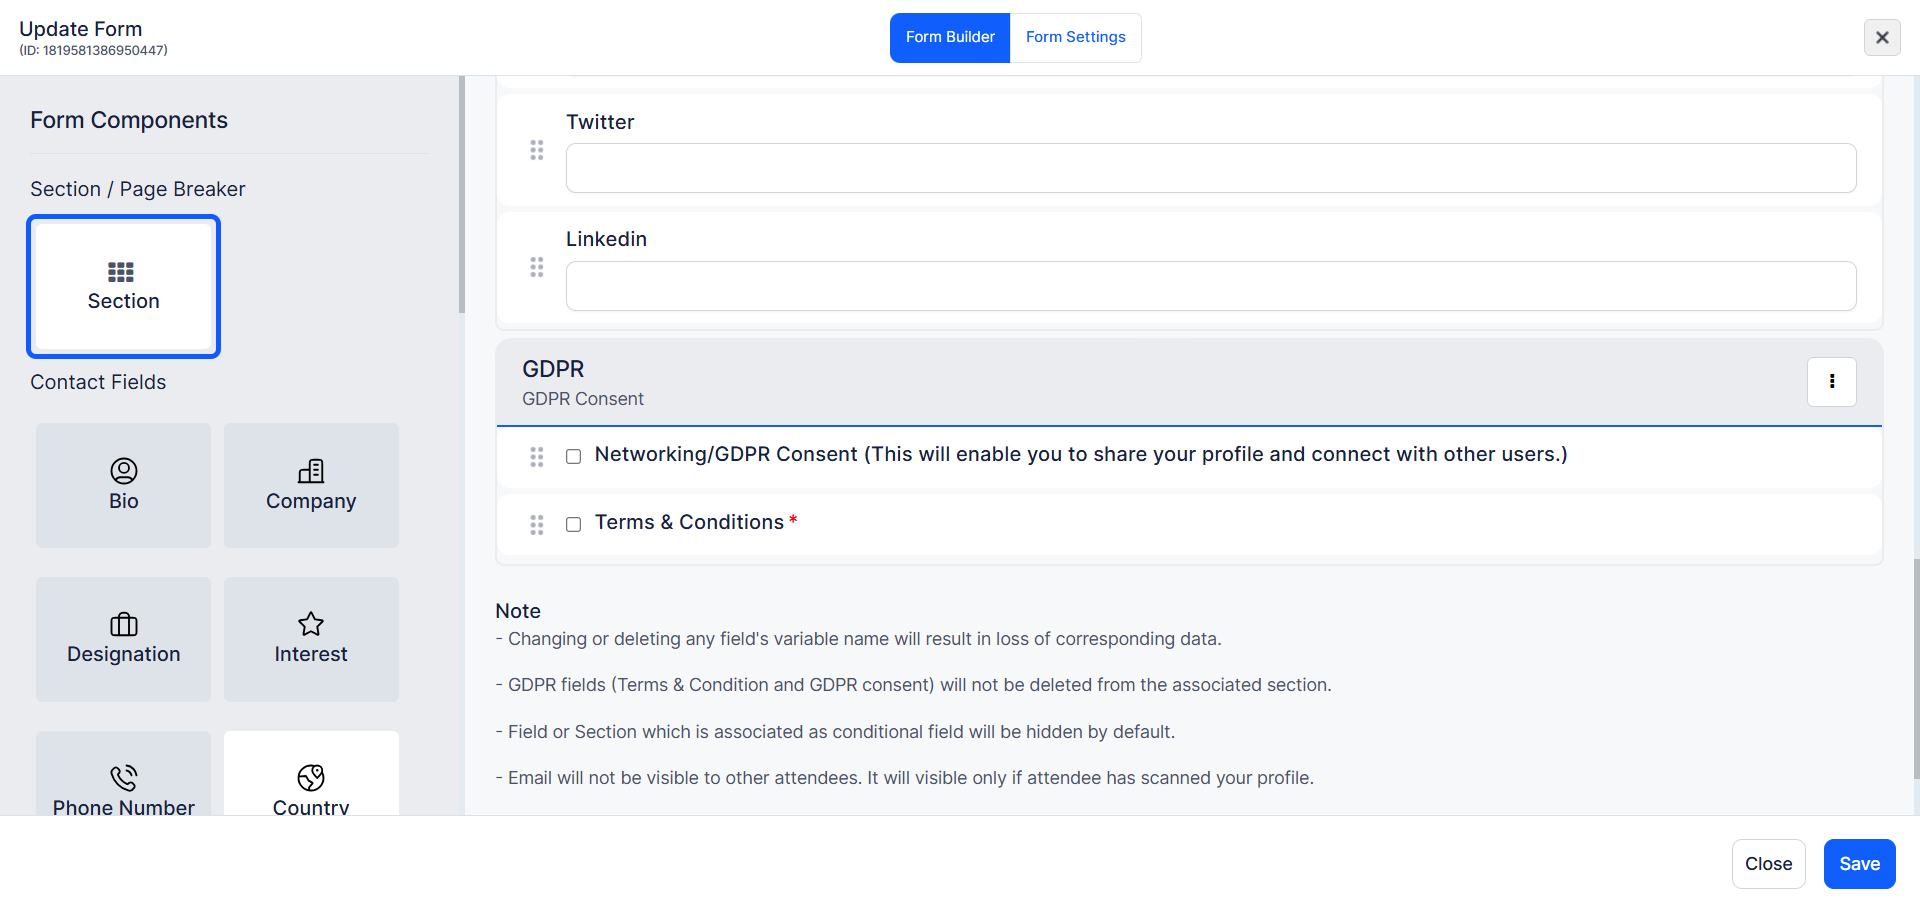
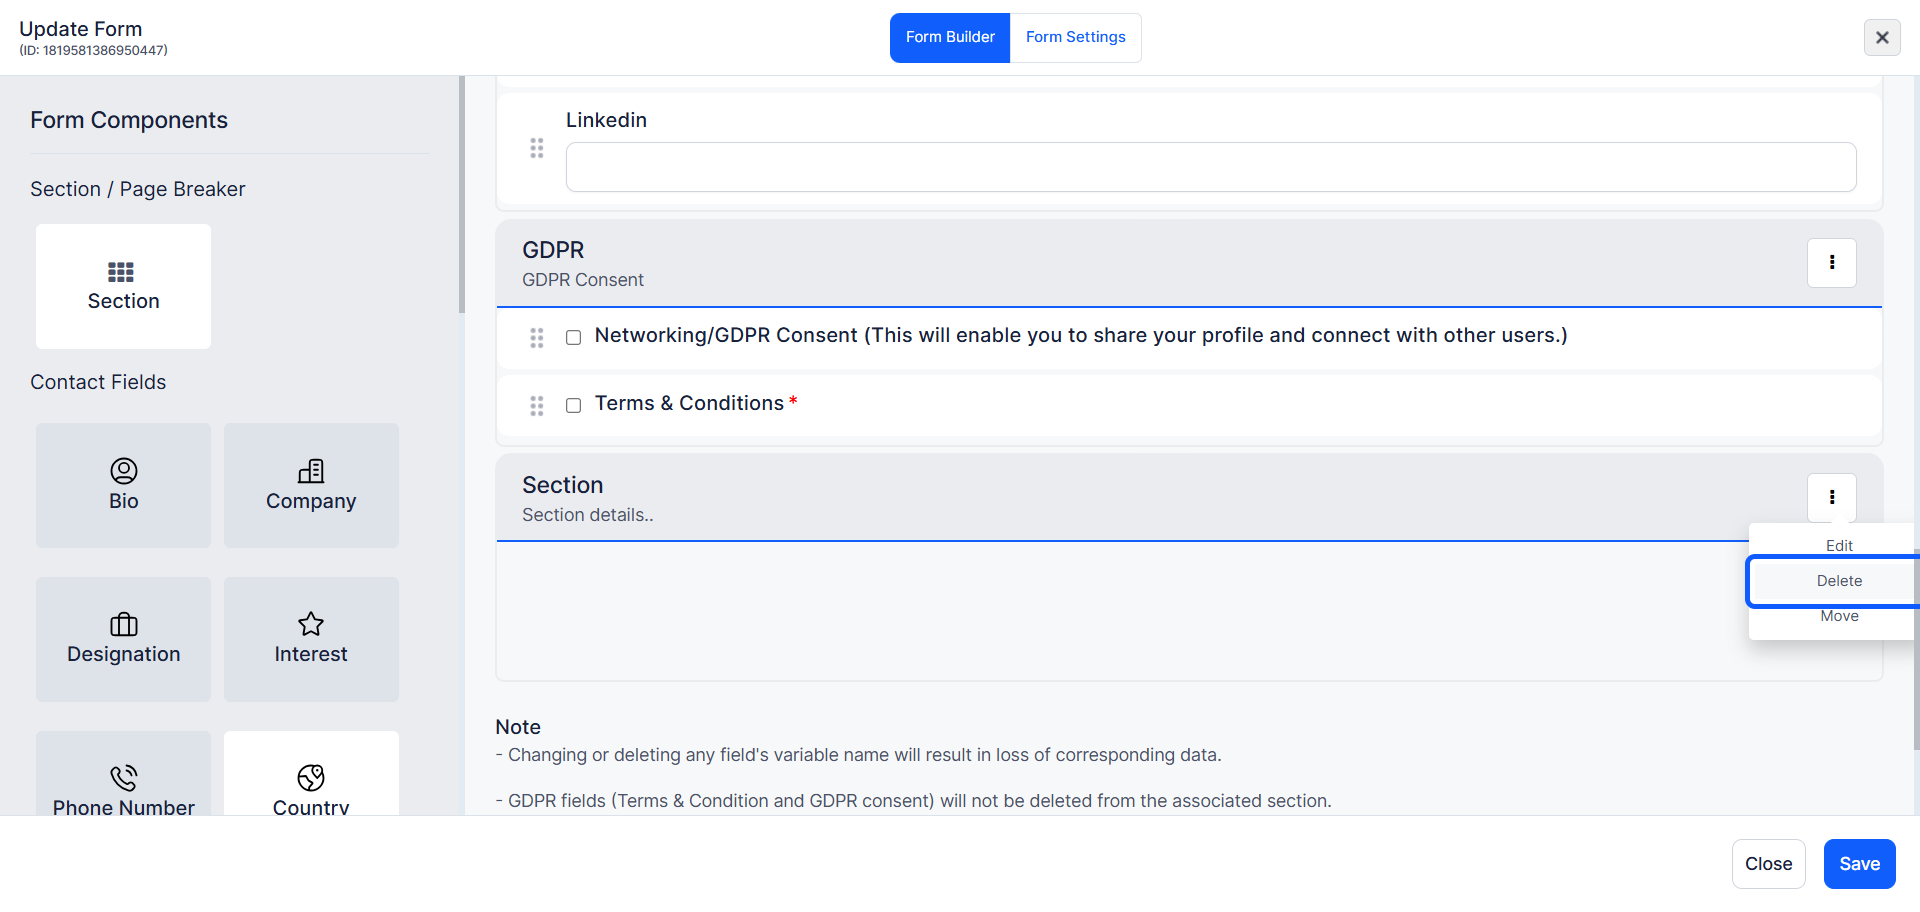
16: To "Edit", "Delete" and "Move" a section, click the three-dot menu next to the section title.
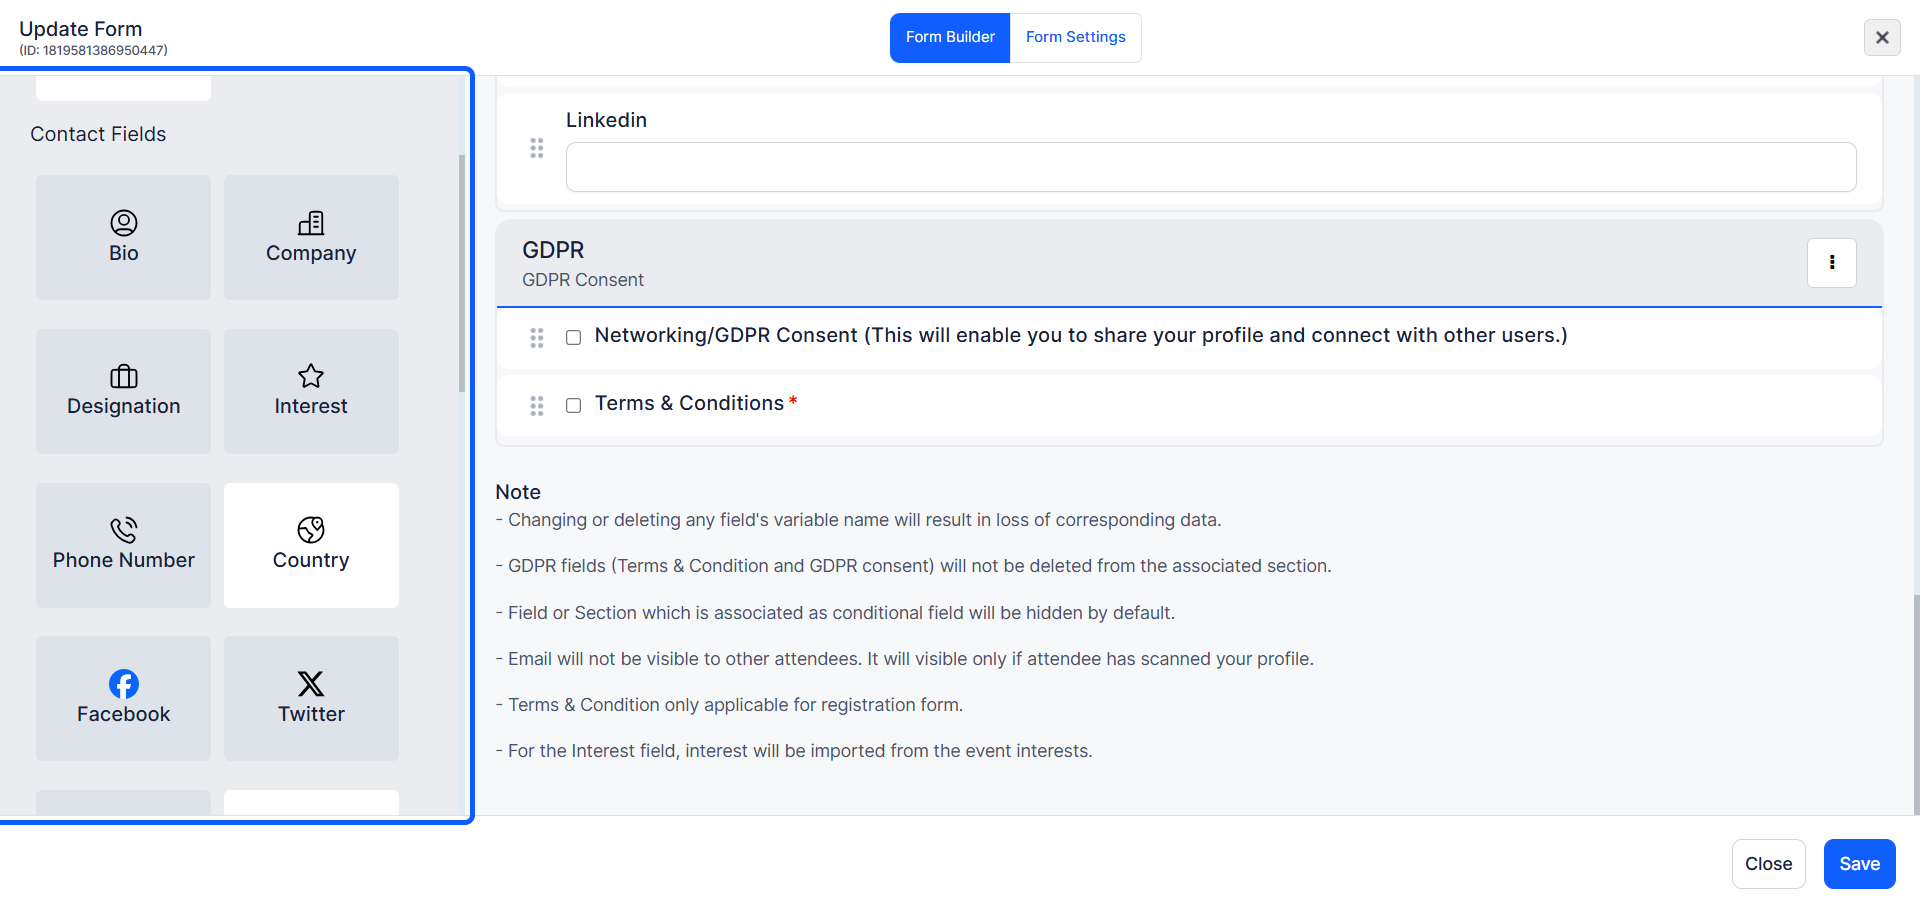
17: You can add various field types such as contact fields.
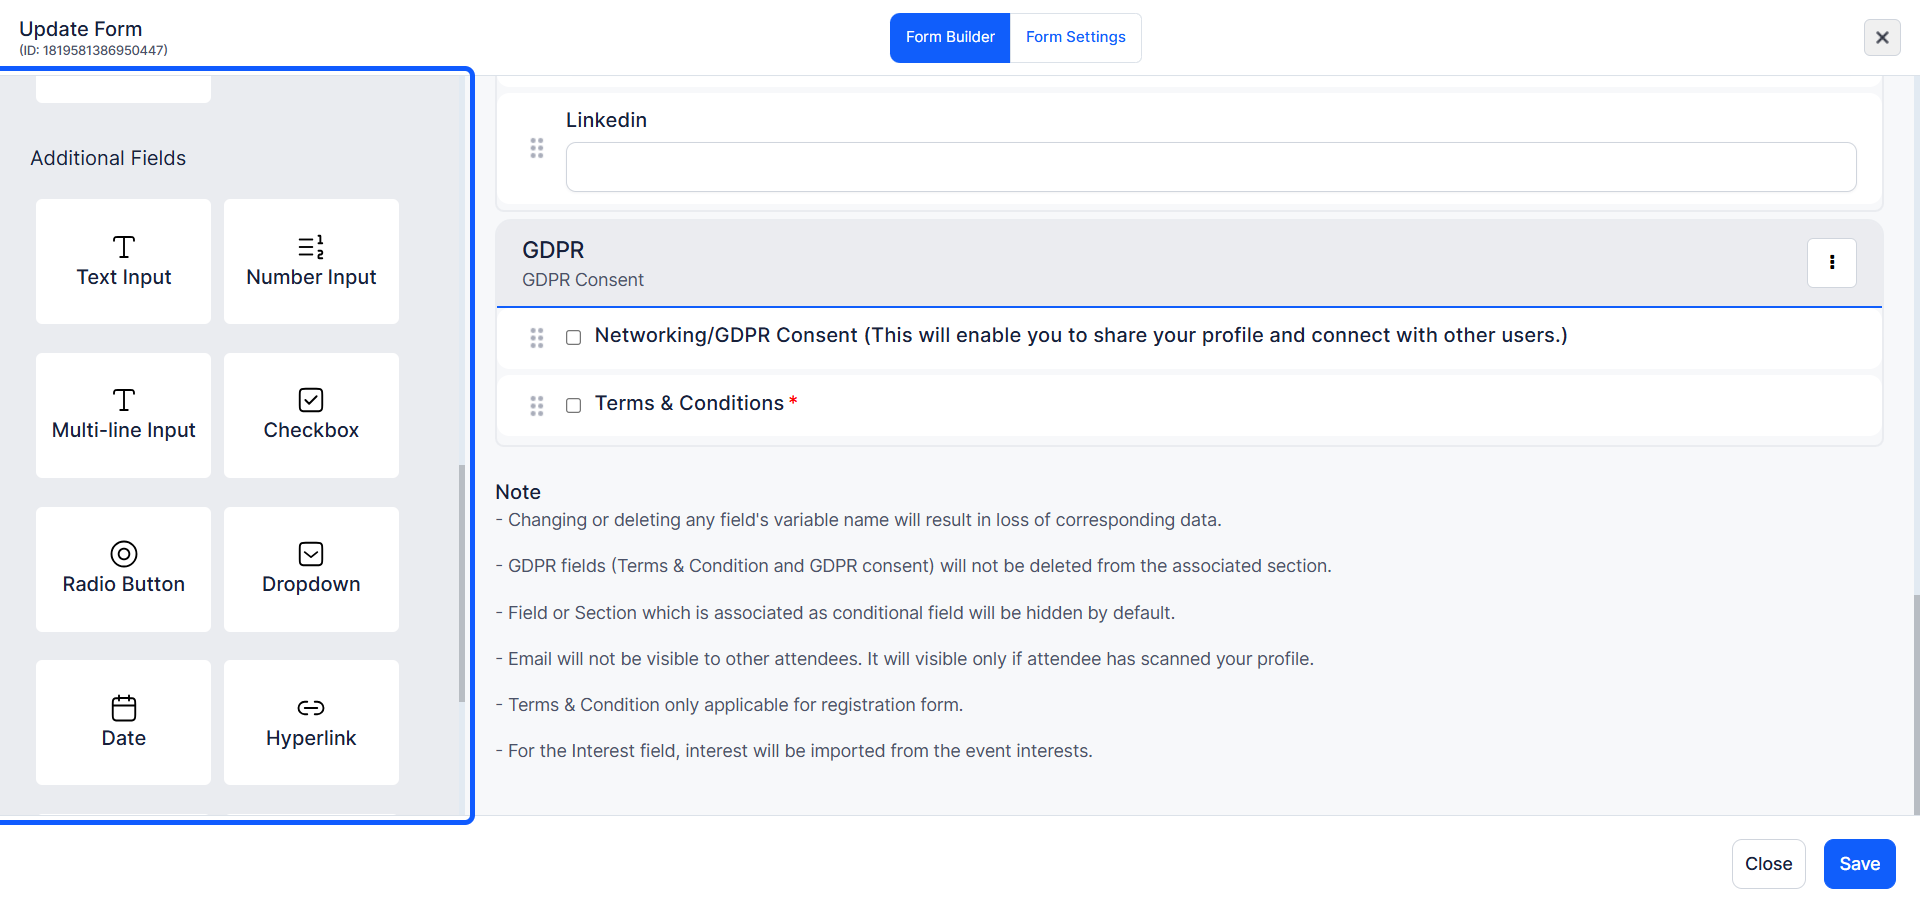
18: You can also add “additional fields” checkboxes, dropdowns, and more to capture all necessary attendee information.
Drag and drop the required fields from the form components into your form layout.
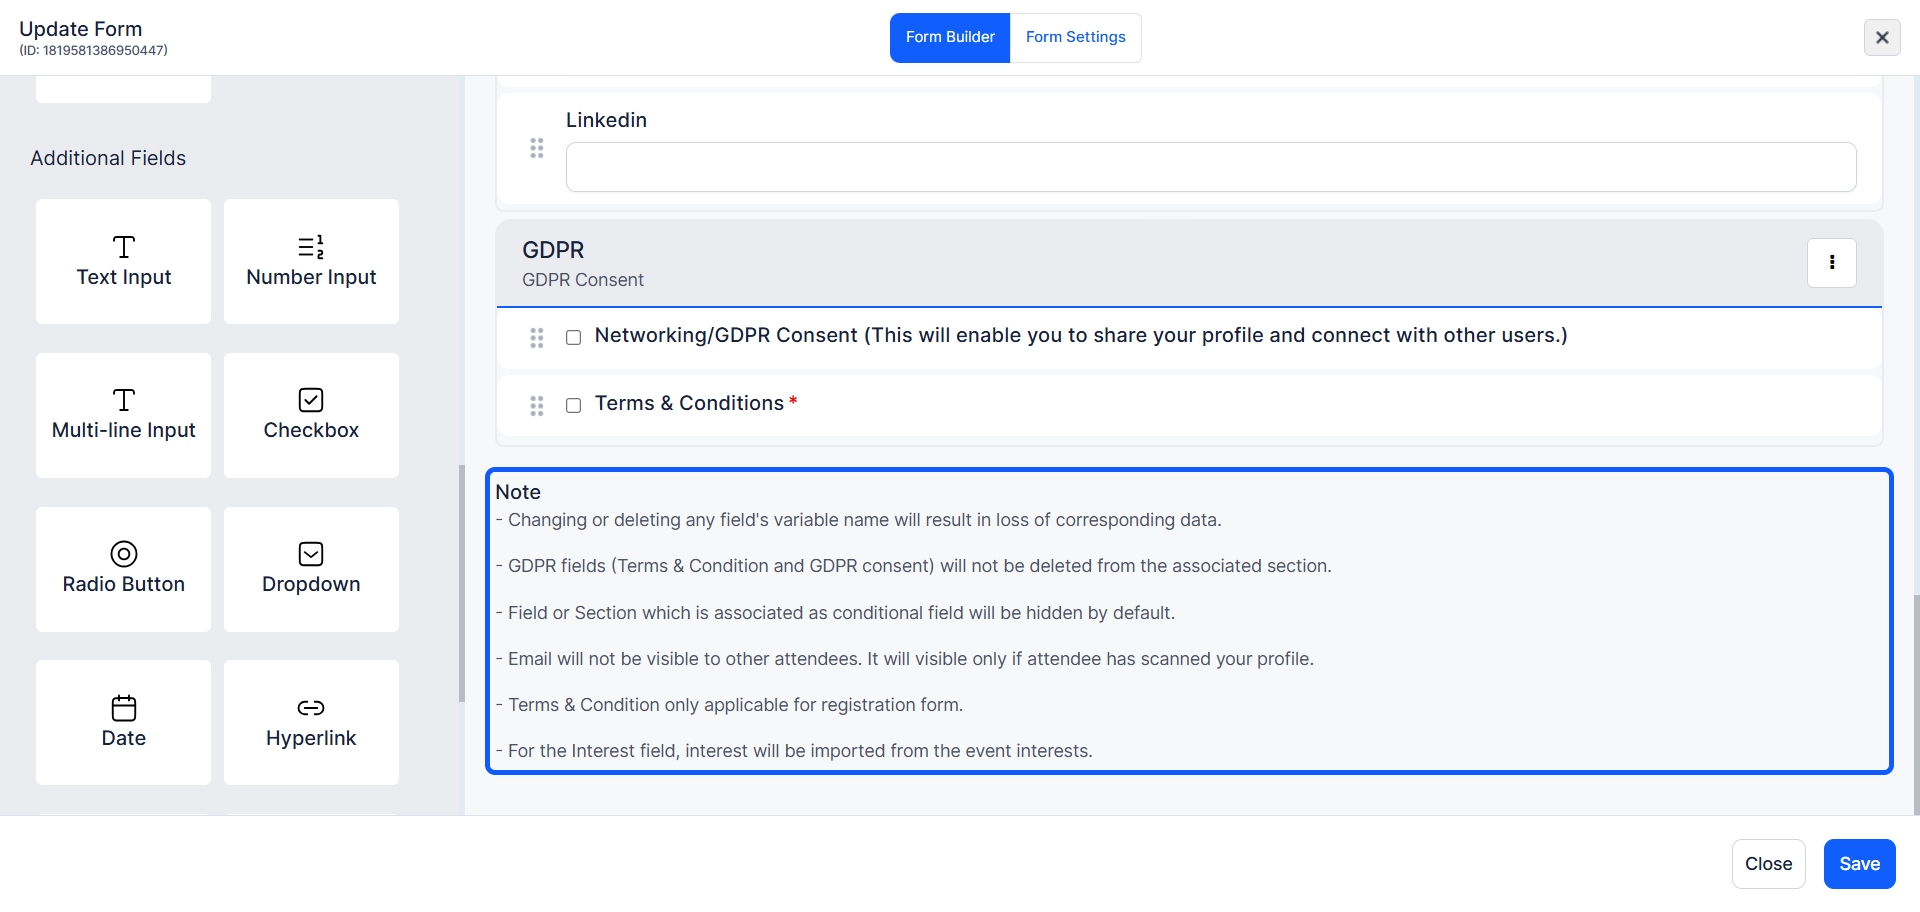
19: Review the form thoroughly to ensure all necessary fields are included and accurately configured.
Read any notes or instructions provided within the form builder to ensure compliance with best practices.
20: Once satisfied with the form setup, click the "Save" button to apply all changes.
