Integrating HubSpot can be particularly useful if you want to import or export attendee data to and ad from Eventify. Here is how you can integrate.
Step-by-step guide
1: Access the Eventify Admin Panel and navigate to Registration
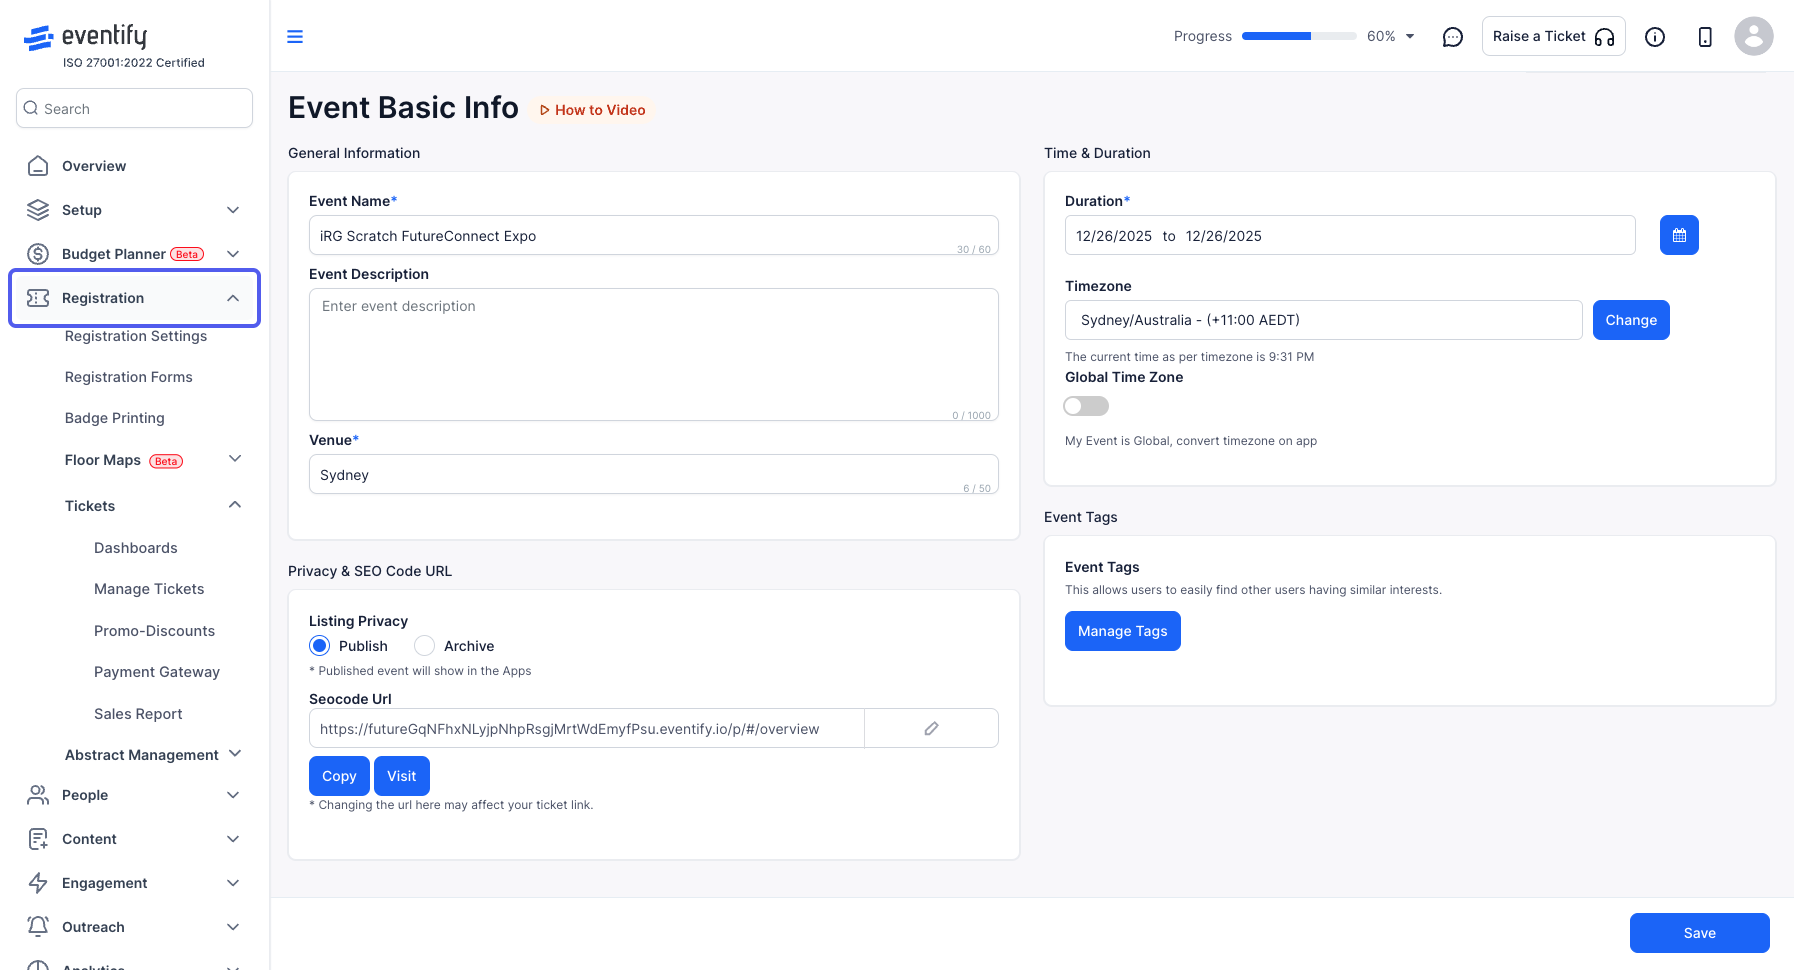
2: Click on Registration Forms
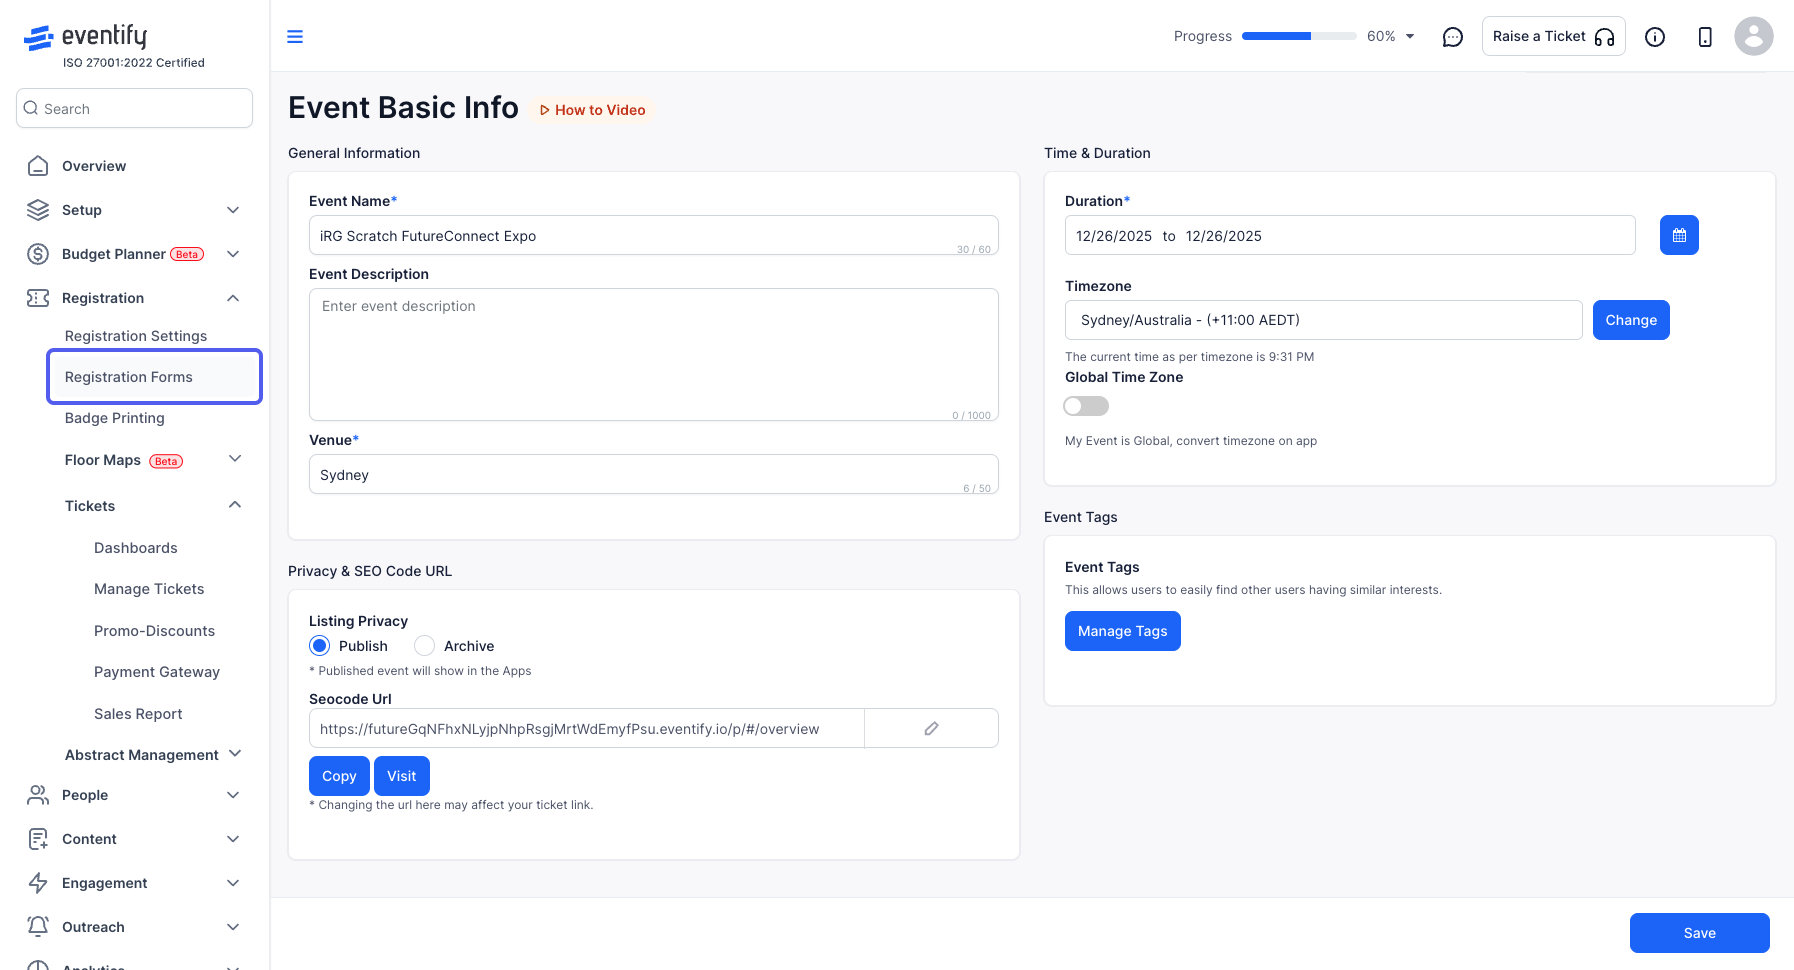
3: Click the Edit icon
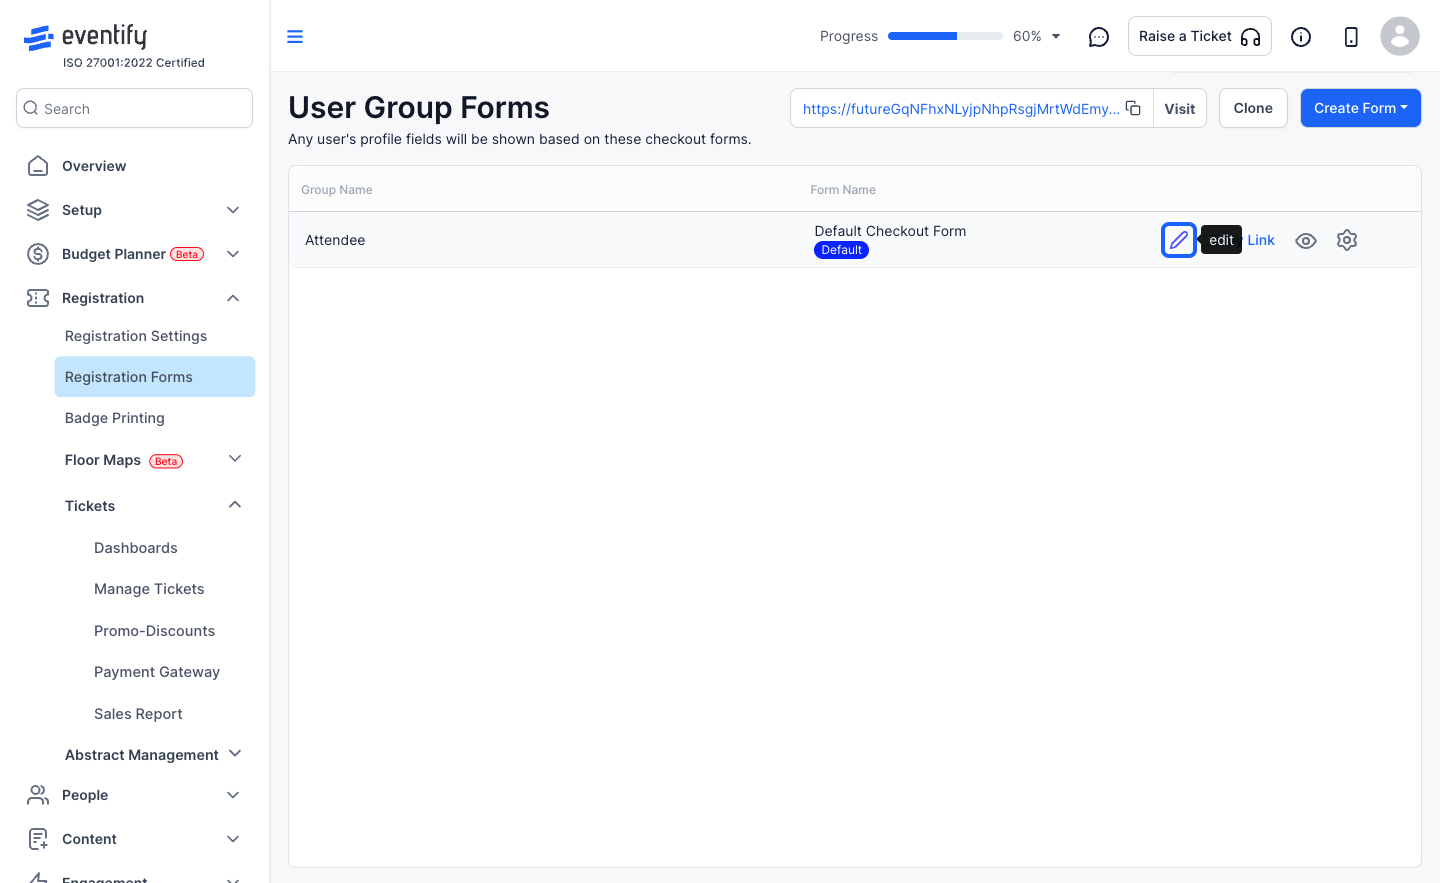
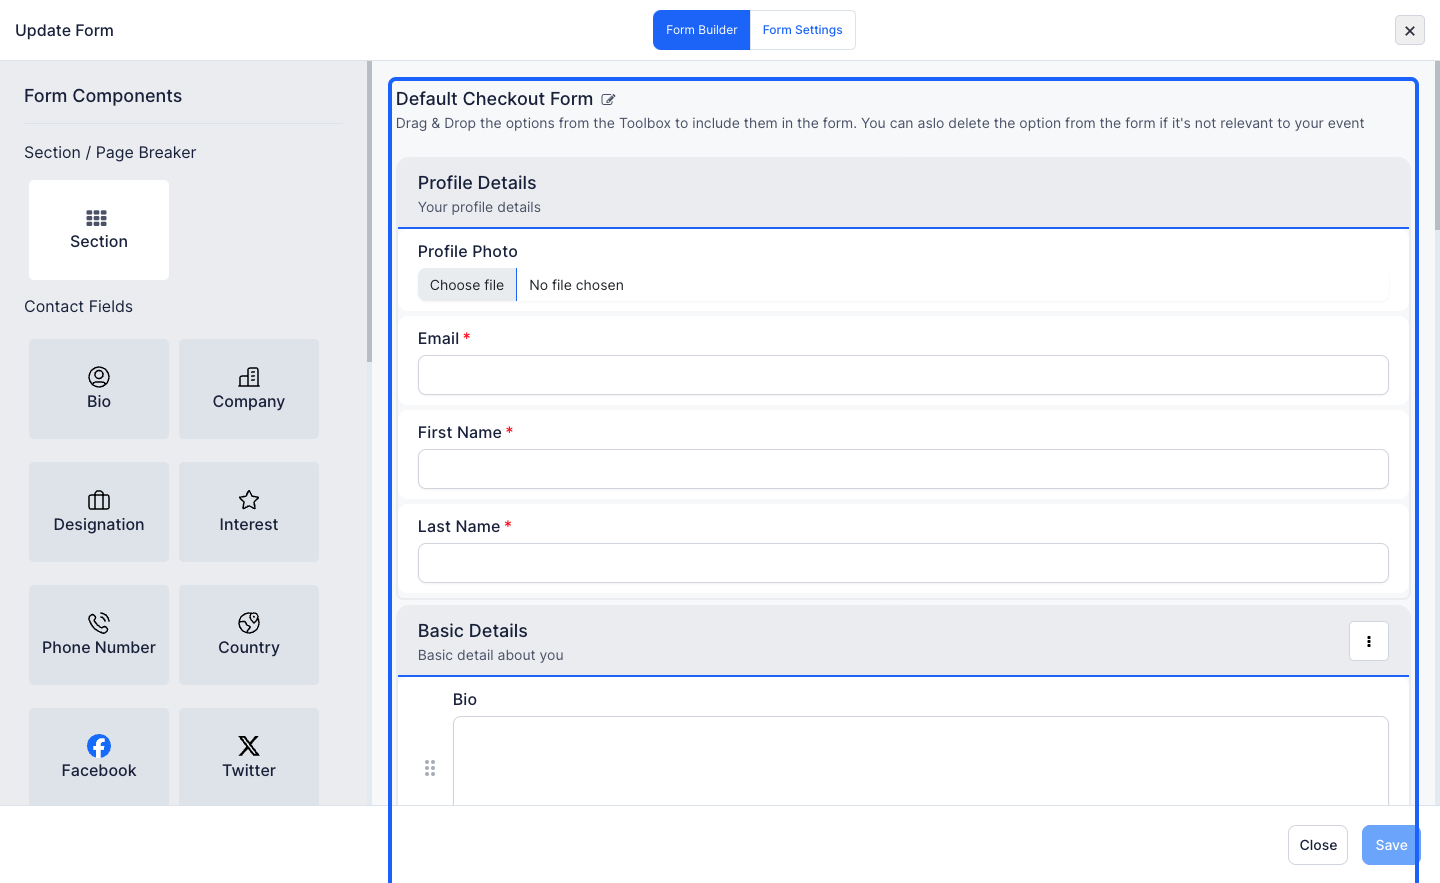
4: Check the form fields. These fields will be synced
5: Go to Settings
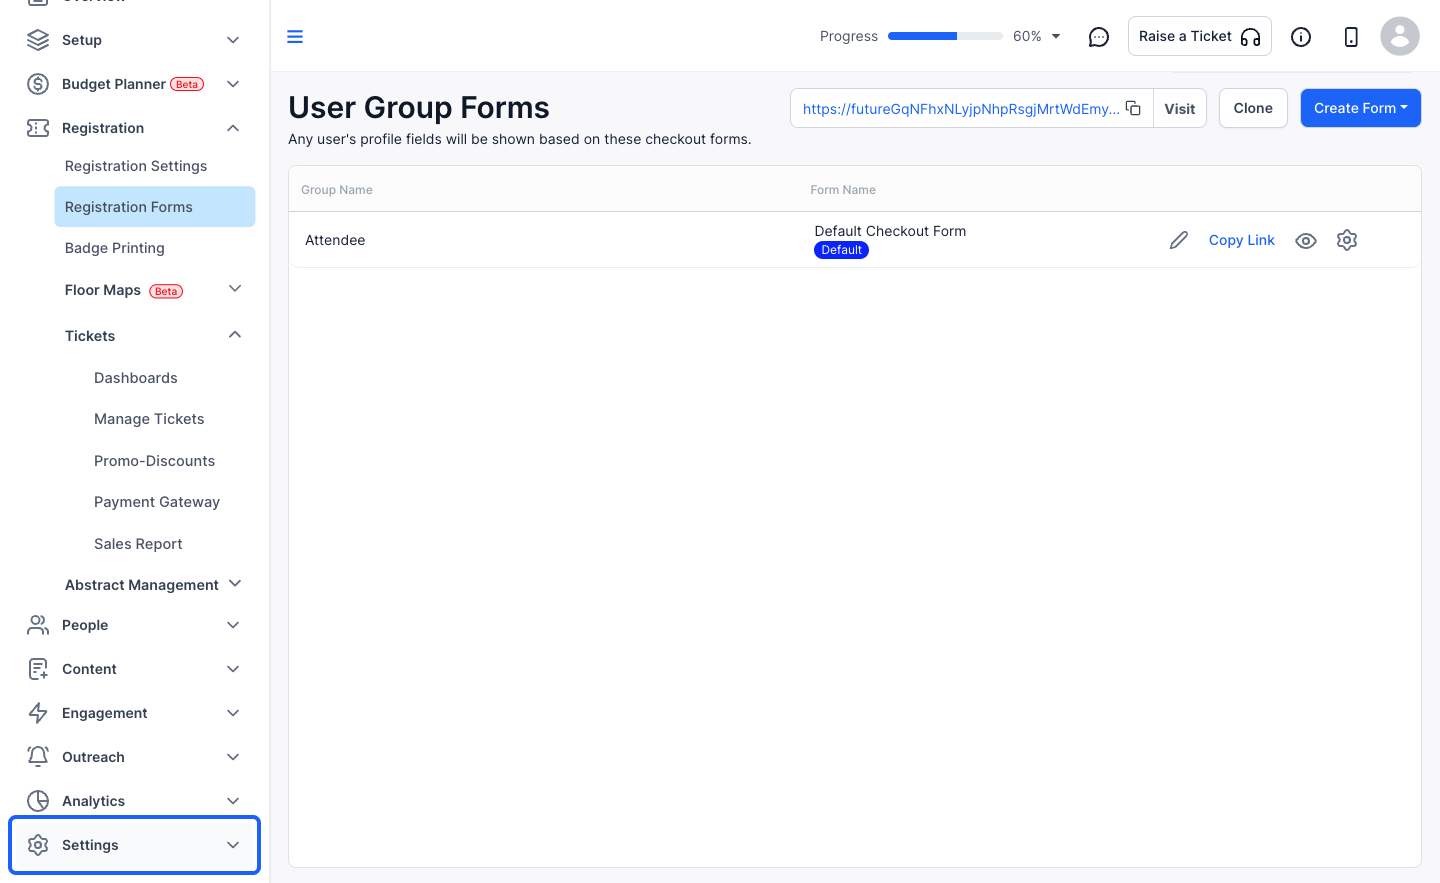
6: Click on integrations
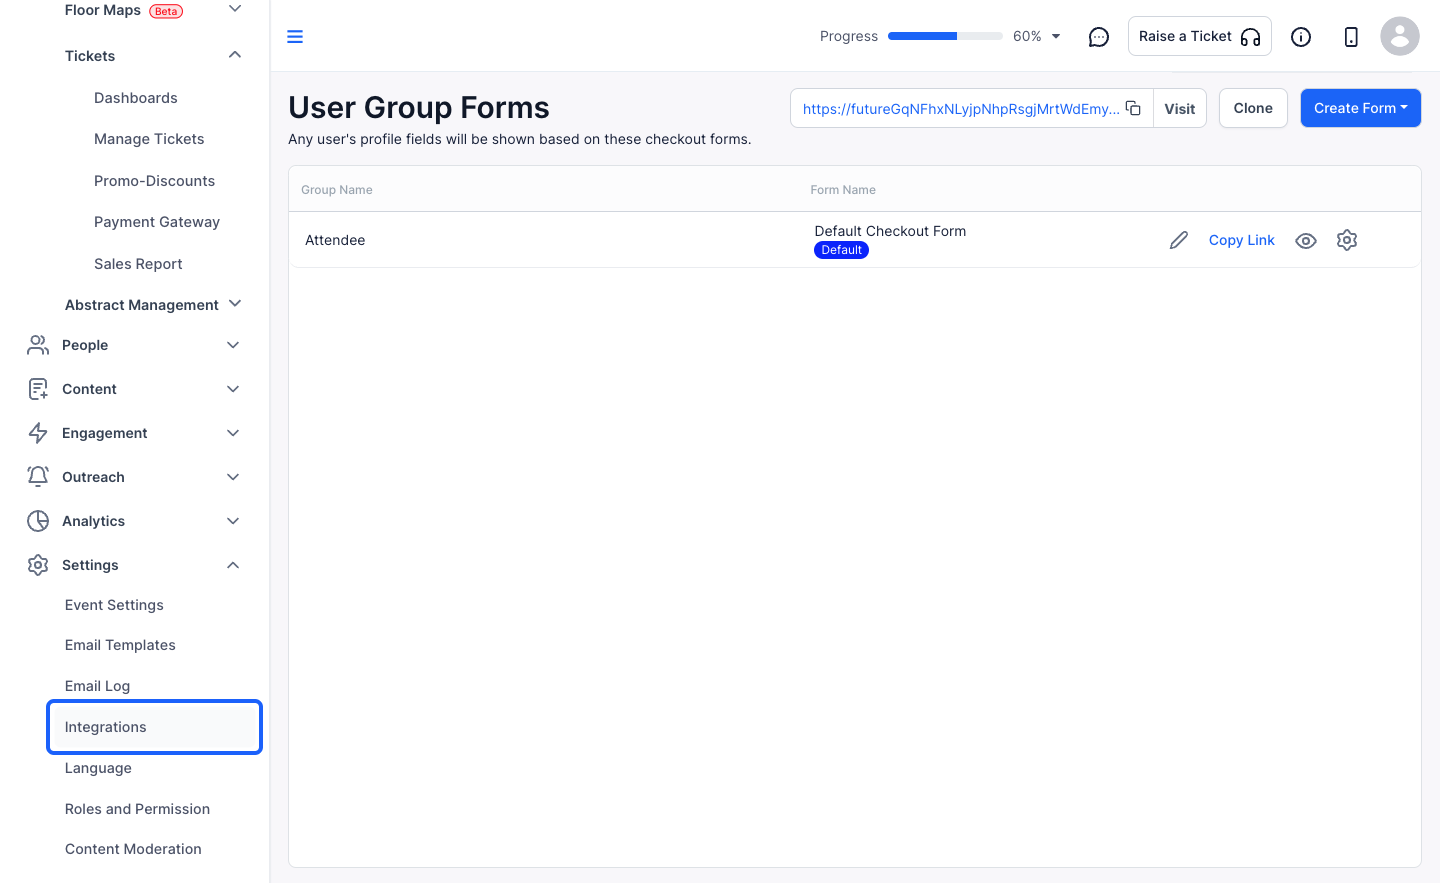
7: Go to Hubspot
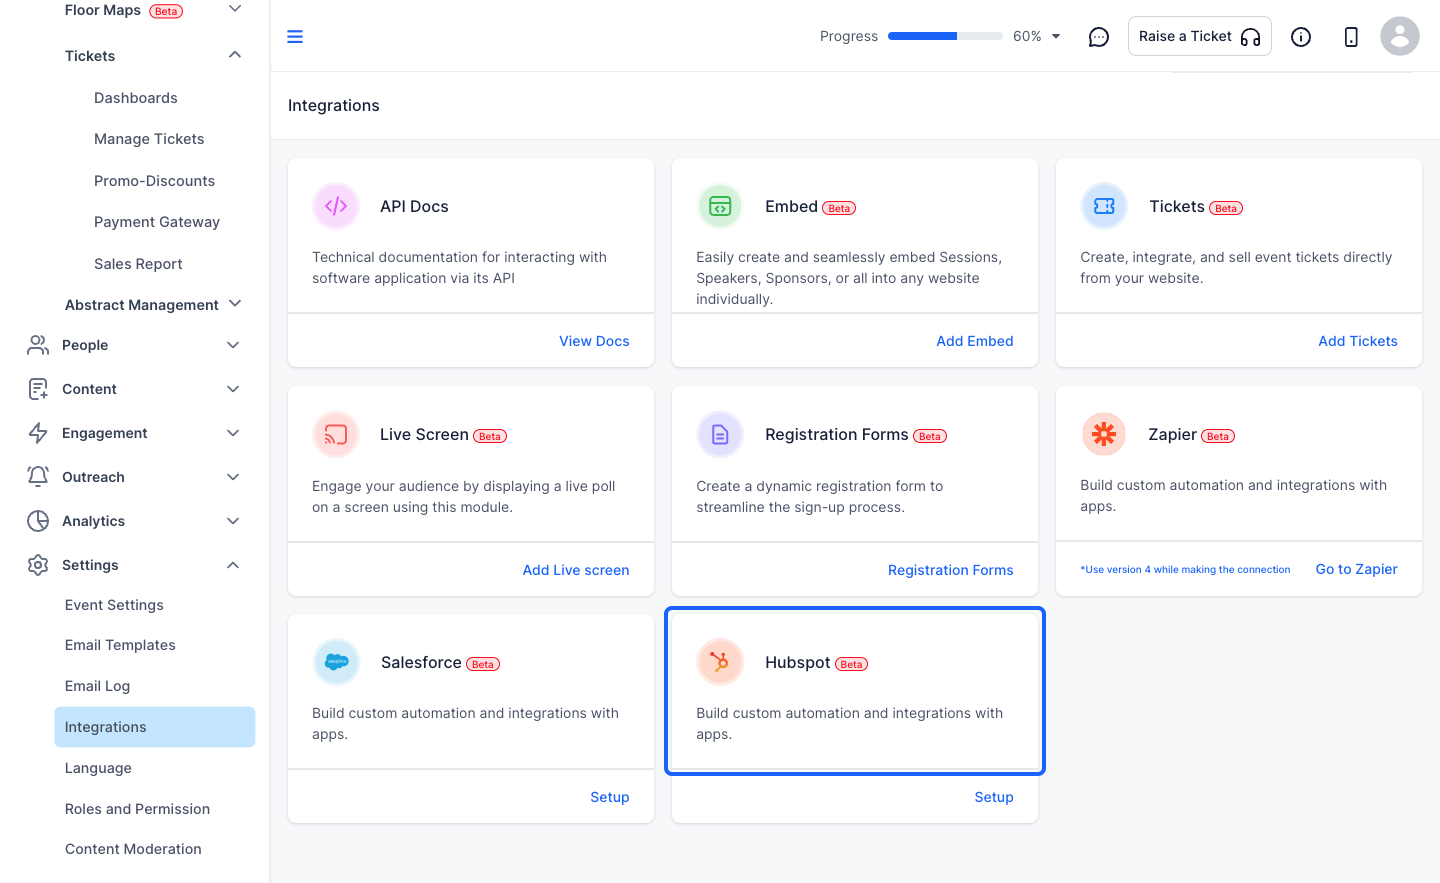
8: Click on Setup
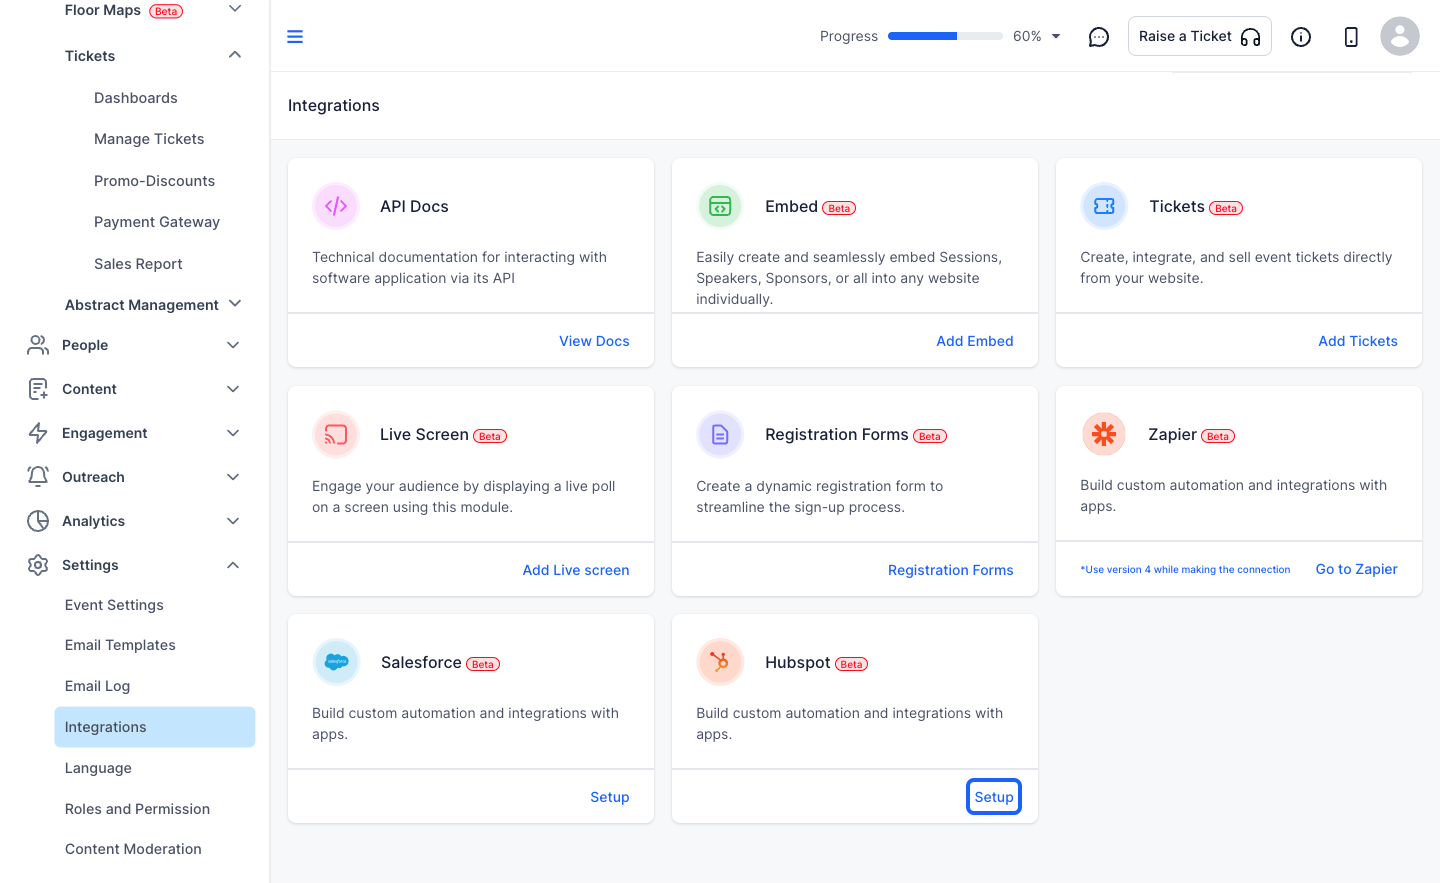
9: Click on Connect
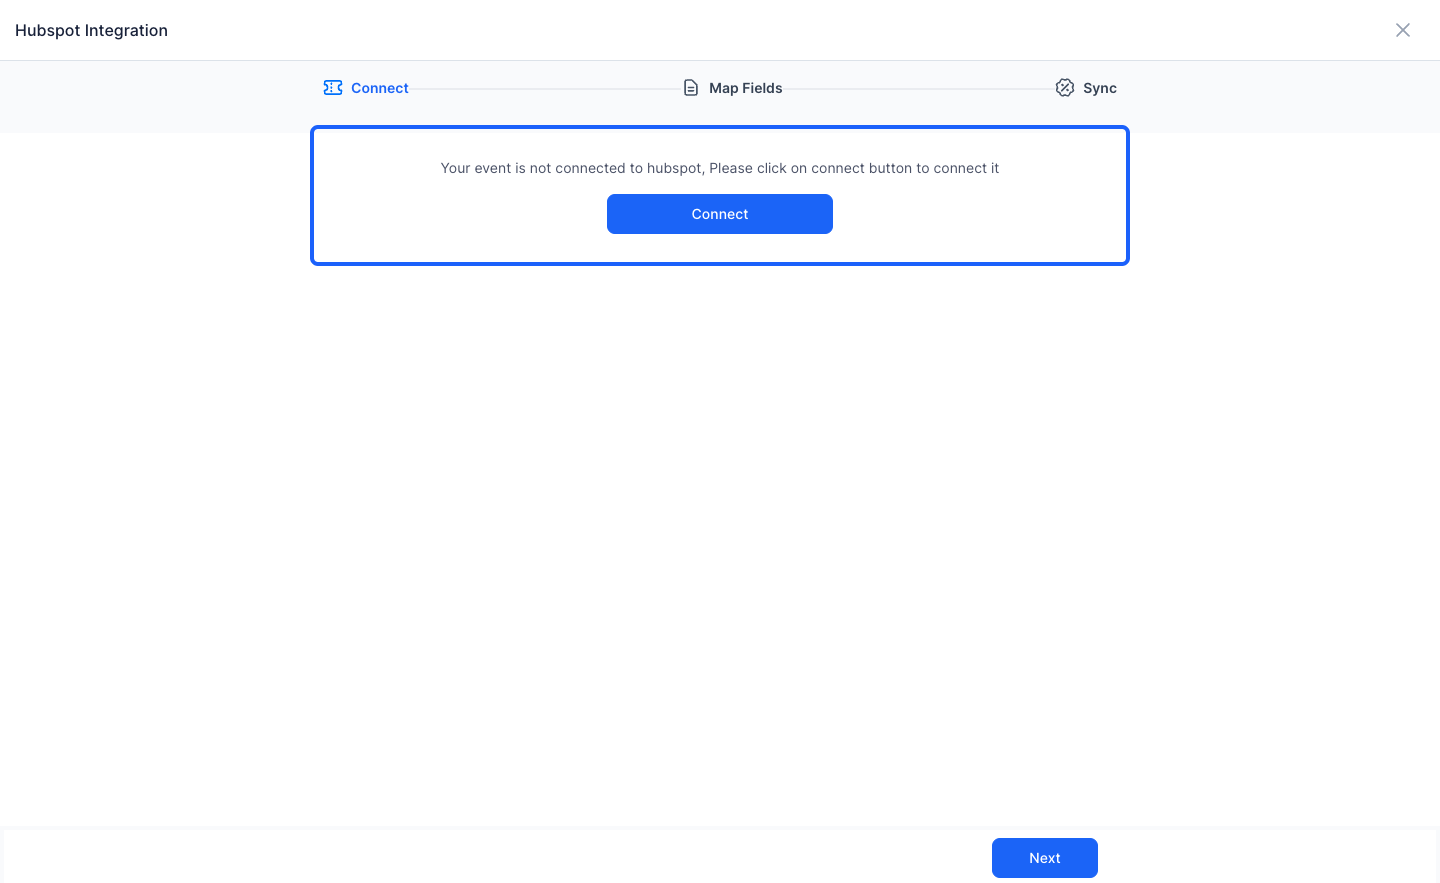
10: Connect with your Hubspot account
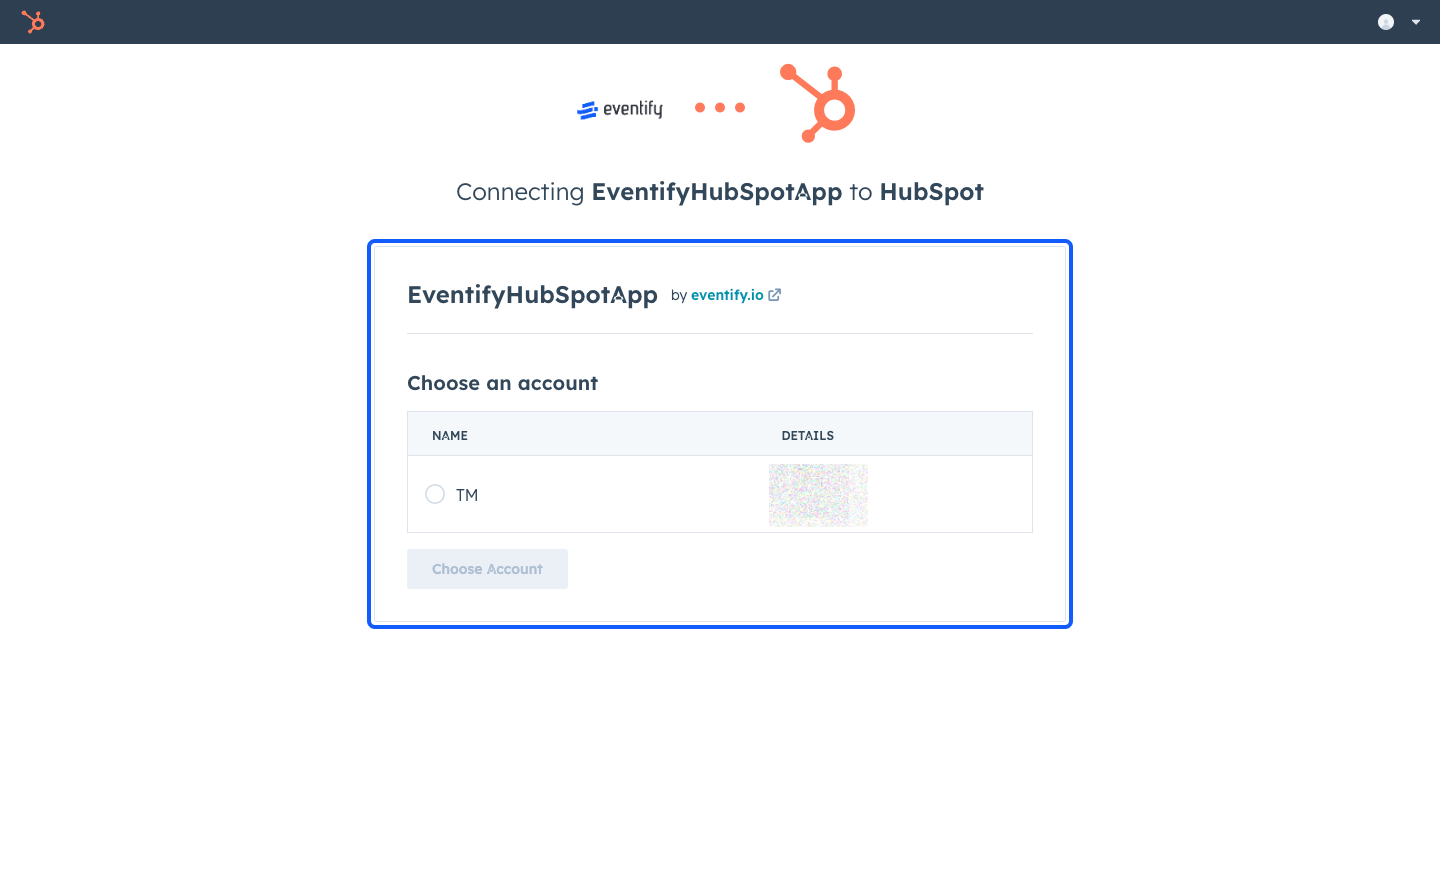
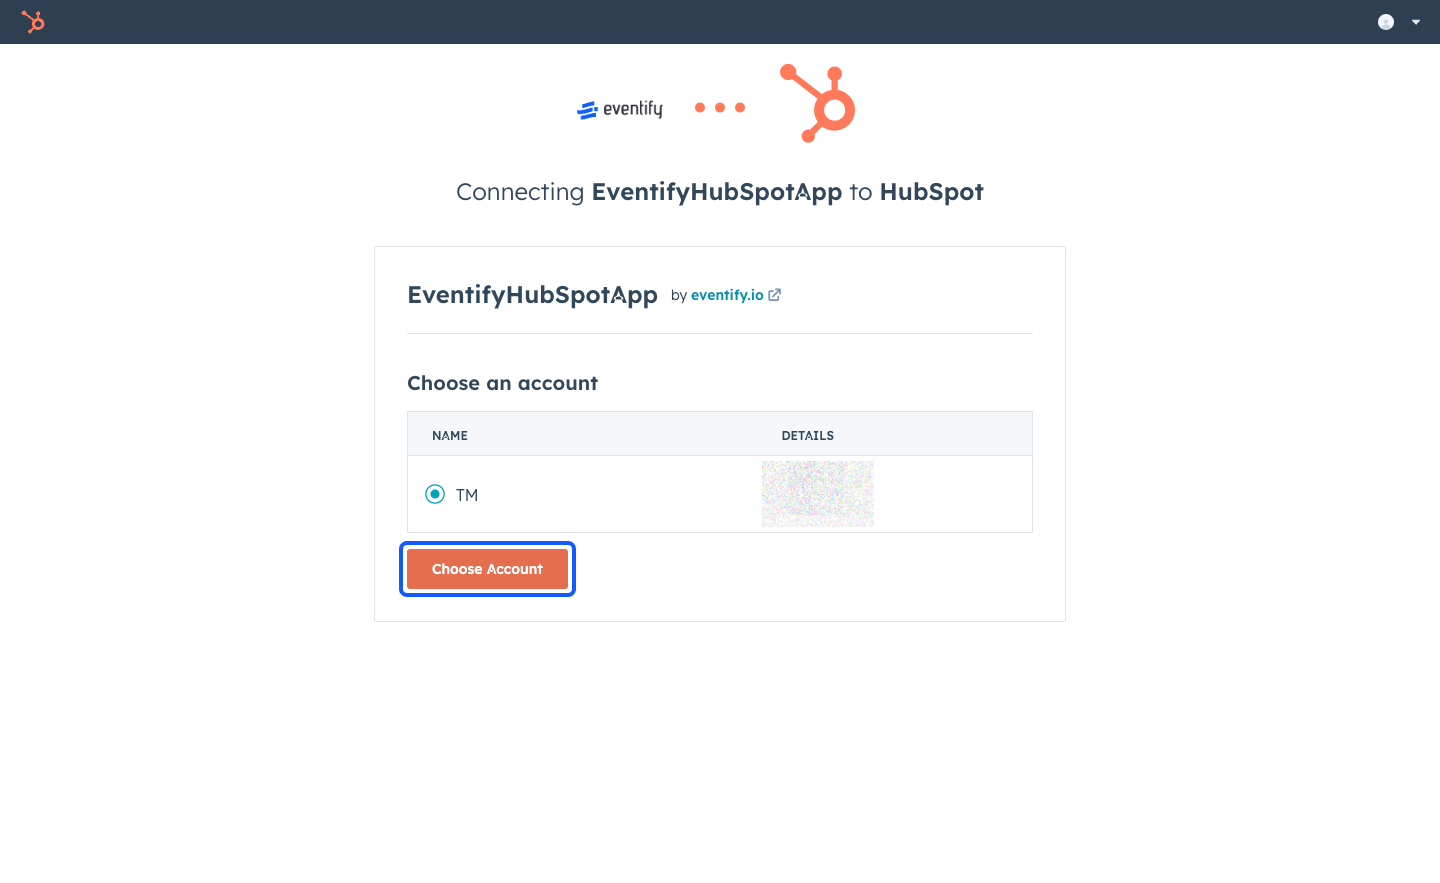
11: Click the “Choose Account” button
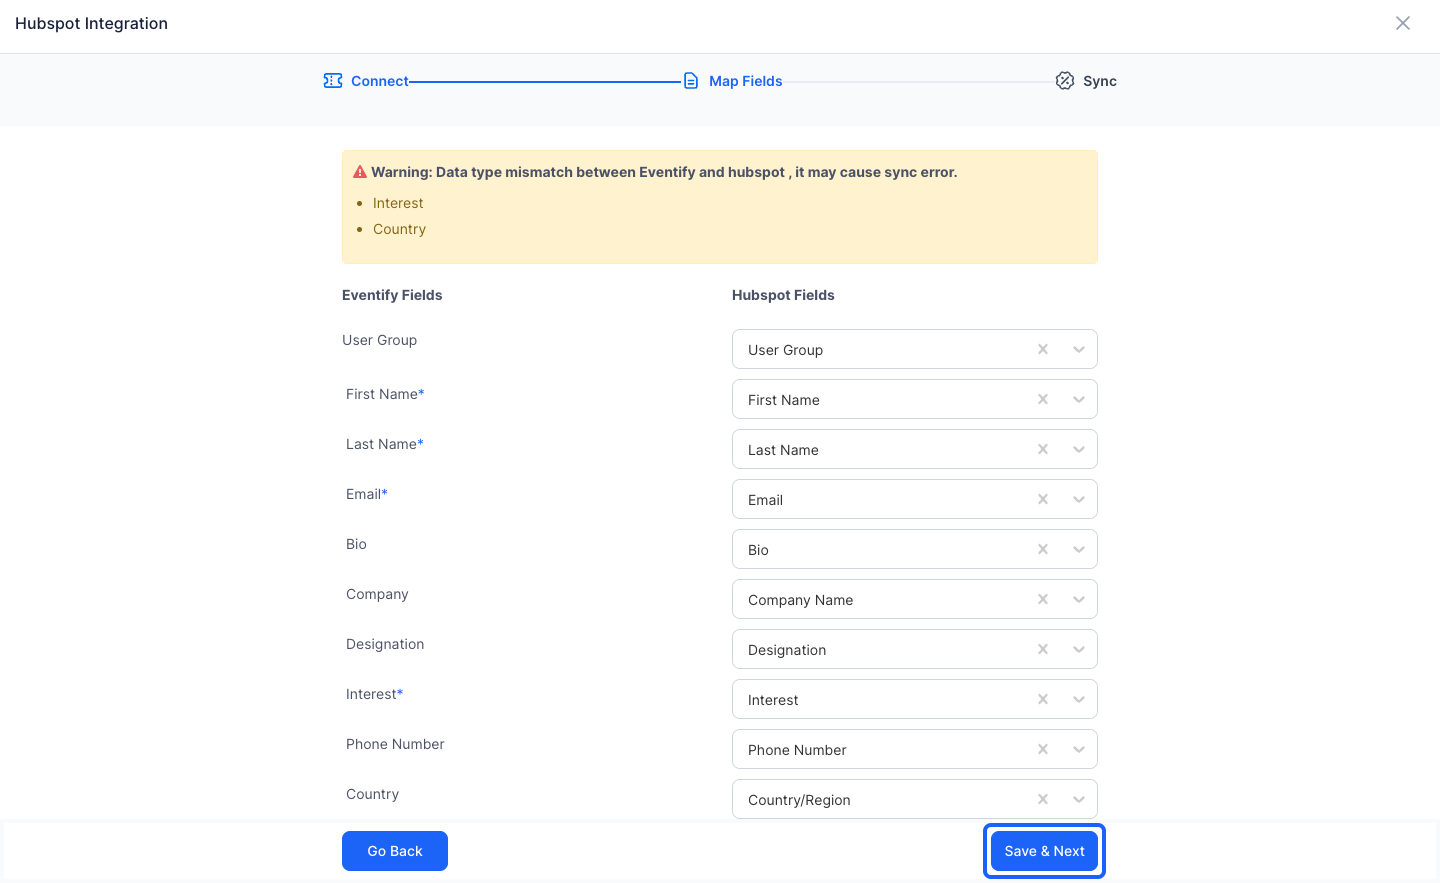
12: Map the Fields from Eventify to Hubspot
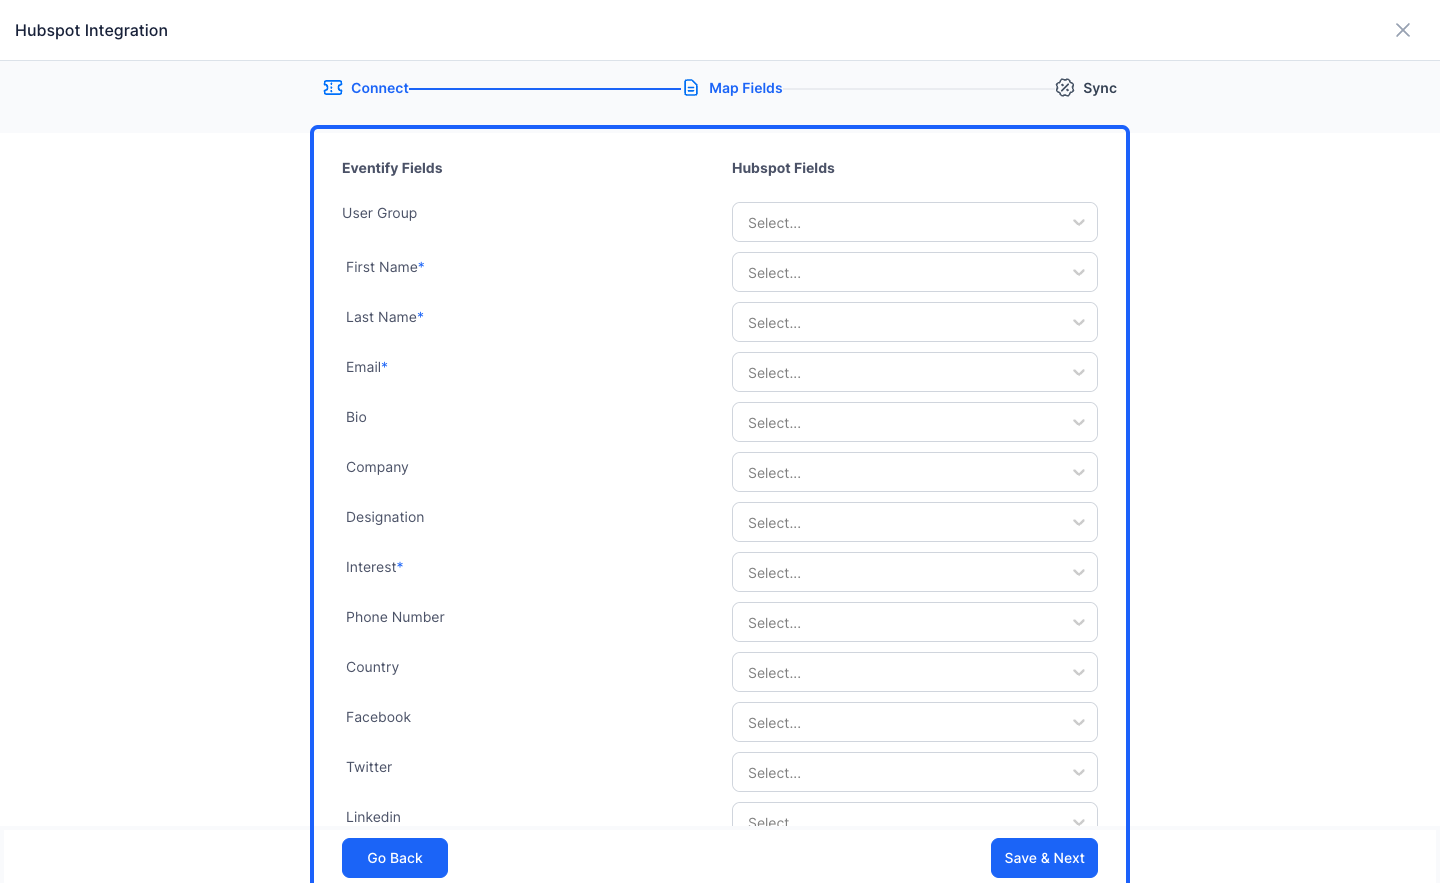
13: Each field will correspond to the fields from the registration form
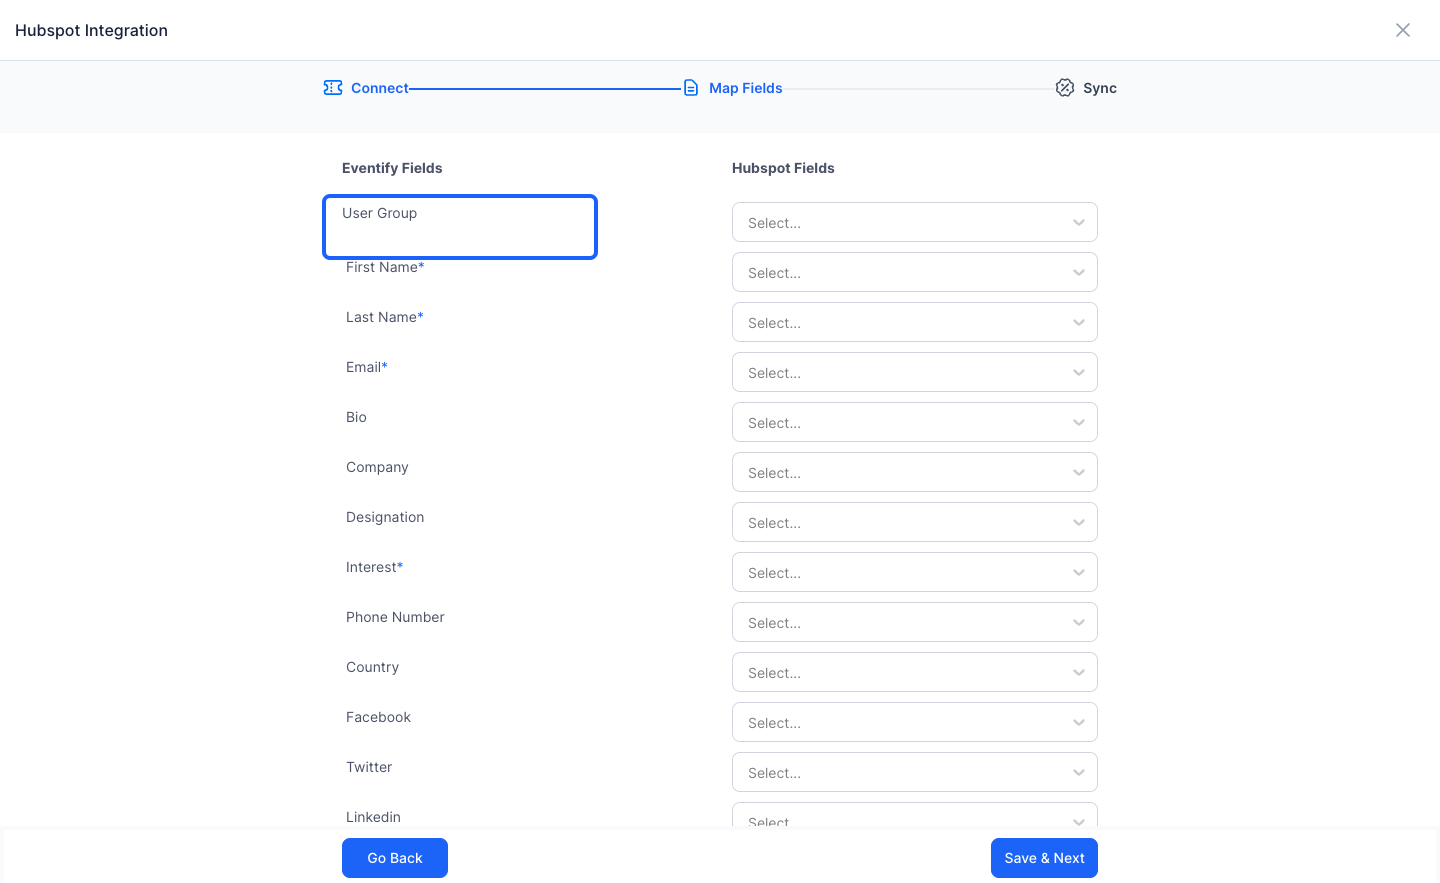
14: Search the field from Hubspot to which you want to map the registration form field
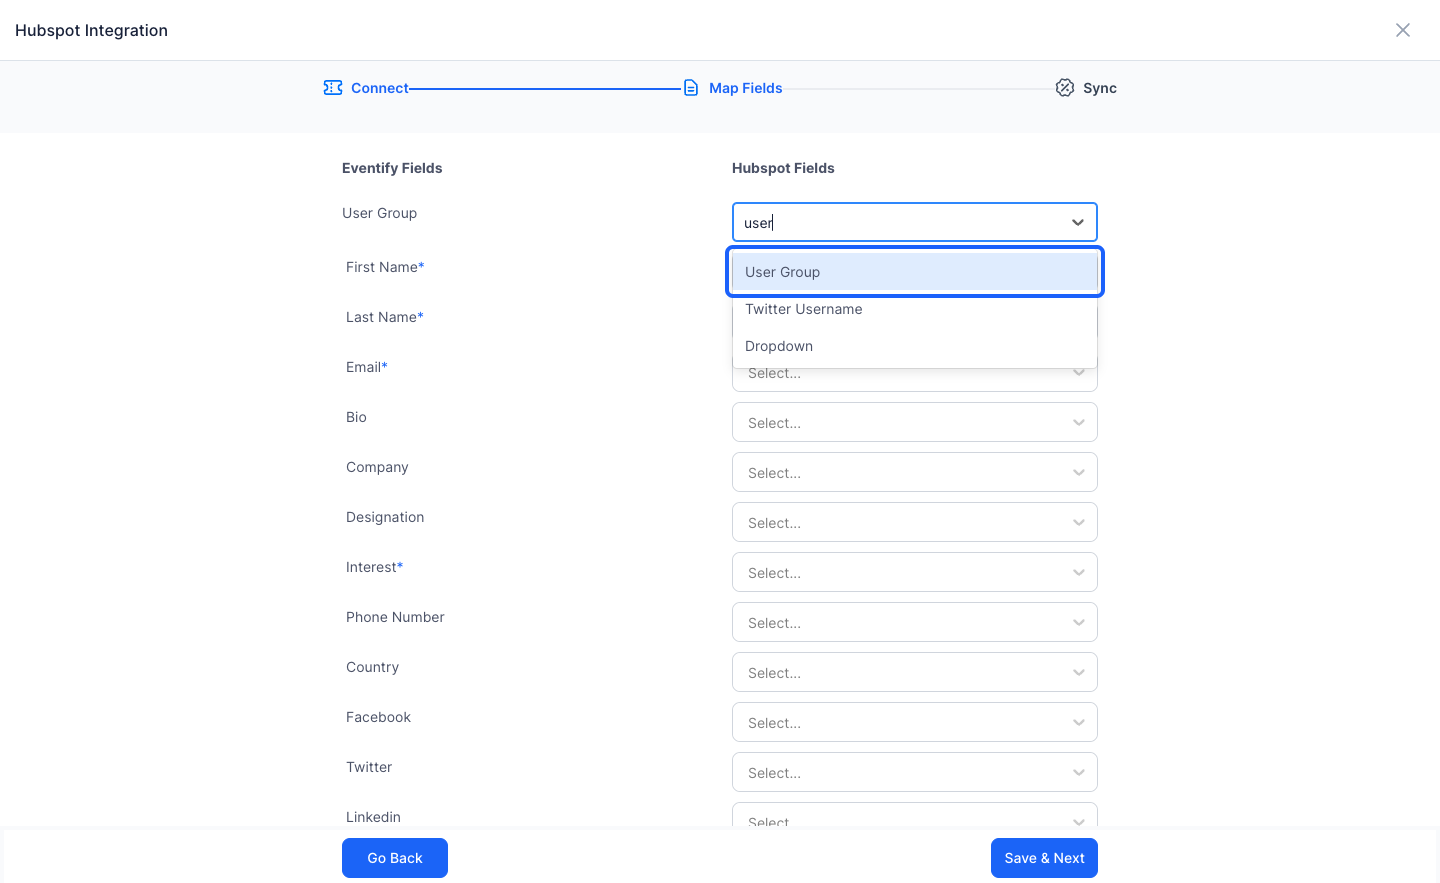
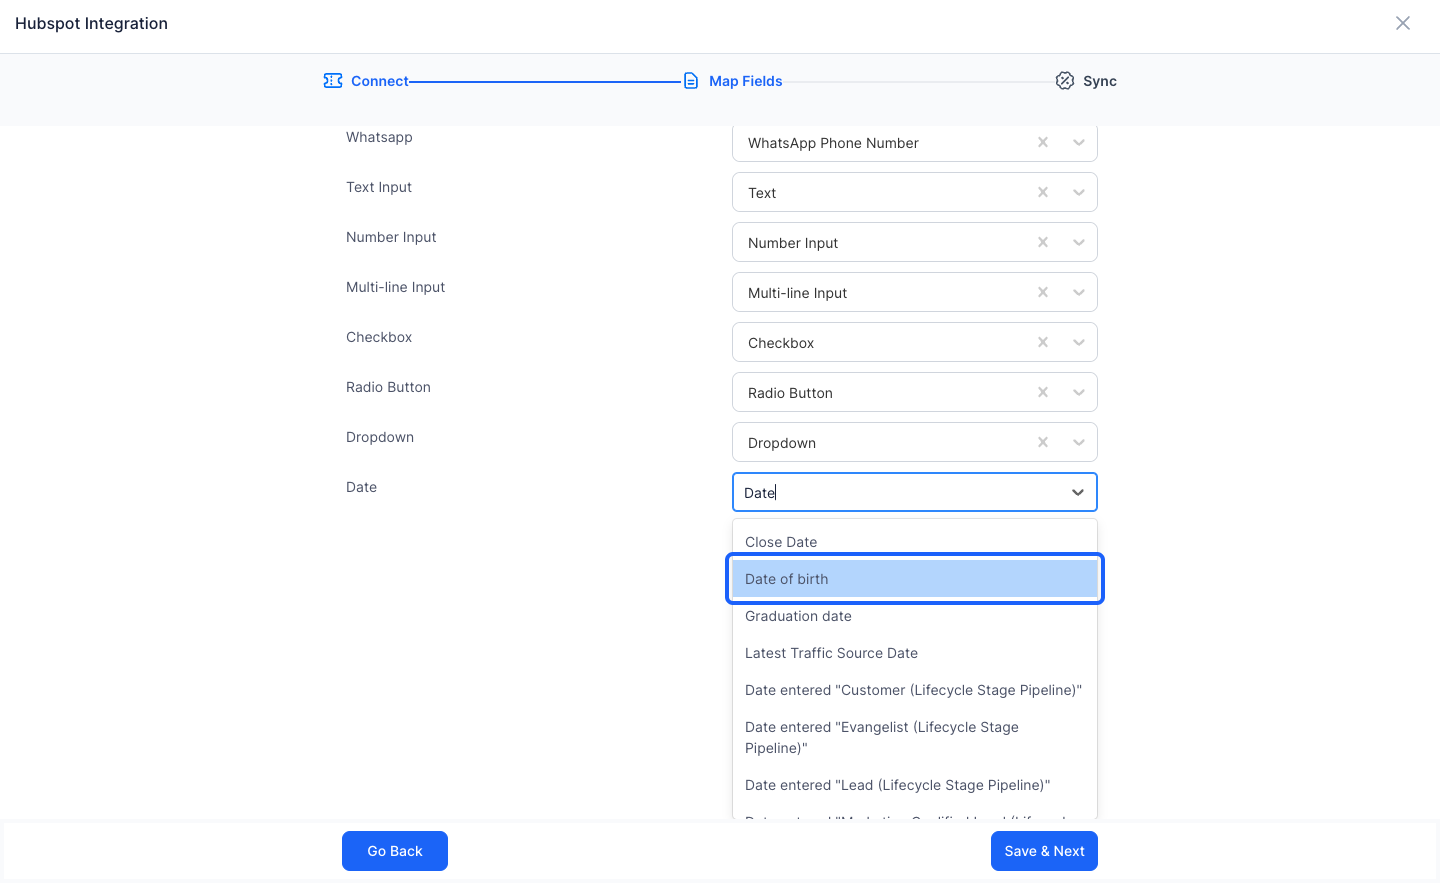
15: Map all the fields you want to sync
16: Review the warnings as mismatching data types can lead to errors in sync
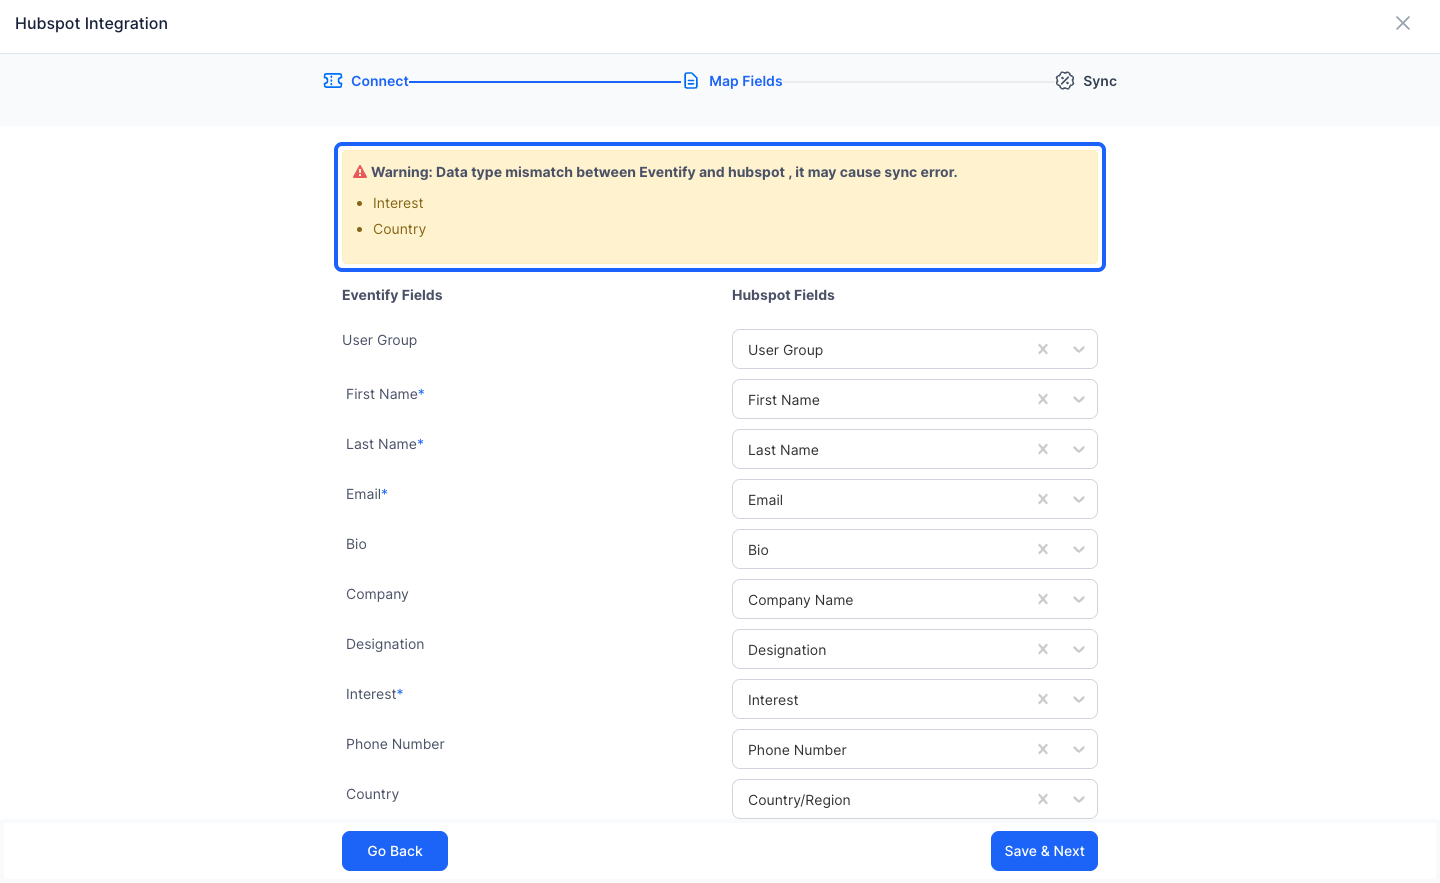
17: Once all the mapping is done, click on Save & Next
18: Set up the syncing rules
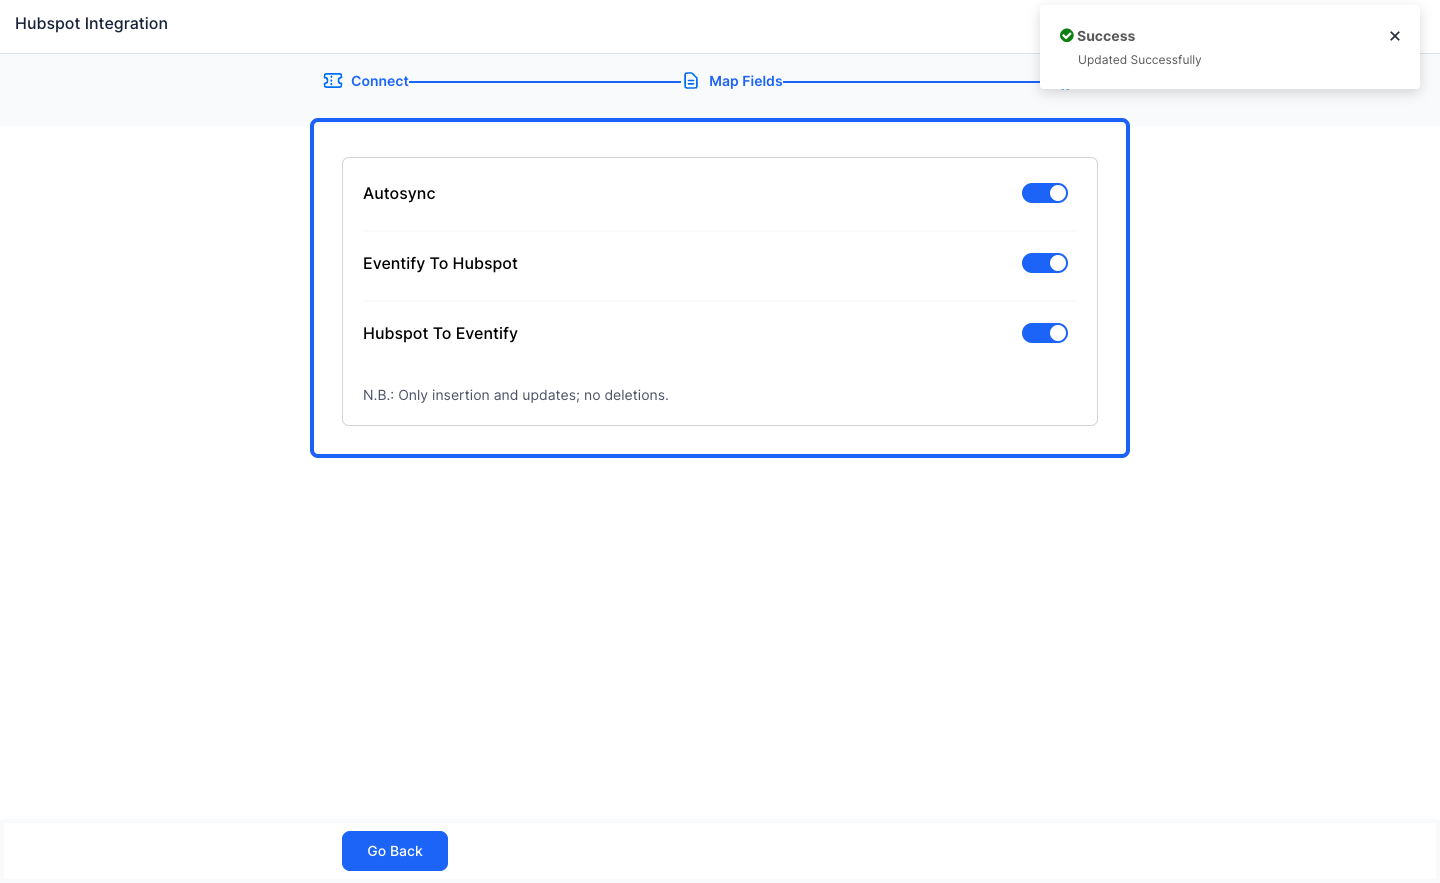
19: Keeping Autosync on will sync the data at a set interval
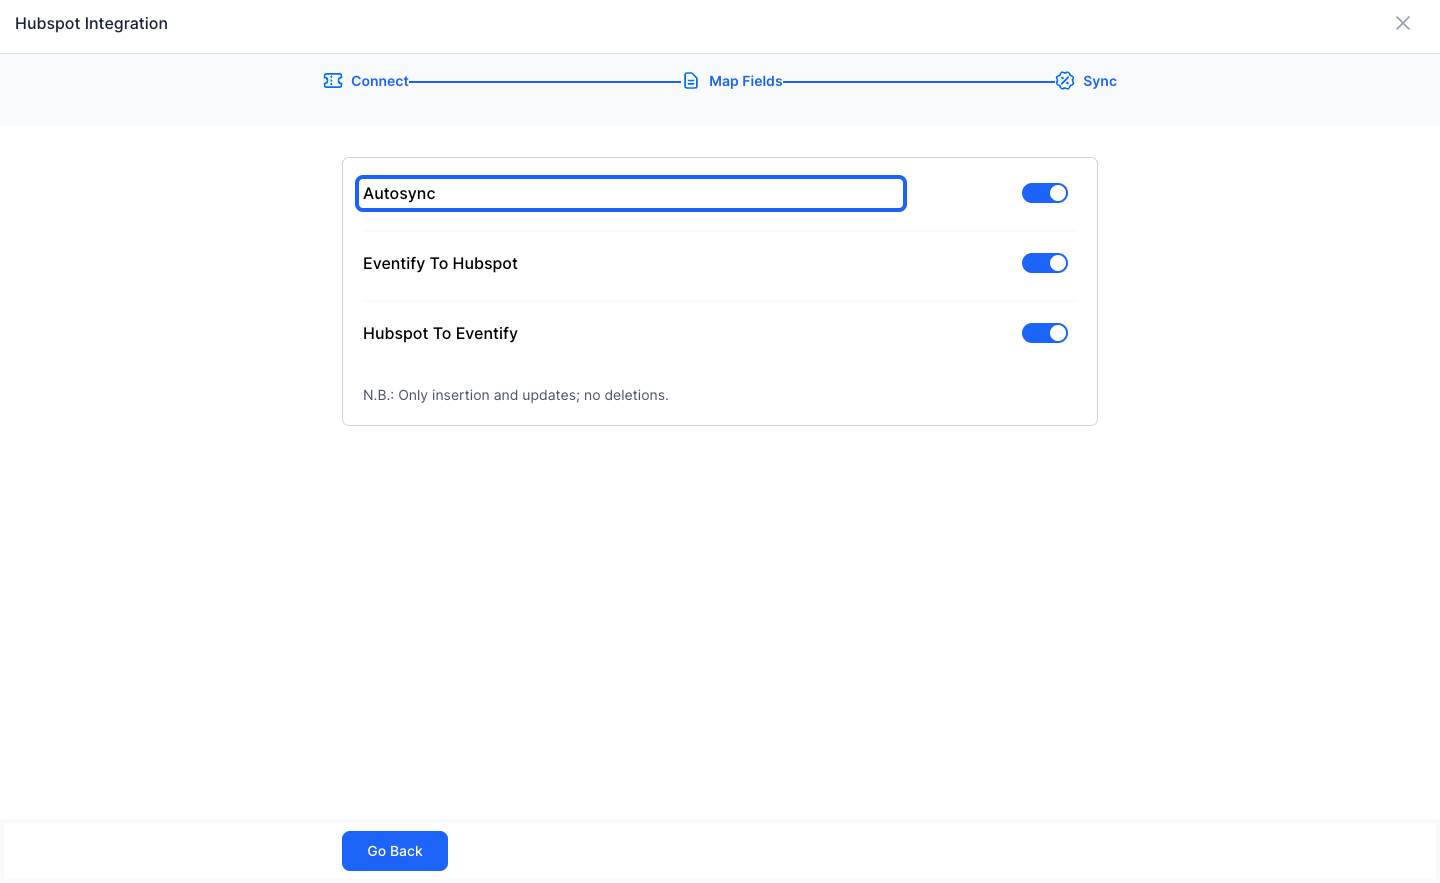
20: Eventify to Hubspot on will send the data from Eventify to Hubspot
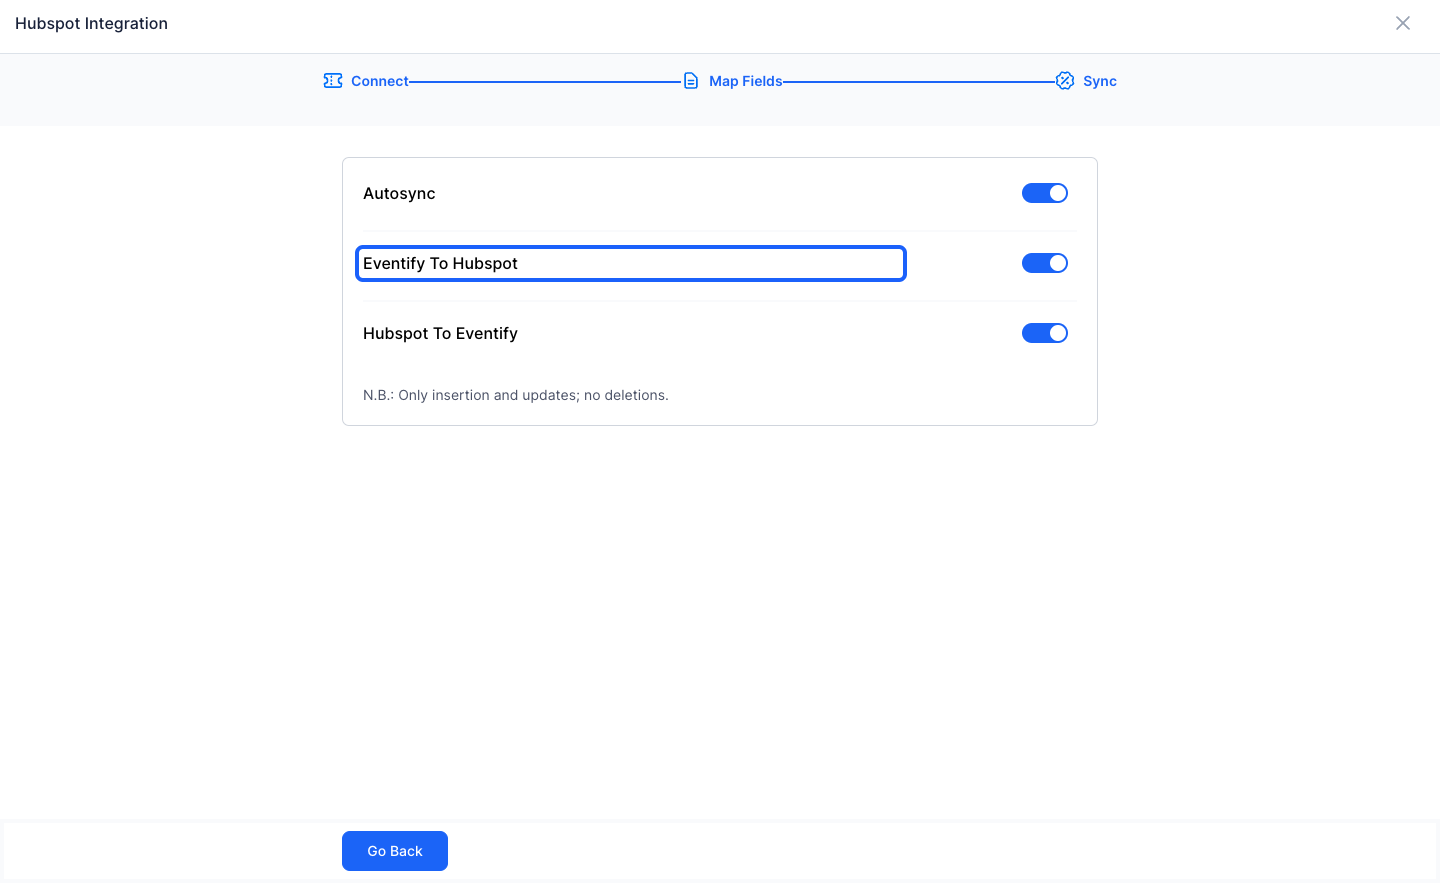
21: Eventify to Hubspot on will import the data from Hubspot to Eventify
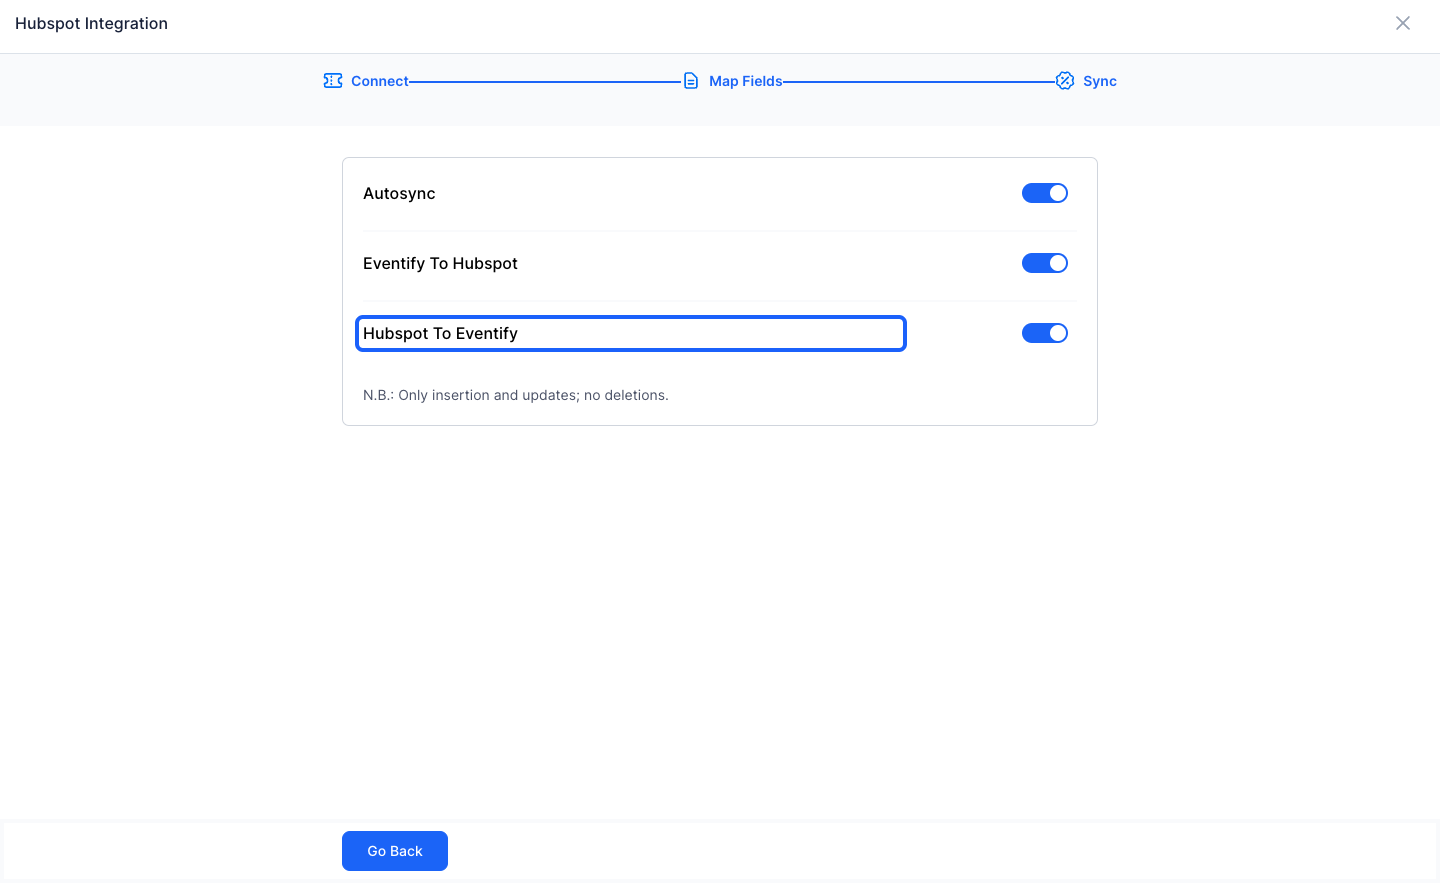
22: Note: The sync will only insert and update. It will not delete any data
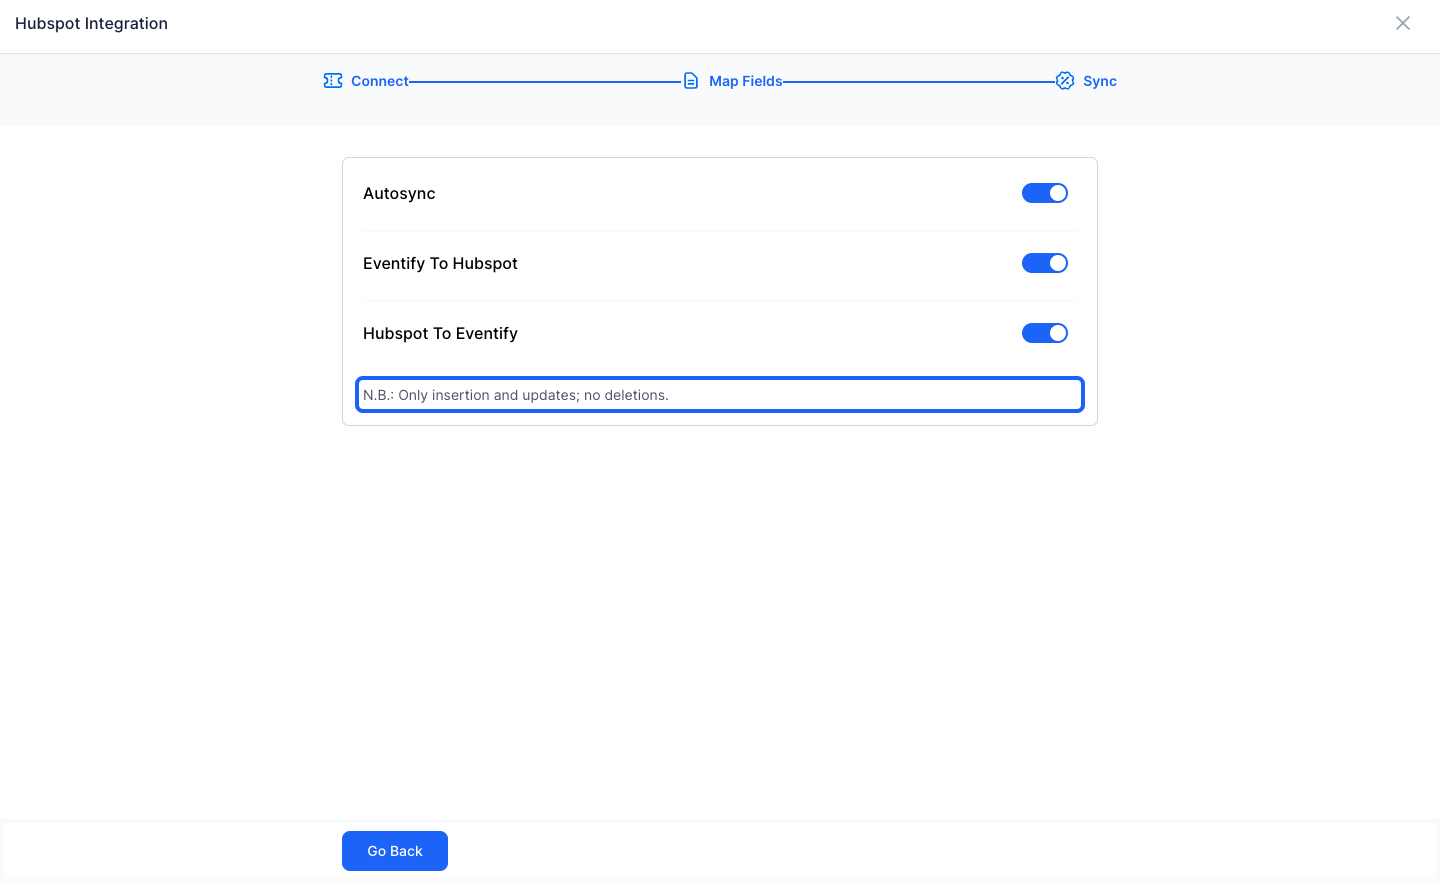
23: Click the “close” button once done.
24: Here are the tips for a successful integration

The Import & Export Step
The HubSpot setup wizard has four steps: Connect, Map Fields, Import & Export and Sync. After you click Save & Next on Map Fields, the Import & Export step lets you choose which HubSpot data is used:
- Hubspot To Eventify: choose All Contacts, or choose Specific List and select the HubSpot lists to import from. The table shows each List Name and its number of Contacts.
- Eventify To Hubspot: choose Contacts, or choose Specific List and select the list to export to.
Then continue to the Sync step to set your syncing rules.
#image# HubSpot Import & Export step with the Hubspot To Eventify and Eventify To Hubspot options
Check the Hubspot Log
After the first sync, the Hubspot card under Settings > Integrations shows when it Last Synced (and a Data sync error notice if a sync failed). Click View Logs on the card to open the Hubspot Log.
The log lists each sync record with three columns:
- Direction: which way the data went between Eventify and Hubspot
- Data: the record that was synced
- Createdon: when the log entry was created
Use the pages at the bottom of the log to see older entries. Checking the log is the quickest way to find out why a record did not sync.
#image# Hubspot Log window with the Direction, Data and Createdon columns
Frequently Asked Questions
Does the HubSpot sync delete any data?
No. The sync only inserts and updates records. It does not delete any data.
Which fields sync between Eventify and HubSpot?
The fields on your Eventify registration form, which you map to HubSpot fields during setup.
Why would a field fail to sync?
Mismatched data types between the Eventify and HubSpot fields can cause sync errors, so review the warnings shown while mapping.
Can I import only one HubSpot list into Eventify?
Yes. In the Import & Export step, choose Specific List under Hubspot To Eventify and select the lists you want to import from.
How do I see what synced between Eventify and HubSpot?
Go to Settings > Integrations and click View Logs on the HubSpot card. The log shows the Direction, Data and Createdon for each synced record.

