With Eventify, you can set up and join virtual sessions, ensuring a seamless event experience from start to finish. Here's how you can do it:

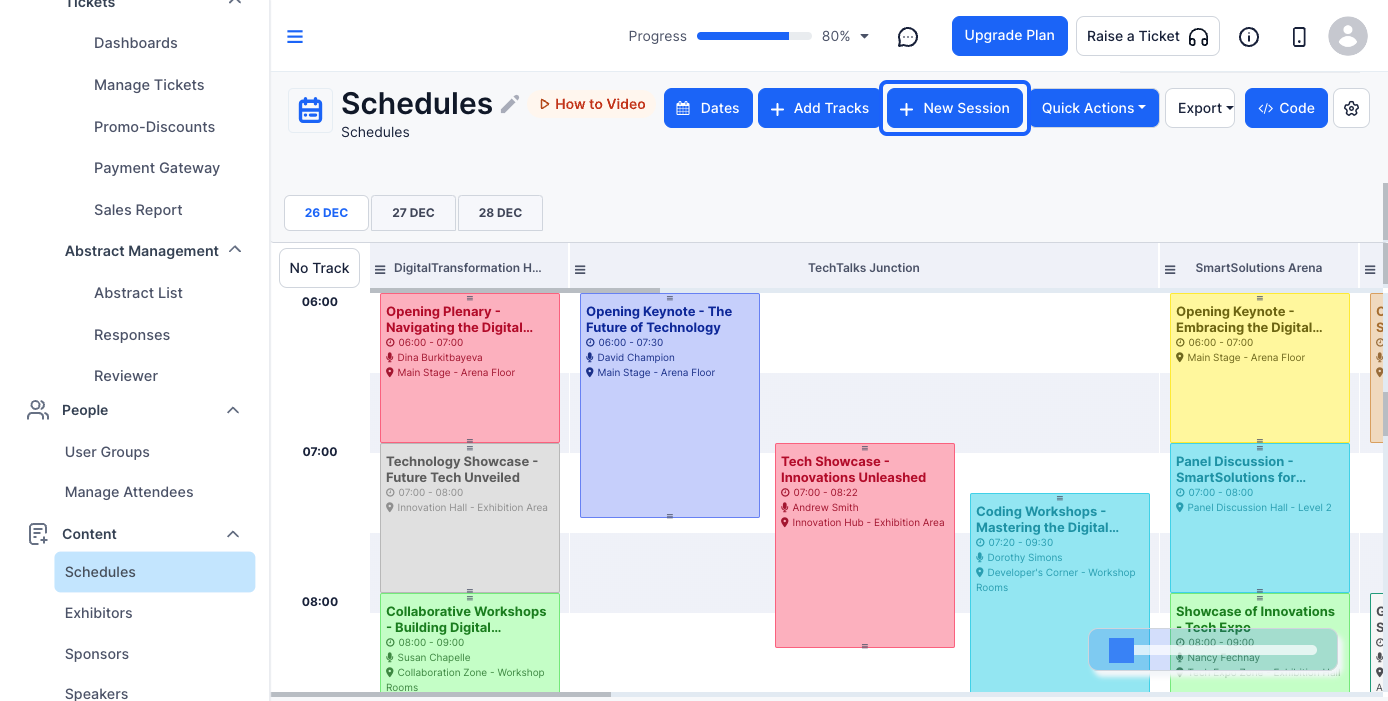
This will open a new session form where you need to fill in various details.
Fill in all the necessary fields accurately to avoid confusion for attendees.
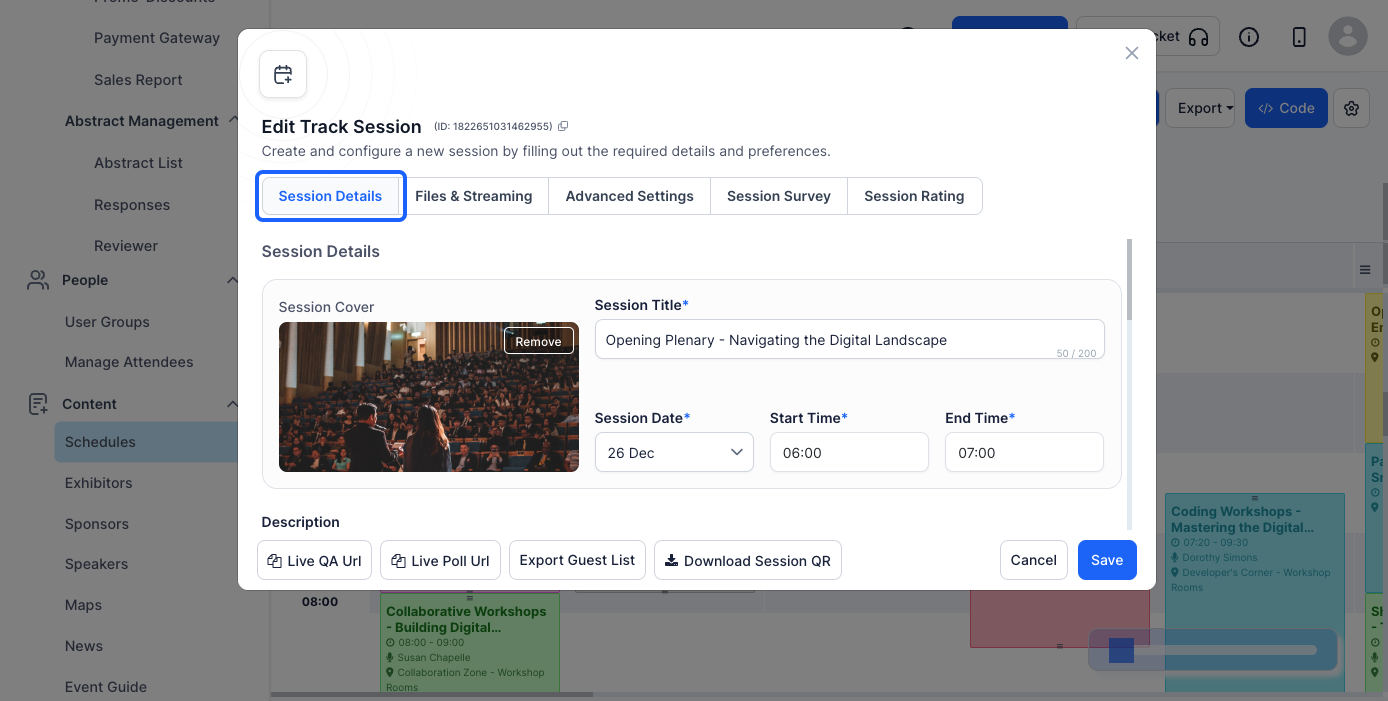
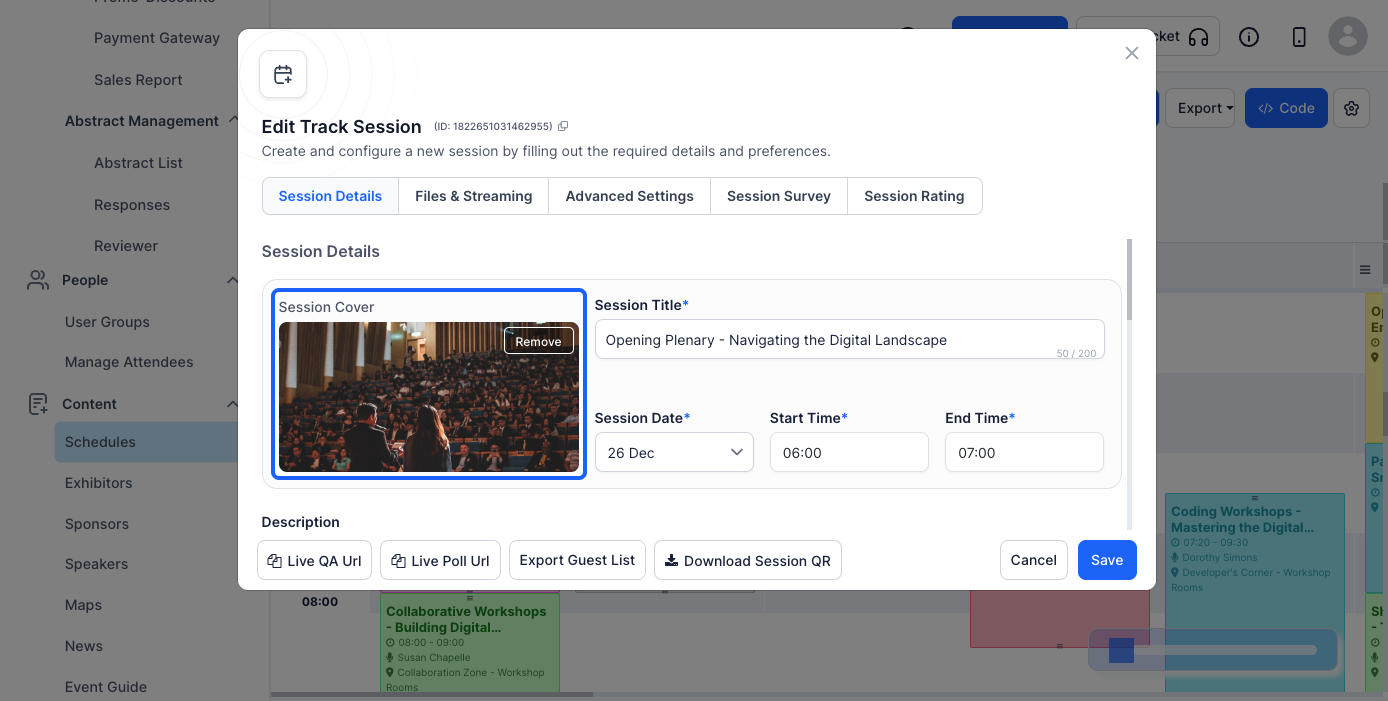
Select an image from your device that represents the session.
Ensure the image is clear and relevant to the session topic.
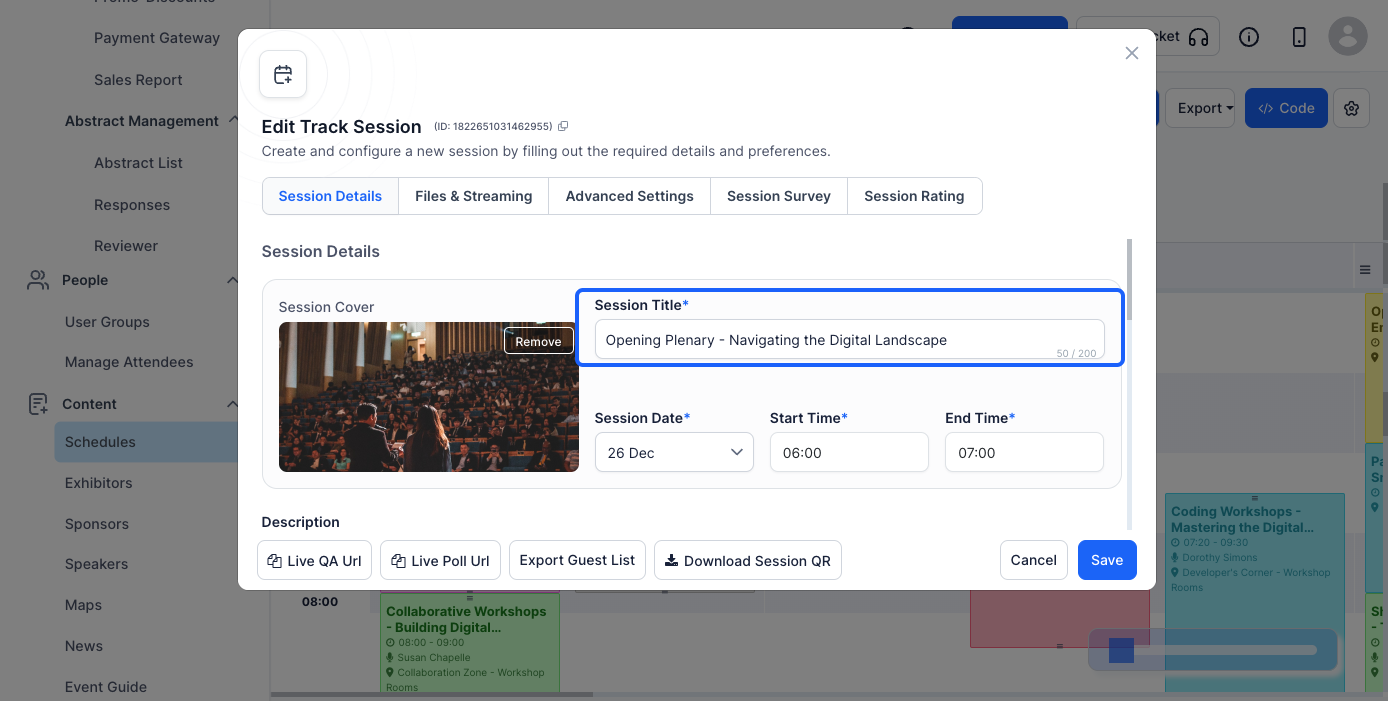
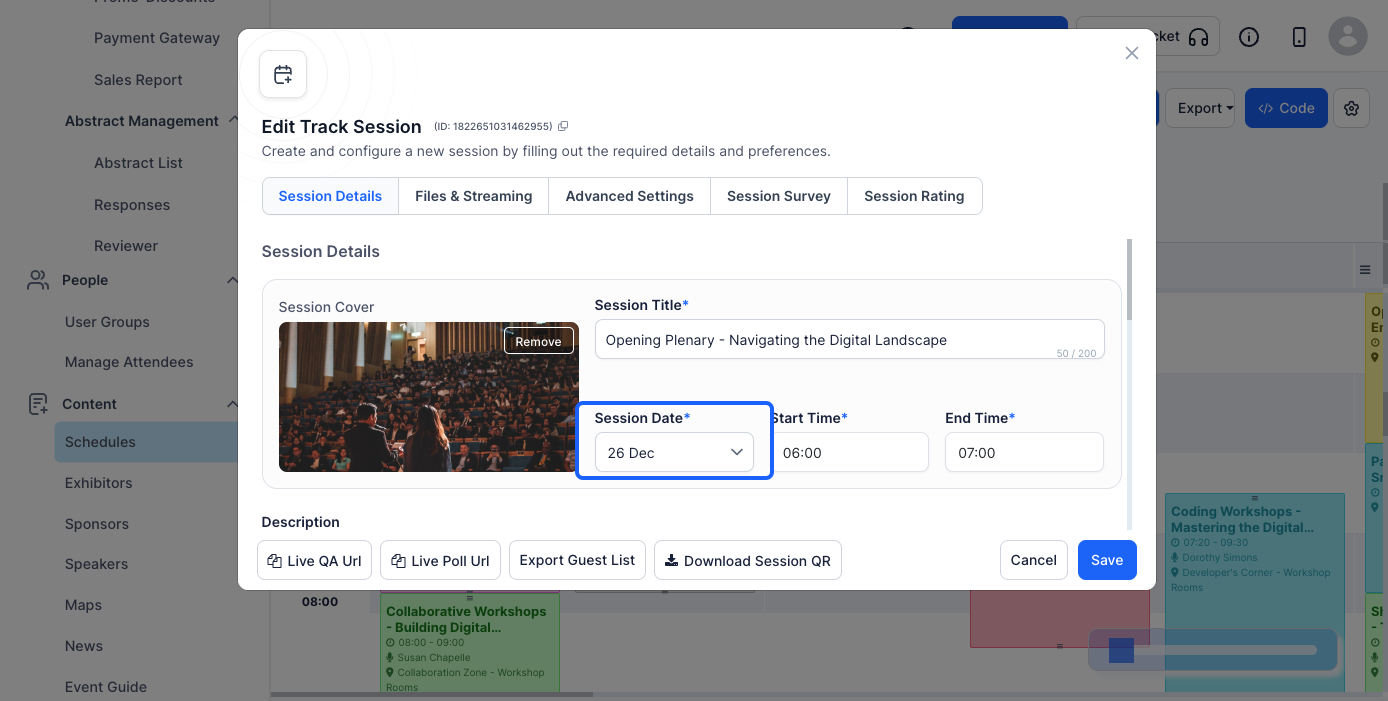
Ensure that the timing aligns with the overall event schedule.
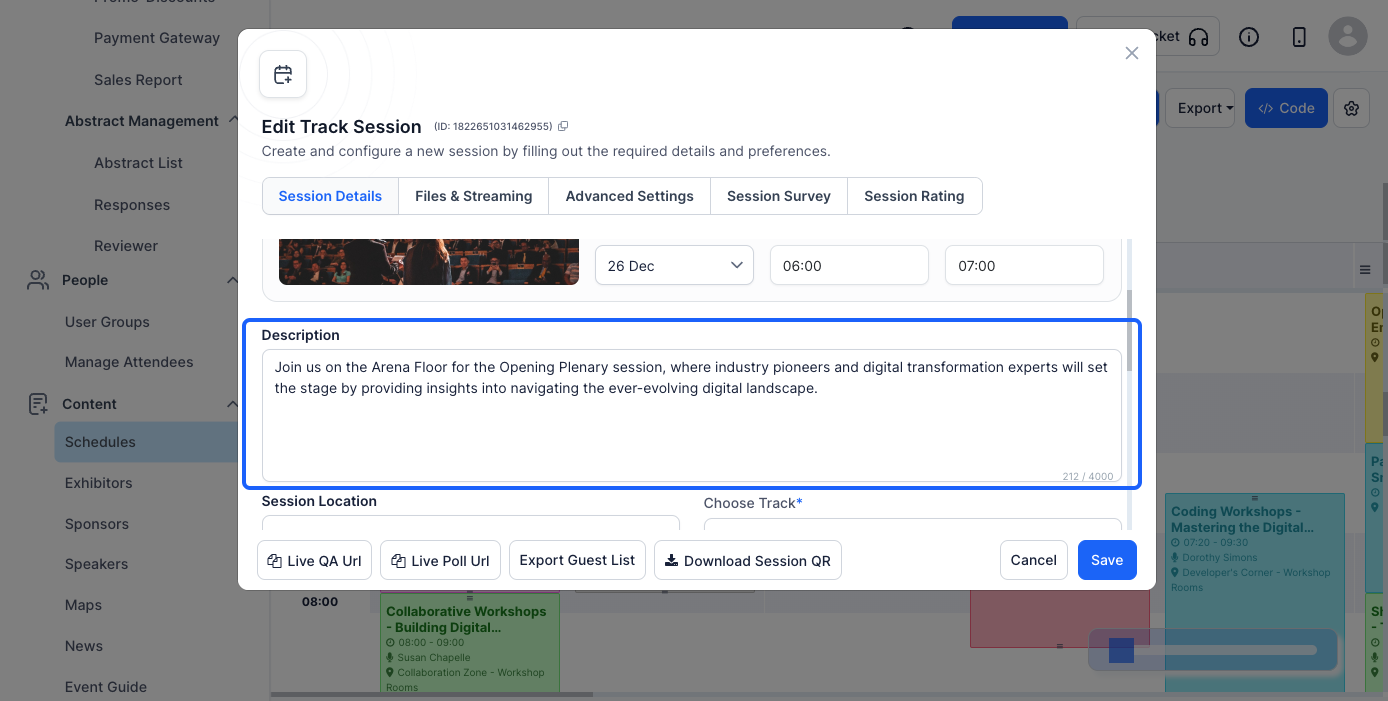
Include key discussion points, topics covered, and any prerequisites for attendees.
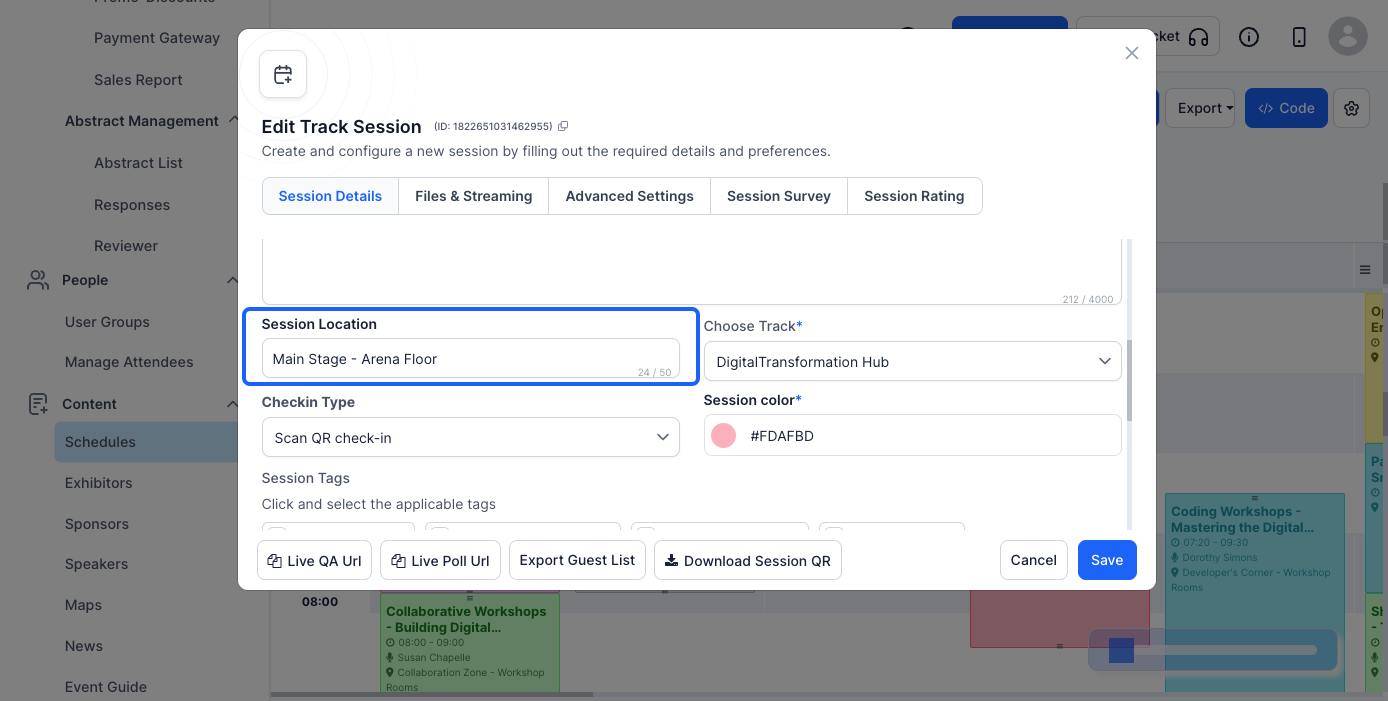
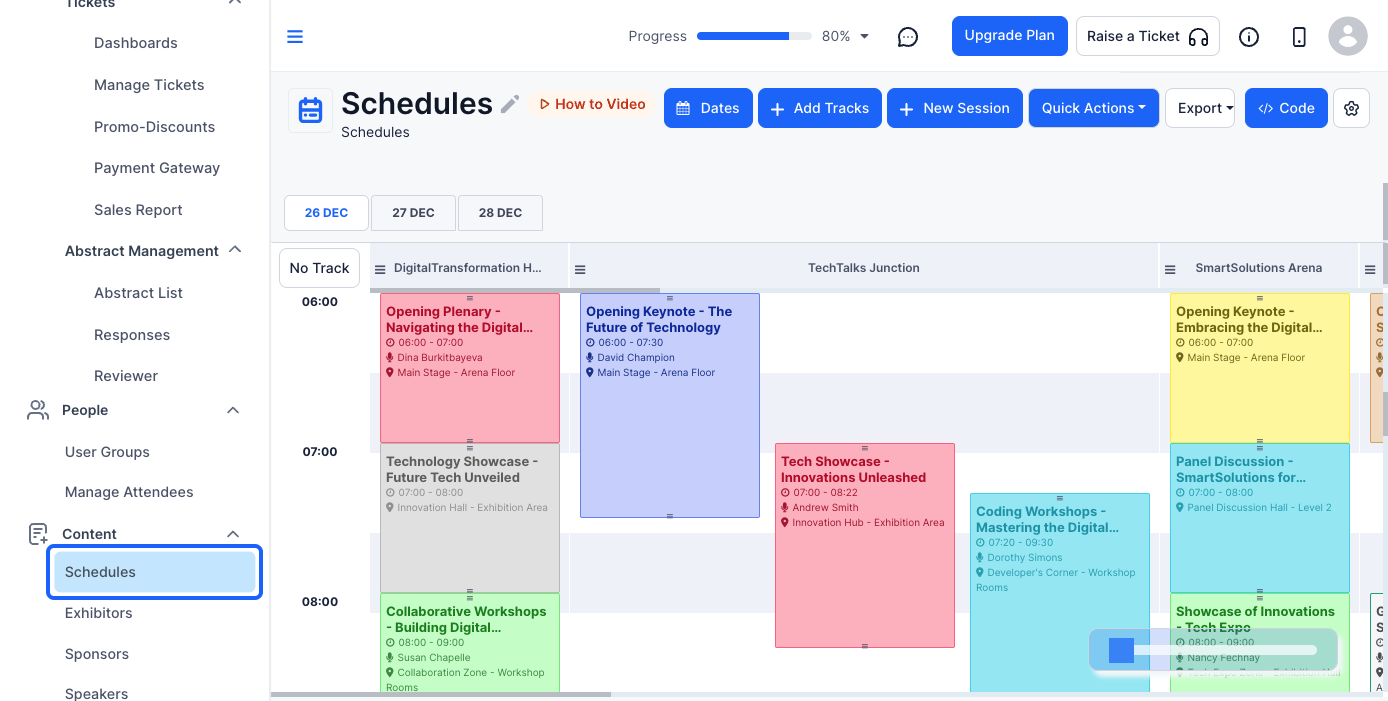
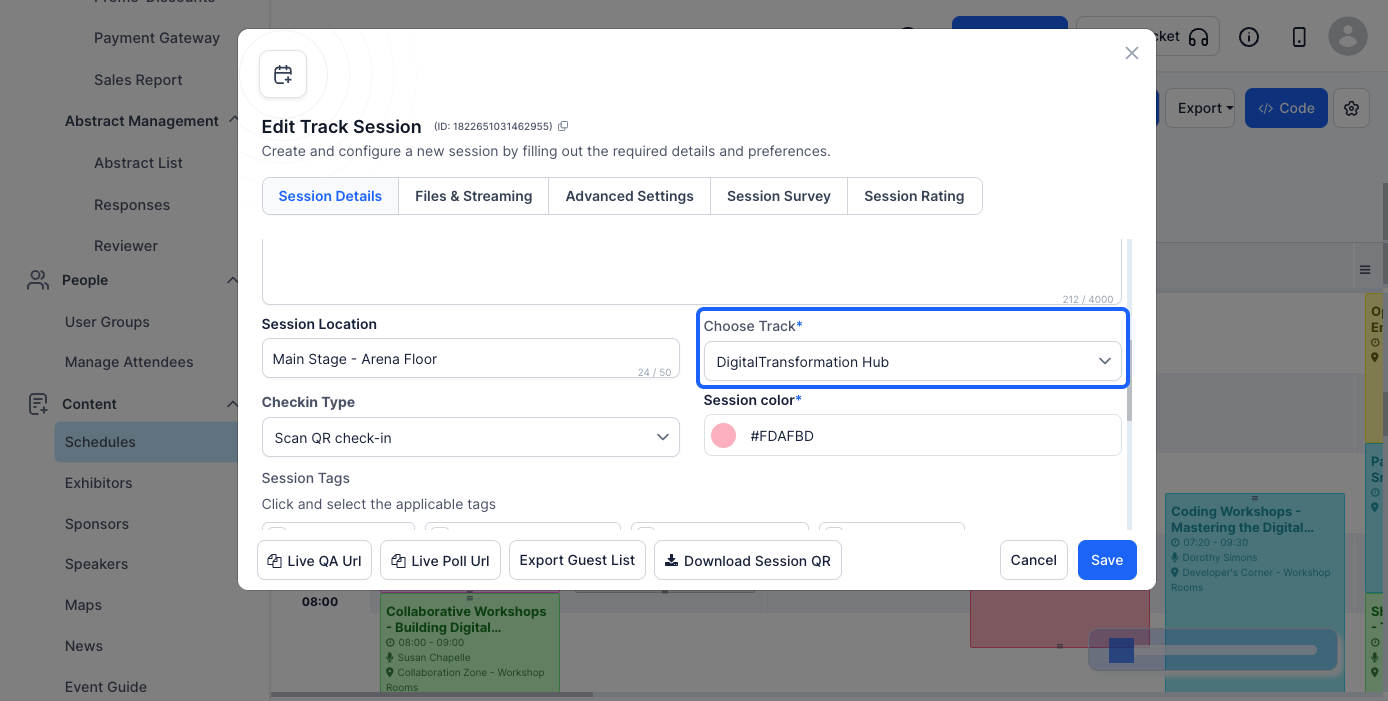
Tracks help categorize sessions based on the topics they are added on
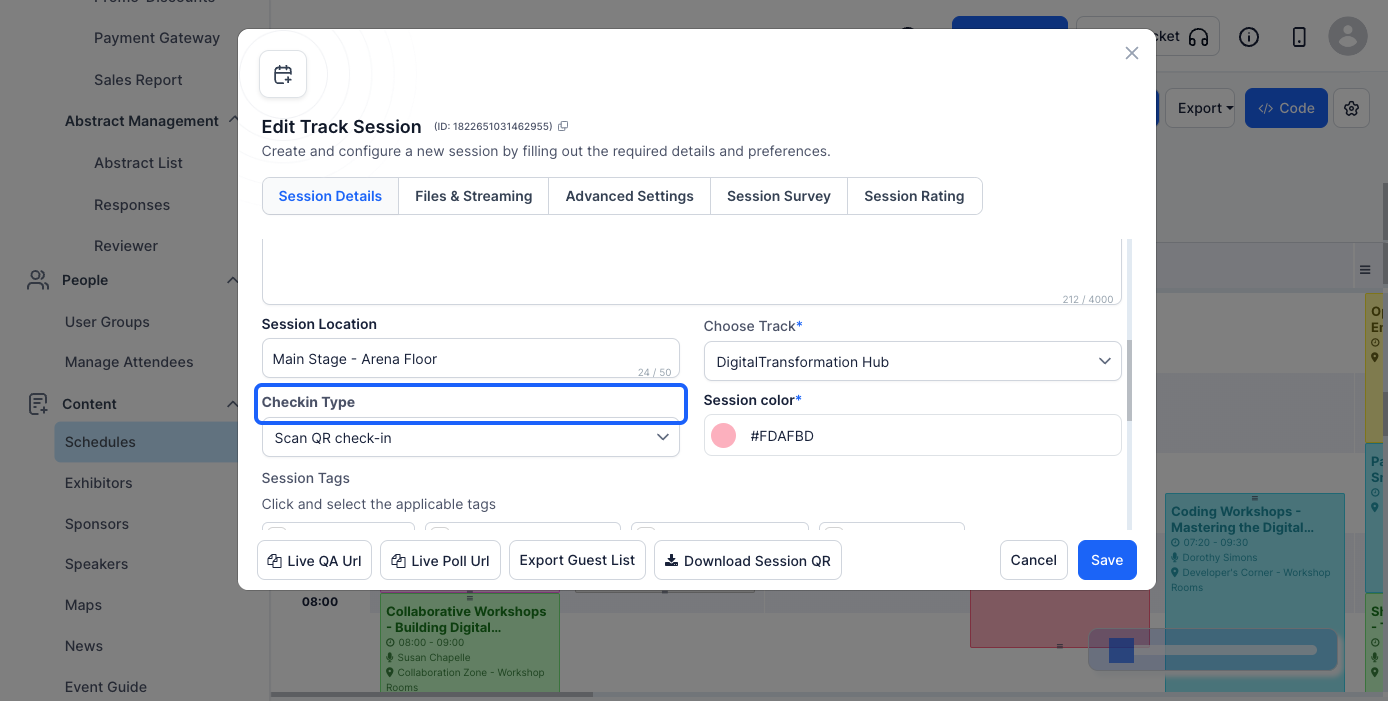
Options may include self check-in, QR code scanning, or no check-in.
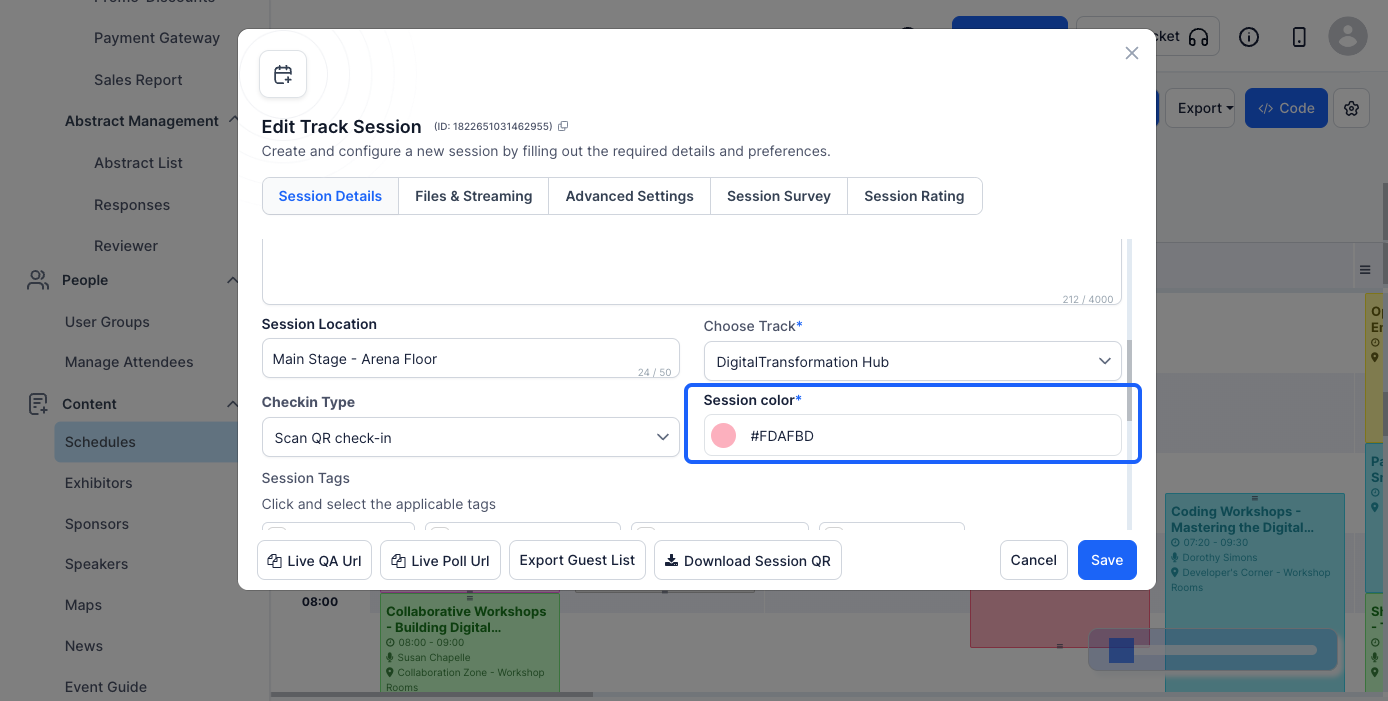
This helps differentiate it from other sessions in the event schedule.
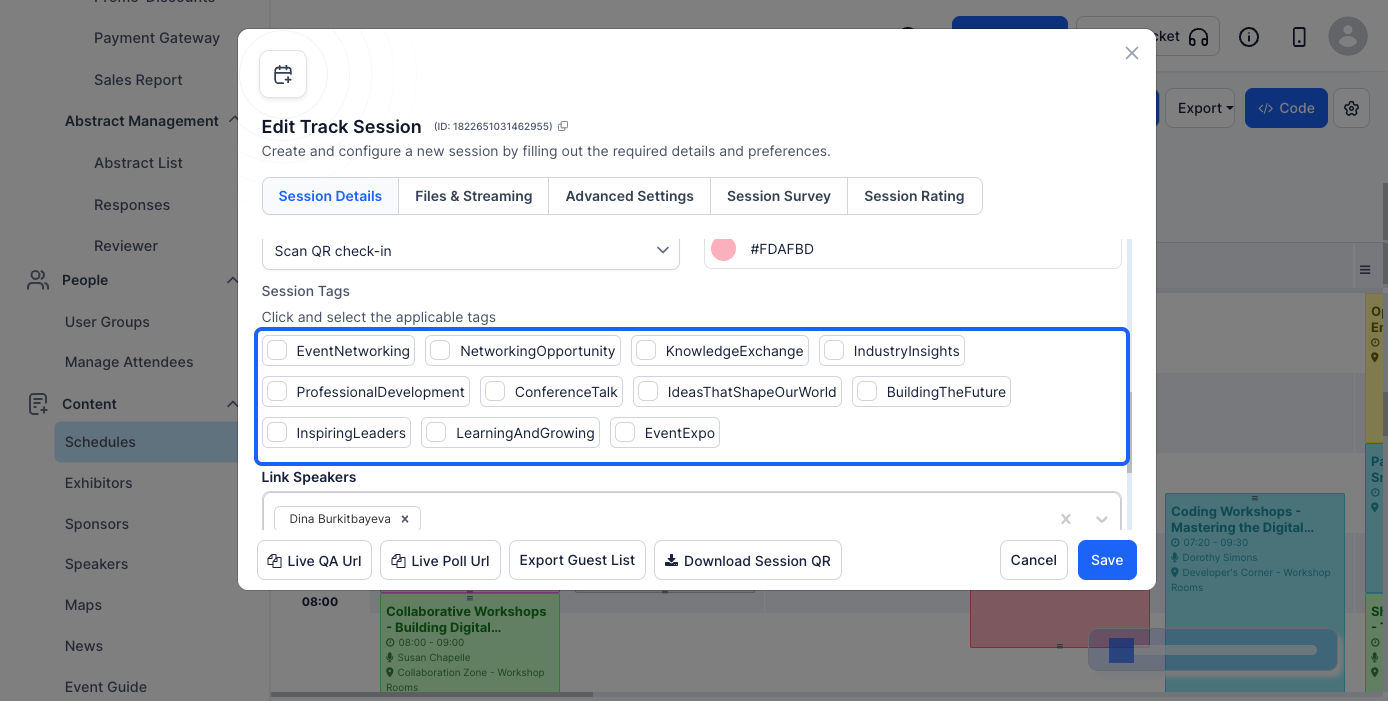
Tags make it easier for attendees to search for and filter sessions.
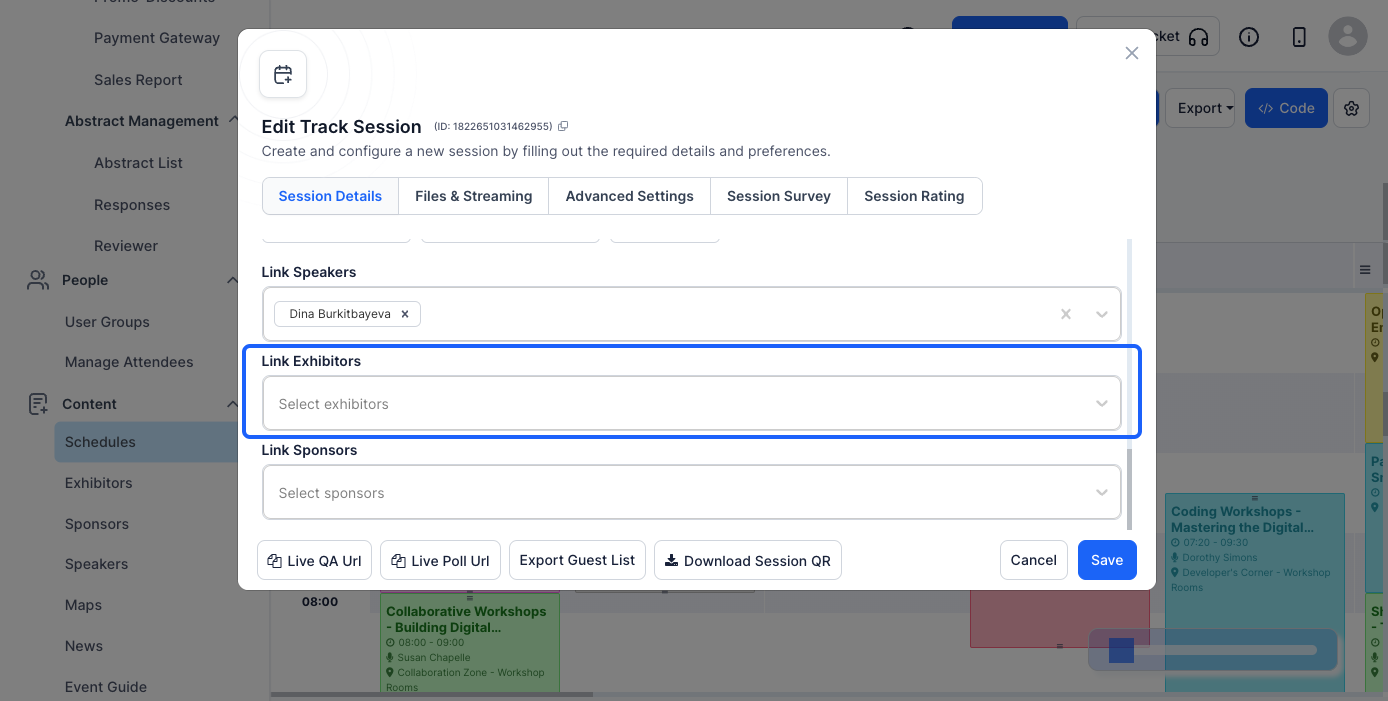
Choose an existing speaker from the list or add a new one by entering their name, bio, and profile picture.

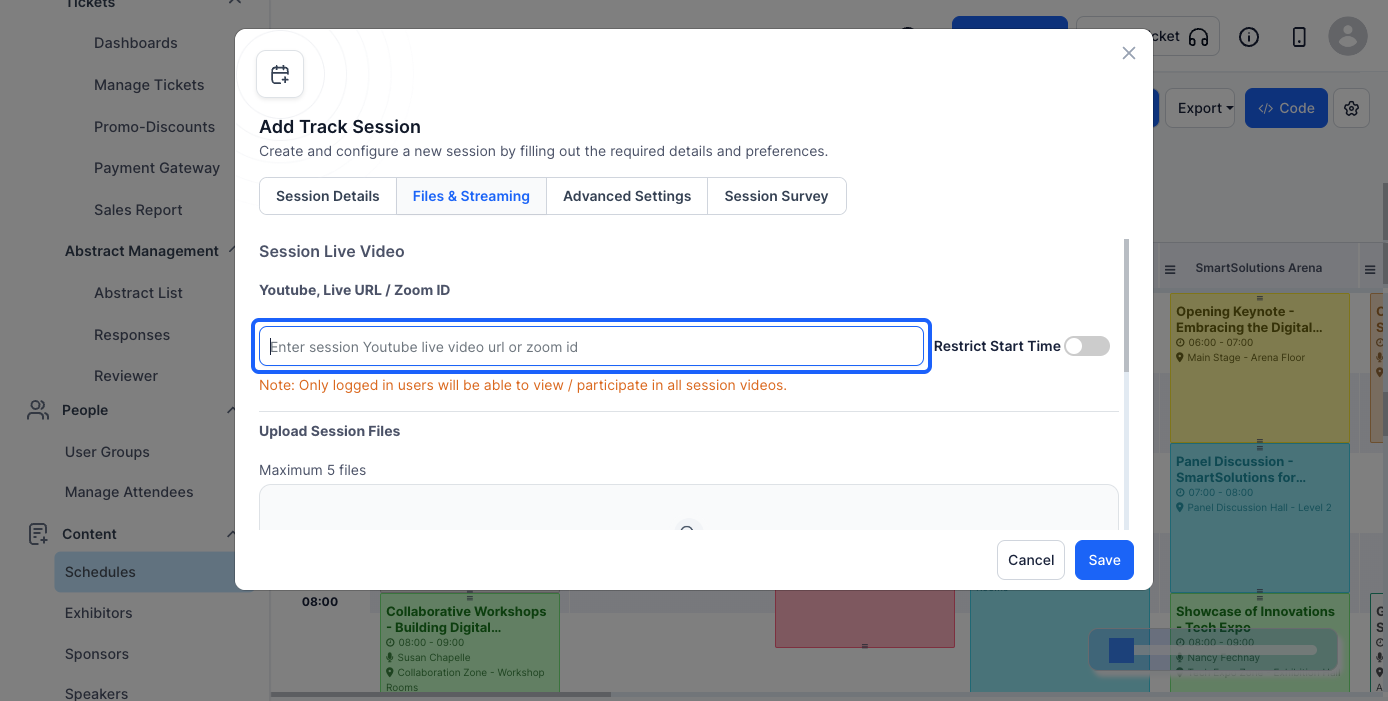
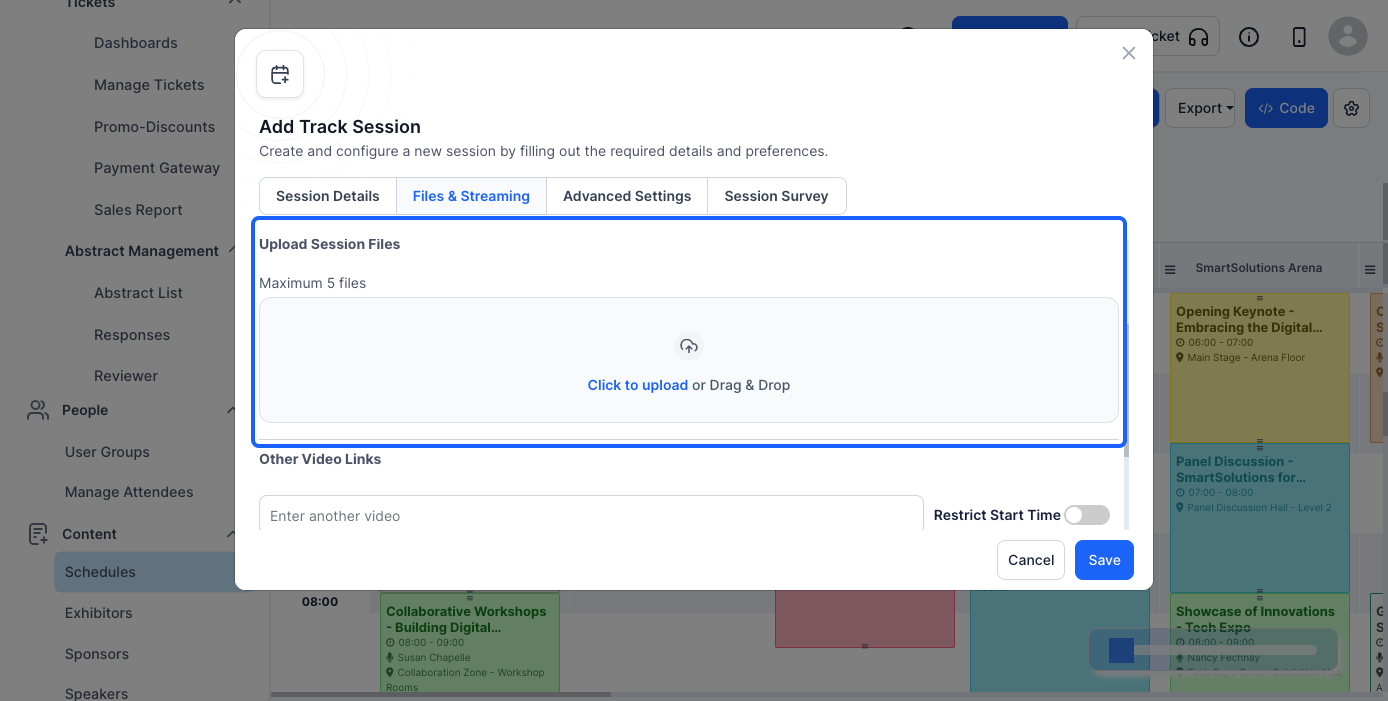
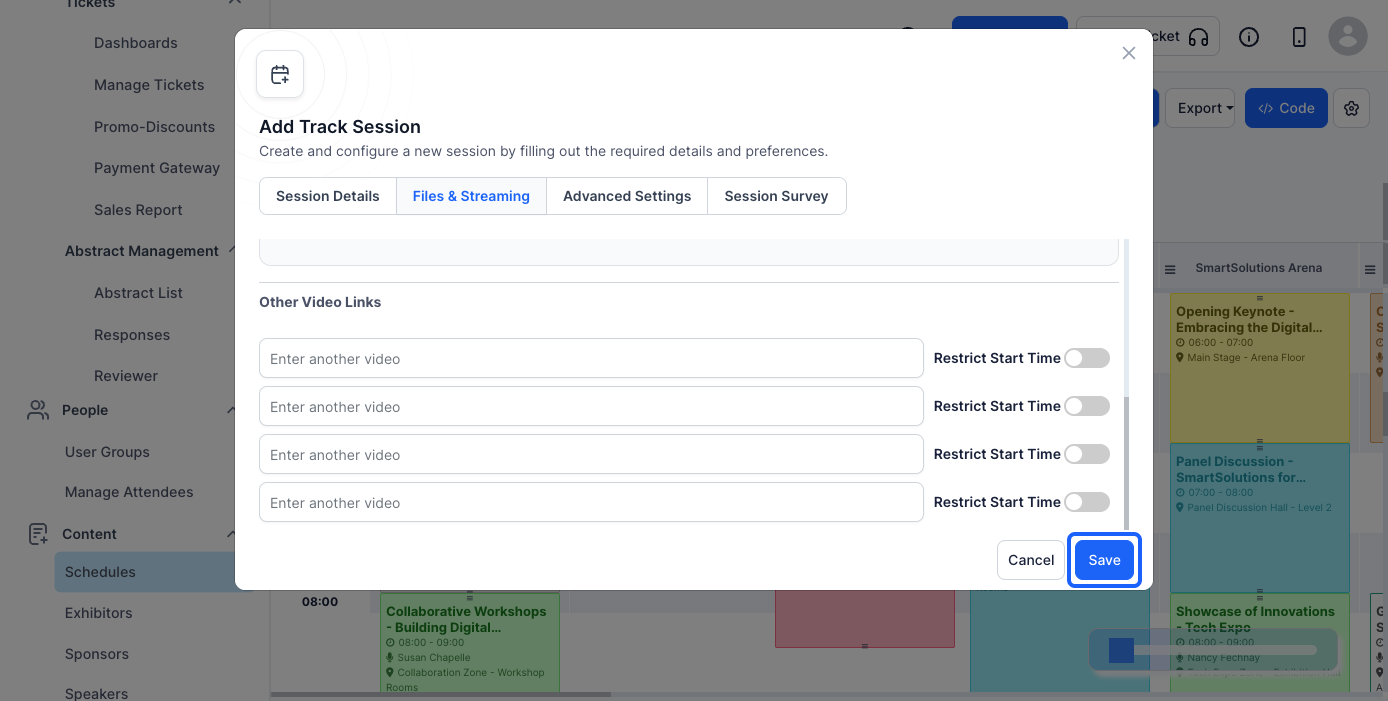
This section allows you to upload files and enable live video streaming.

Ensure the Zoom Meeting is set up correctly in your Zoom account before entering the ID.
Attendees will be able to download these files before or during the session.
Your session is now ready, and attendees can join the Zoom meeting directly from the Eventify App or Web.
Step 1: Open the Eventify App
Launch the Eventify app on your mobile device. Make sure you are logged in with the admin credentials.

Step 2: Access the Schedule
Tap on the hamburger menu in the app. From the options, select "Schedules" Here, you will see a list of all scheduled sessions

Step 3: Locate Your Scheduled Meeting
Scroll through the schedule to find the session you want to join. Tap on the session to open its details.

Step 4: Find the Live URL Section
Within the session details, locate the section with the live zoom meeting with Watch option. This section contains a link to access the Zoom meeting.

Step 5: Tap on Watch Live Session button
Tap the Watch Live Session button to proceed.

Step 7: Browser Redirection
The app will redirect you to the pre-set Zoom meeting URL on your device's default web browser. Once the webpage opens, tap "Join Meeting." You can now participate in the session directly from your browser.

Reach out to us through email for any queries or assistance on hello@eventify.io.
