Quests let you combine multiple challenges into a single interactive experience for users. Follow the steps below to add a Quest Challenge to your gamification module

Interactive Guide
Or check the step-by-step guide
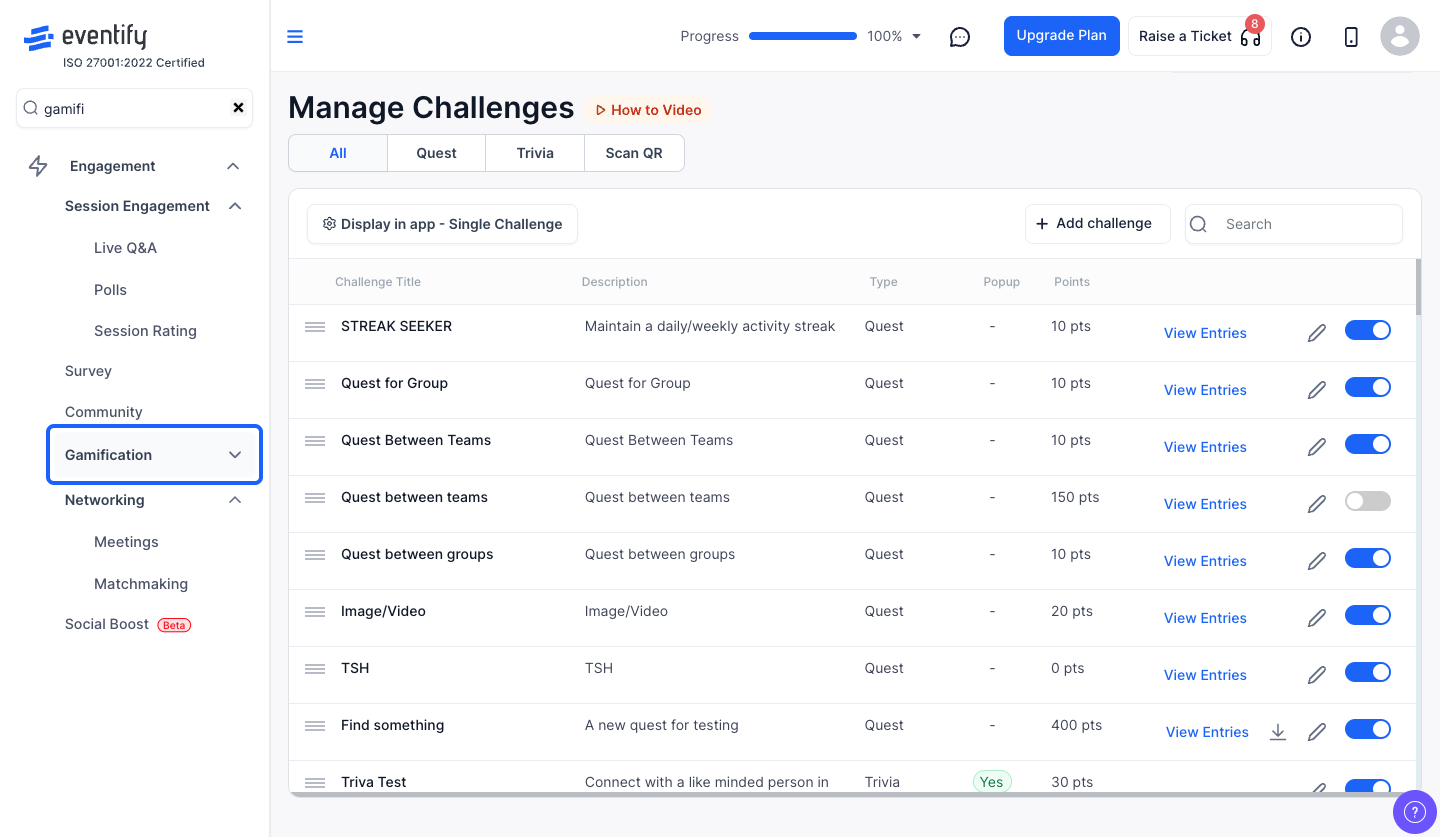
1: Login to Eventify Admin panel and go to Engagement > Gamification
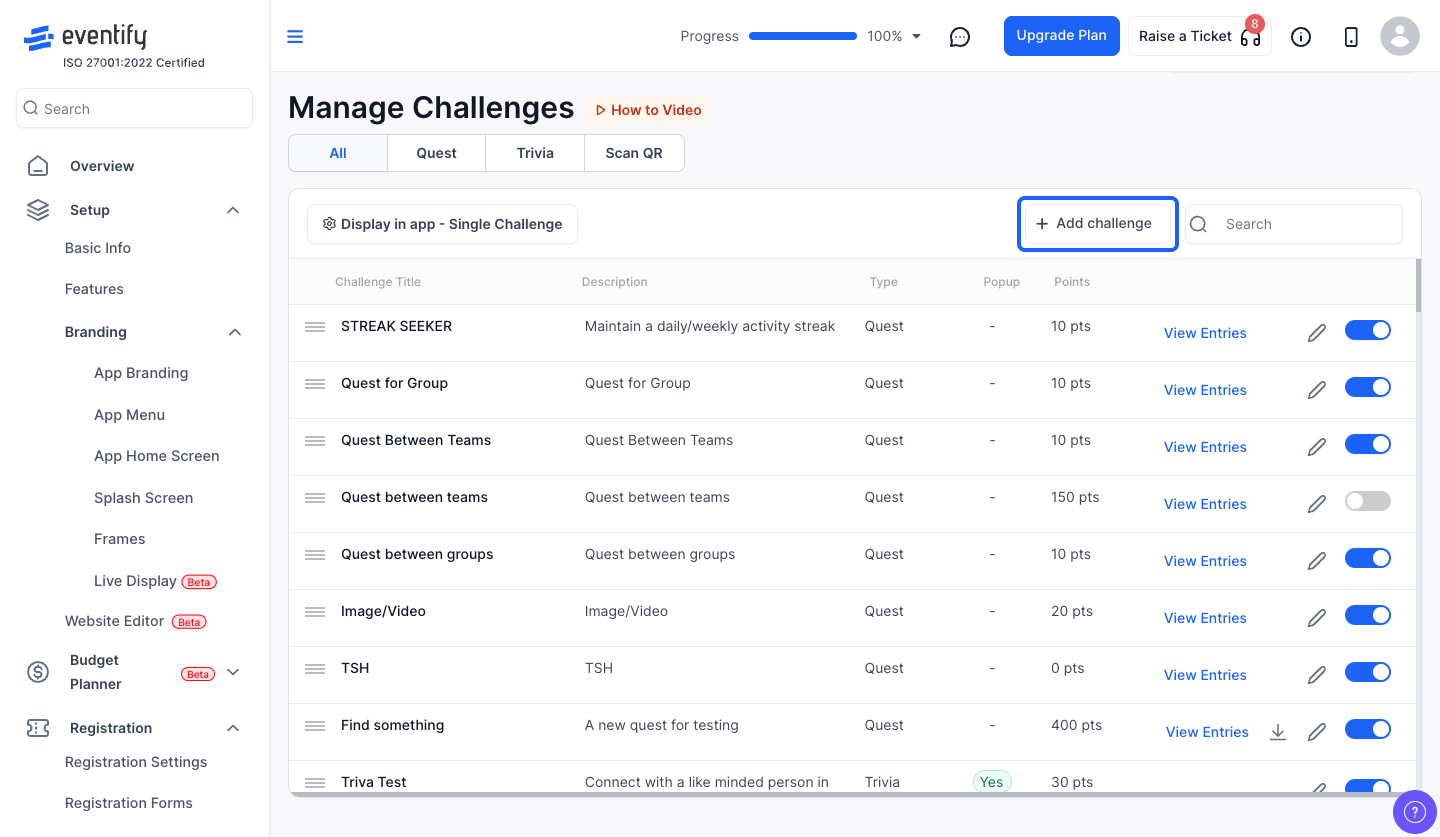
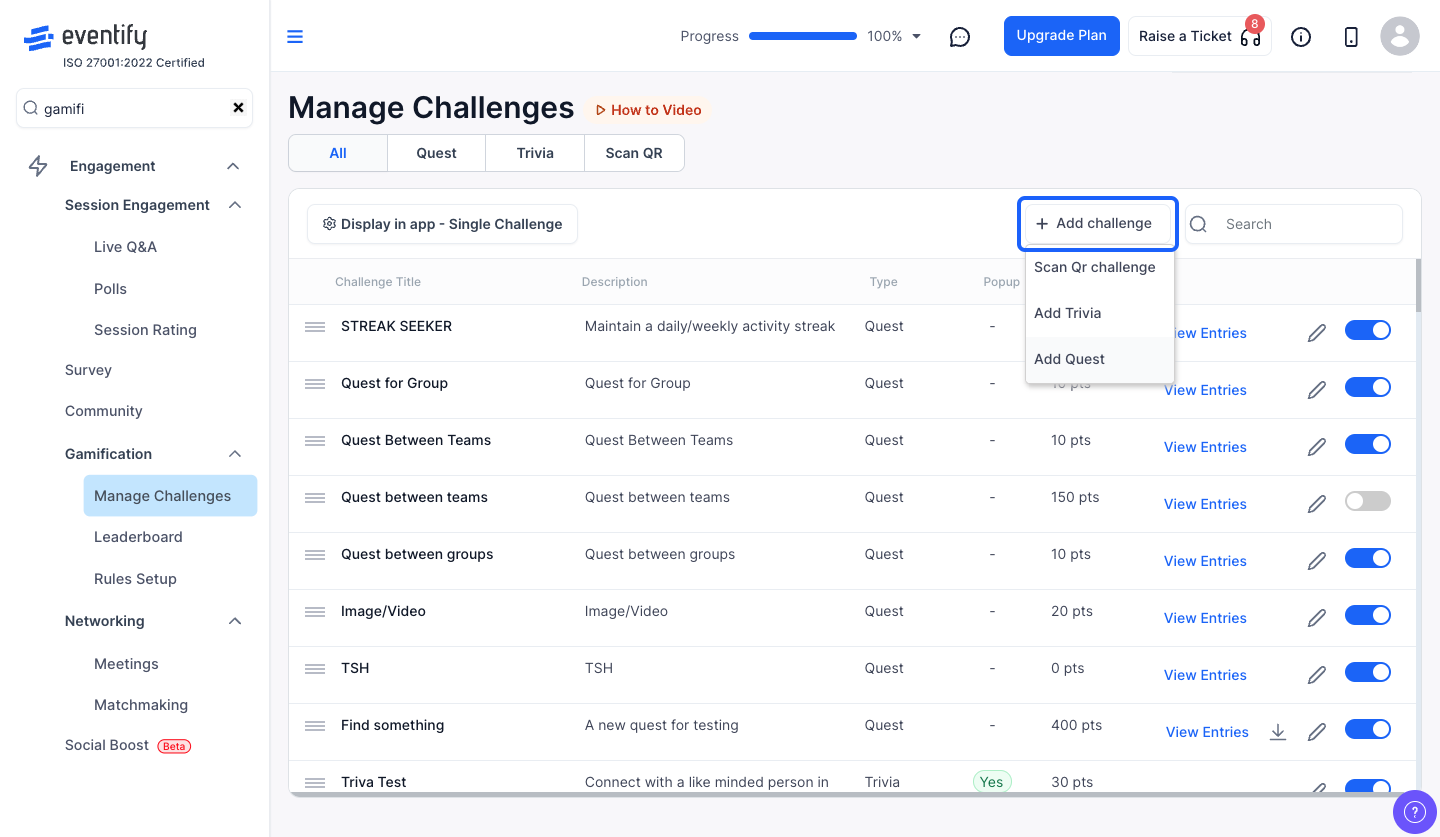
2: Click on "Add Challenge" button
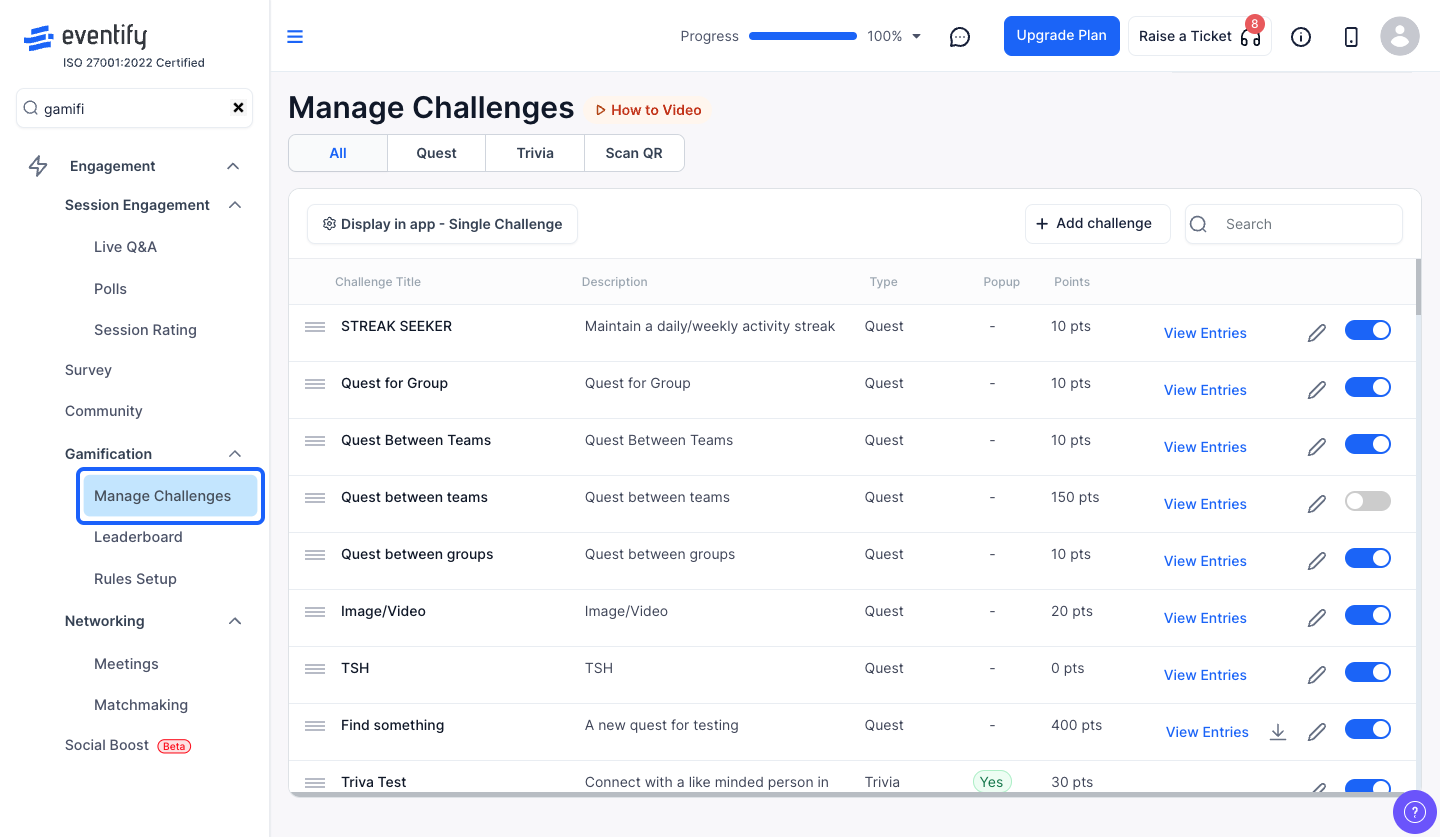
3: Select Manage Challenges
4: Select "Add Quest" to add a quest challenge
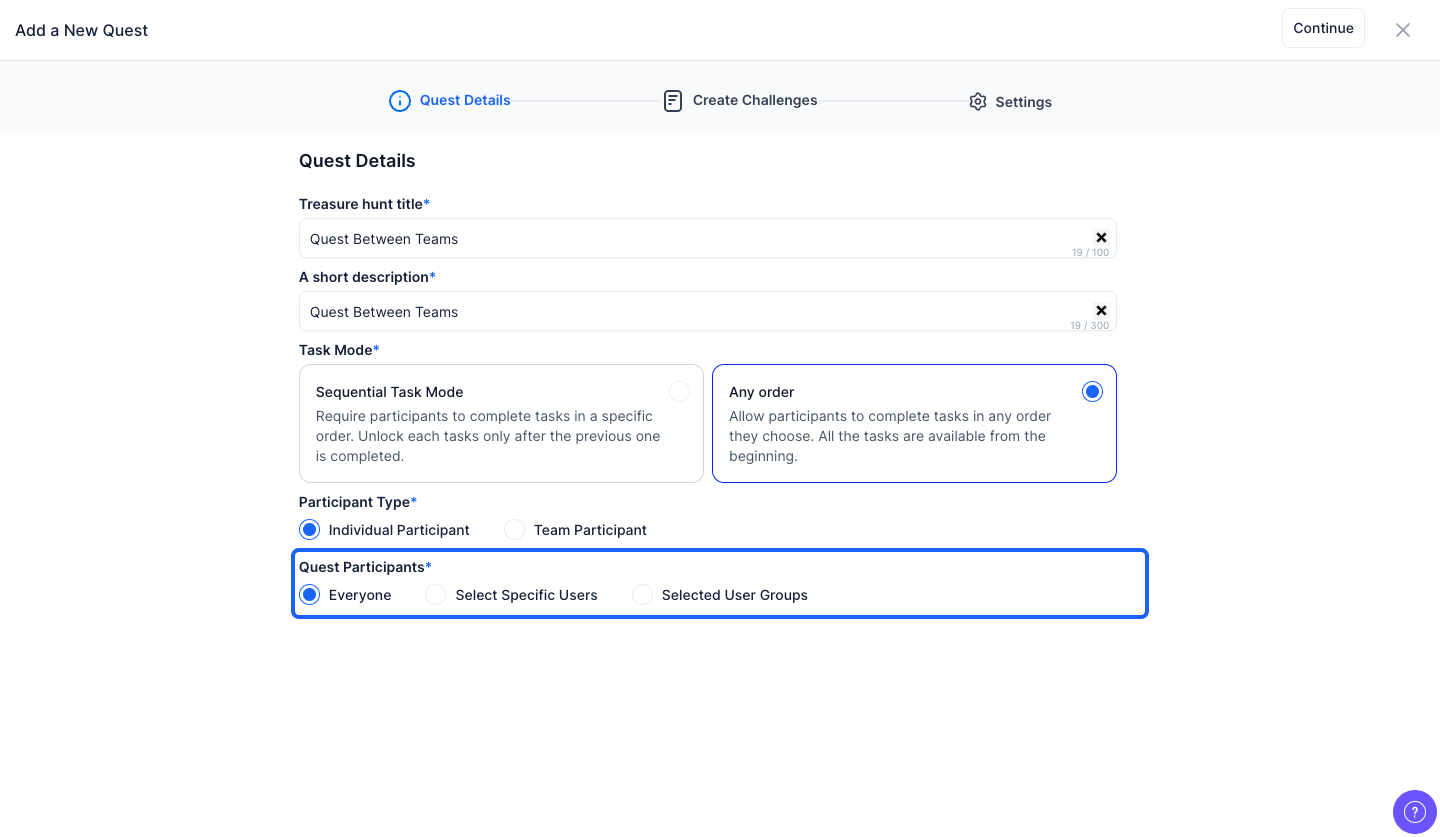
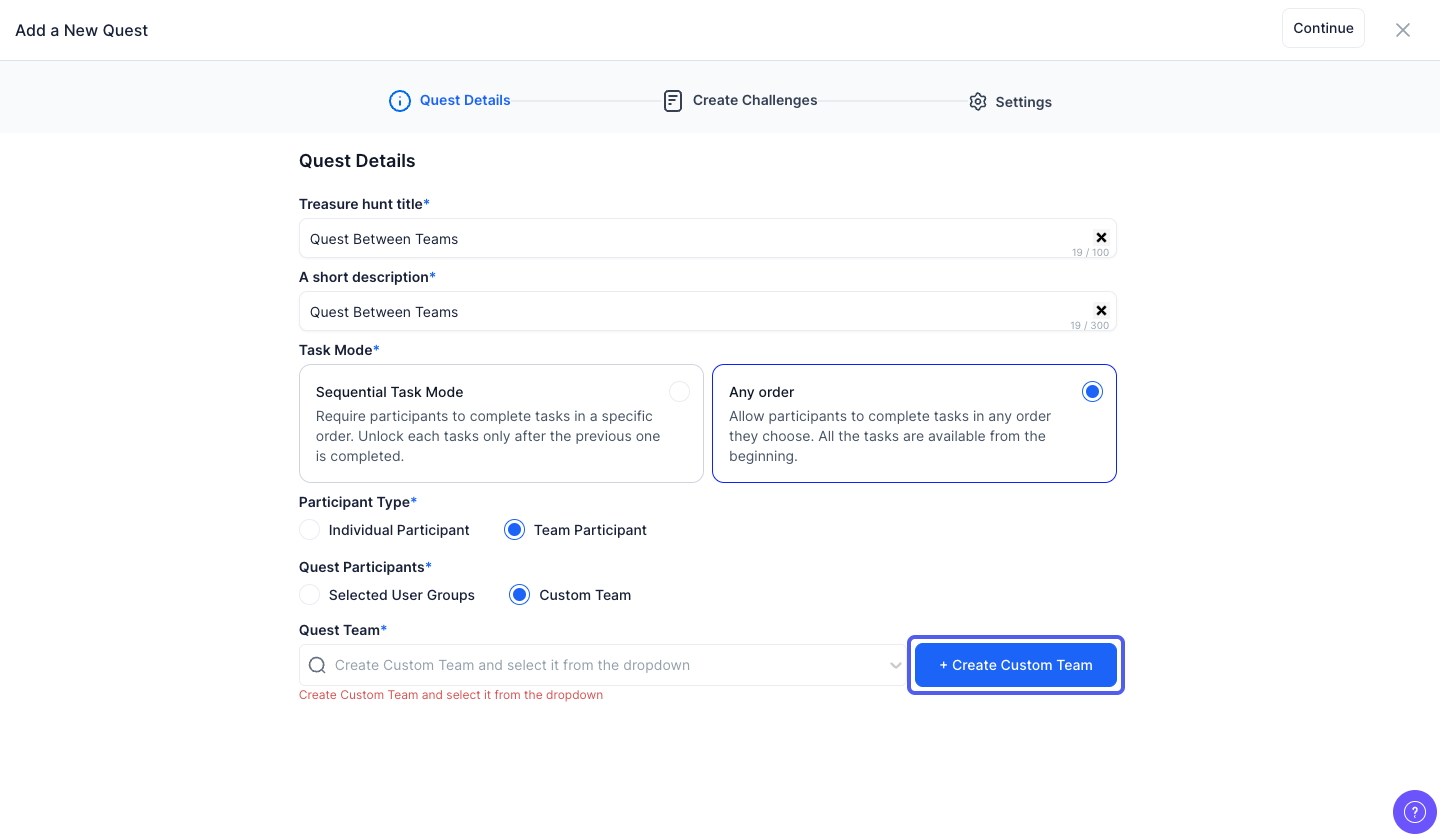
5: Enter a title for Treasure Hunt
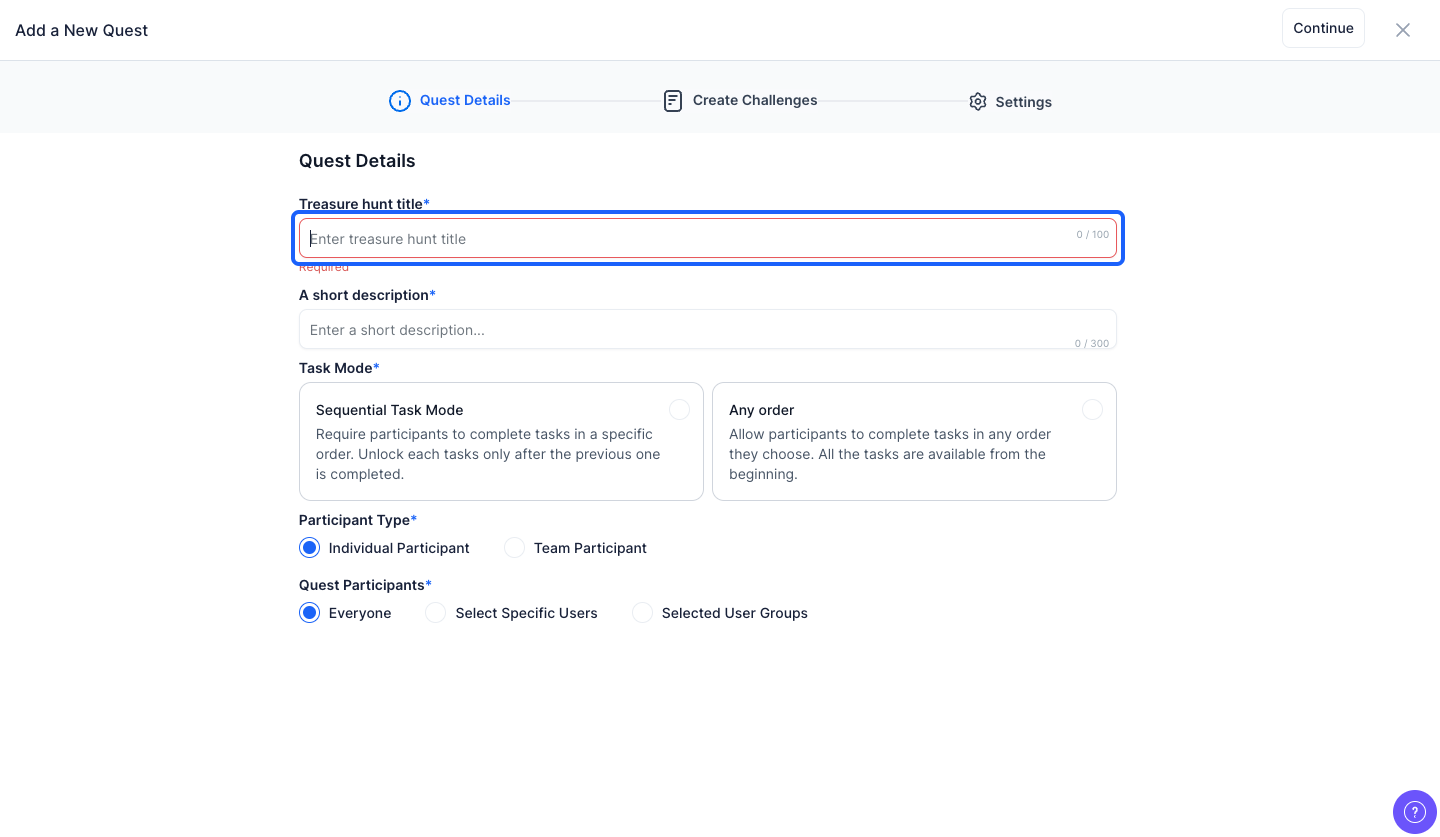
6: Give a short description

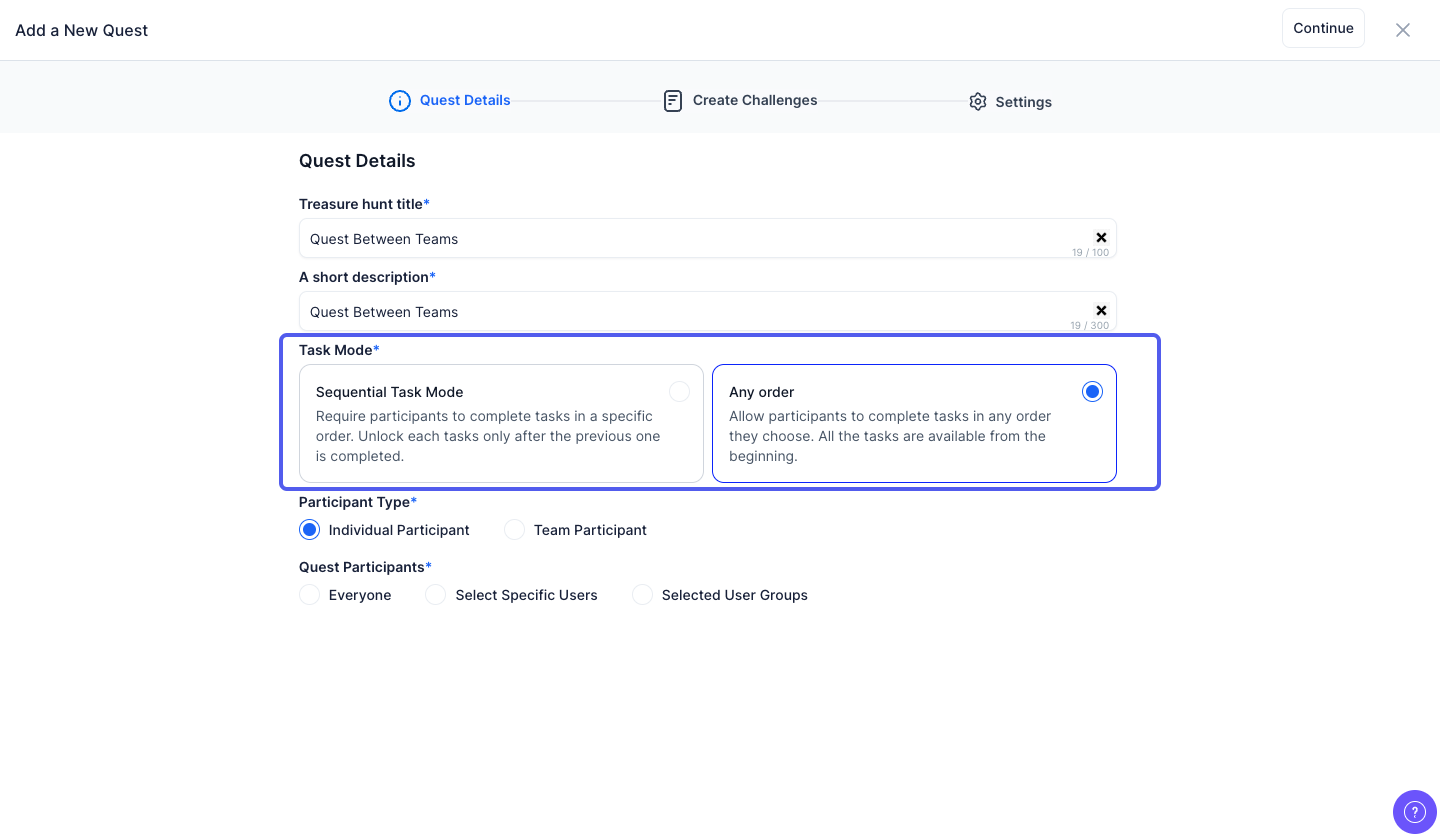
7: You can set the Task Mode to either Sequential or Any Order
8: You can choose the participant type as individual or team participant
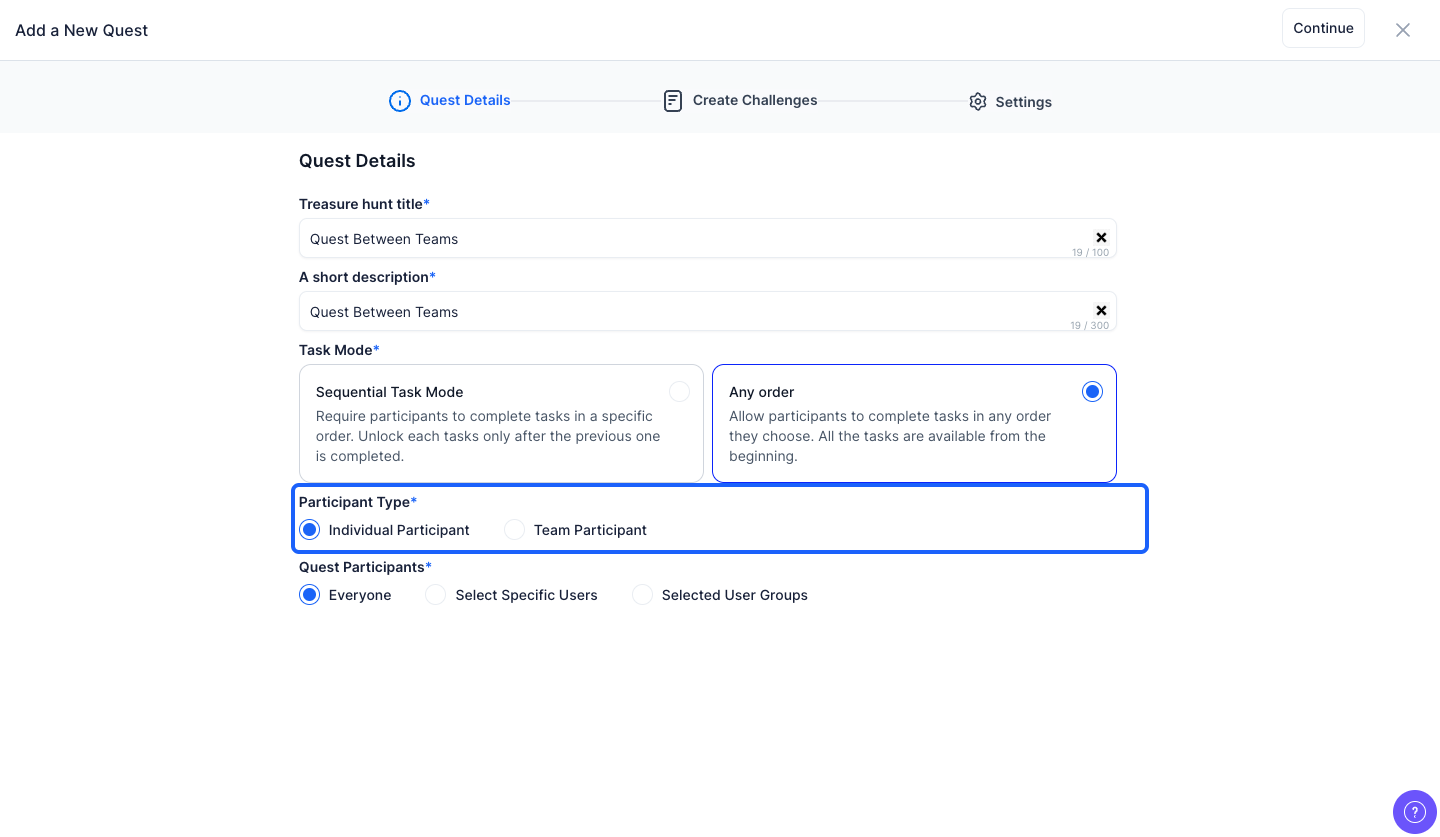
9: If the Participant Type is selected as "Individual Participant" then Quest participants can be either Everyone or Specific Users or Selected User Groups
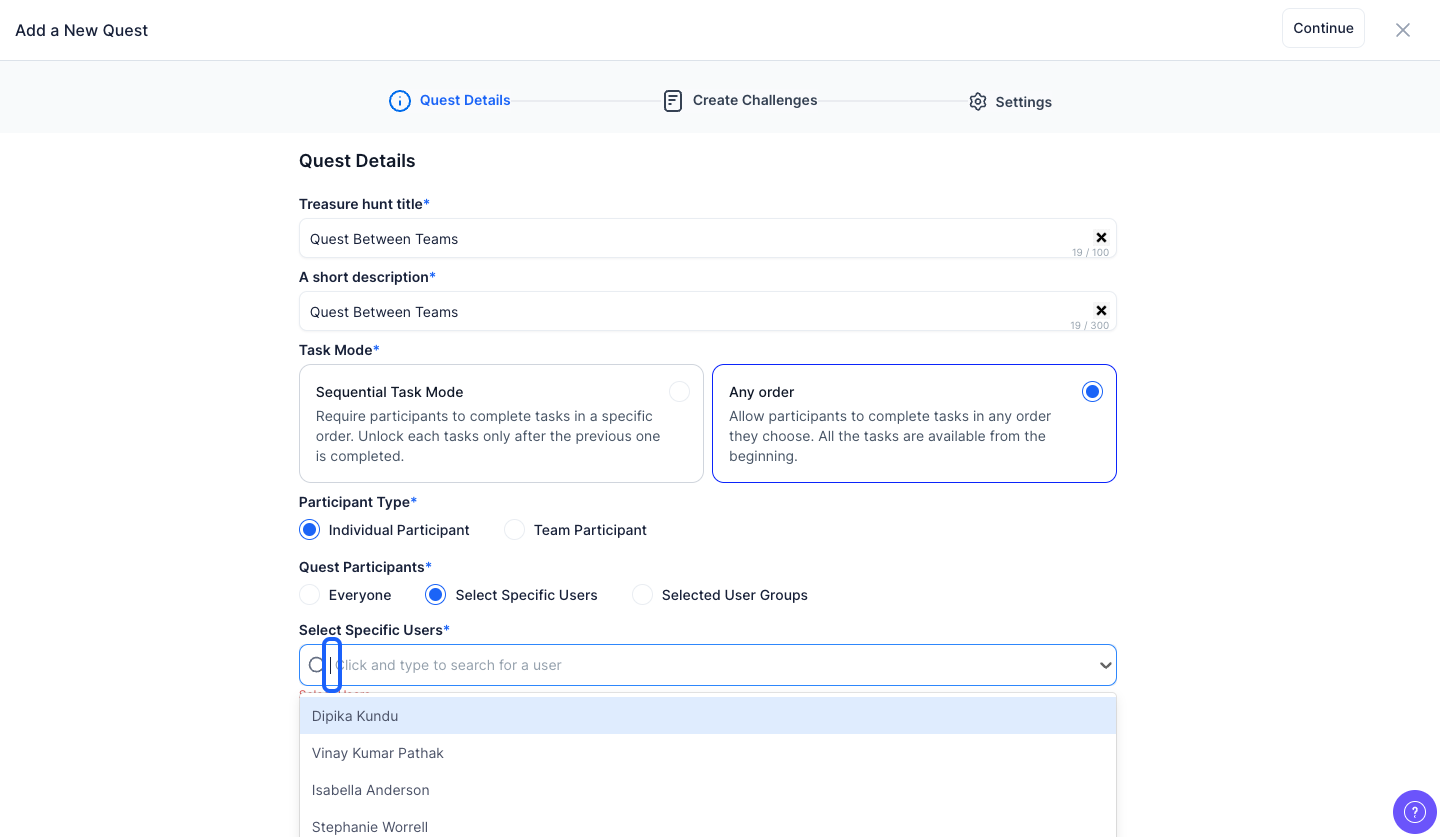
10: If you select "Specific Users", then you have to select specific users from the dropdown
Note: You can select Multiple Users
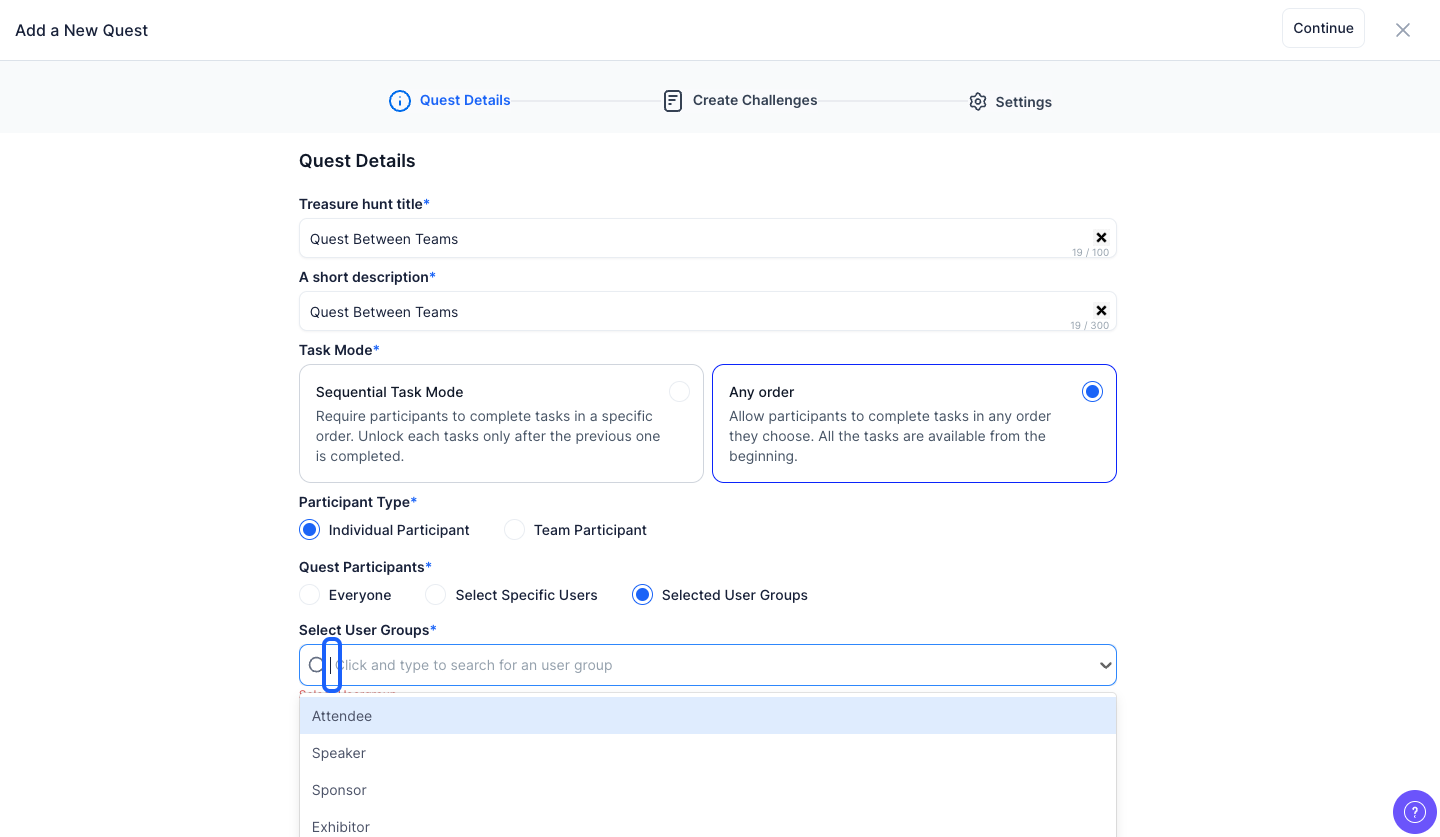
11: If you select "Selected User Groups" then you have to select specific user groups from the dropdown
Note: You can select multiple user groups
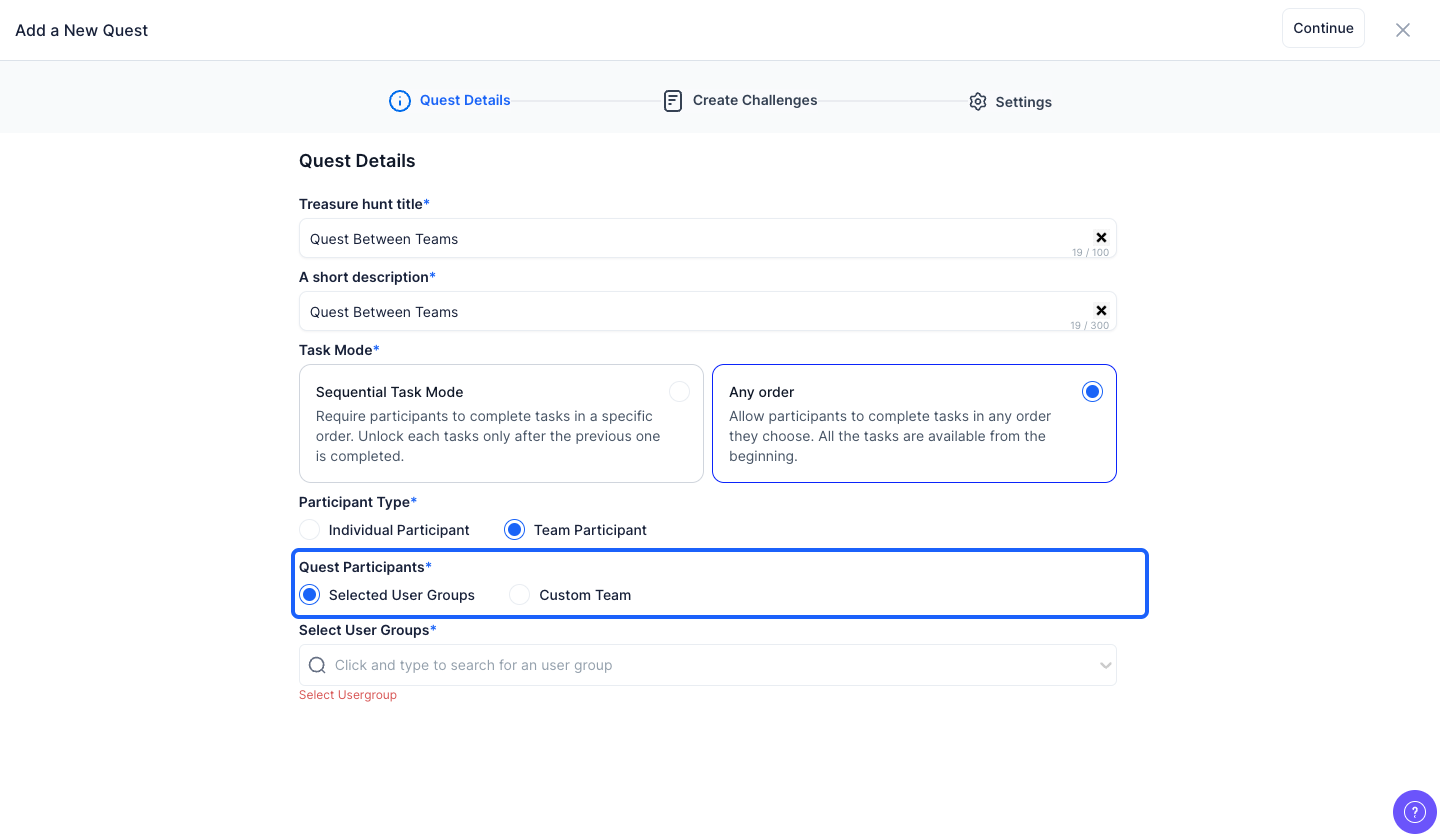
12: If the Participant Type is selected as Team Participant then Quest Participants can be either "Selected User Group" or "Custom Team"
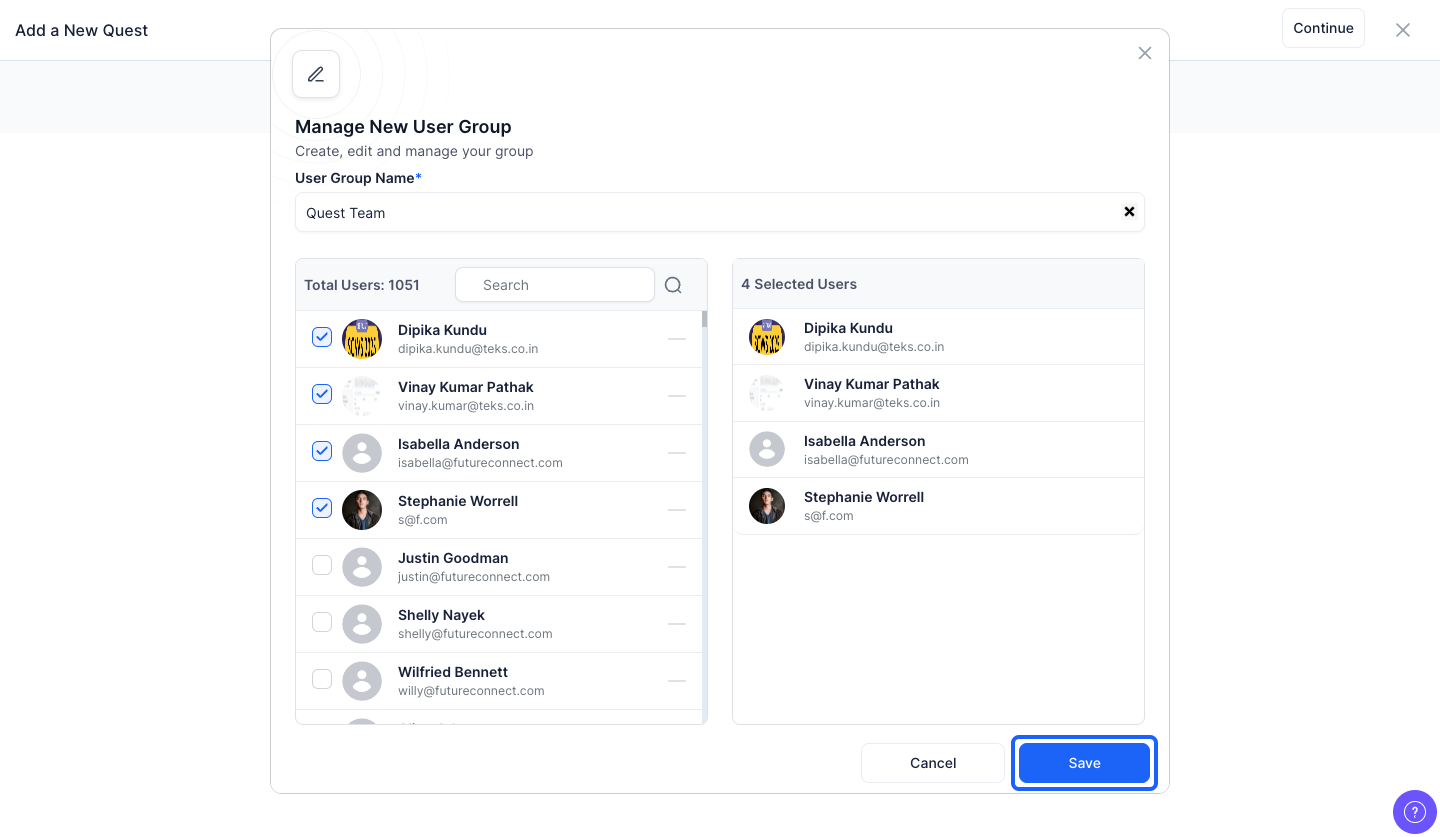
13: Click the "Create Custom Team" button to customize the quest team
14: Enter the Group Name
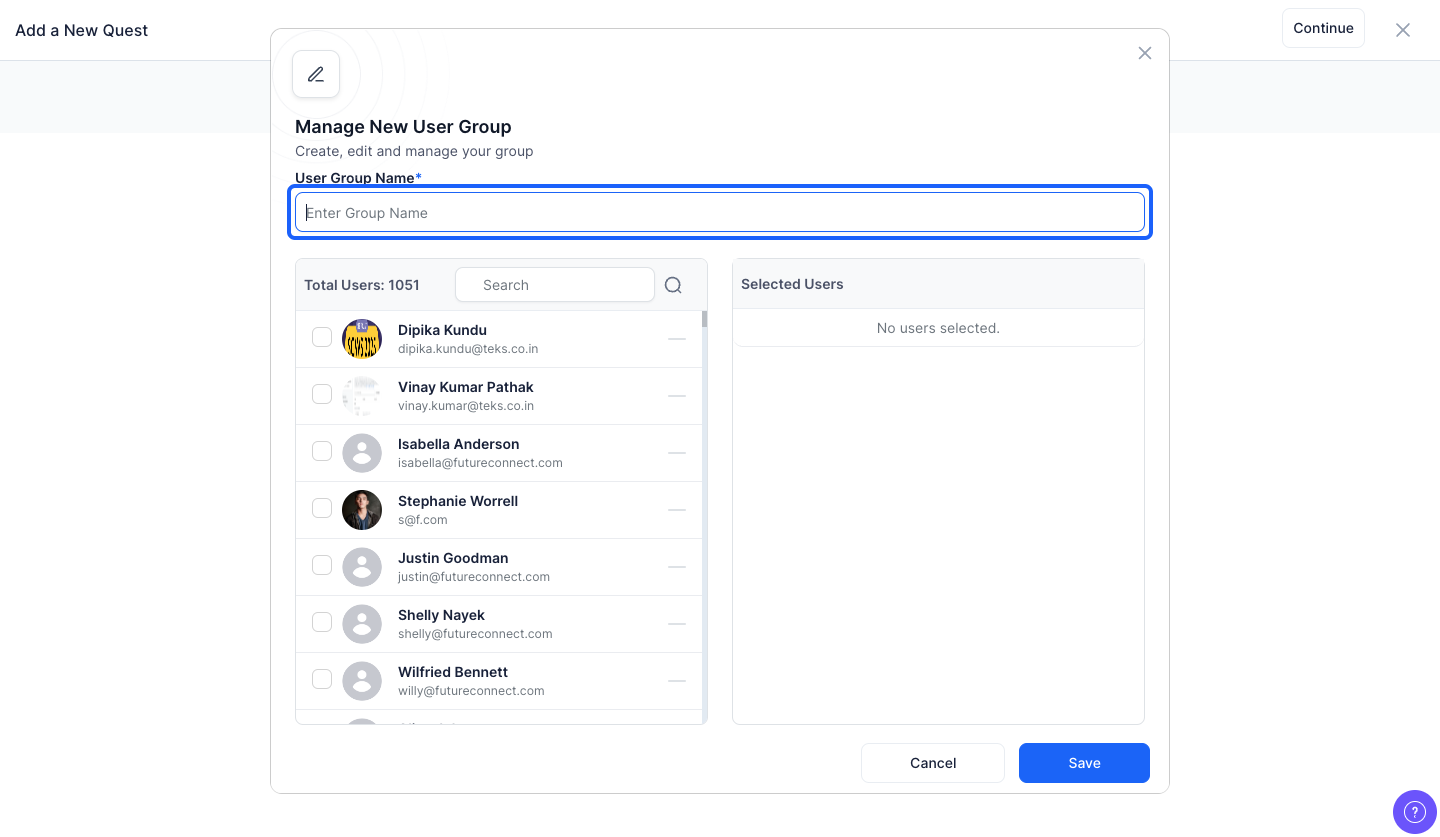
15: You have to select the team members from here
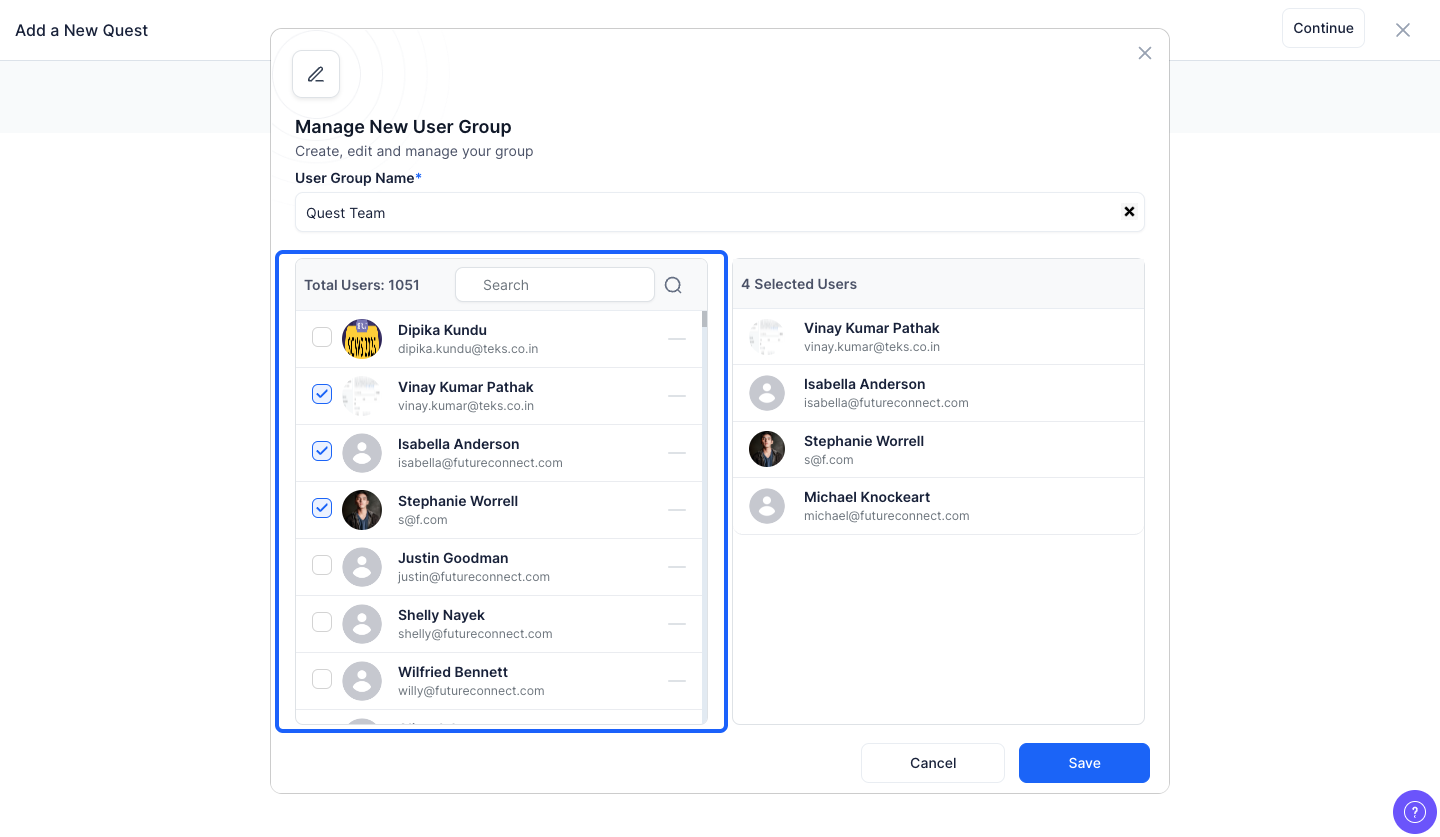
16: You can view the selected users from here
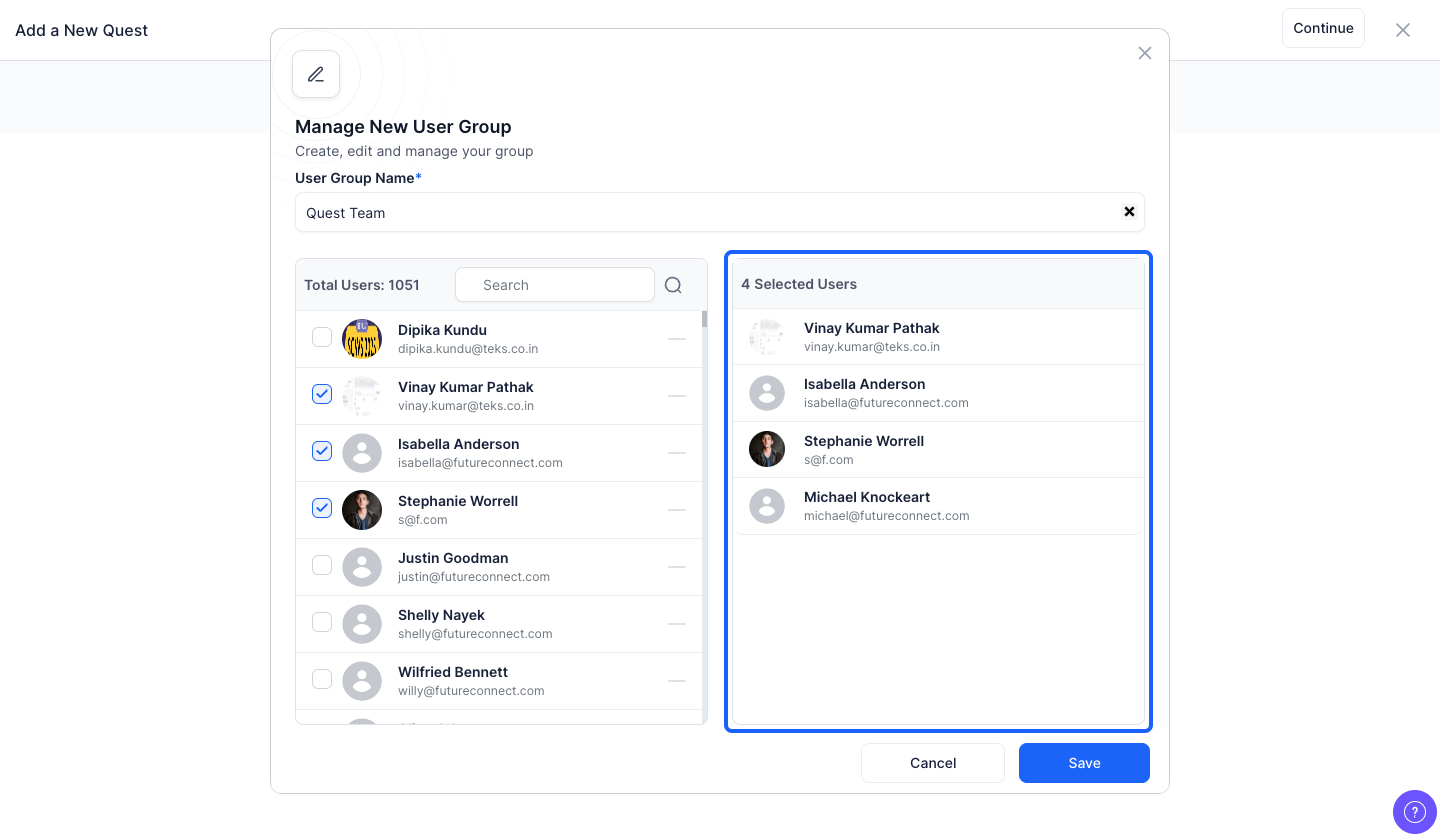
17: Click the “Save” button to create the team
Note: After creating one team, you can again create another team with different users
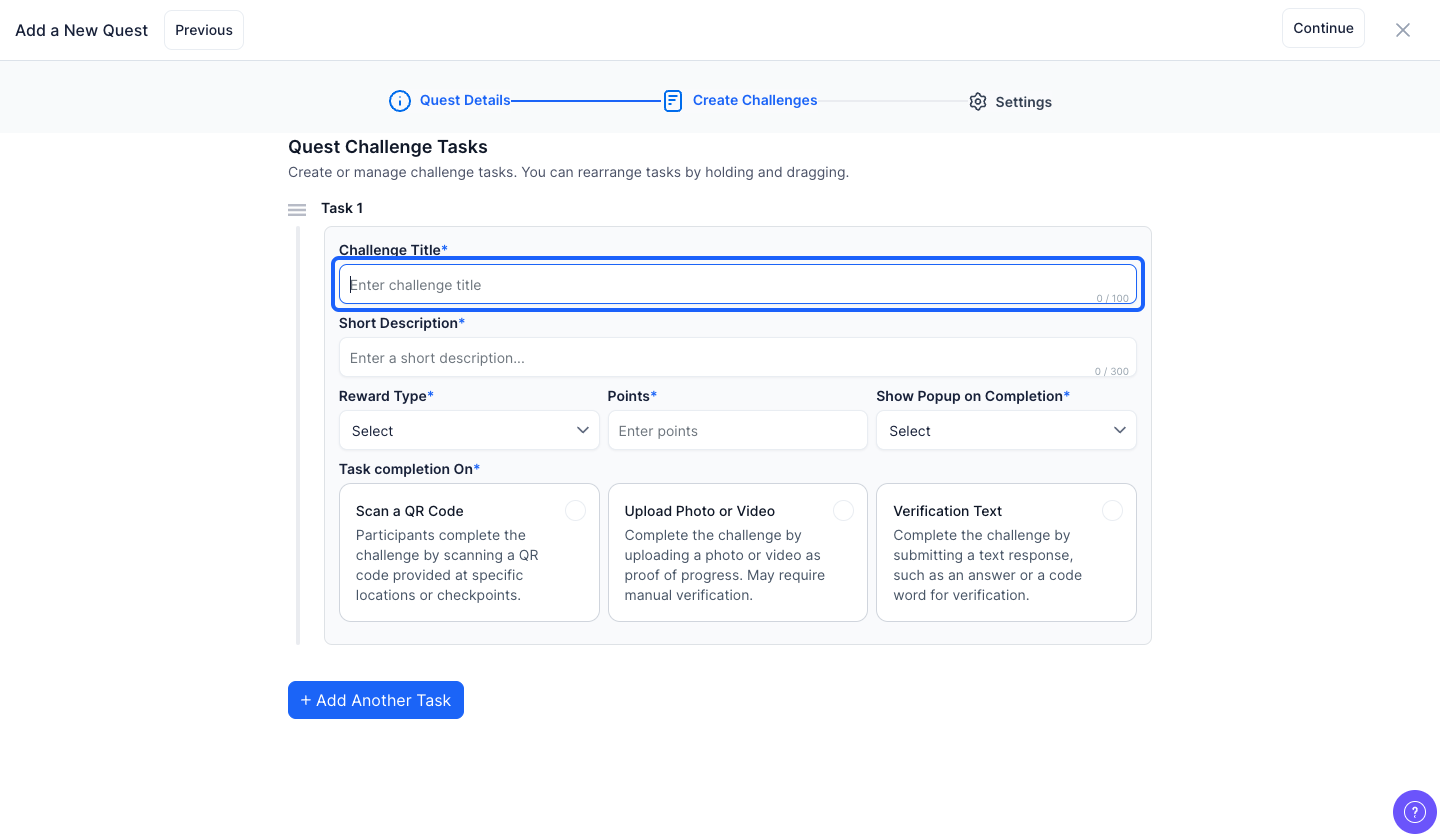
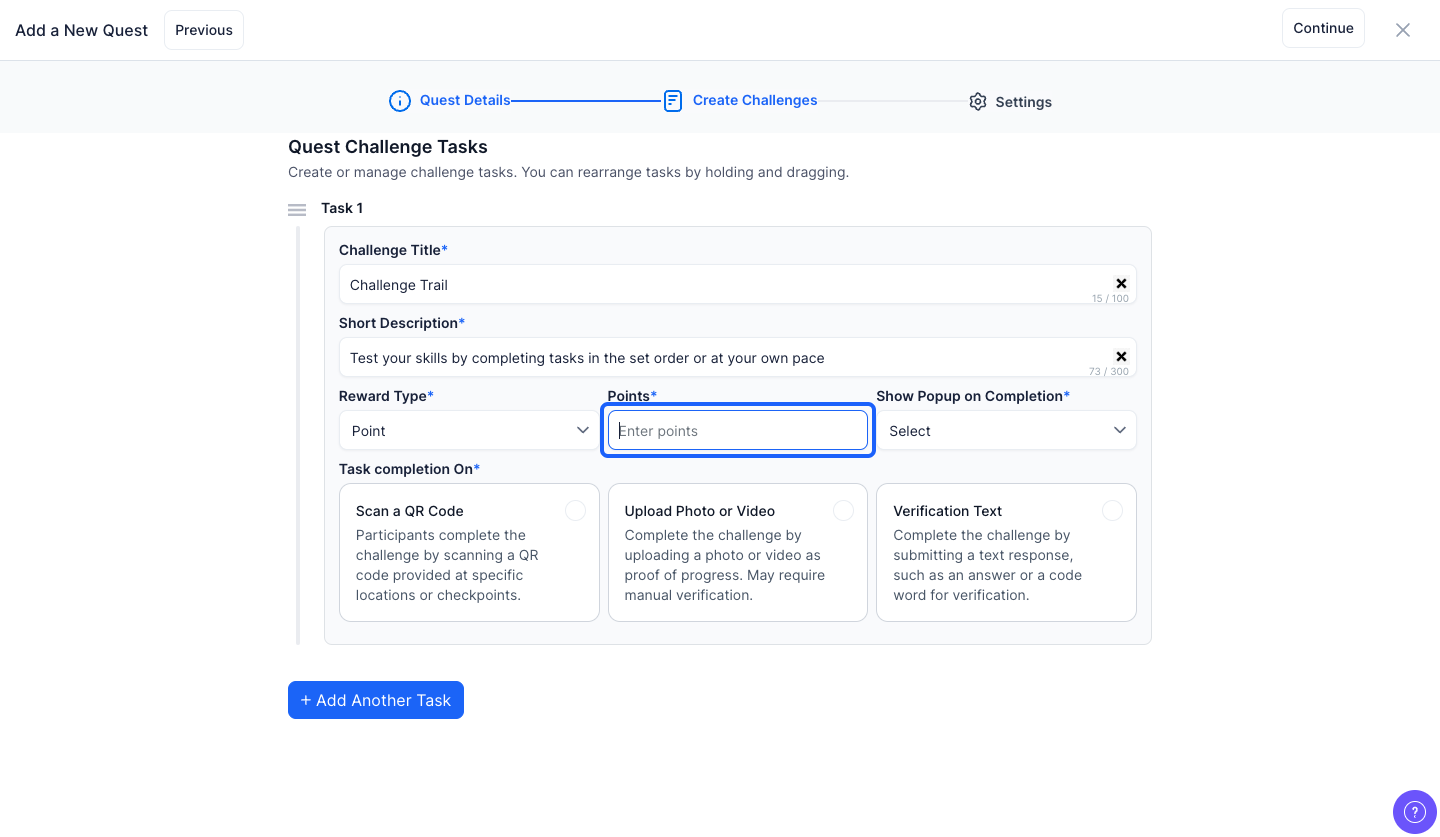
18: Enter the title of the challenge
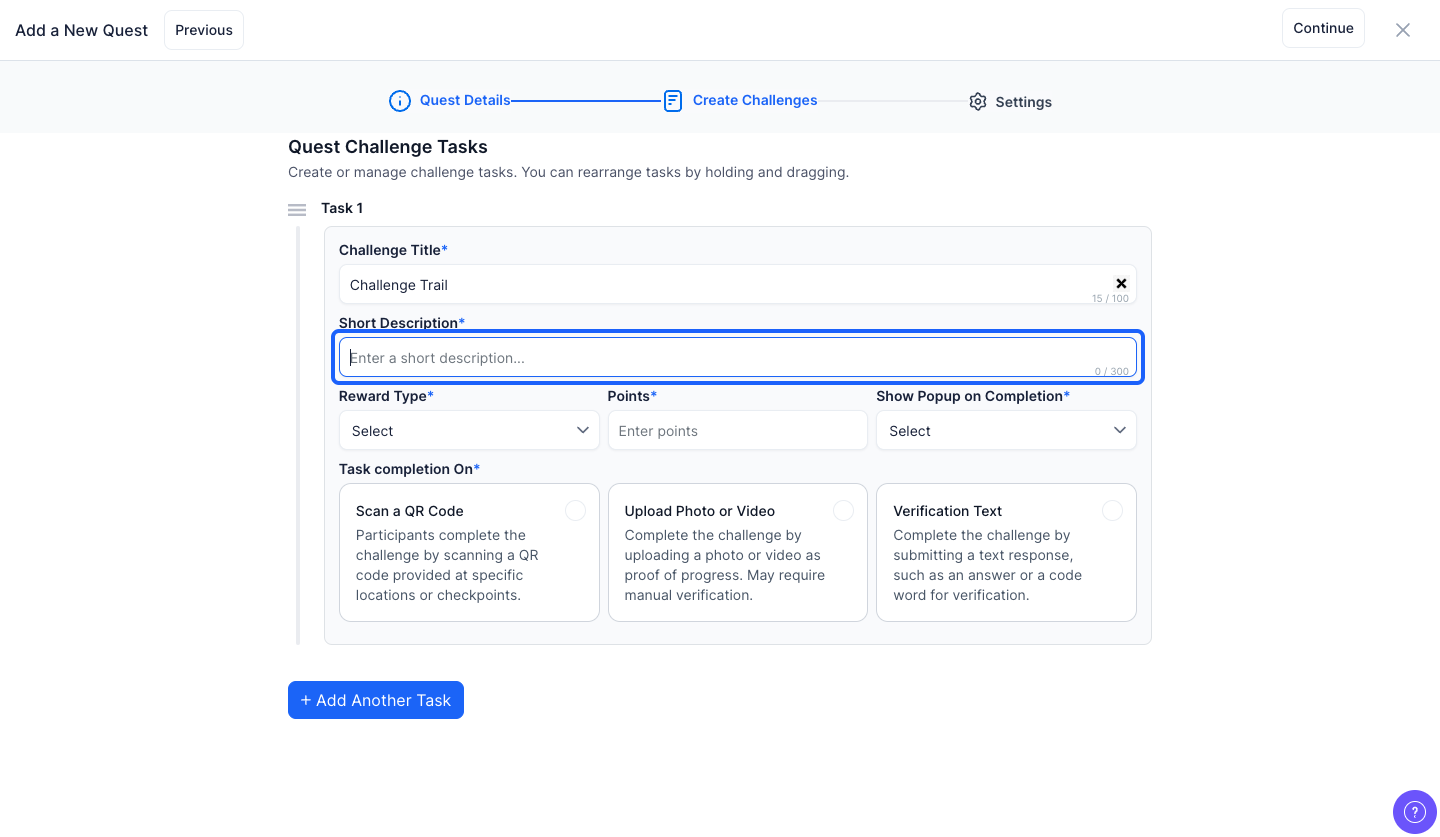
19: Enter a short description
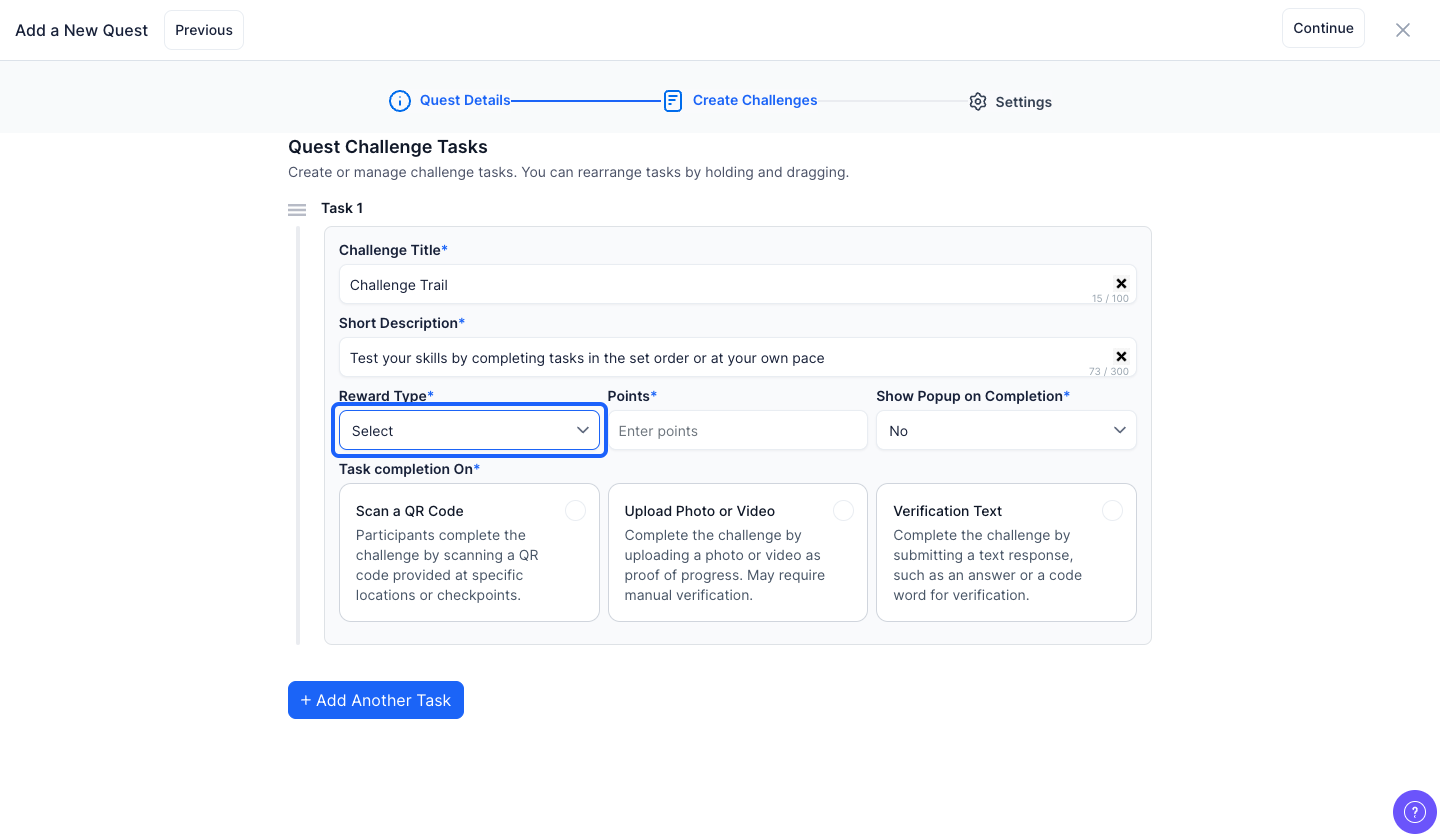
20: Choose the reward type from the dropdown
Note: The reward type can be either points or award
21: If you choose the reward type as "Points", enter the reward points
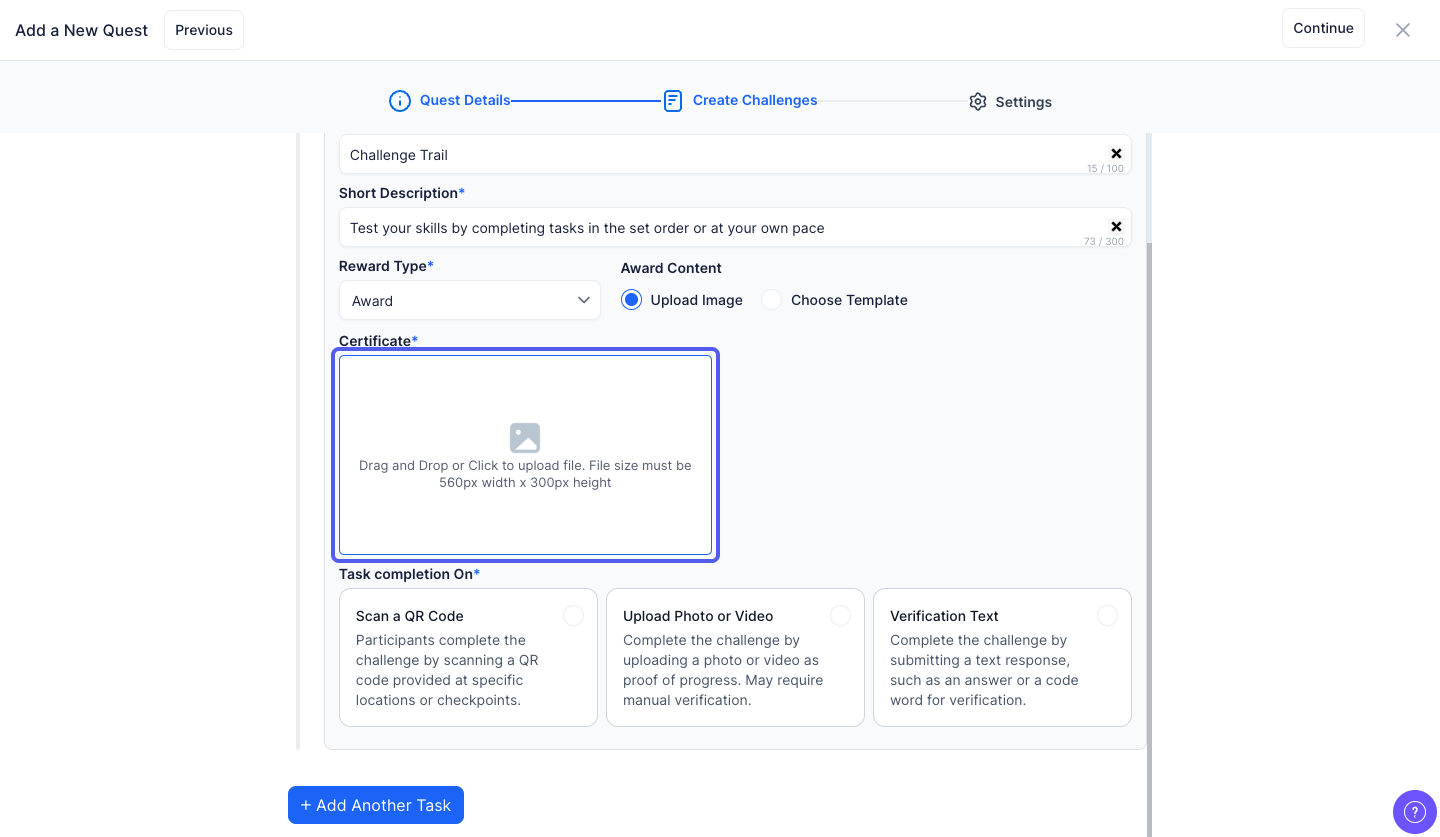
22: If you choose the reward type as "Award", select the "Upload Image" option to upload an image of the certificate
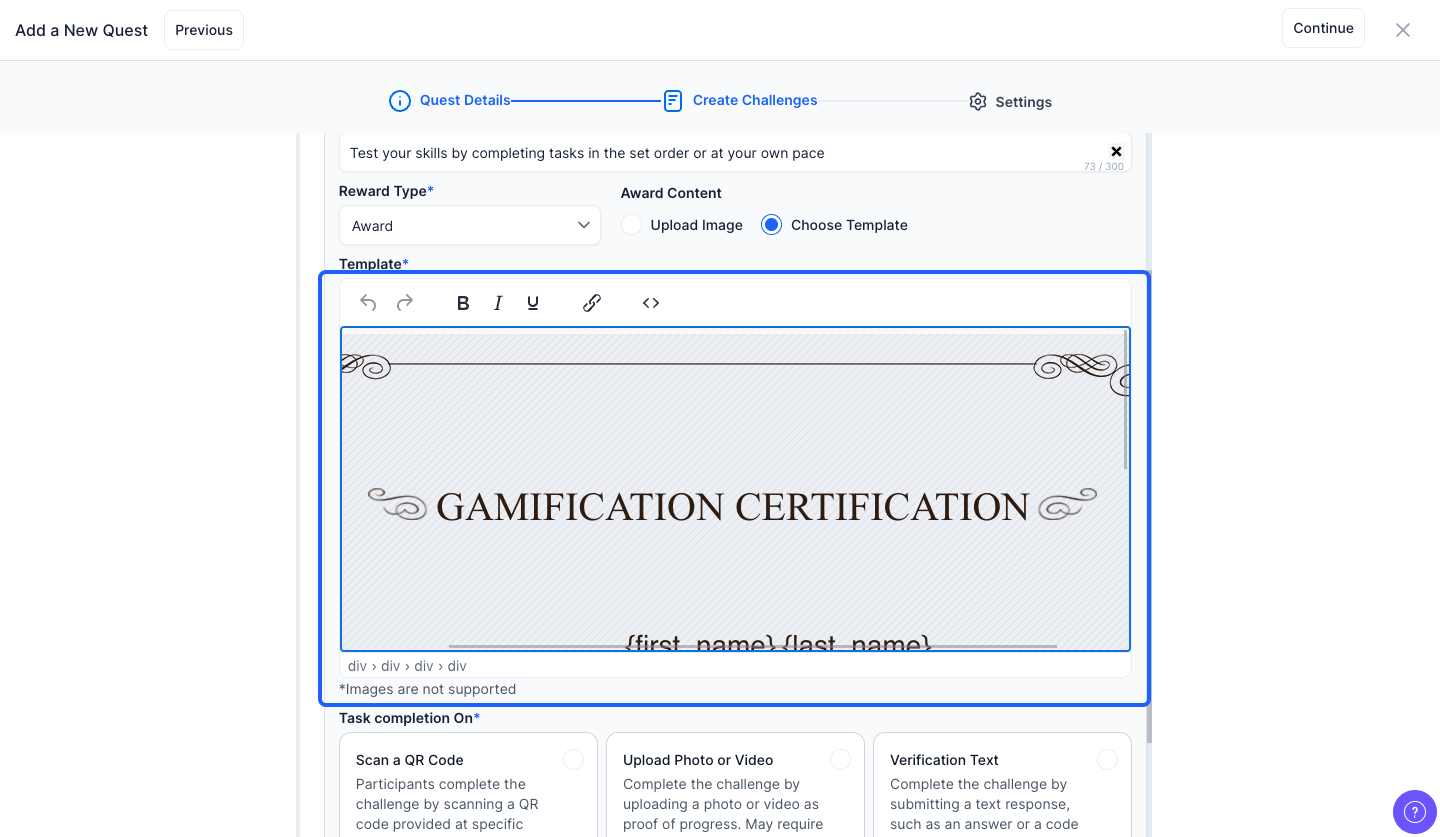
23: Or, select the "Choose Template" option to use the built-in certificate template instead
Note: You can also modify the template
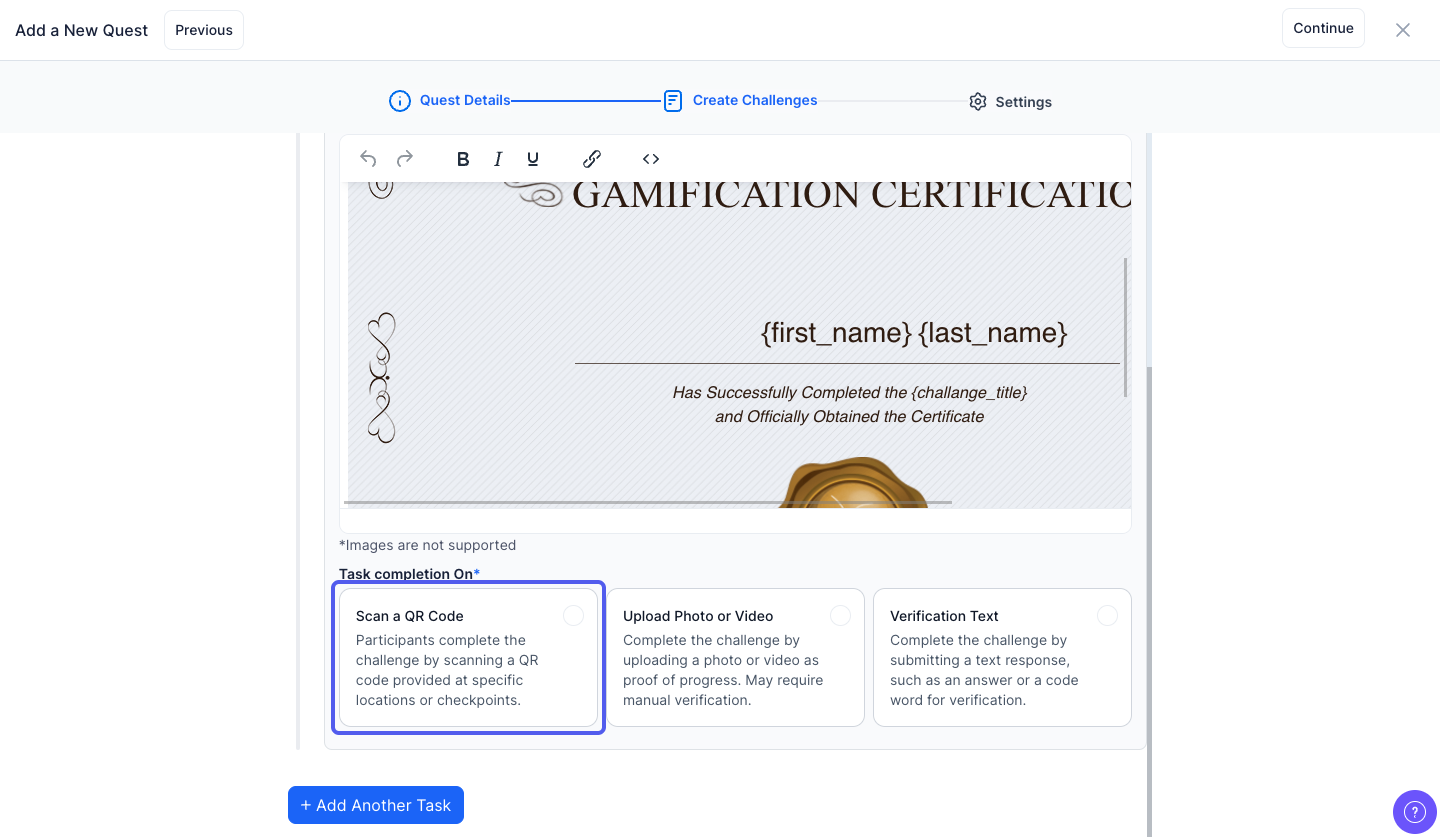
24: You can choose how participants must complete the task using the Task Completion On setting
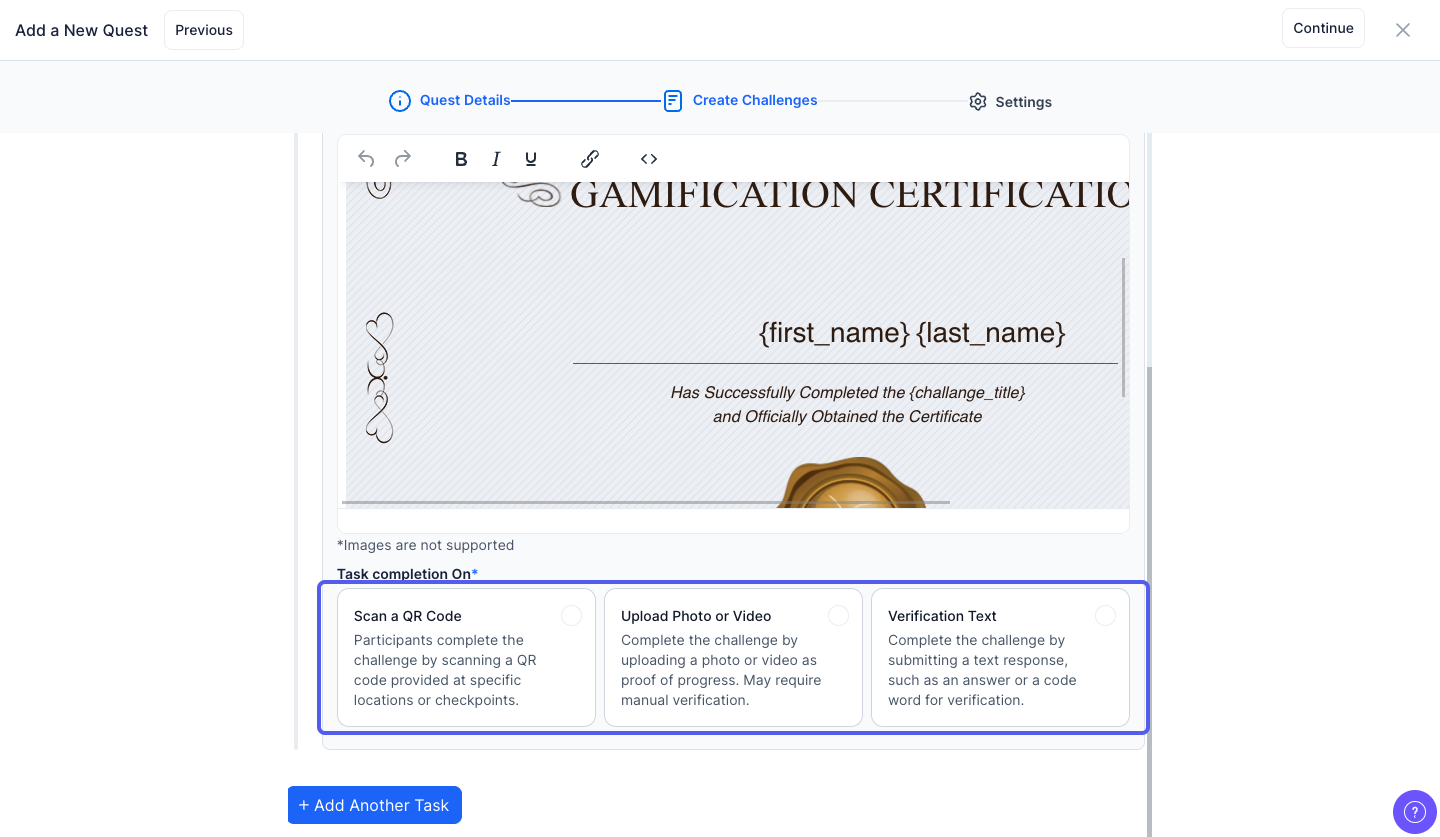
25: Participants can complete the challenge by scanning a QR code
26: You can enter a code to generate the Qr code or leave this field blank to automatically generate the Qr code
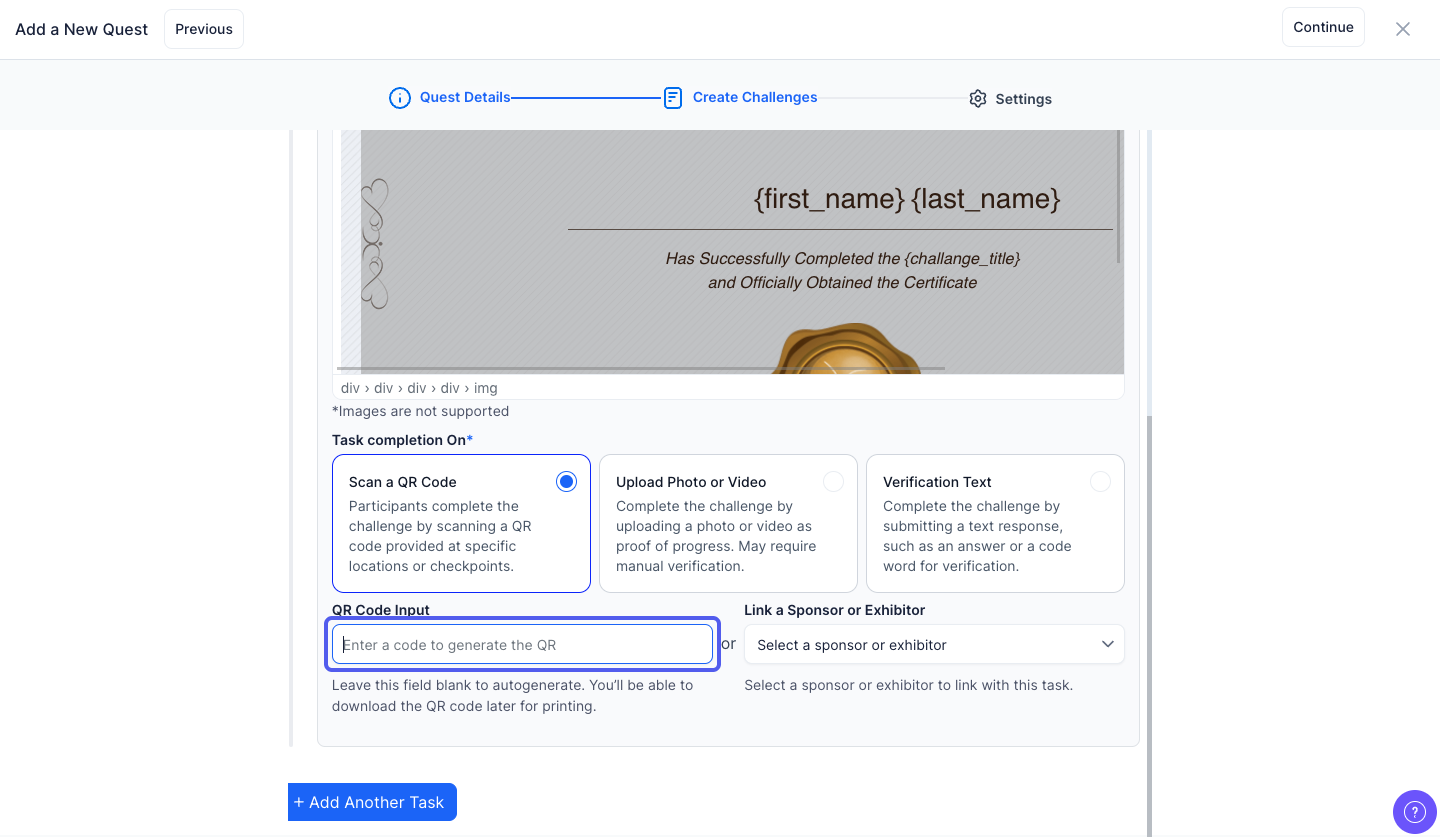
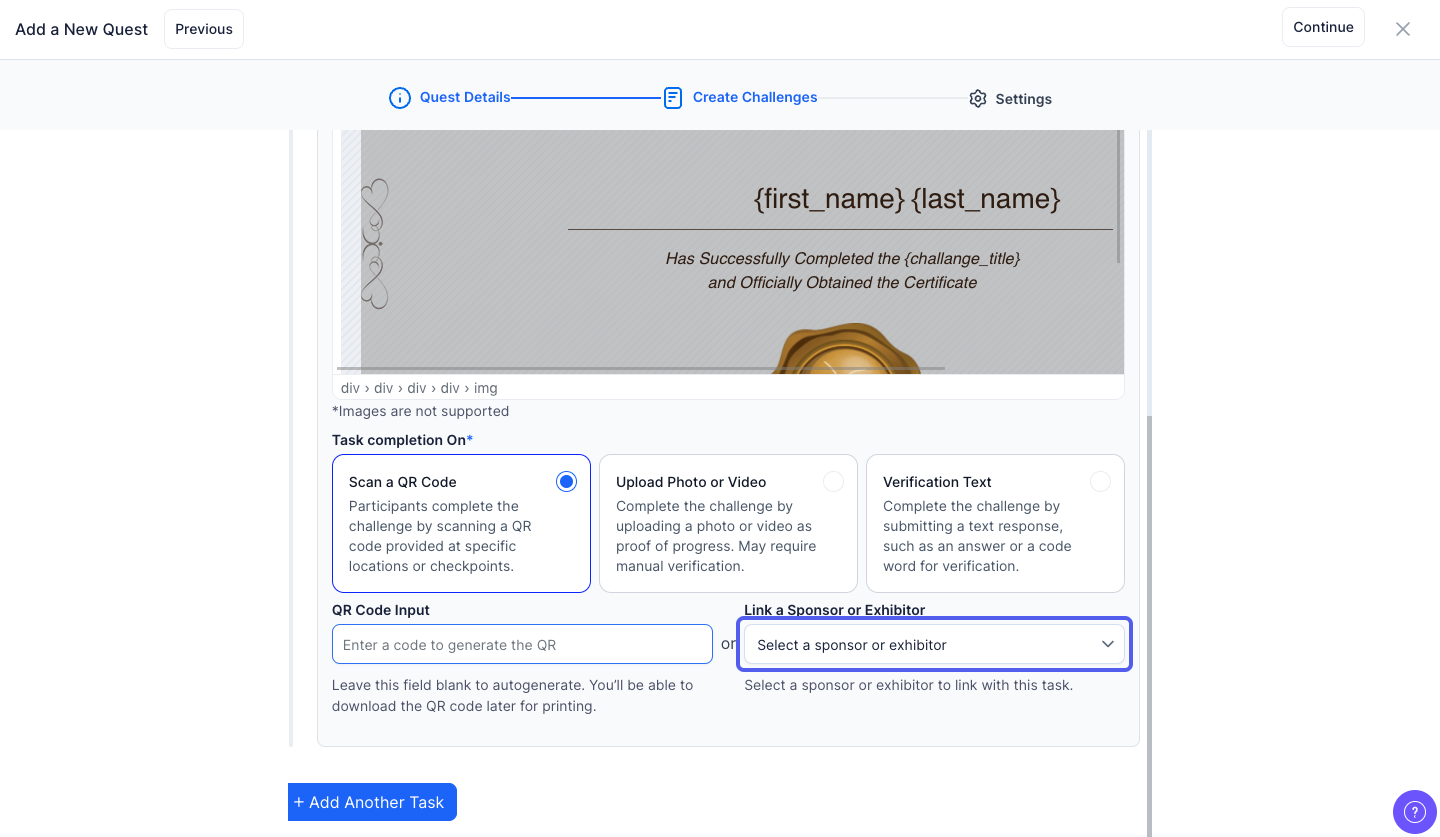
27: Or, you can link a sponsor or exhibitor with the task
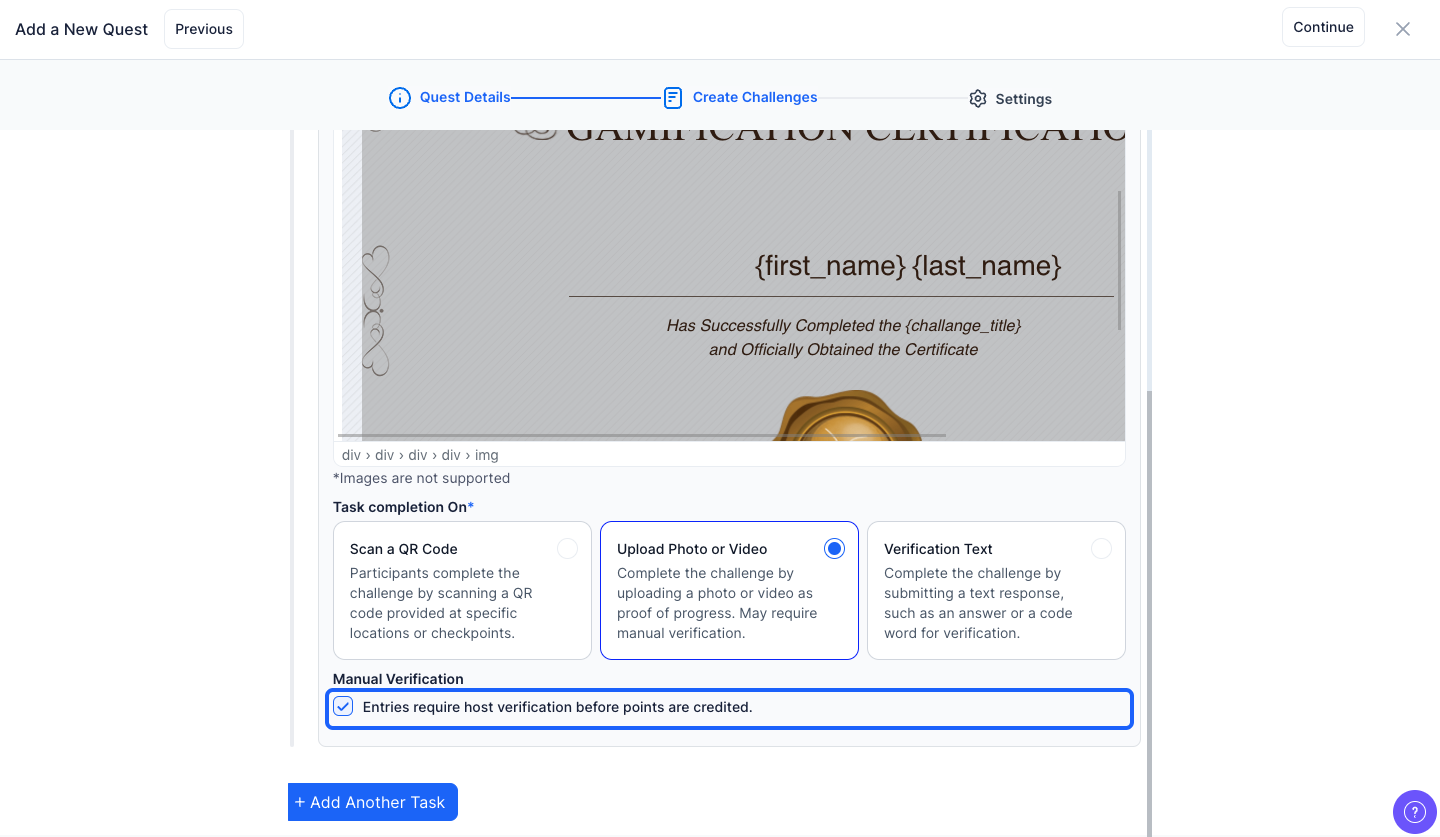
28: Users are required to upload a photo or video as proof of task completion. This method is useful for visual confirmation and may involve manual verification by the admin

29: Keep this checked if you want host verification before crediting points otherwise keep this unchecked
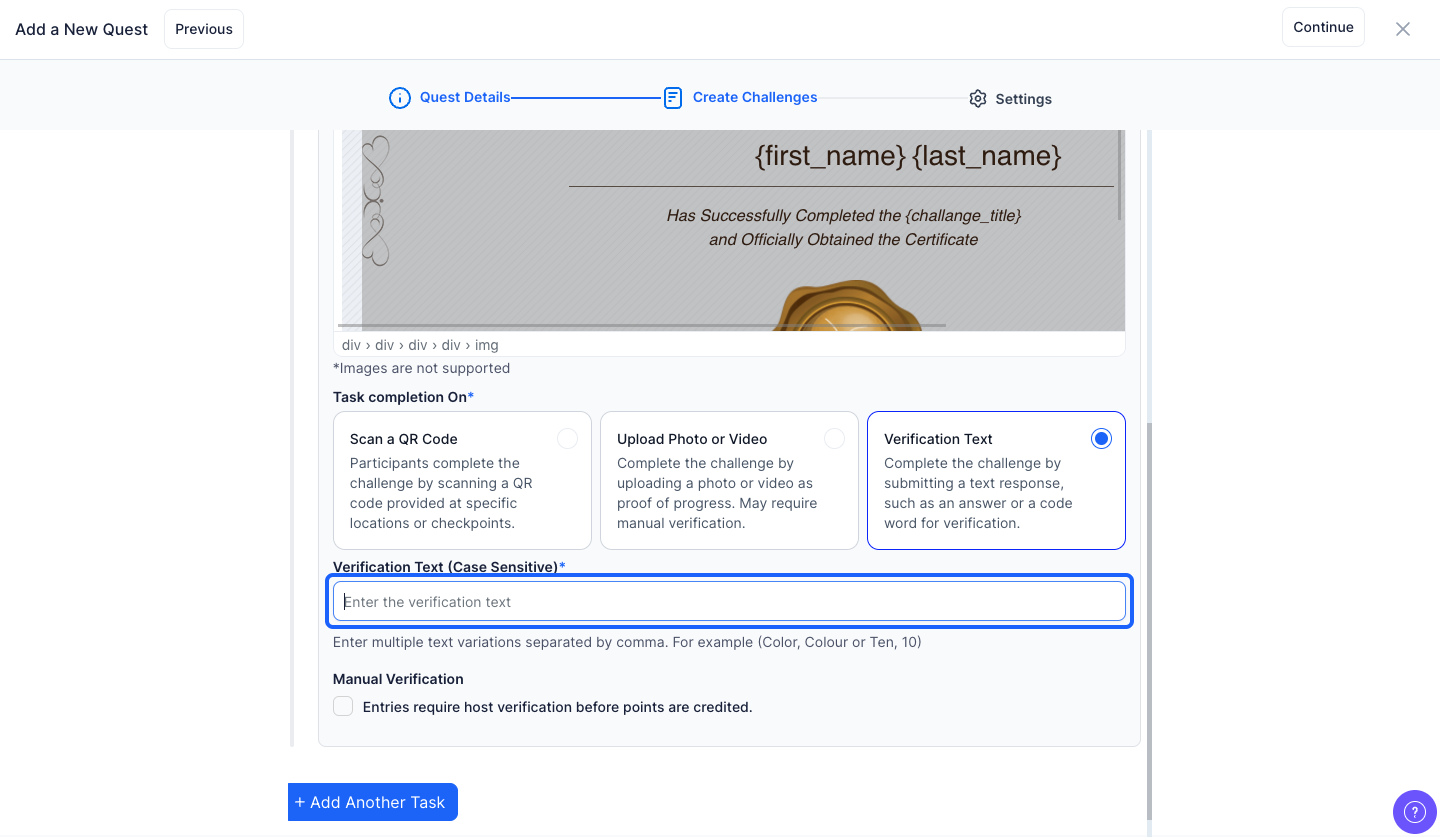
30: Participants complete the challenge by submitting a text response — such as an answer to a question or a specific code word provided by the organizer

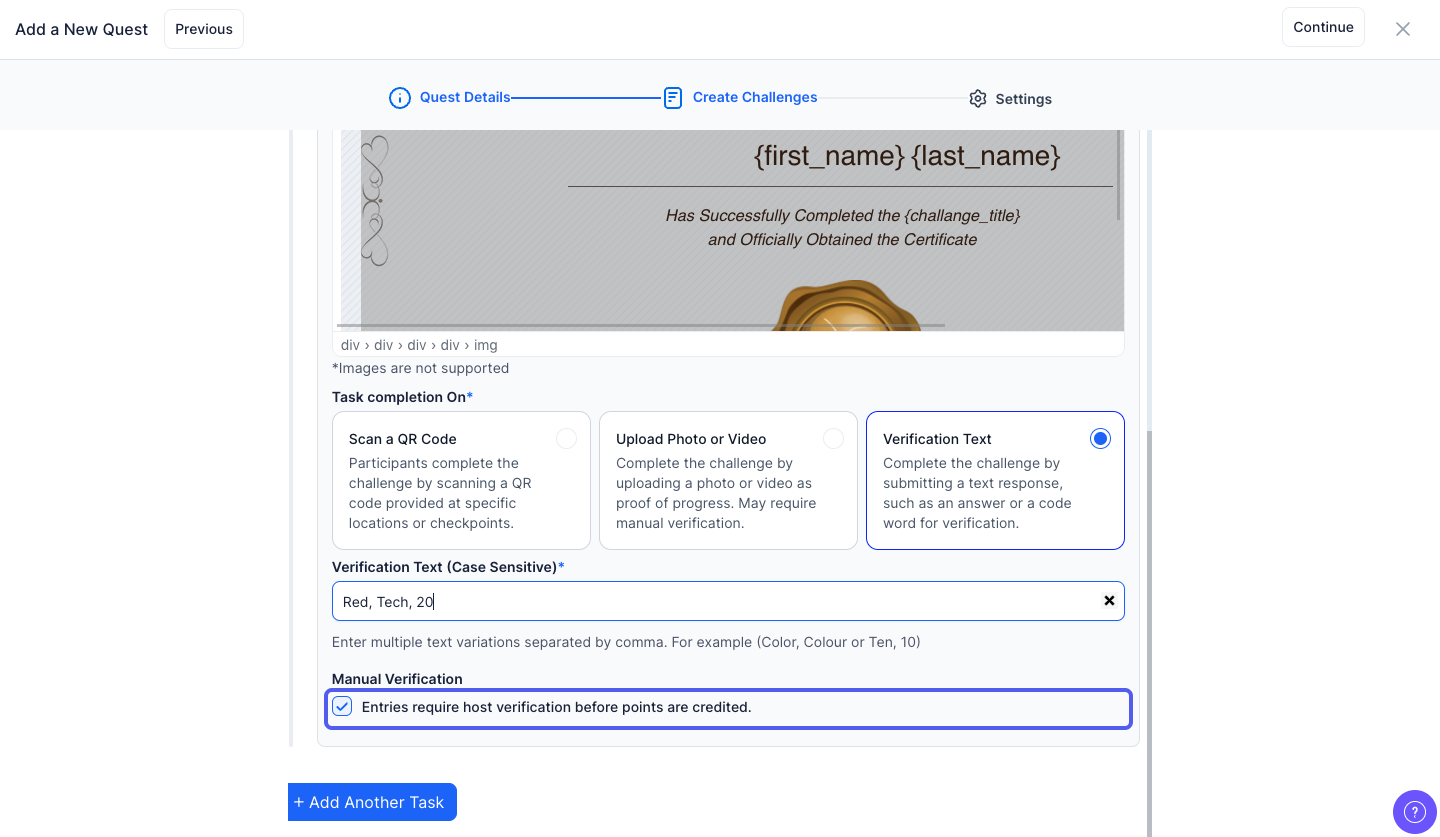
31: Enter the verification text
Note: You can add multiple texts separated by comma
32: Keep this checked if you want host verification before crediting points otherwise keep this unchecked
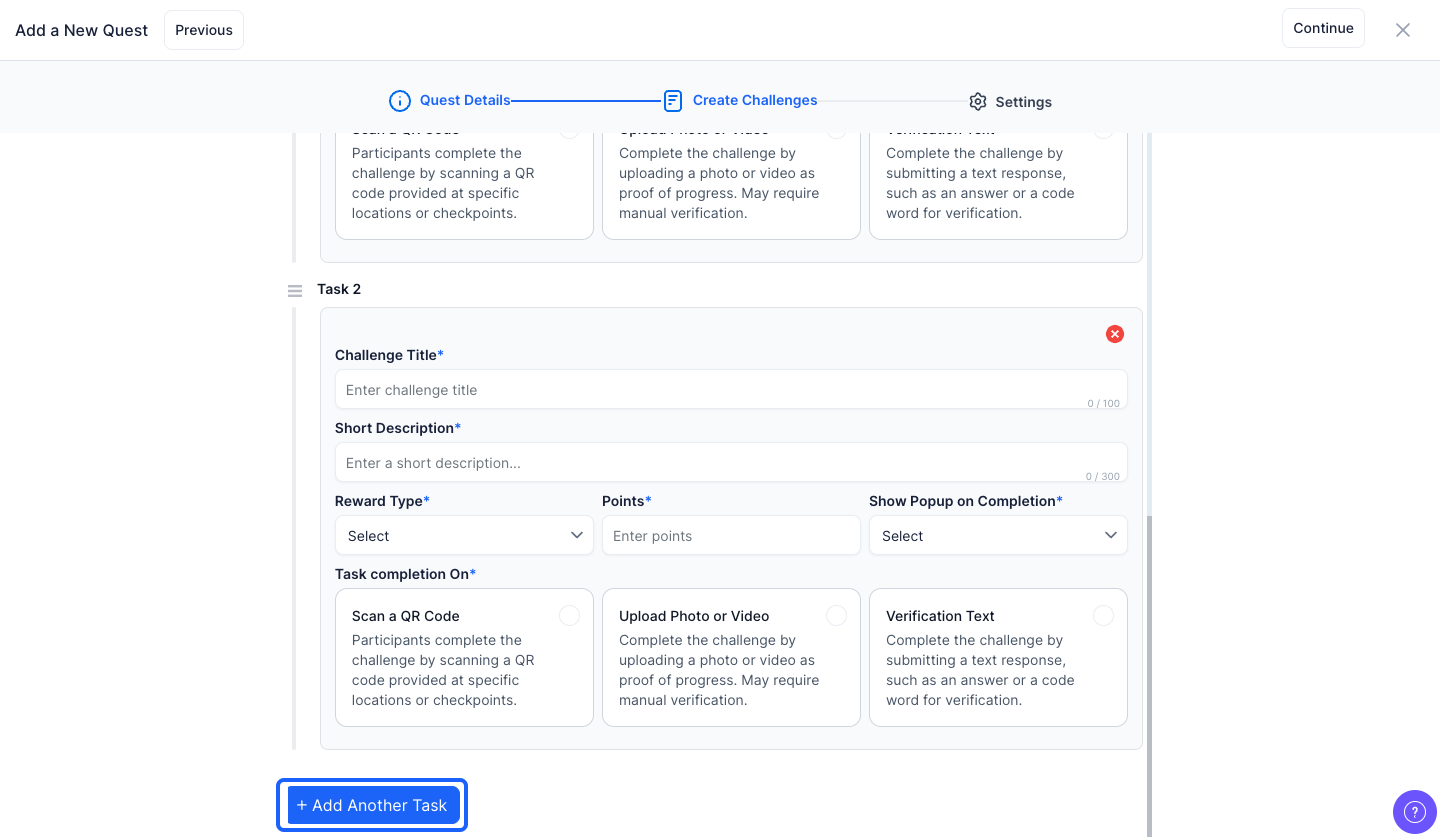
33: Click the “Add Another Task” button to add a new task
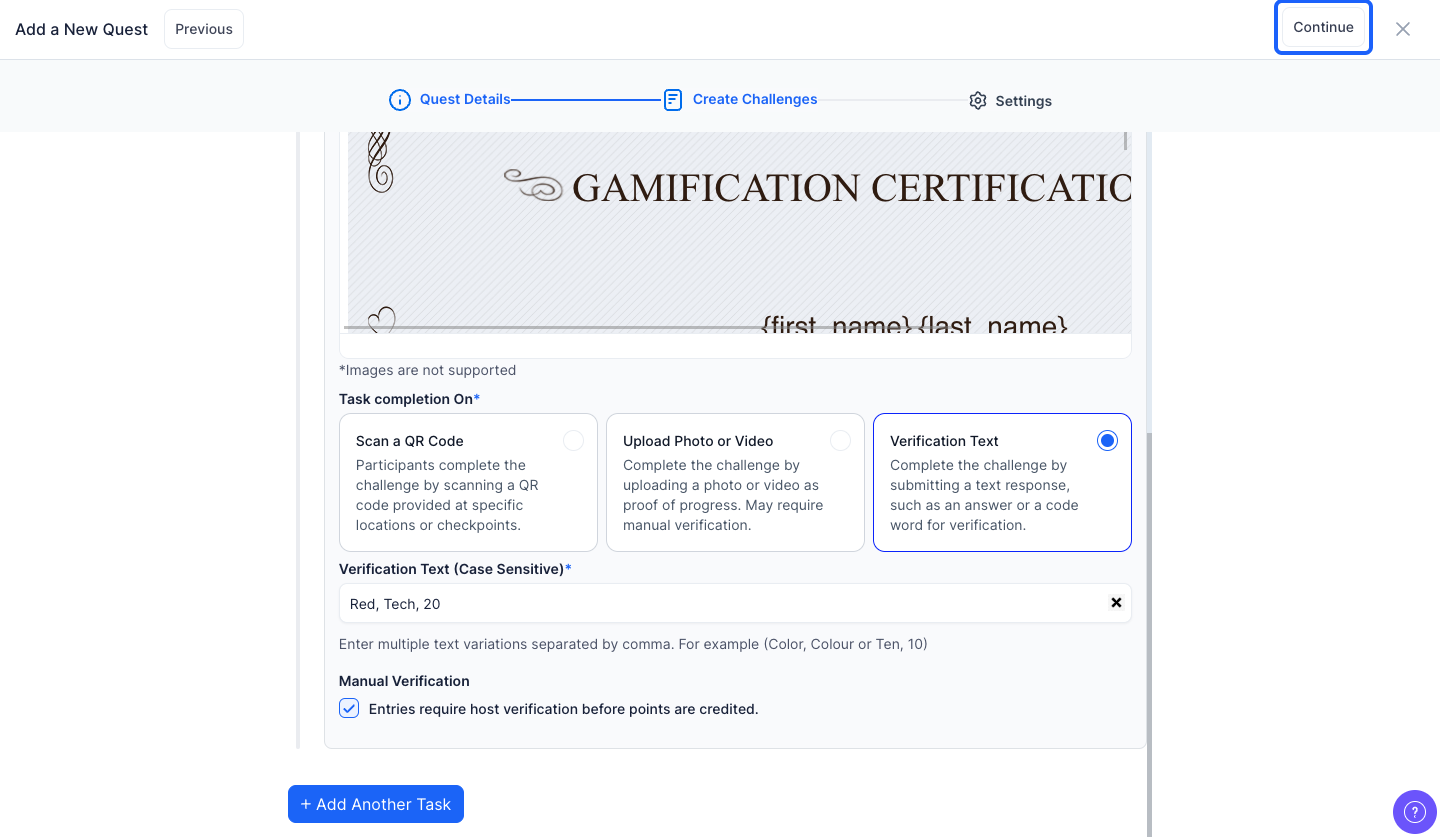
34: Click the “Continue” button to proceed to the next step
35: Enter the rules for the challenge
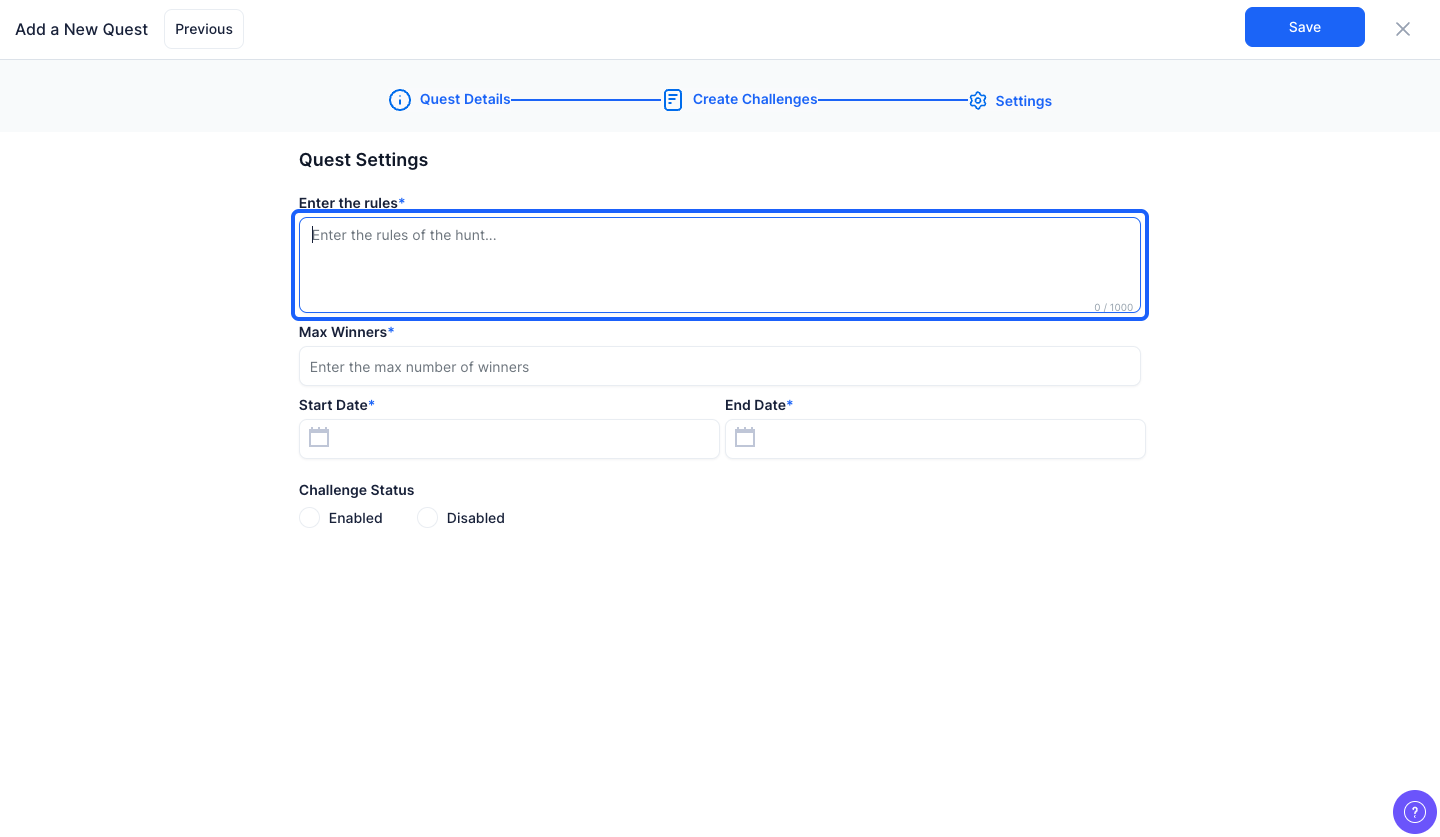
36: Enter the maximum number of winners

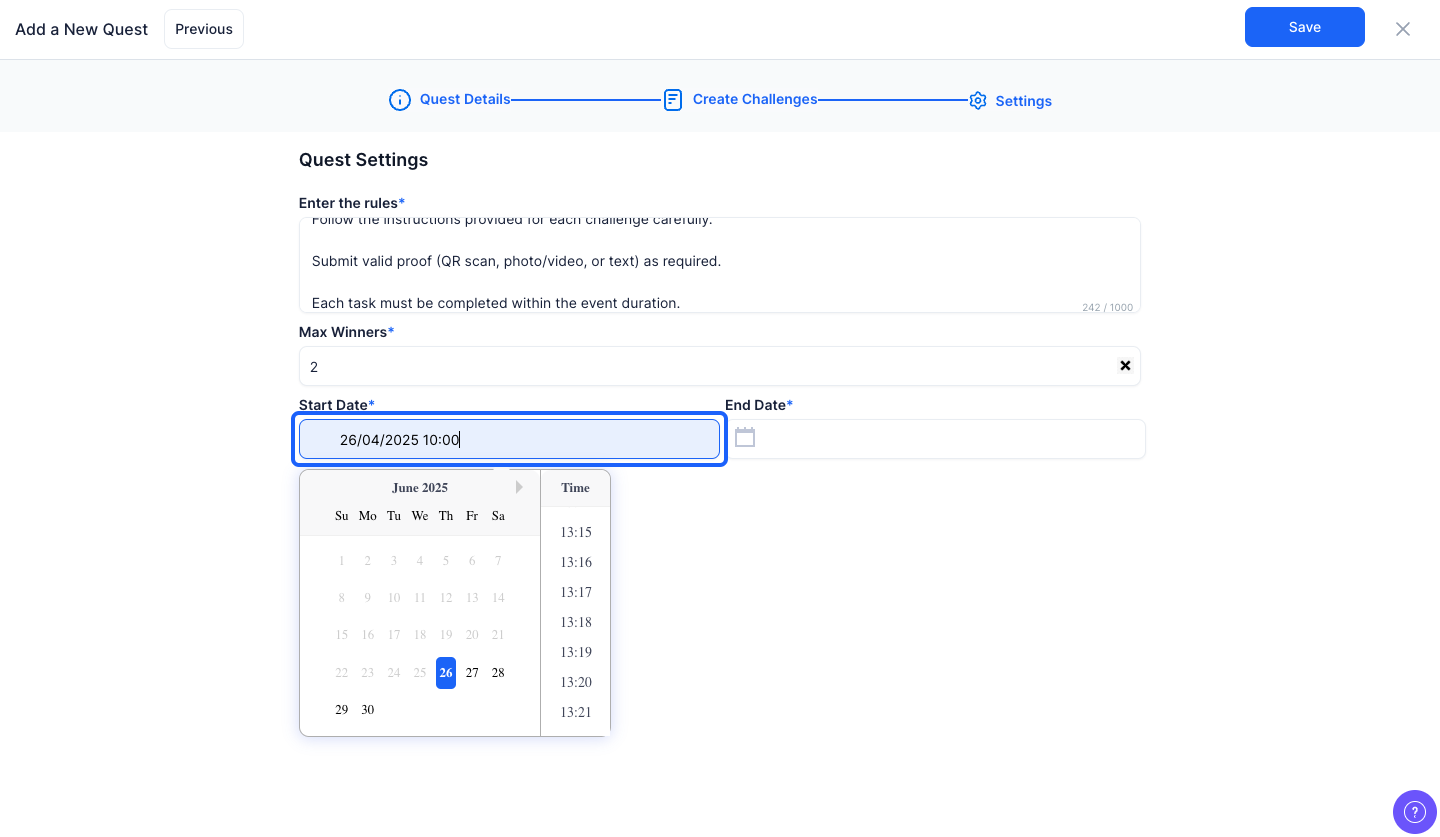
37: Select the start date of the challenge from the calendar
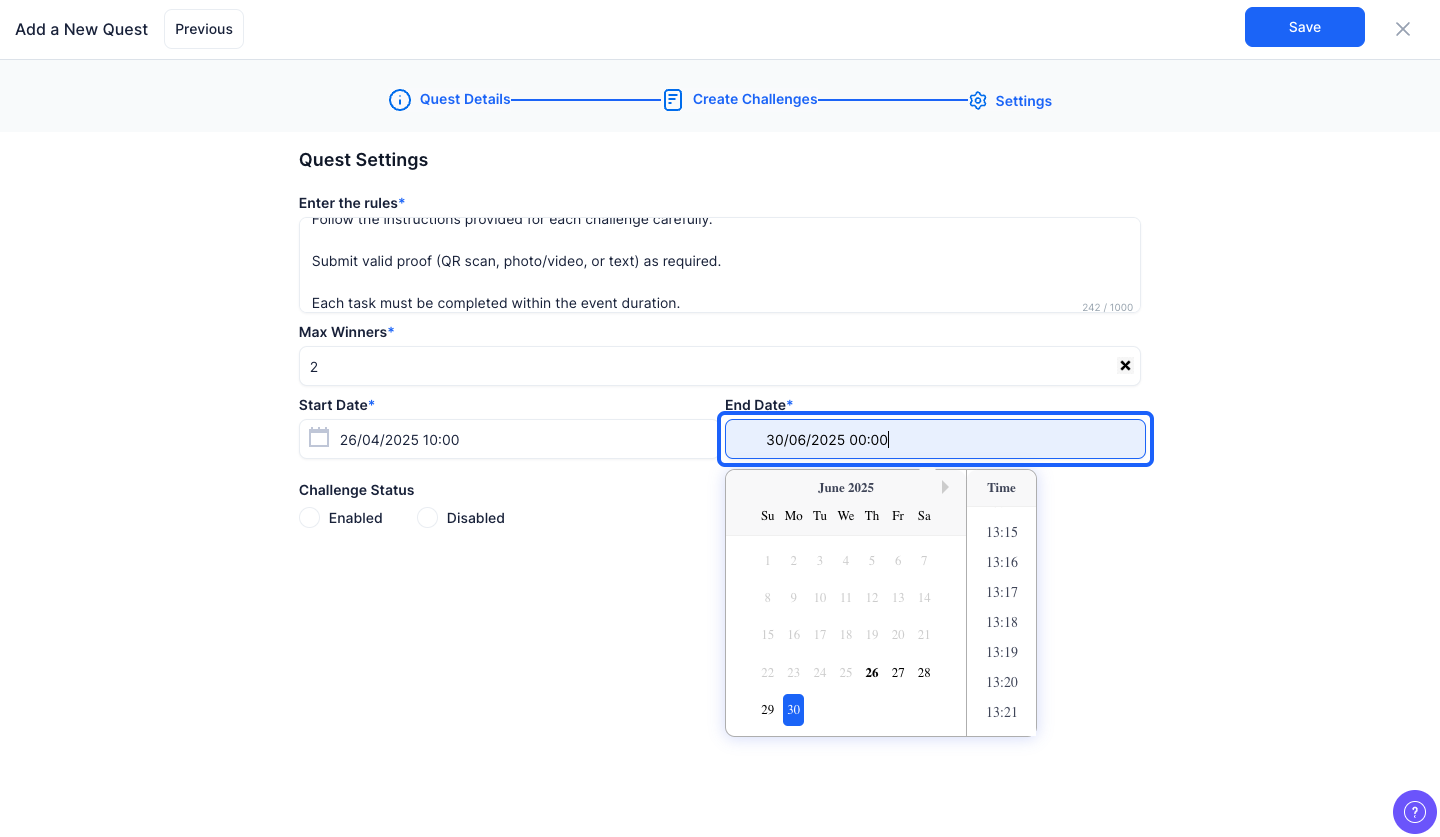
38: Select the end date of the challenge from the calendar
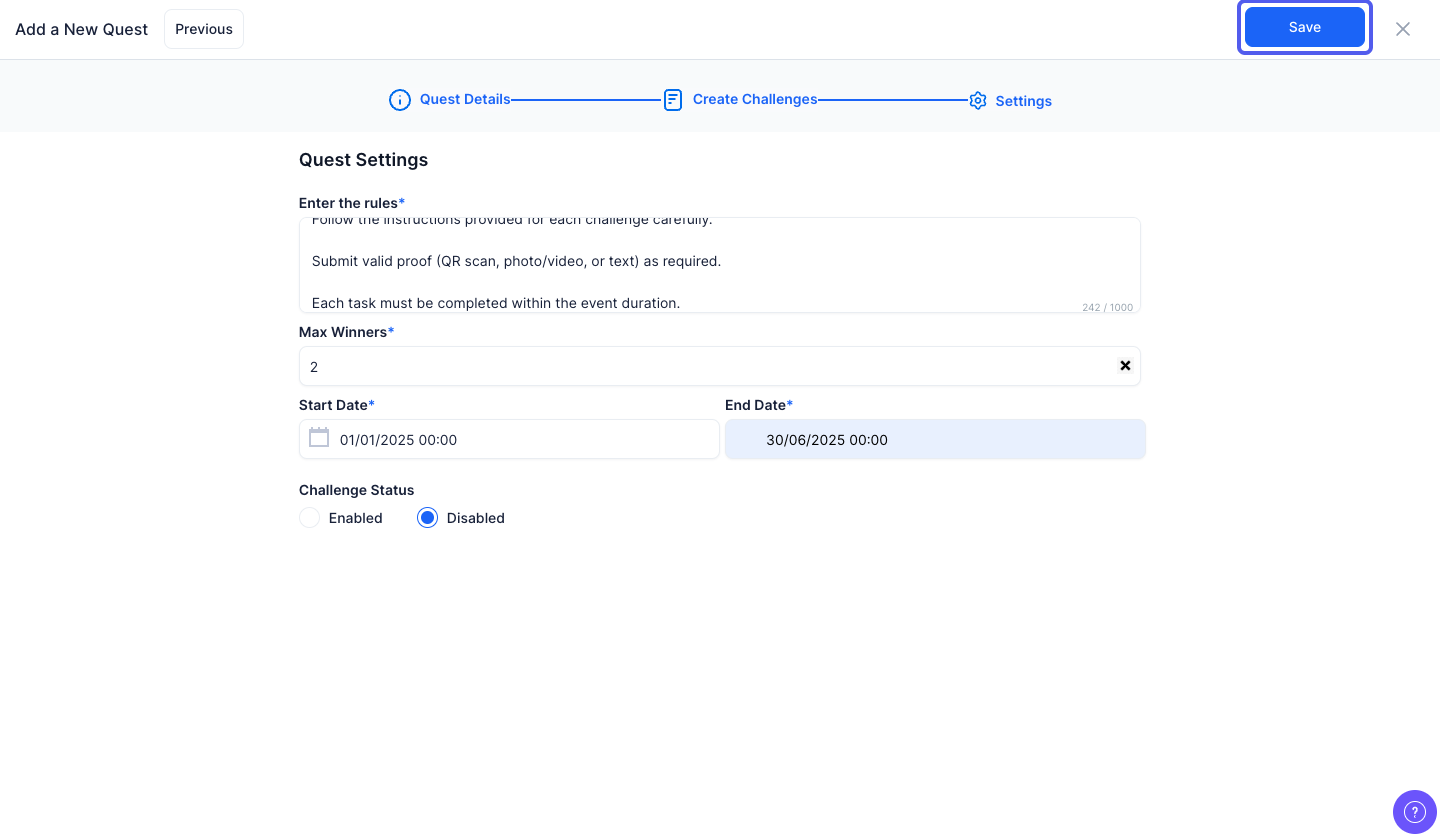
39: Click the “Save” button to add the challenge
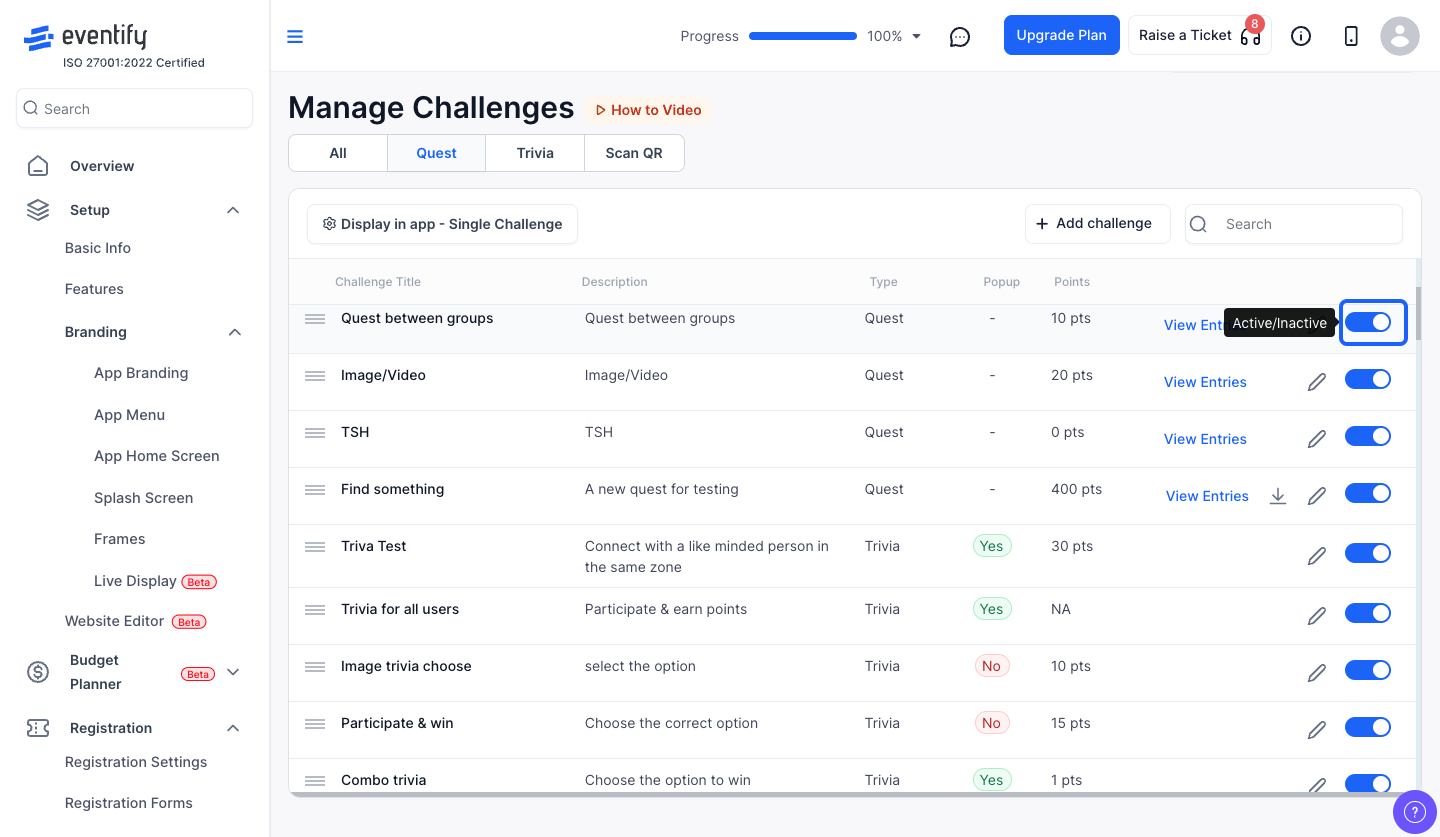
40: Click the pencil icon to edit existing challenges
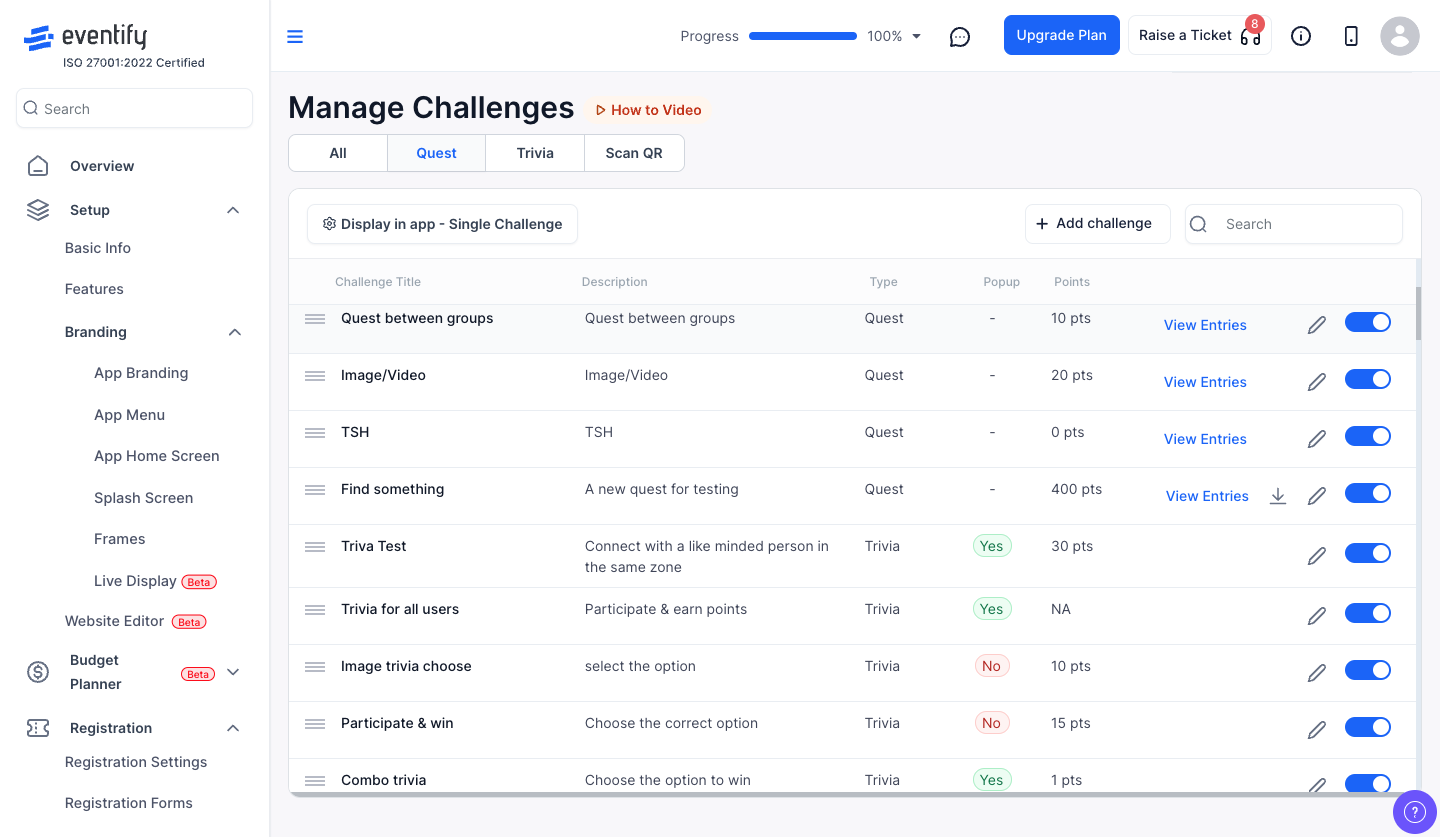
41: Enable or disable this button to activate or deactivate the challenge respectively