Adding an interactive map helps attendees navigate the event venue with clickable areas linked to booths, sessions, or other content. Follow the steps below to add an interactive map

Interactive Guide
Or check the step-by-step guide
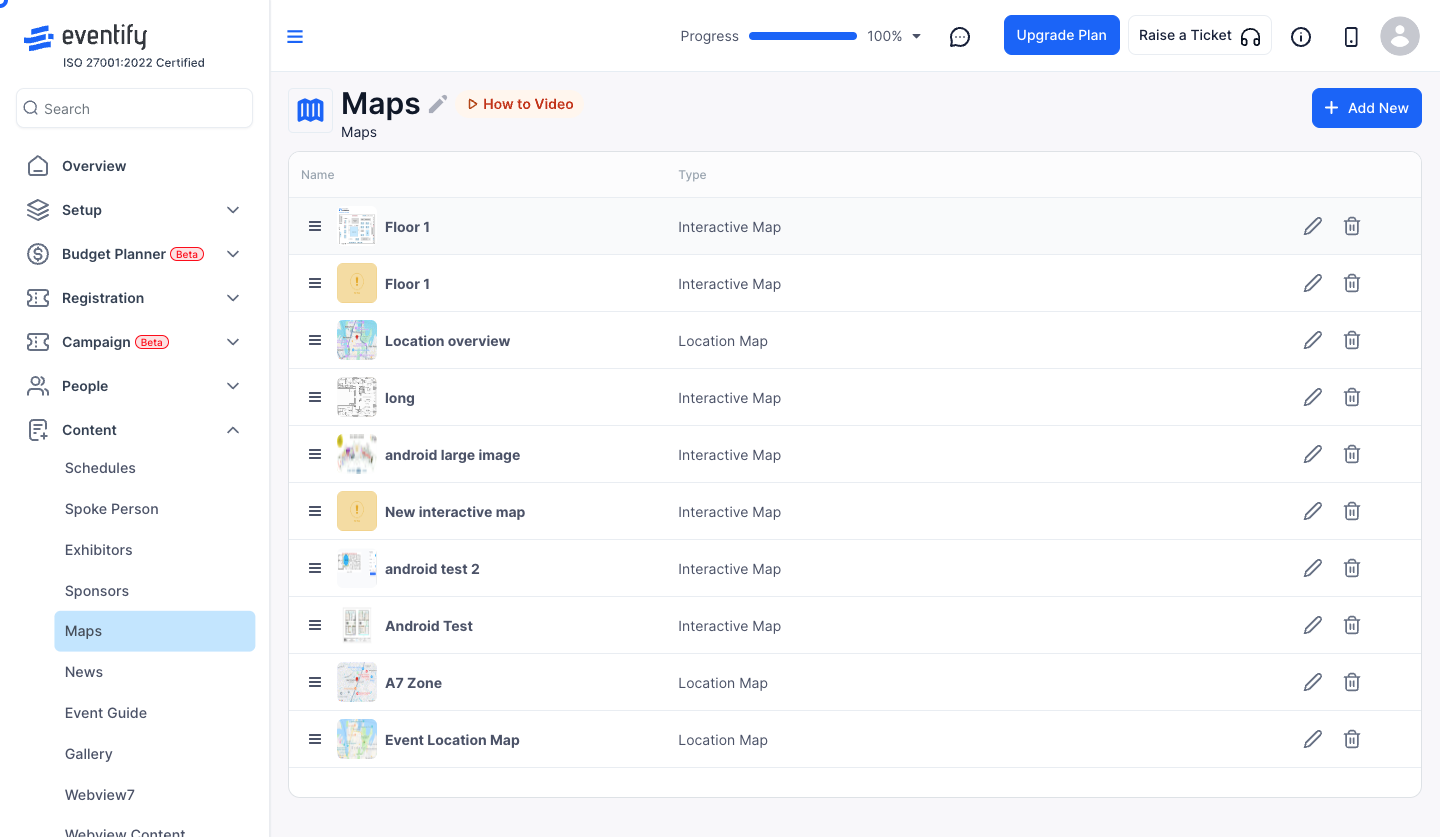
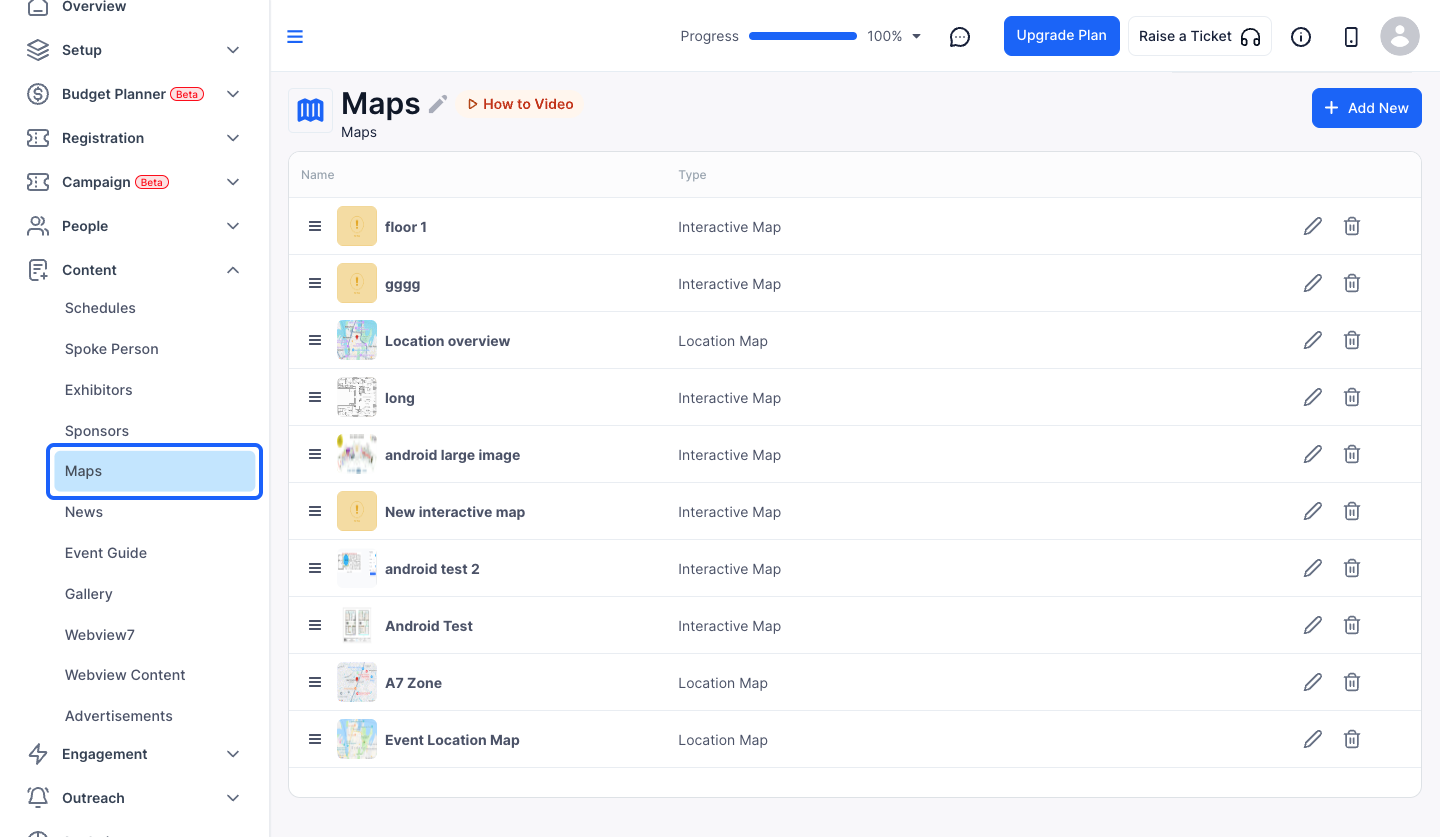
1: Access the Eventify Admin Panel and go to Content> Maps
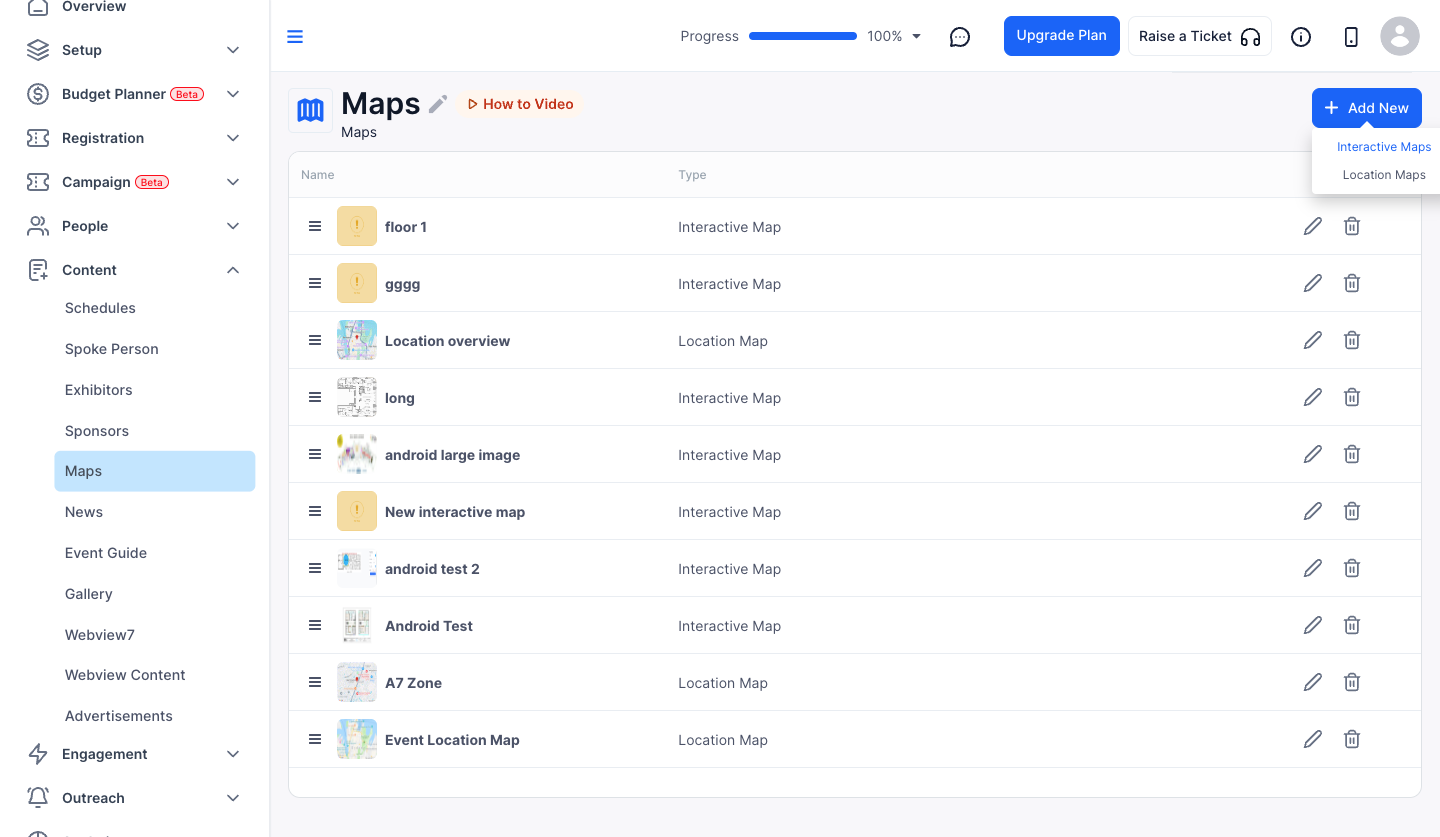
2: Click the “Add New” button to add a new Map
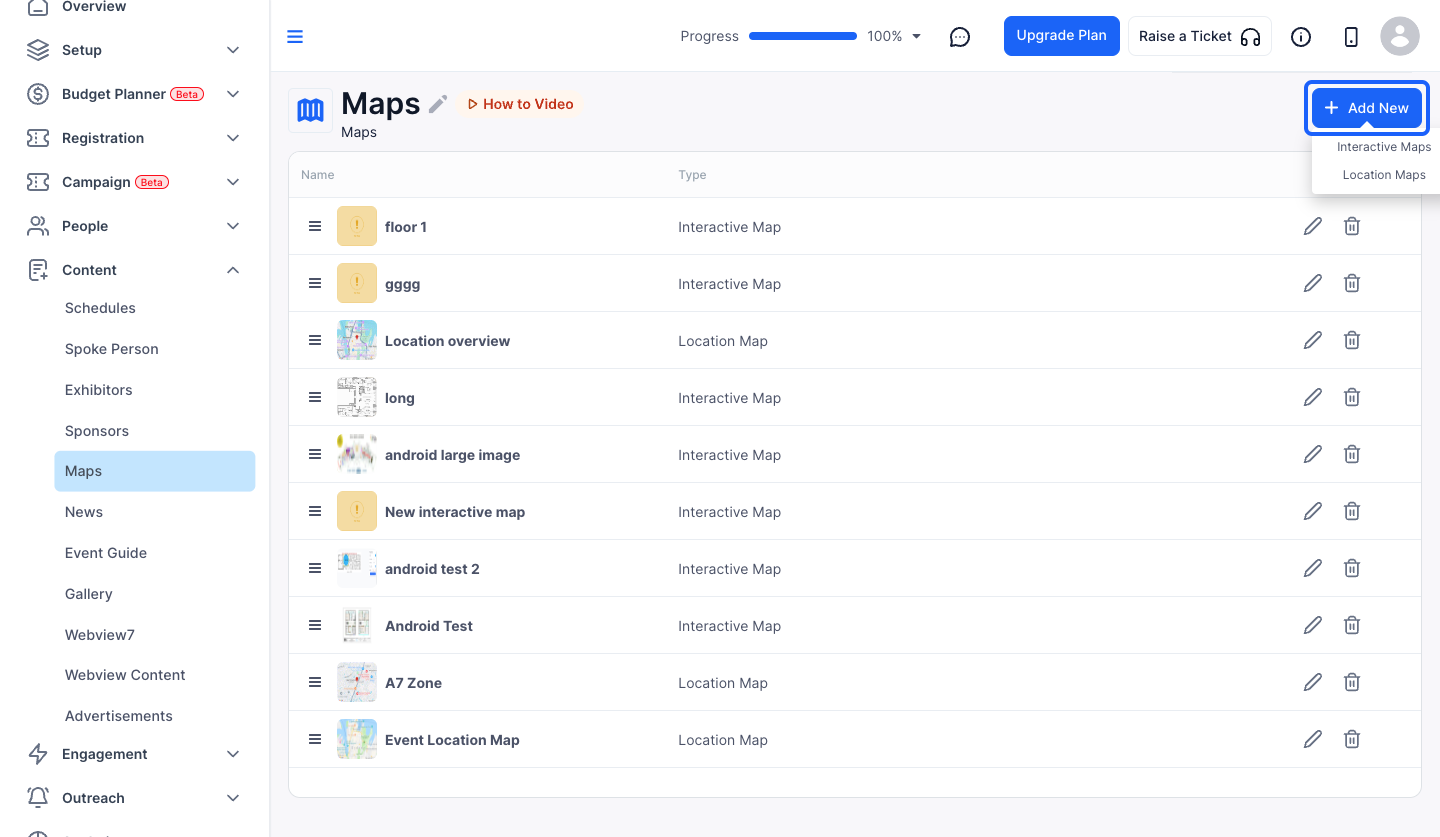
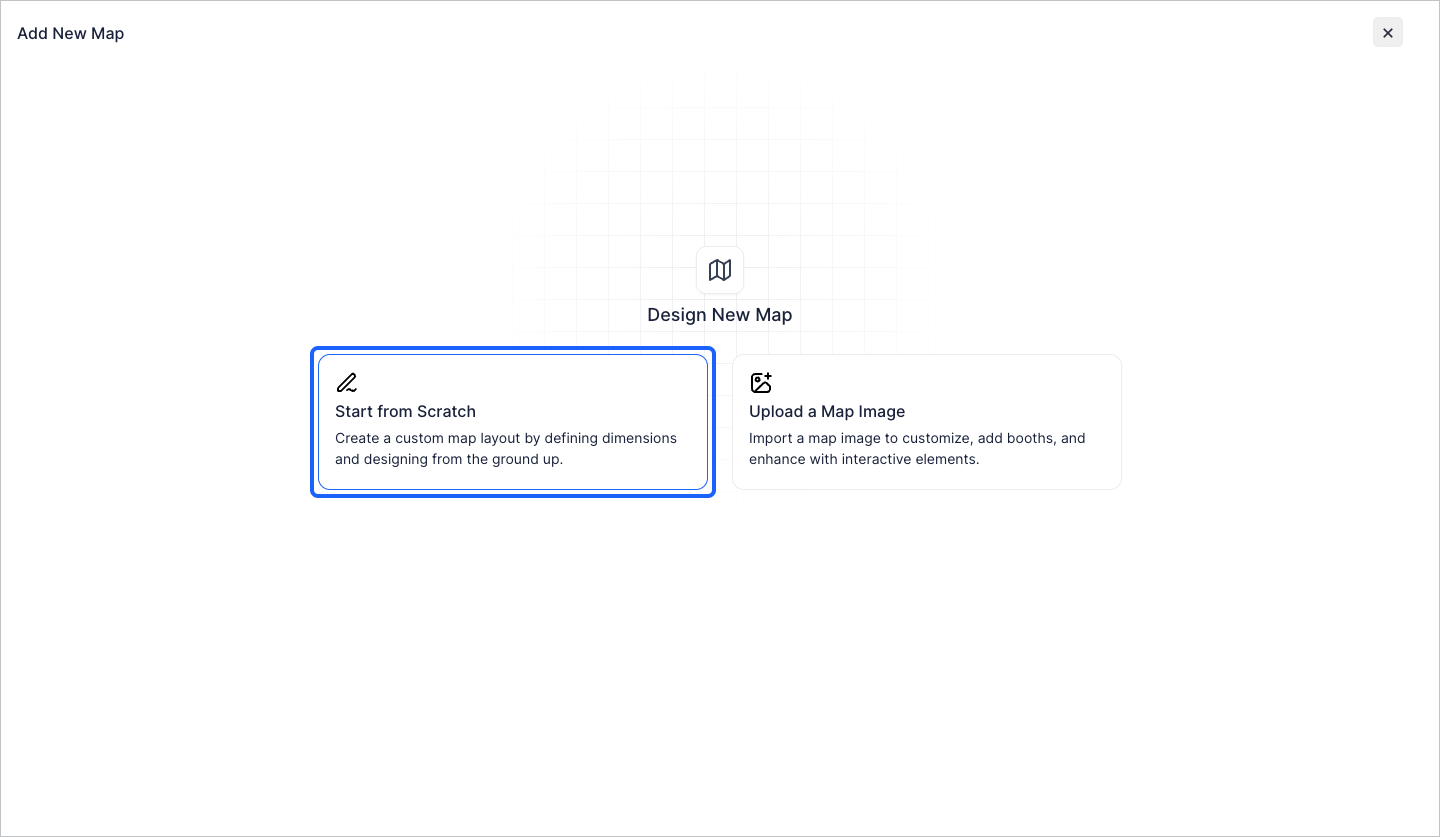
3: Select Interactive Maps
4: You can either start from scratch
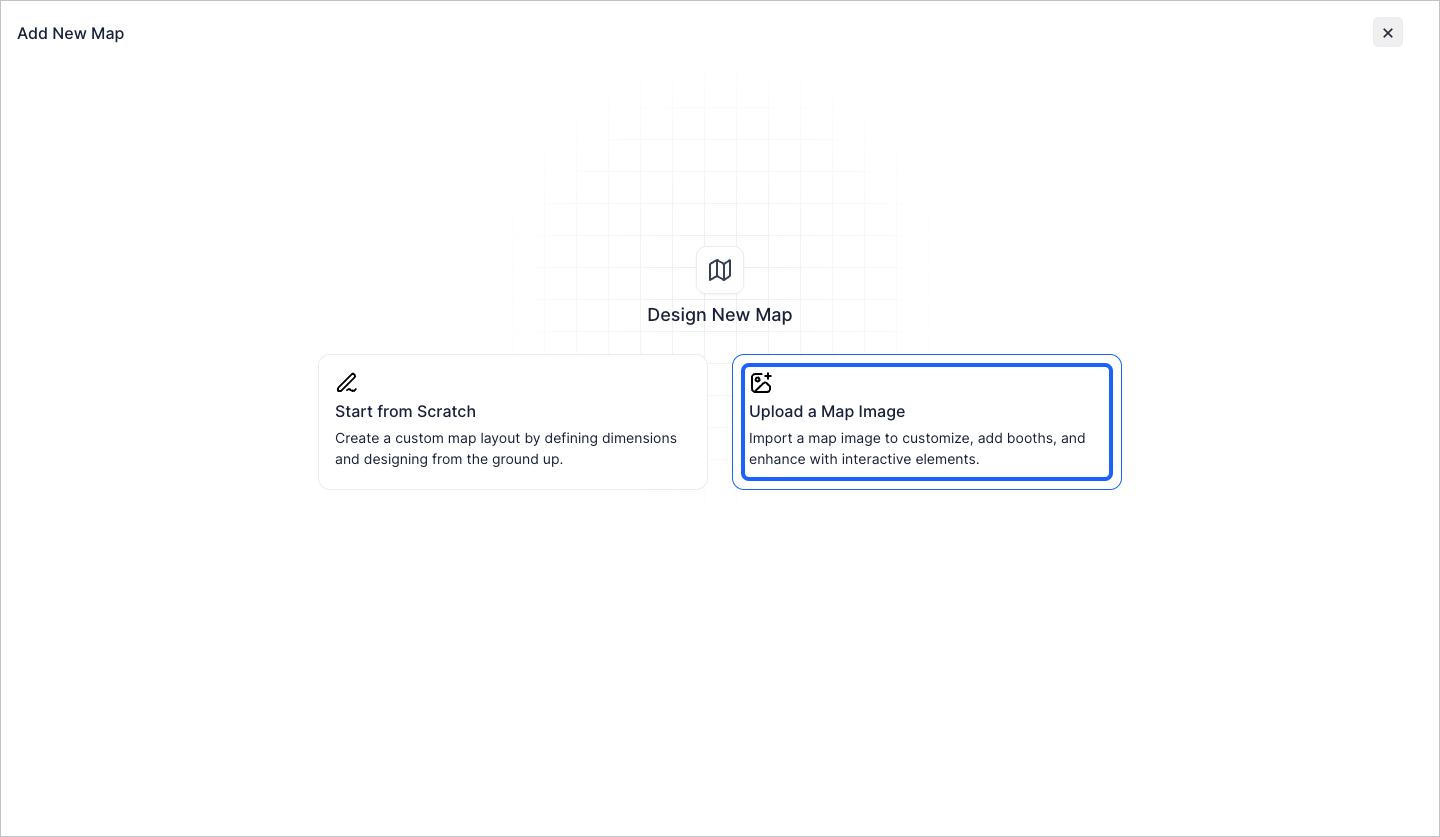
5: Or you can directly upload a map image
6: For starting from scratch, first enter the map name
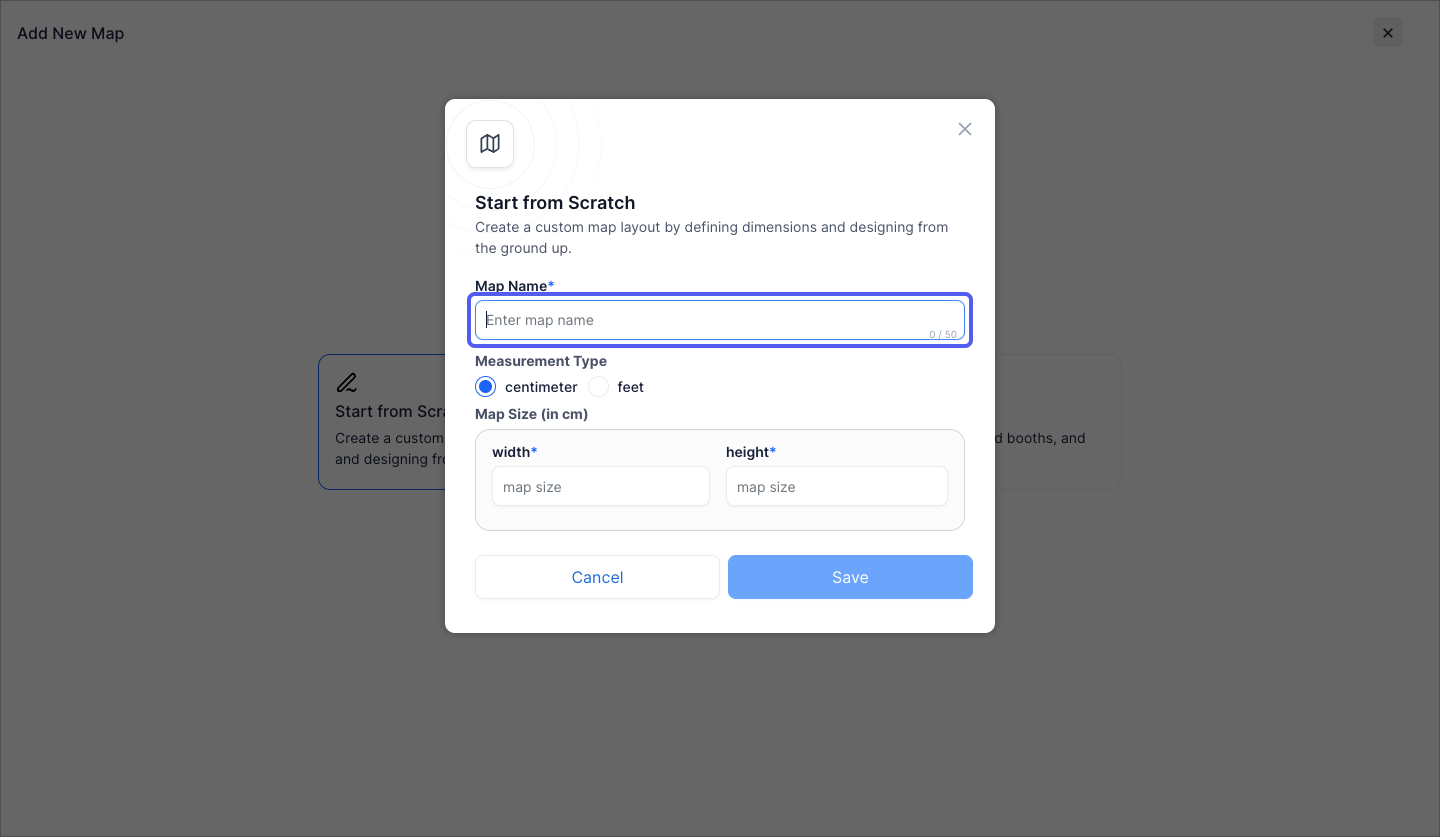
7: Select the Measurement Type
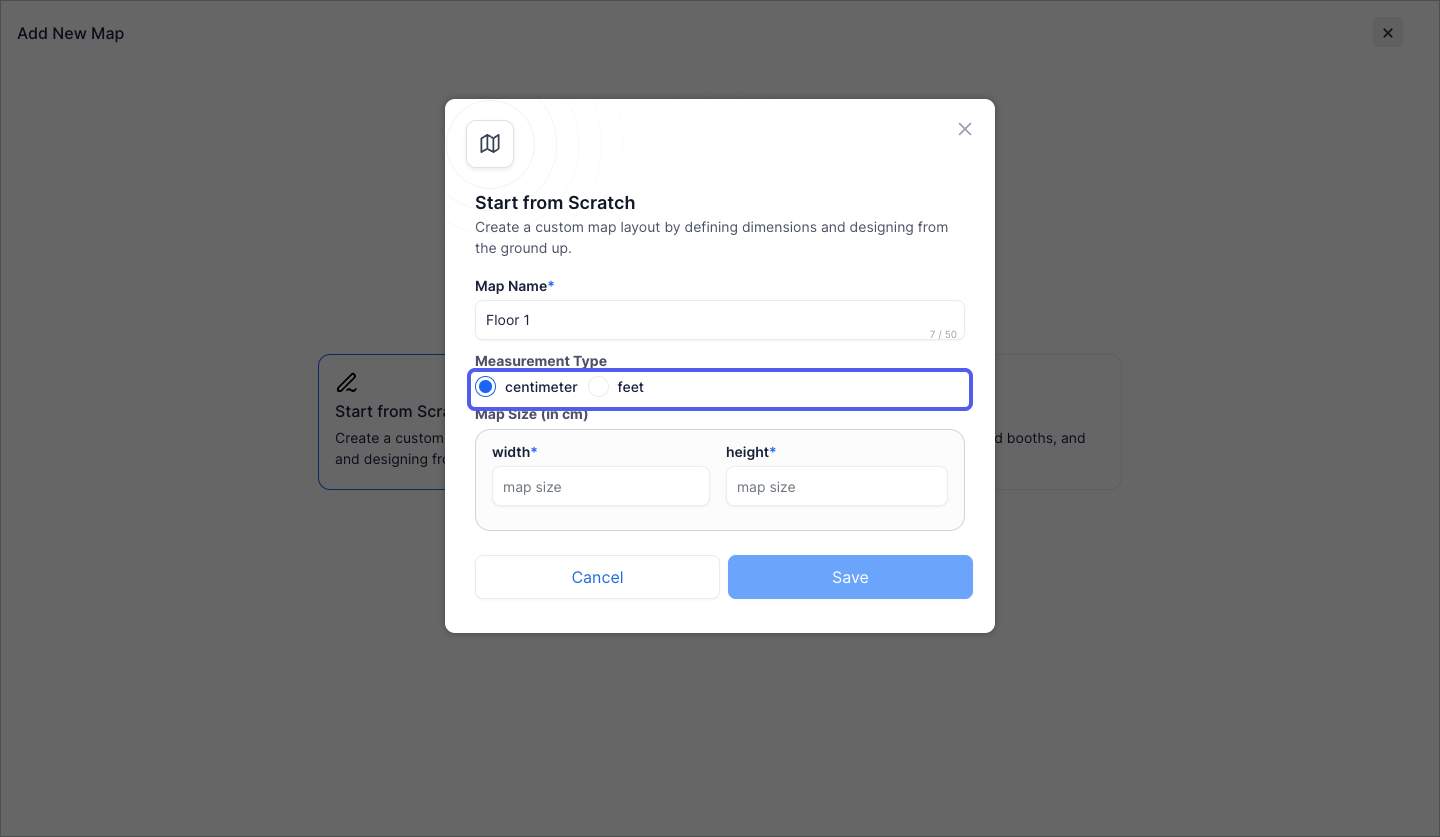
8: Enter the width and height of the Map
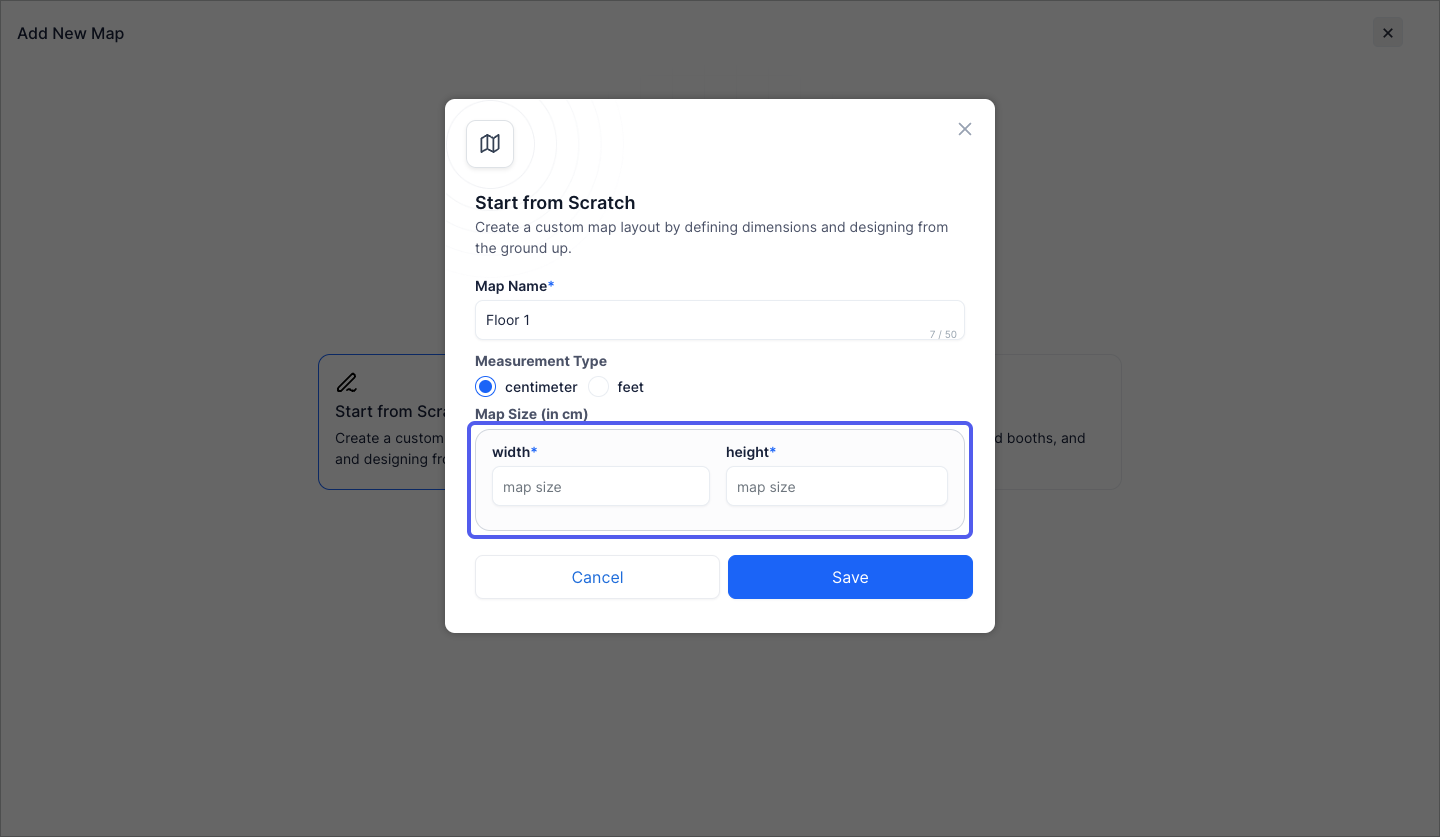
9: Click the “Save” button

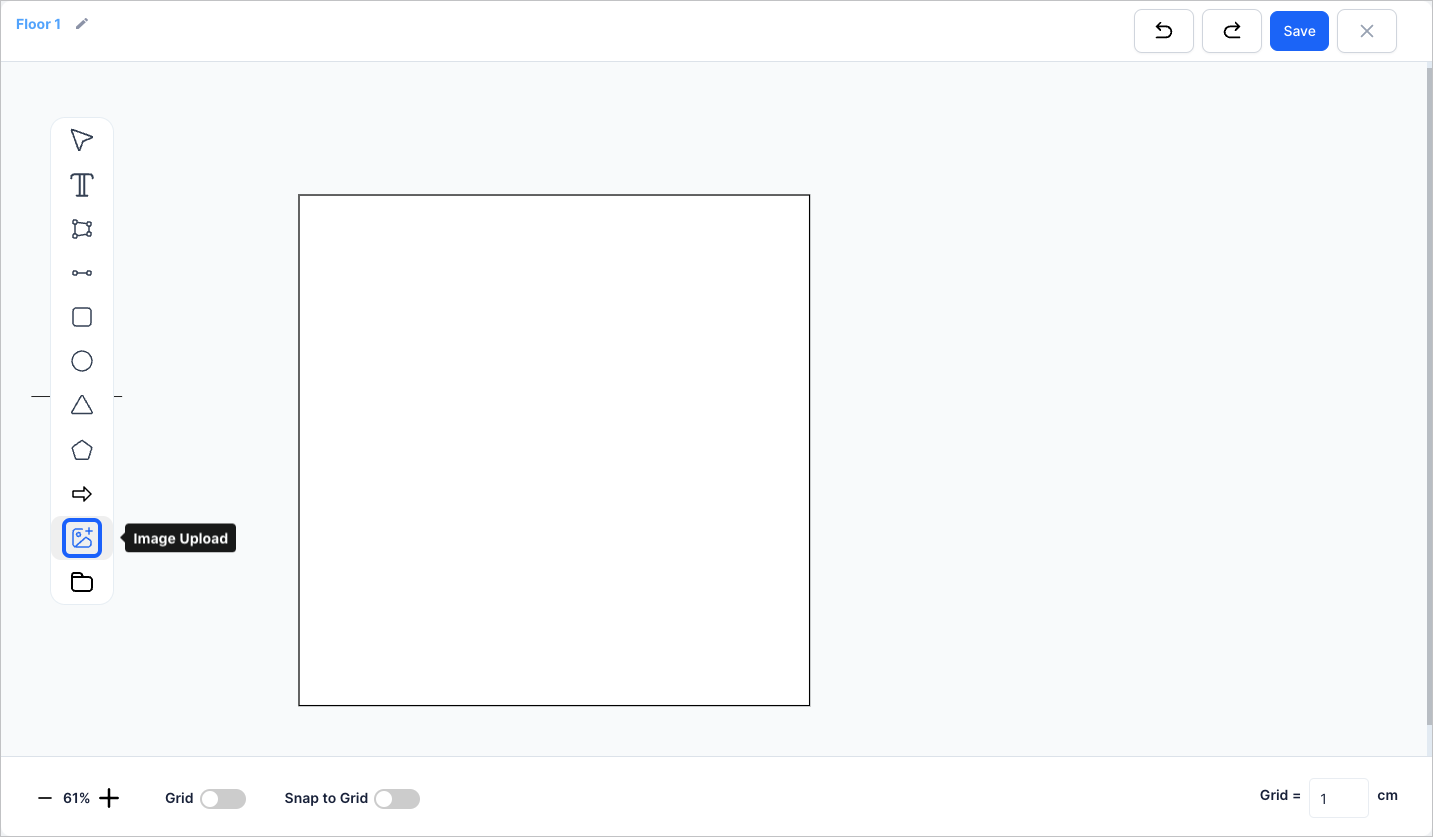
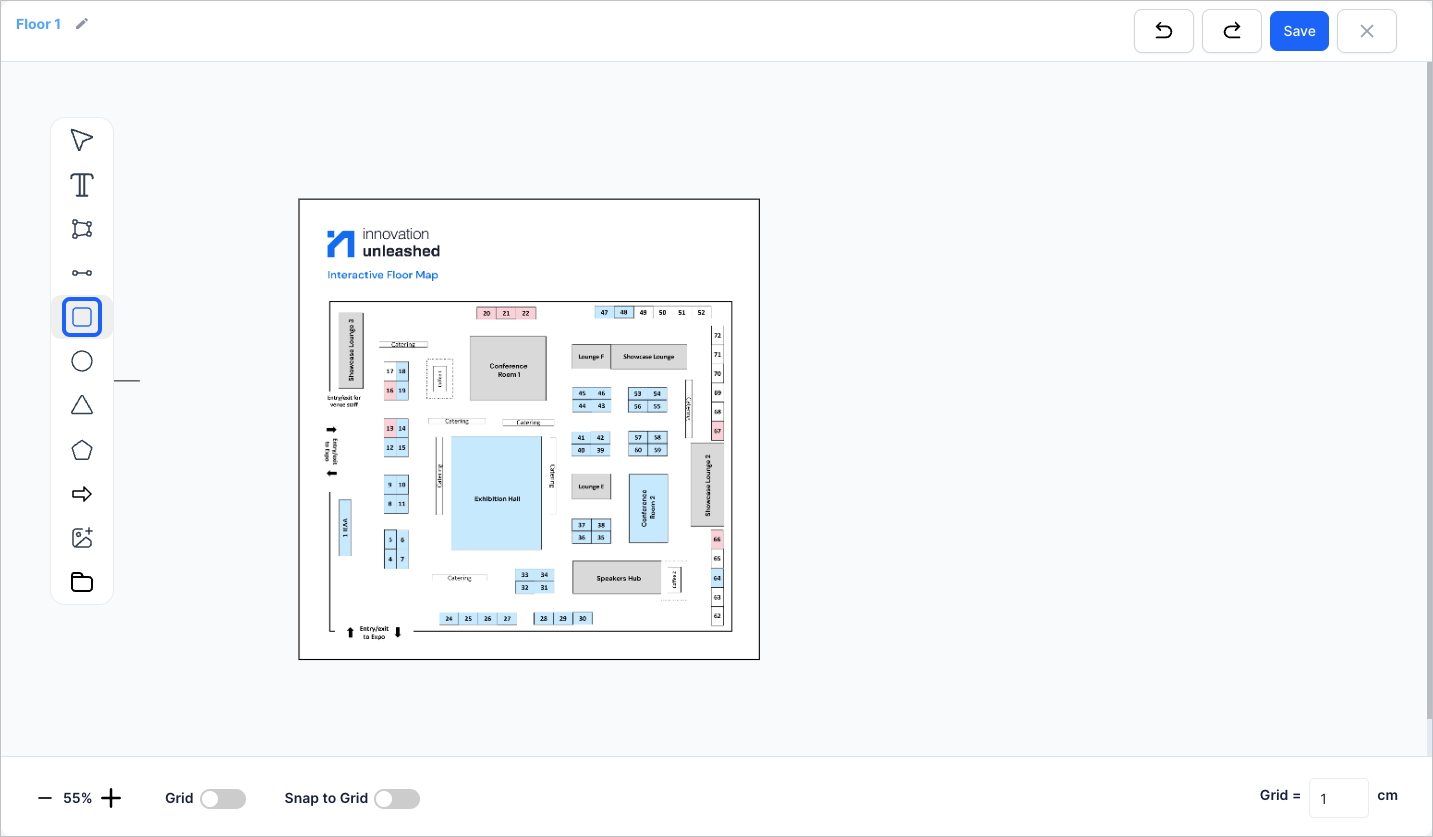
10: Click the “Image Upload” icon to upload the map image
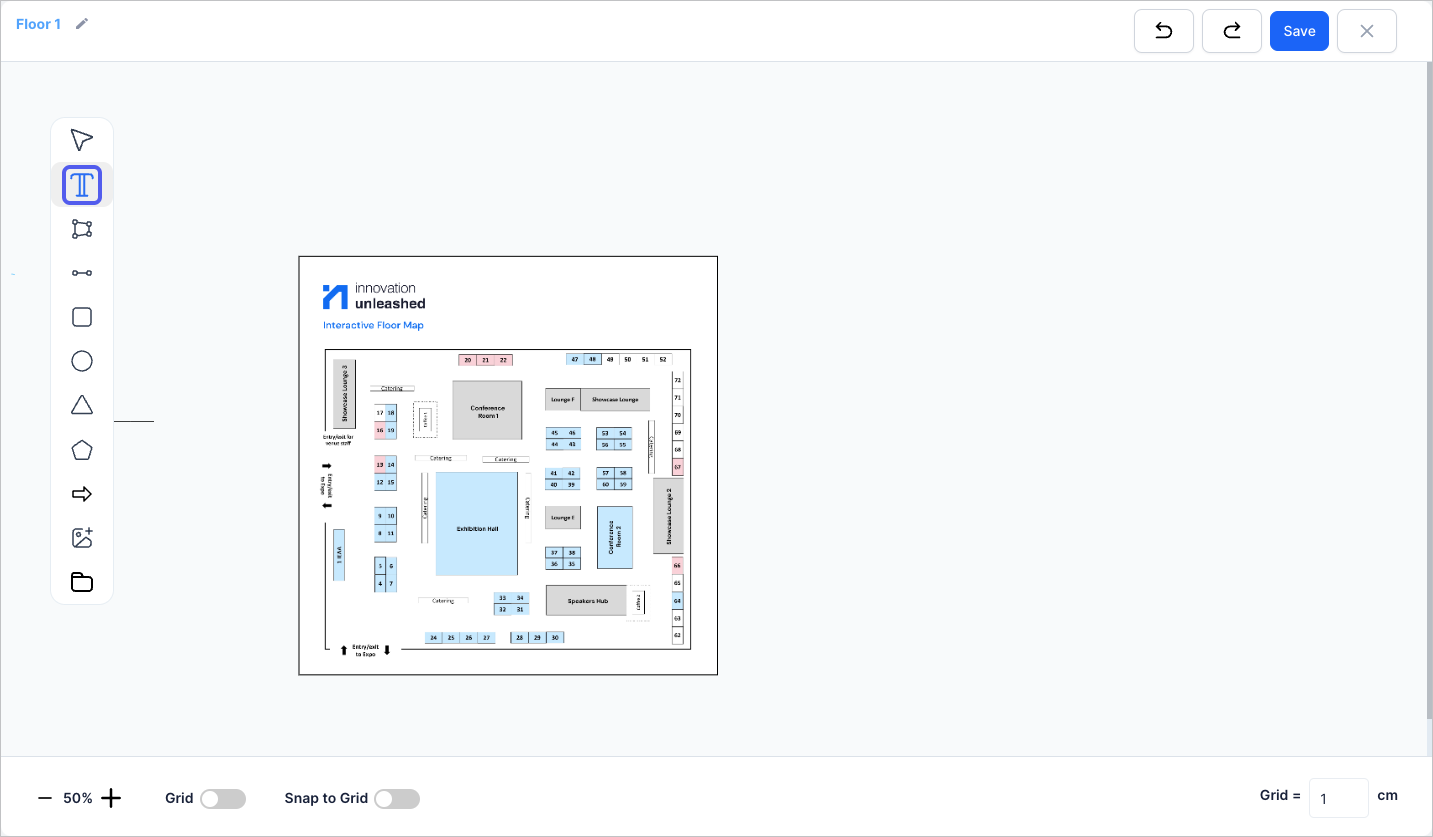
11: Click the “Text” icon to add a text
12: Select the “Free Shape Booth” icon to draw a free shape booth
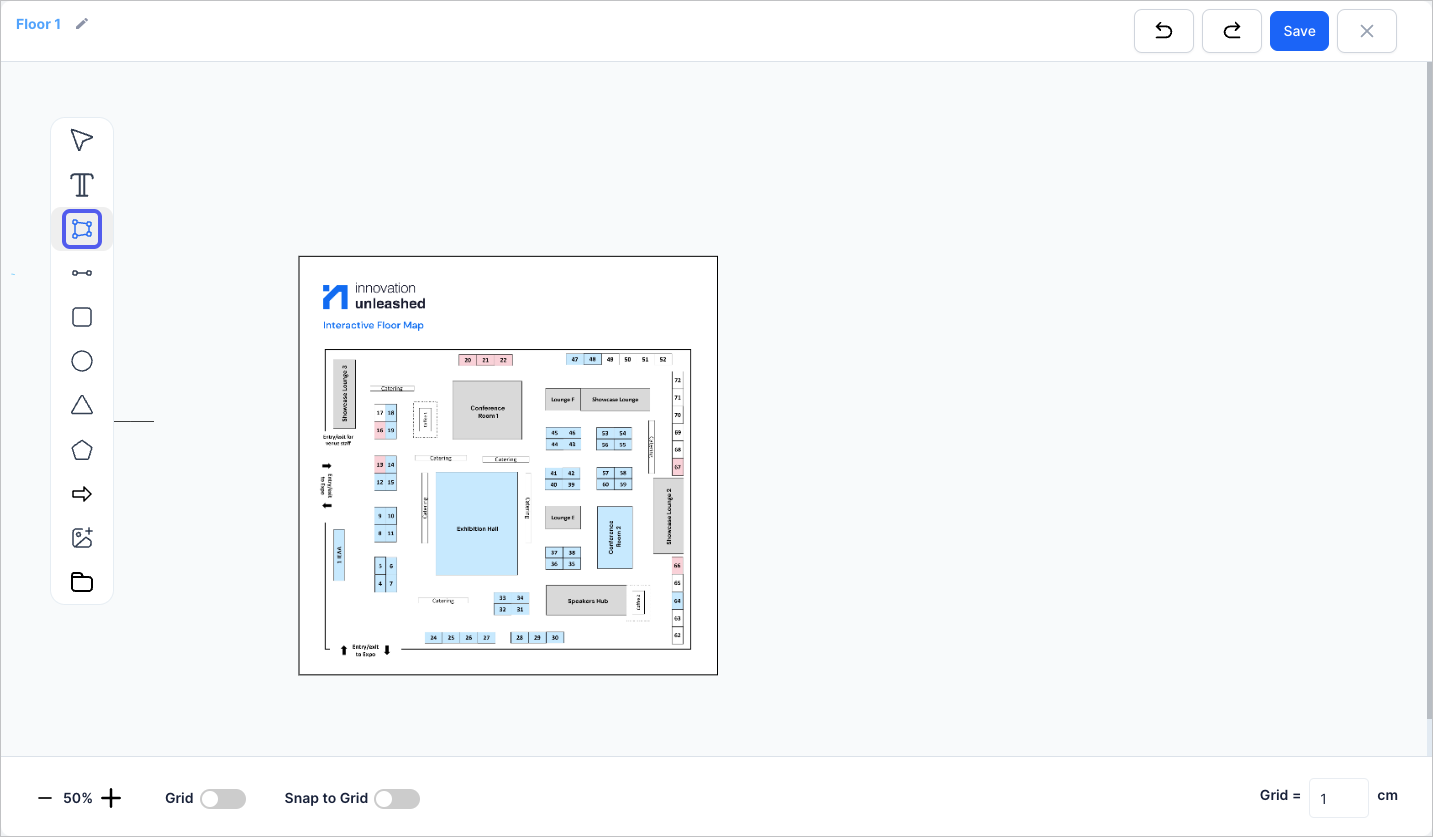
13: You can select different booth shapes from the list
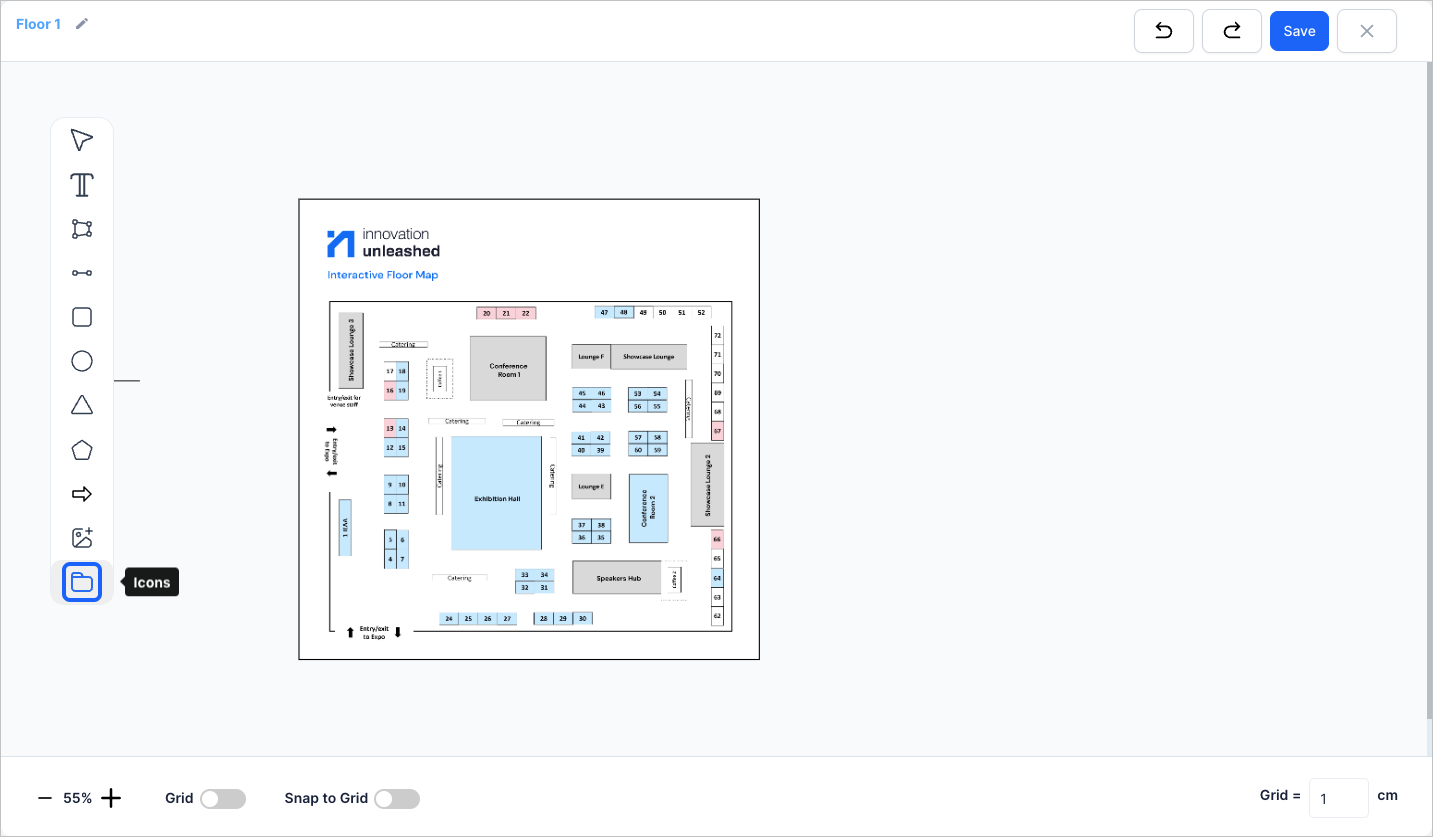
14: Click the “Icons” button to select the icon that will define the booth’s shape on the map
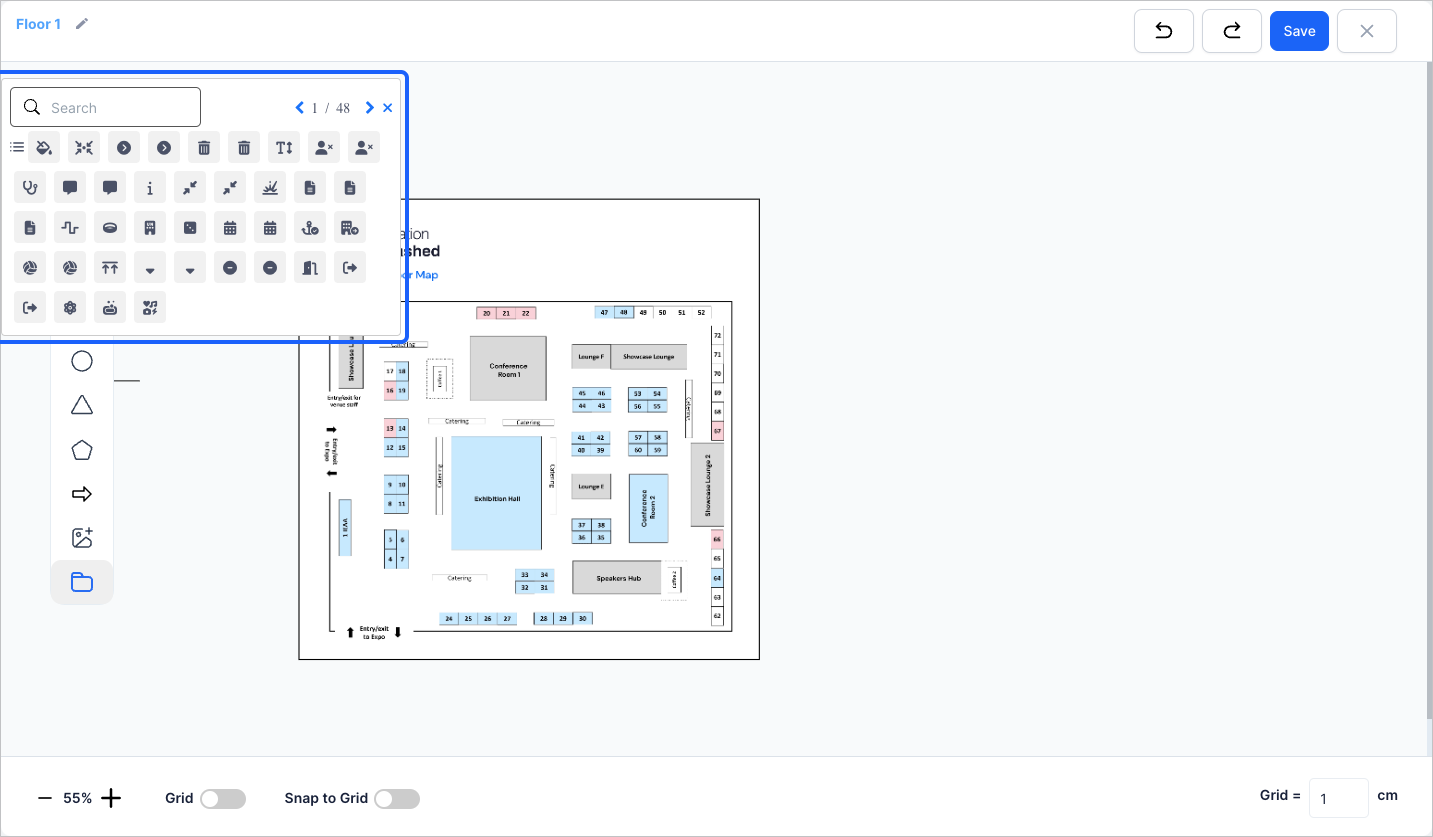
15: Select the icon from here
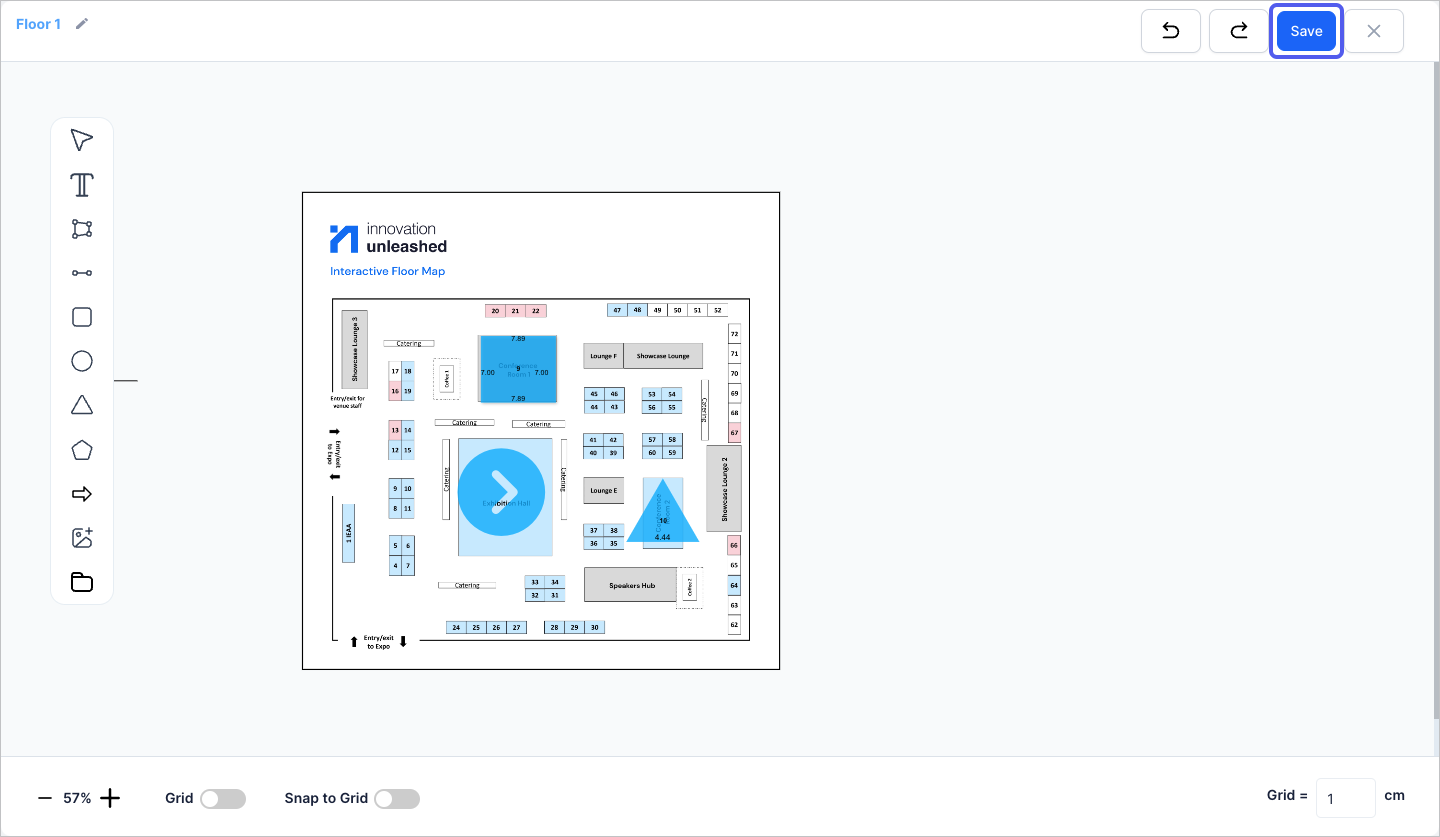
16: Click the “Save” button to save the map
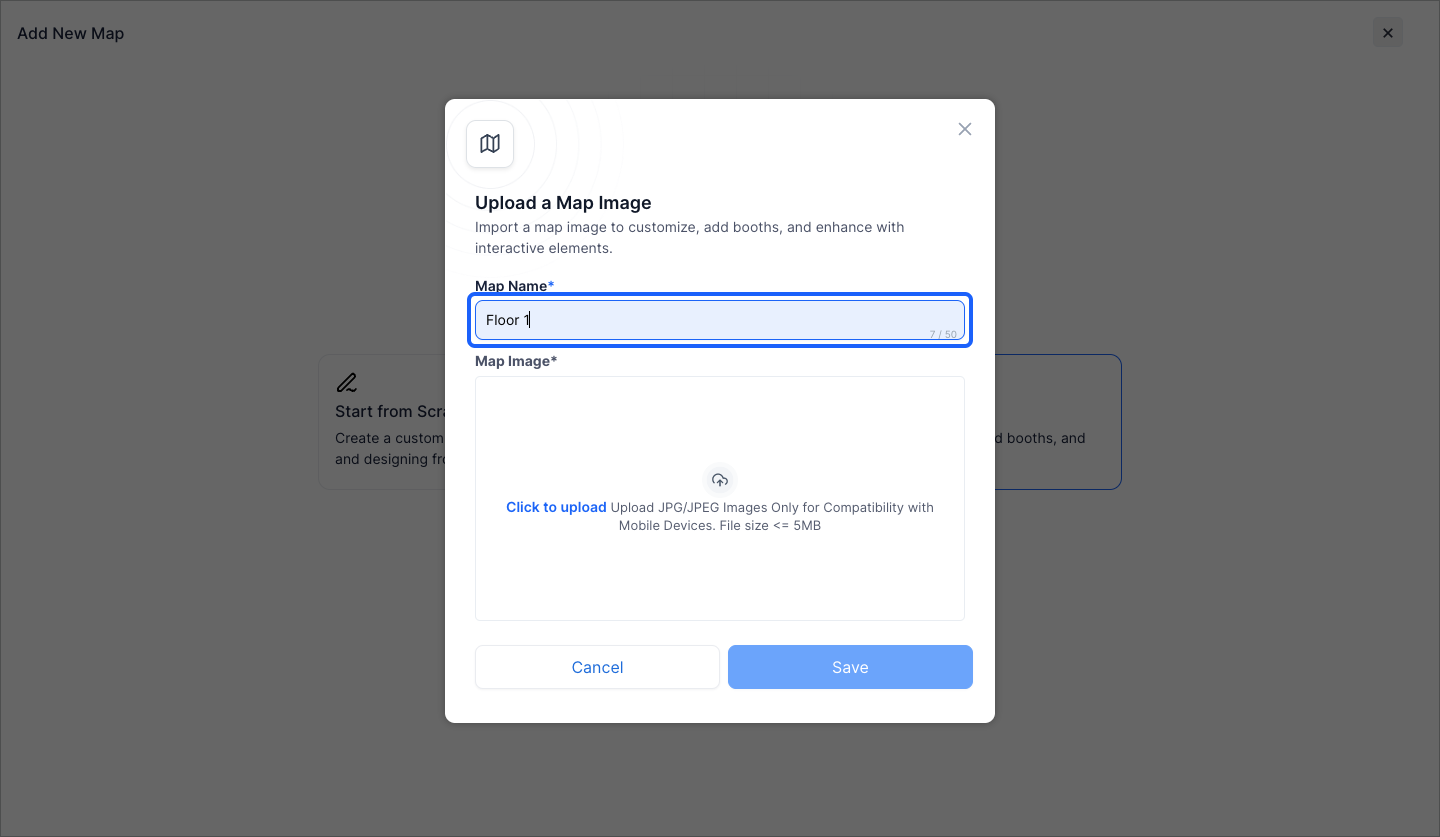
17: If you select " Upload a Map image", then enter the map name
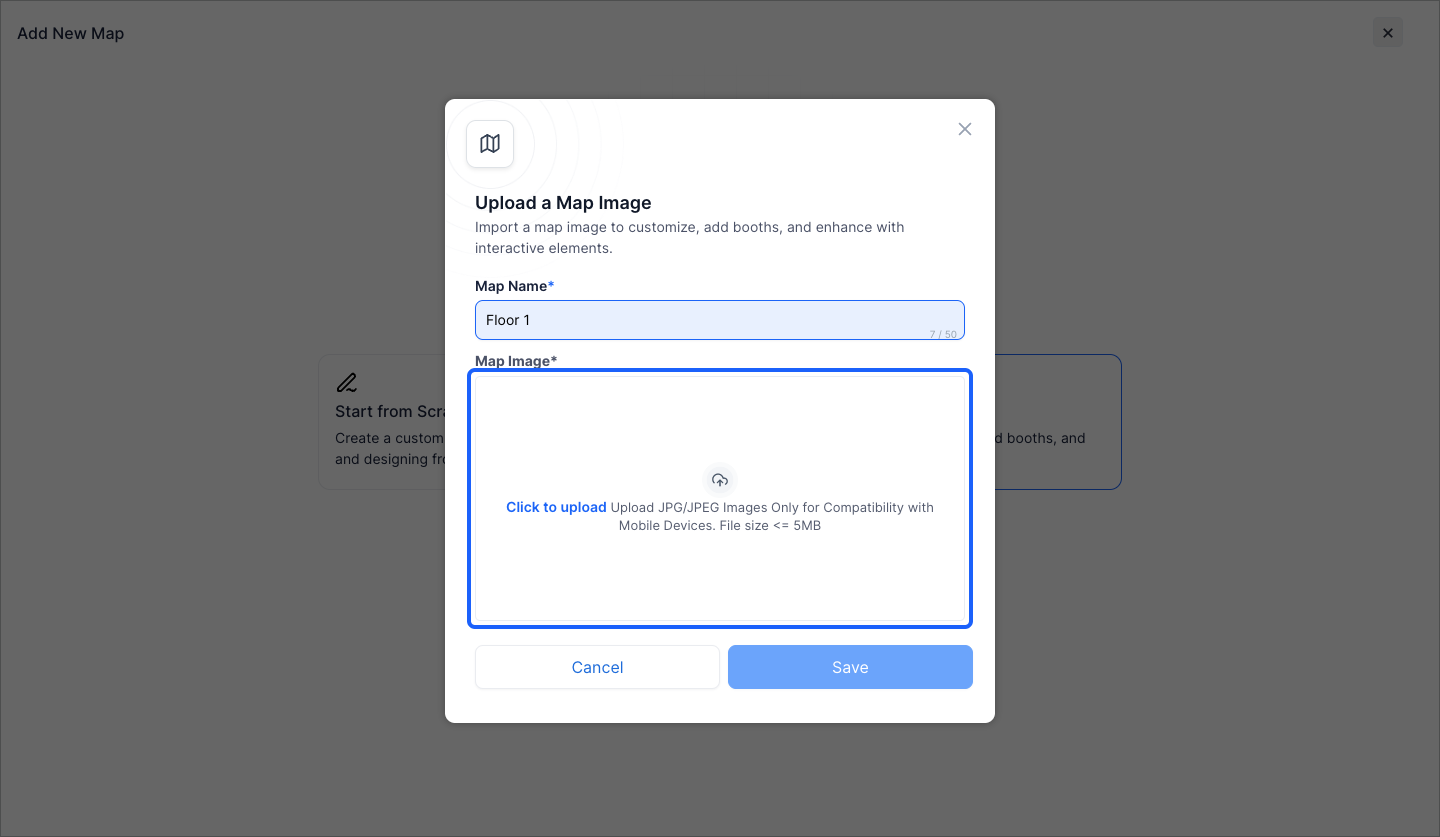
18: Upload the map image of given format and size
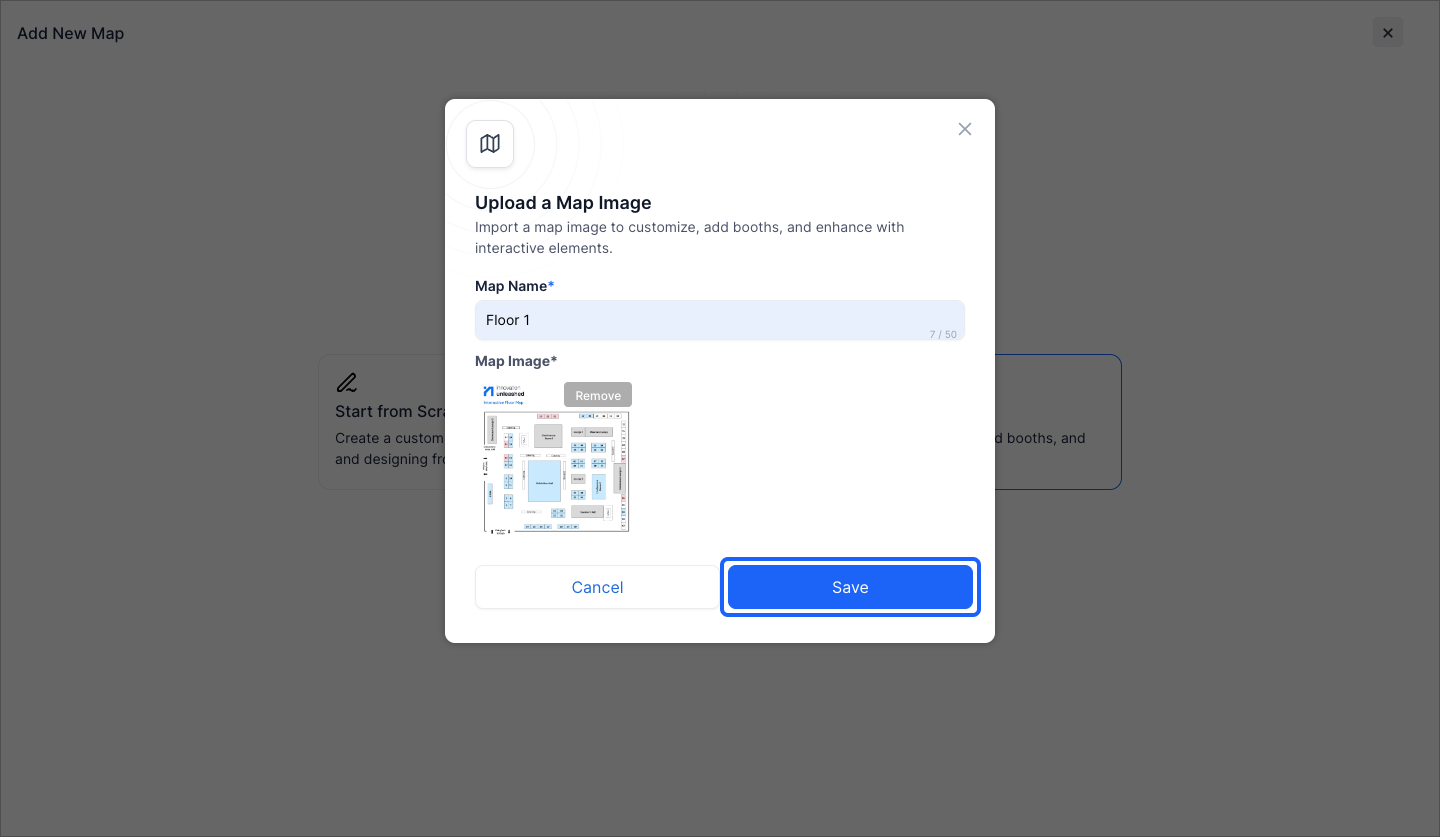
19: Click the “Save” button to save the image
20: You will find the added map here
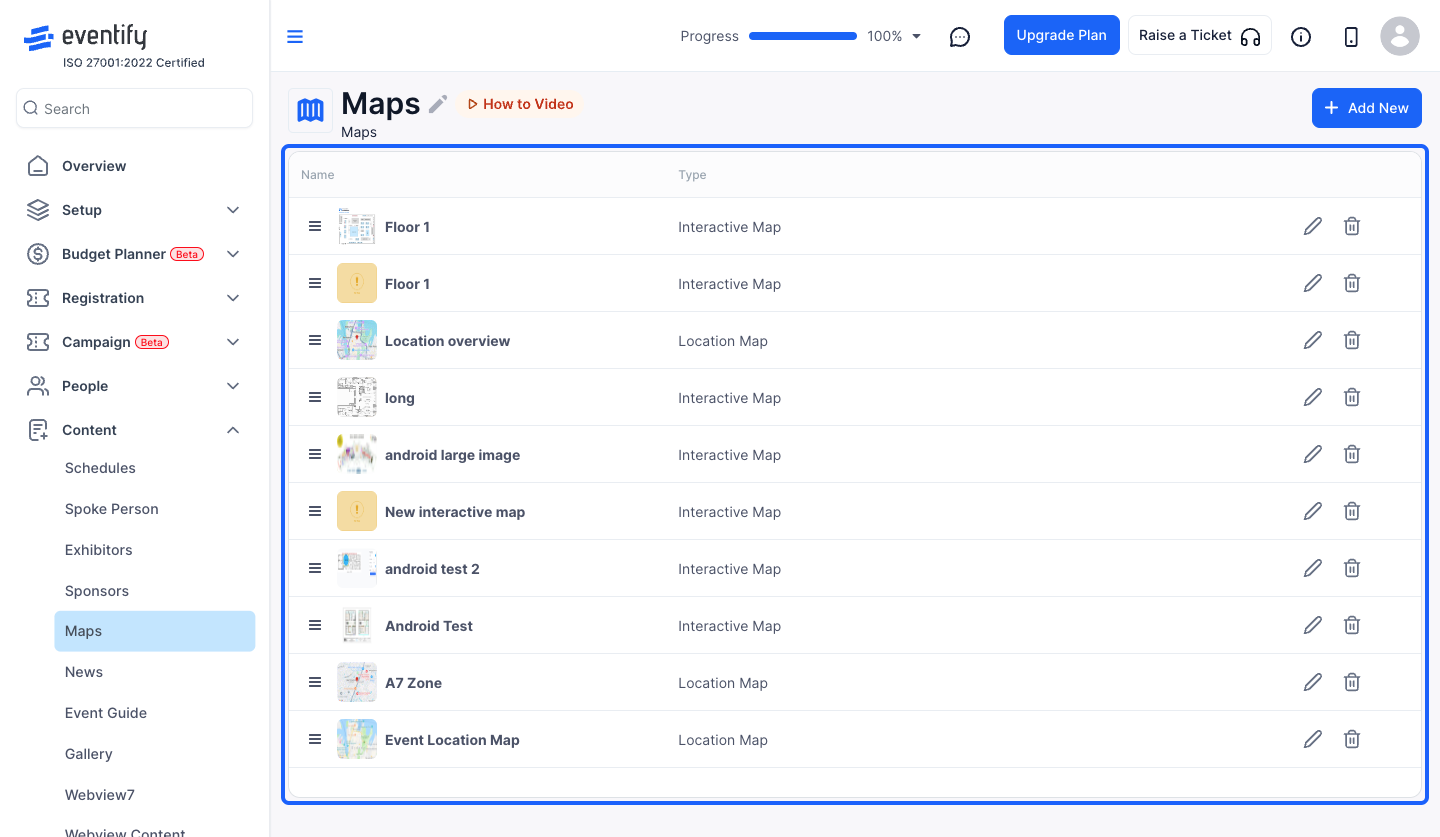
21: Click the “pencil” icon corresponding to the added map to add booths or change background