Interest tags are one of those small but powerful features that make a real difference during an event. They help attendees find and connect with others who share similar interests, which is exactly the kind of networking experience that makes events memorable. One thing to keep in mind — this feature always needs at least one tag in the list, so you won't be able to leave it empty or turn it off entirely.
Here's how the interest tag system works: you start by picking a category (the broader topic area), and then you add subcategories underneath it (the more specific interests within that topic). This two-level structure makes it much easier for attendees to find people they genuinely have something in common with.
To set up or update your interest tags, head to your Eventify Admin Panel and follow these steps.
Log in to your Eventify Admin Panel and click on Setup from the left-hand menu.
Inside Setup, click on Basic Info to access the core event configuration settings.
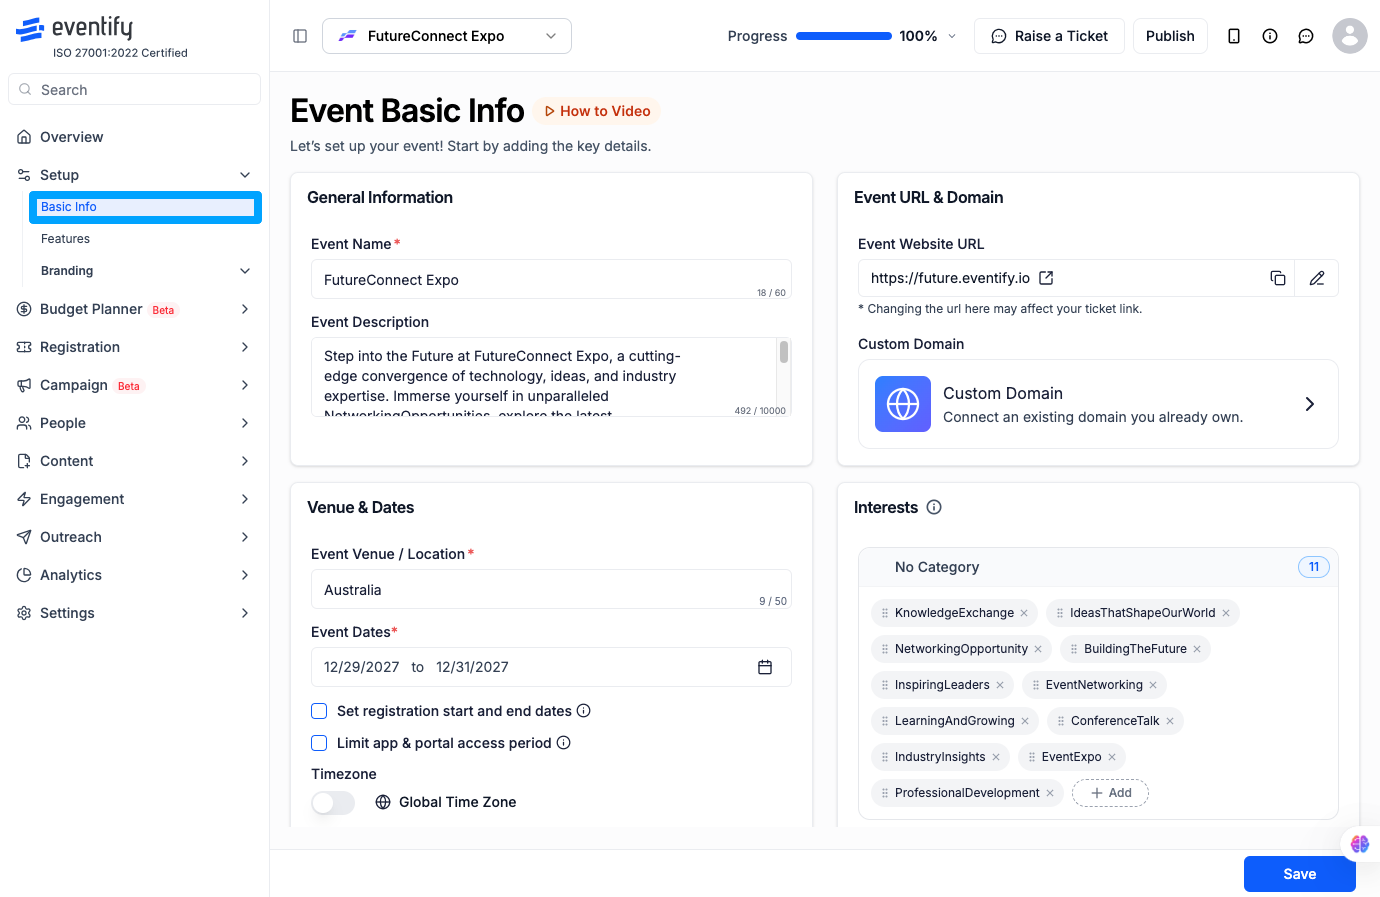
Scroll down until you see the Interests section. This is where all your interest tag categories and subcategories live.
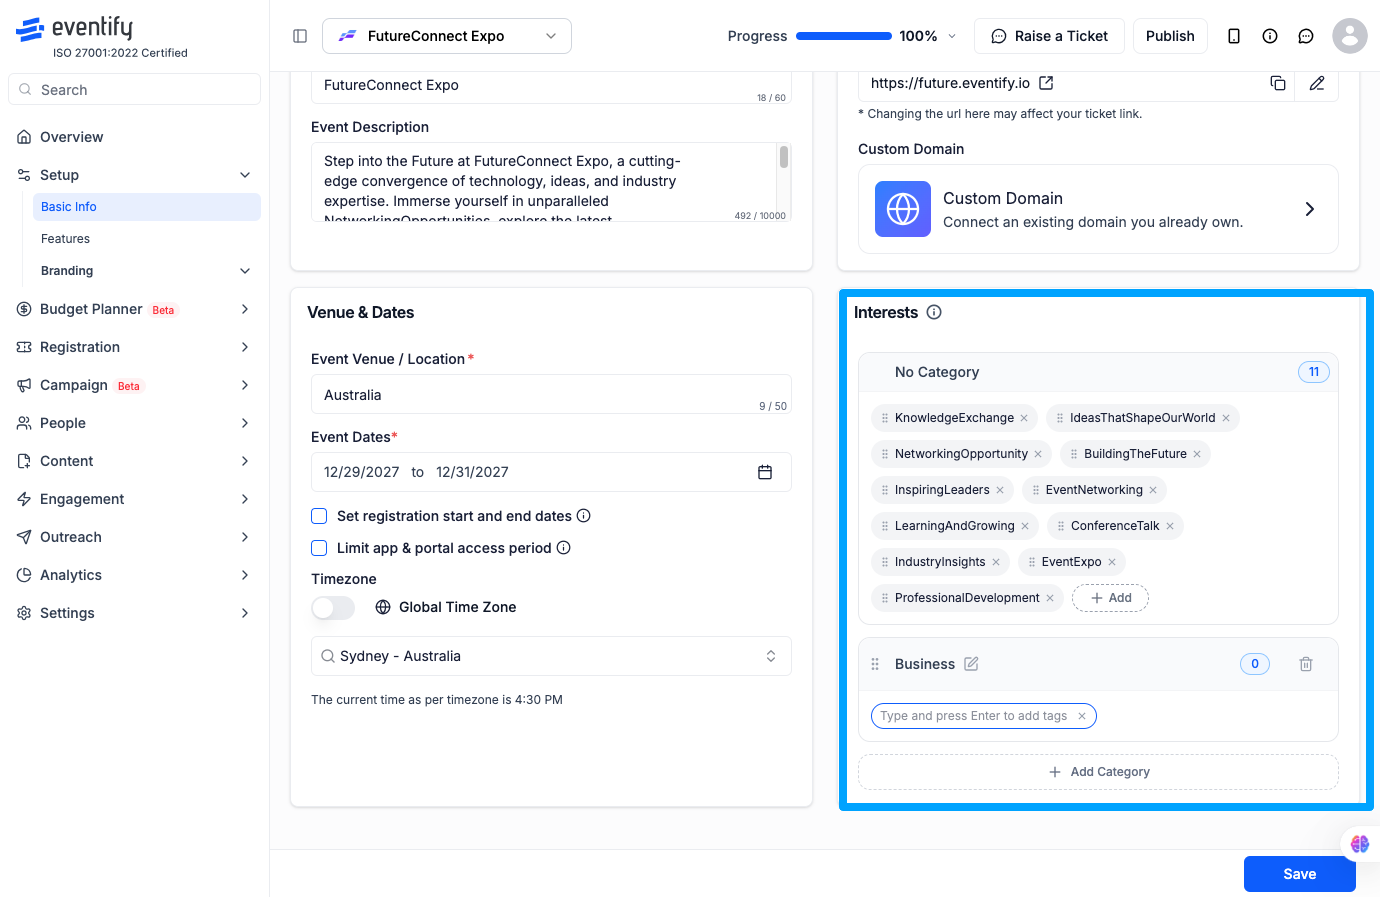
Tap the Interests Tag option to open the tag management area. From here you can view everything that's already been added.
Before adding any subcategories, you need to create a category. Think of this as the main topic area — for example, "Technology", "Marketing", or "Design". Type in your category name and save it.
.png)
Once your category is in place, you can start adding subcategories beneath it. These are the specific interest tags attendees will actually select — for example, under "Technology" you might add "AI", "Cloud Computing", or "Cybersecurity". To add multiple subcategories at once, just separate them with commas.
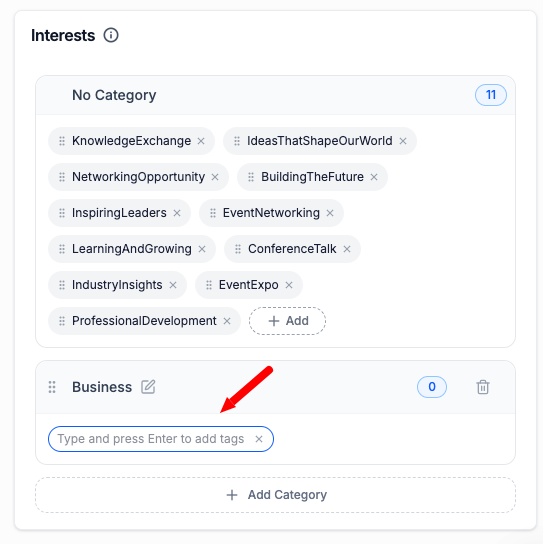
Once you've added everything you need, by clicking on enter. Your new categories and subcategories will now be available to attendees in the app.
Need to change category name? Click the Edit icon next to any tag, make your changes, and save.

To remove a category you no longer need, click the cross (X) icon next to it. Keep in mind that at least one tag must remain in the list at all times.

After saving, you'll see your updated list of interest tags right there on the screen. Attendees will see these reflected in the app the next time they update their profile.
No, the interest tags feature cannot be turned off. There always needs to be at least one tag in the list. If you don't want attendees to have too many choices, you can simply keep it to one or two broad categories.
A category is the broad topic area — like "Technology" or "Business". A subcategory sits underneath it and gets more specific — like "AI" under Technology, or "Sales" under Business. Attendees filter and connect with others based on these subcategories.
Yes, the category always comes first. You can't add a subcategory unless there's already a category for it to belong to. Once the category is created, you can add as many subcategories under it as you like.
Yes. When adding subcategories, you can type several at once and separate them with commas. This saves time when you're setting up a long list of interests.
If you delete a tag that attendees have already selected, their profile may no longer reflect that interest. It's a good idea to finalise your tag list before the event goes live to avoid any confusion for your attendees.
There is no hard cap mentioned in the platform, but it's worth keeping the list focused and relevant. Too many options can actually make it harder for attendees to choose, so aim for quality over quantity.
