Streamline your event planning process by automating data transfer. Learn how to effortlessly import your data into Eventify using Zapier's powerful integration.

Interactive Guide
Or check the step-by-step guide
1: Login to Zapier
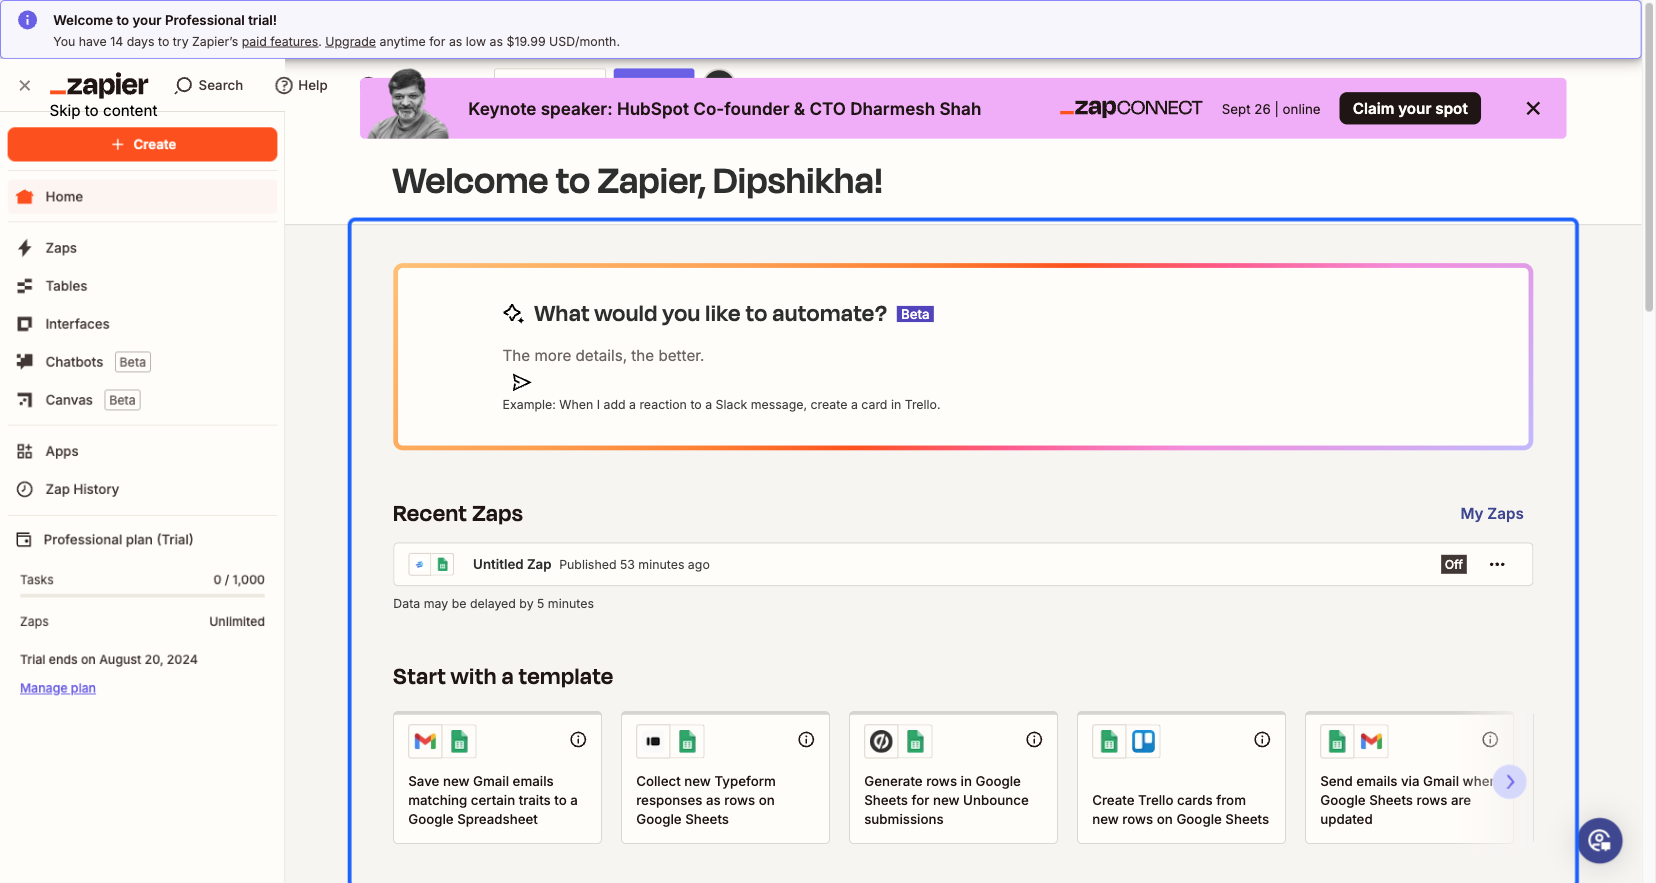
2: Click on the “Create” button

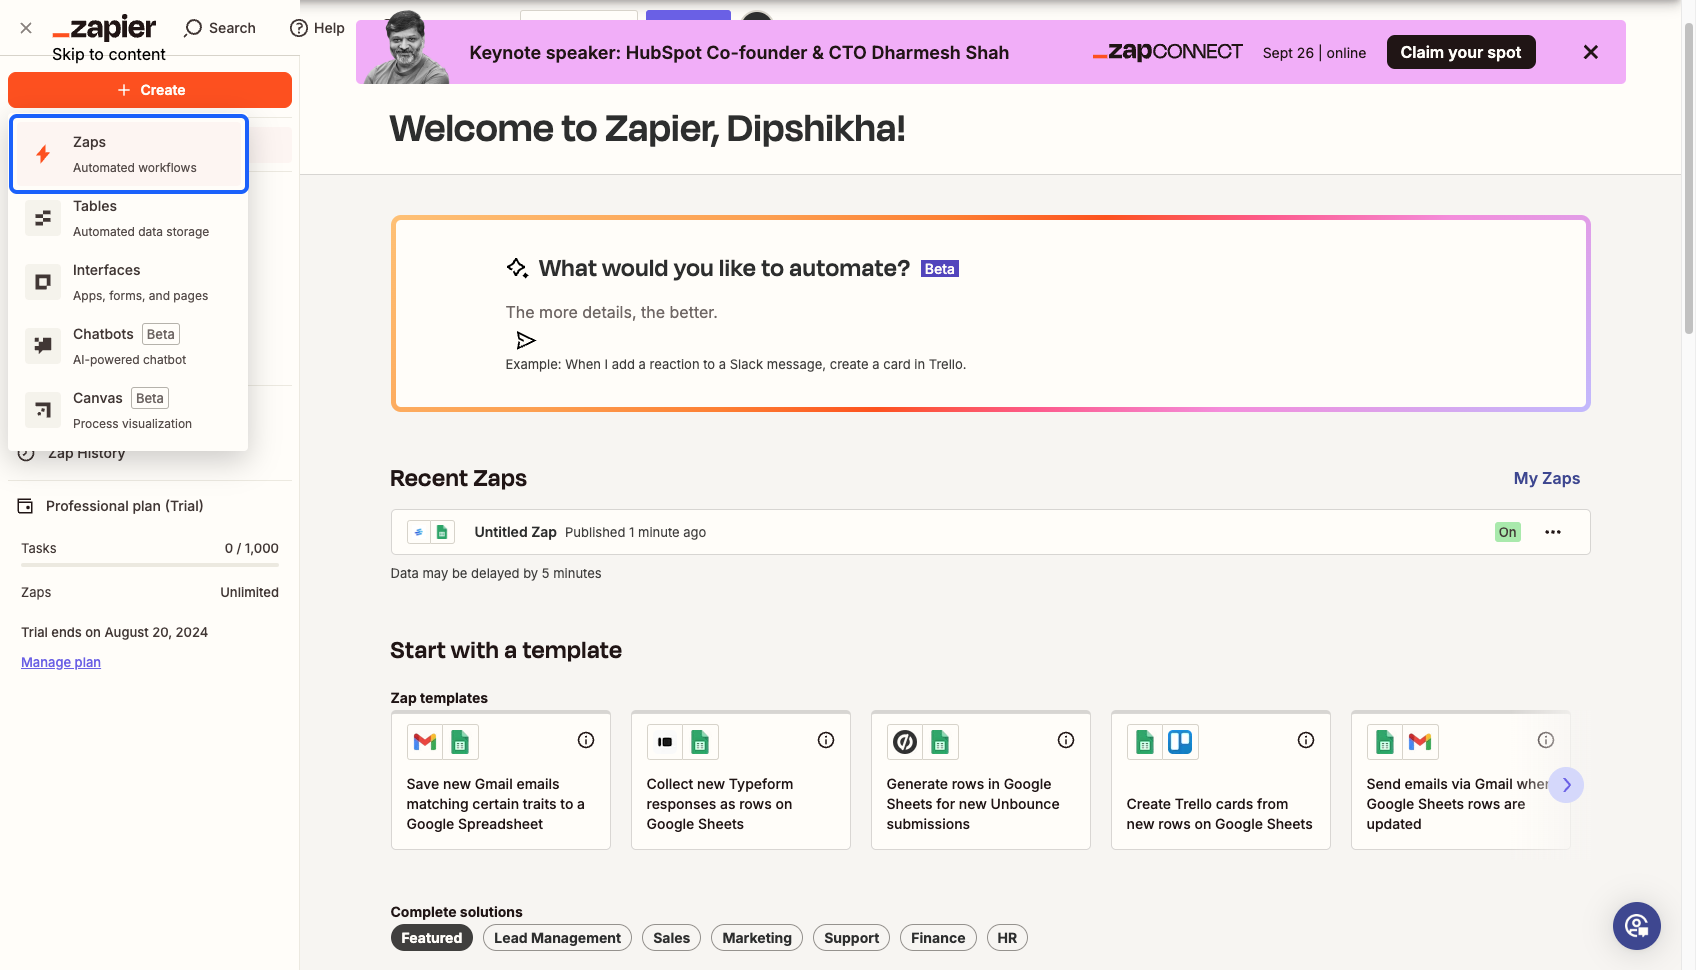
3: Click on “Zaps” to create a new Zap
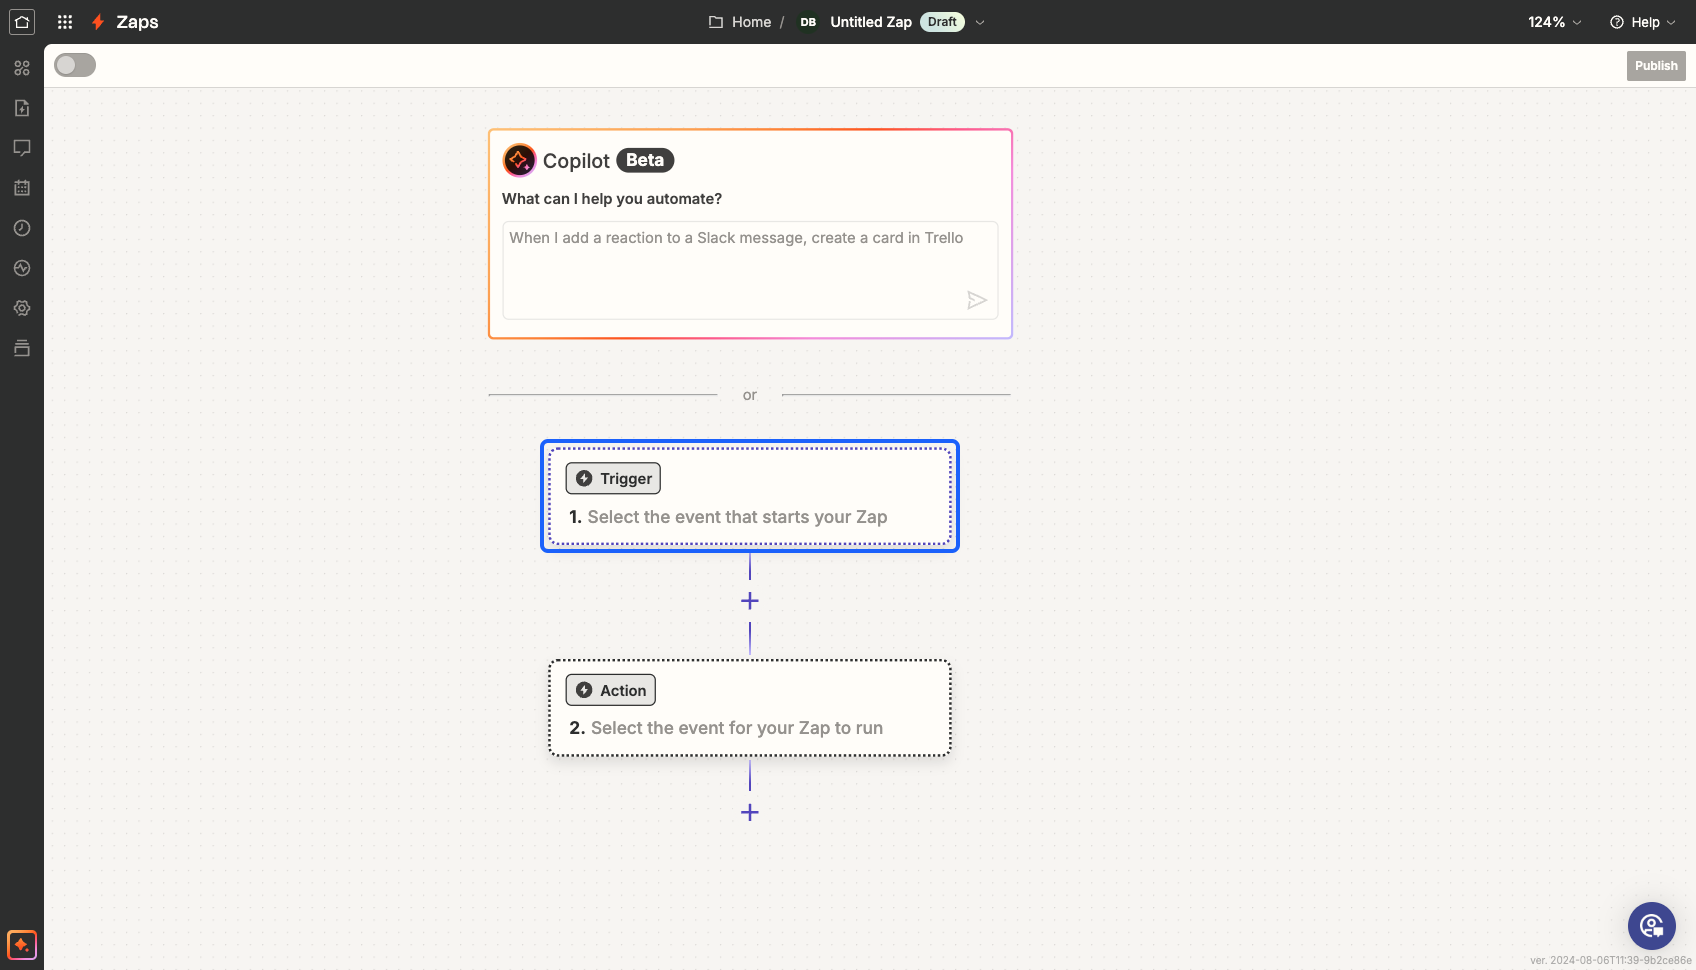
4: Select the trigger for the zap
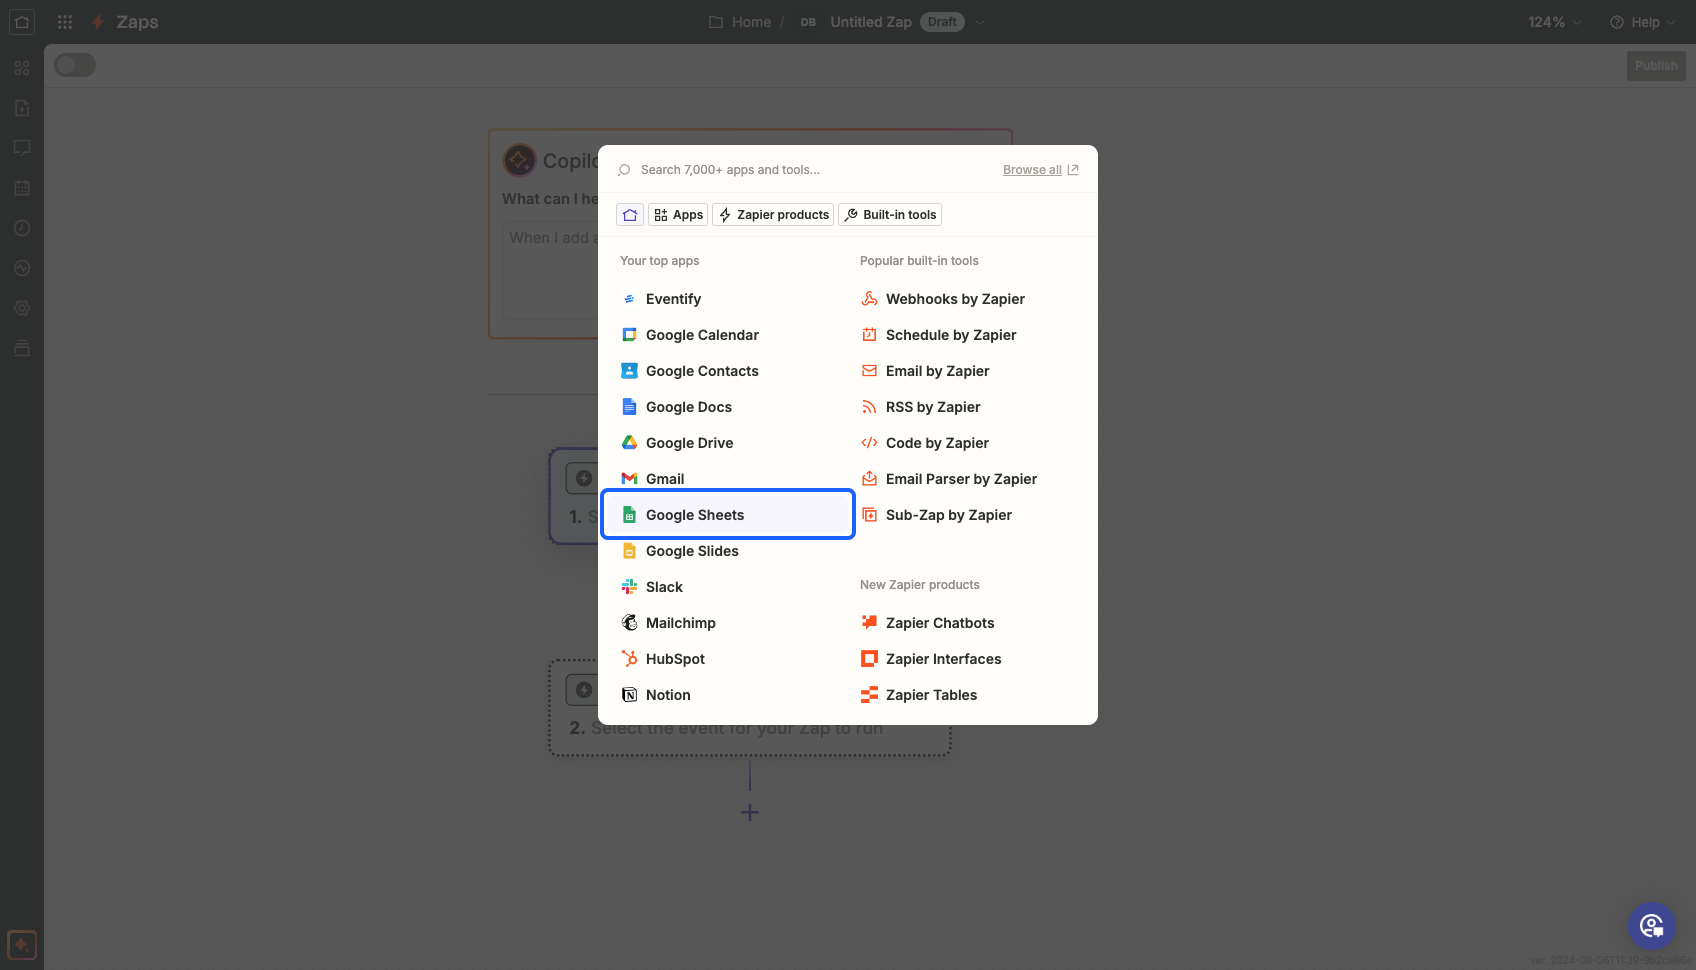
5: Select the platform in which you have the data available to import to Eventify. For eg: Google Sheets
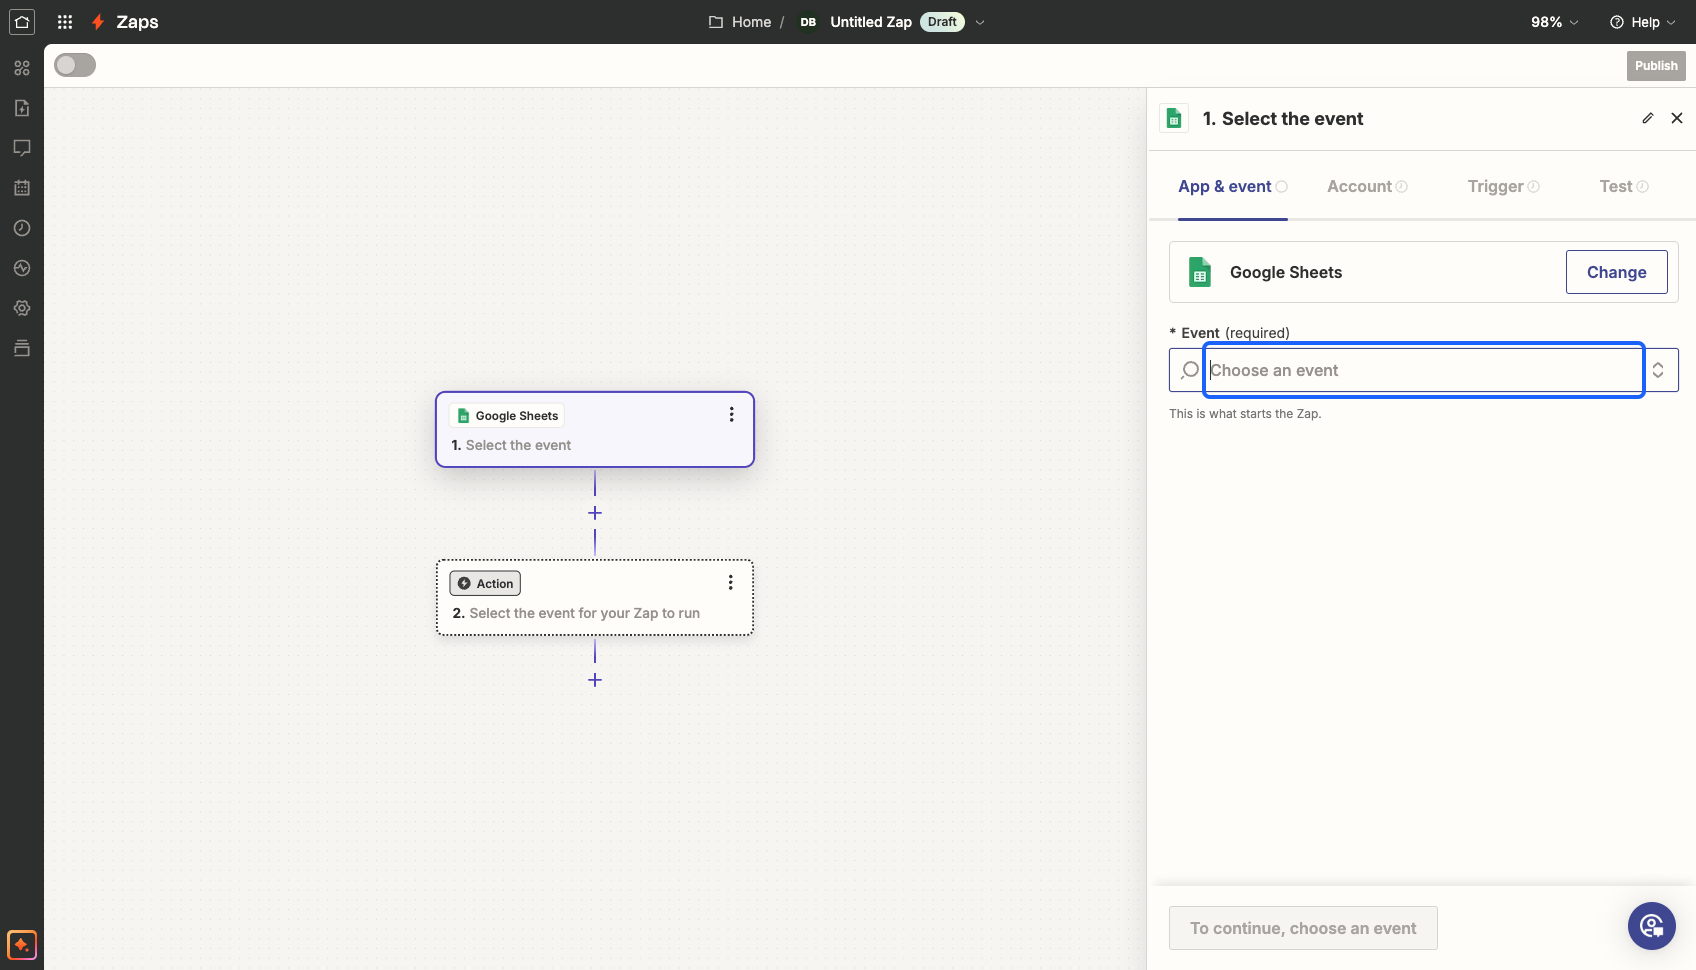
6: Choose the action on which you want to import the data
7: Select from the available actions
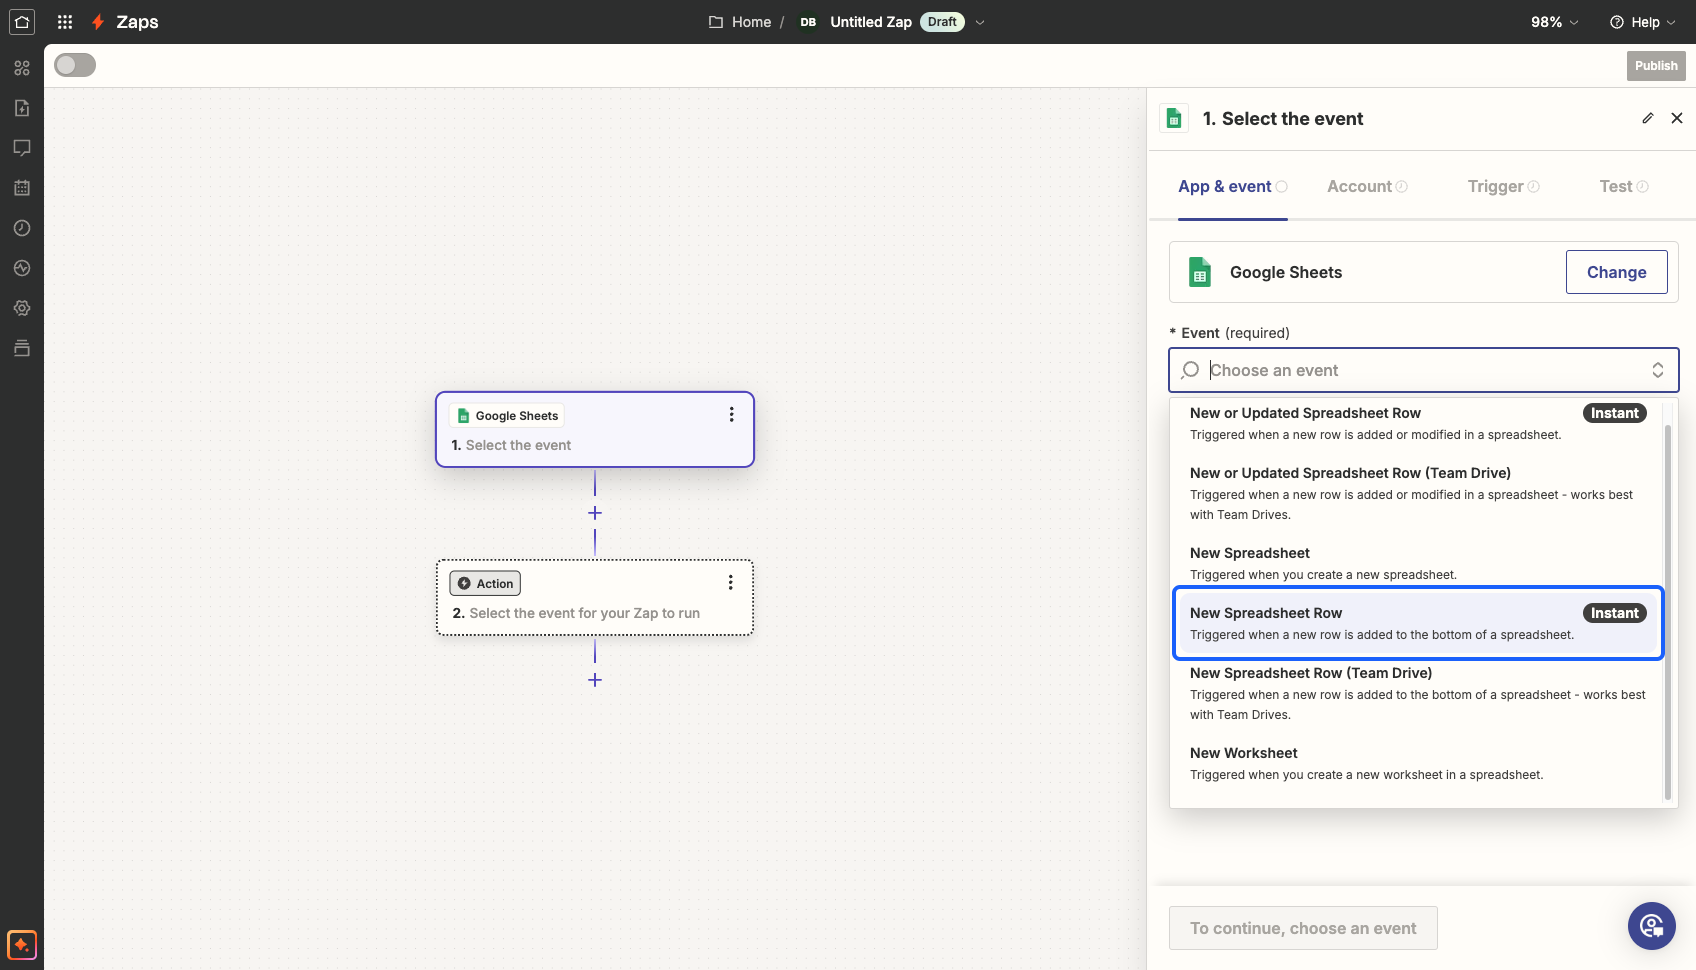
8: Click on the “Continue” button

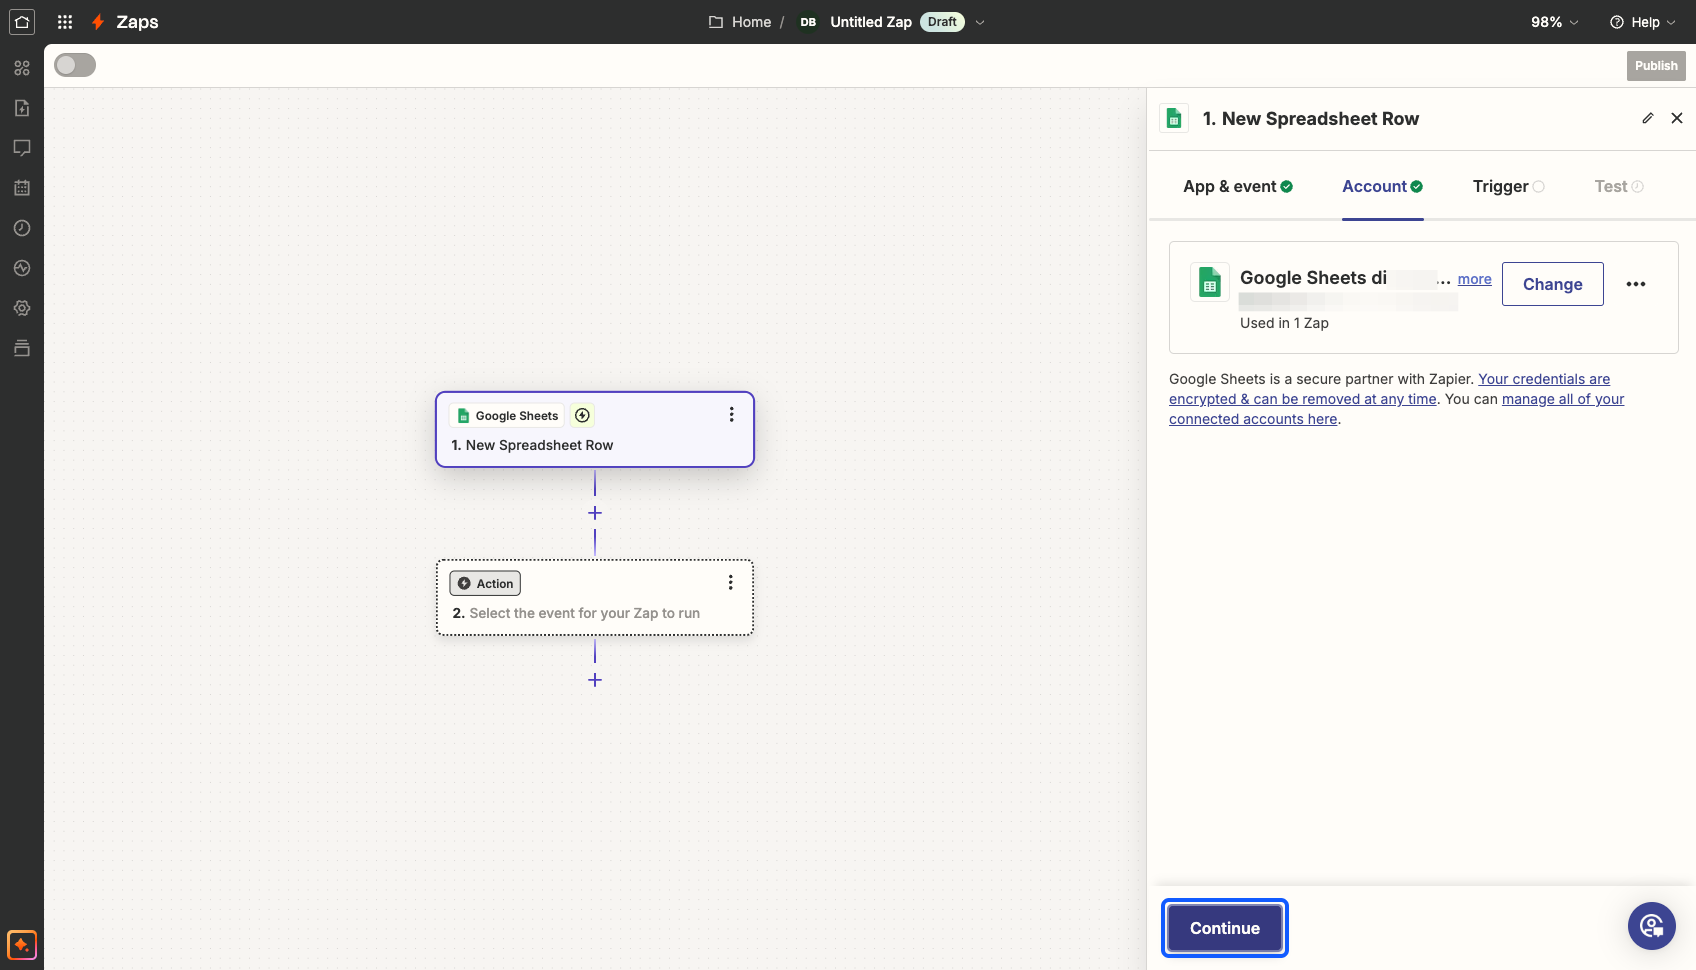
9: Connect with your Google account and click on the “Continue” button
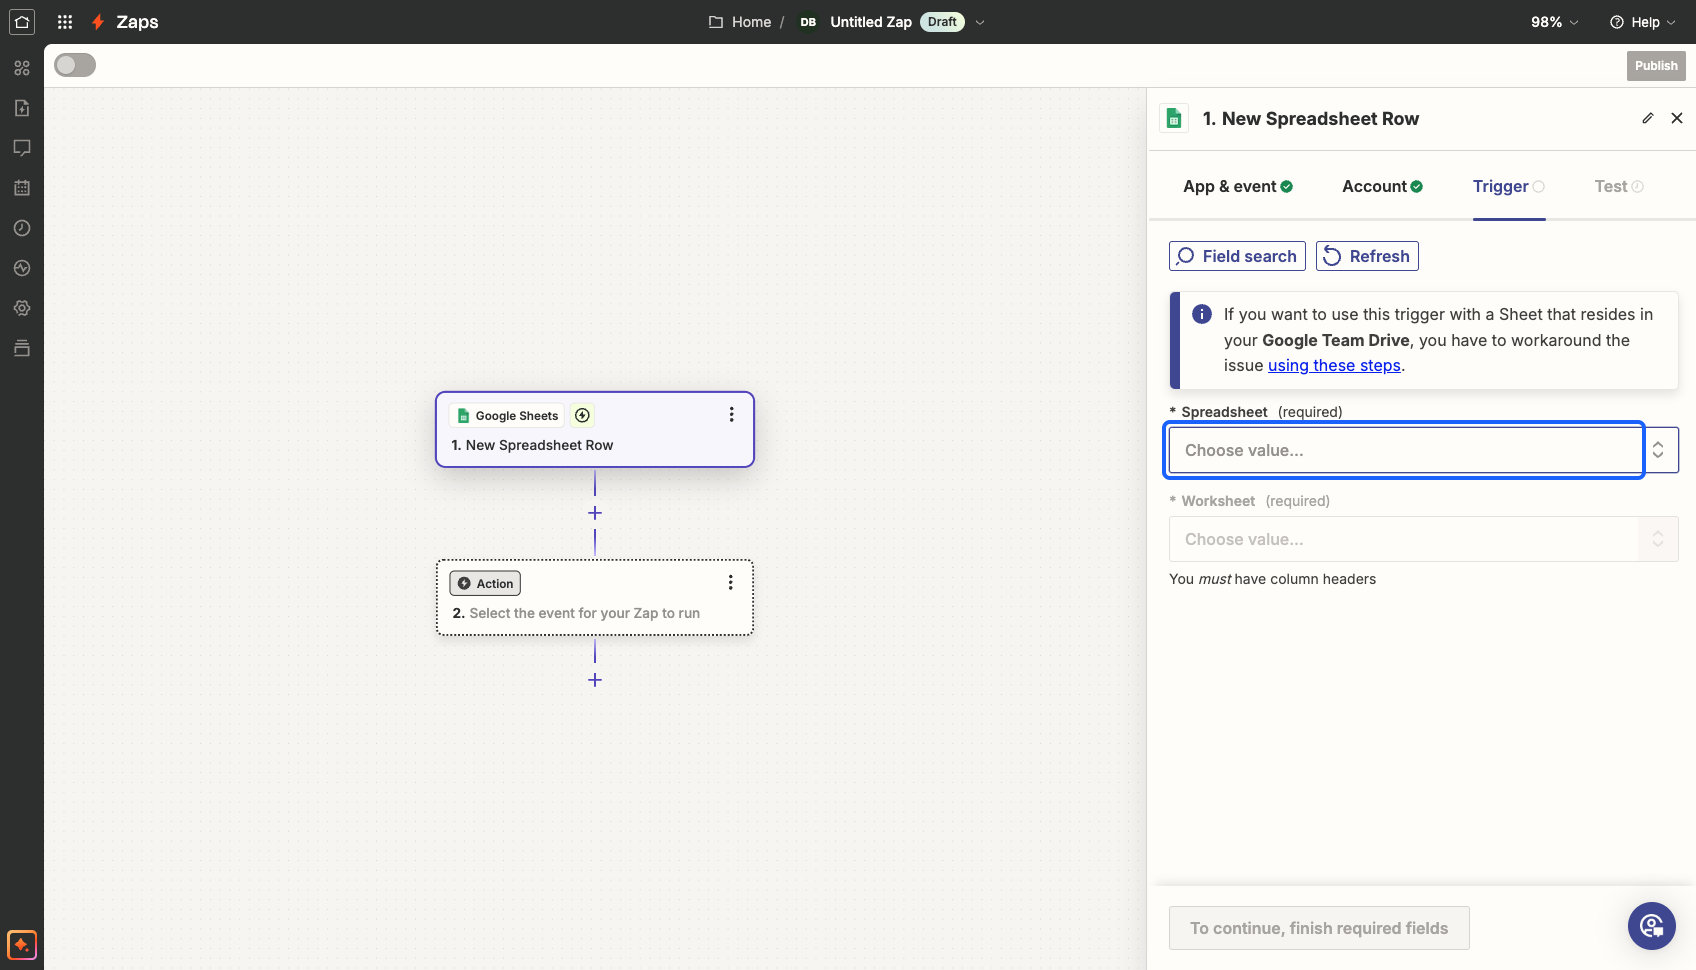
10: Select the “Spreadsheet" from which you want to pull the records
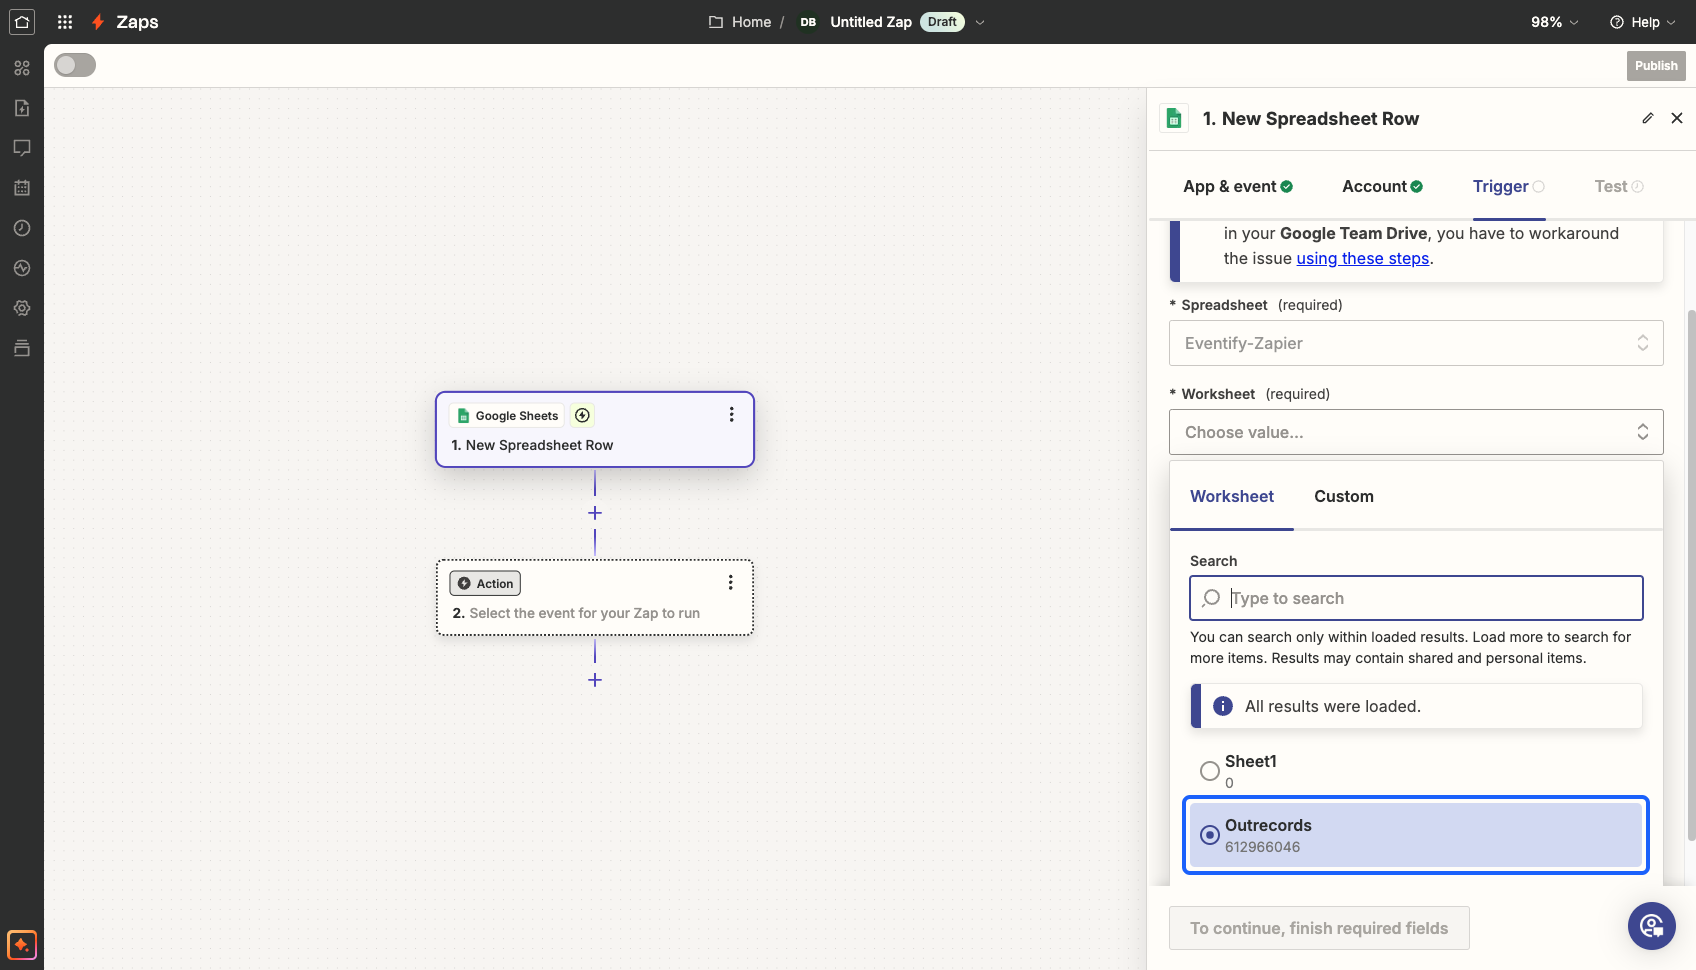
11: Select the worksheet
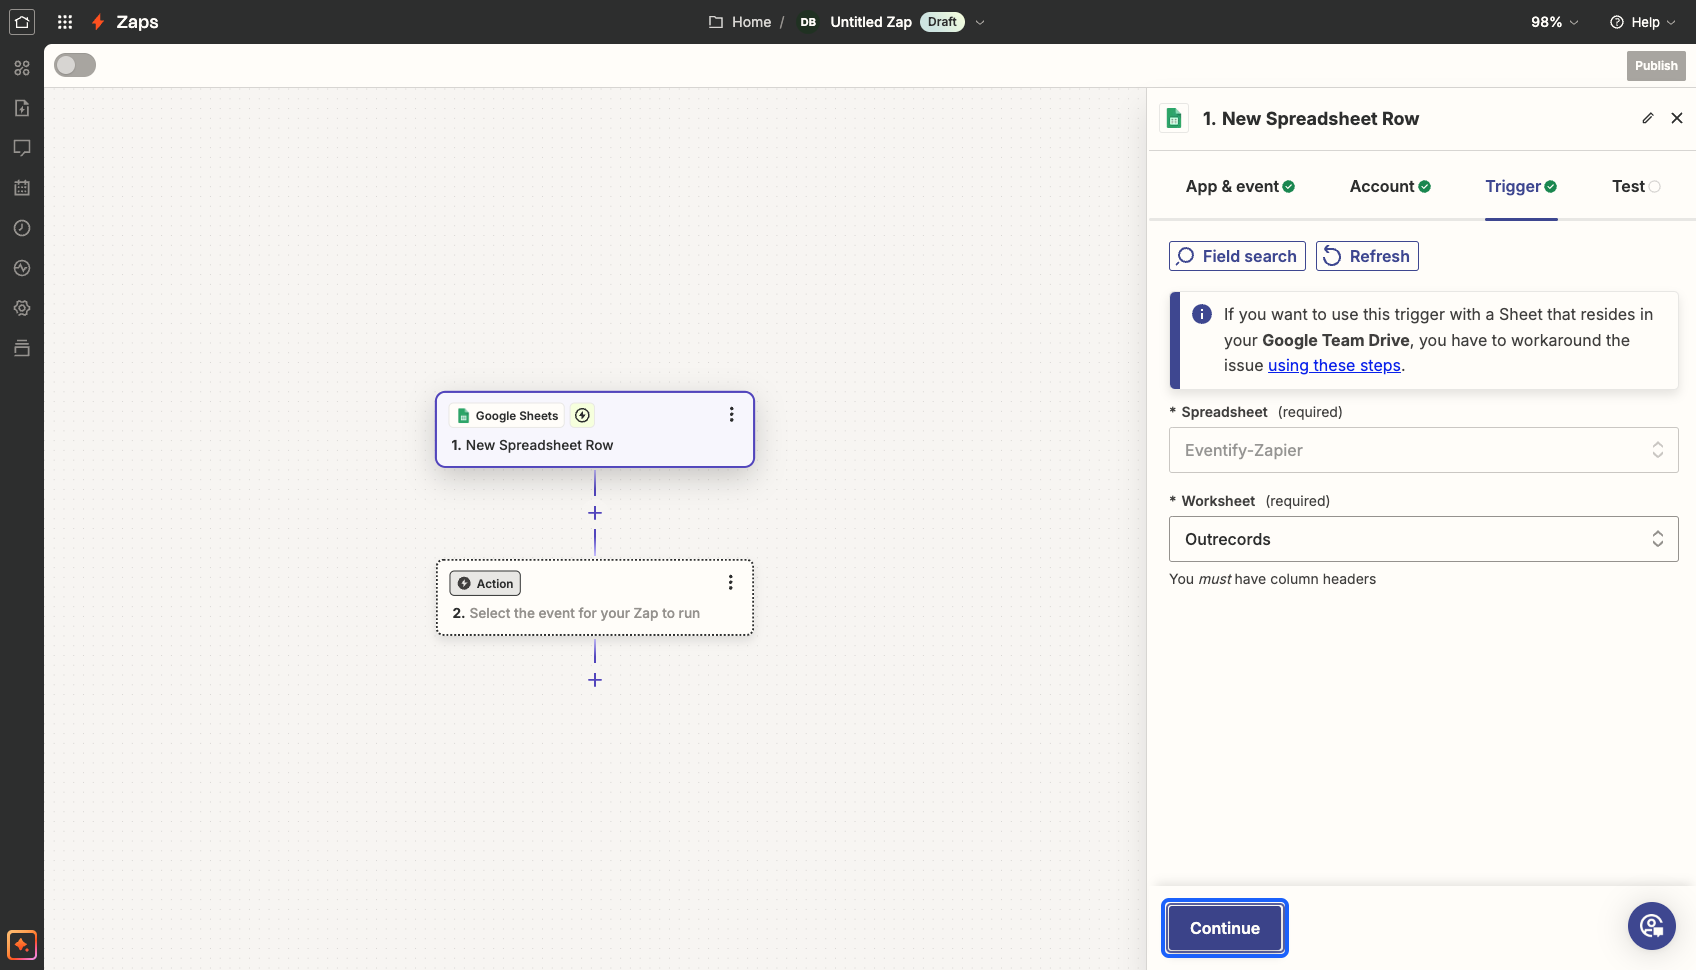
12: Click on the “Continue” button
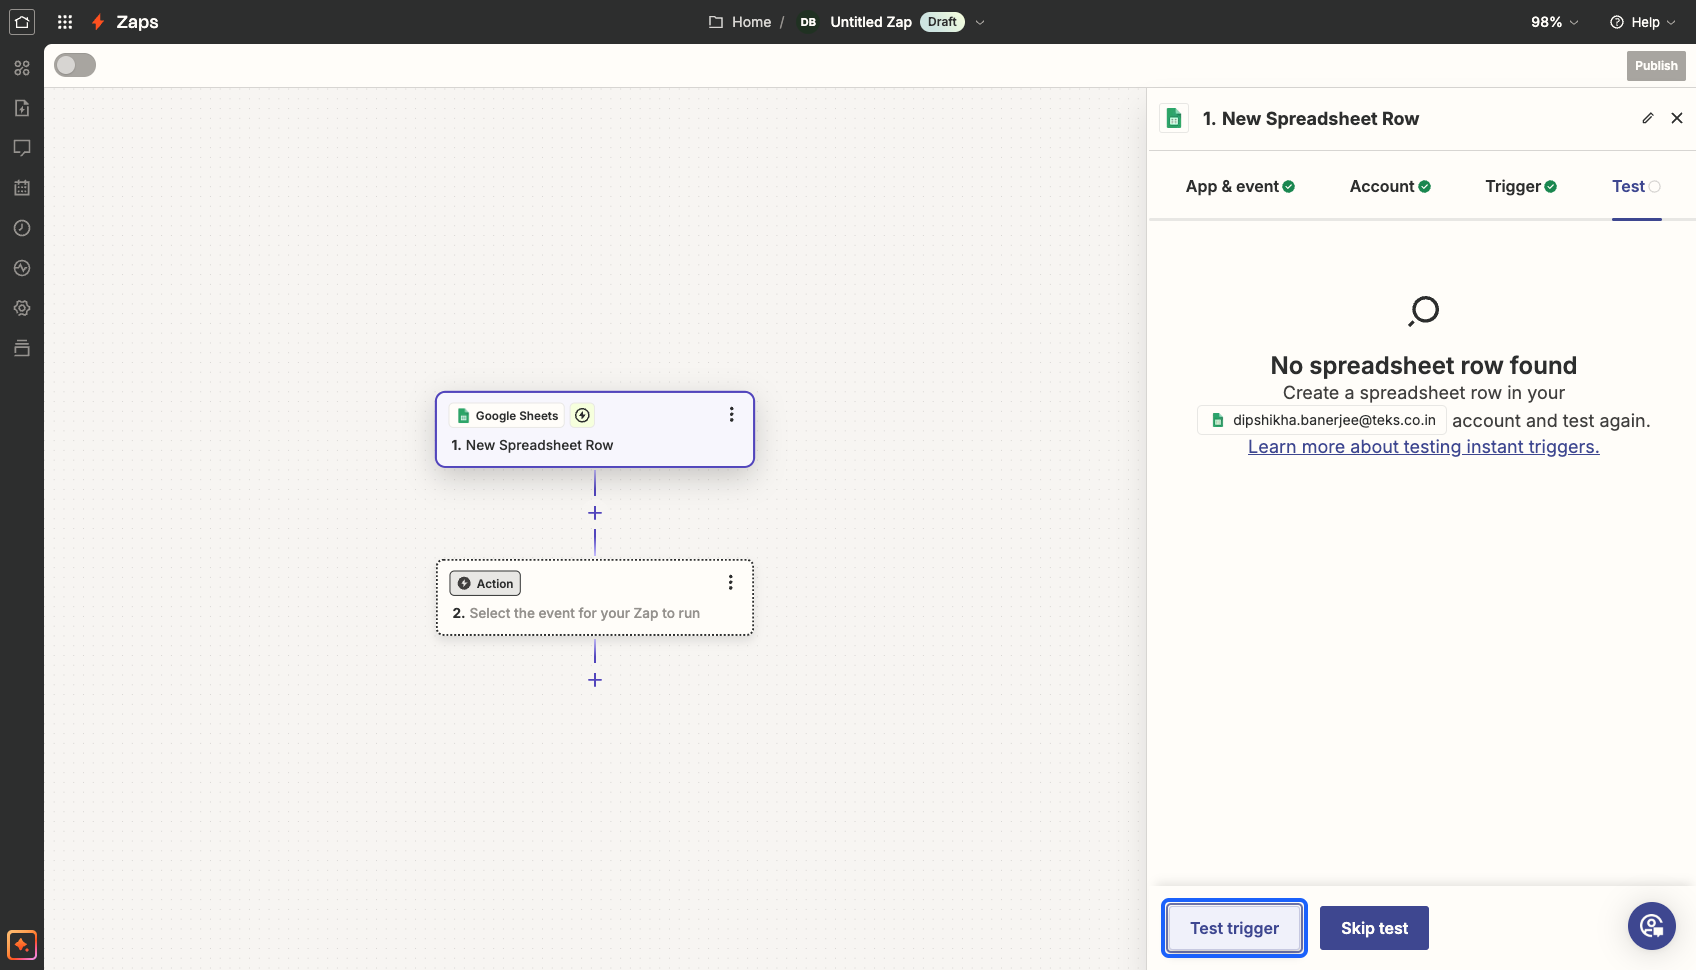
13: You can now test the trigger that you have set
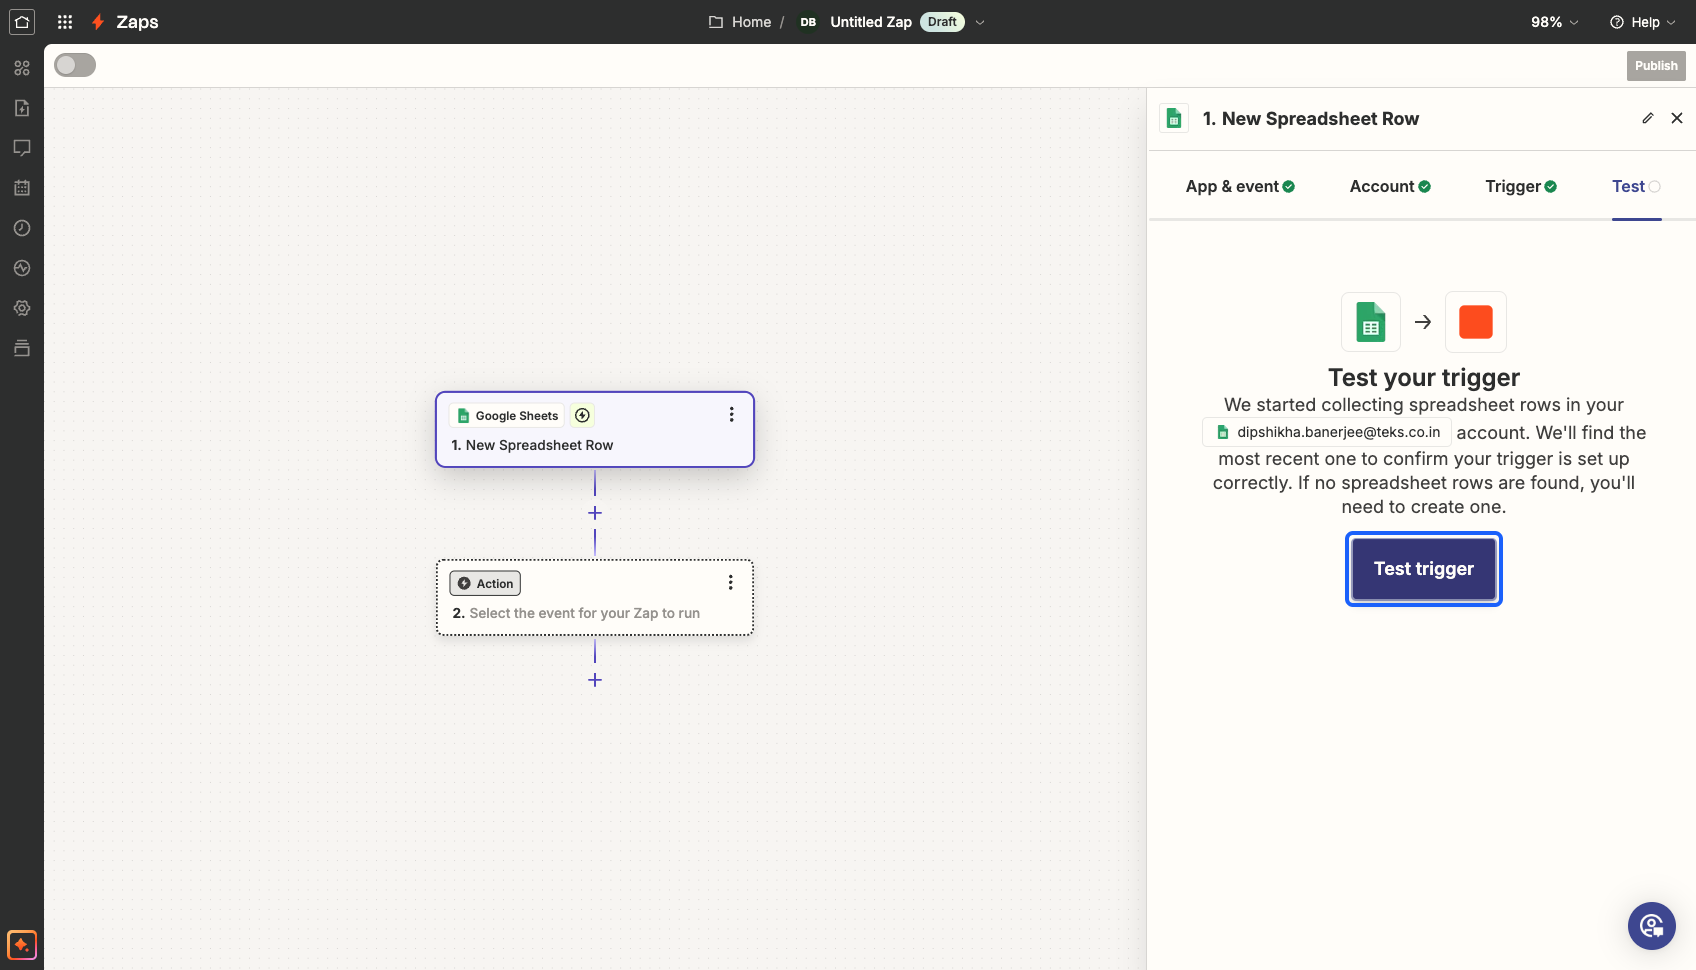
14: Click on the “Test trigger” button
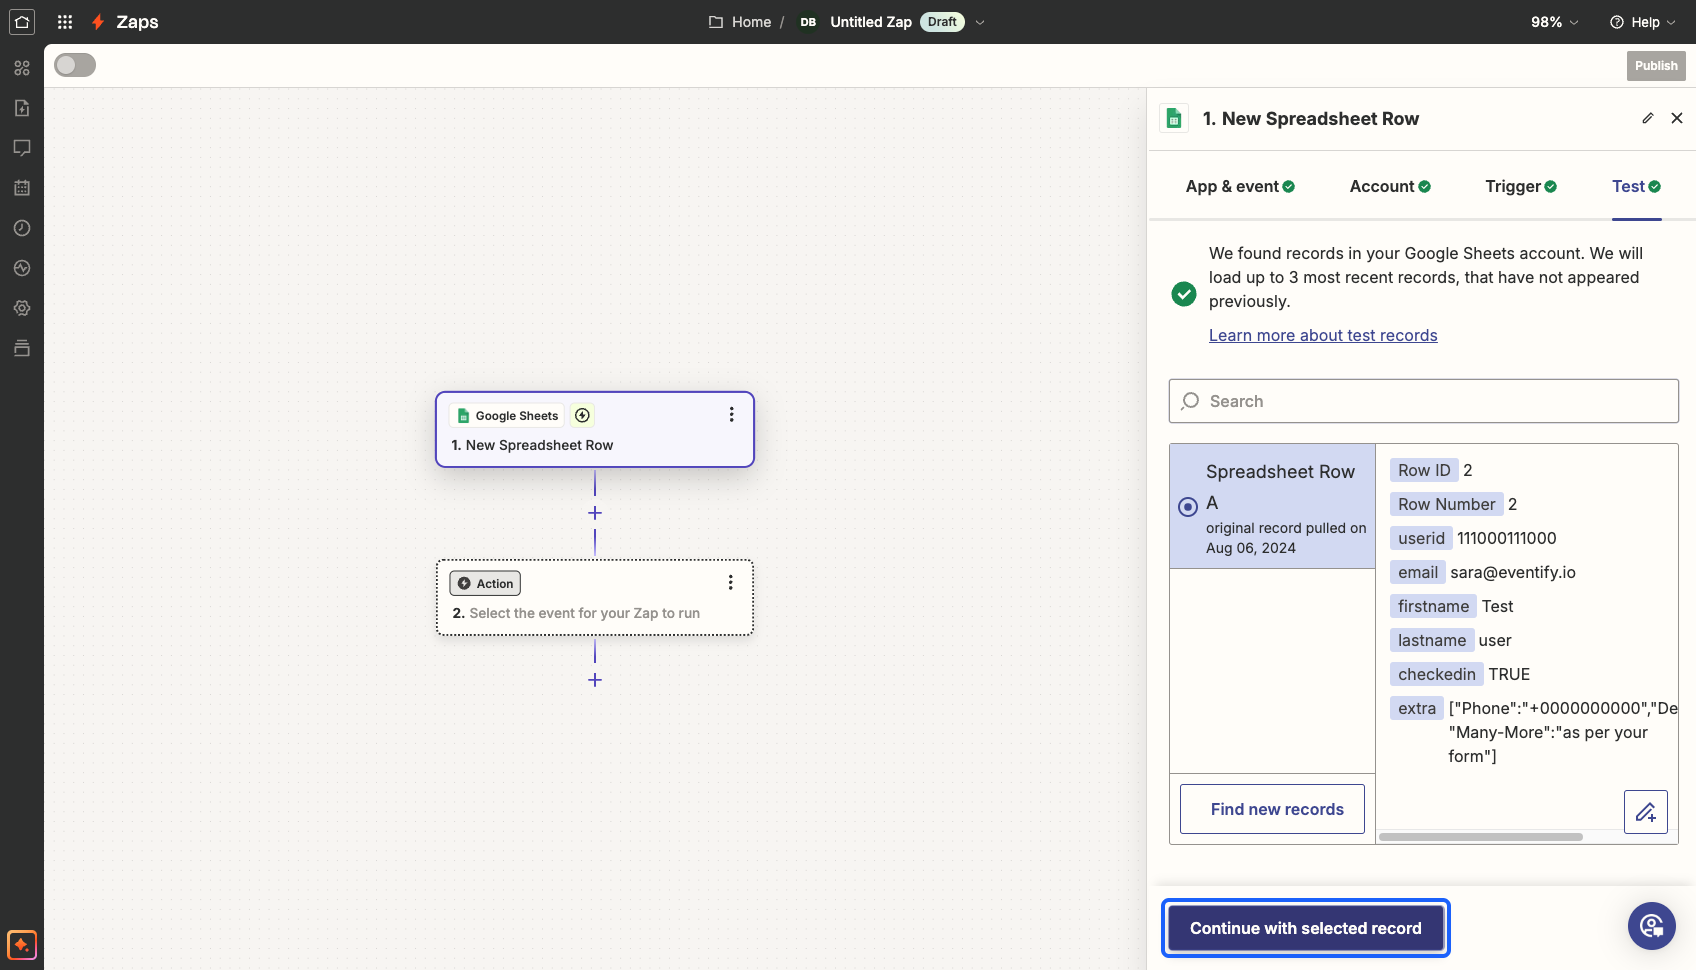
15: It will trigger the selected action and show you the result. Click on the "Continue with selected record" button
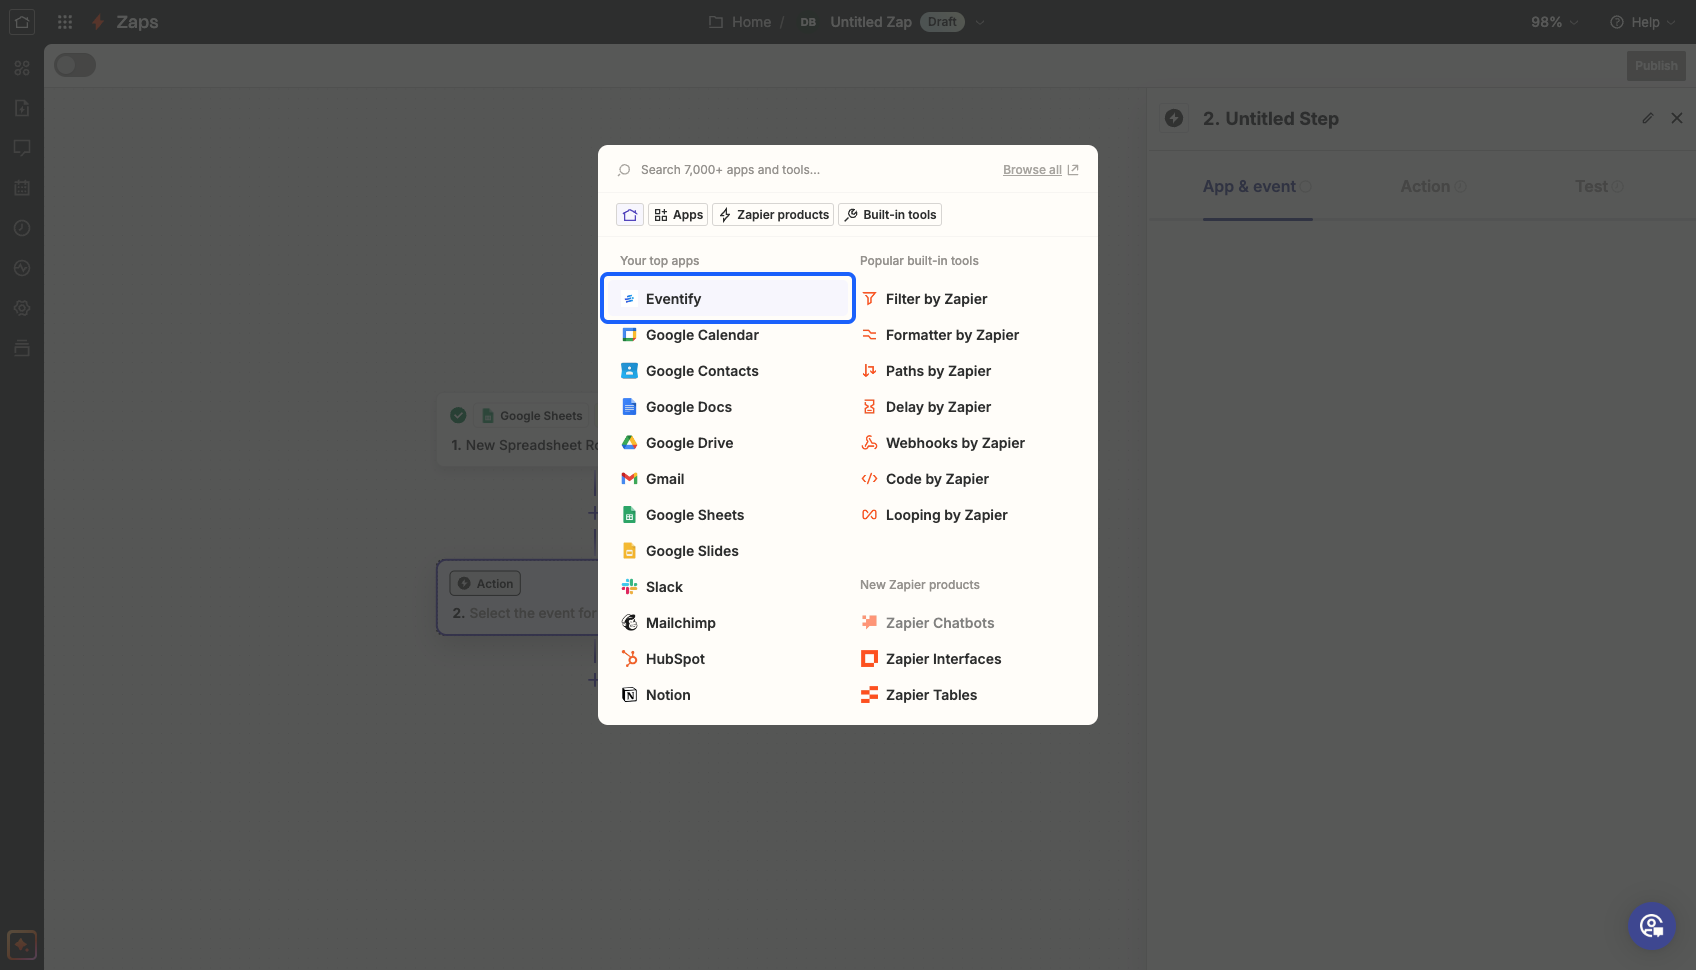
16: Click on the “Eventify” button to send the data to Eventify
17: Select the event in which you want to import the data

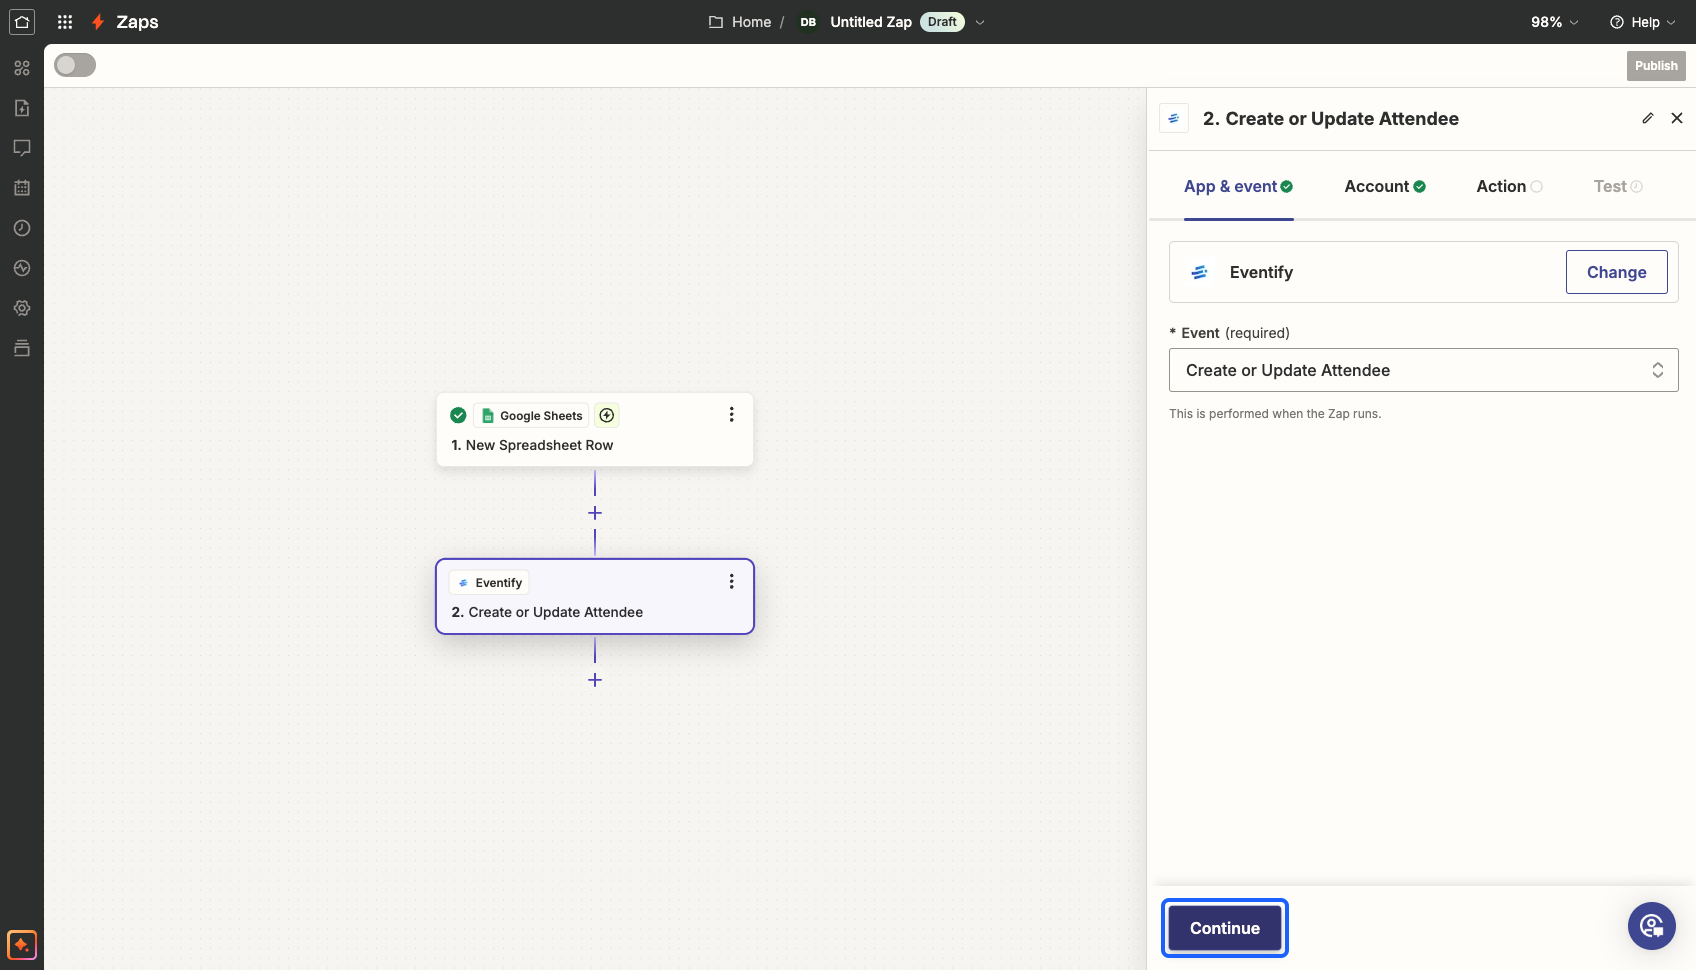
18: Select the action

19: Click on the “Continue” button
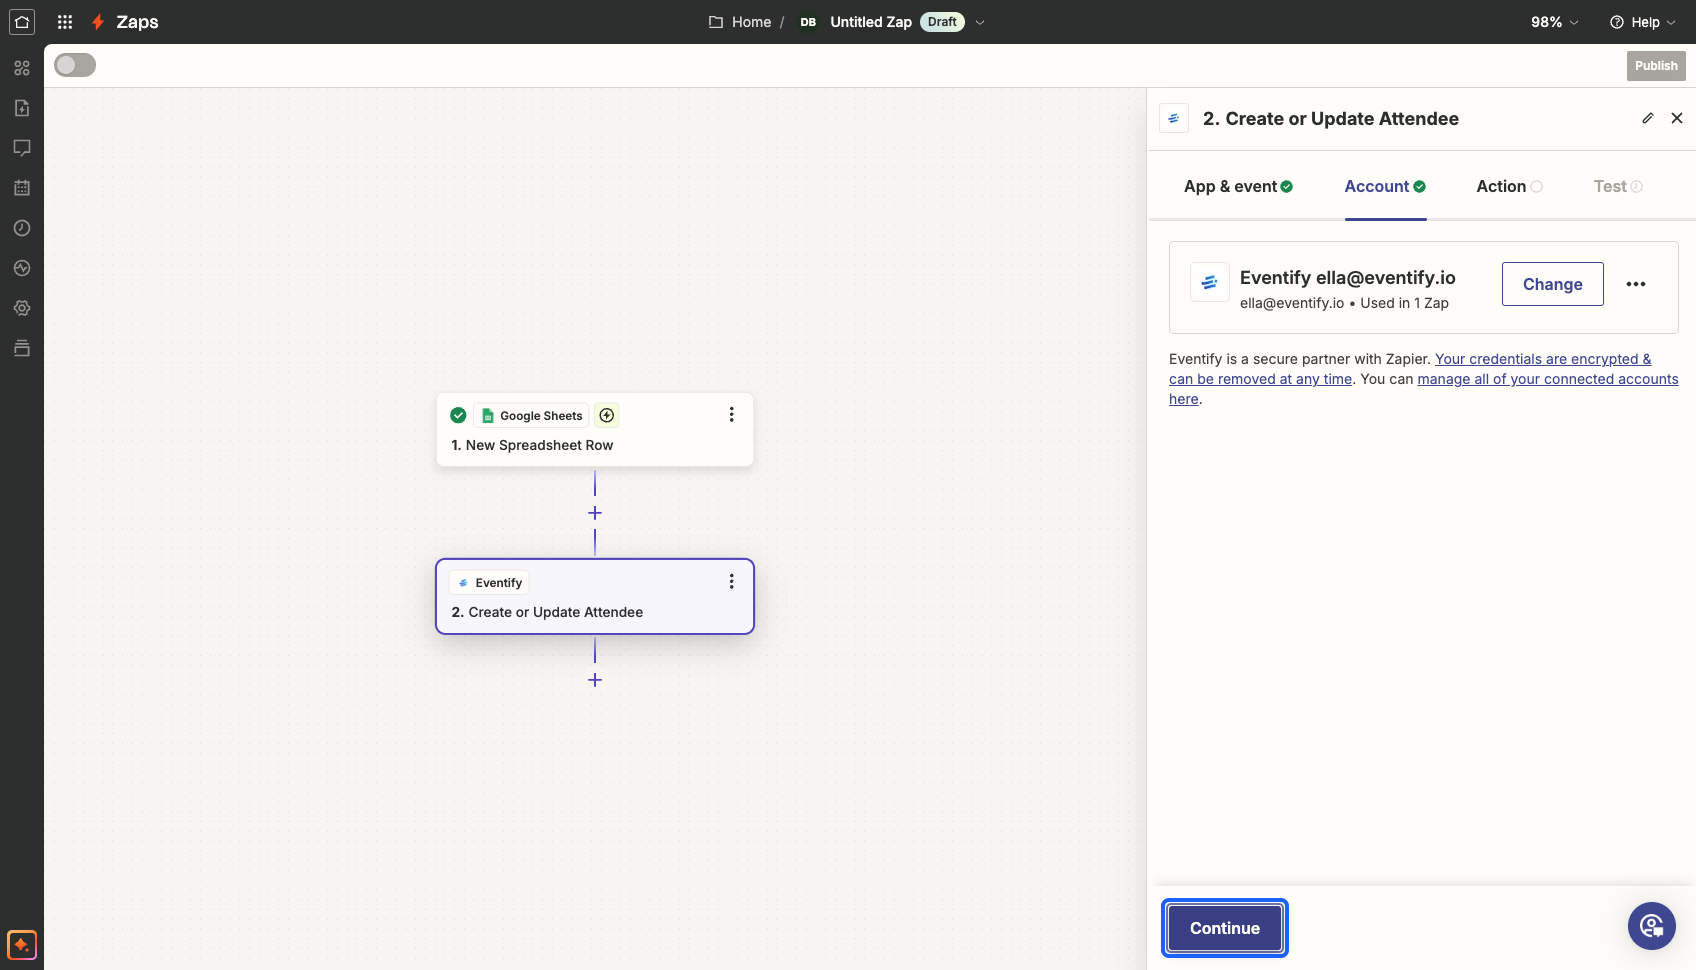
20: Connect with the Eventify account with your admin credentials and click on the “Continue” button
21: Select the event in which you want to import the data
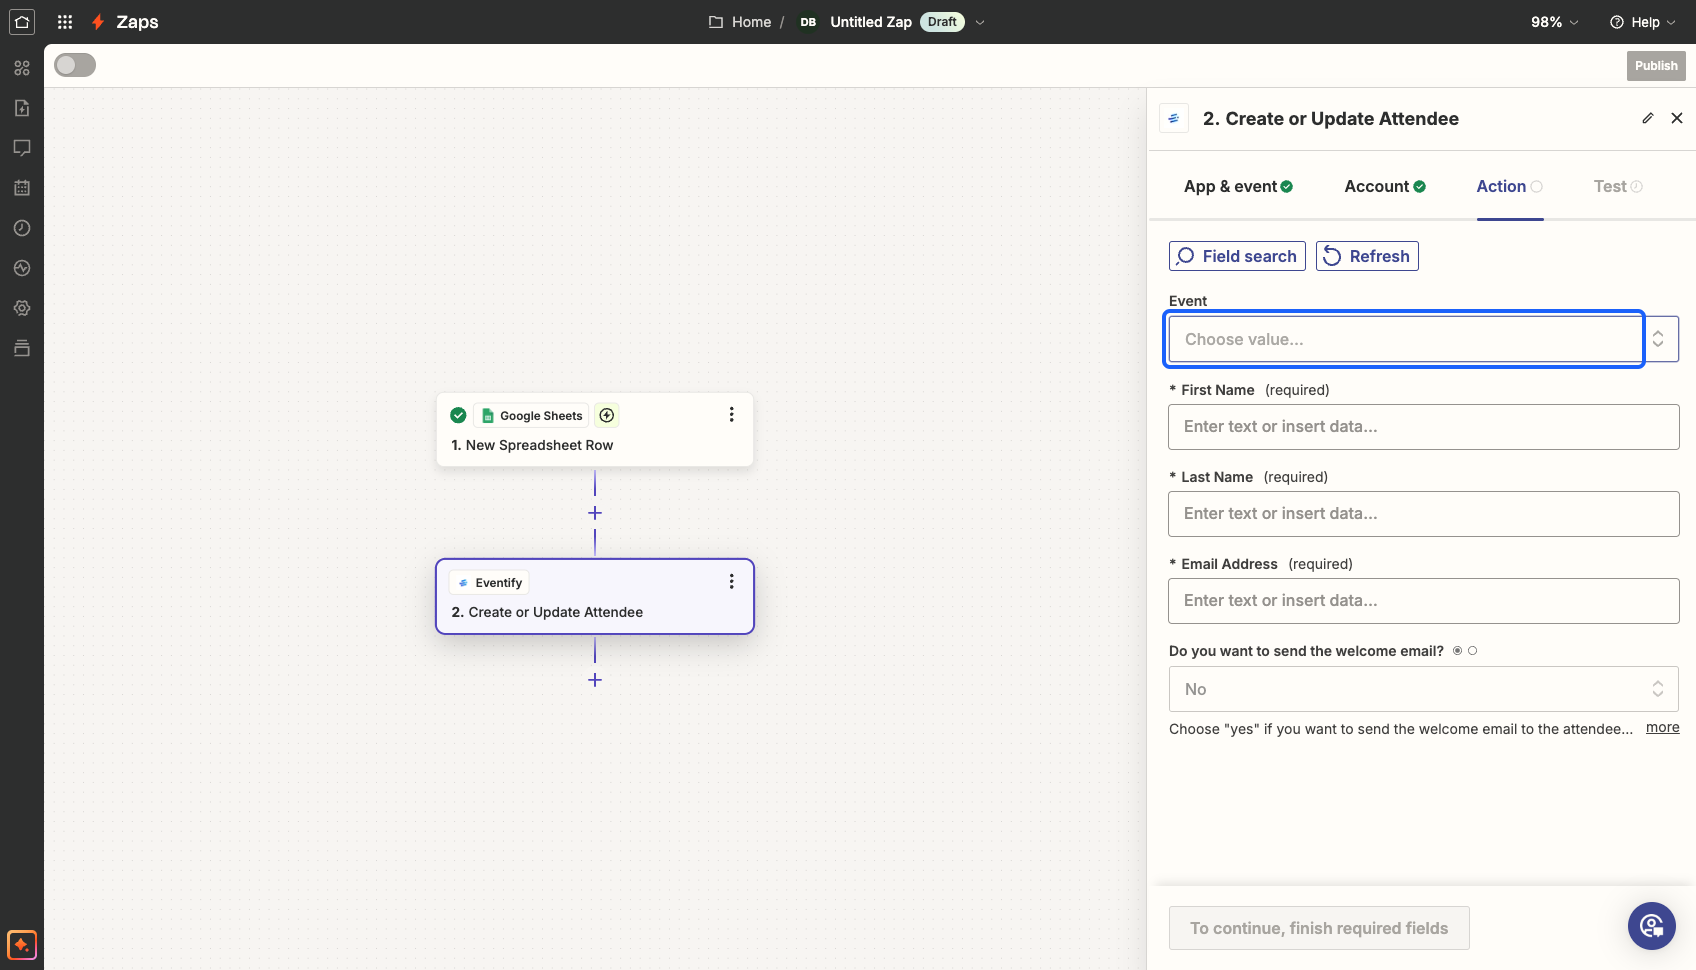
22: Select the event

23: Here each field is according to the Zapier data. Map the fields of the spreadsheet with the Zapier fields. It defines which field data corresponds to which column of the spreadsheet
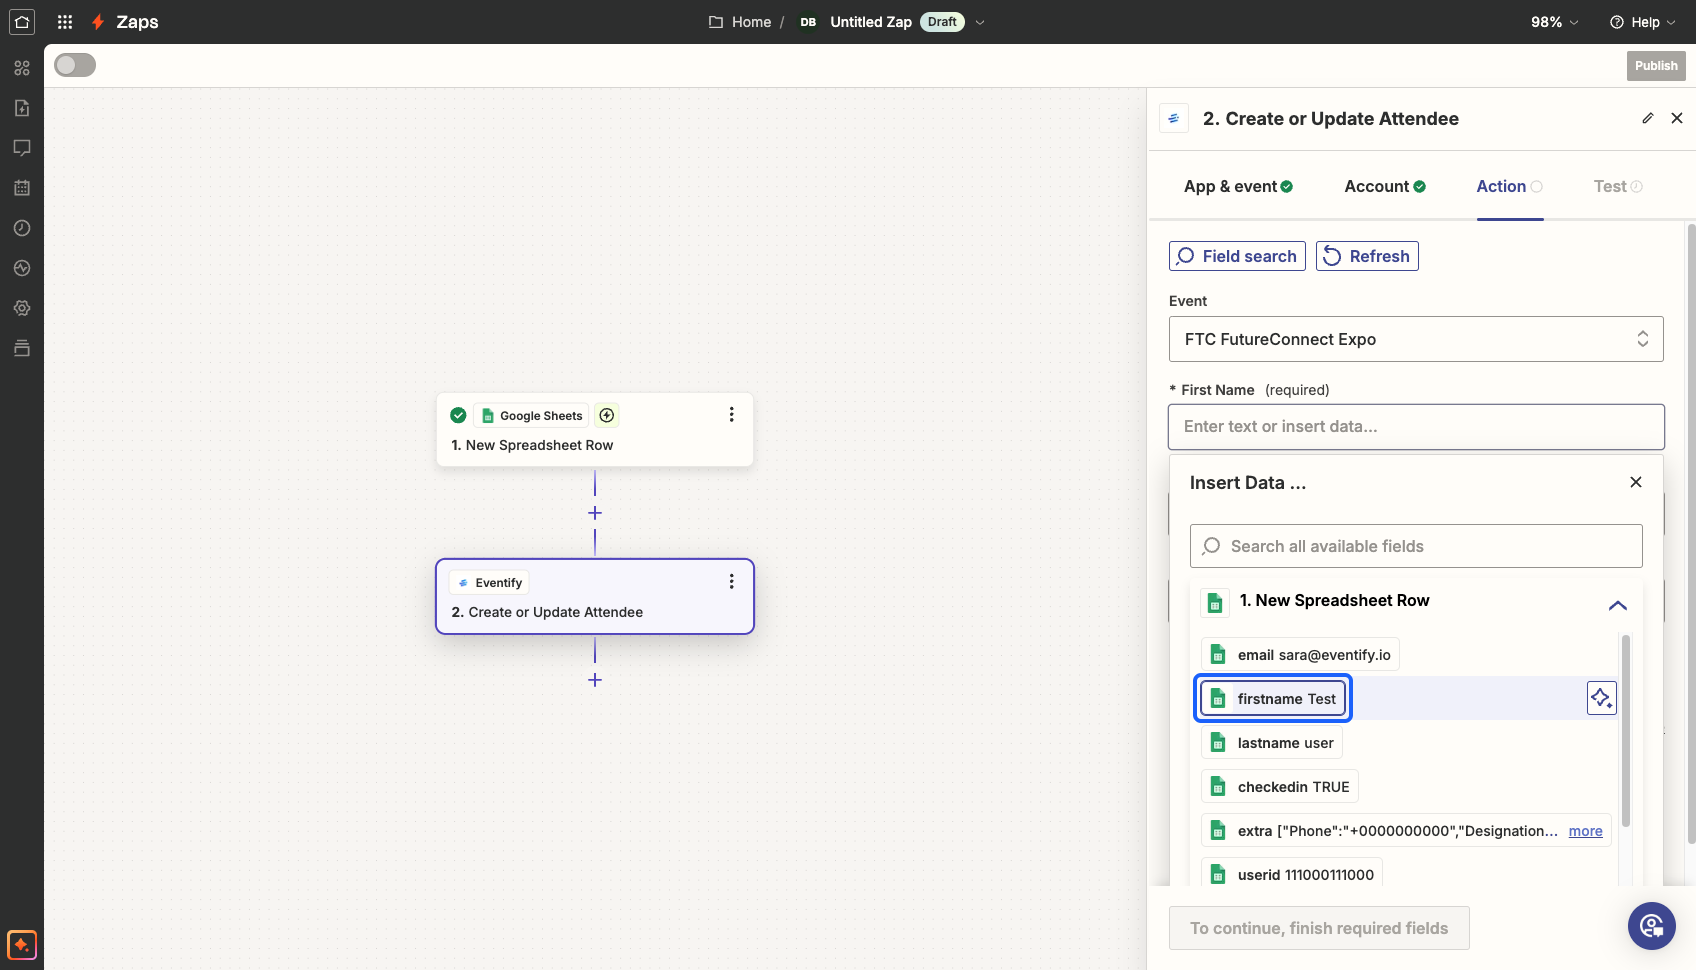
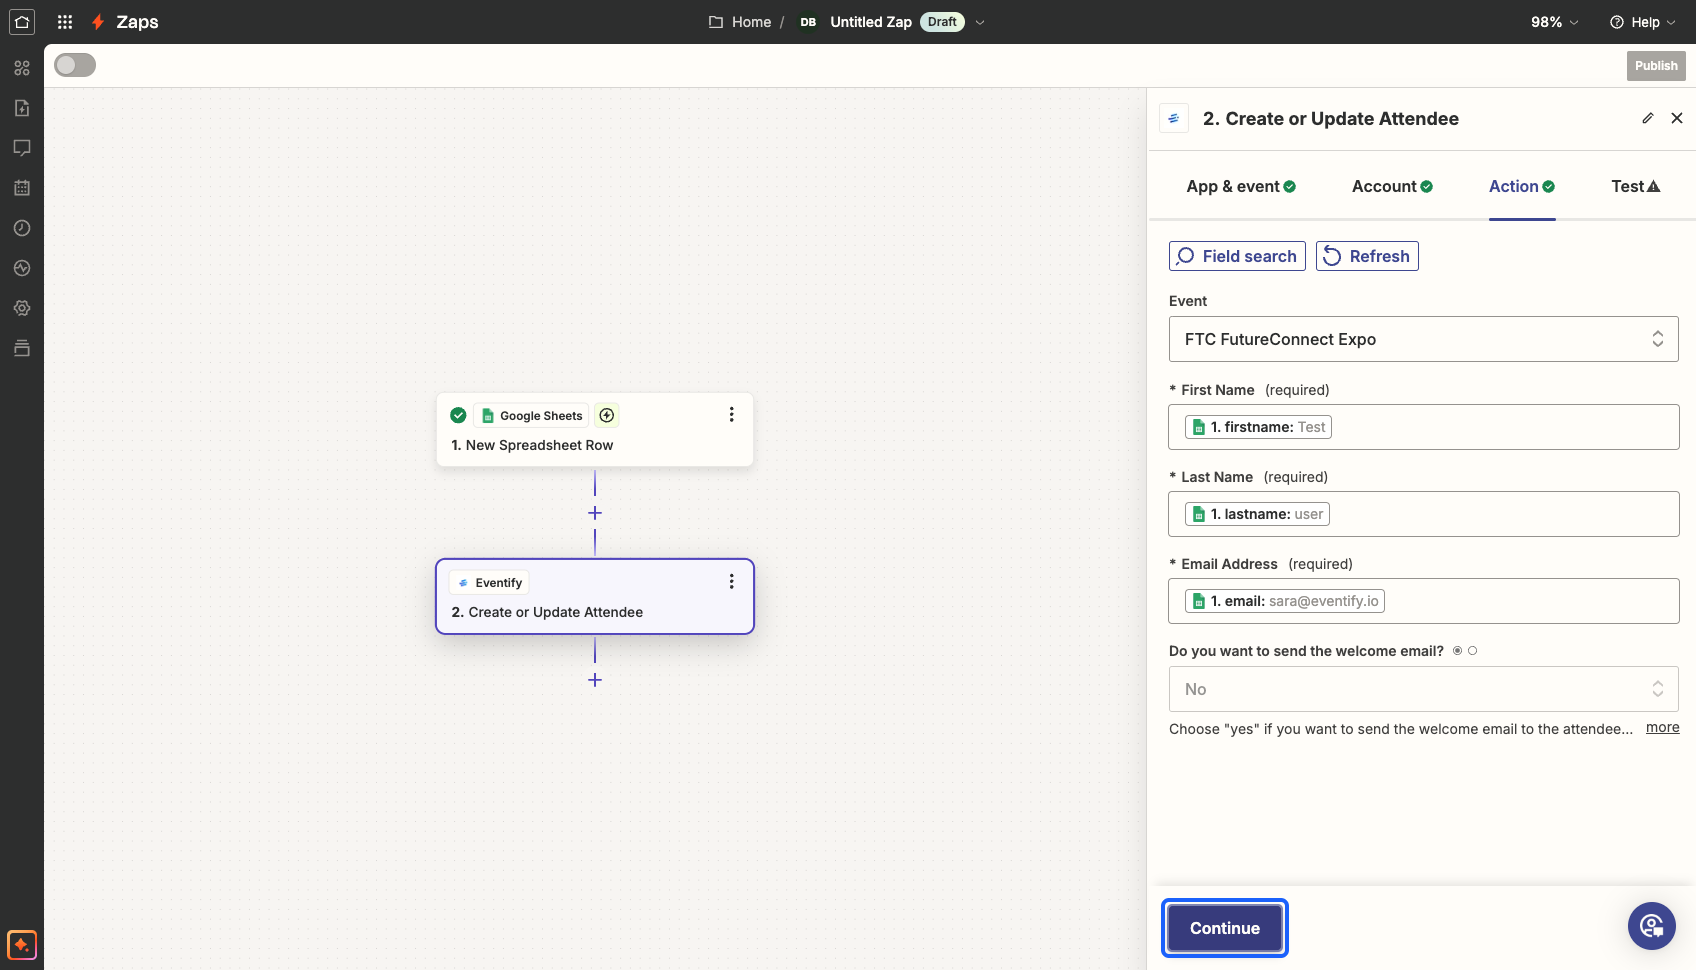
24: Carefully map all the fields and click on the “Continue” button once the mapping is done
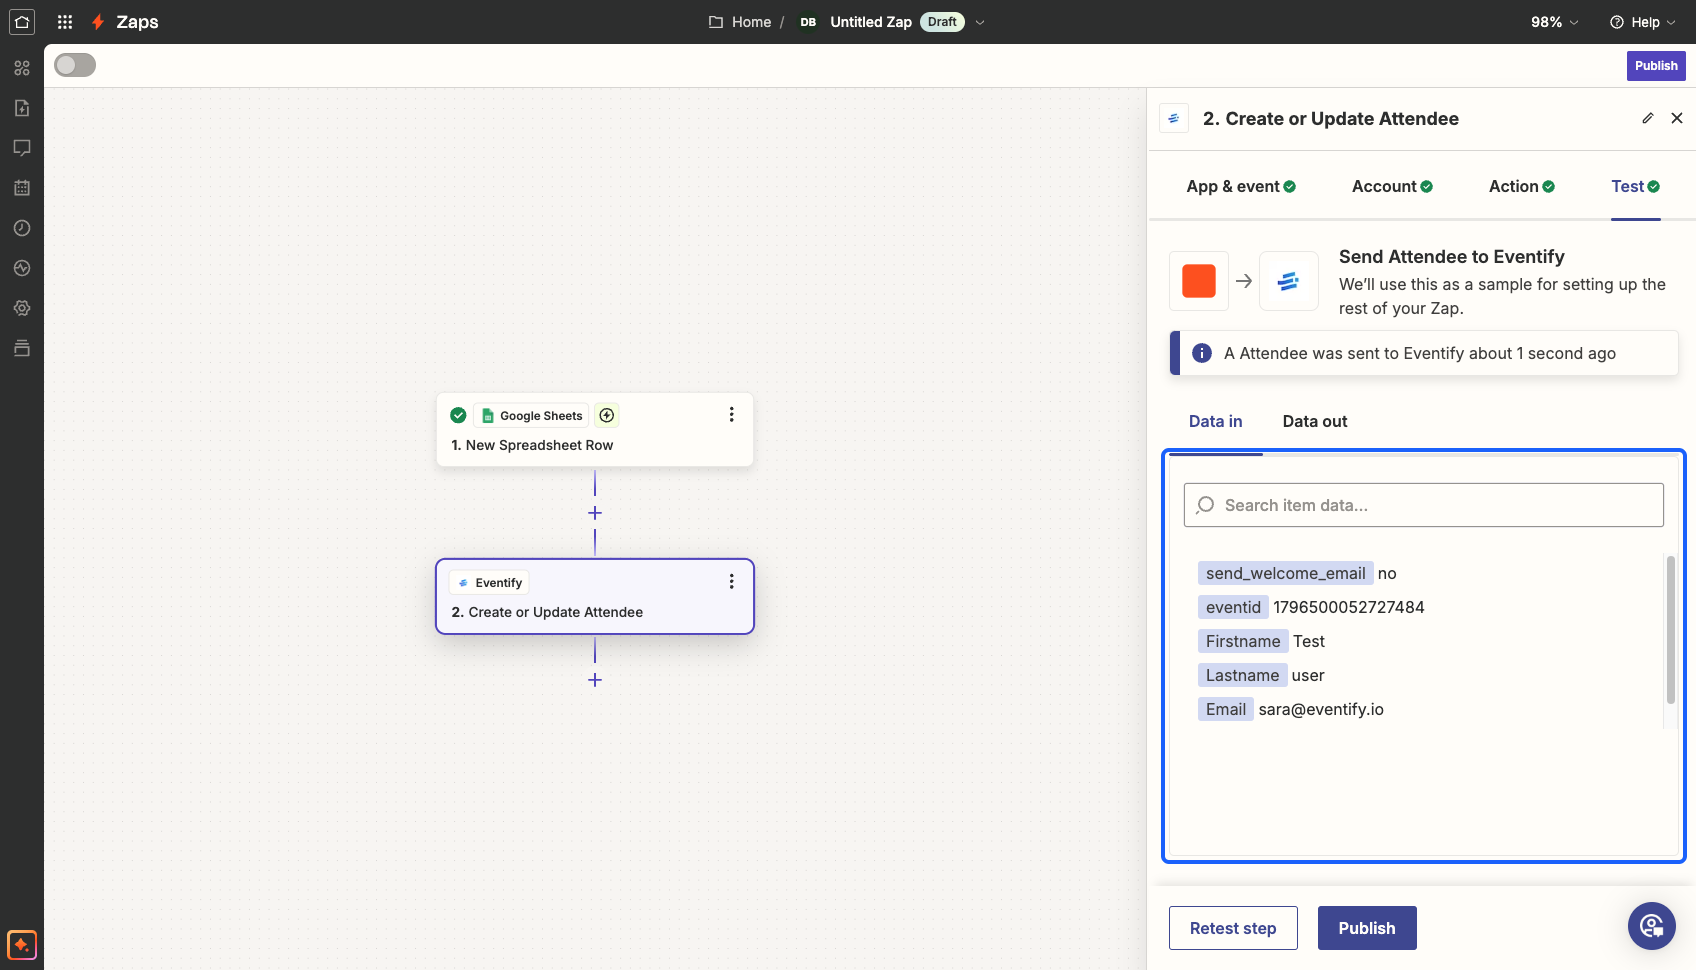
25: Verify the Data to be sent from "Data in"
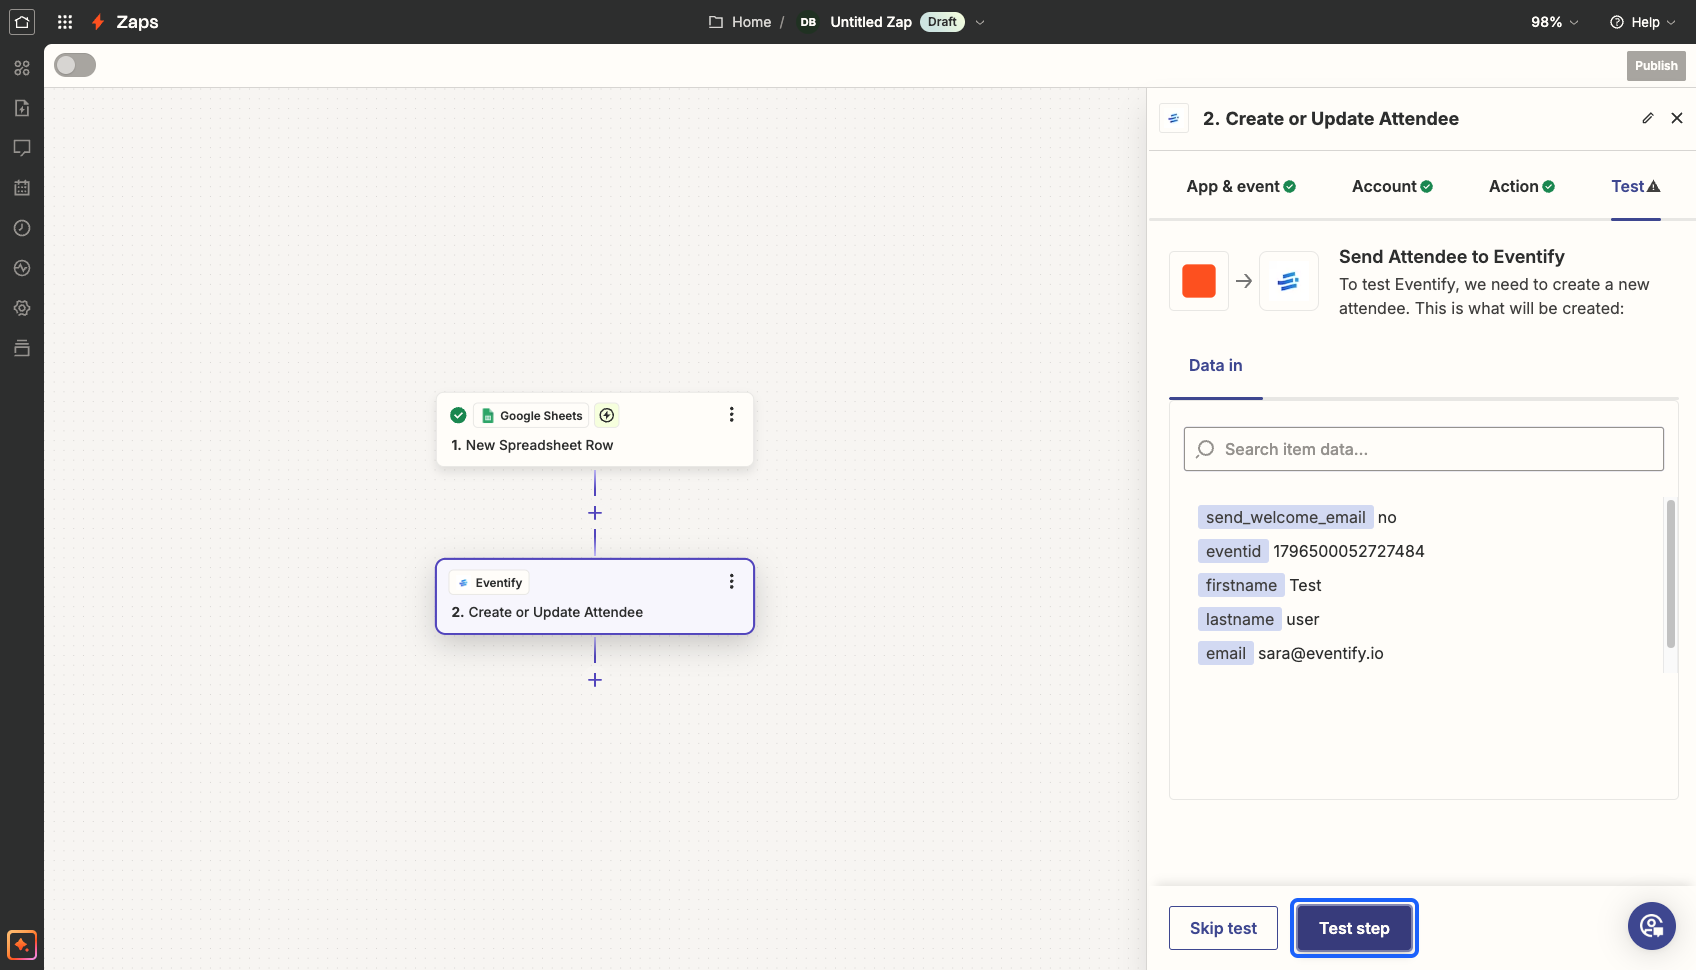
26: Click the “Test step” button
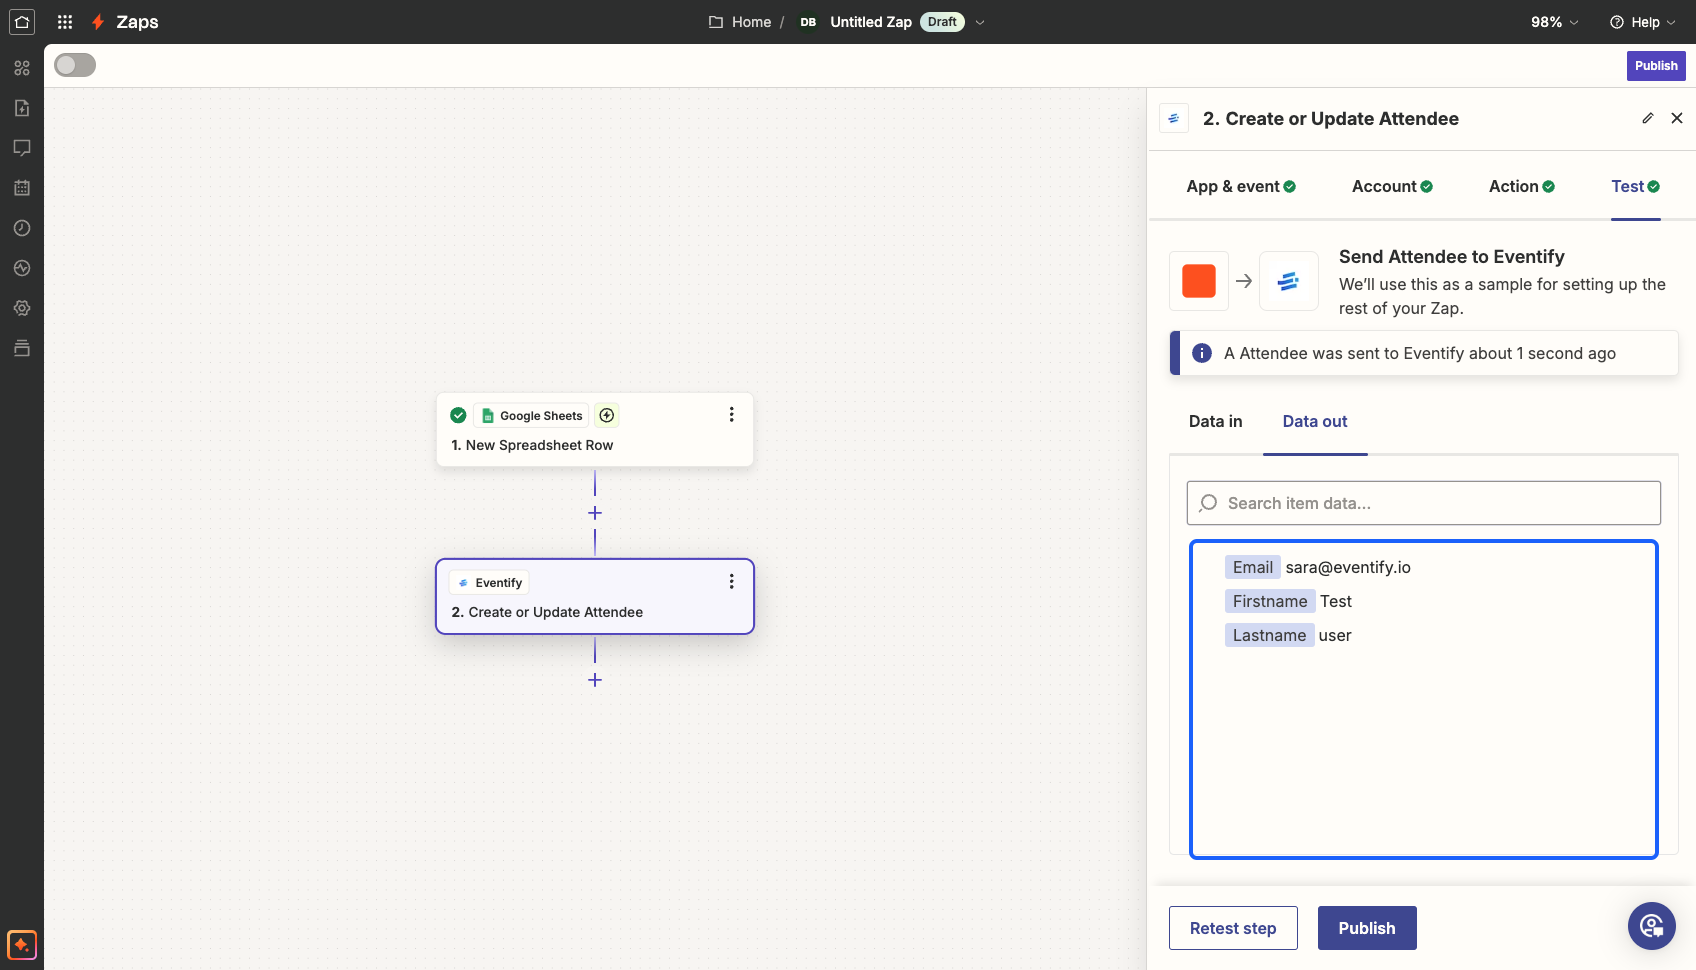
27: Verify the data in "Data out" response
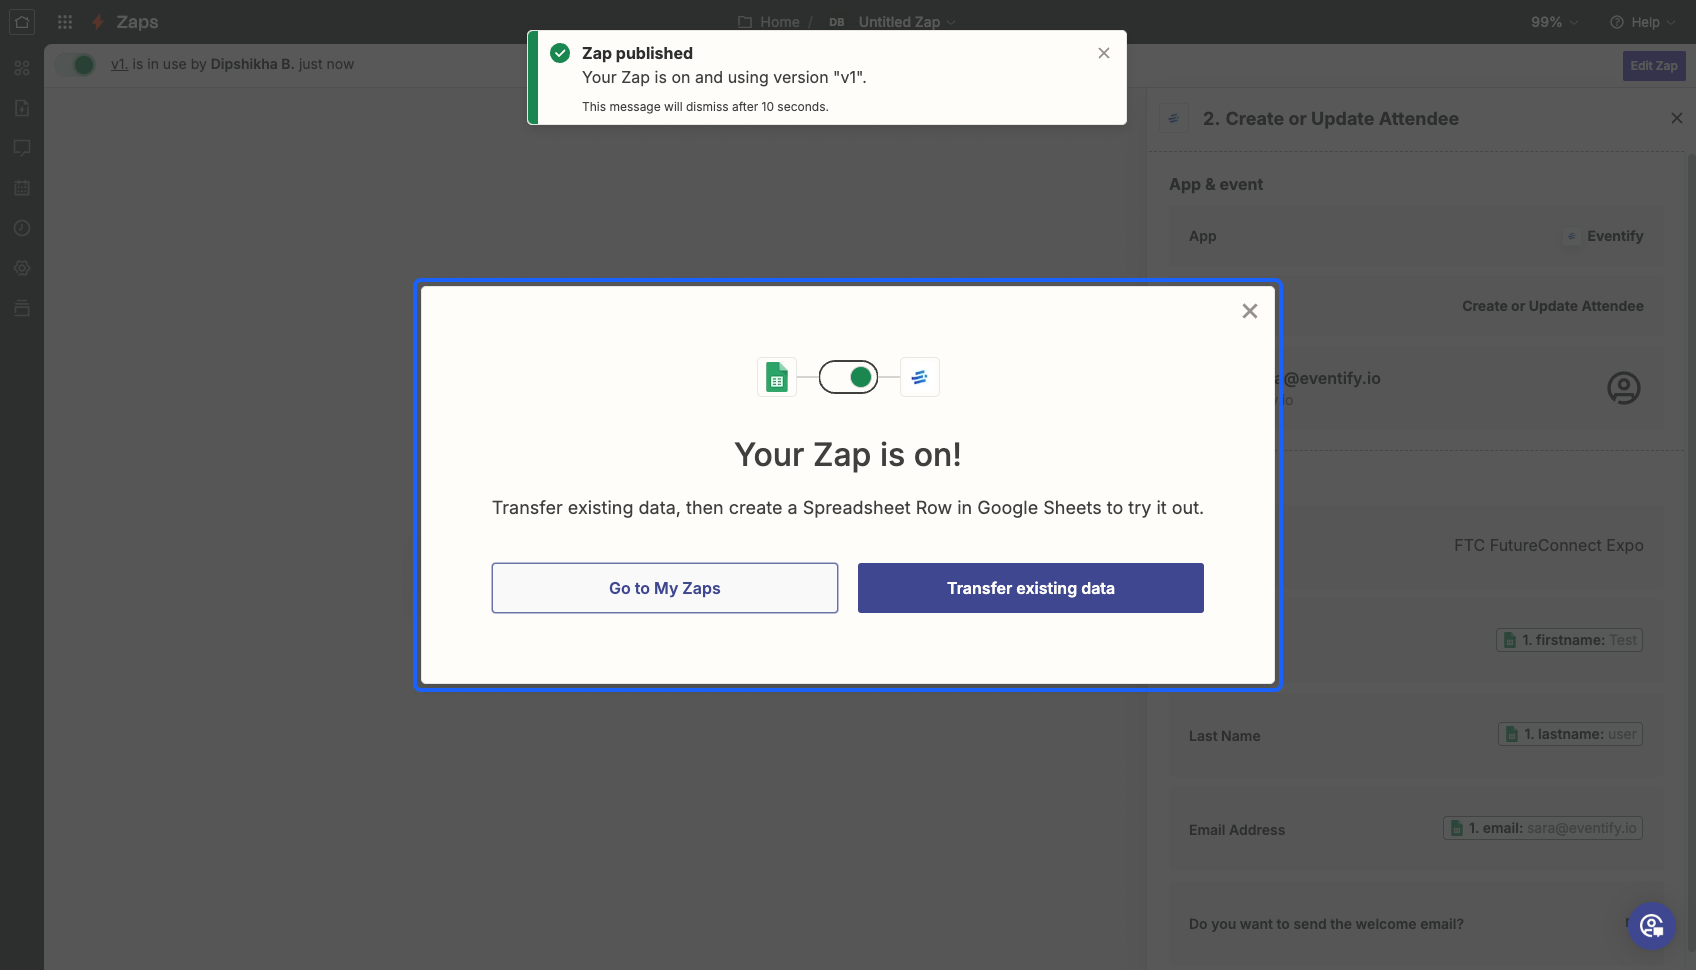
28: Click on the “Publish” button to start the zap
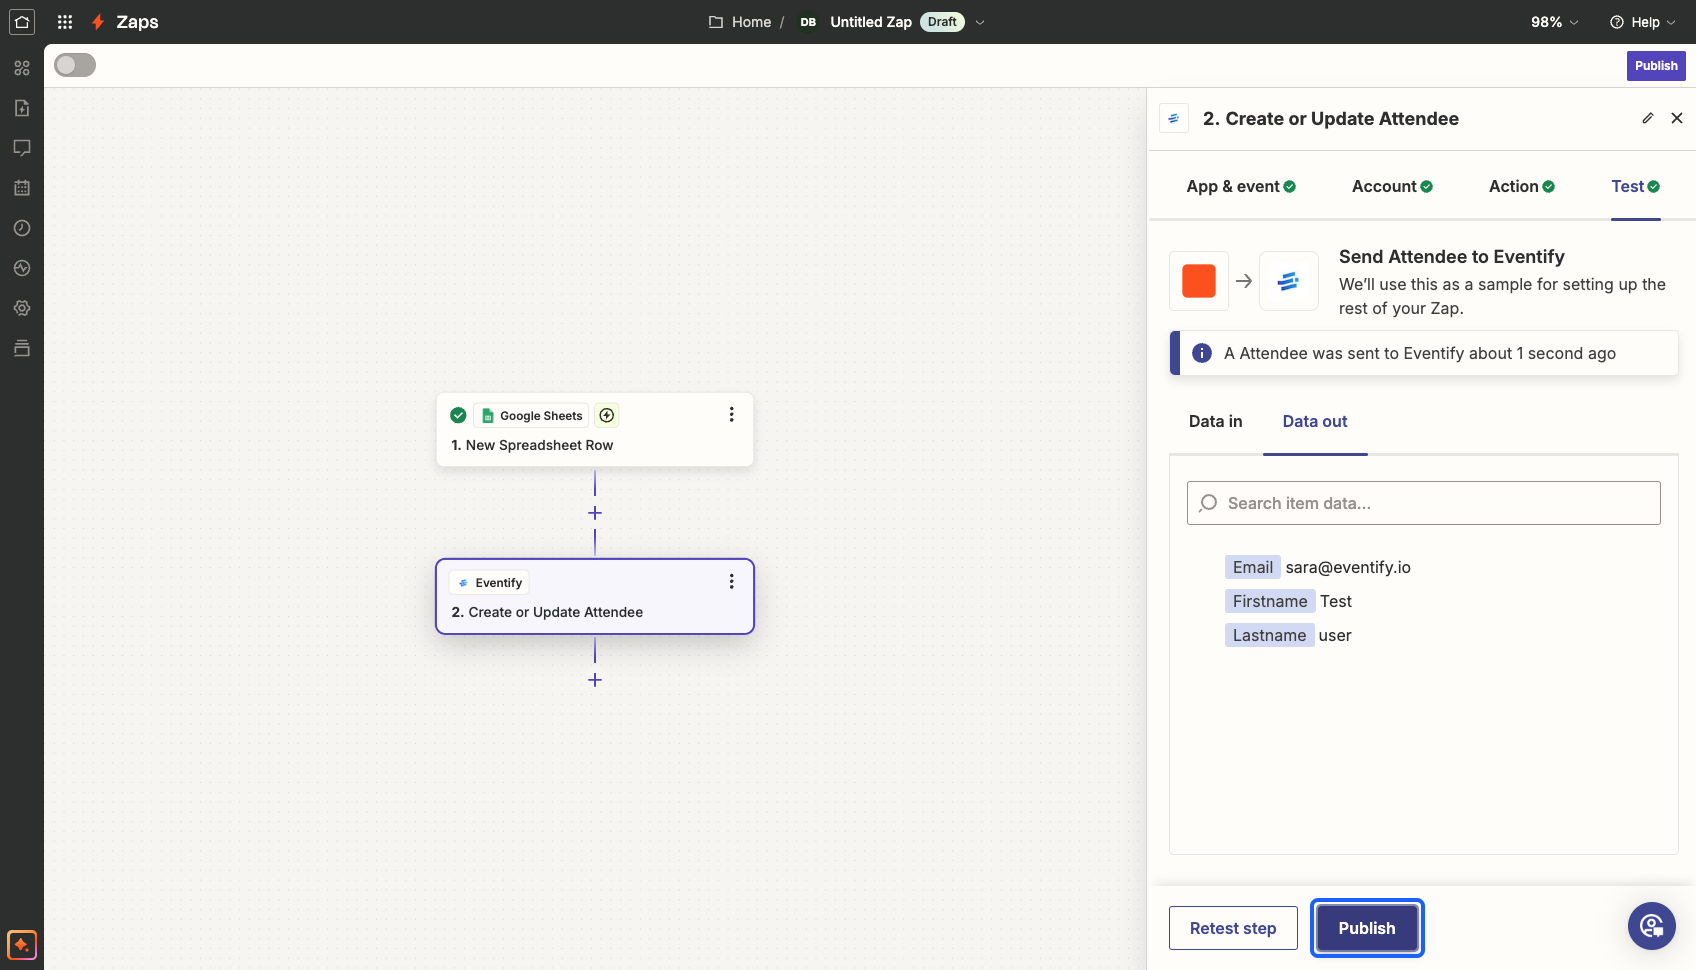
29: Your zap will be live after this step and the data will be recorded as set