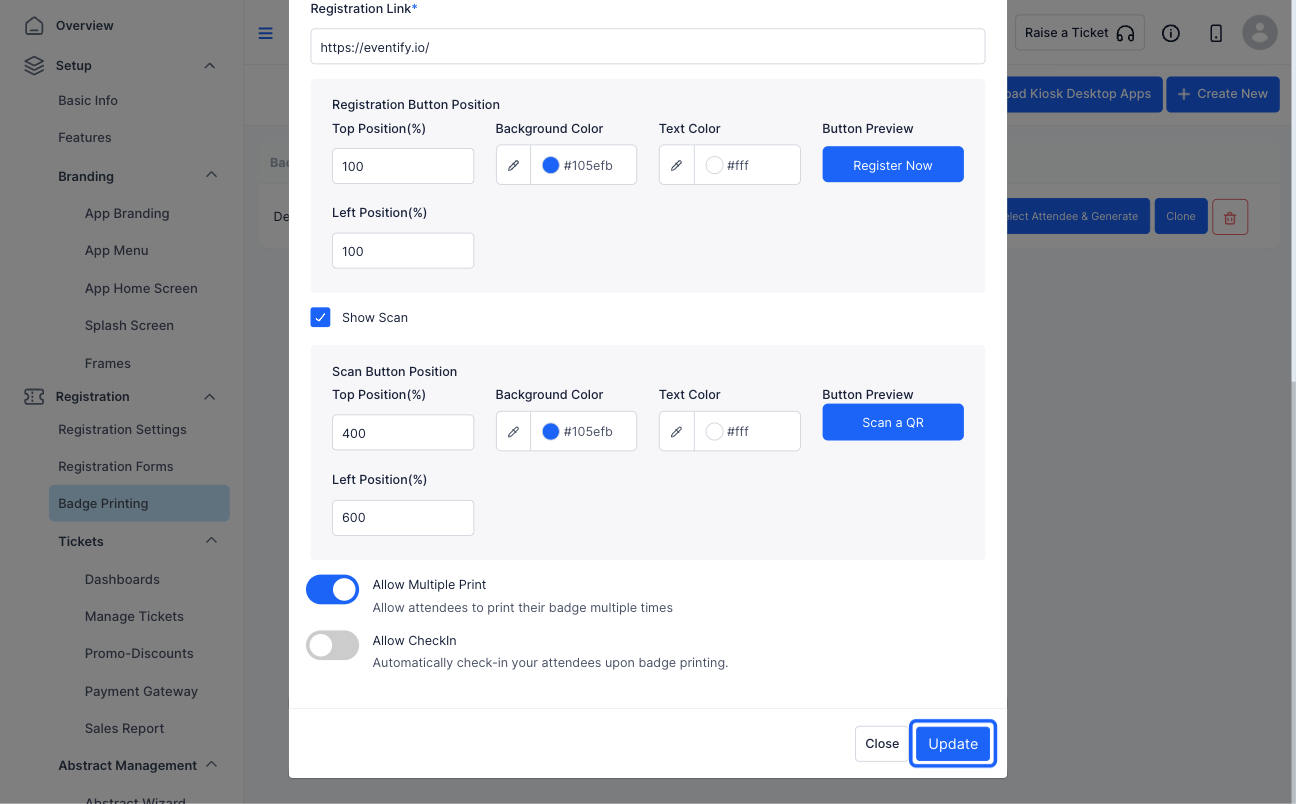
Before diving into badge printing, it's crucial to set up the kiosk app. Learn how to tailor your kiosk to perfectly fit your badge printing needs.

Interactive Guide
Or check out the step-by step guide
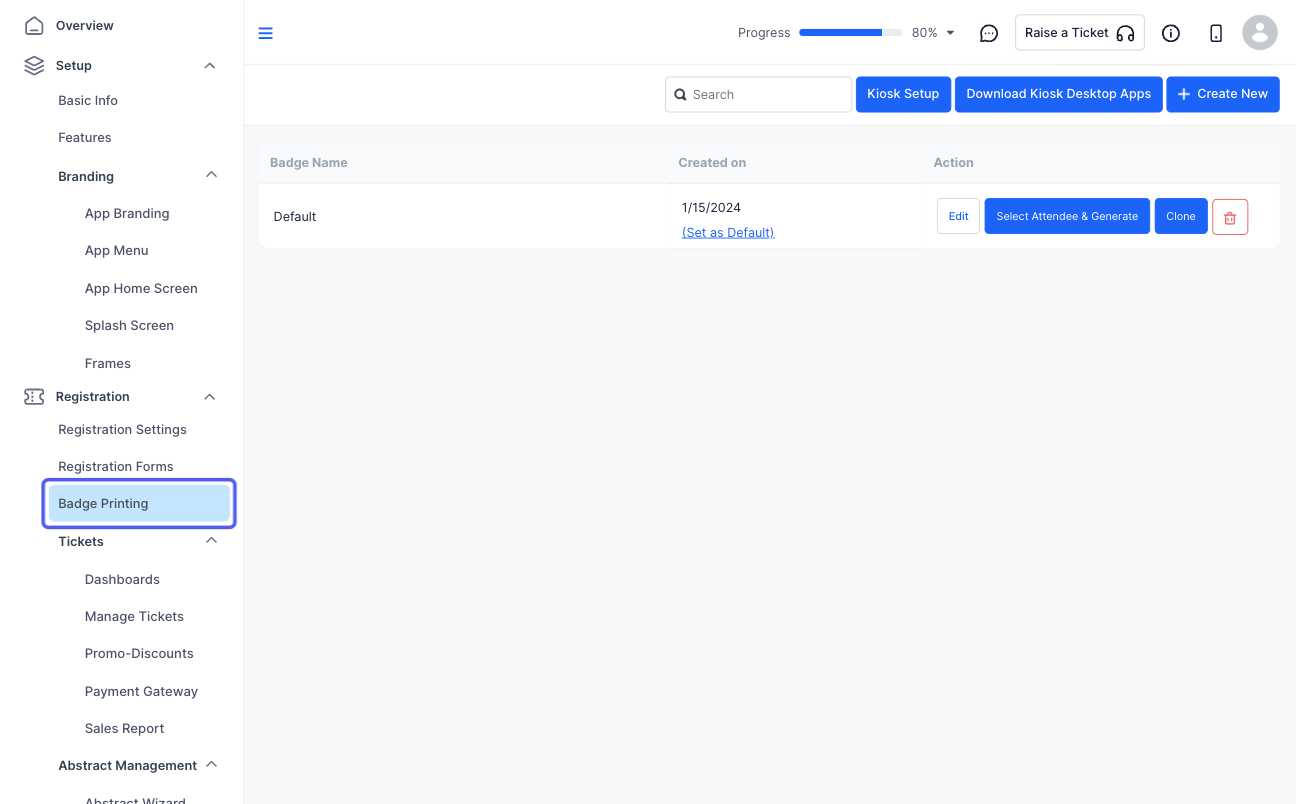
1: Access the Eventify Admin Panel and navigate to Registration > Badge Printing
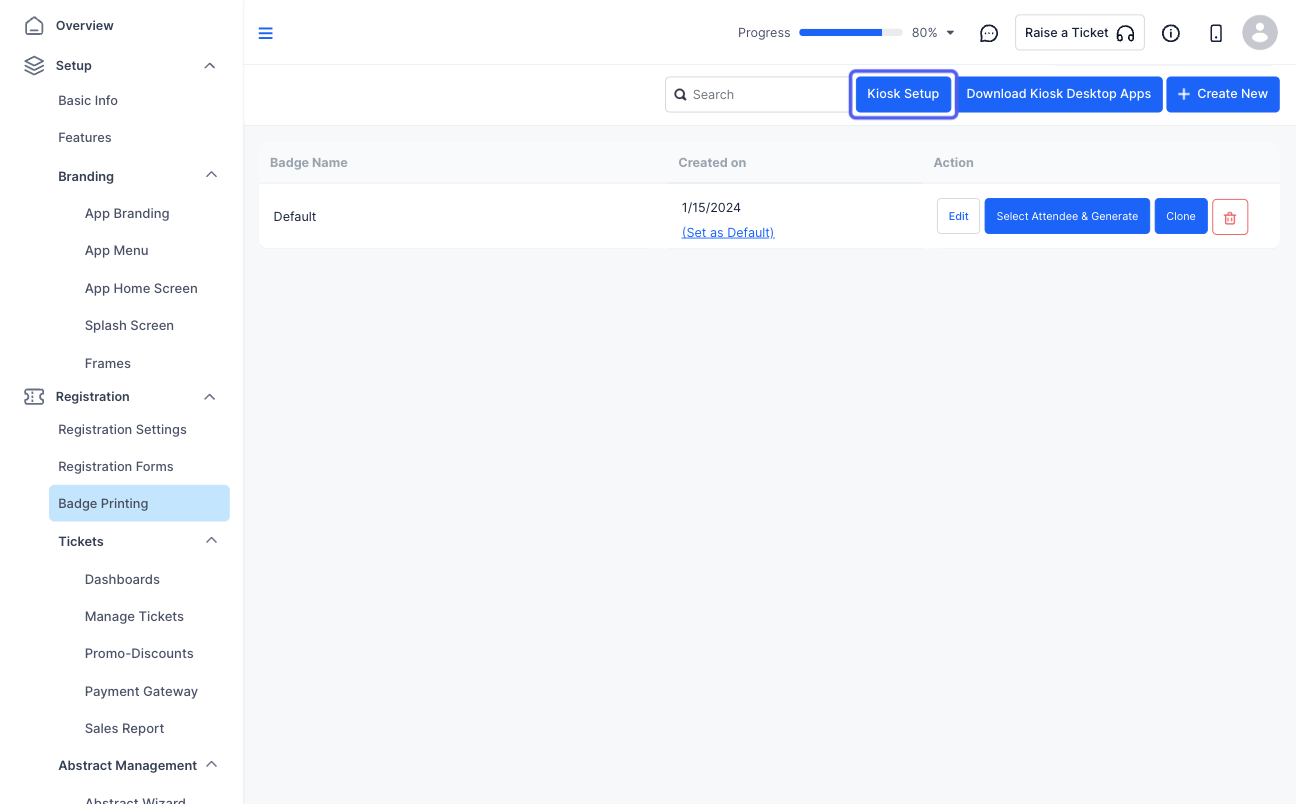
2: Click the “Kiosk Setup” button
3: Here, you will find various options to customize the Kiosk App
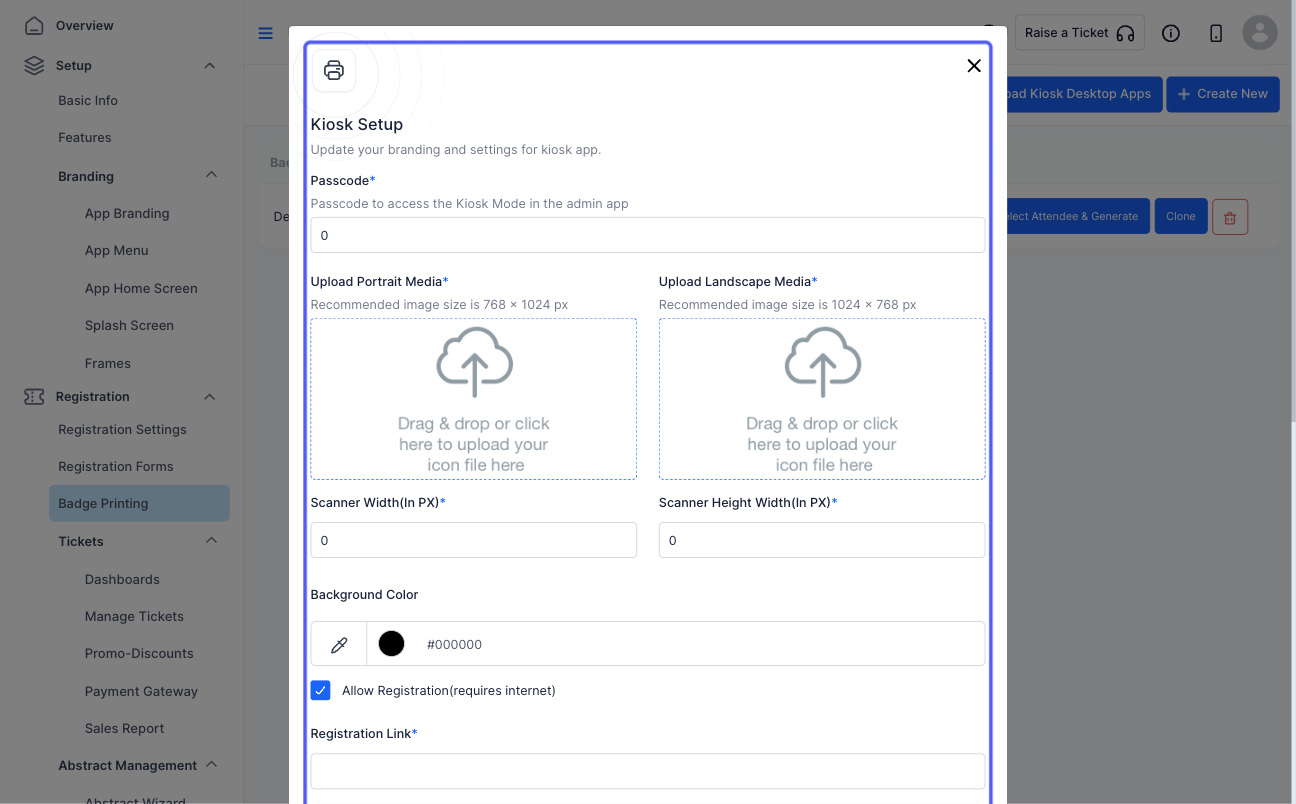
4: Set a password if you require password protection for the Kiosk
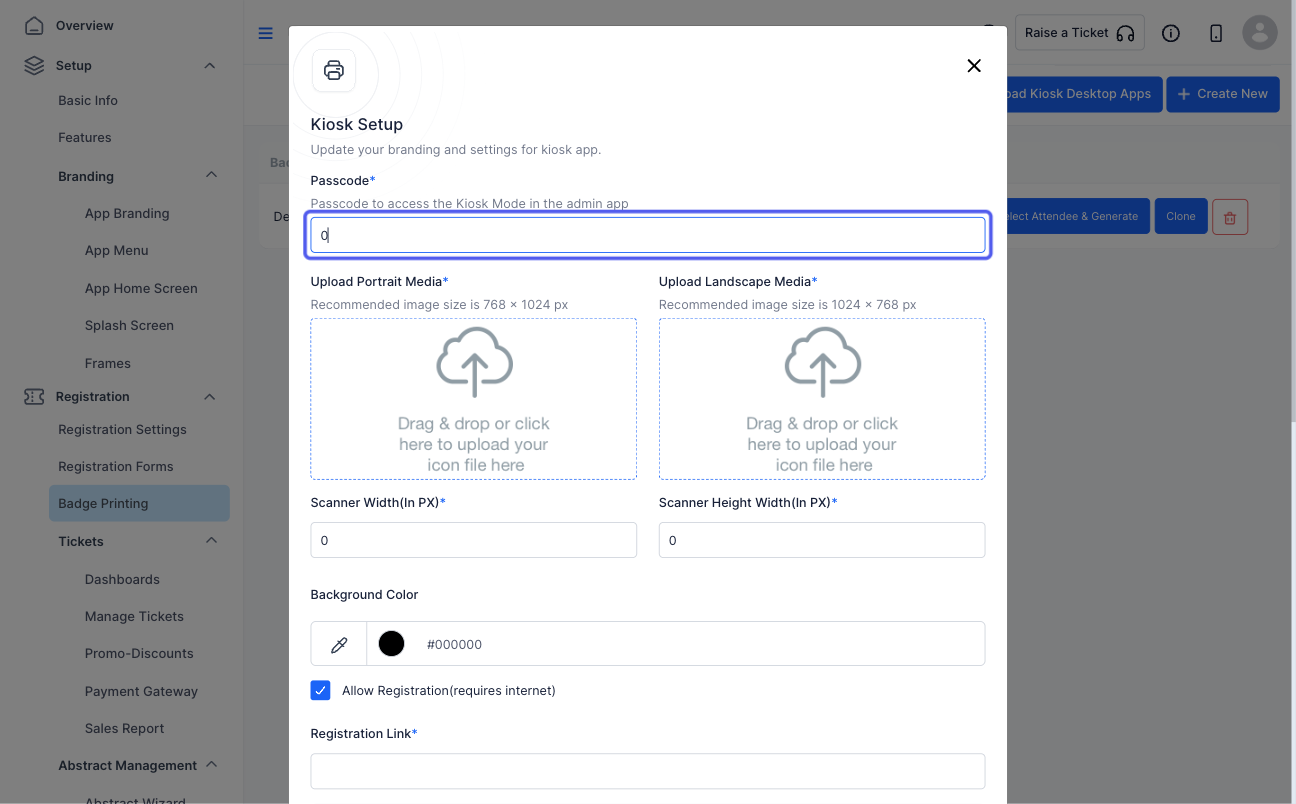
5: Customize the Kiosk background for portrait orientation
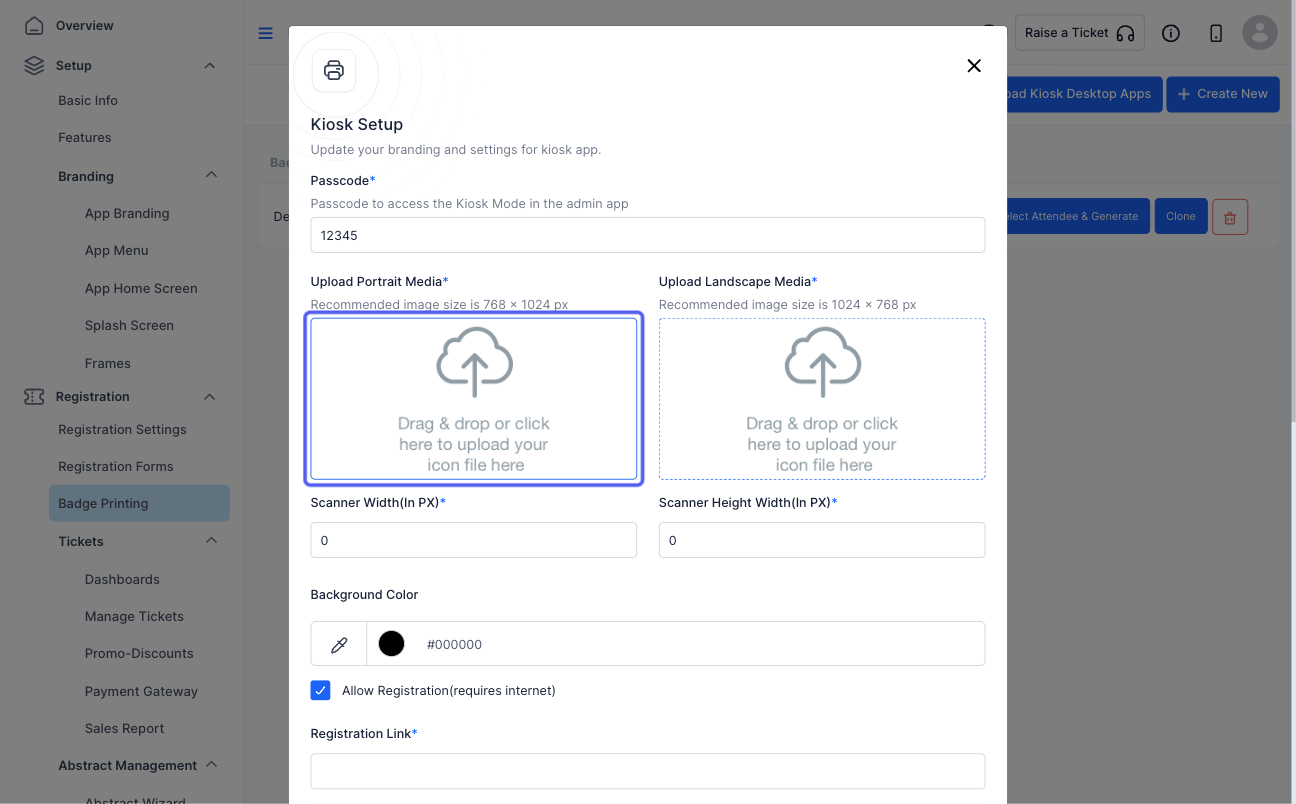
6: Customize the Kiosk background for landscape orientation
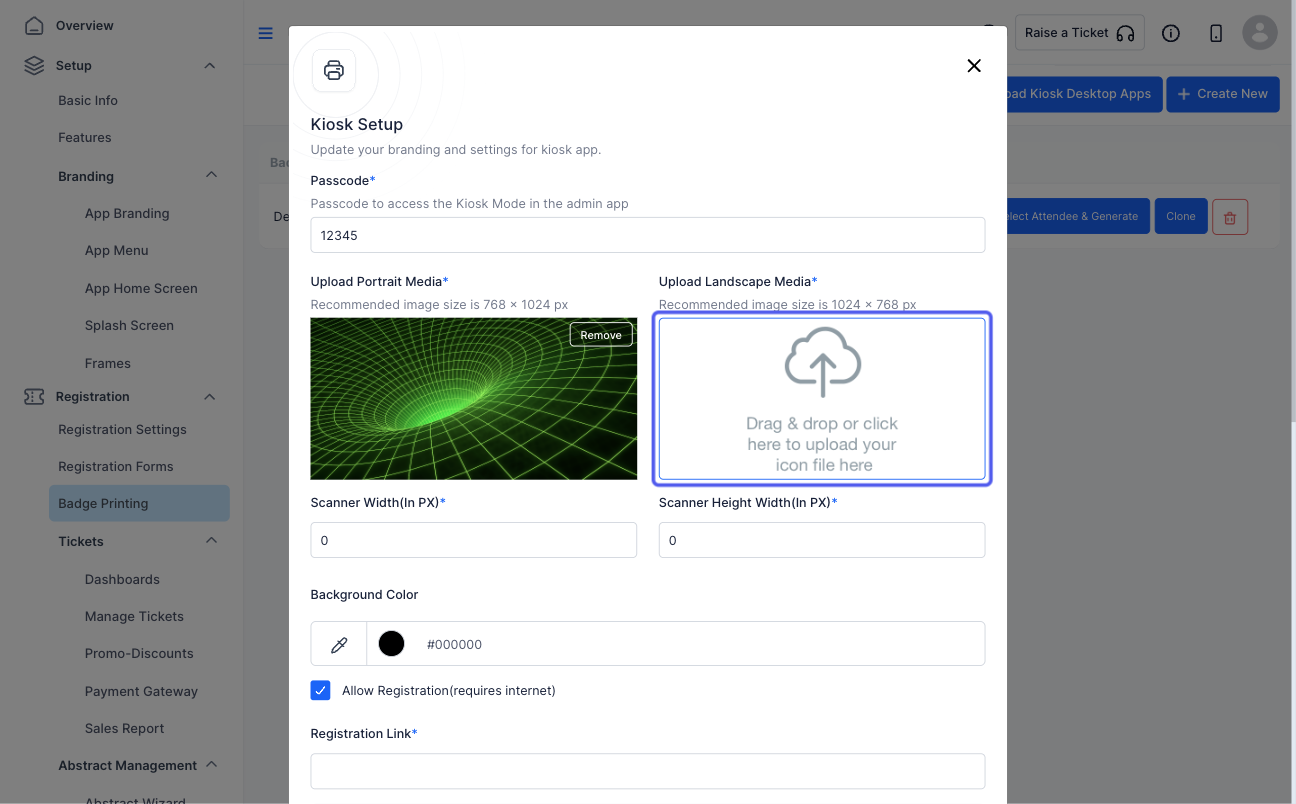
7: Set the scanner width
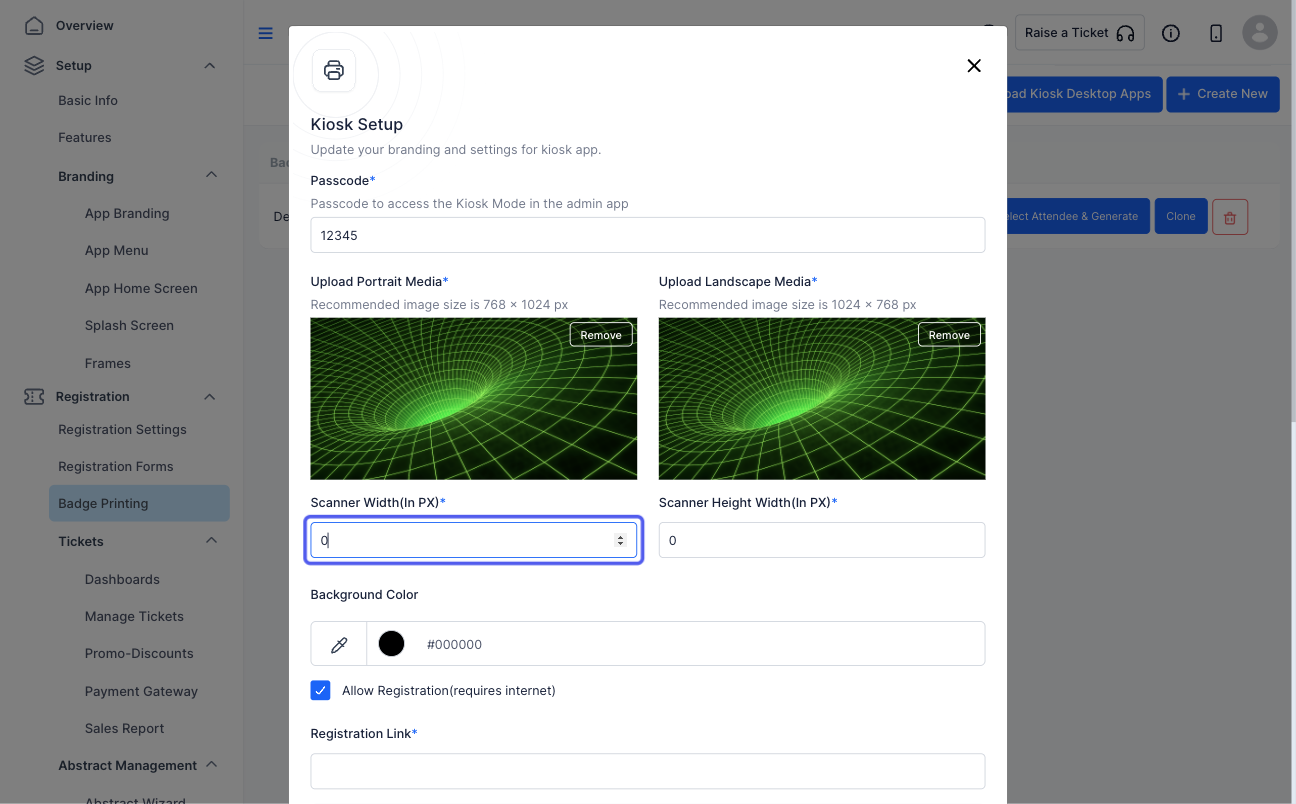
8: Set the scanner height
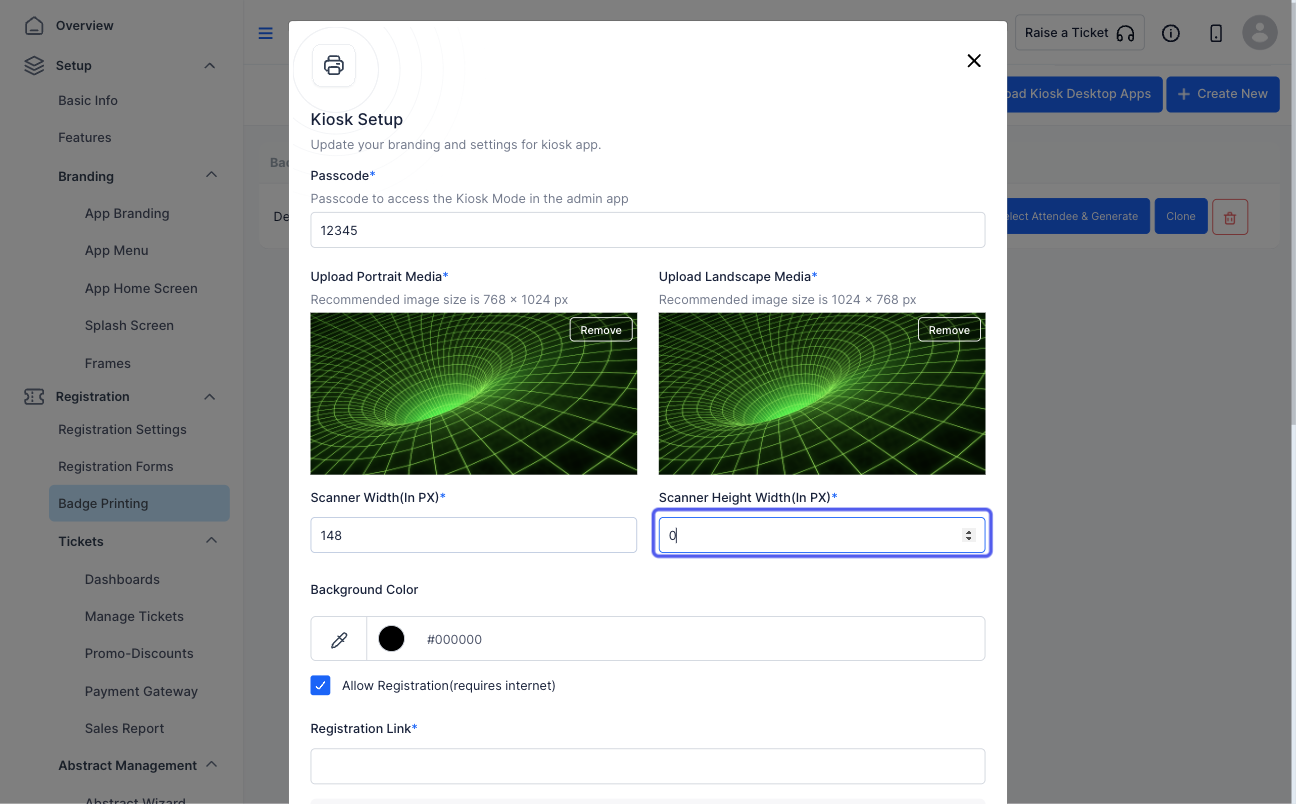
9: Customize the background colour. But in case you have added a background image, the colour will not be visible
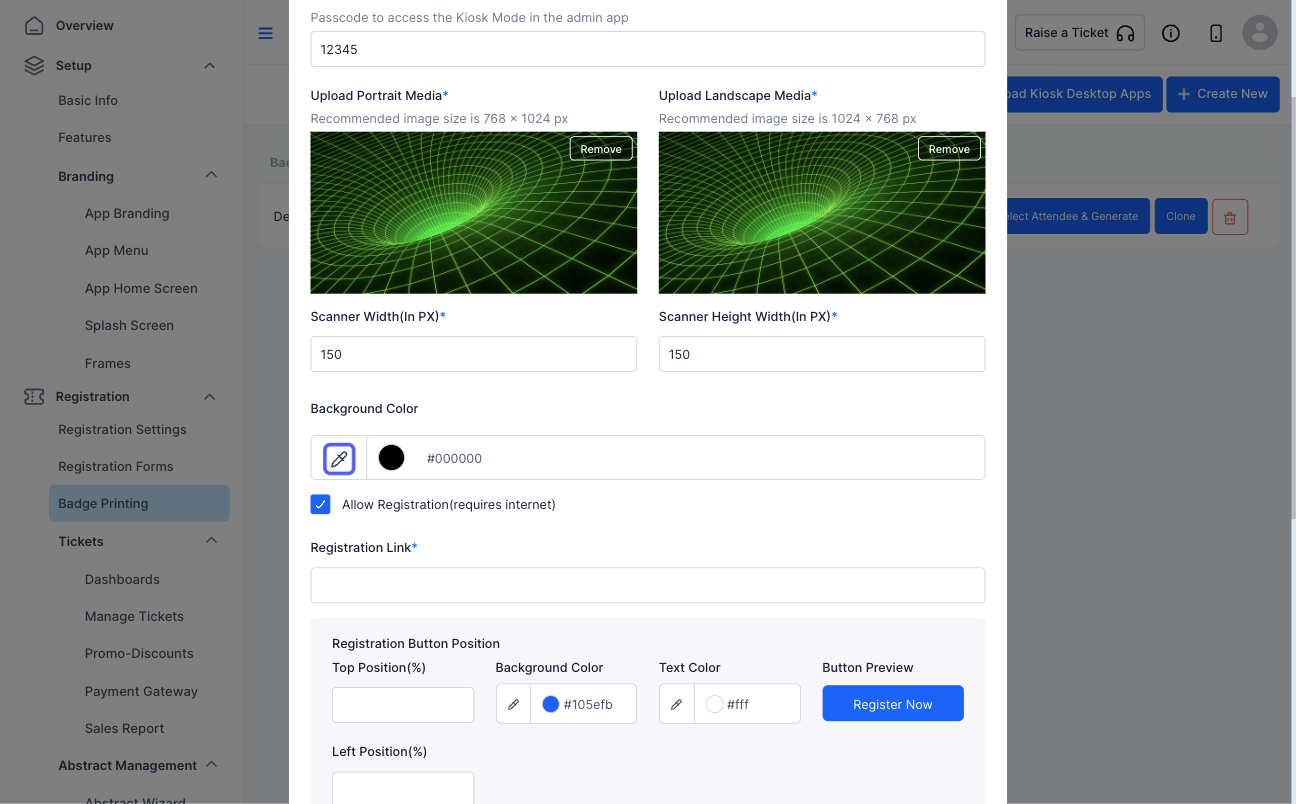
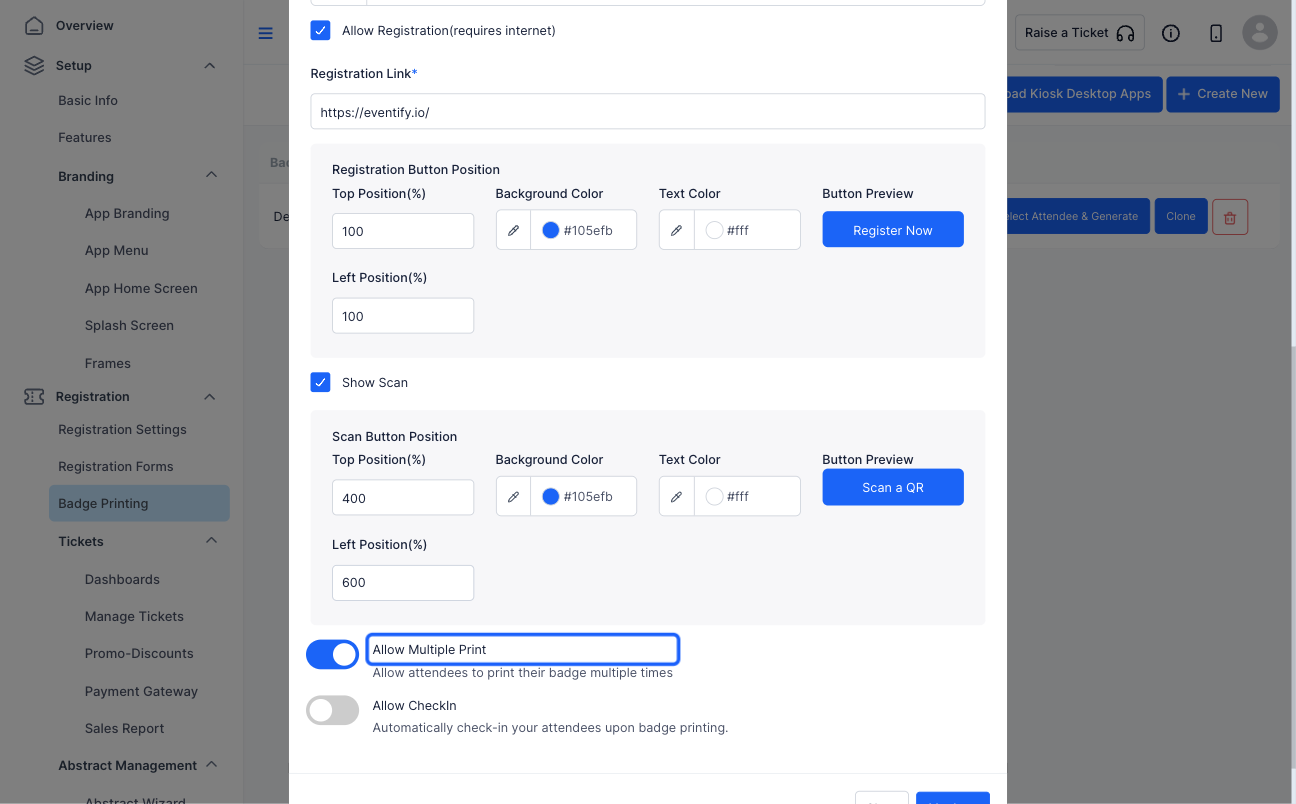
10: Check this to enable the "Register" button if you require the attendees to register via the Kiosk
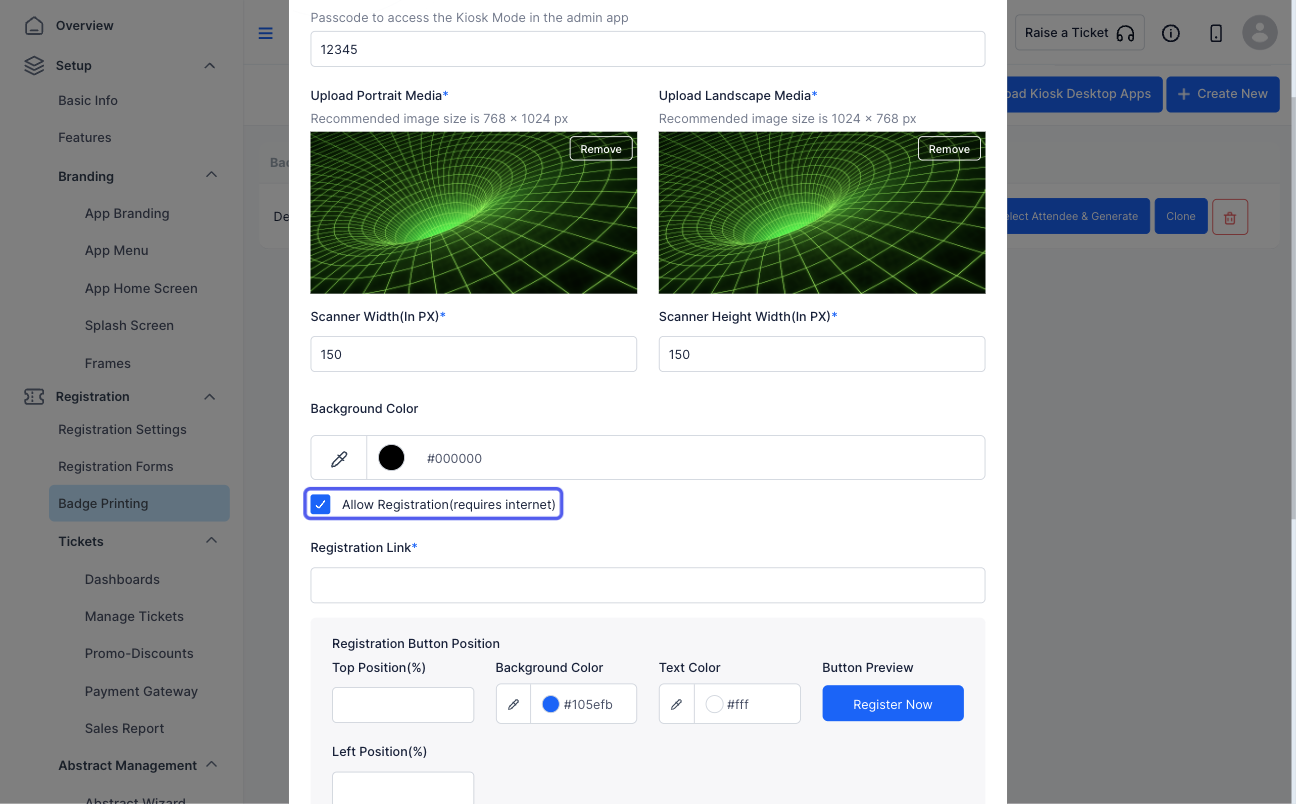
11: Add the registration link
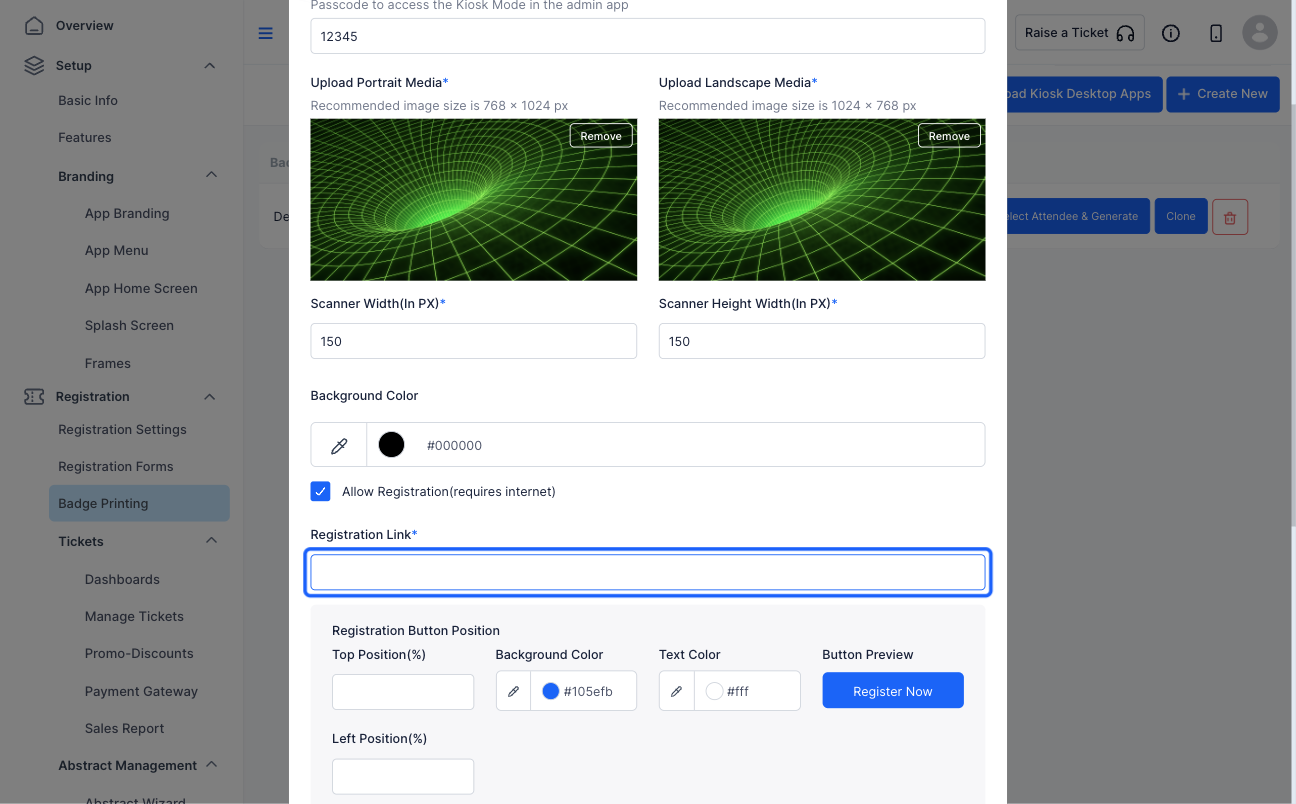
12: Customize the registration button
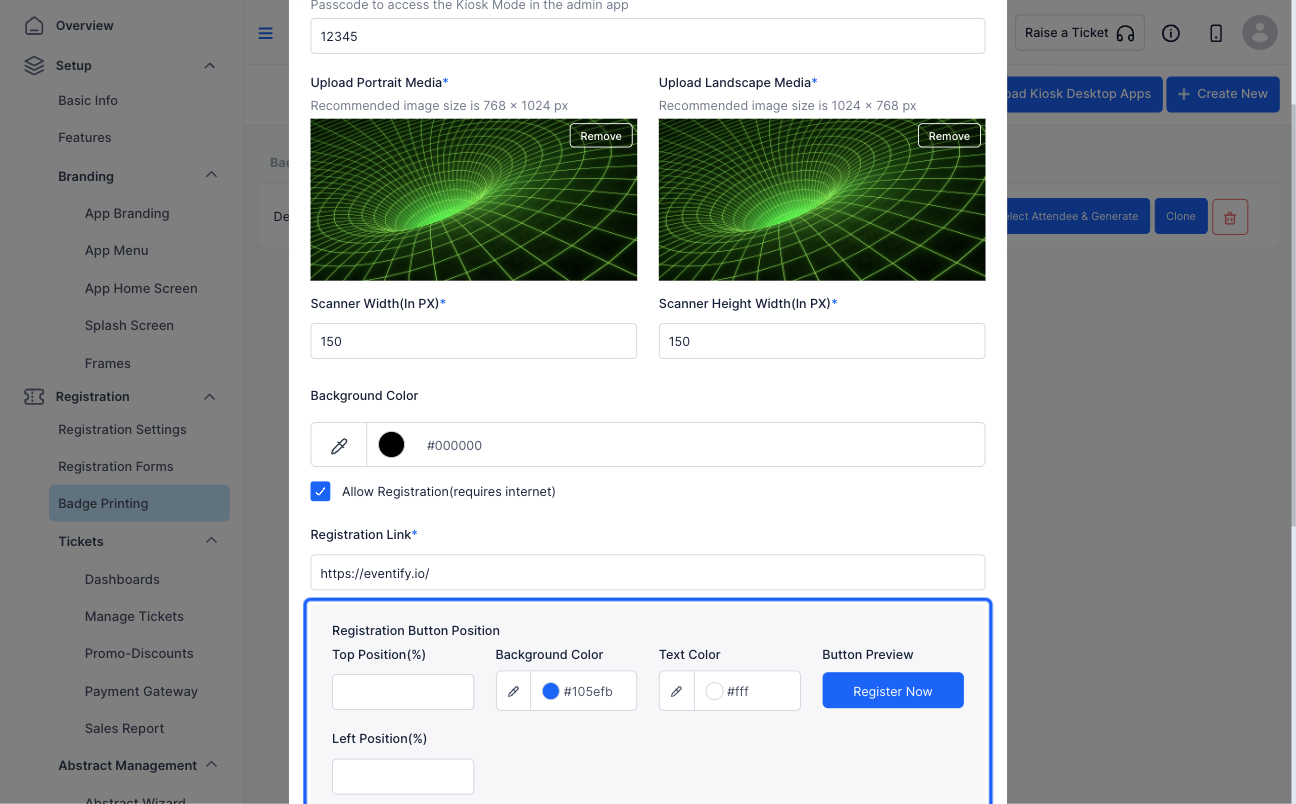
13: Set the button's top position on the Kiosk. In case you don't set the position, it will be placed at the center of the screen by default
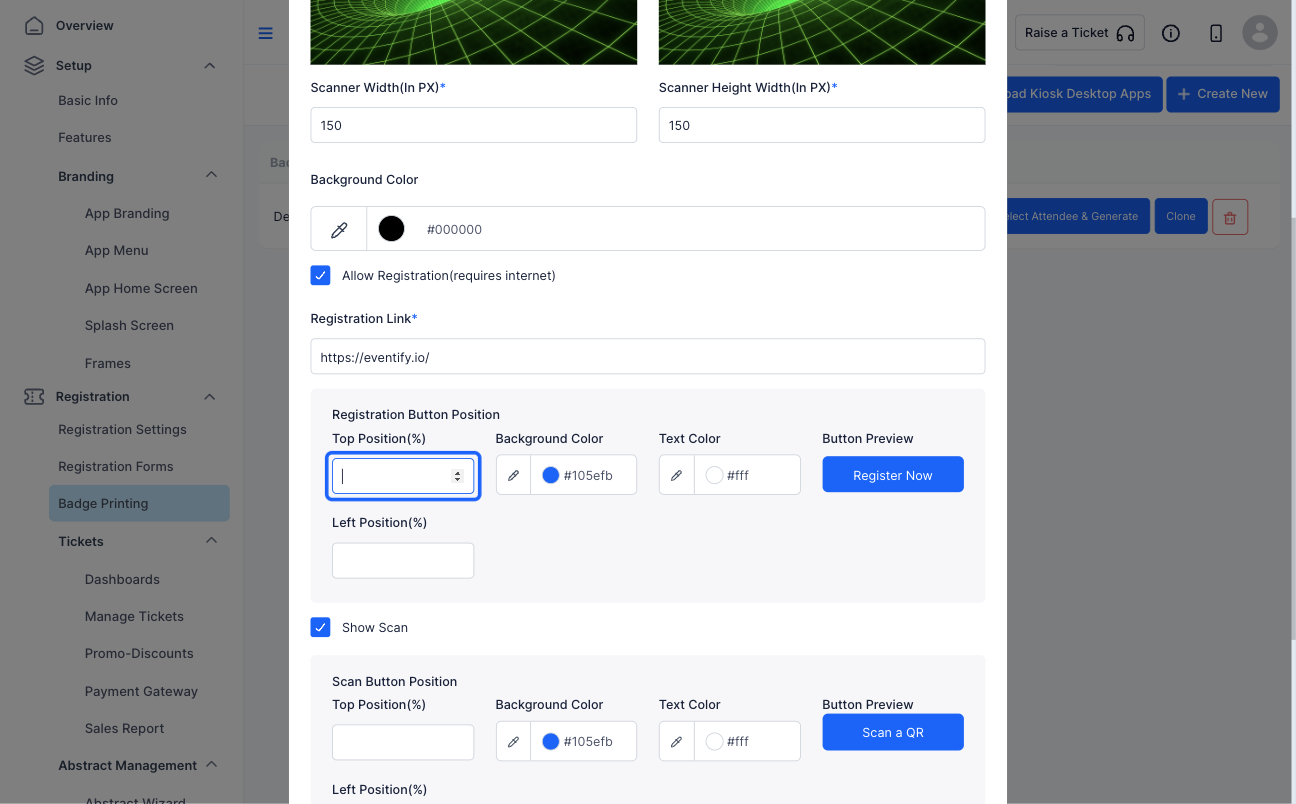
14: Set the button's background colour
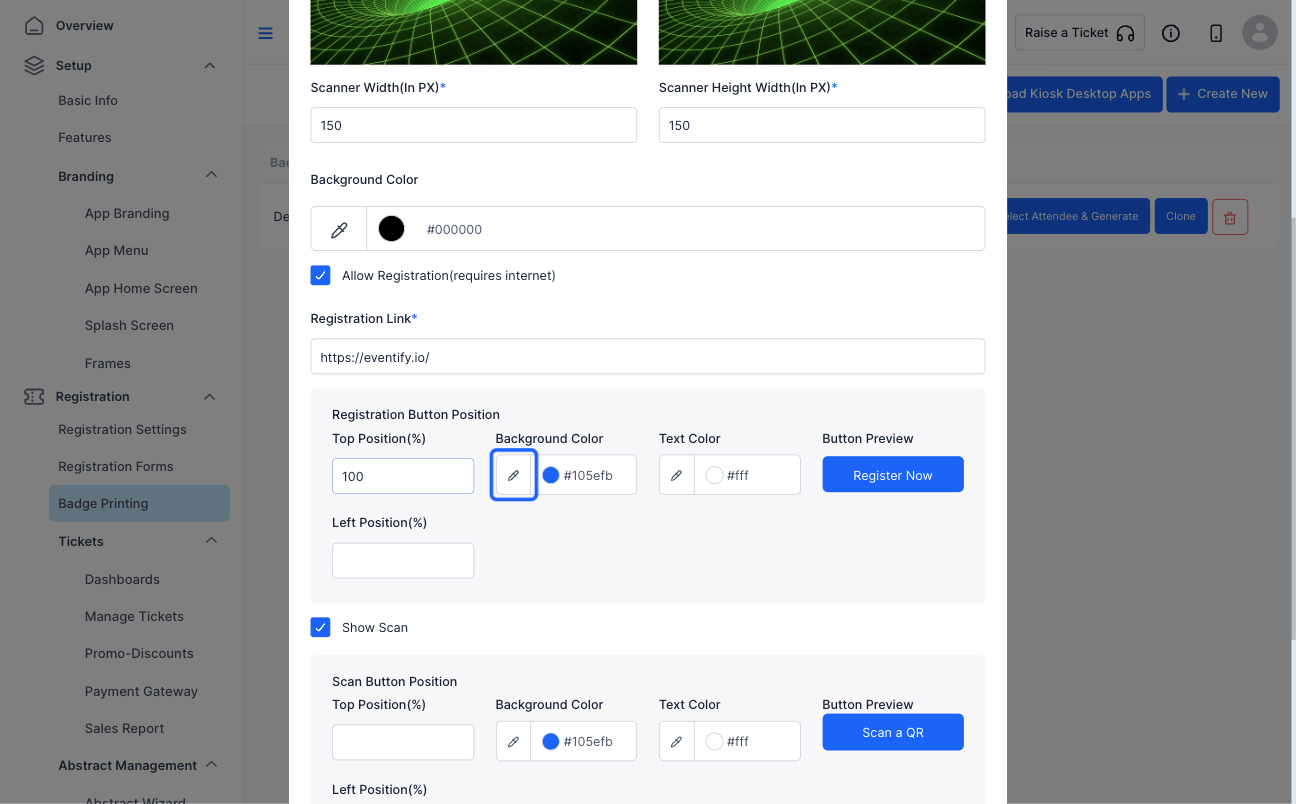
15: Set the button's text colour
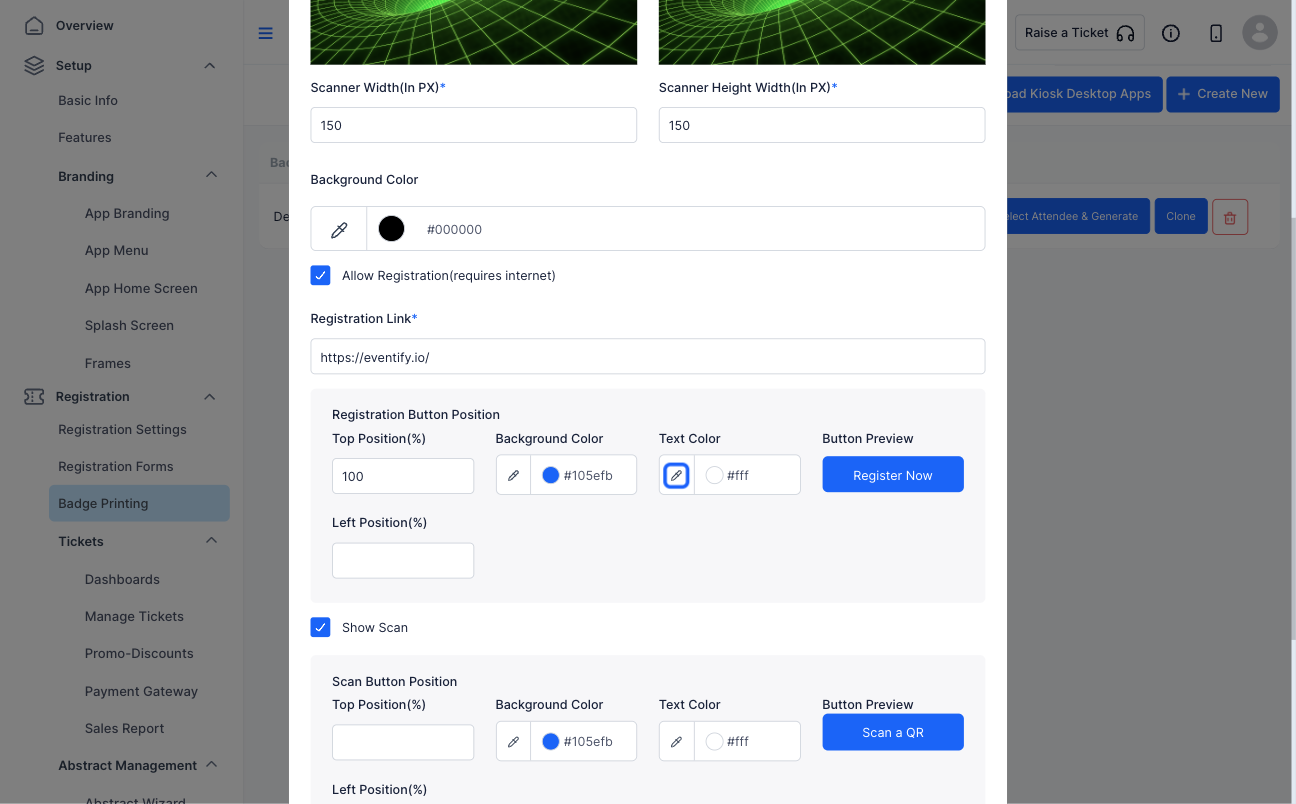
16: You can check the preview of the button's design here
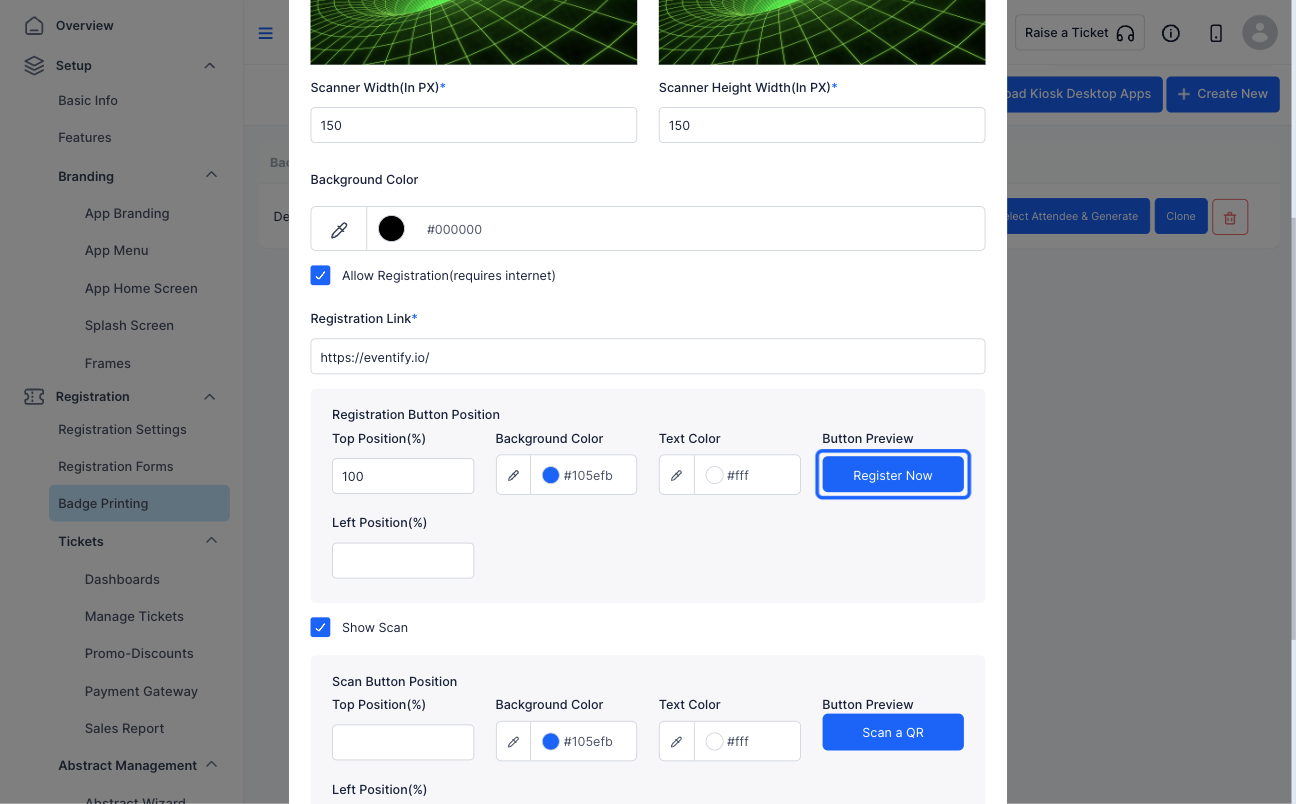
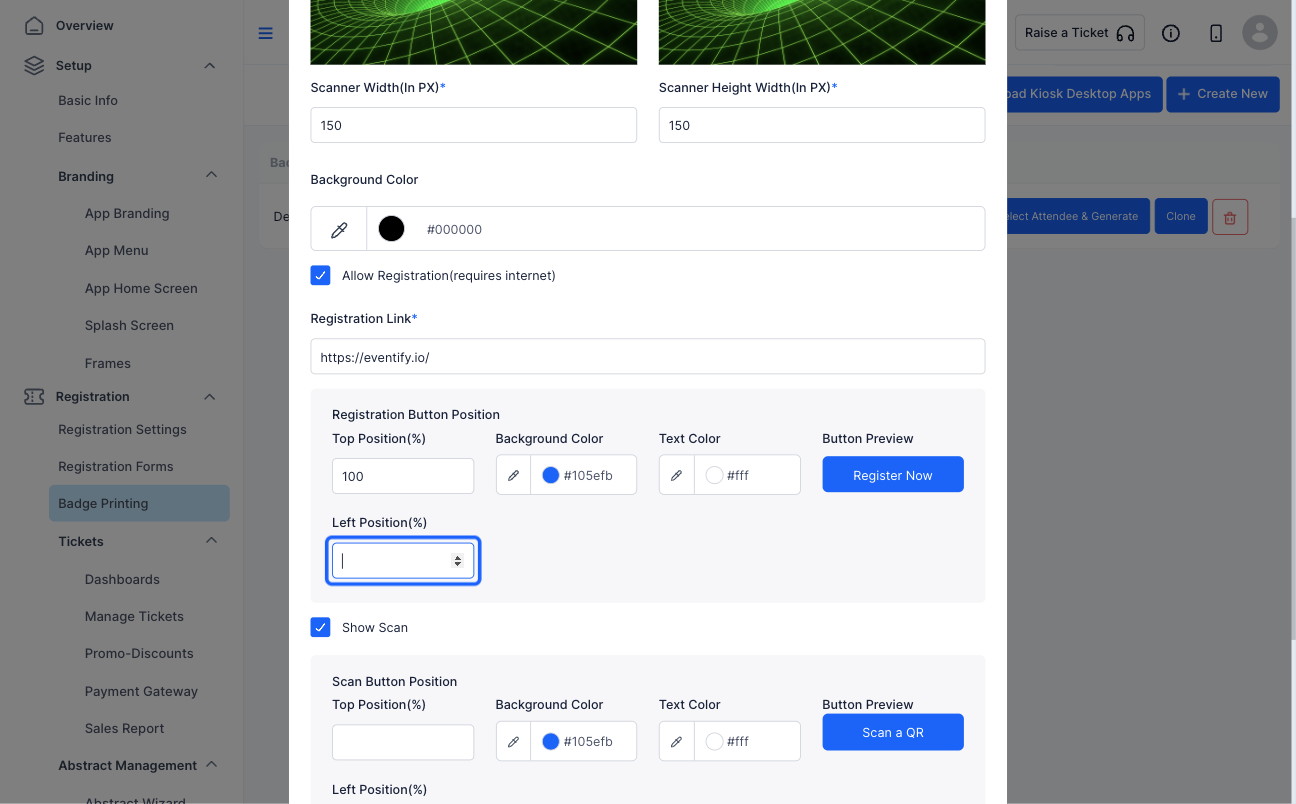
17: Set the button's bottom position on the Kiosk. In case you don't set the position, it will be placed at the center of the screen by default
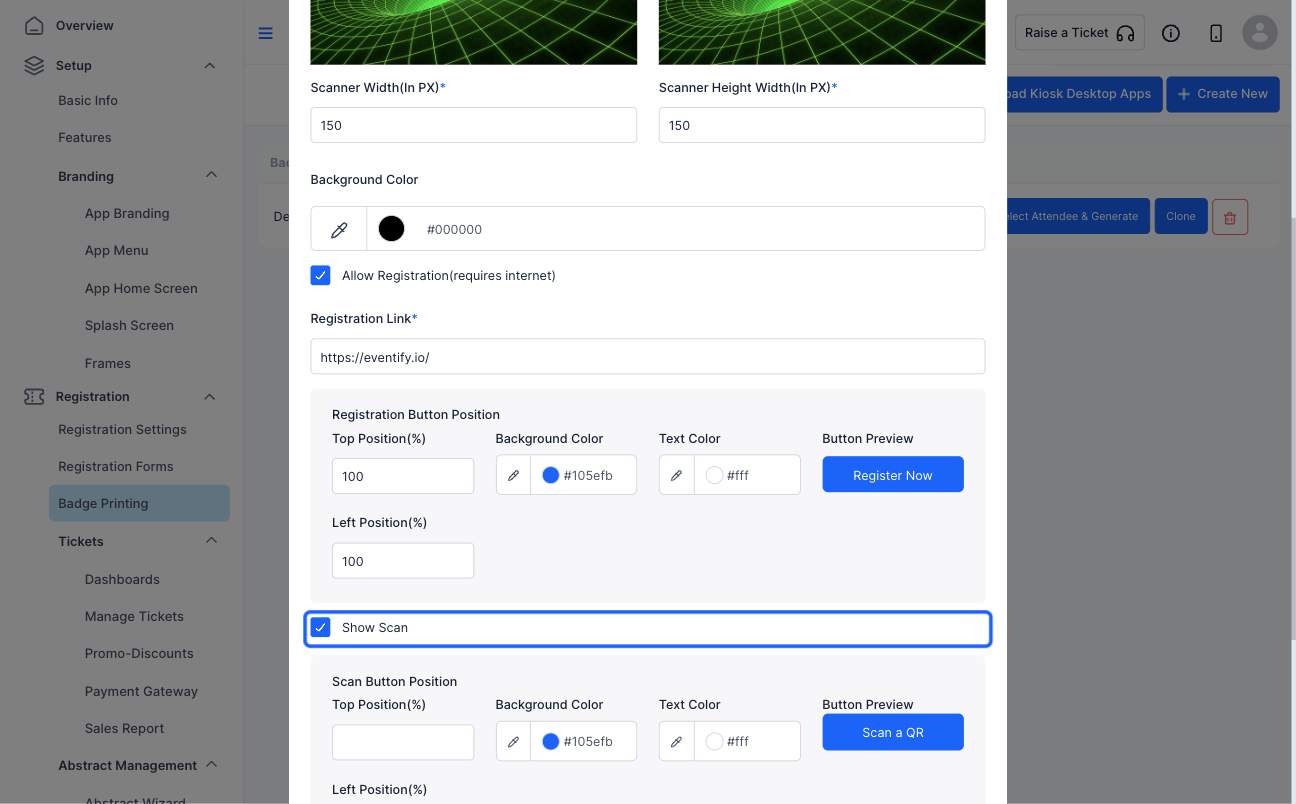
18: Check this to enable the "Scan" button that will lead to the scanner screen for users to be able to scan their QR codes
19: Set the button's top position on the Kiosk. In case you don't set the position, it will be placed at the center of the screen by default
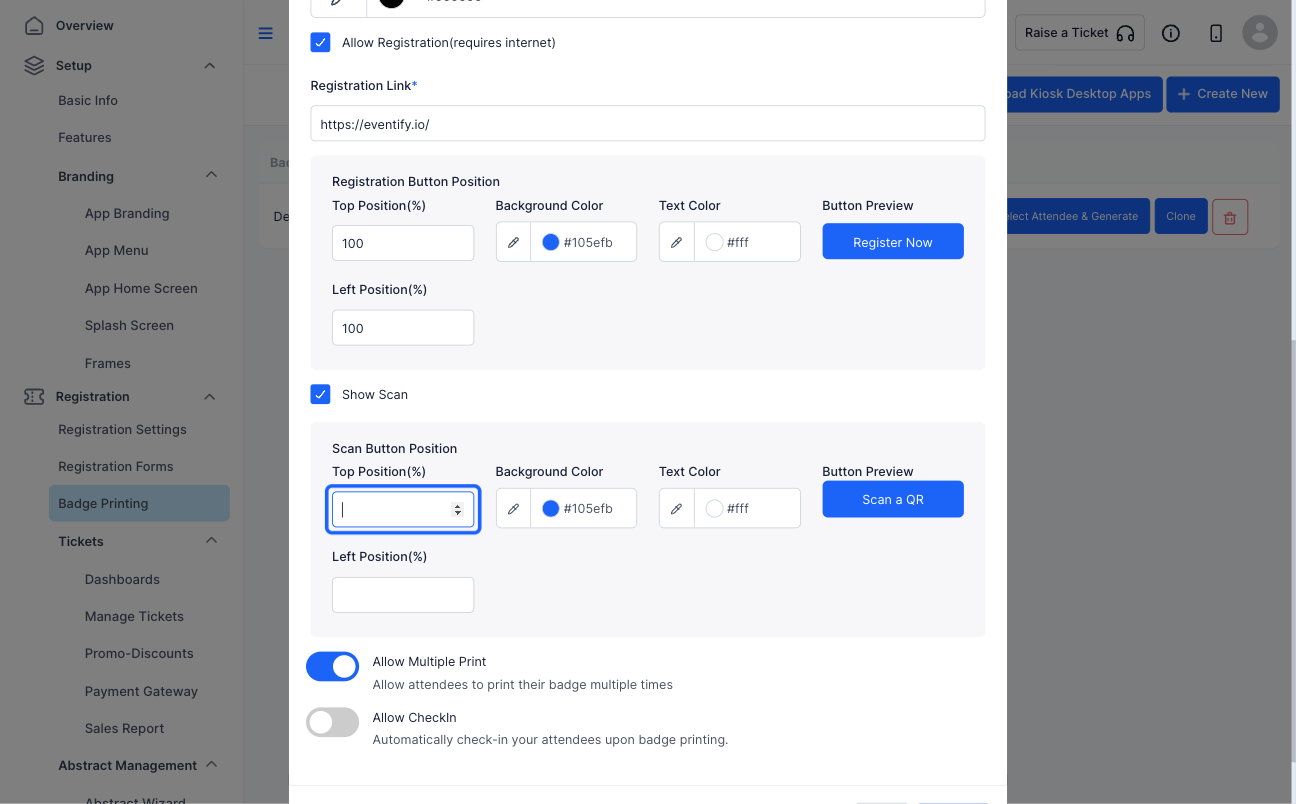
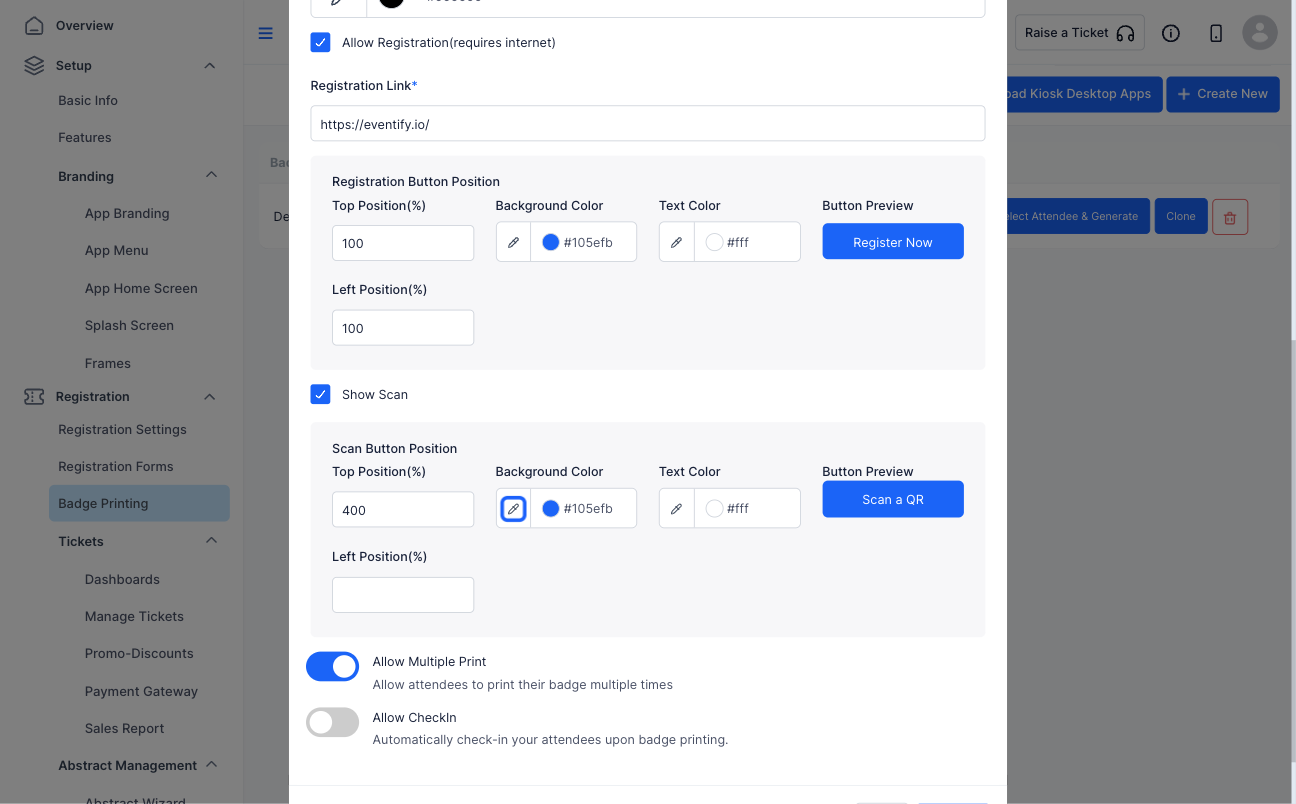
20: Set the button's background colour
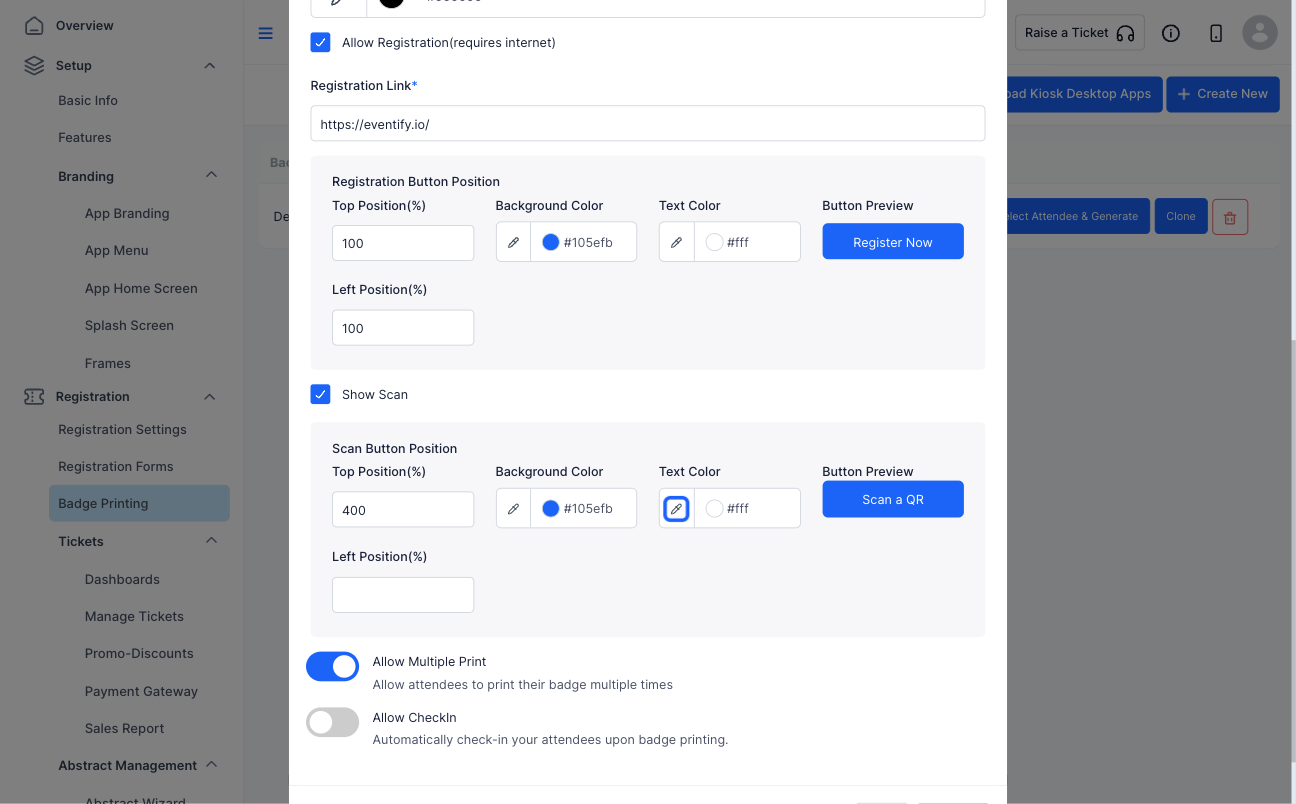
21: Set the button's text colour
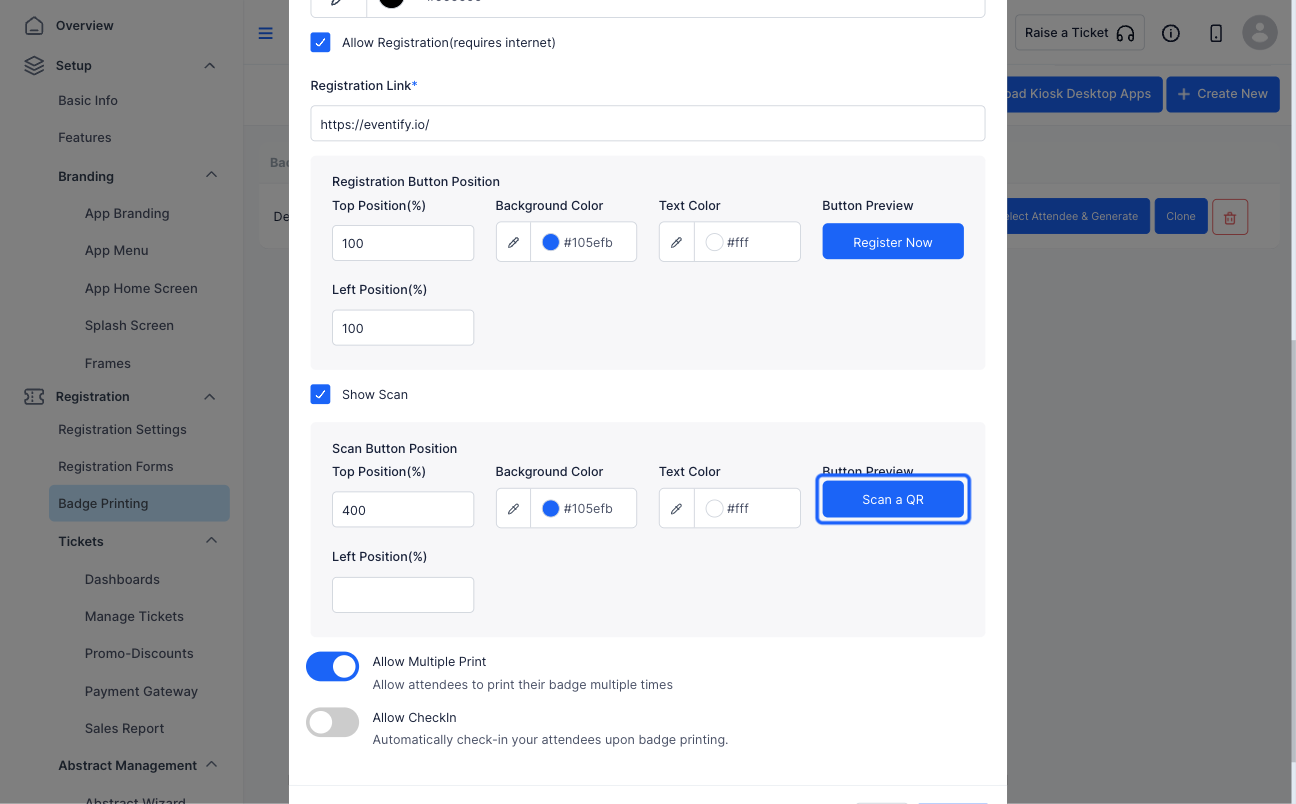
22: You can check the preview of the button's design here
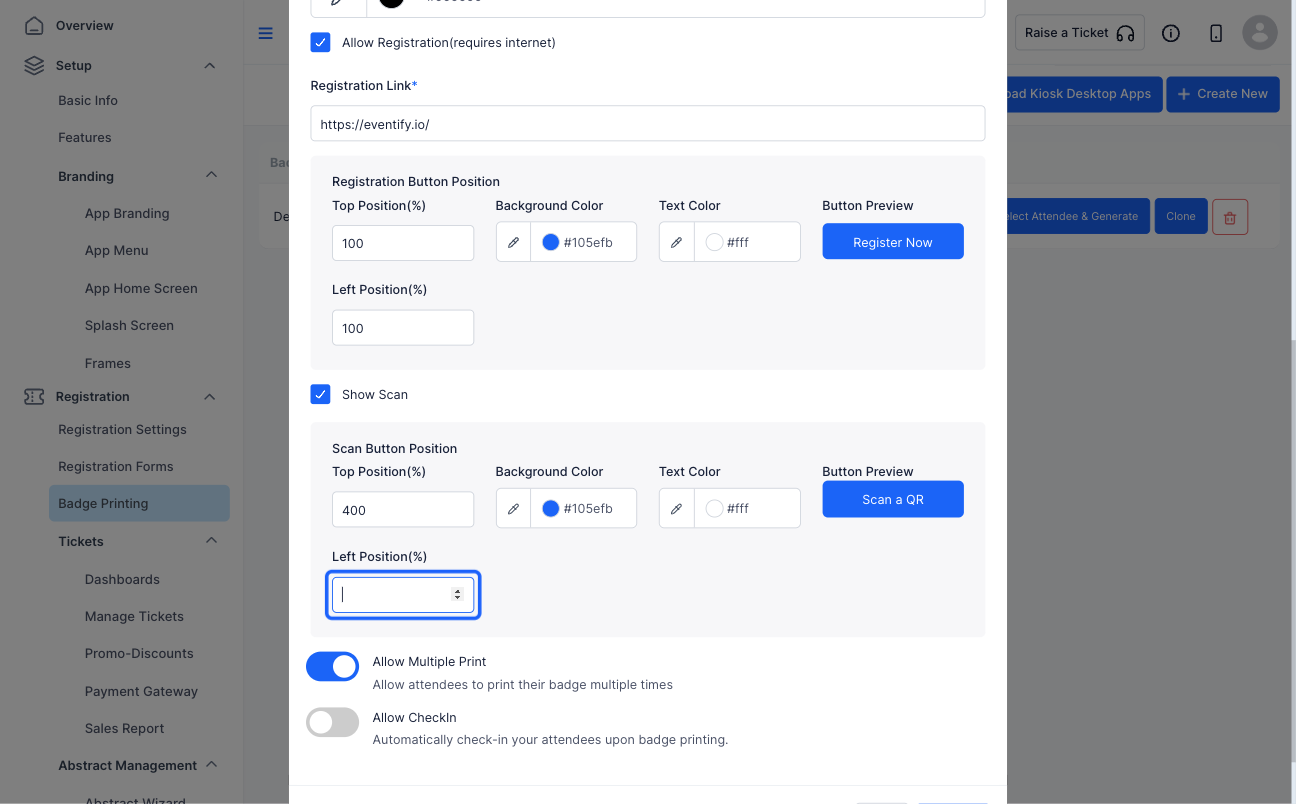
23: Set the button's bottom position on the Kiosk. In case you don't set the position, it will be placed at the center of the screen by default
24: Check this if you need to allow a badge to be printed more than once
25: Check this if you want to check-in the user along with badge printing
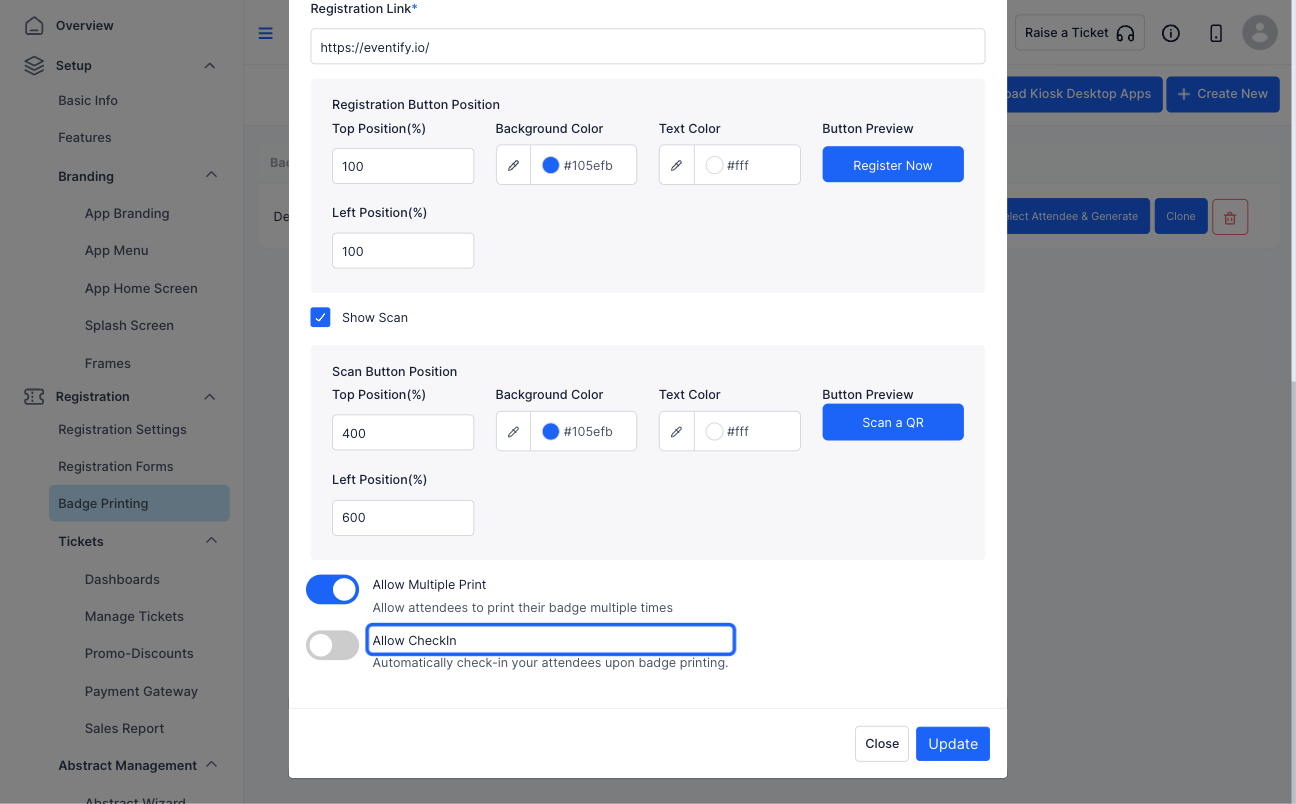
26: Click the “Update” button to save the changes
