Integrating Salesforce can be particularly useful if you want to import or export attendee data to and ad from Eventify. Here is how you can integrate.

Interactive Guide
Or check the step-by-step guide
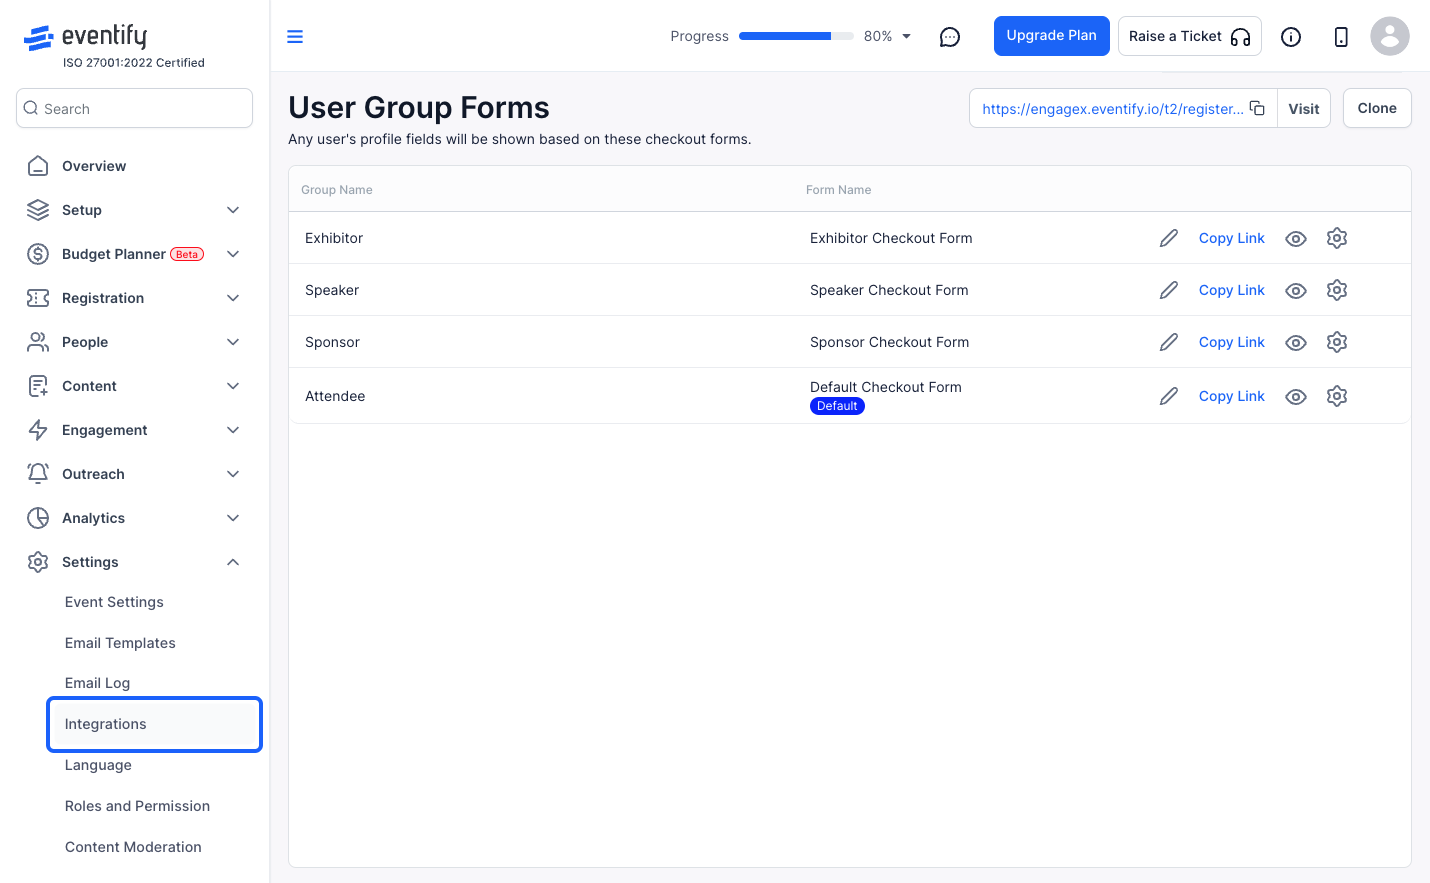
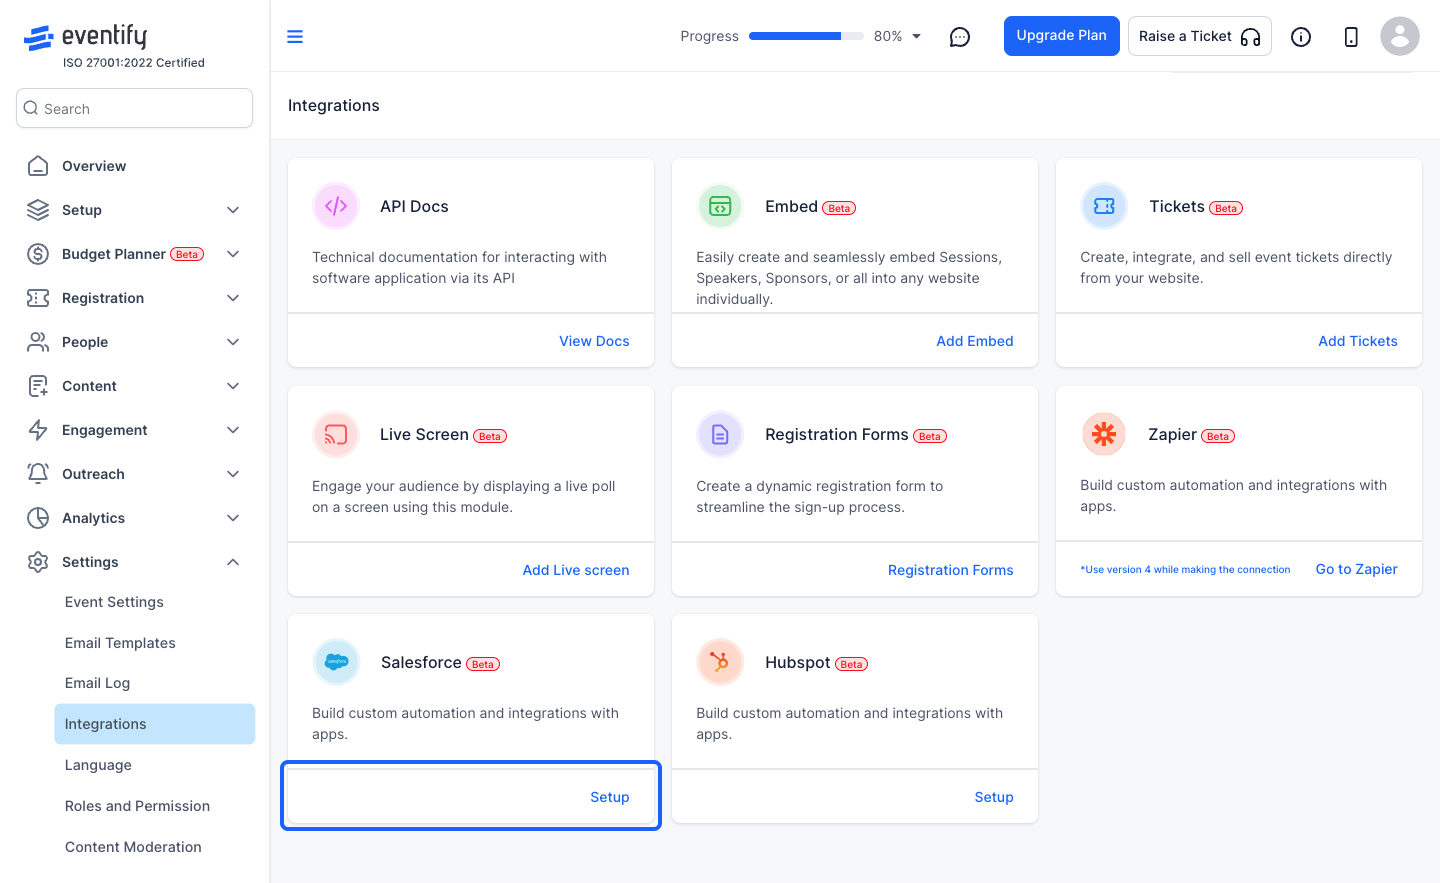
1: Login to the admin panel and go to Settings

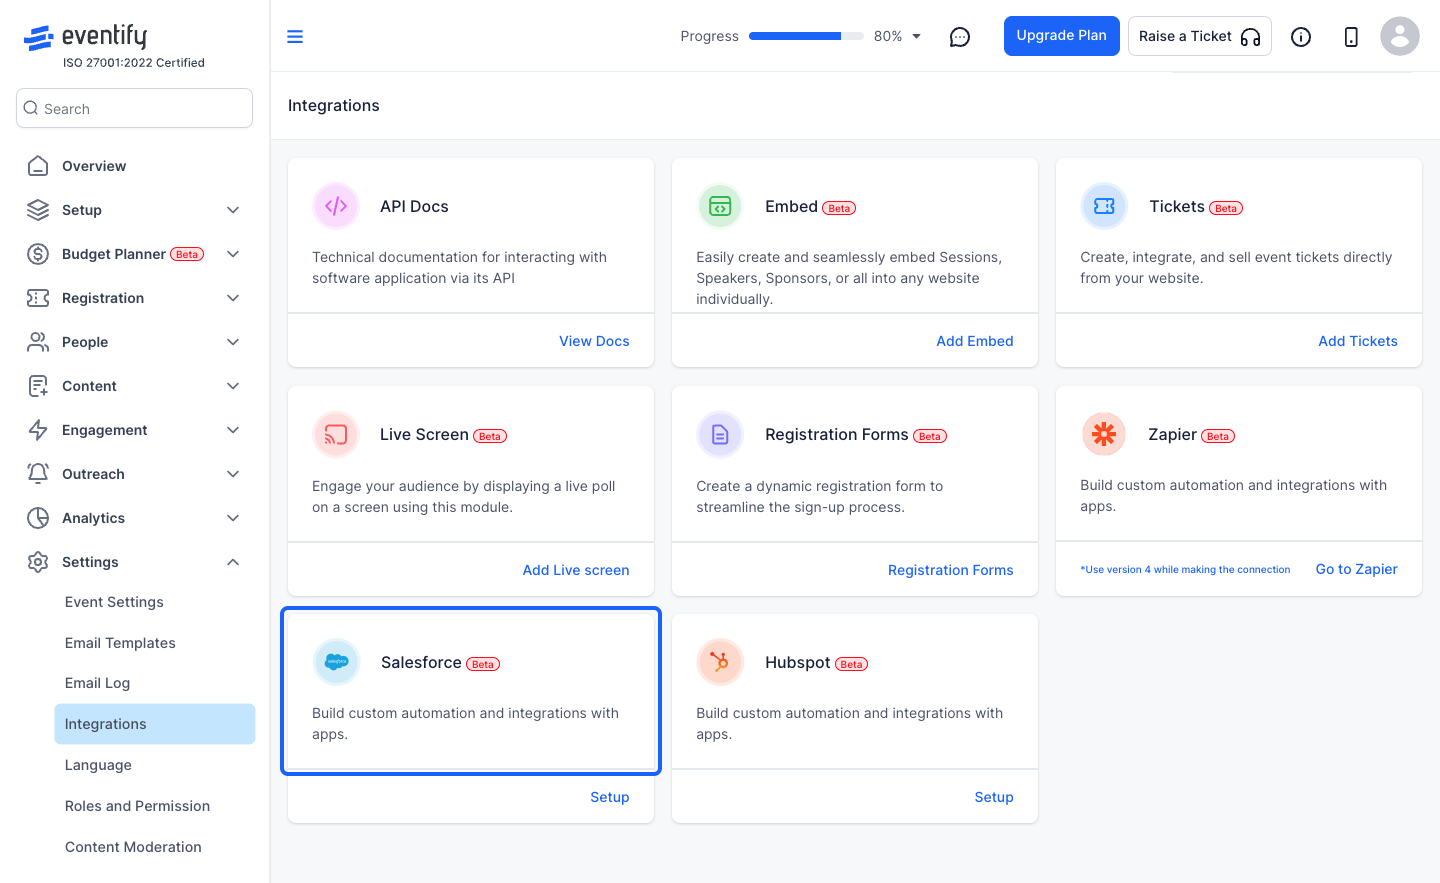
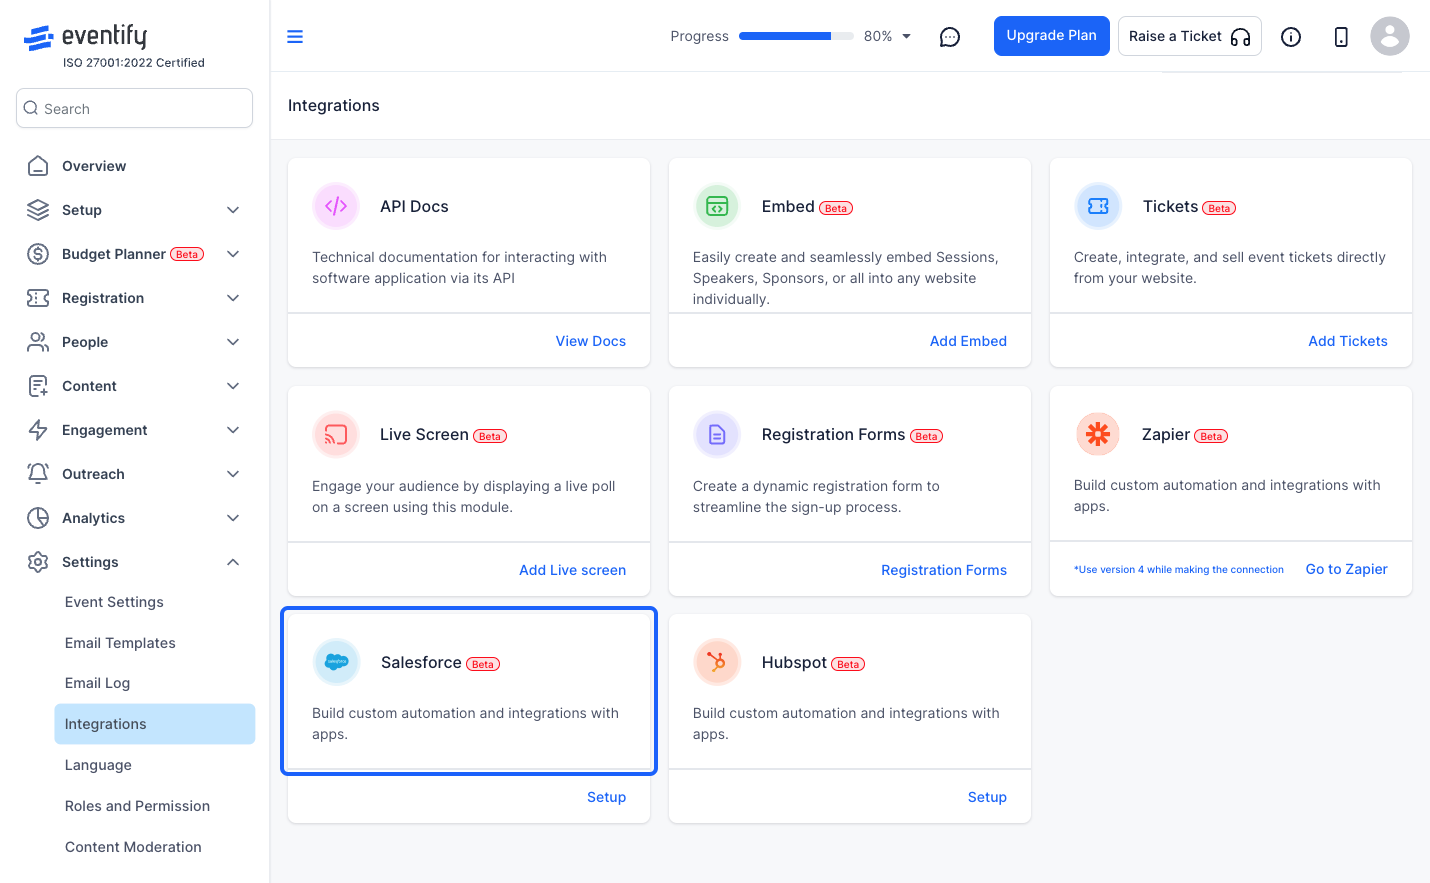
2: Go to Integrations
3: Here you can integrate your Salesforce account to import or export attendees to and from Eventify
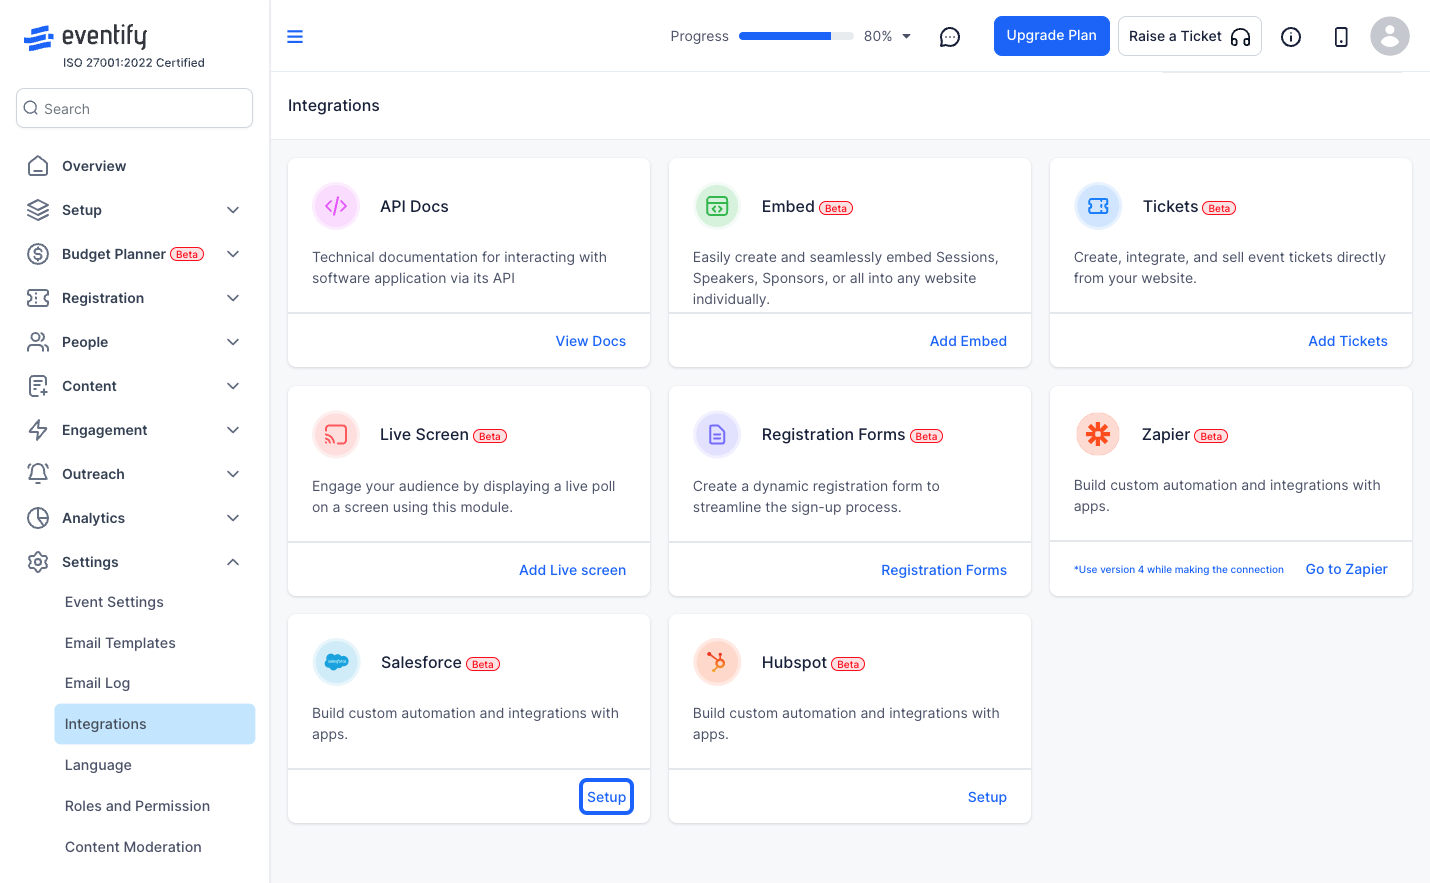
4: Click on Setup
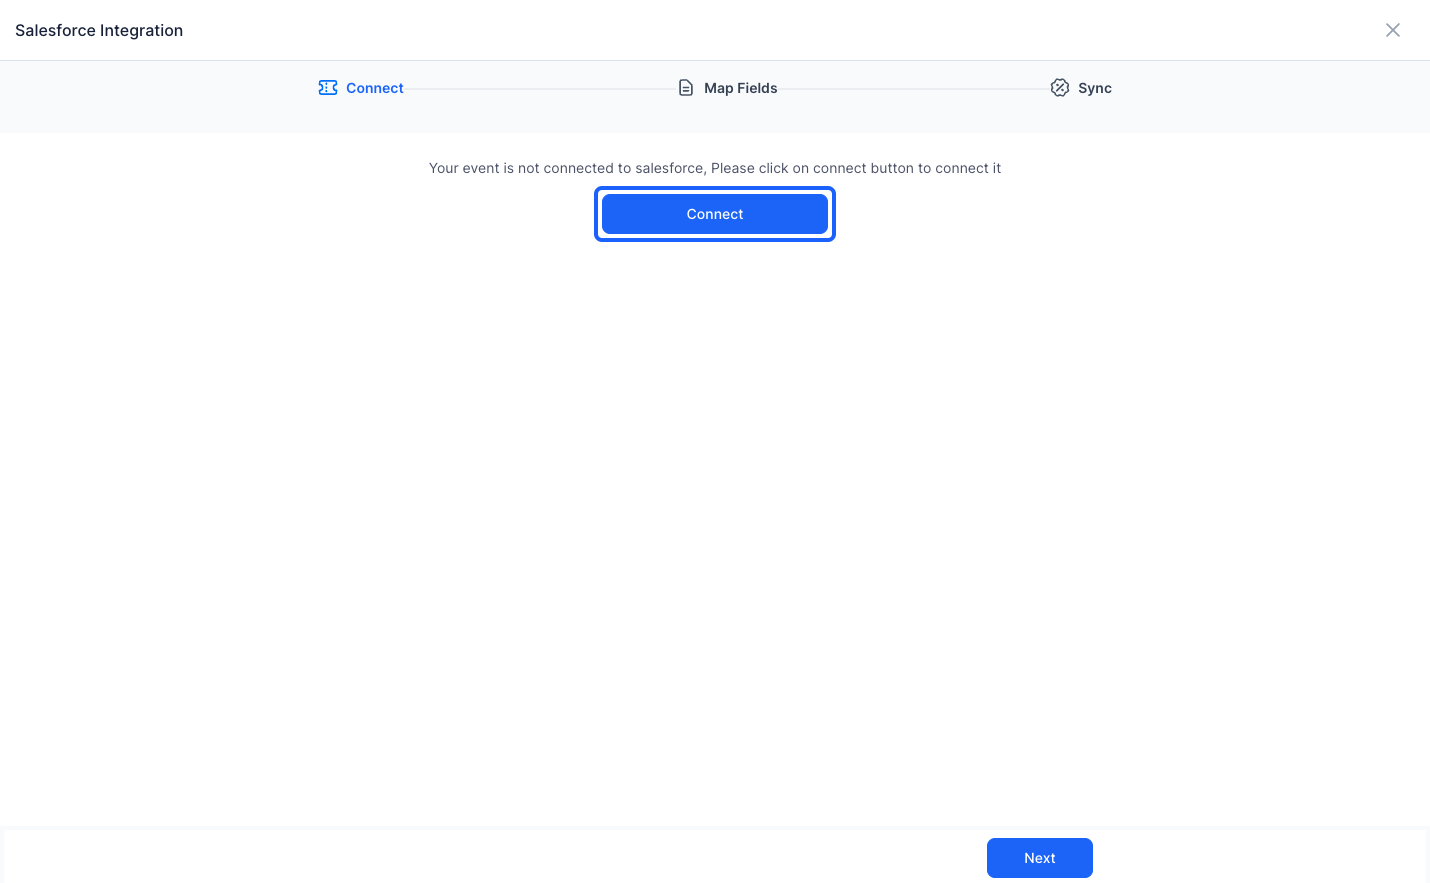
5: Click the “Connect” button. It will ask you to authenticate and connect your Salesforce account with Eventify
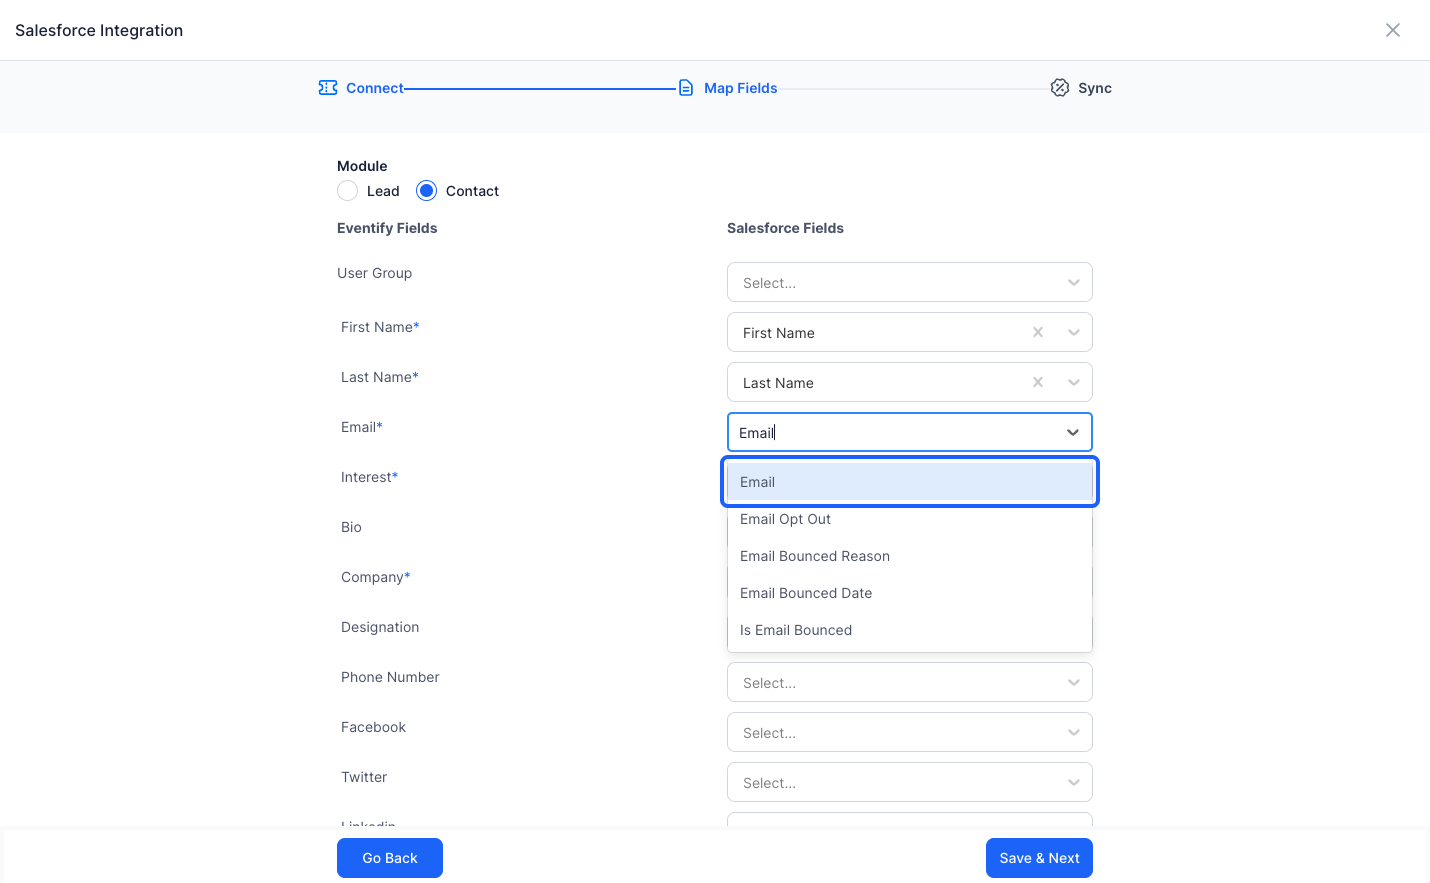
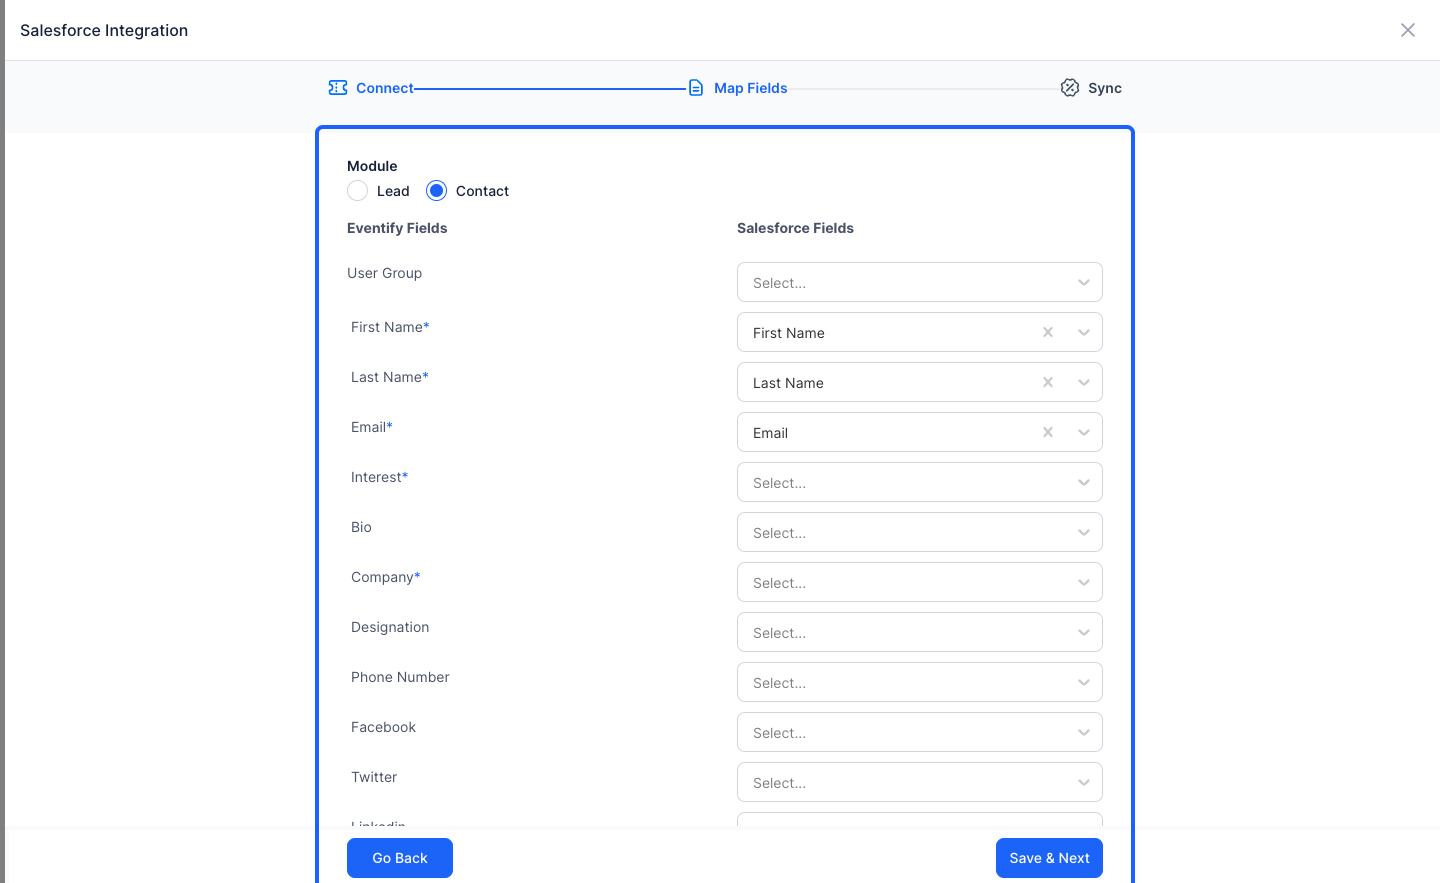
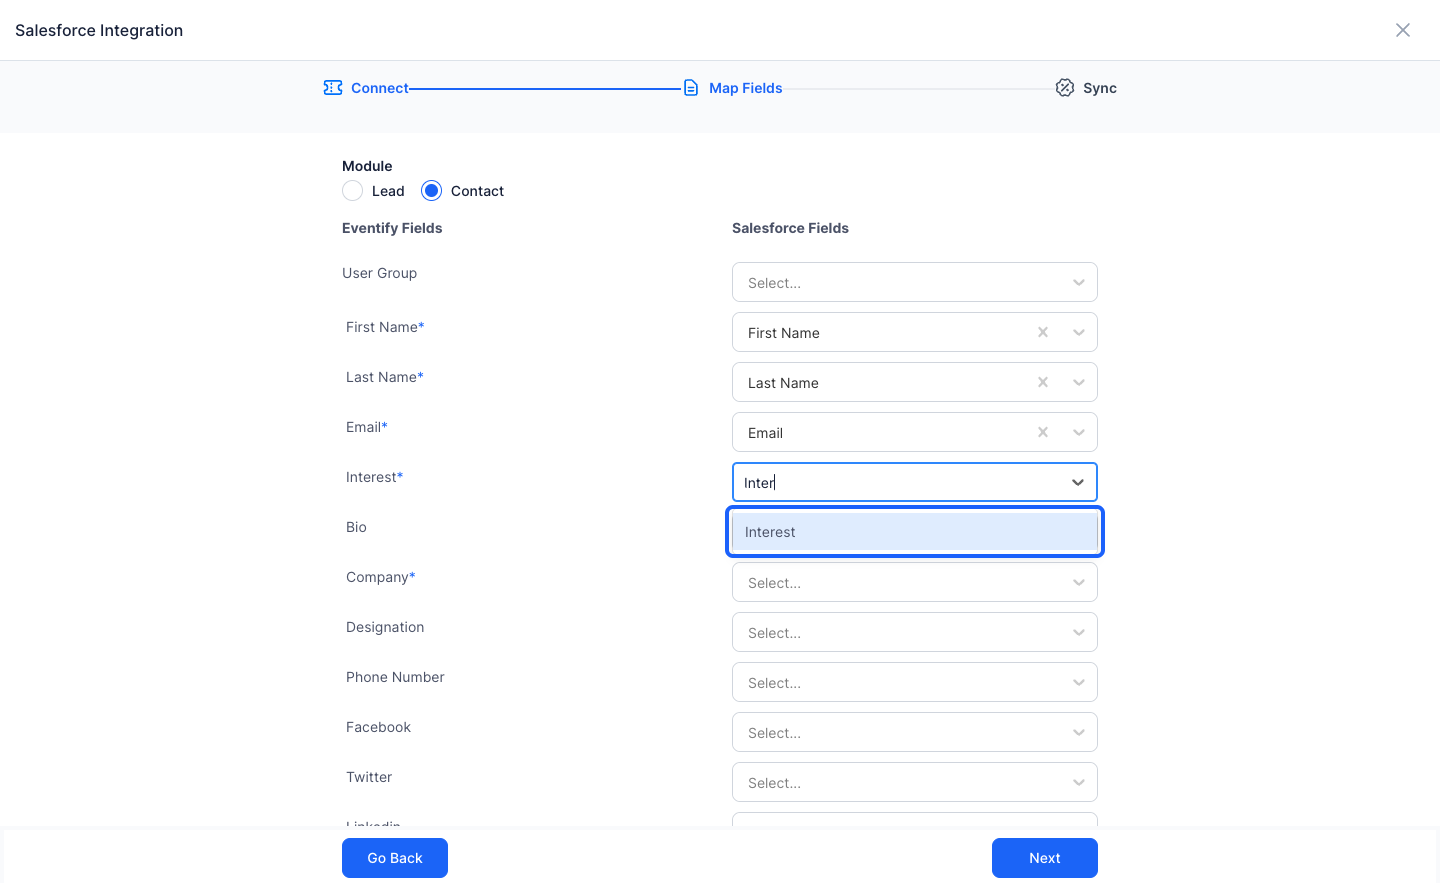
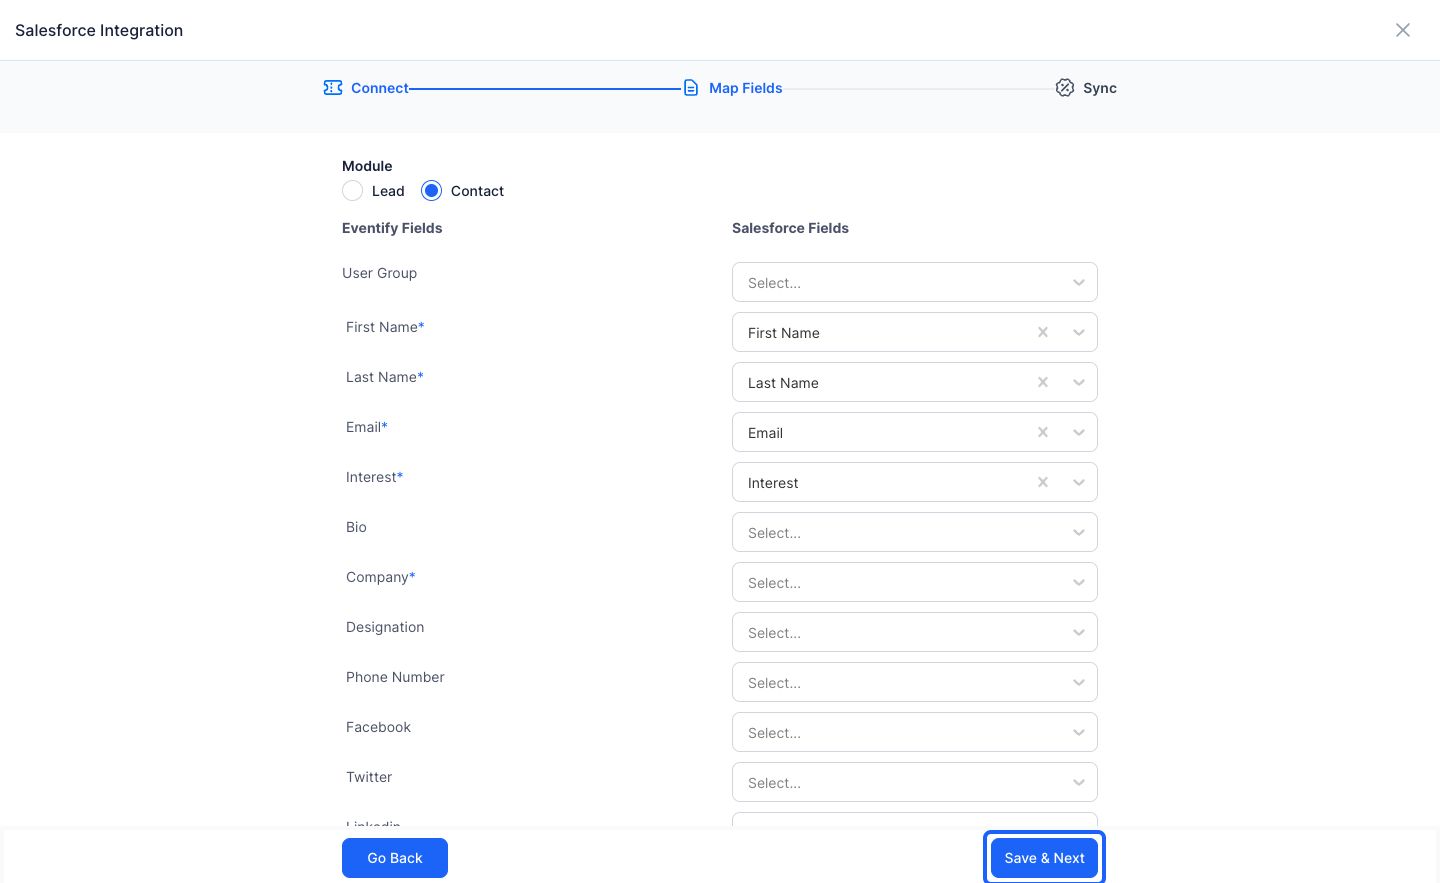
6: Once connected, you can select either "Leads" or "Contacts" from the Salesforce list
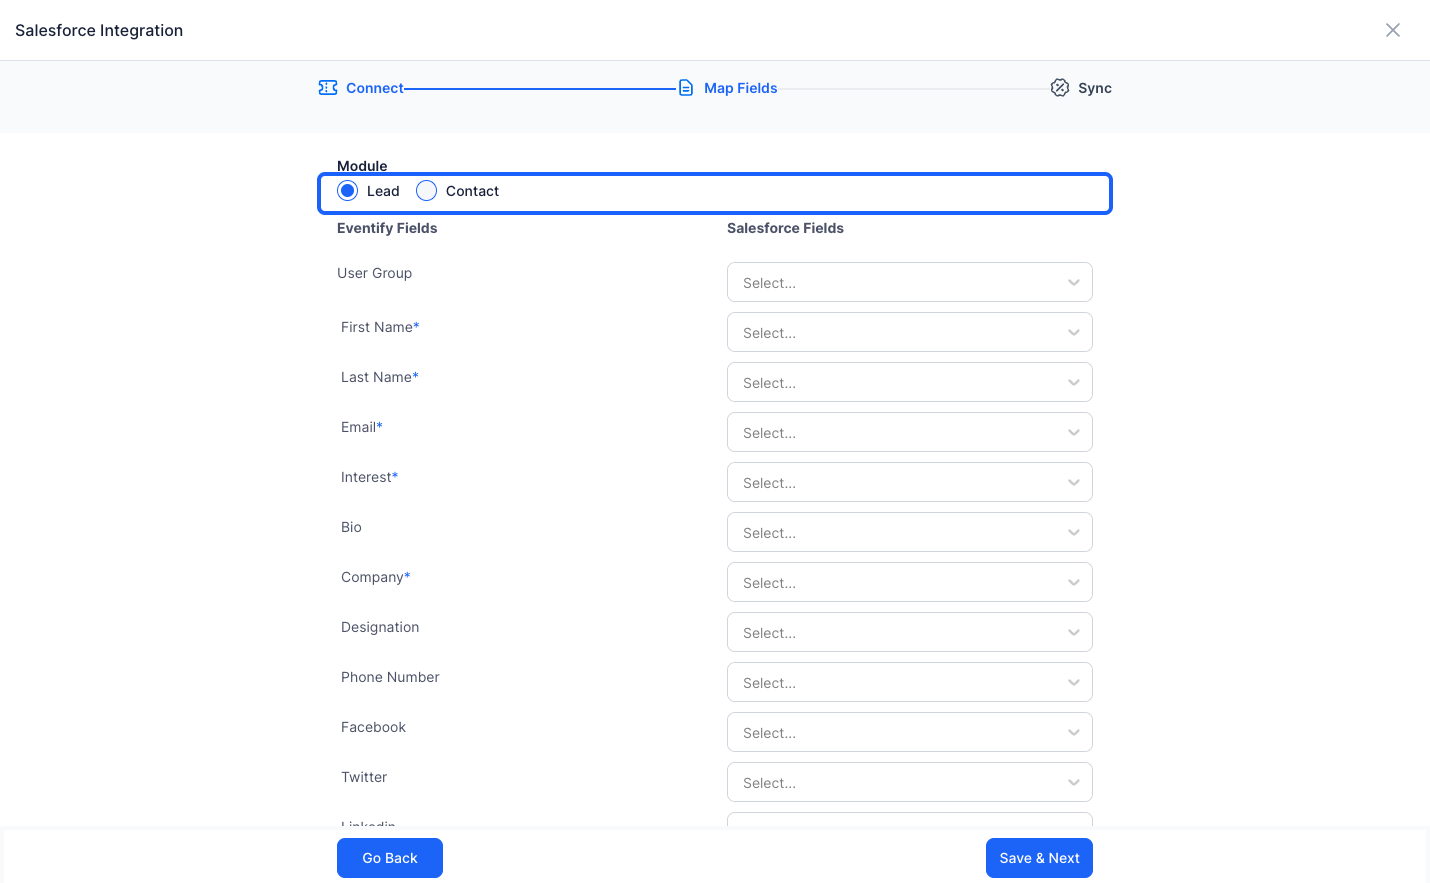
7: Once selected, map the registration form fields from Eventify to the Salesforce List fields.
This will determine, which field the data comes from or goes to.
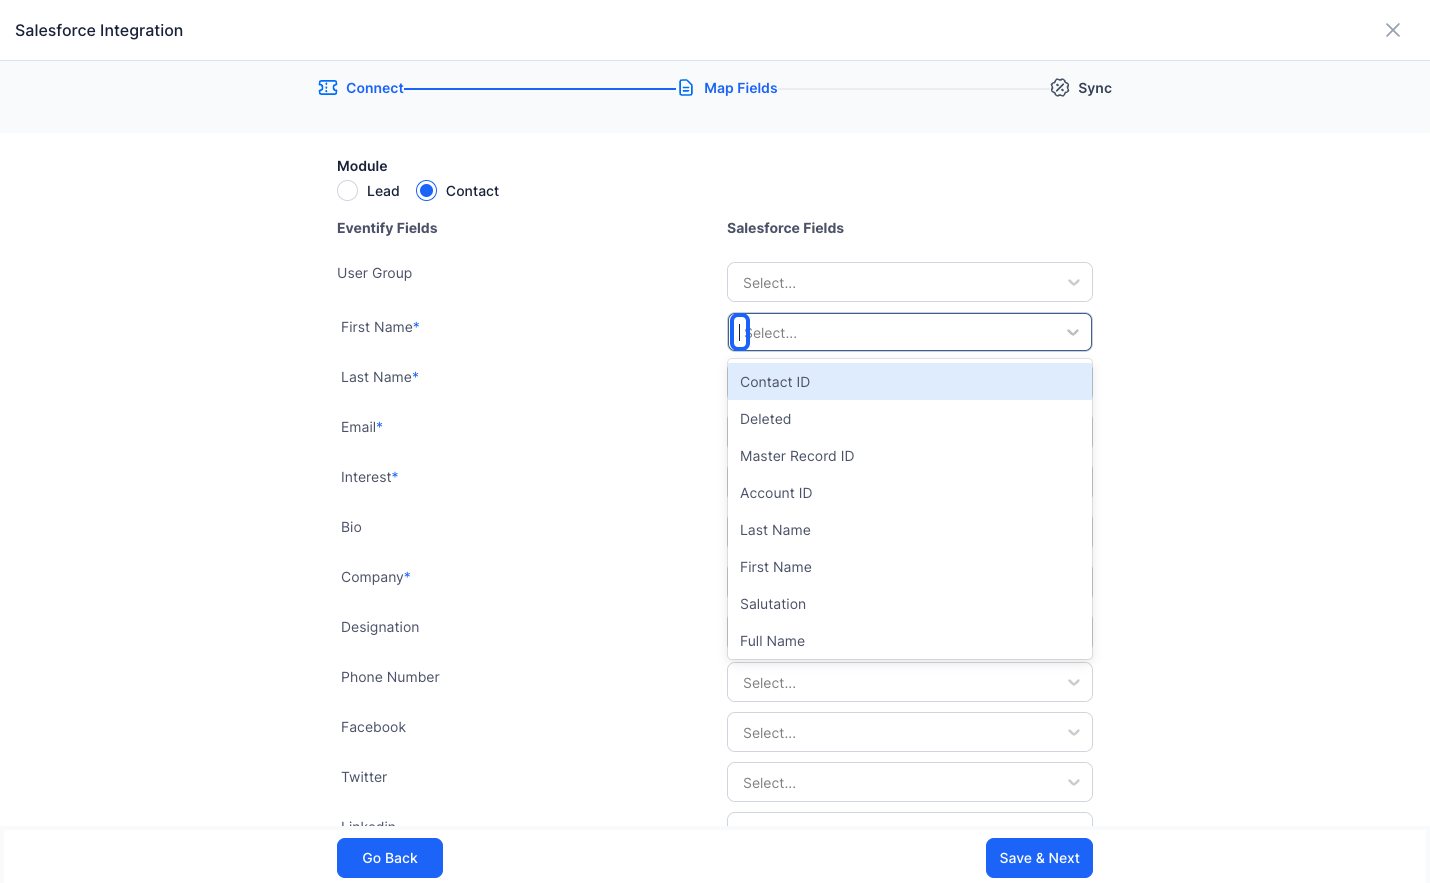
8: Search and Select the appropriate fields
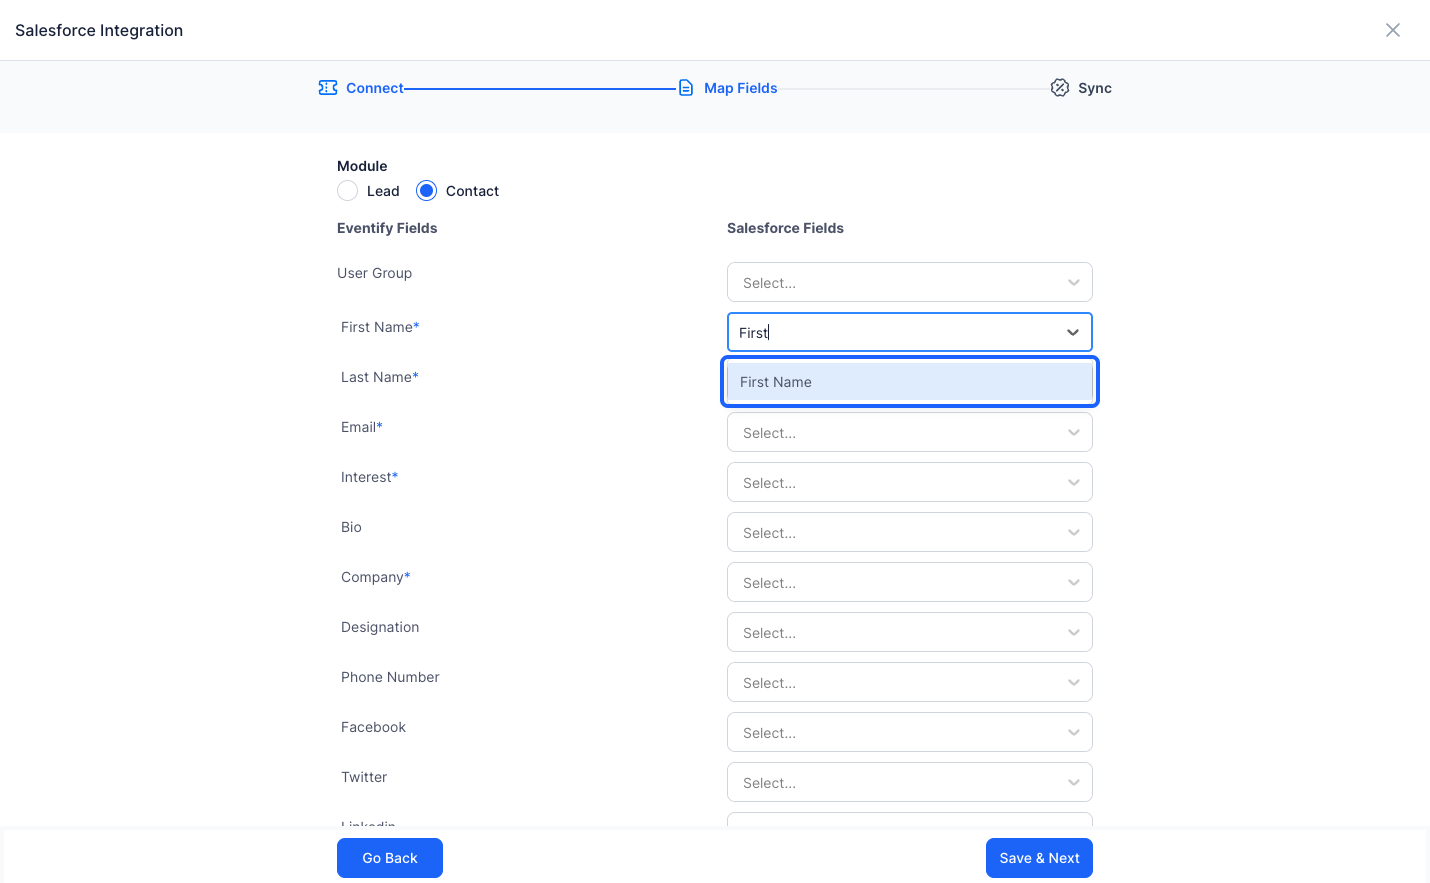
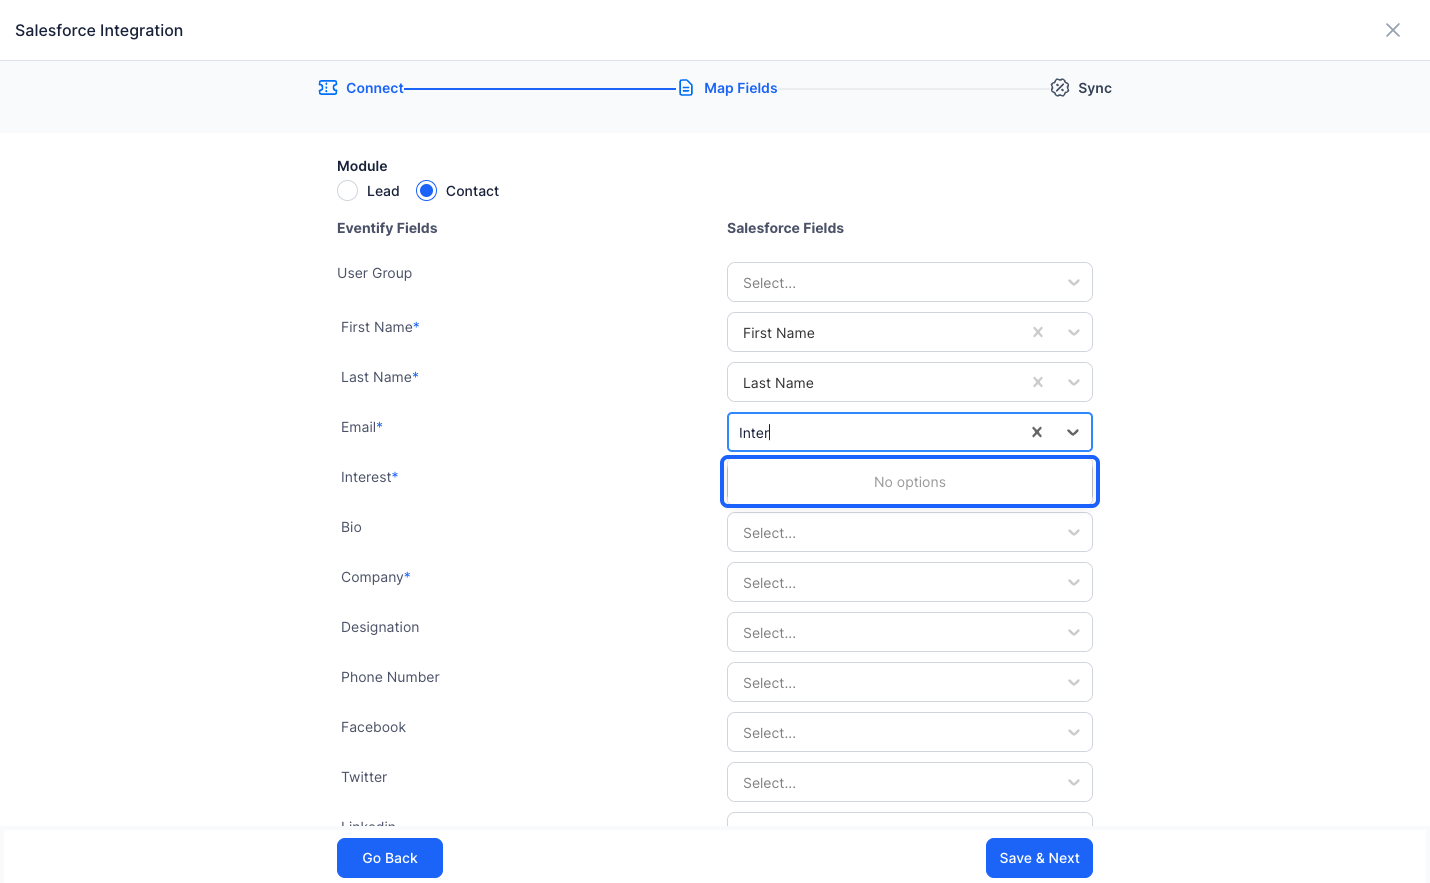
9: Map all the fields you would want to be imported or exported
10: There might be cases where you do not find any field in Salesforce, that correspond to the registration form fields
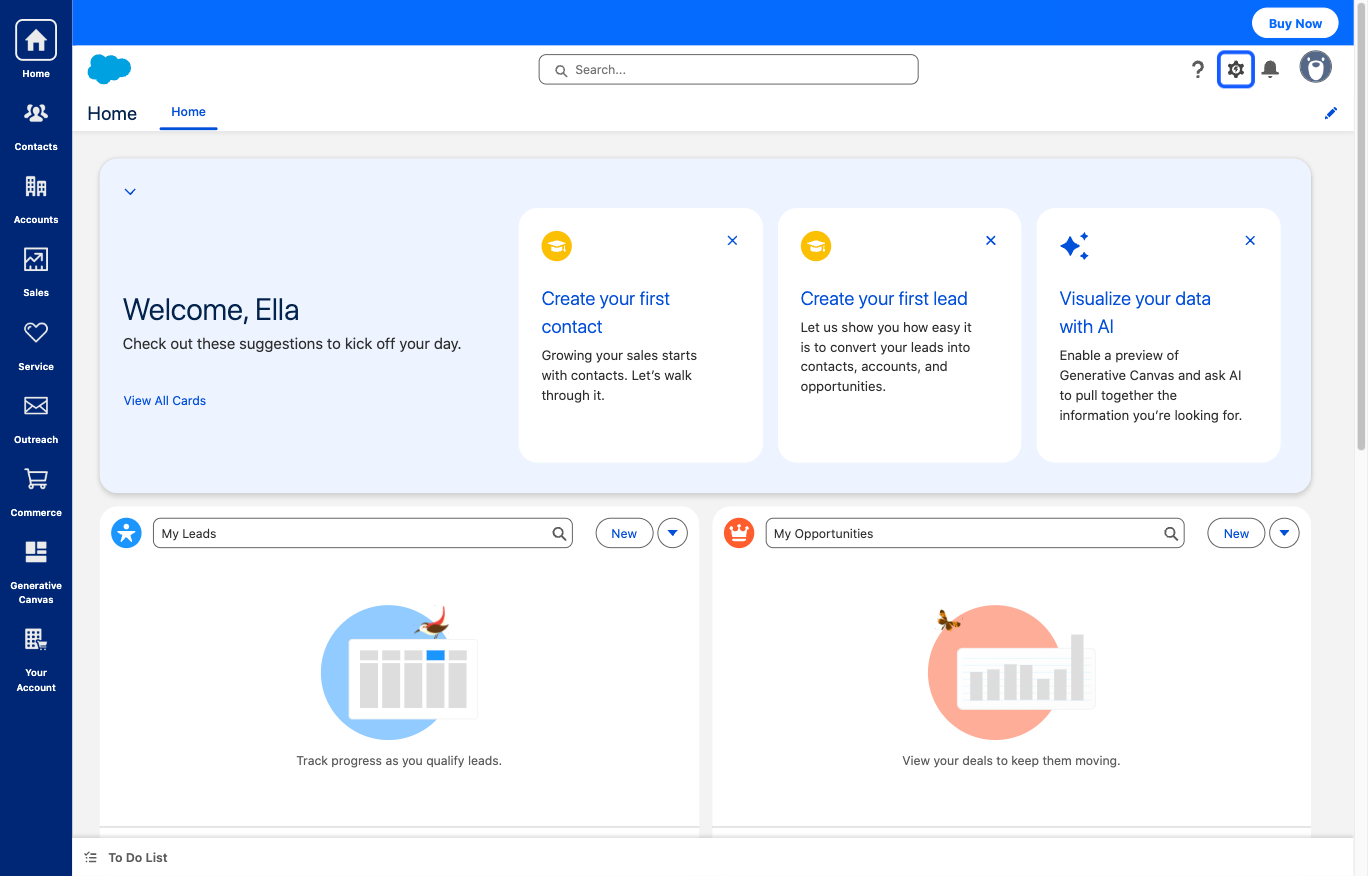
11: Go to the Salesforce dashboard and click on “Quick Settings” button
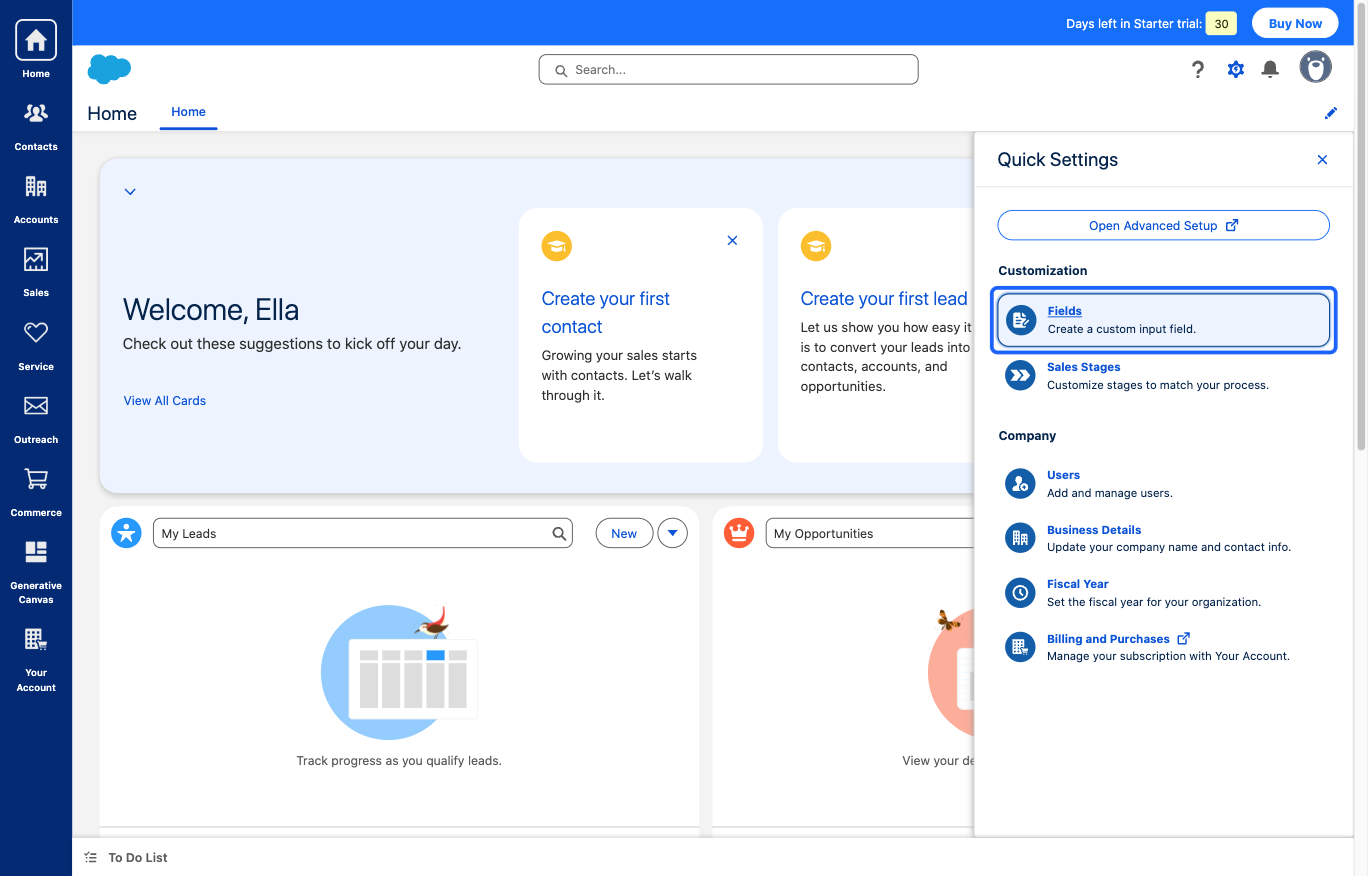
12: Click the “Fields Create a custom input field.” button
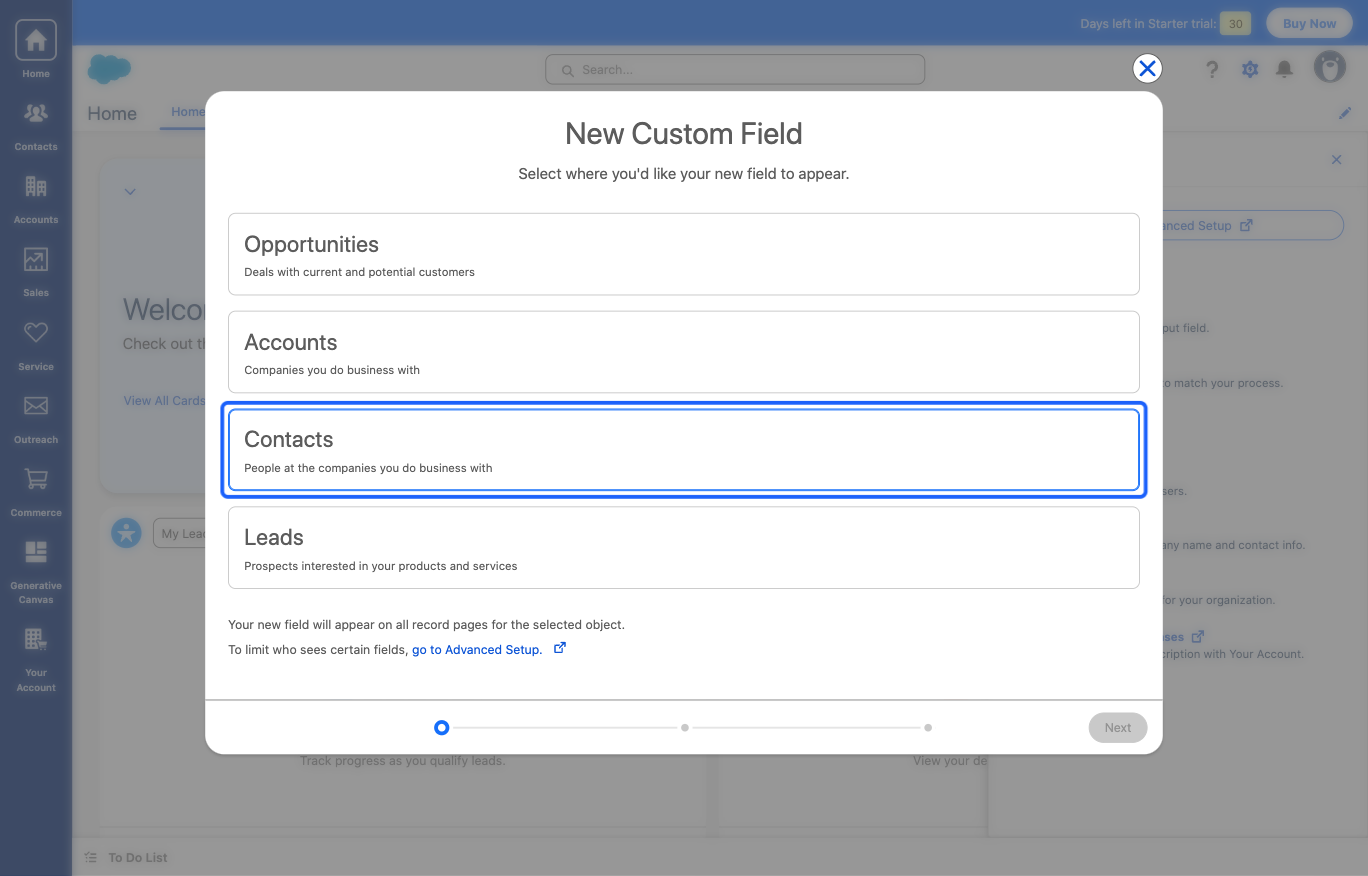
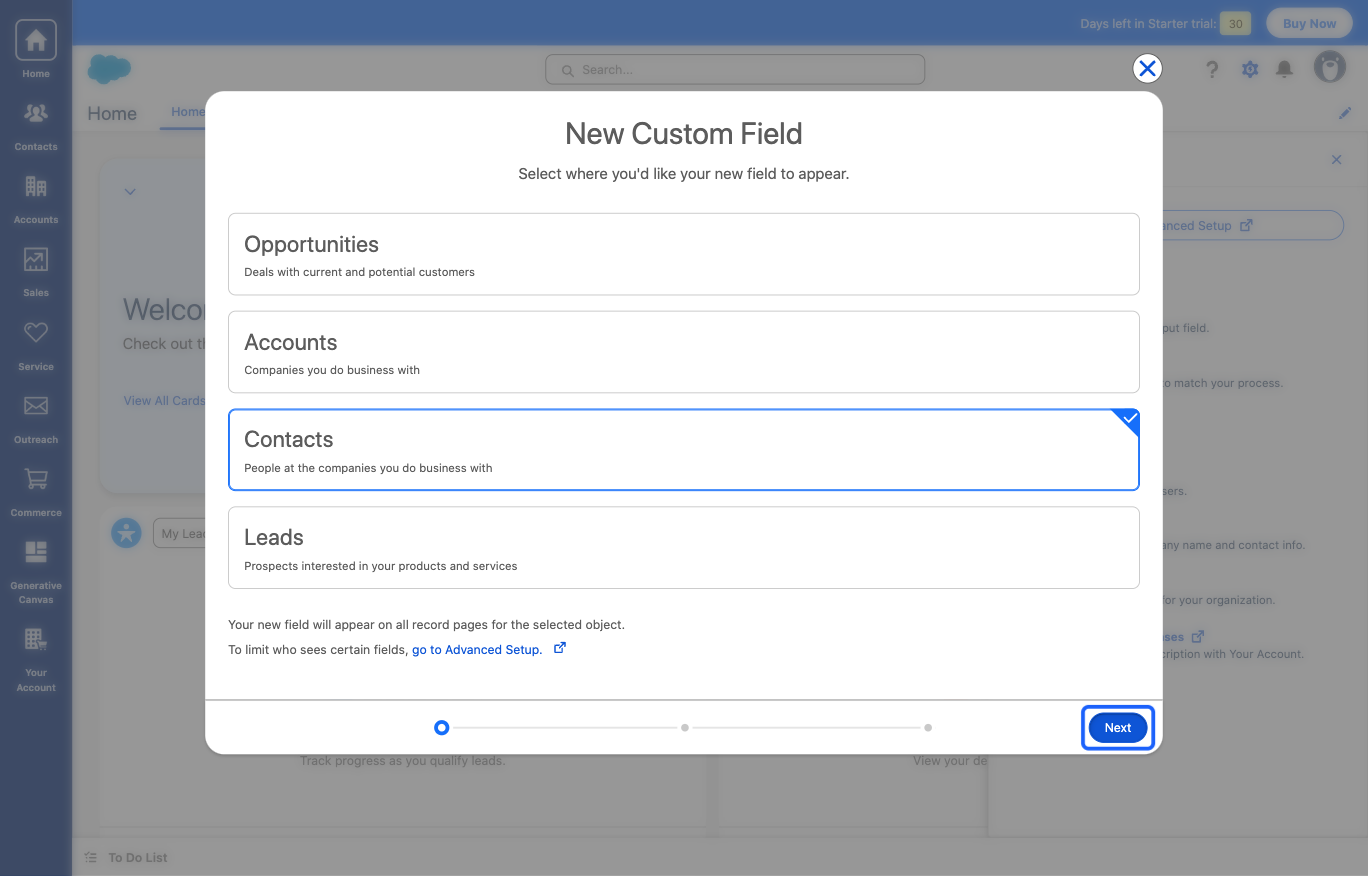
13: Click “Contacts" or "Leads" depending on which list you are using in Eventify
14: Click the “Next” button
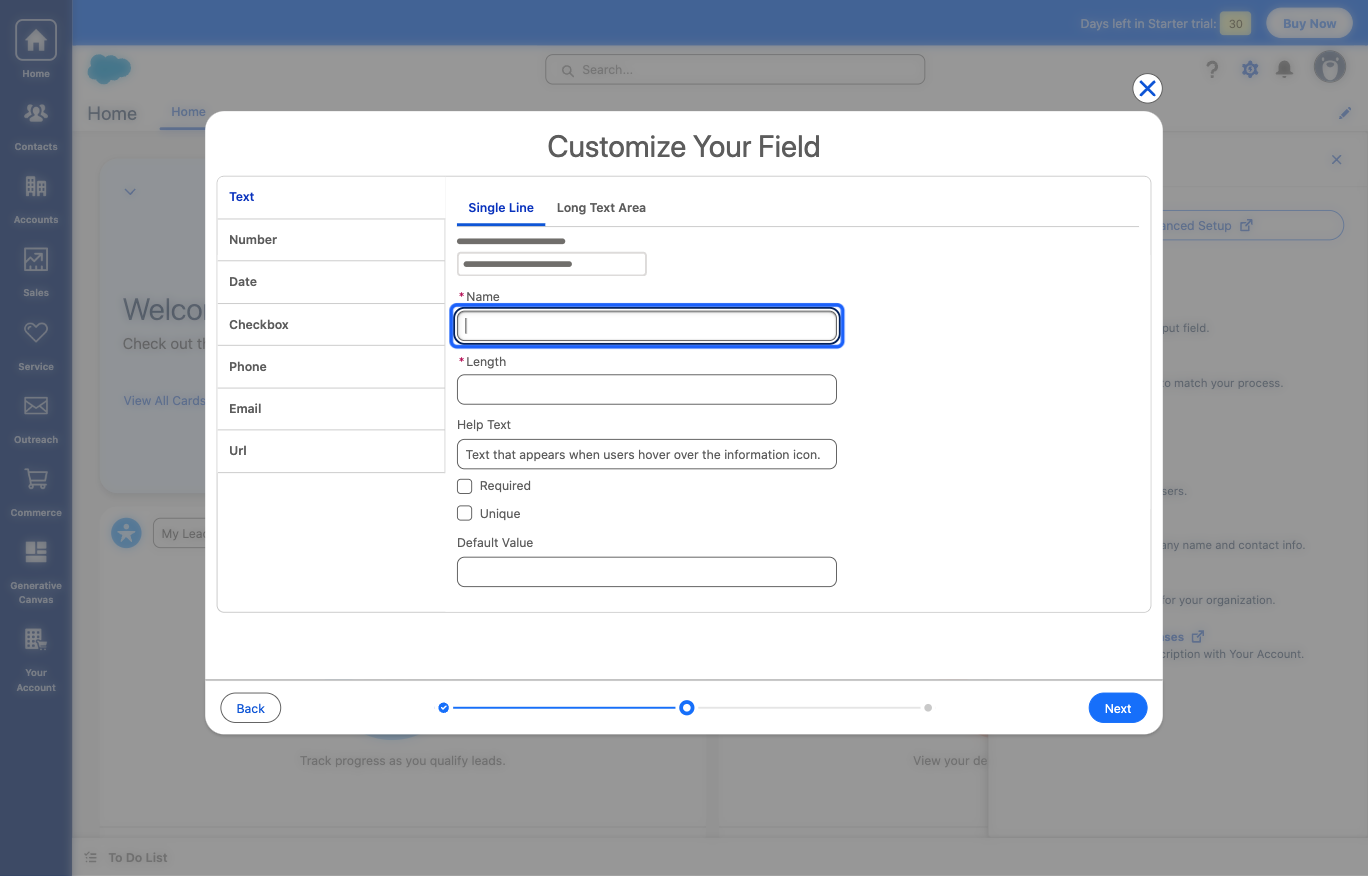
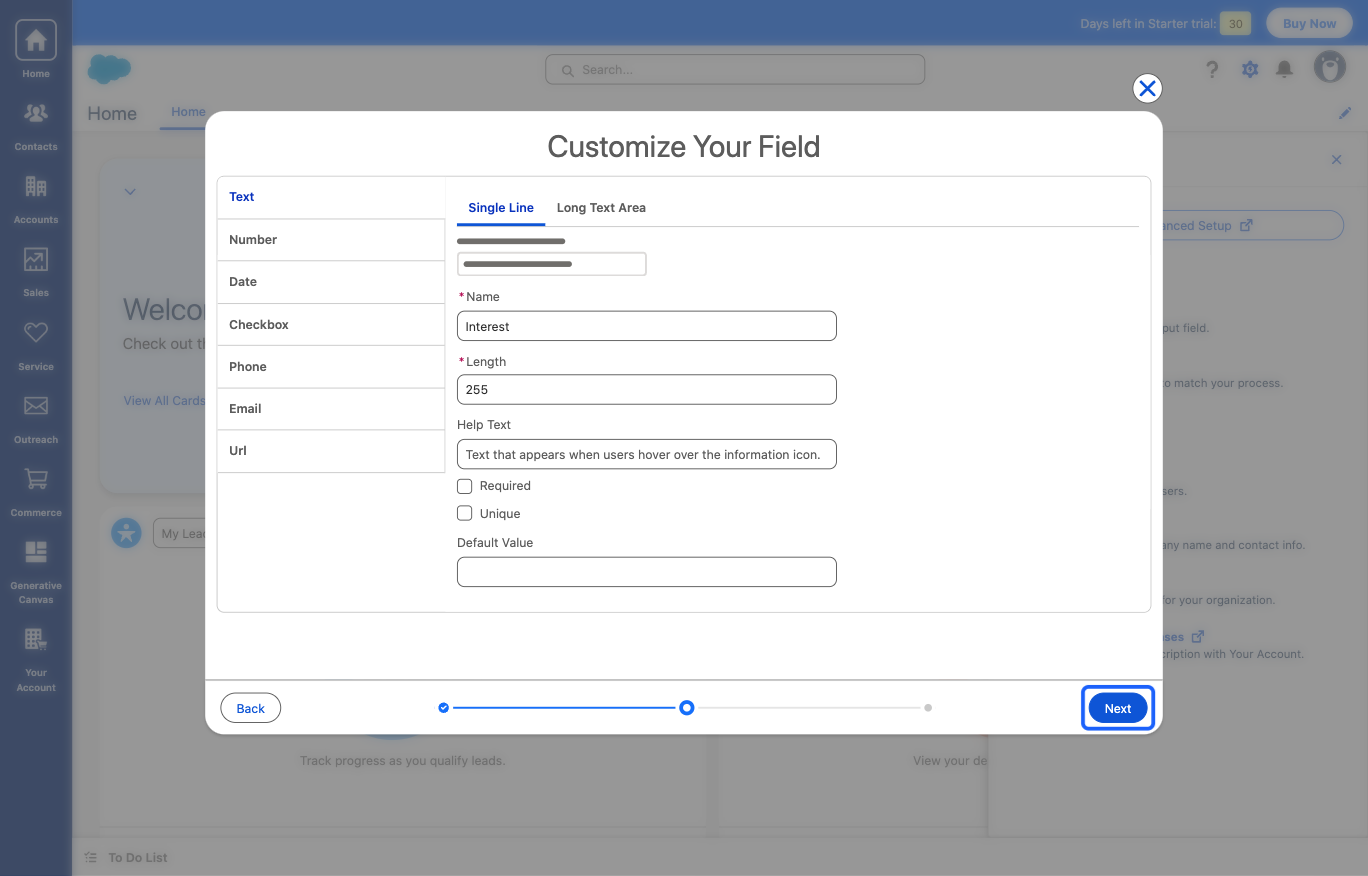
15: Type in the “Name” of the required field
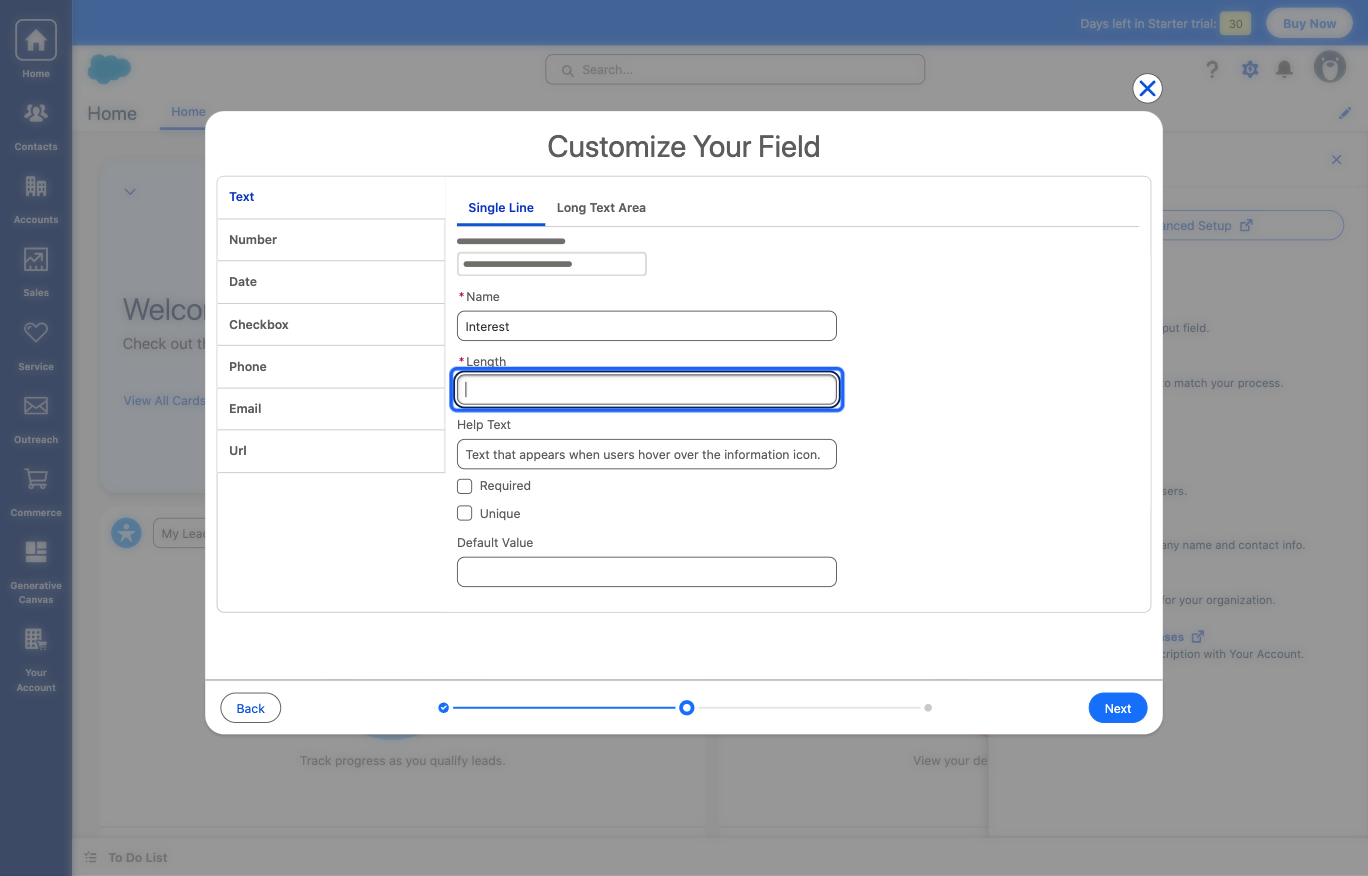
16: Type in the “Length” of the field
17: Click the “Next” button
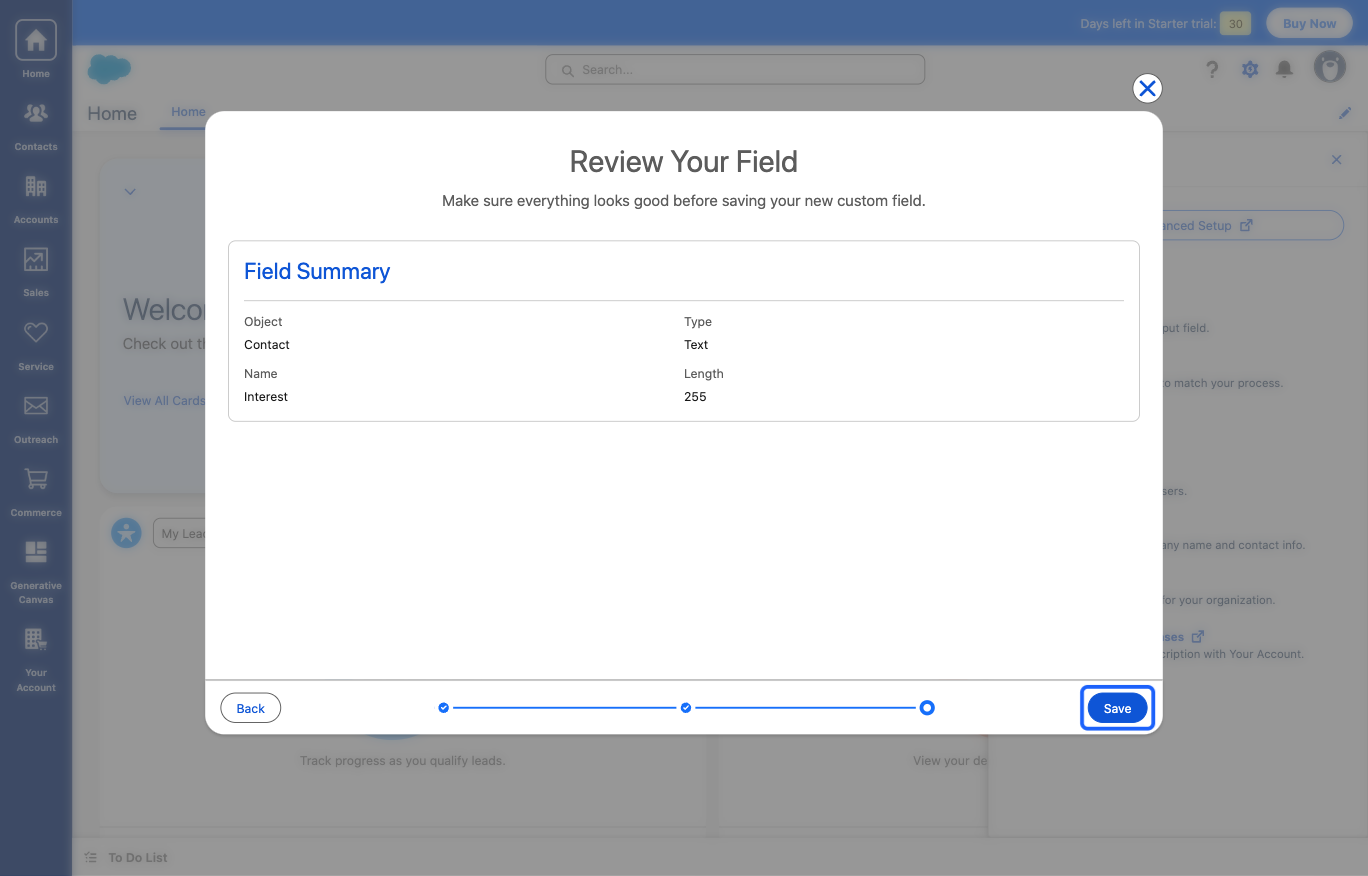
18: Review and click on the “Save” button
19: Go back to Eventify Admin Panel and Reload this form after creating the custom field in Salesforce in order to fetch all the new fields
20: You can save the mapped fields before exiting the form to reload
21: Click the “close” button to exit and reload the form
22: Go back to Setup
23: Click the “Next” button

24: Continue mapping with all the newly created fields in Salesforce
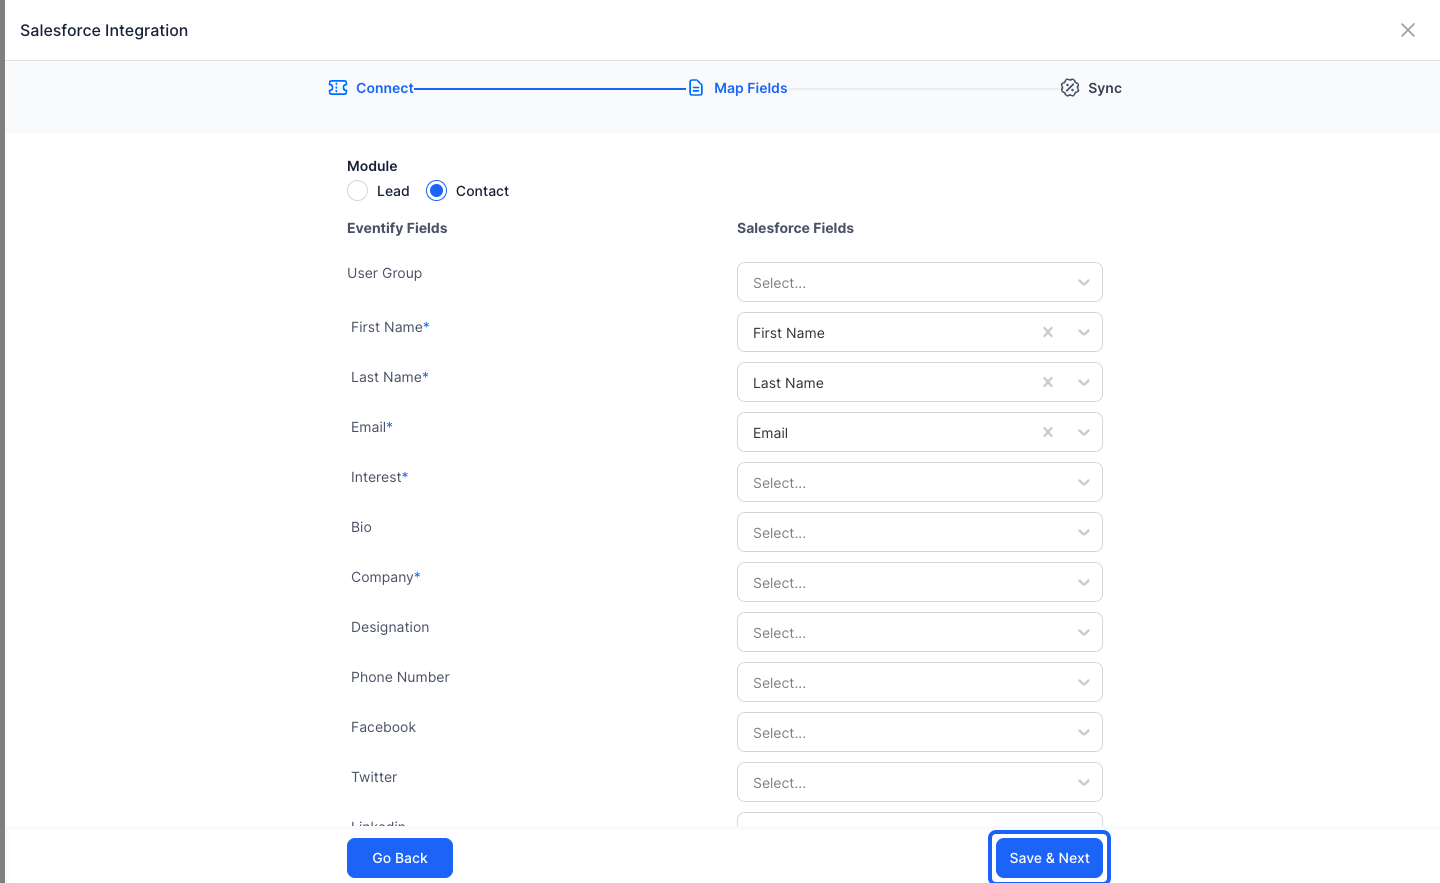
25: Once all the desired fields are mapped
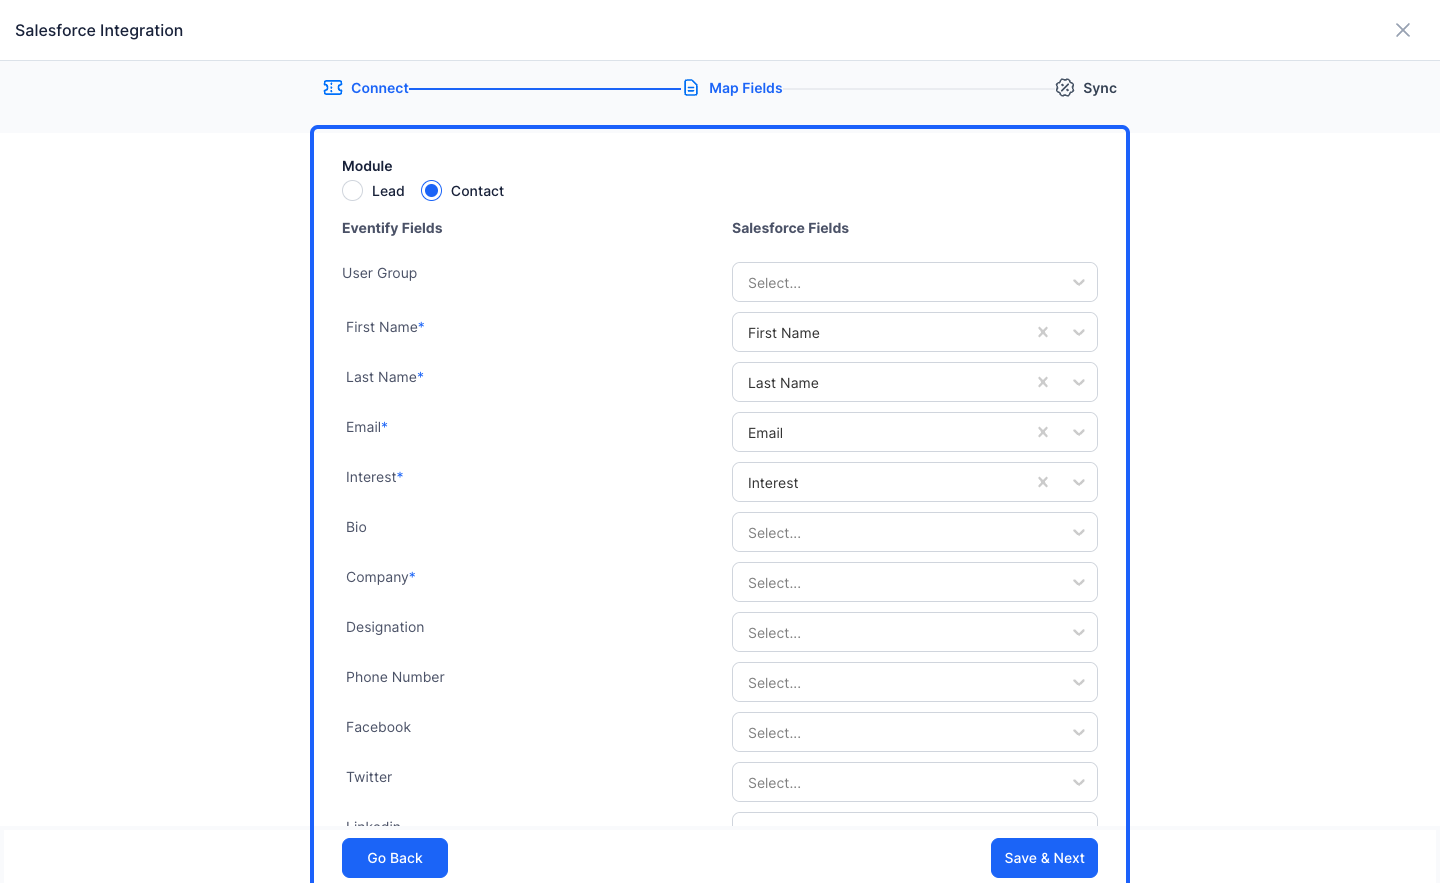
26: Click the “Save & Next” button
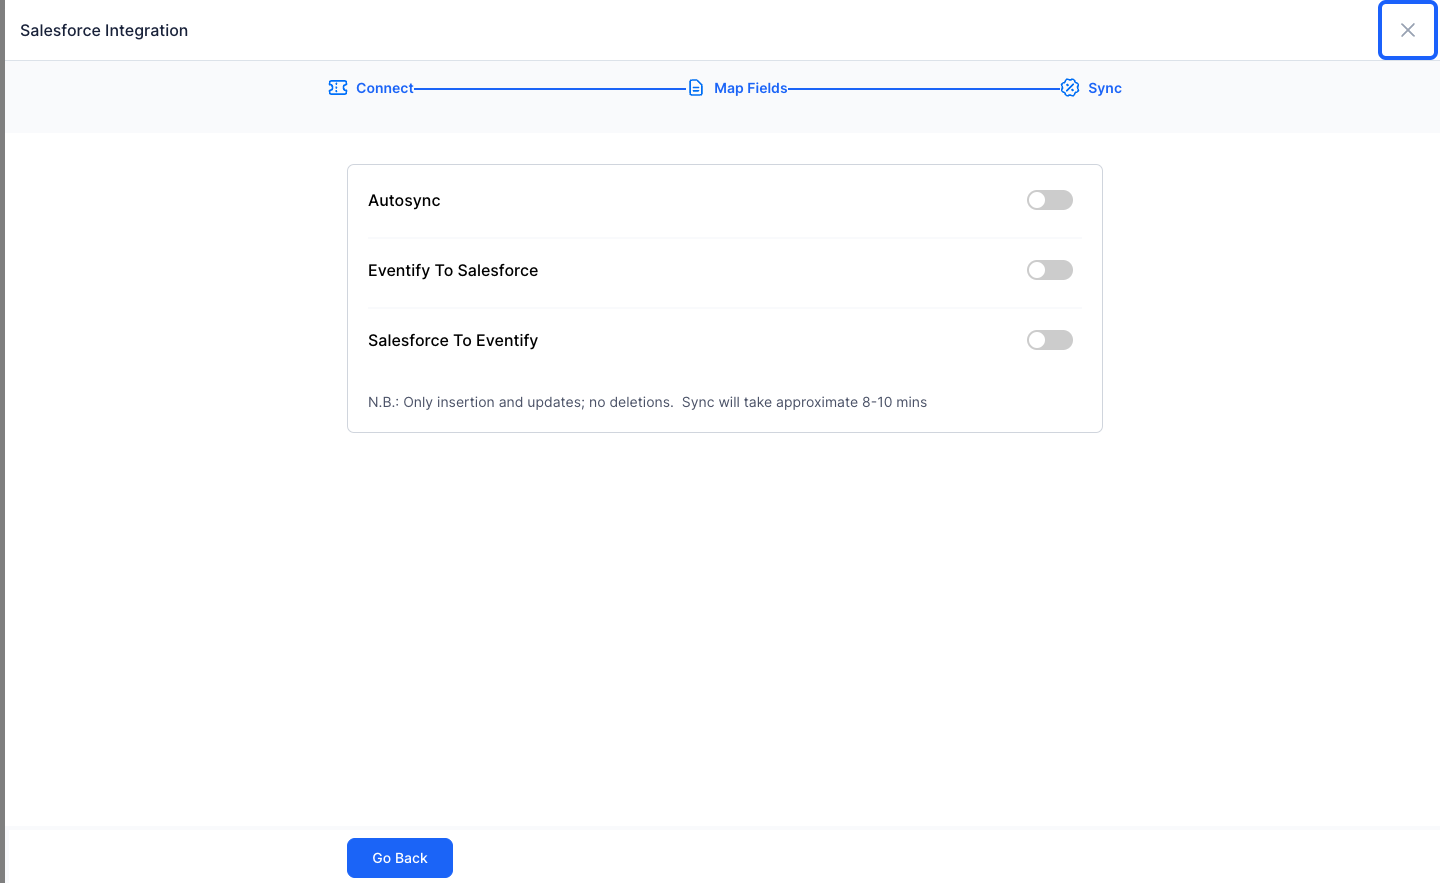
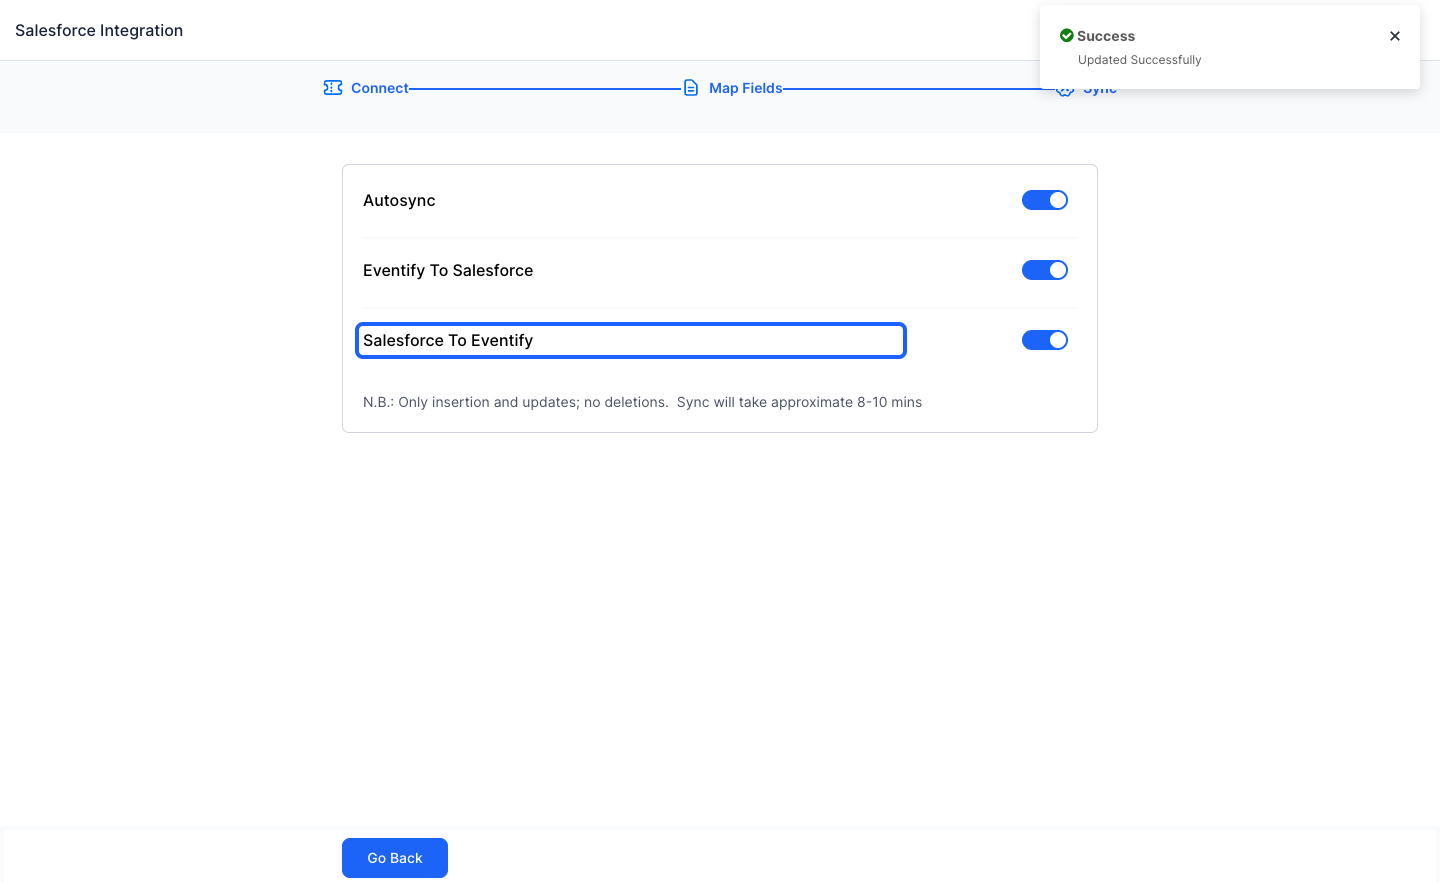
27: Turn on Export
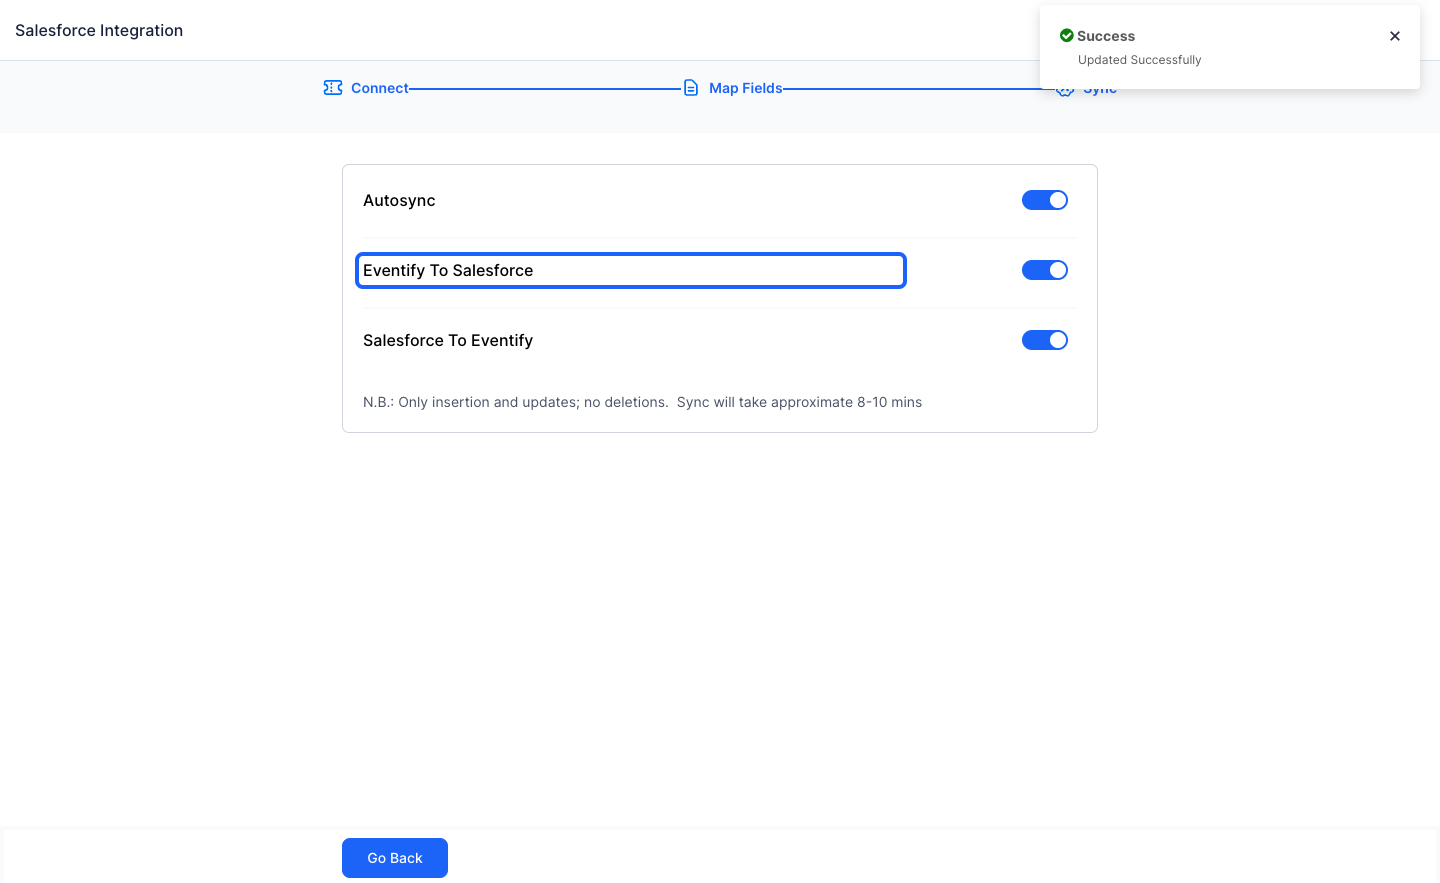
28: Or Import
29: The Setup is now complete and you can exit the form
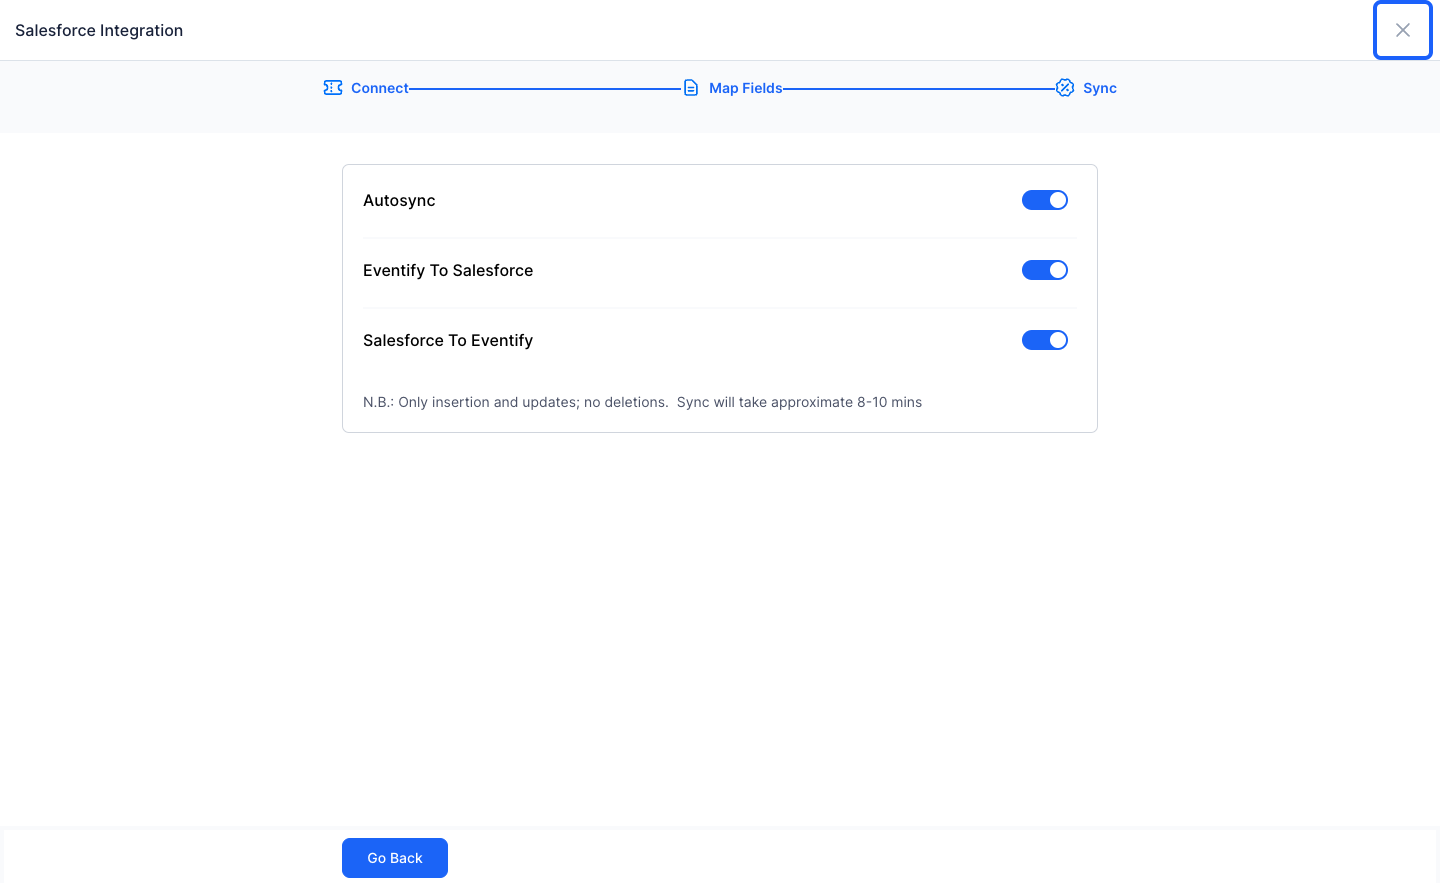
30: Salesforce will auto sync the attendee list in every 8-10 minutes