Managing tickets is important, but offering promo discounts can help increase registrations and encourage more attendees to purchase tickets. Eventify allows you to create and manage promo discount codes directly from the admin panel.
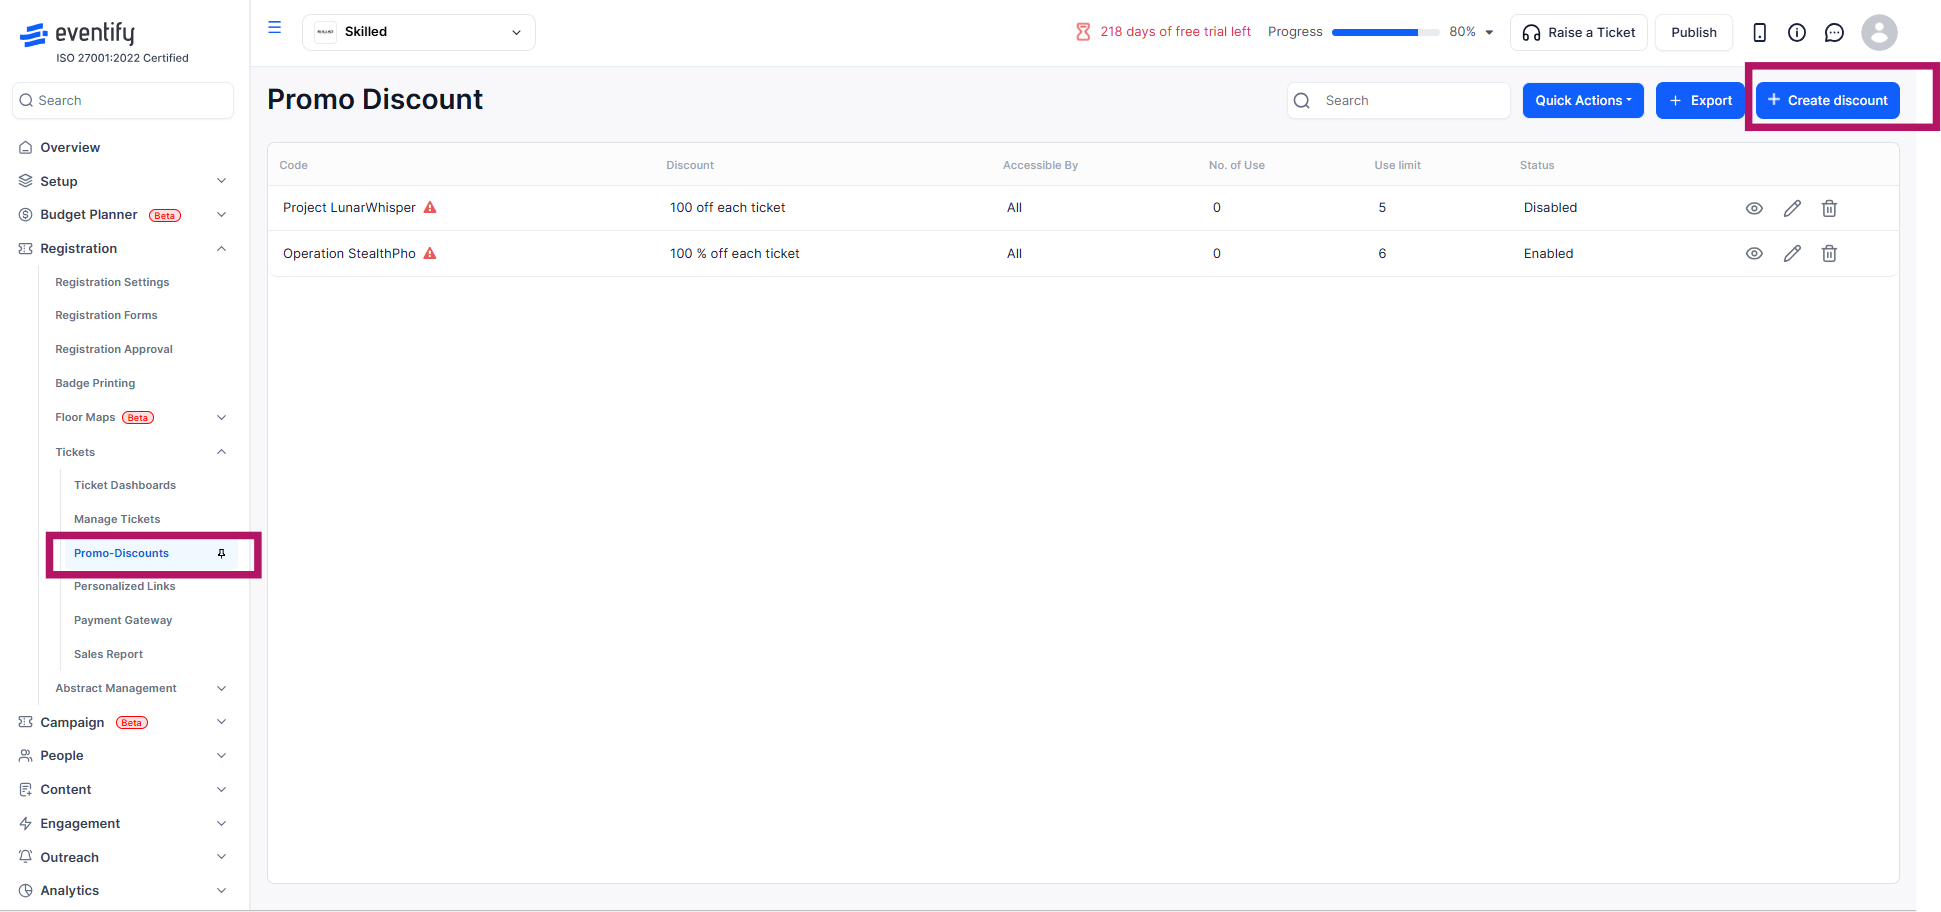
Access Promo Discounts
Go to the Eventify Admin Panel and navigate to Registration → Tickets → Promo-Discounts. Then click on the Create discount button. You will see the Create a discount form where you can configure your promo code settings.
Fill in the Promo Discount Details
Code name : Enter the promo code or coupon code users will type during registration to receive the discount.
Coupon Apply To : Choose where the discount should apply - all → applies the promo code to all ticketsor tickets → applies only to selected ticket types.
Usage Limit : Specify how many times the promo code can be used.
Max Redemption Limit : Set the maximum number of tickets that can be redeemed using the promo code.
Code Type : Choose the type of discount - percentage (%) → gives a percentage discount on the order totalor amount ($) → gives a fixed monetary discount.
Discount Value : Enter the value of the discount.
Discount Start and End Date : Set when the promo code should become active and when it should expire. Discount Starts From → start date and timeand Discount Ends At → end date and time.
Status : Choose whether the promo code should be - enabled → active and usable or disabled → Inactive.
Save the Promo Discount : After filling in all required fields, click the Save button to create the promo discount.
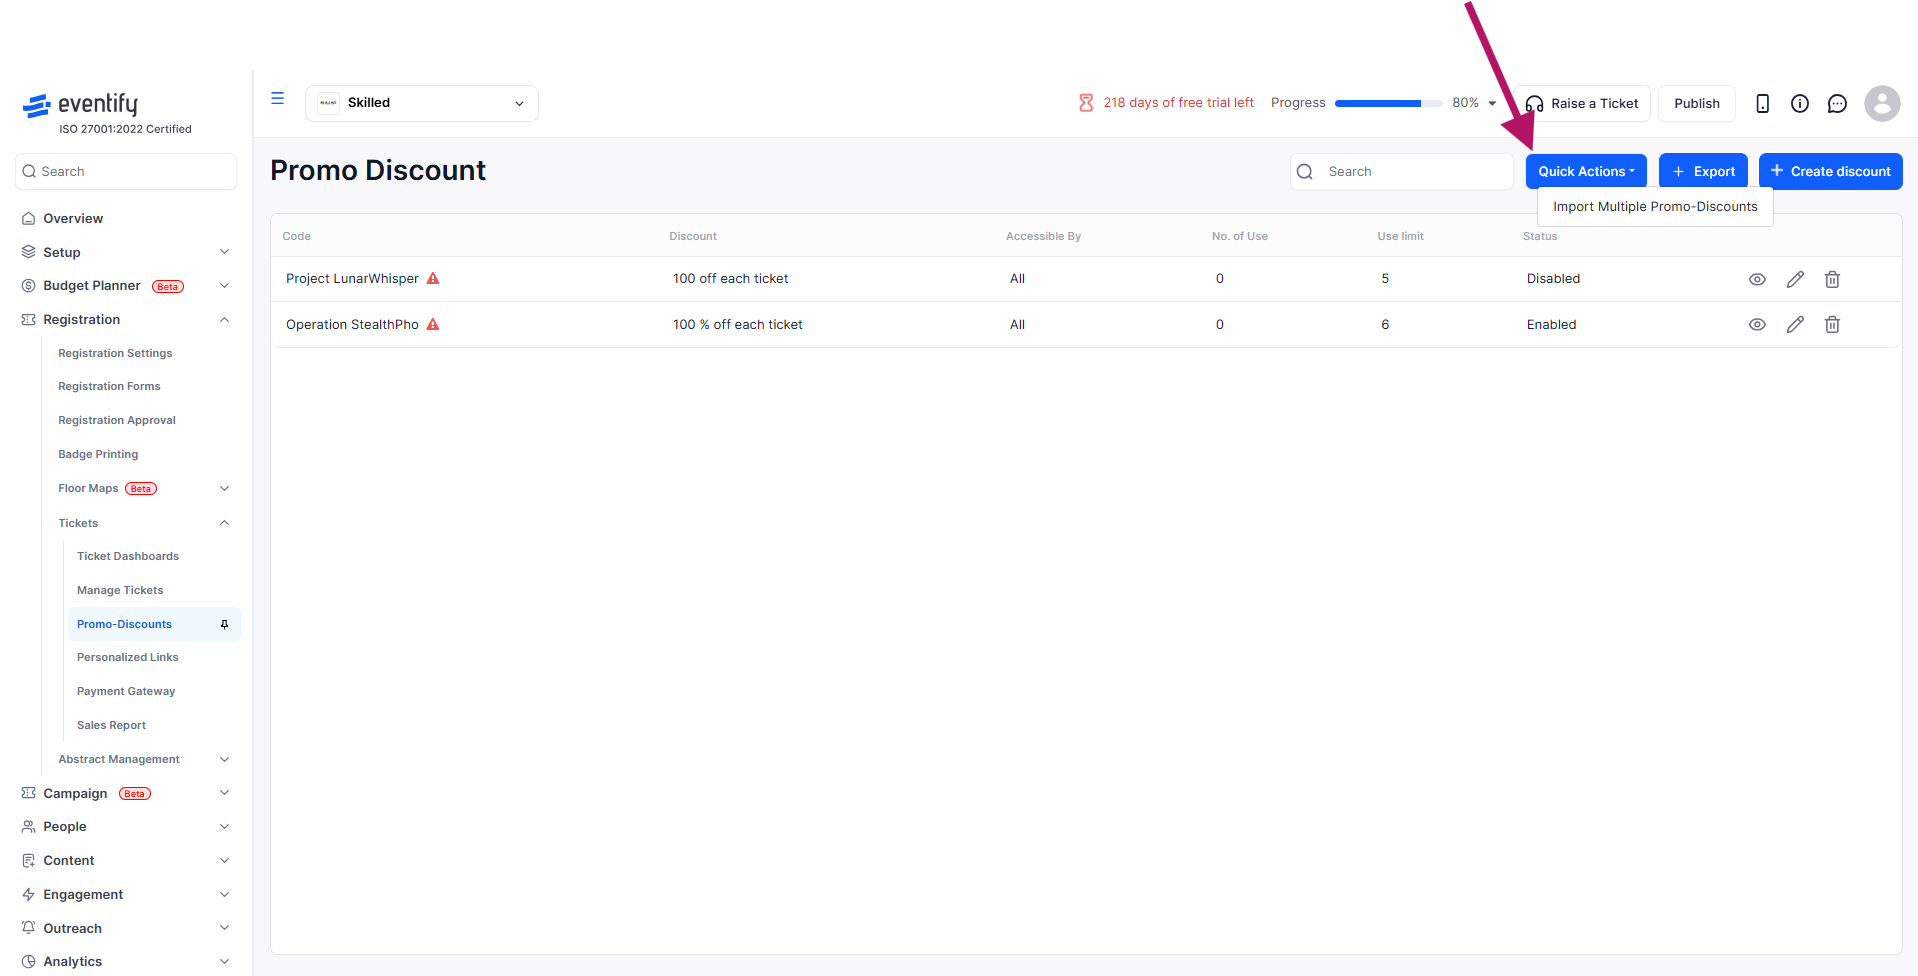
Quick Actions Option
The Quick Actions dropdown allows you to bulk import multiple promo discounts at once. Select Quick Actions → Import Multiple Promo-Discounts
Importing Promo Discounts
Inside the import popup, download the provided sample template, fill in your promo discount data using the template format and upload the completed file.
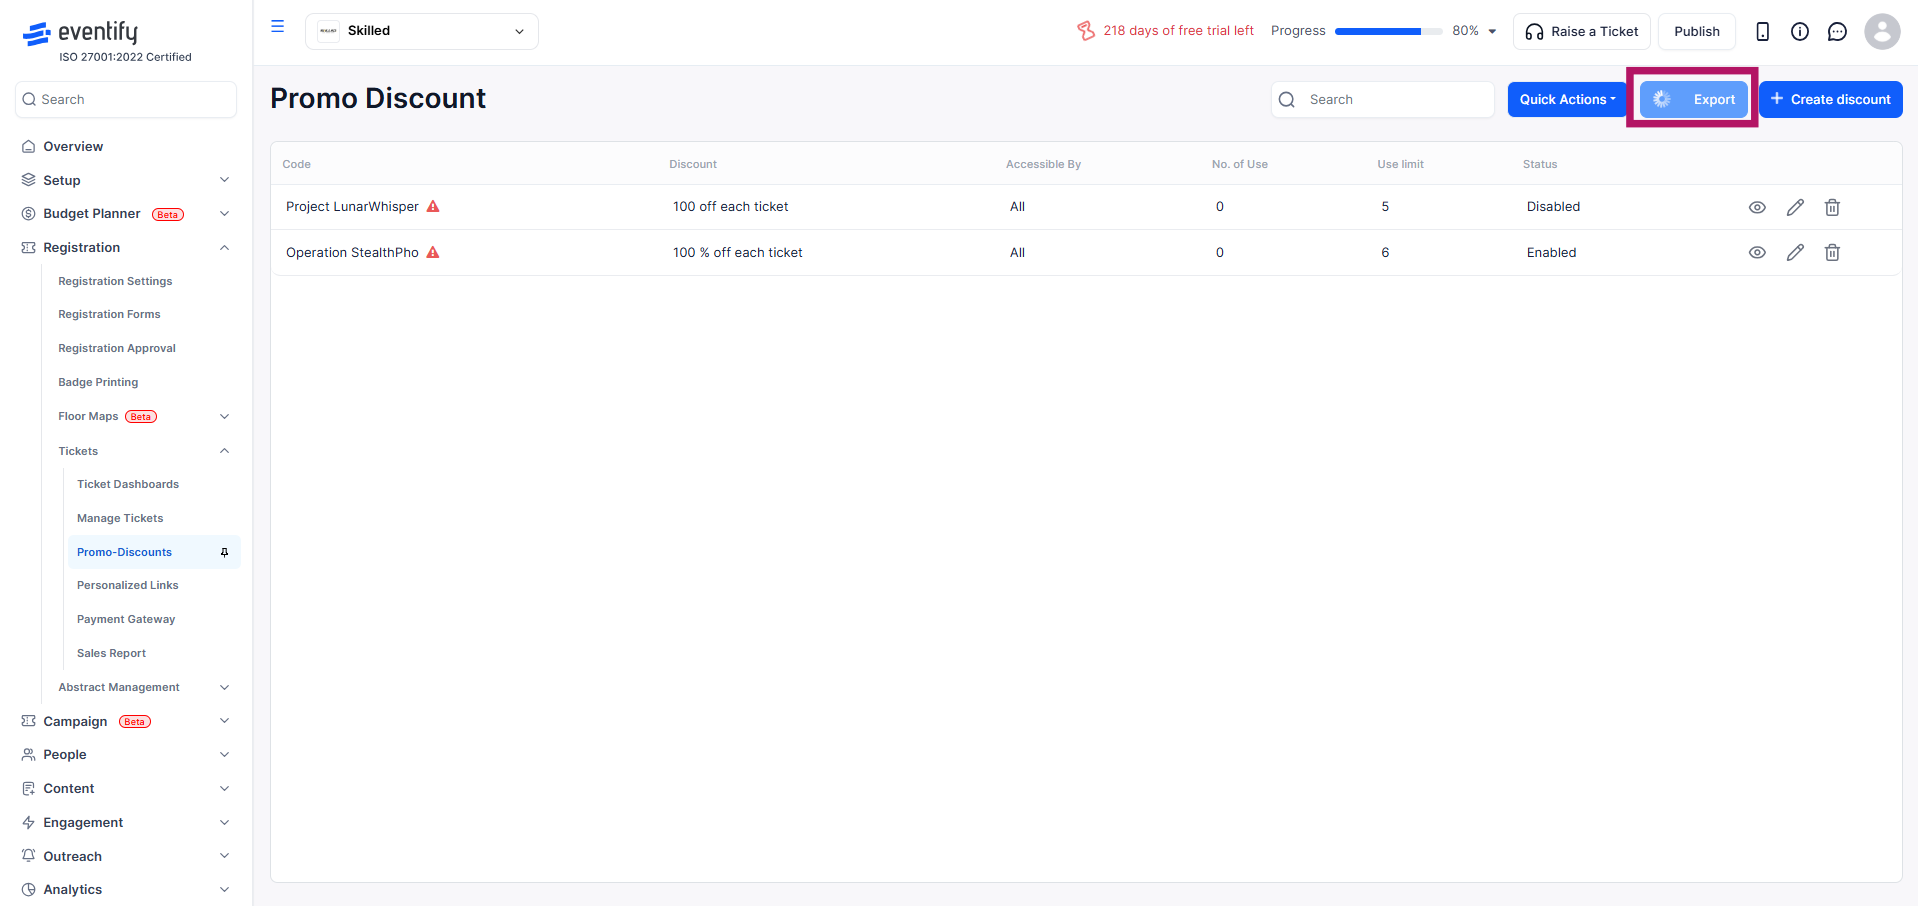
Export Promo Discounts
The Export button allows you to download all existing promo discount records. The exported file includes details such as coupon code, discount value, accessibility, usage count, usage limit, status, start date, end date and created date. This is useful for reporting, backup, and tracking promo code performance.