Eventify now supports multiple languages, and you can set it up from the Admin Panel itself.
To learn how to organize an event for non-native English attendees through Eventify, follow the steps as displayed in the guide below

Interactive Guide
Or check the step-by-step guide
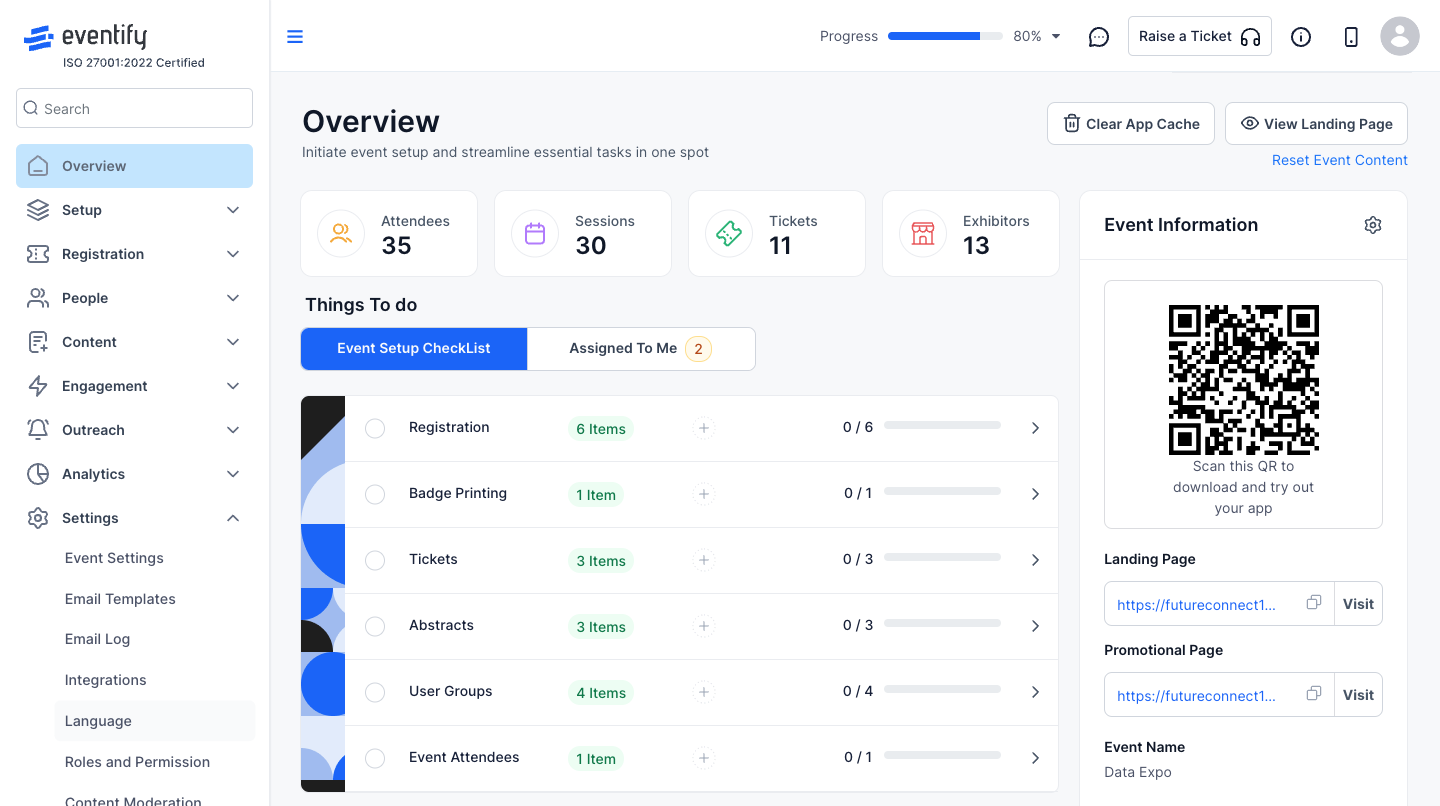
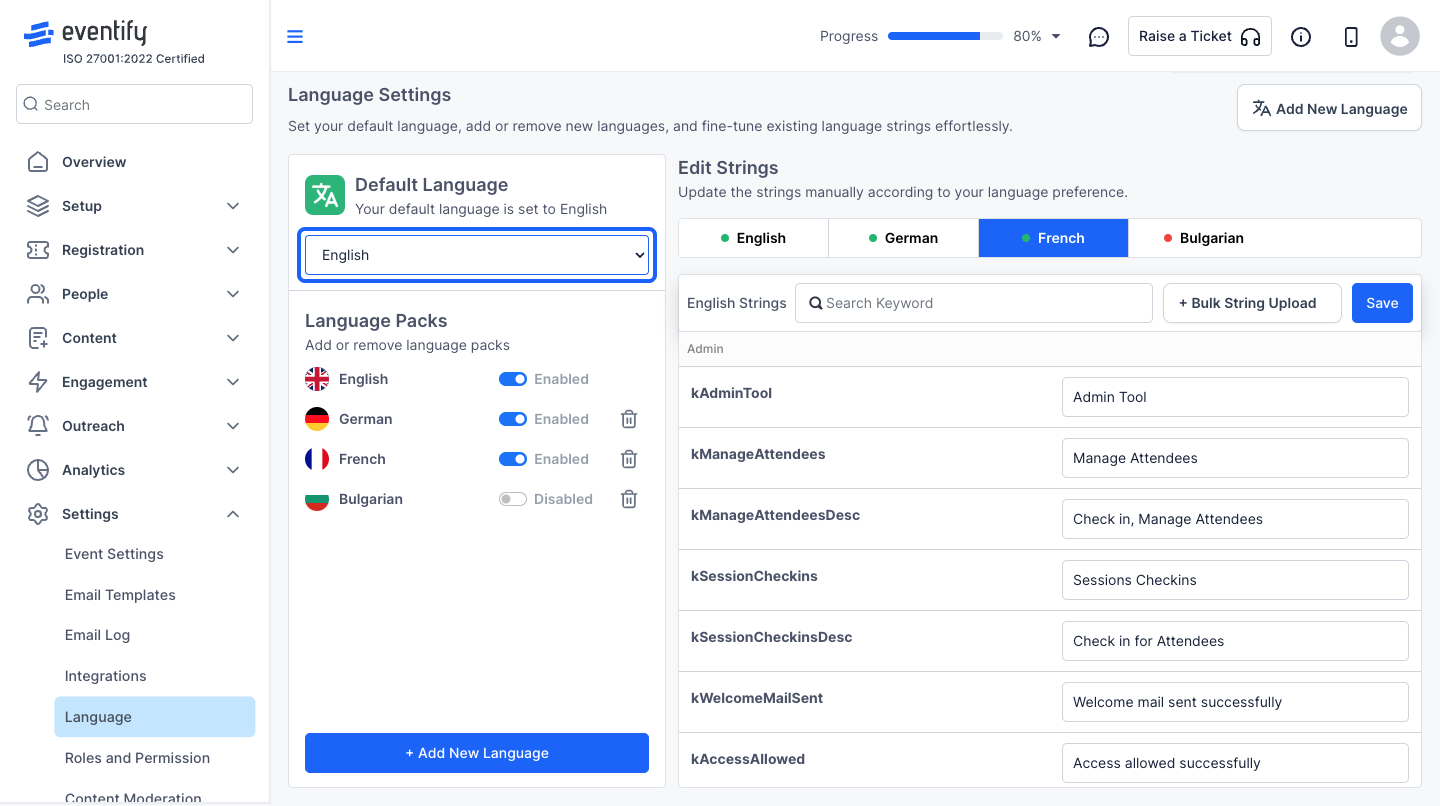
1: Access the Eventify Admin Panel and navigate to Settings>Language
2: Eventify sets the default language to English , however you can set a different language for the event.
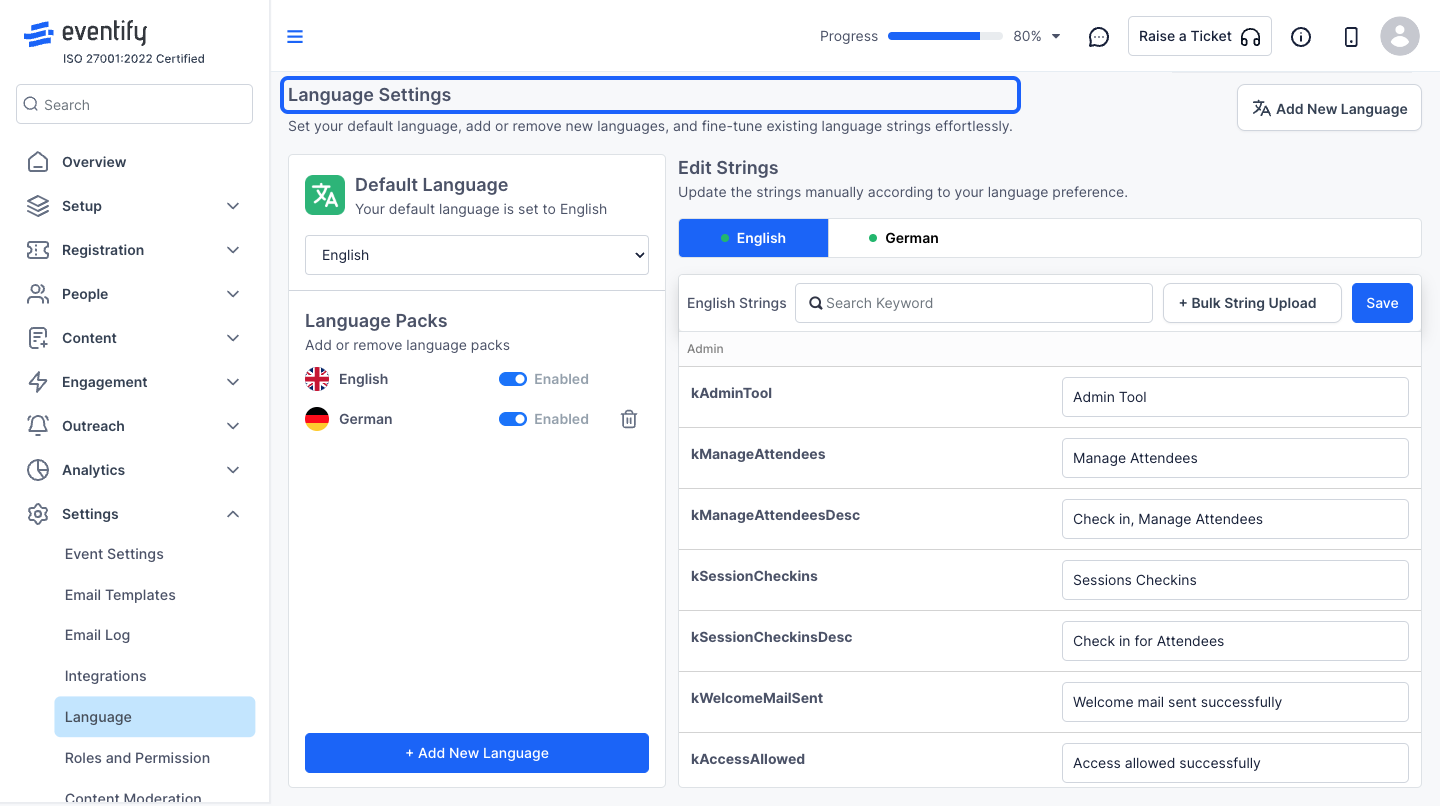
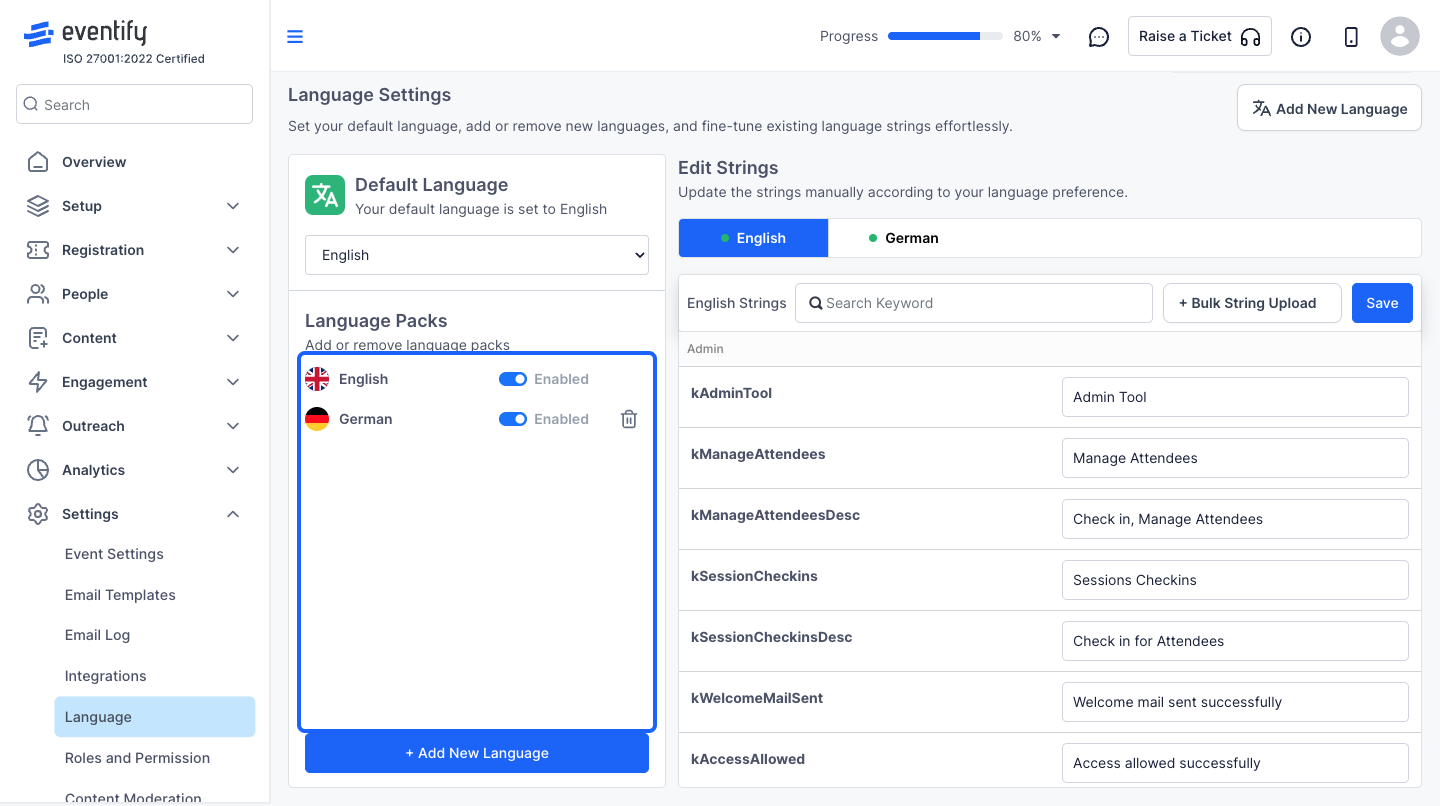
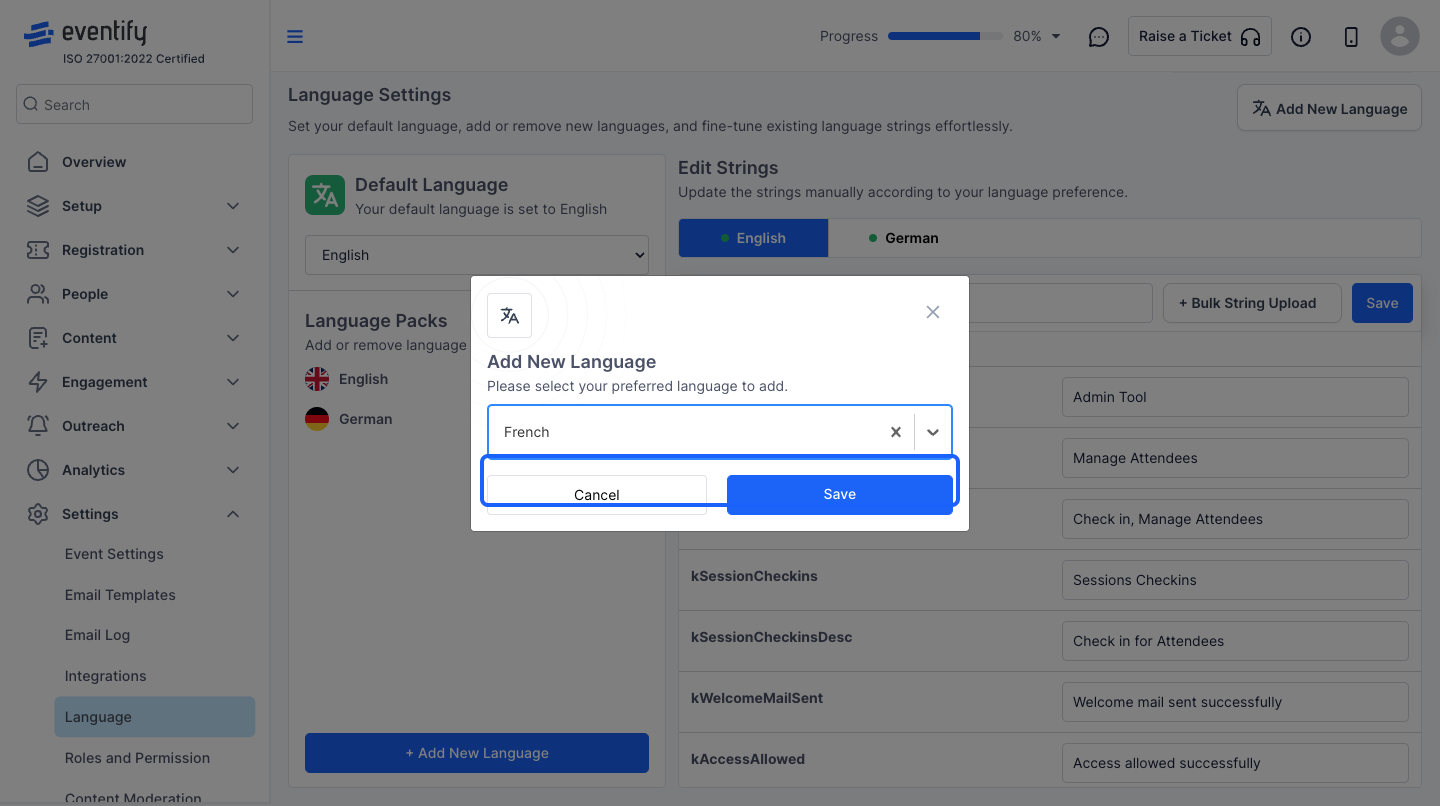
3: To add a new language , Click the “+ Add New Language” button
4: Search & select the language from the dropdown list.
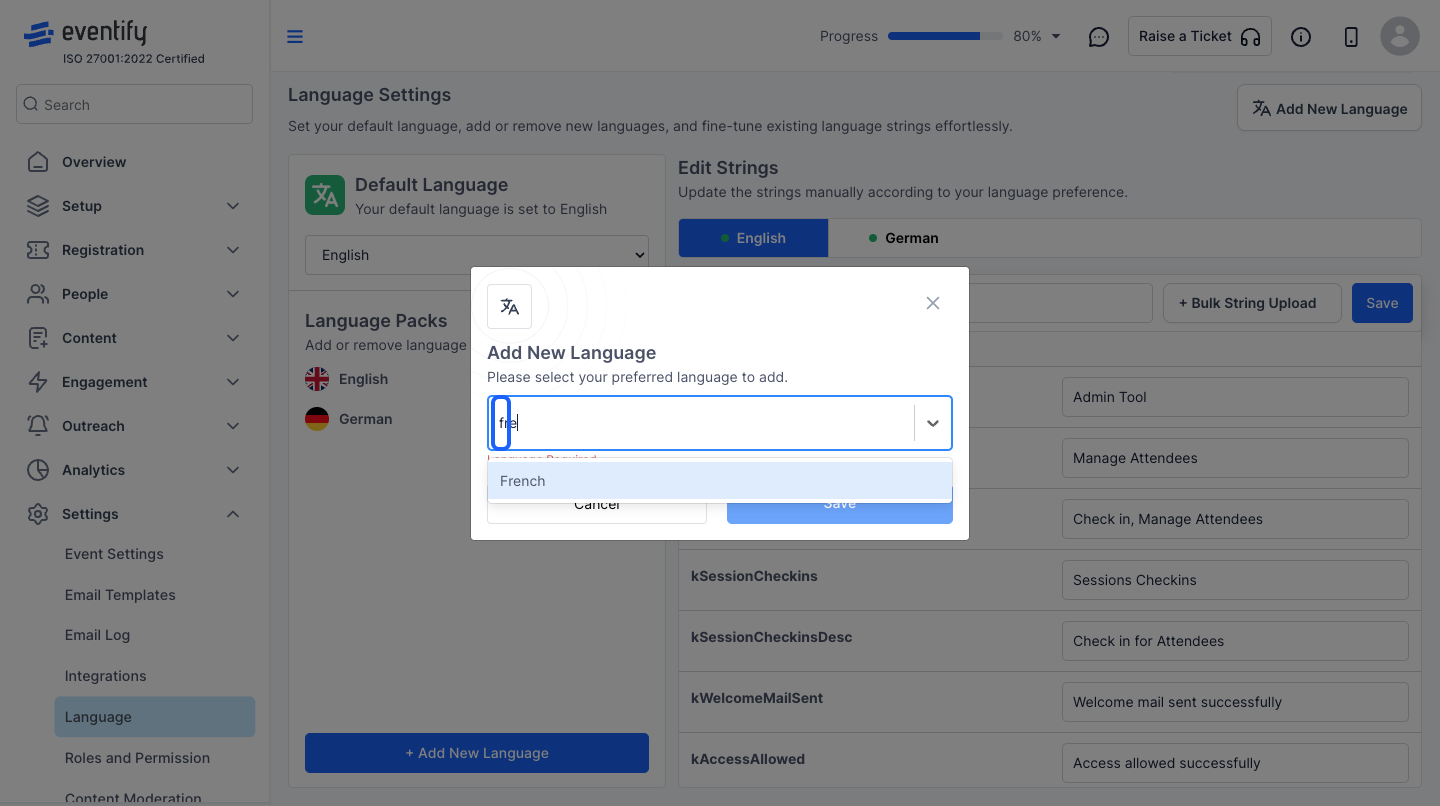
5: Save the selected language to add in the event
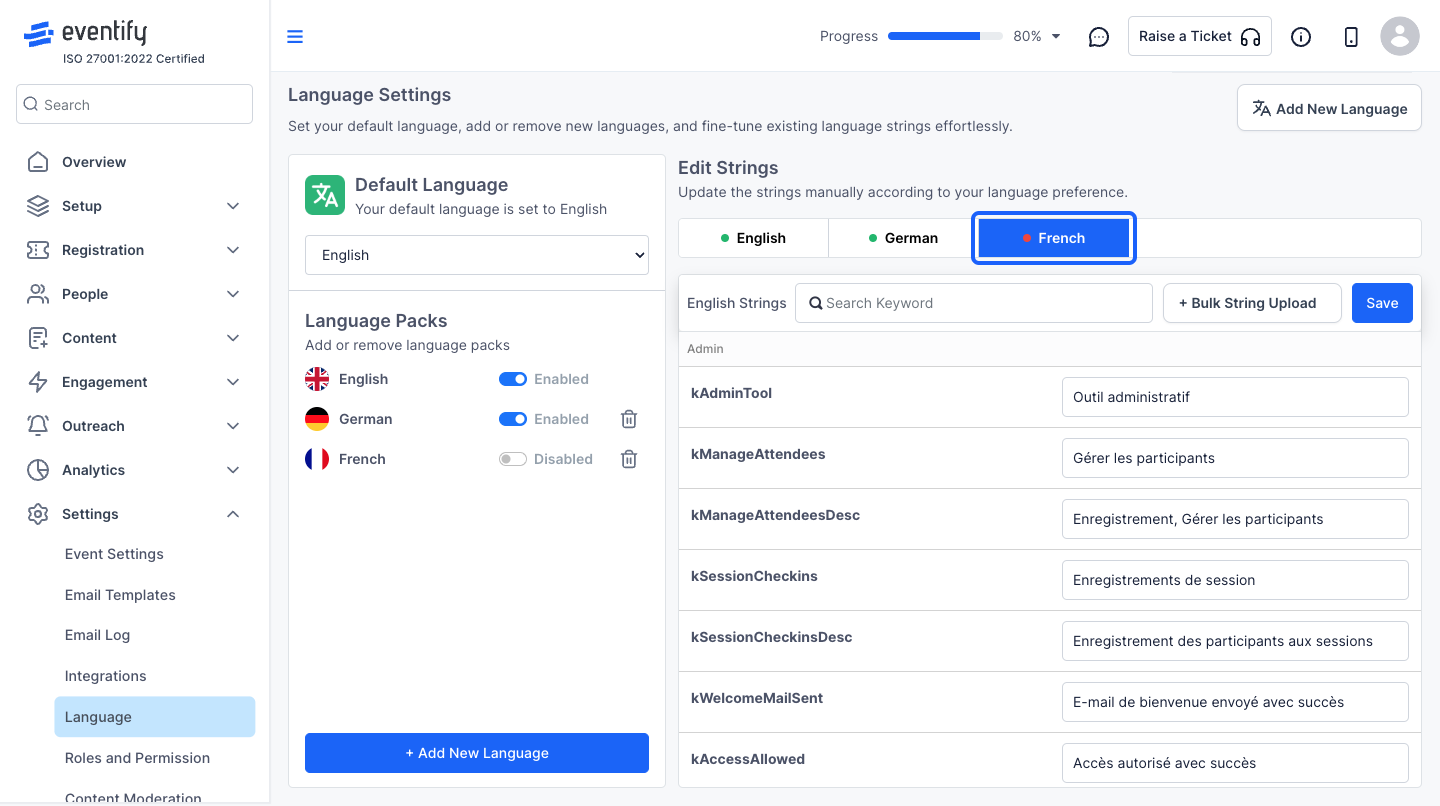
6: Once the language is added, you need to update all the strings (translation texts) according to that language.
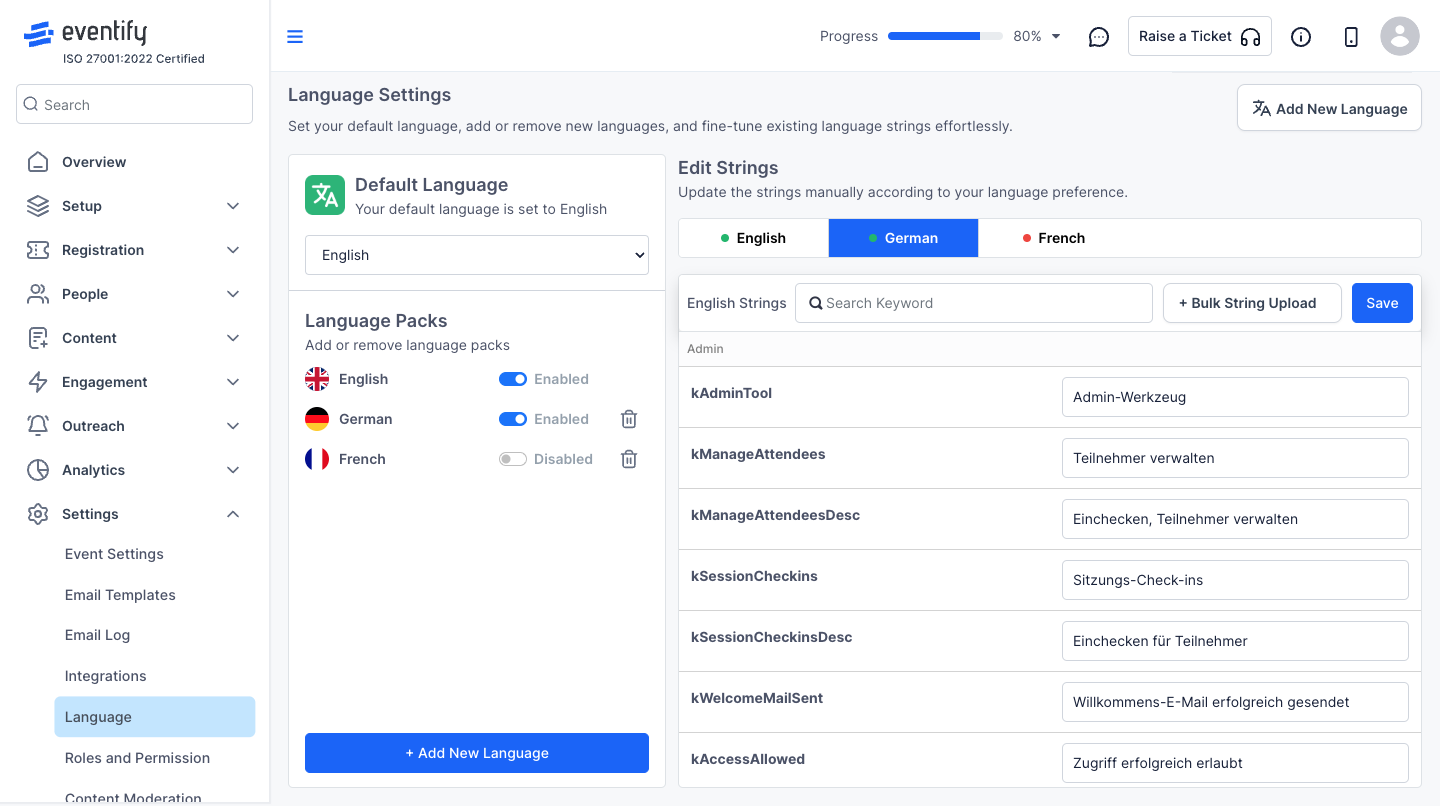
7: Update Language Listing
You can type into the text fields to update the language changes
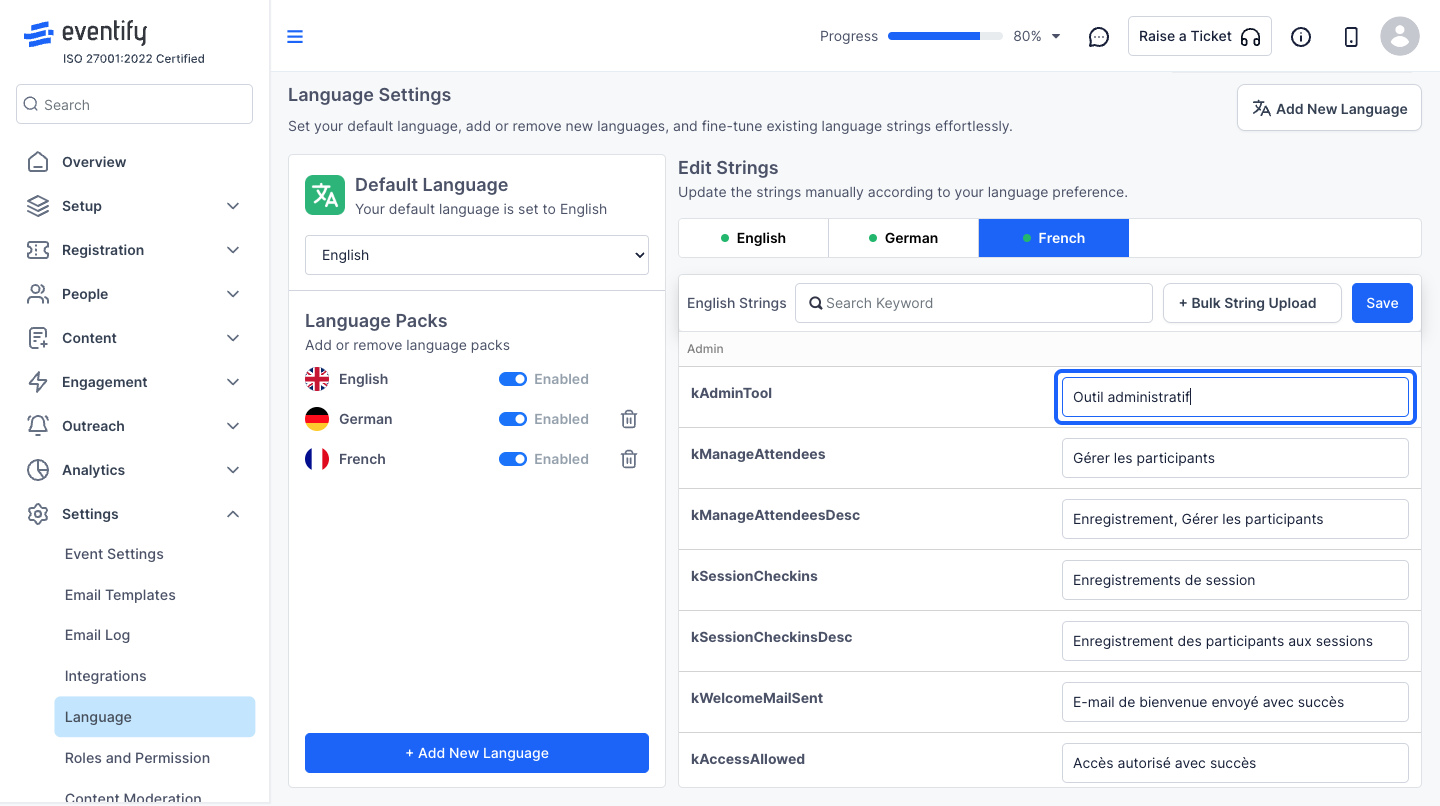
8: Click the “Save” button to save the language changes.

9: Or you can also Bulk upload the translations using the "+ Bulk String Upload"

10: To Bulk upload, you need to first download the Language CSV file
Click on the “Download English CSV” button to download the file
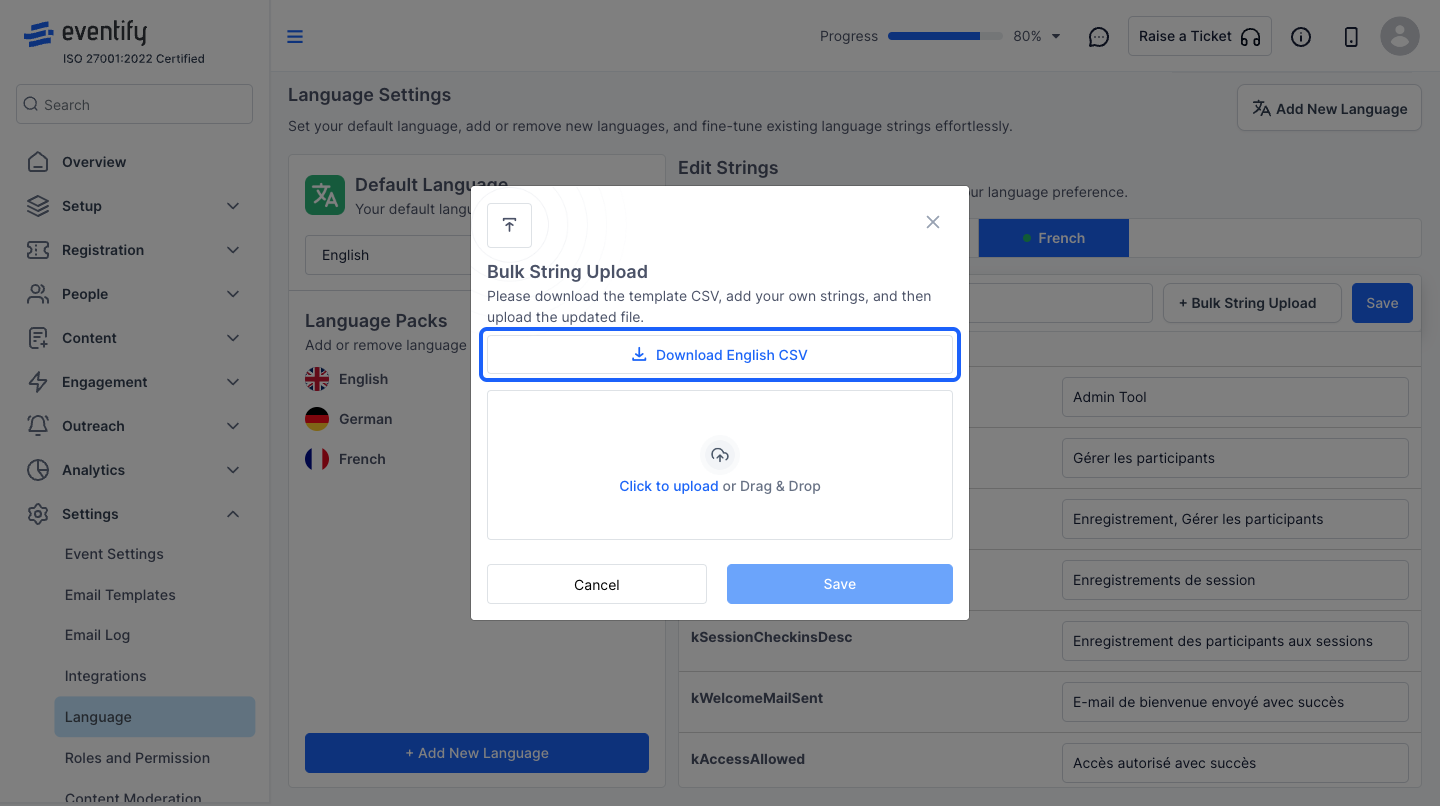
11: In the file you will need to update the strings (texts) in the 'Text' column with the translations of the required language and then upload the file
Note: Do not change the 'Key' column.
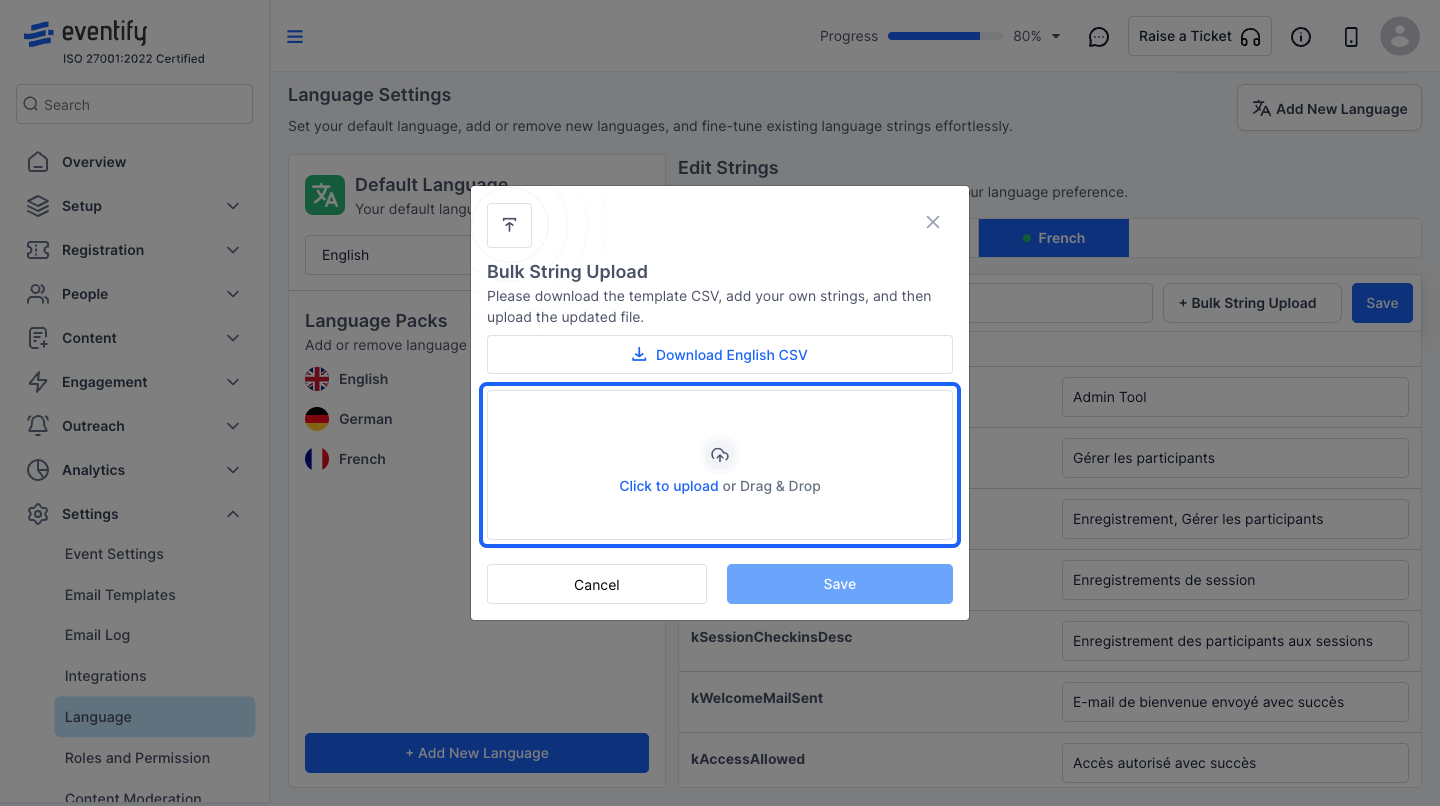
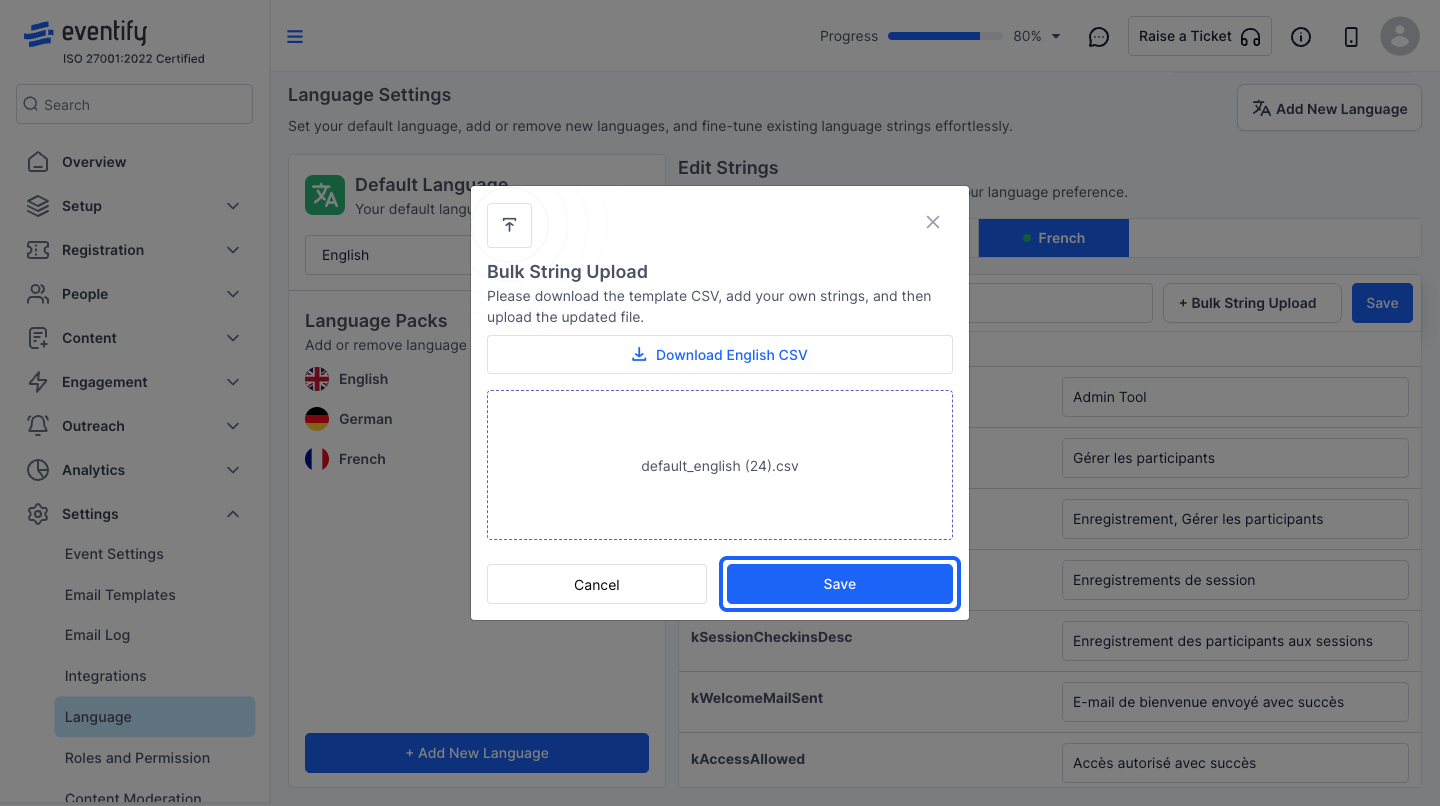
12: Click on the “Save” button to upload the translated file
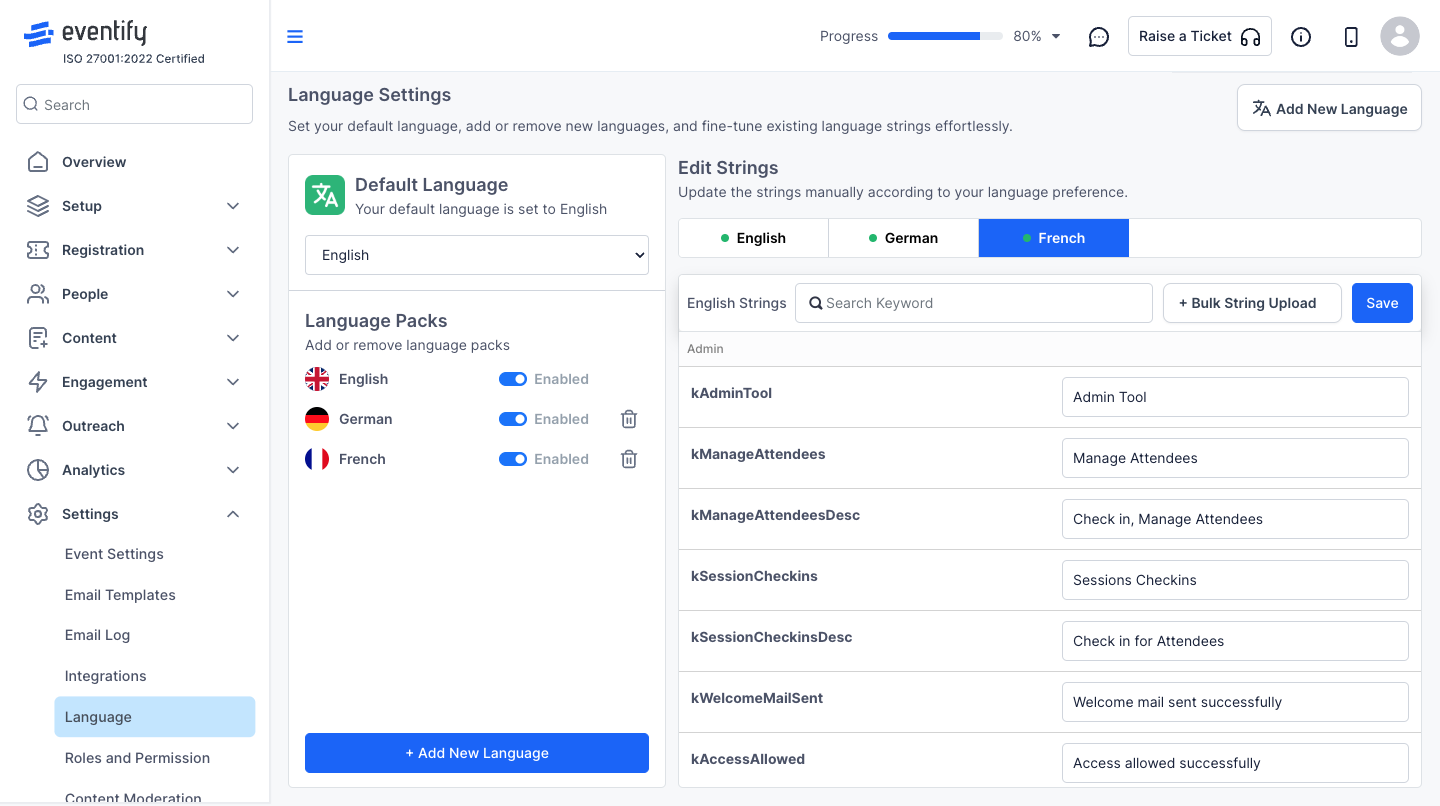
13: Once the translations are done, enable that language here to make it available in app
14: You can do the same process from this " add new language" button also
15: Set the default language here, and users will have the option to change the language from app settings
🔔 Only the app interface will display in the selected language it is added in.
