Customizing user groups helps you organize and manage attendees. Follow the steps below to create, edit, or manage user groups in the Eventify Admin Panel as per your event requirements.

Interactive Guide
Or check the step-by-step guide
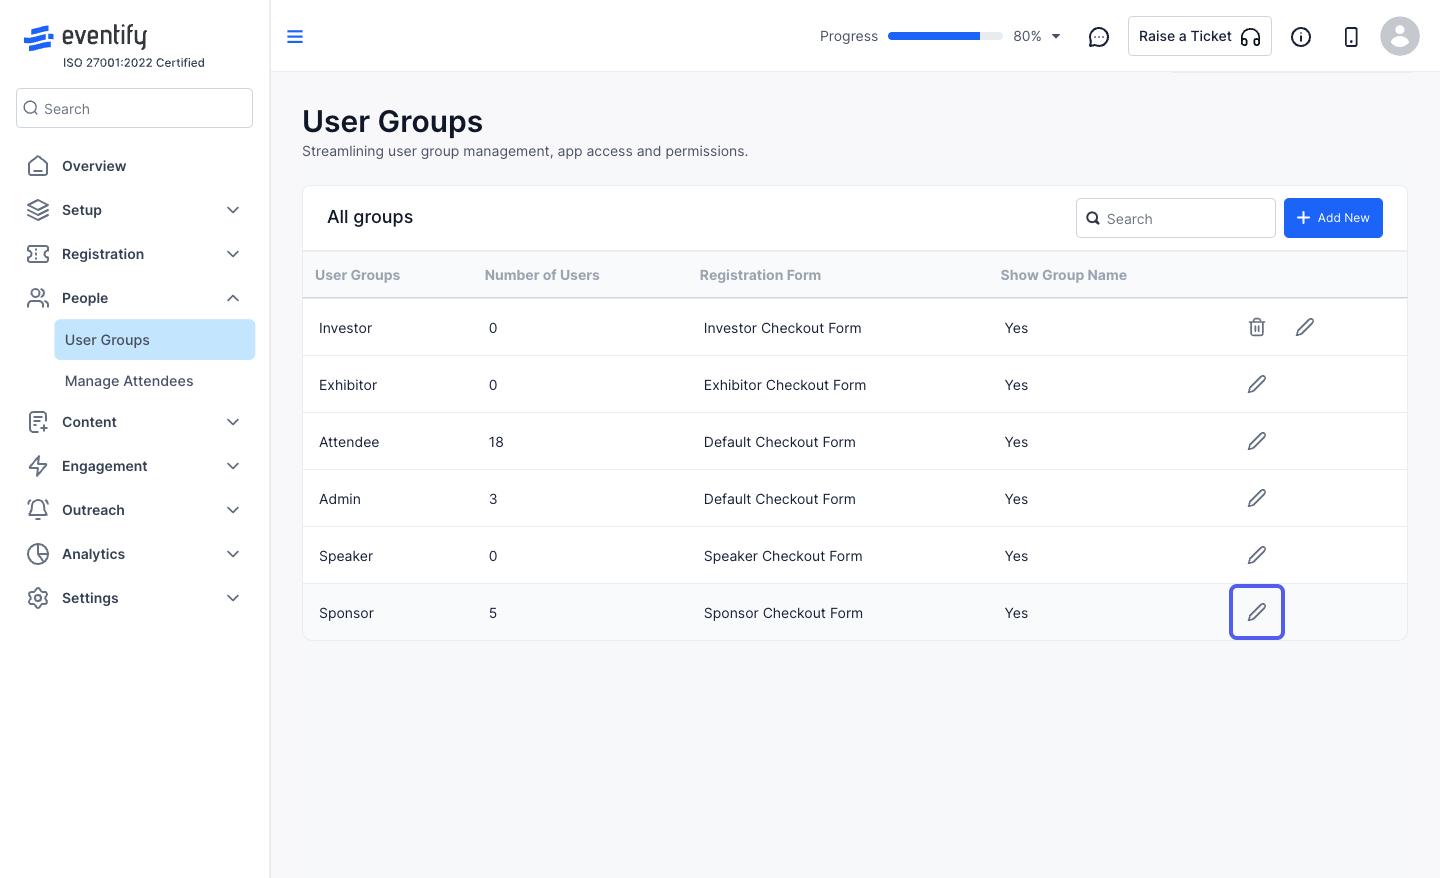
1: Access the Eventify Admin Panel and navigate to People > User Groups
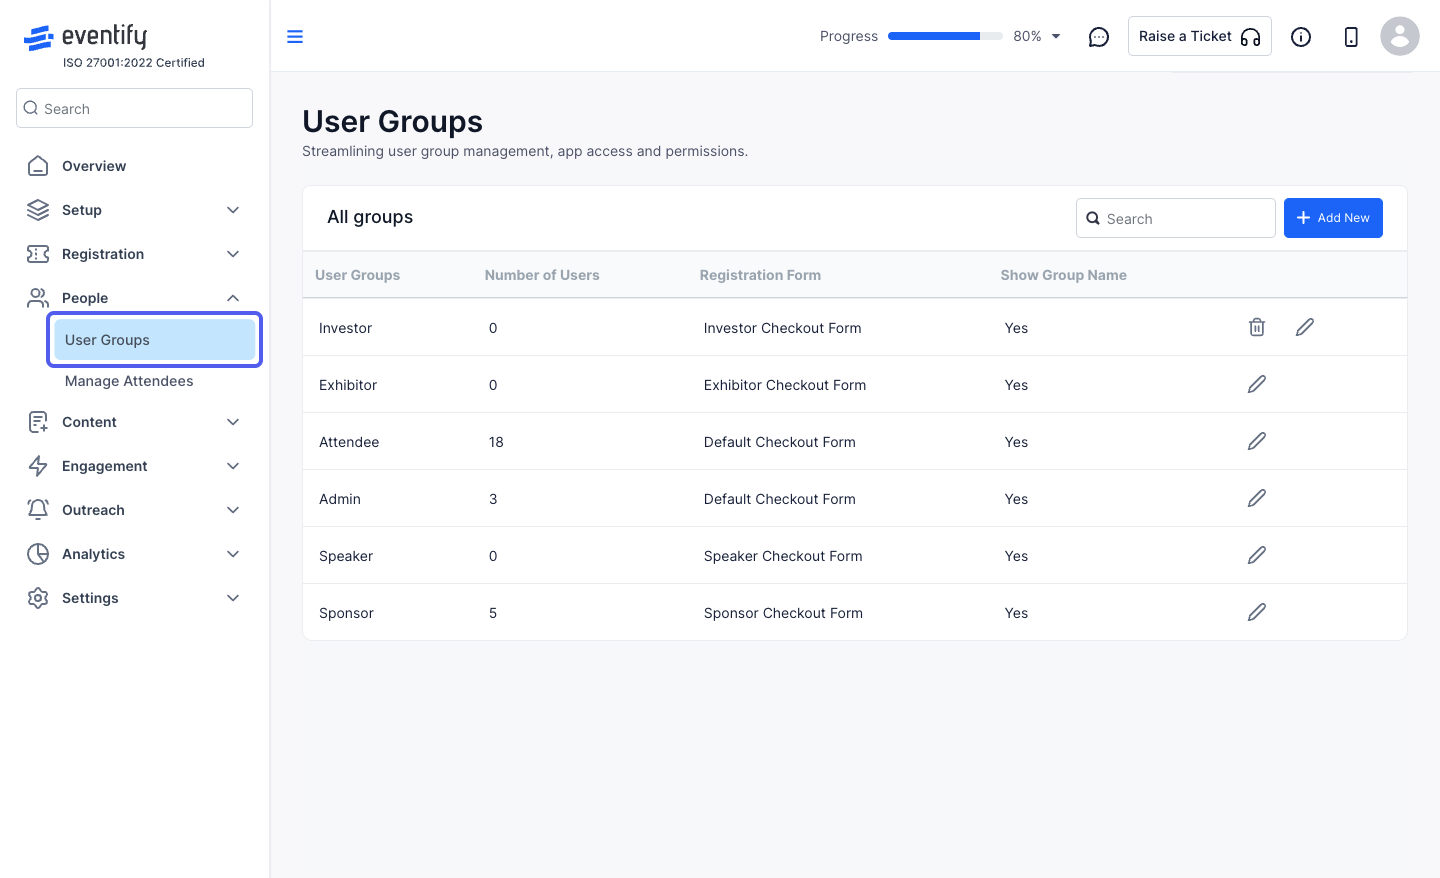
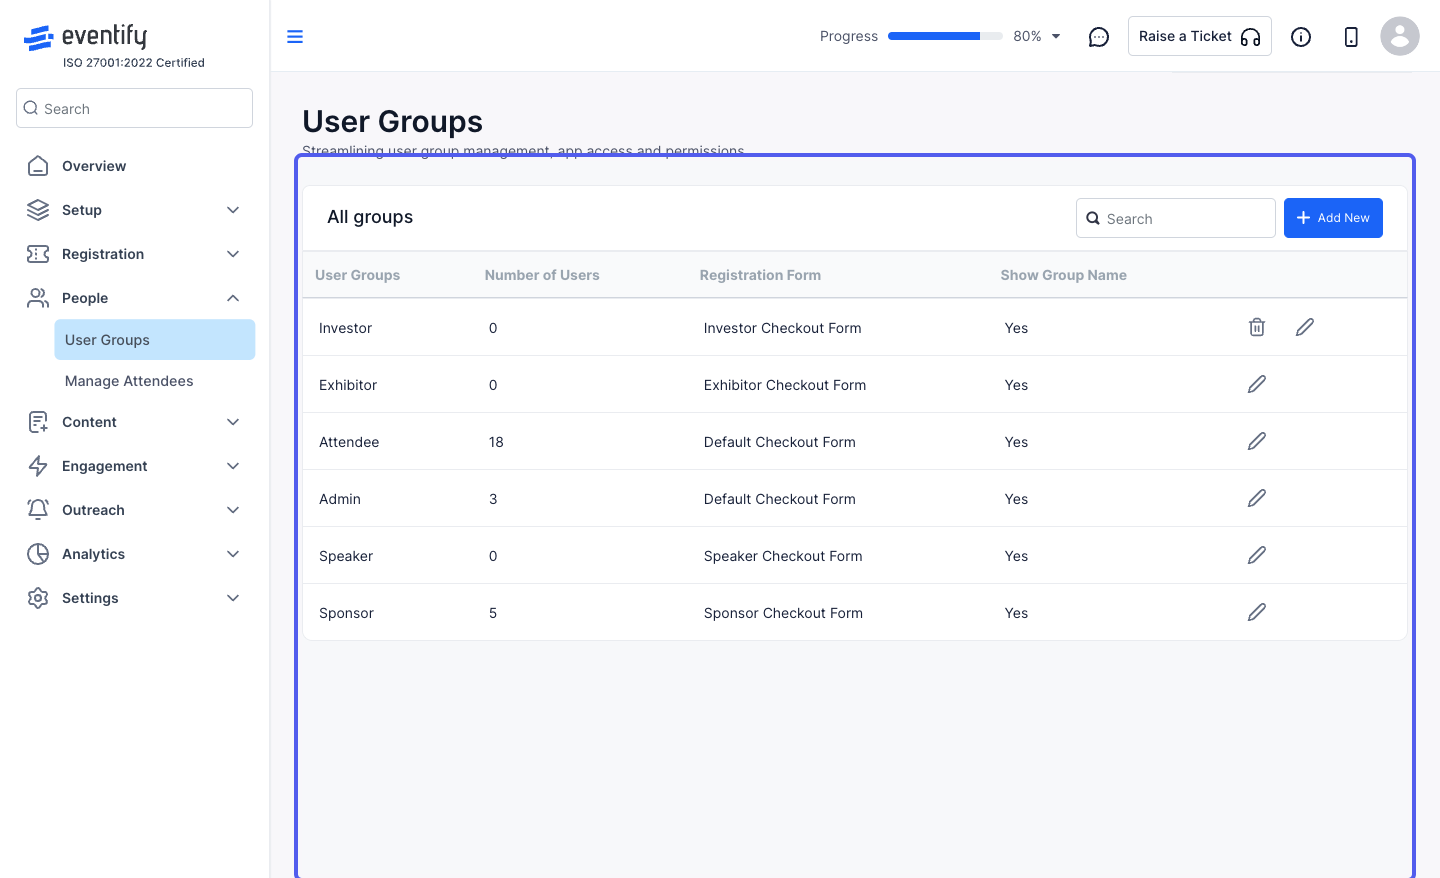
2: You can see the list of User groups, default and custom
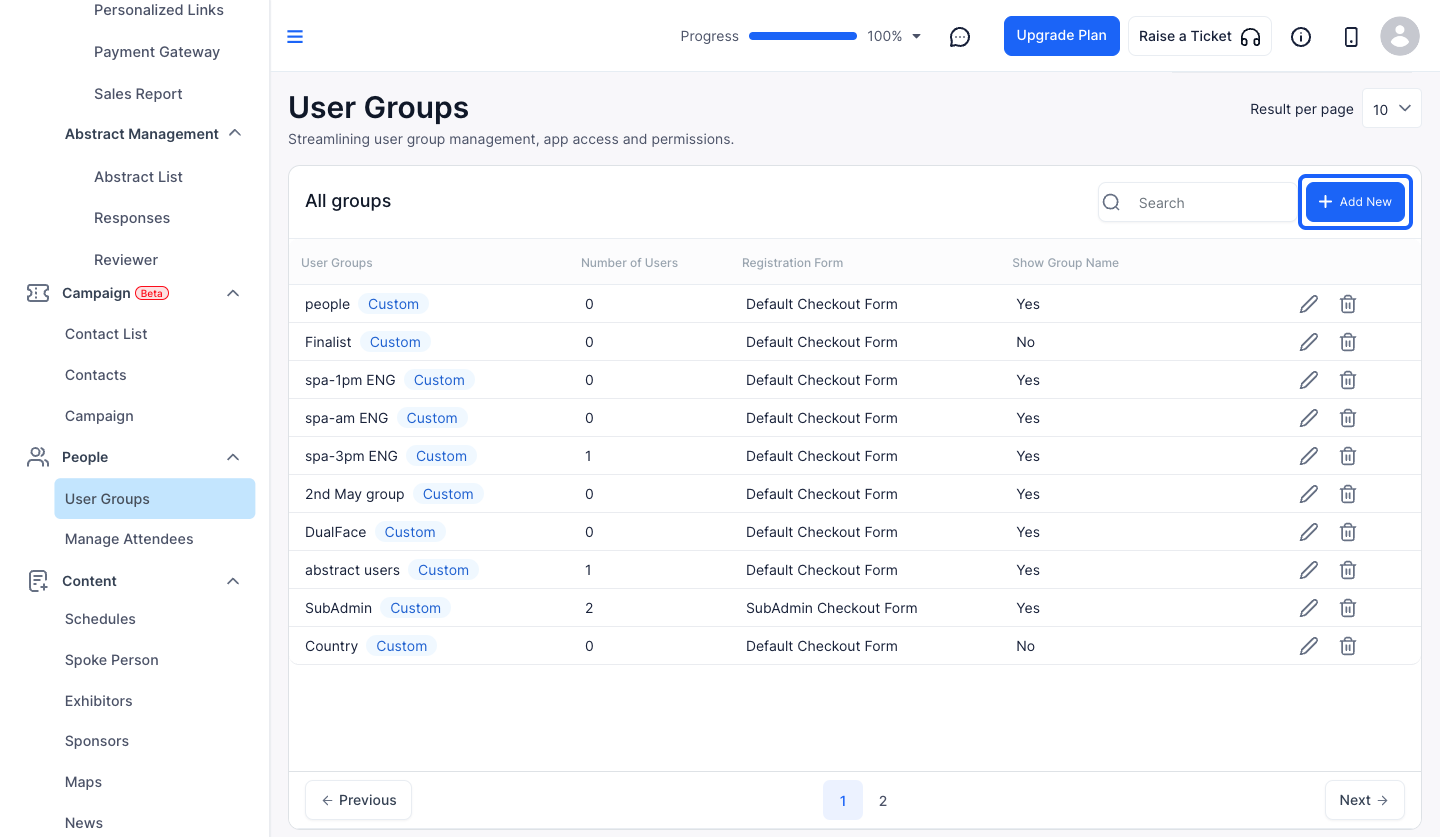
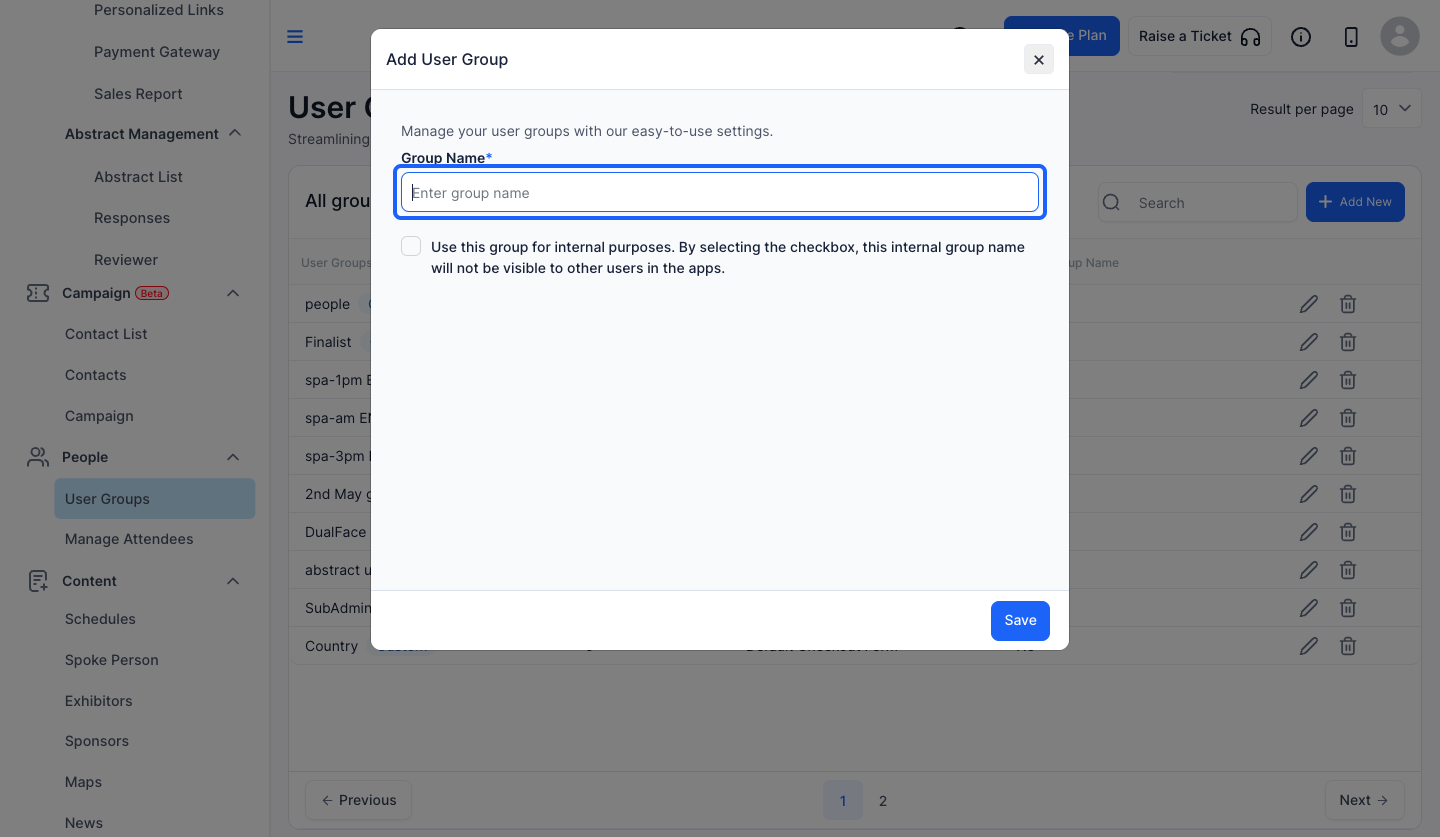
3: Click the “Add New” button to add a new user group
4: Enter the name of the group here
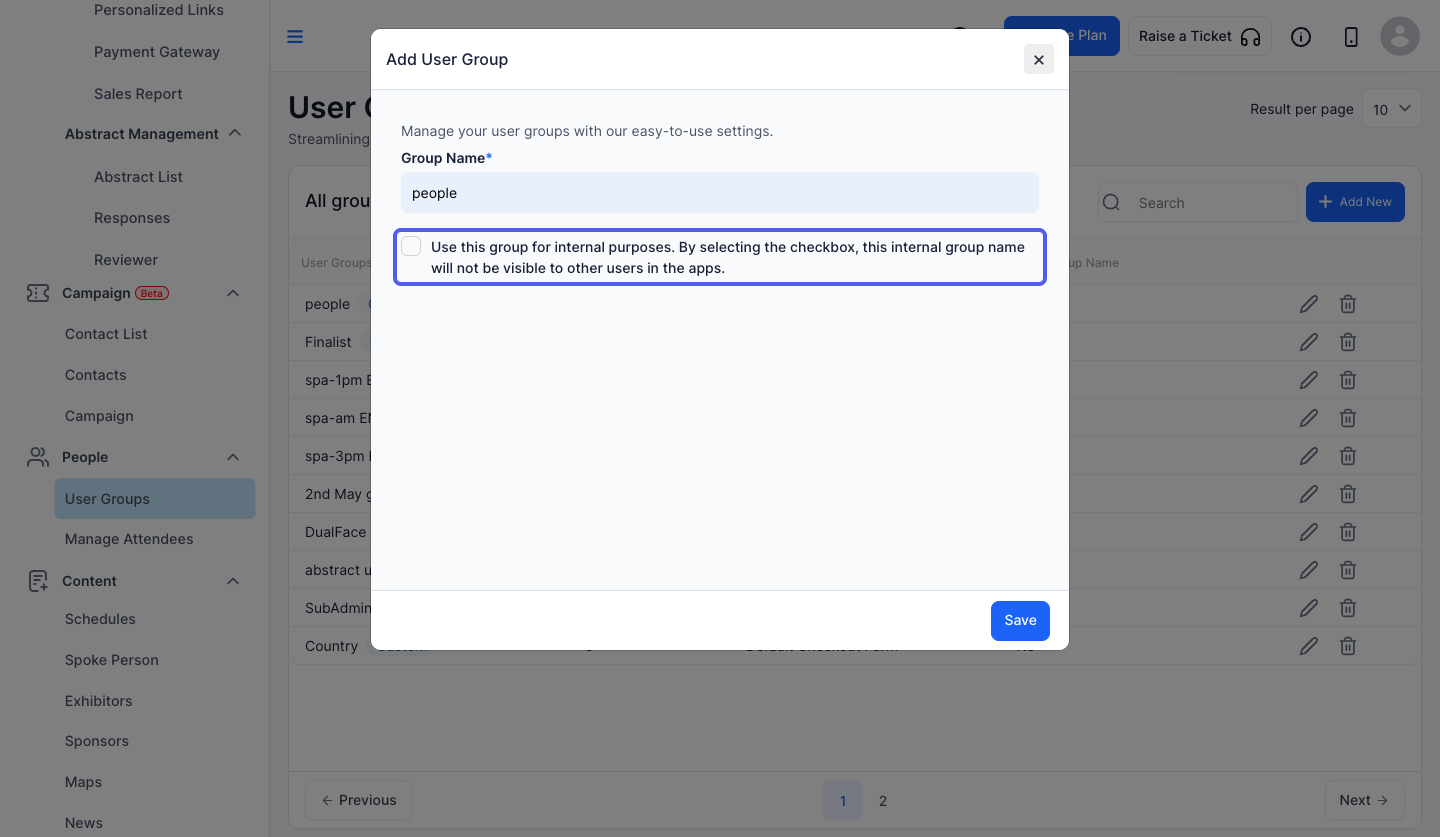
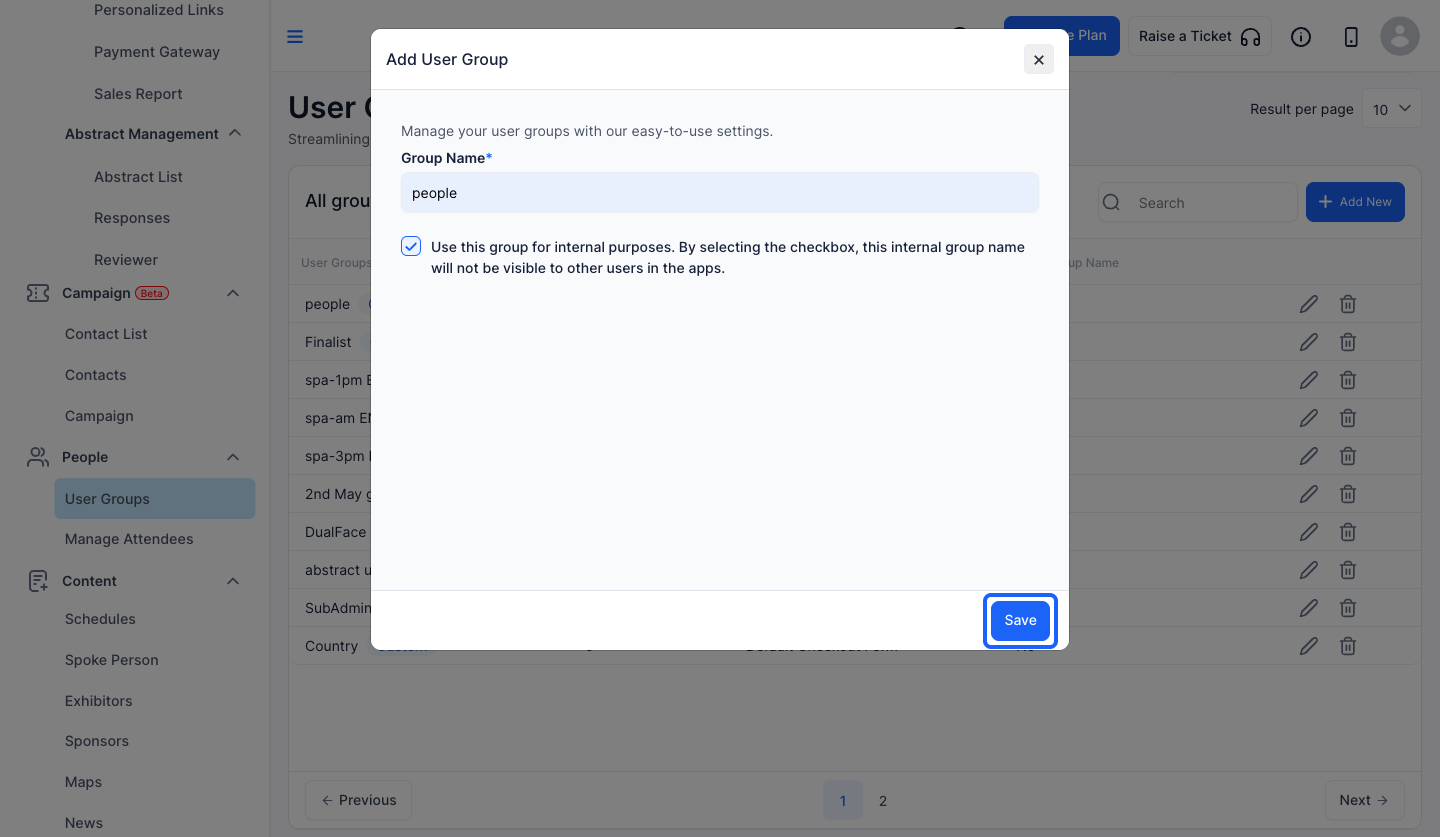
5: keep this checked, if you want to use this group for internal purposes
6: Click the “Save” button to add the new user group
7: Now, find the group you need to edit

8: Click on the Pencil(Edit) button
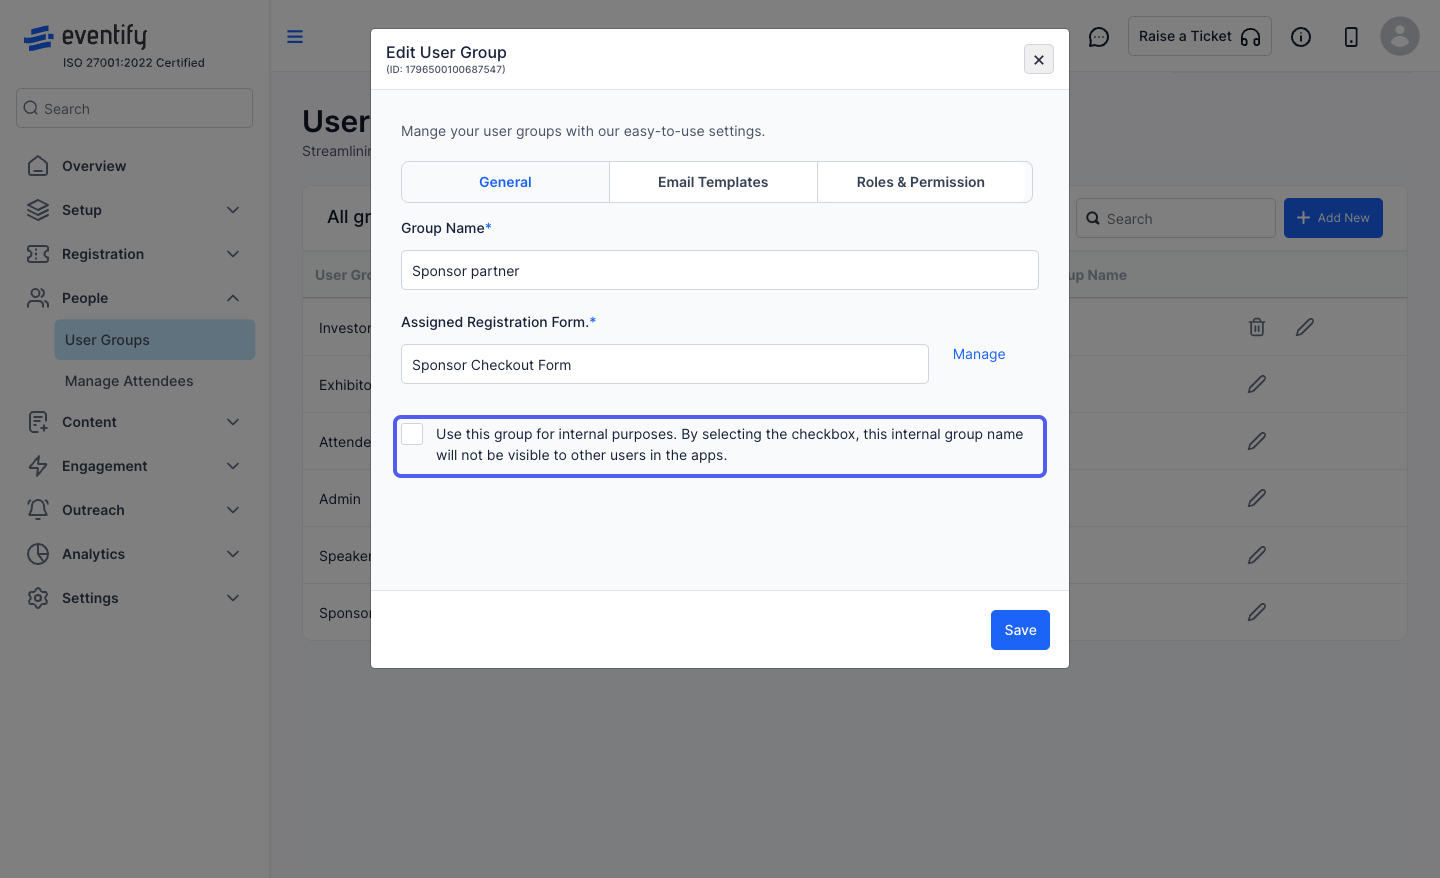
9: You will get the edit group form
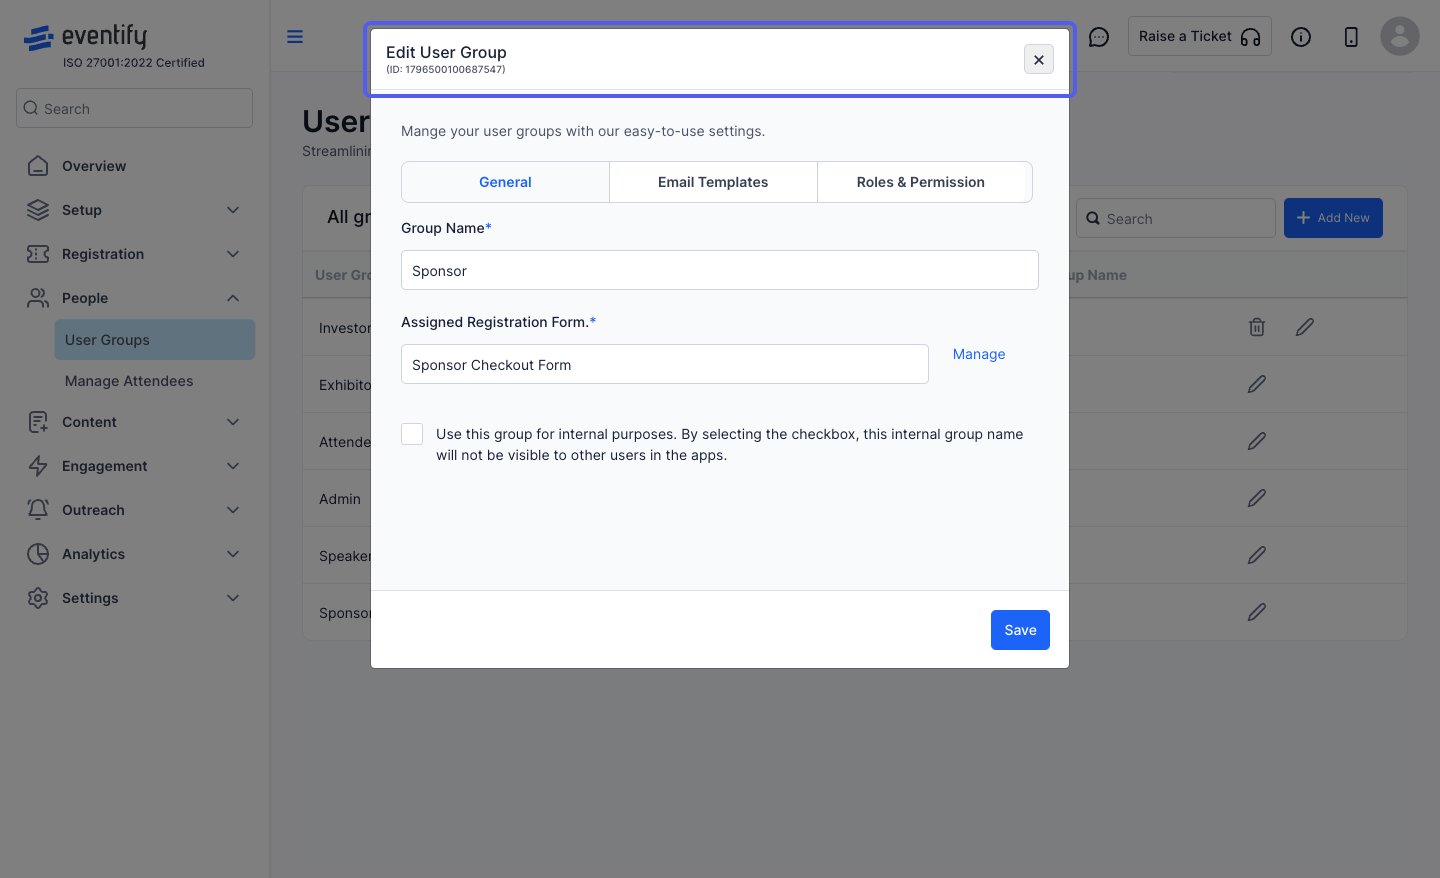
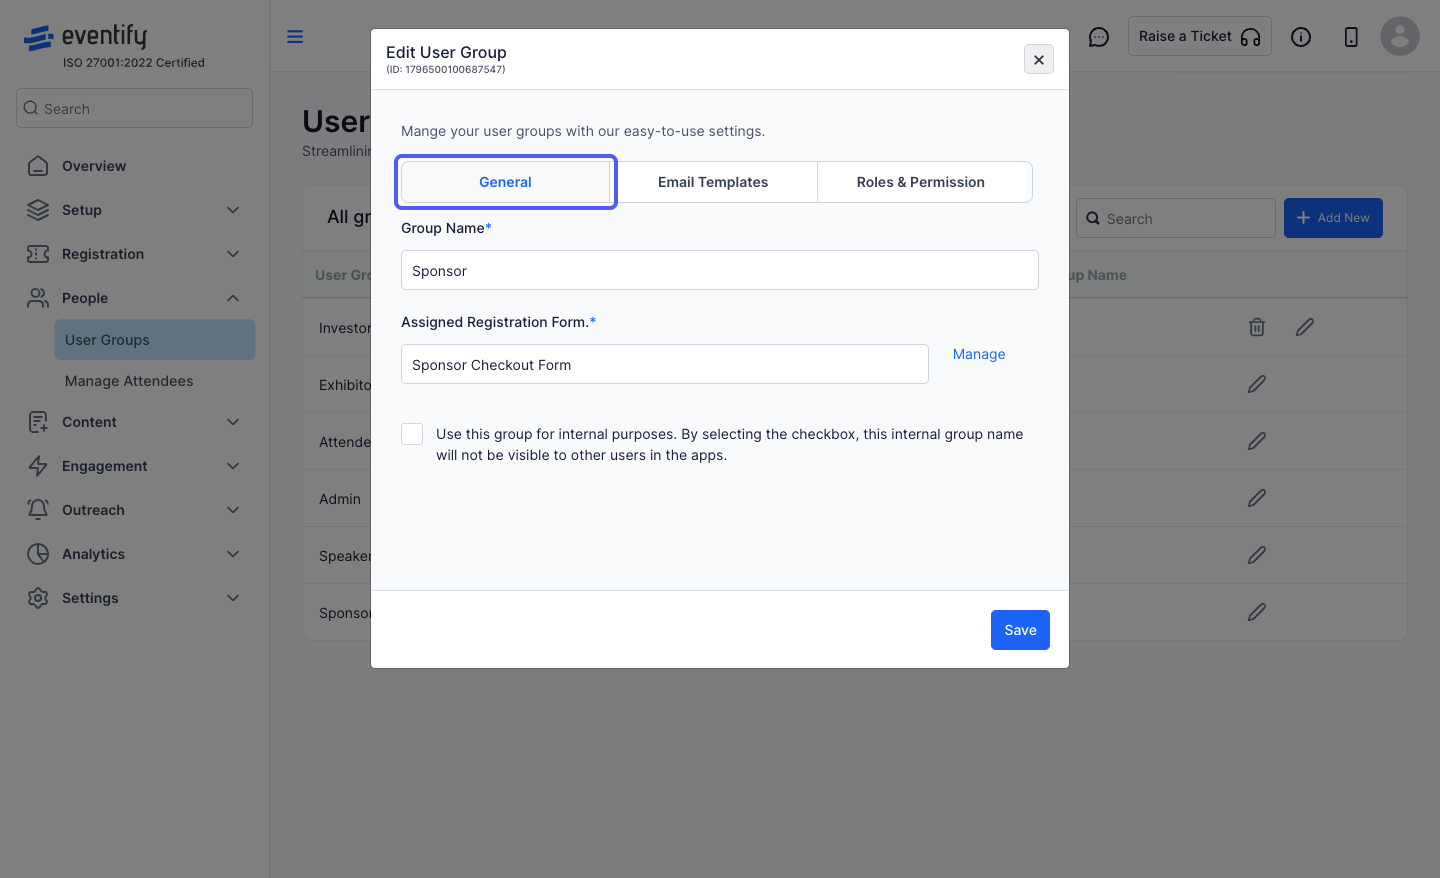
10: The General tab consists of basic group informations
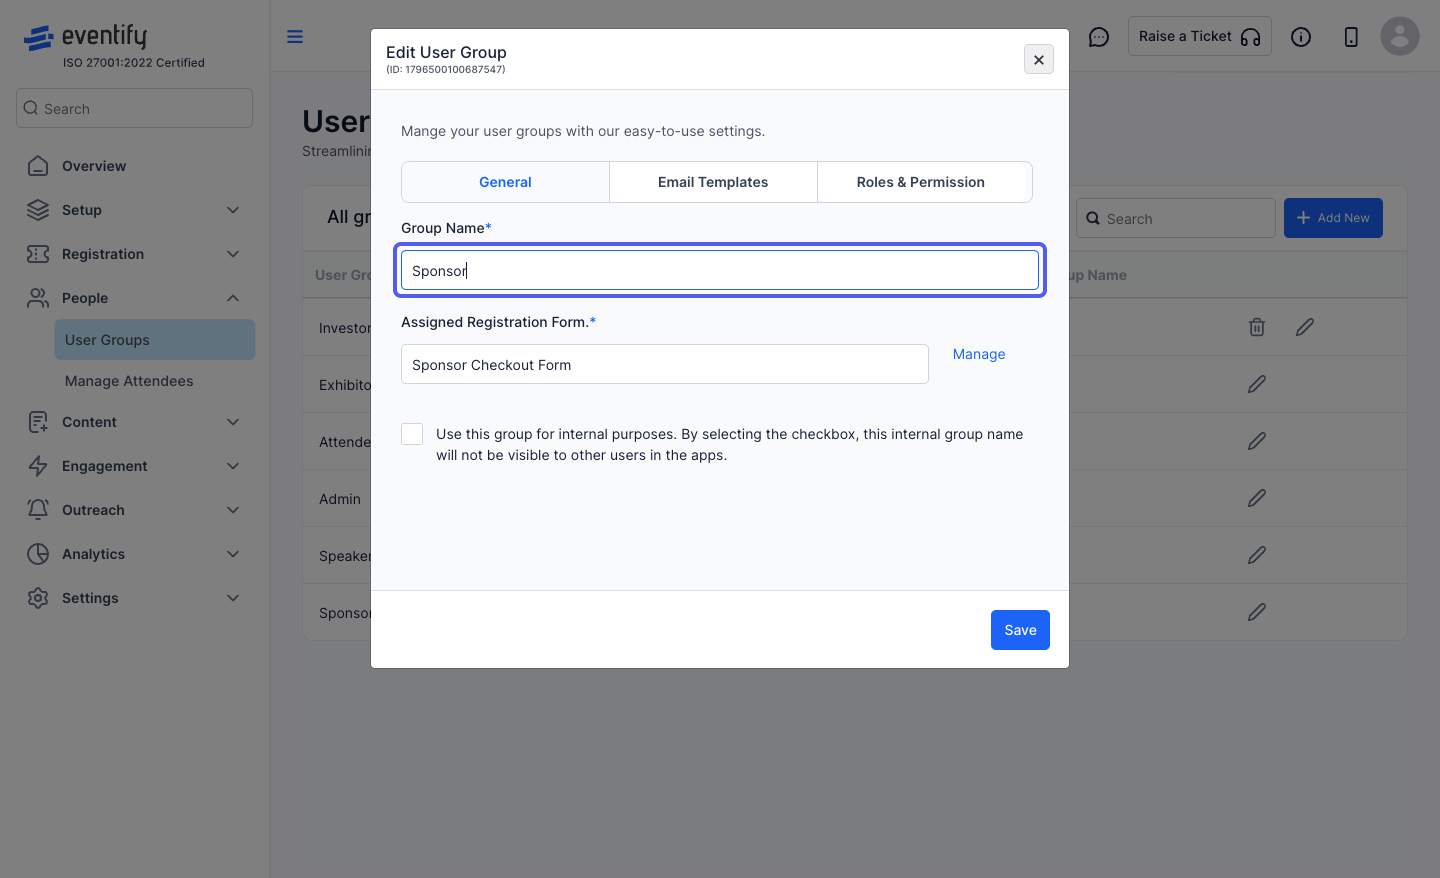
11: Edit the group name
12: You can update the checkout form associated with the group
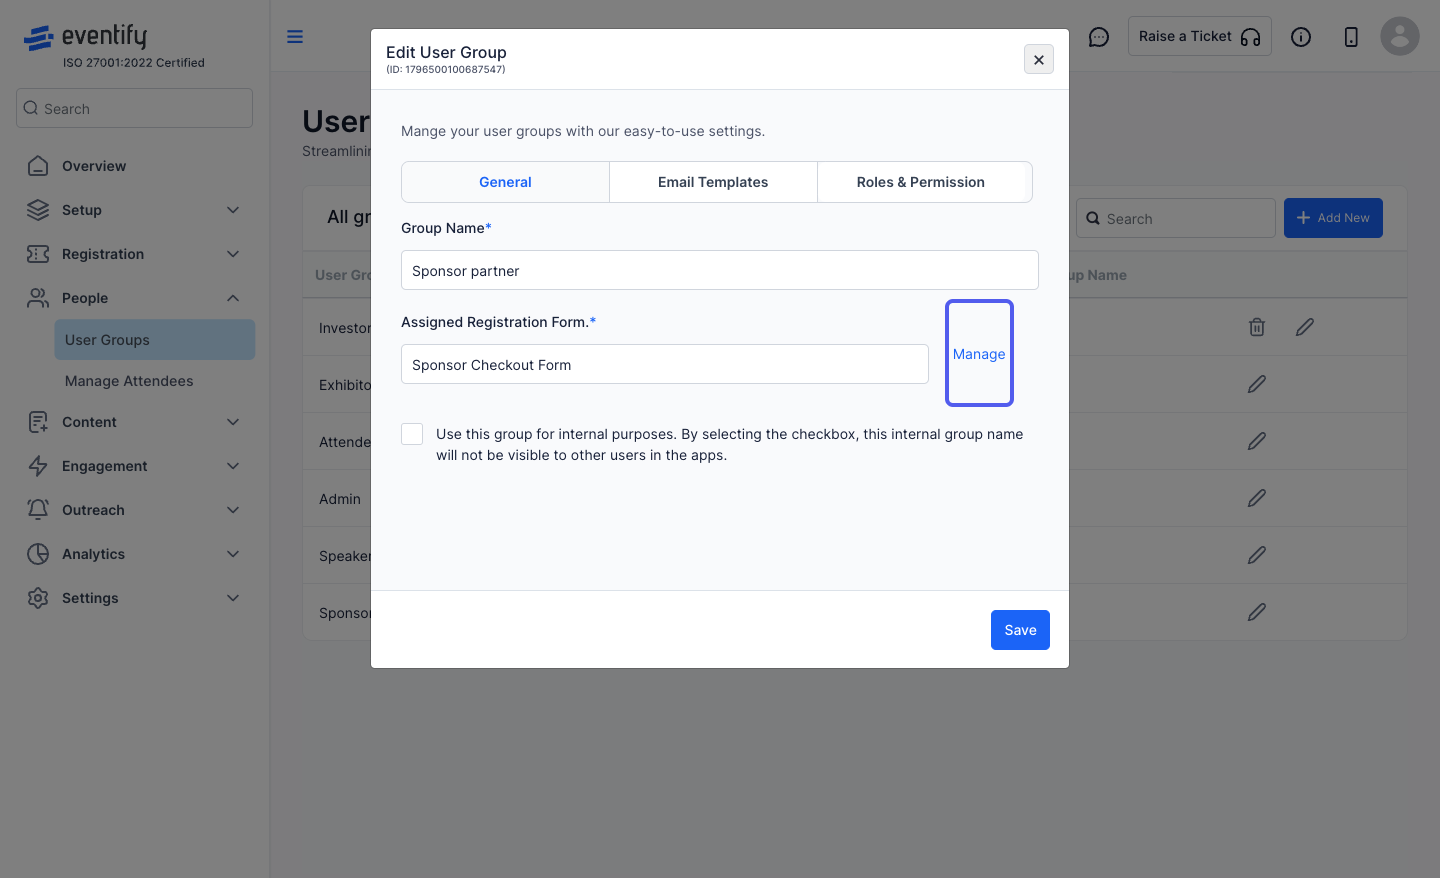
13: Make updates to the form if necessary and save it
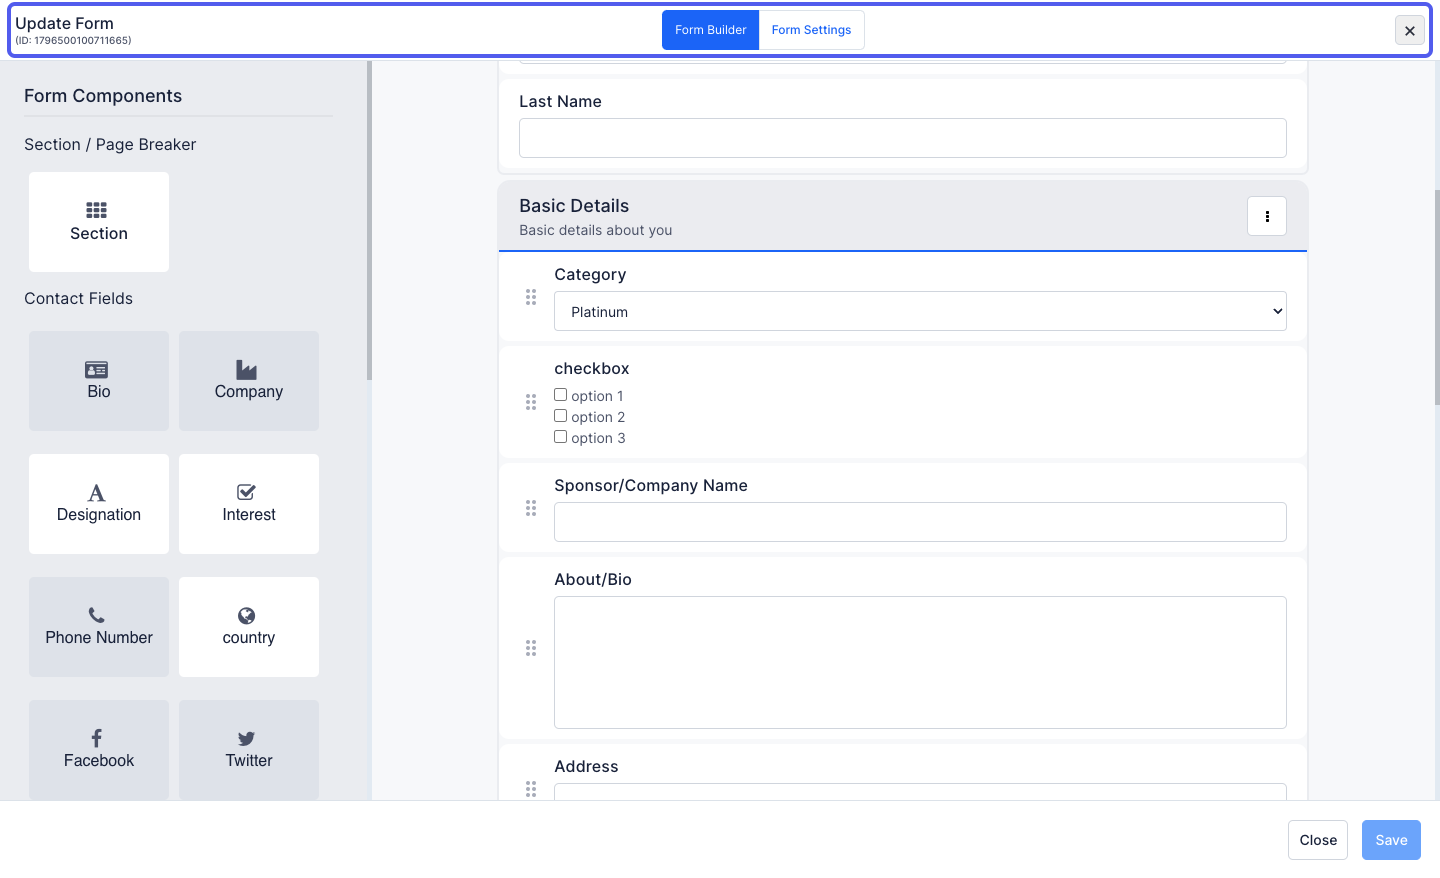
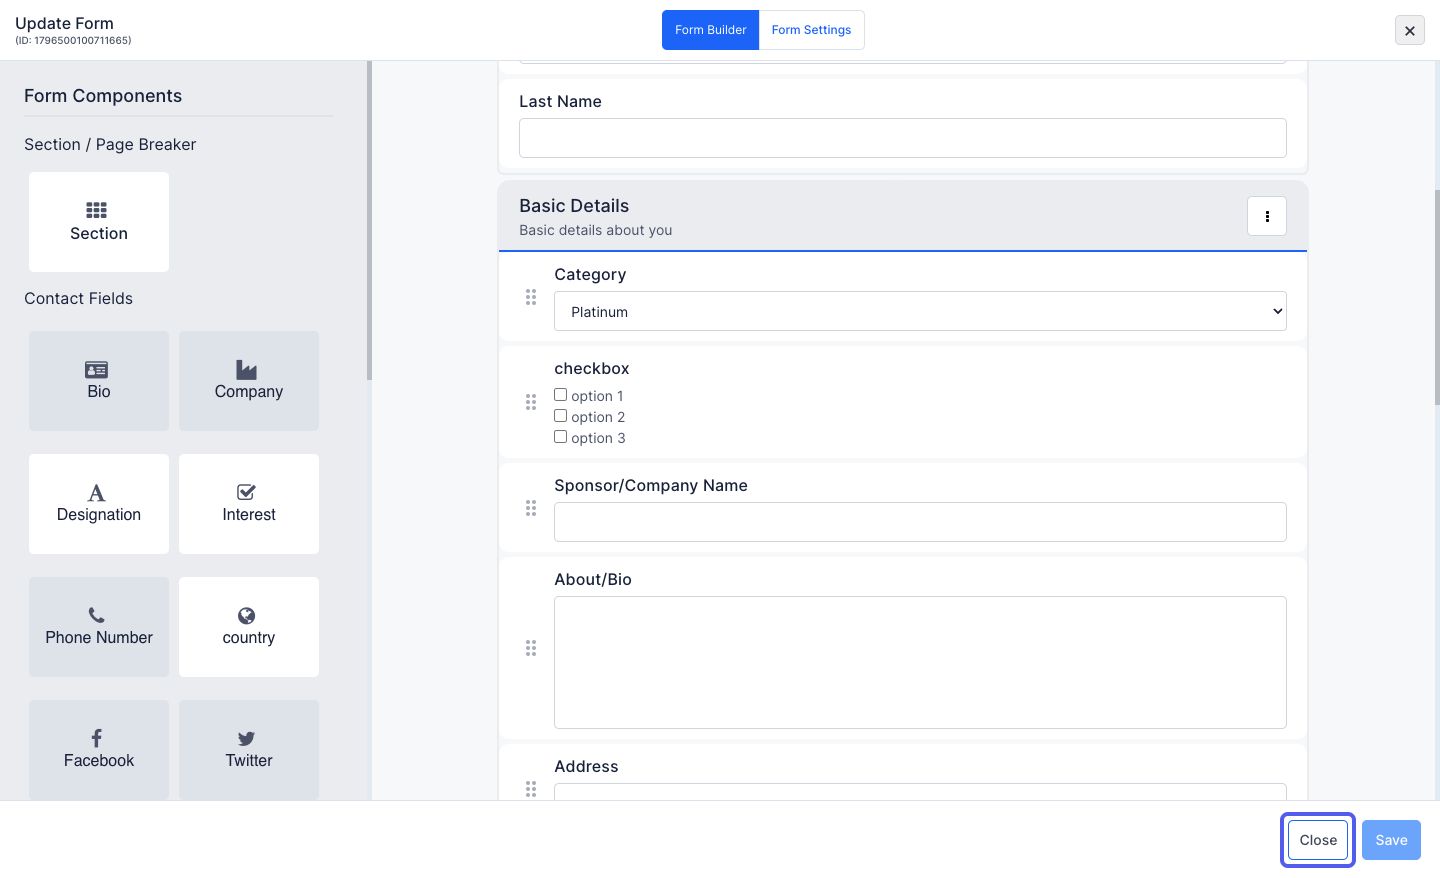
14: Or simply close to keep the form as it is
15: Mark it as an internal group if you want to keep it invisible from other groups on the event mobile and web applications
16: Once the General details are edited, you can Save at this point
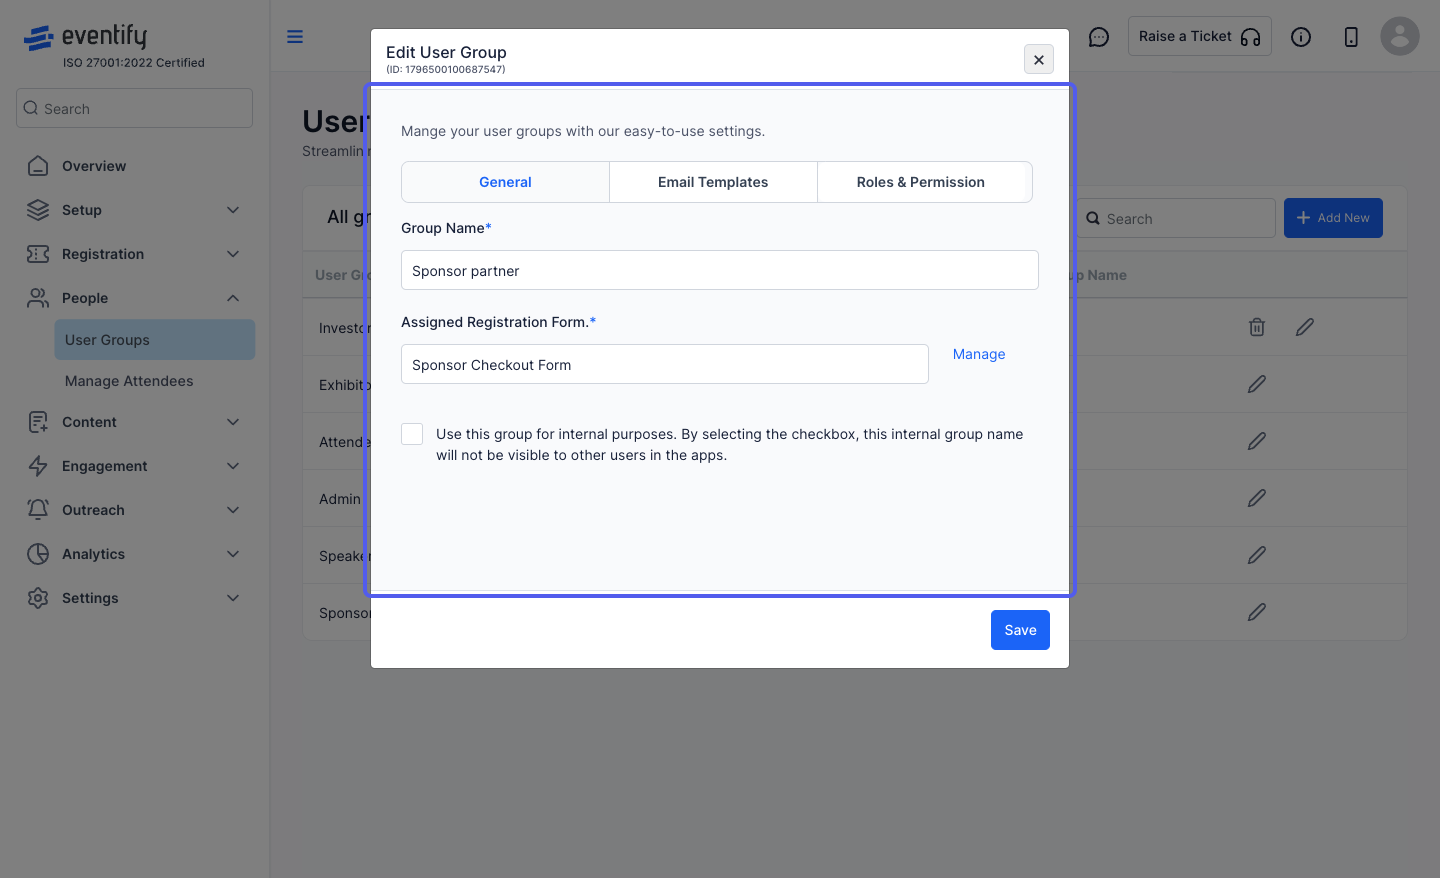
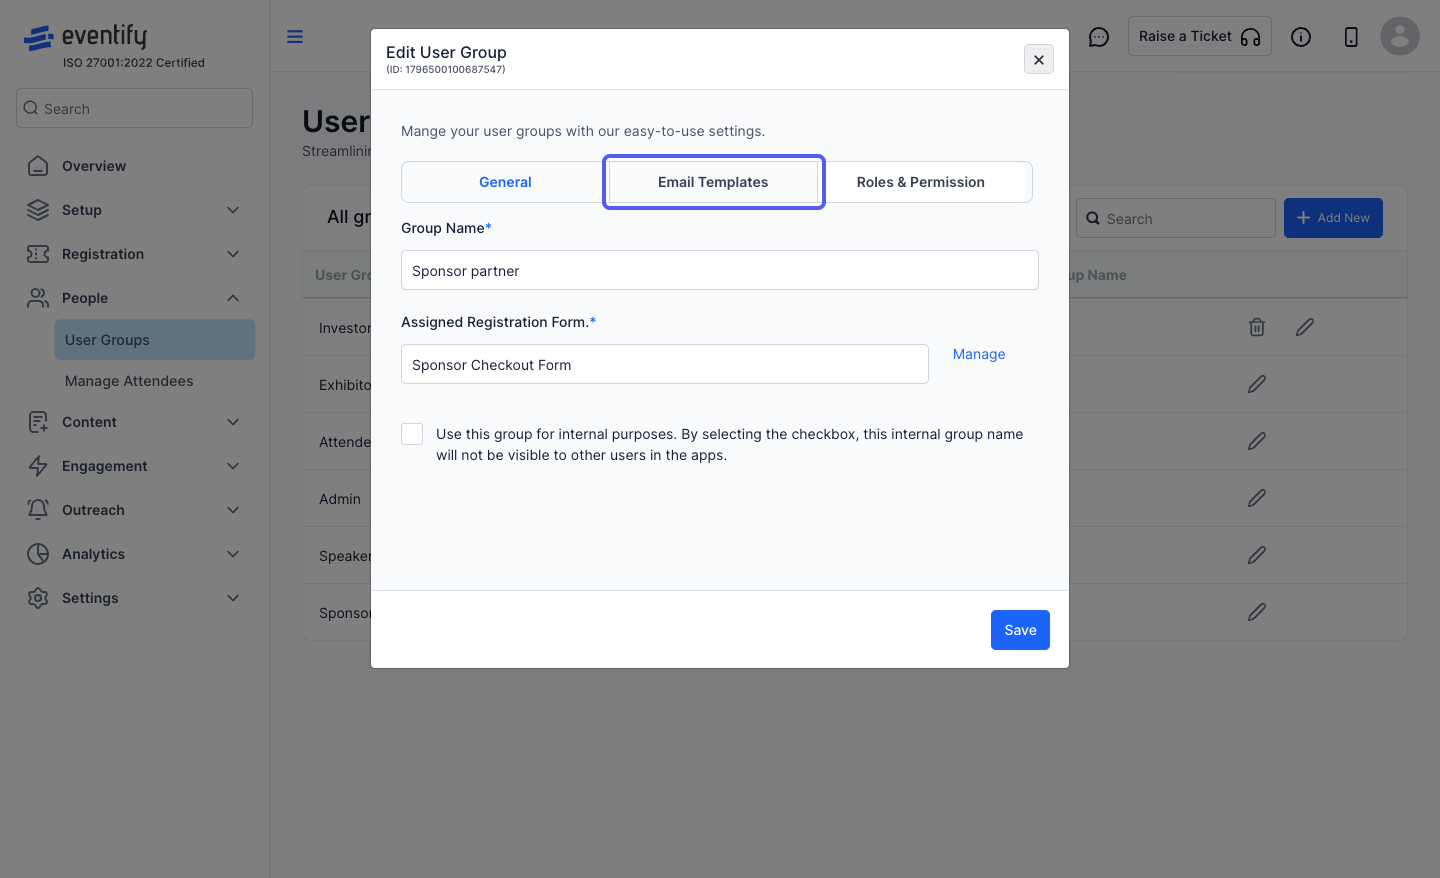
17: Or click on "Email Templates" tab to check and update the email templates available for this group
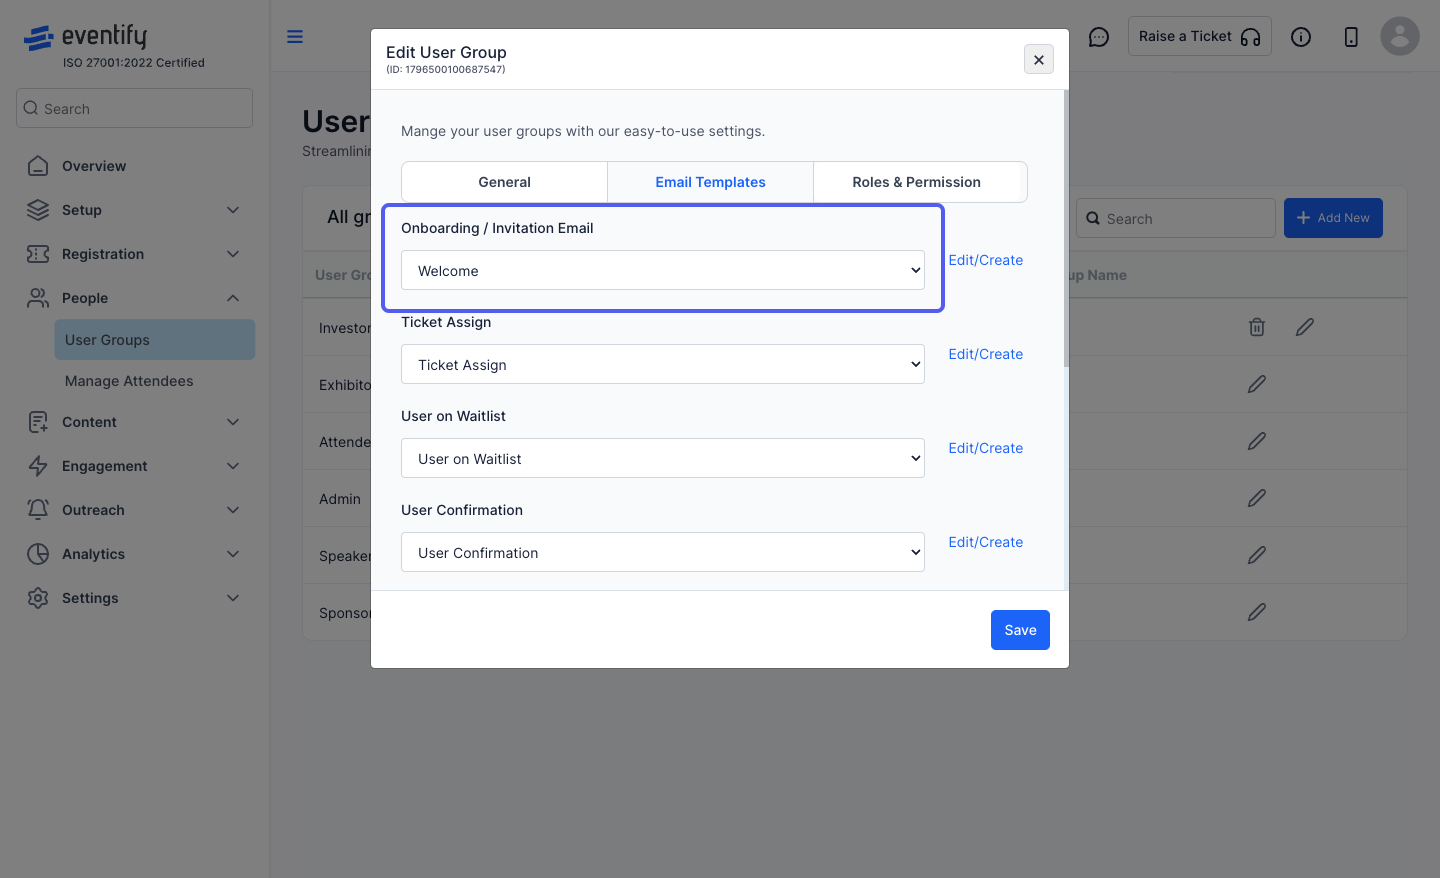
18: The default templates will be added when you create a group, which you can edit for the particular group
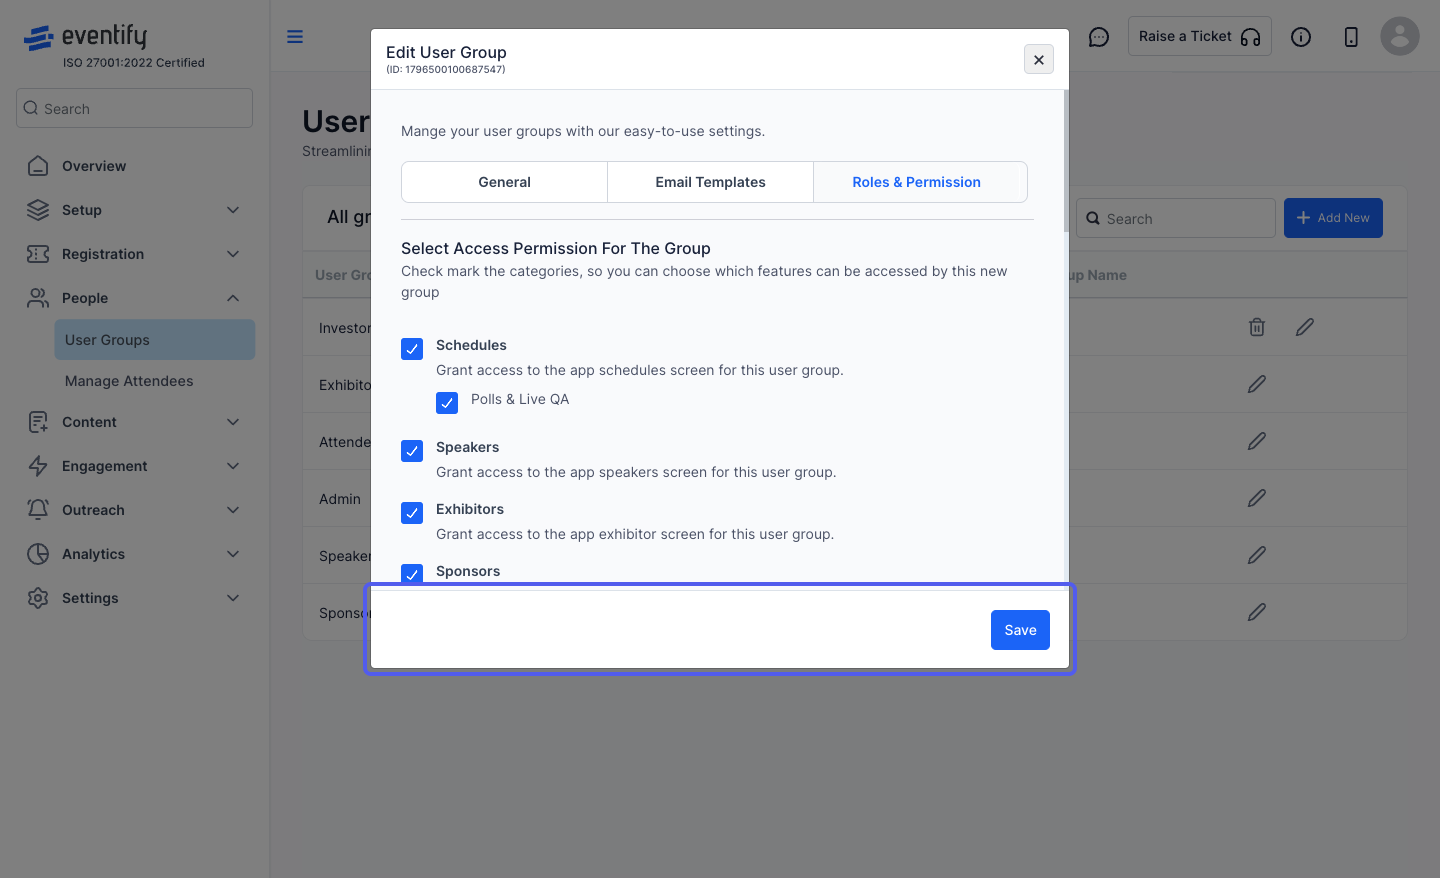
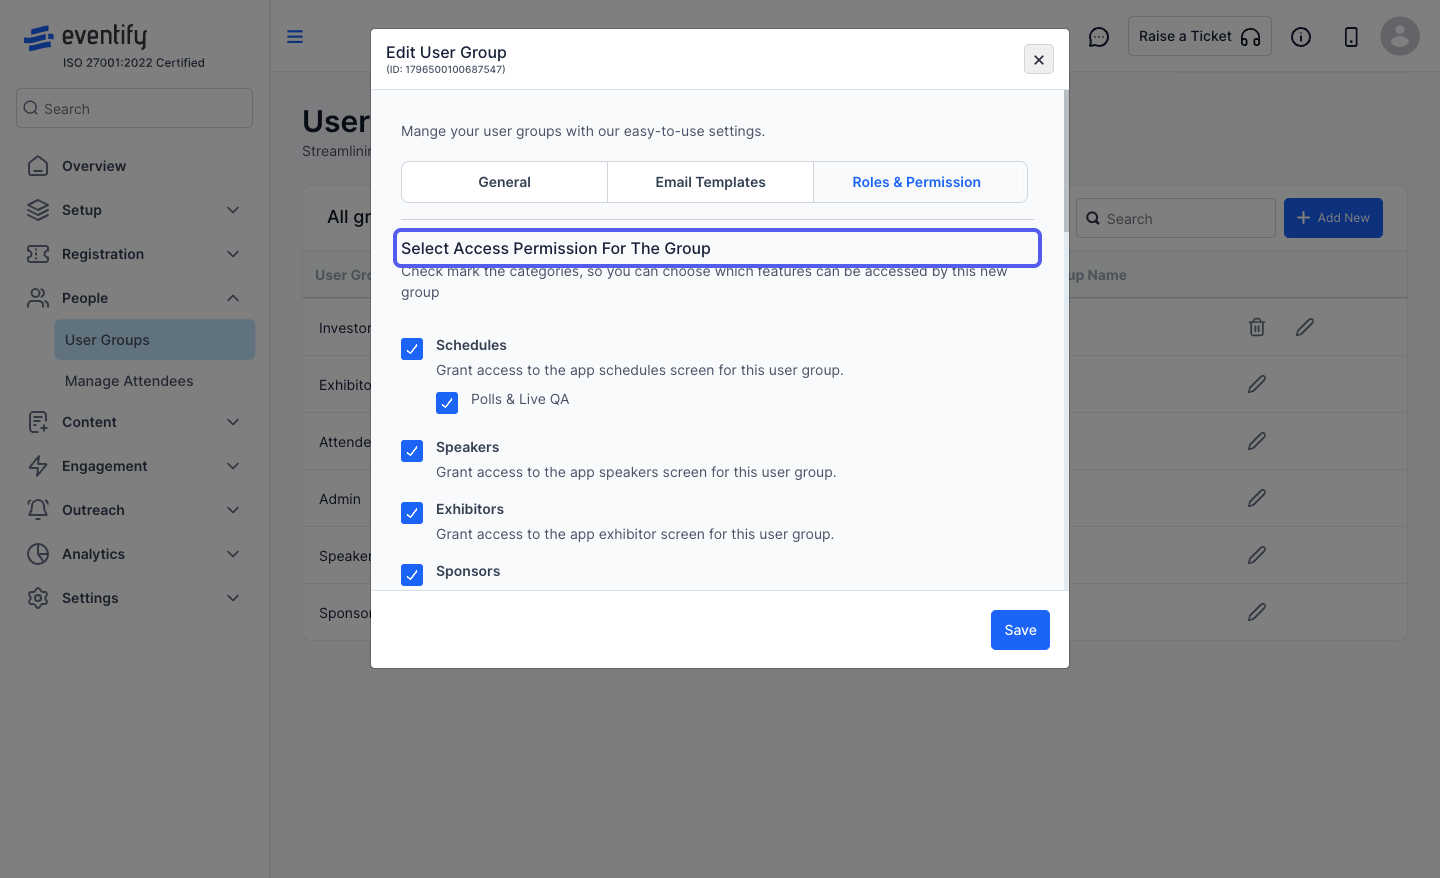
19: Click on "Roles & Permission" tab to check and update the feature permissions for this particular group

20: The default role permissions will be added when you create a group, which you can edit for the particular group
21: Uncheck the features to remove the access for this group
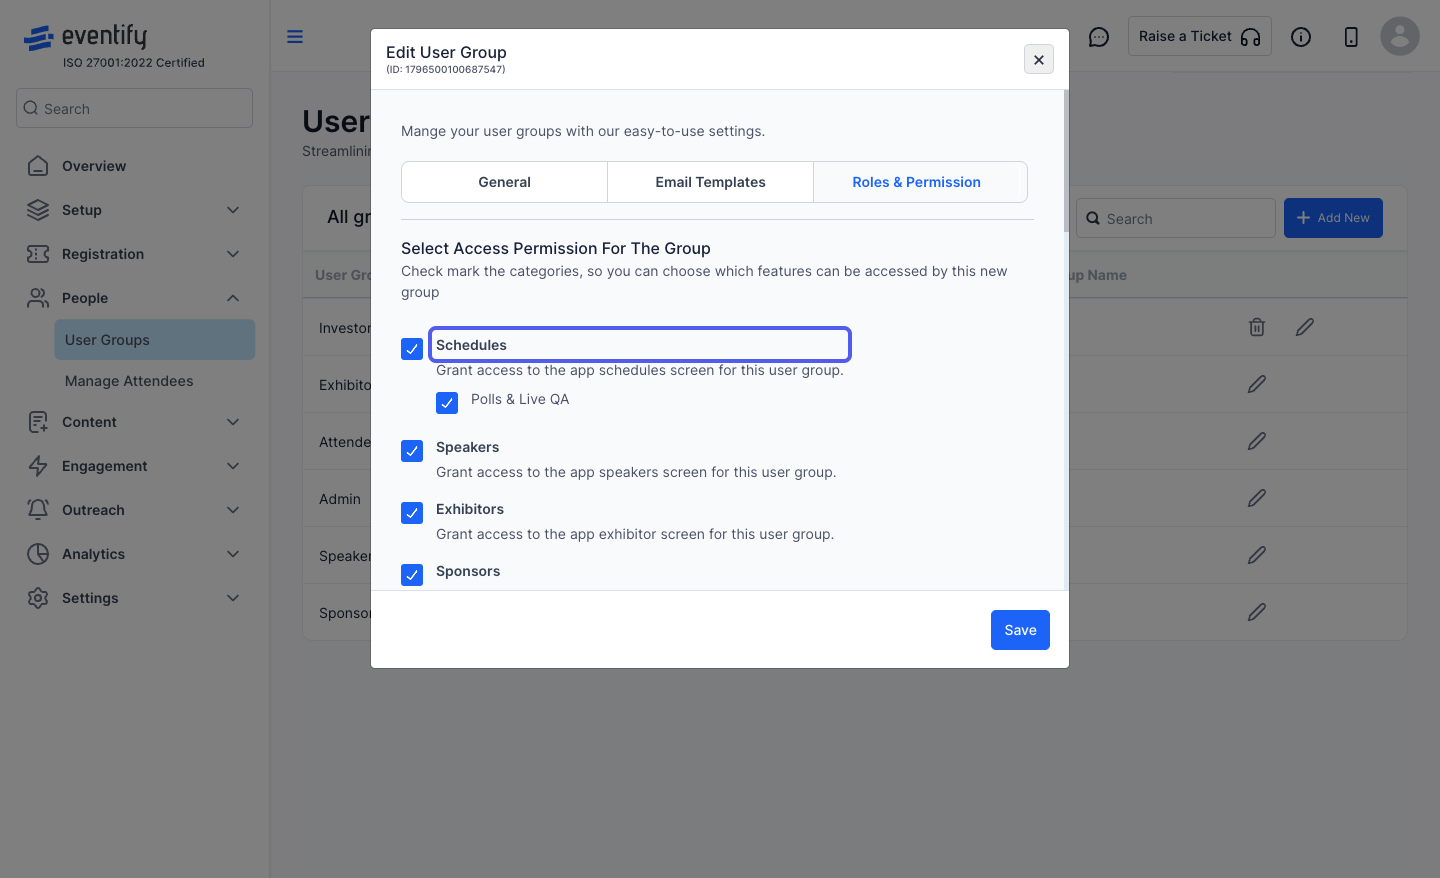
22: Click on "Save" to update the changes