Editing your registration form and crafting a compelling registration form is crucial for gathering attendee information and streamlining your event management process. Here's how you can modify your registration form.

Interactive Guide
Or check the step-by-step guide
1: Log in to your Eventify account.
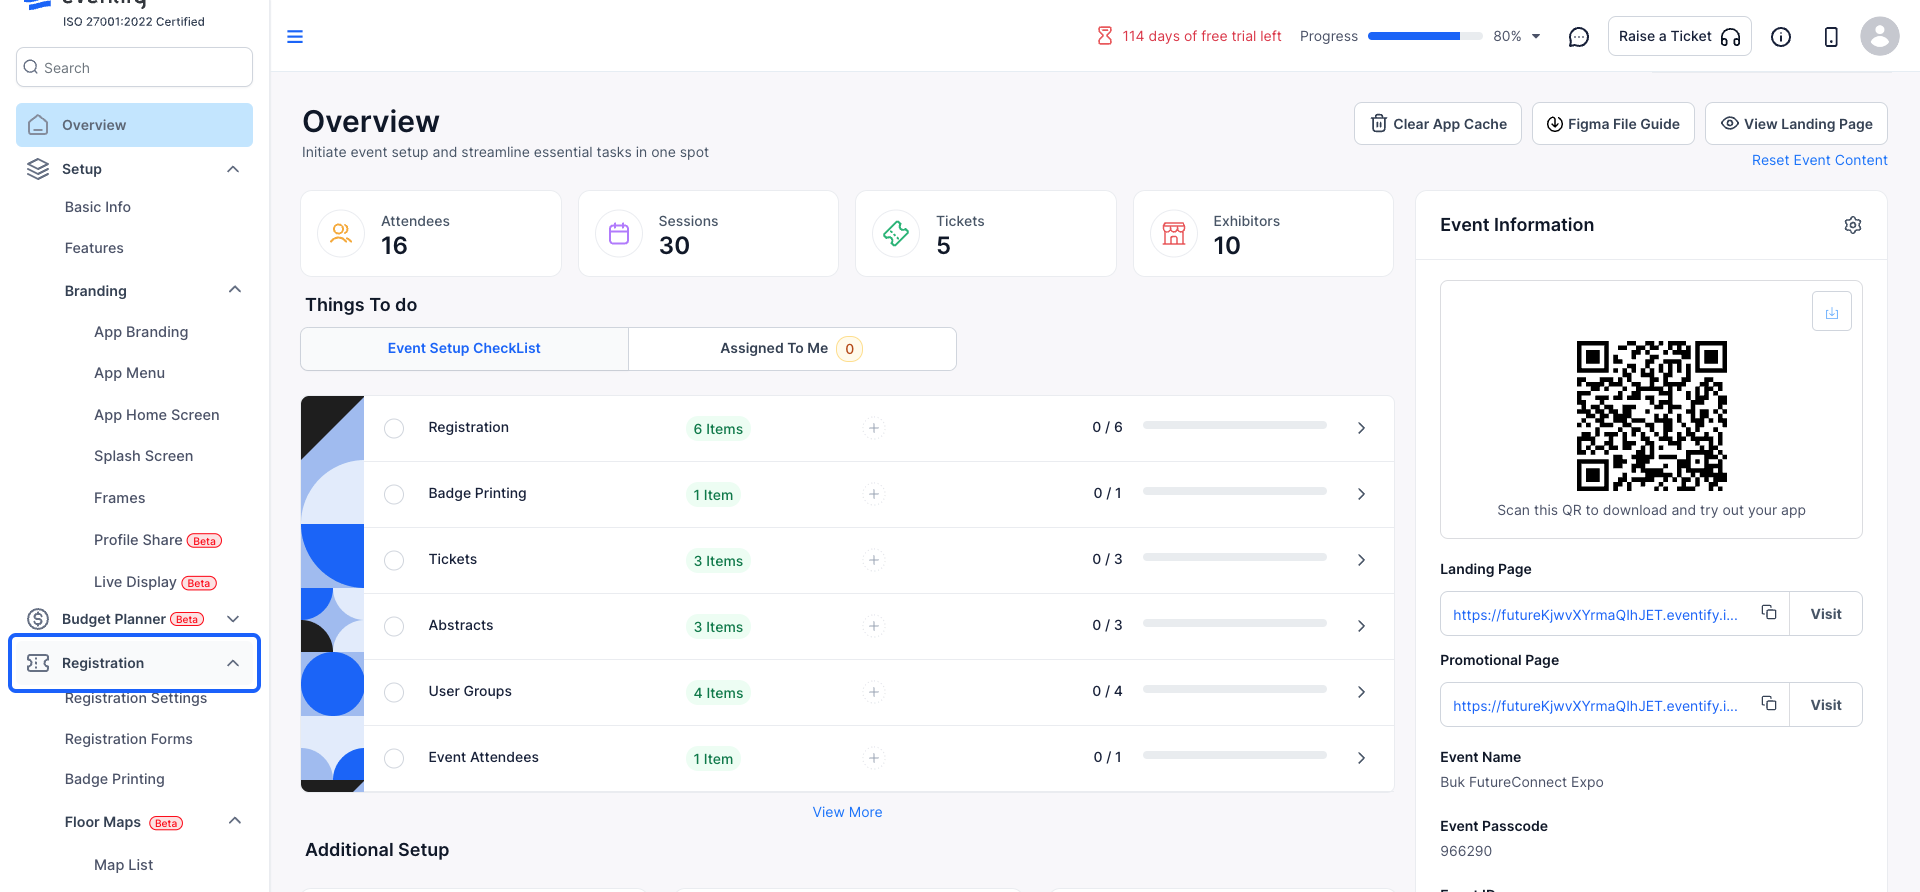
In the left-hand menu, click on Registration.
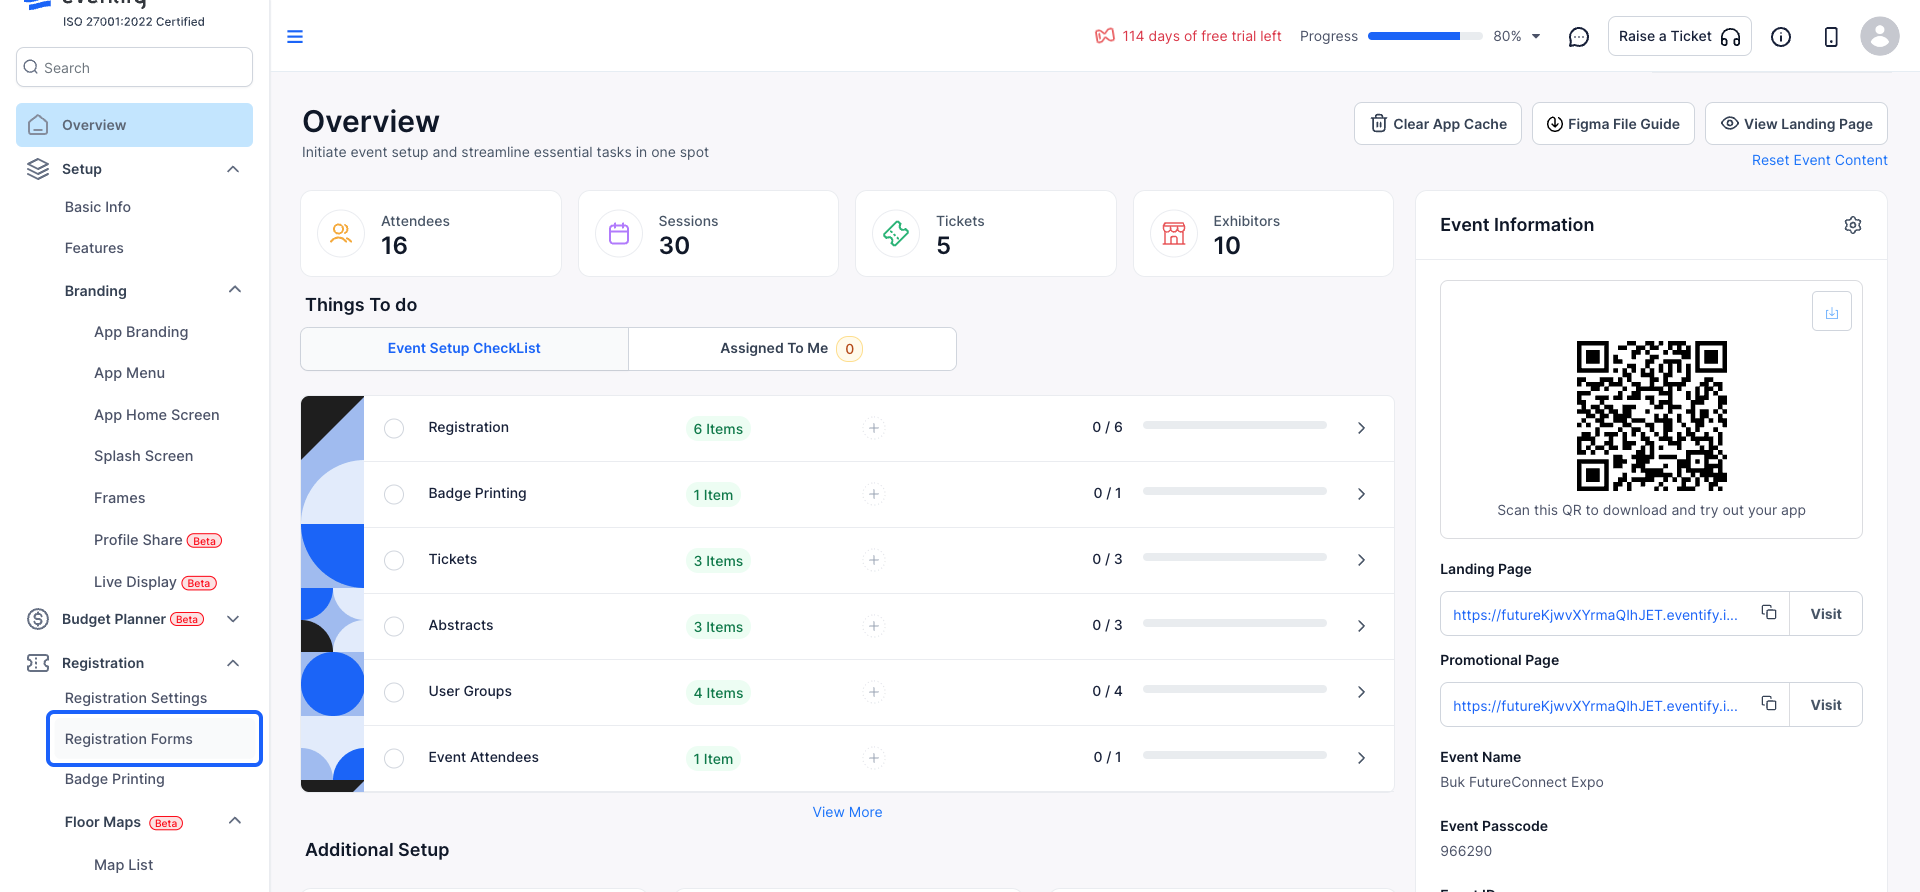
2: From the dropdown, select Registration Forms.
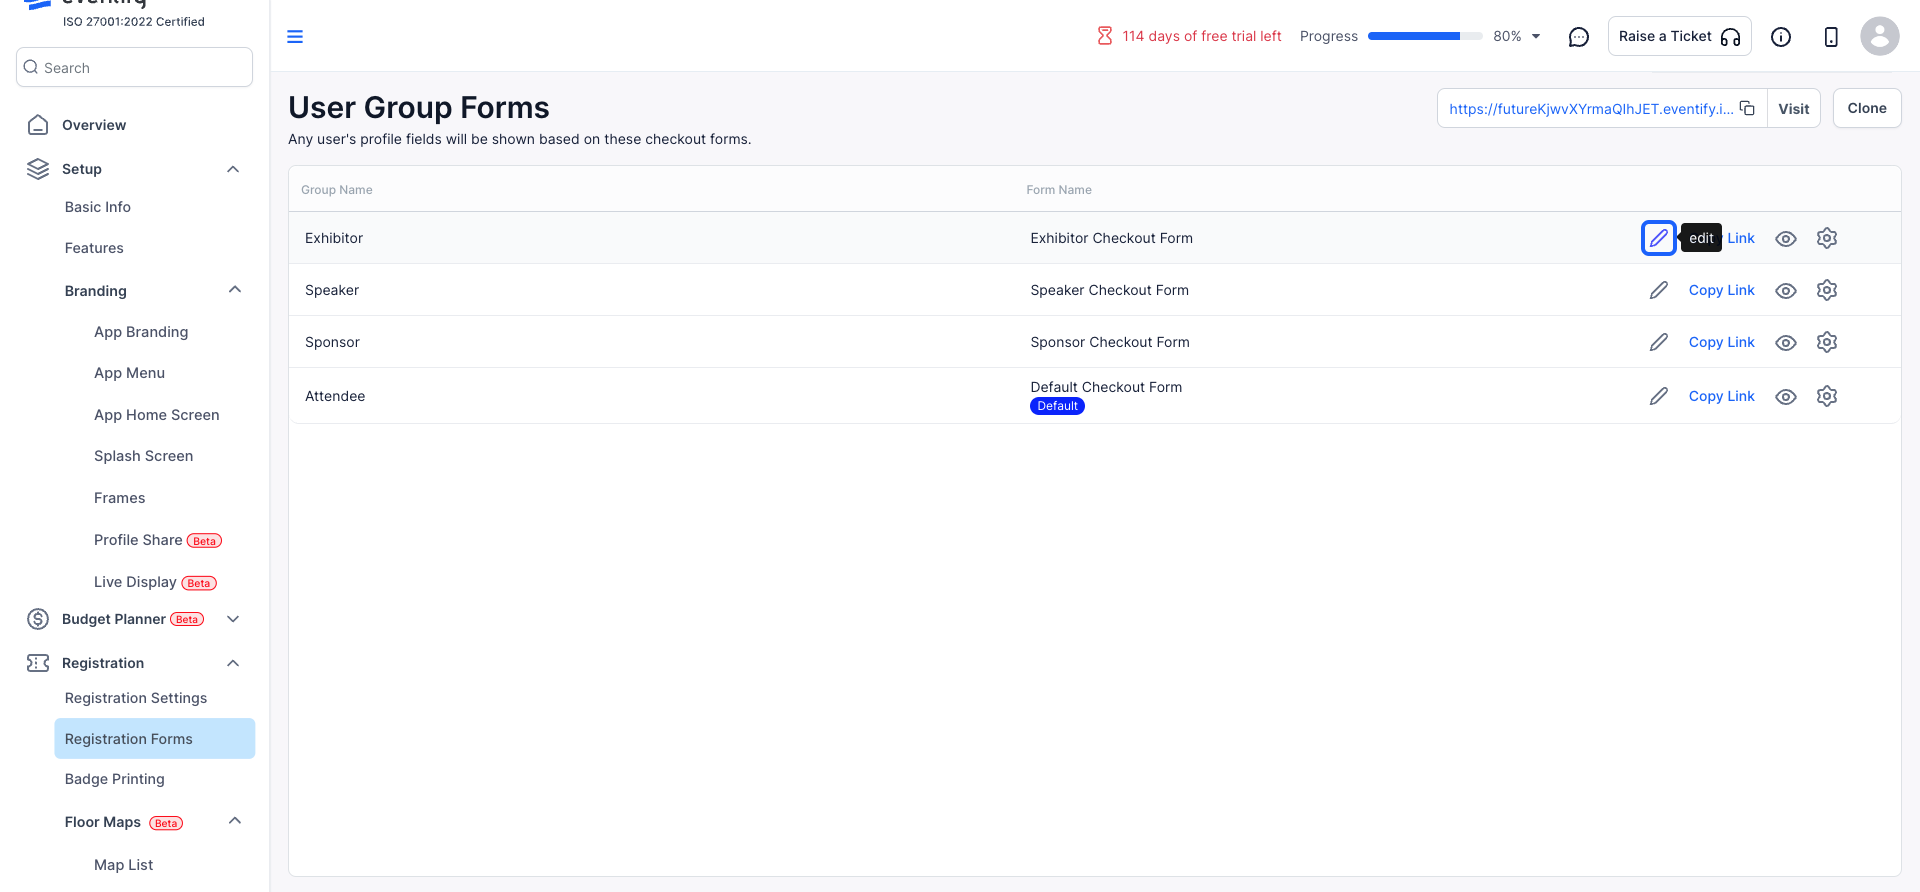
3: When you have selected the form that you wish to modify, click on the Edit button.
4: Hover over an existing field and click the Edit icon.
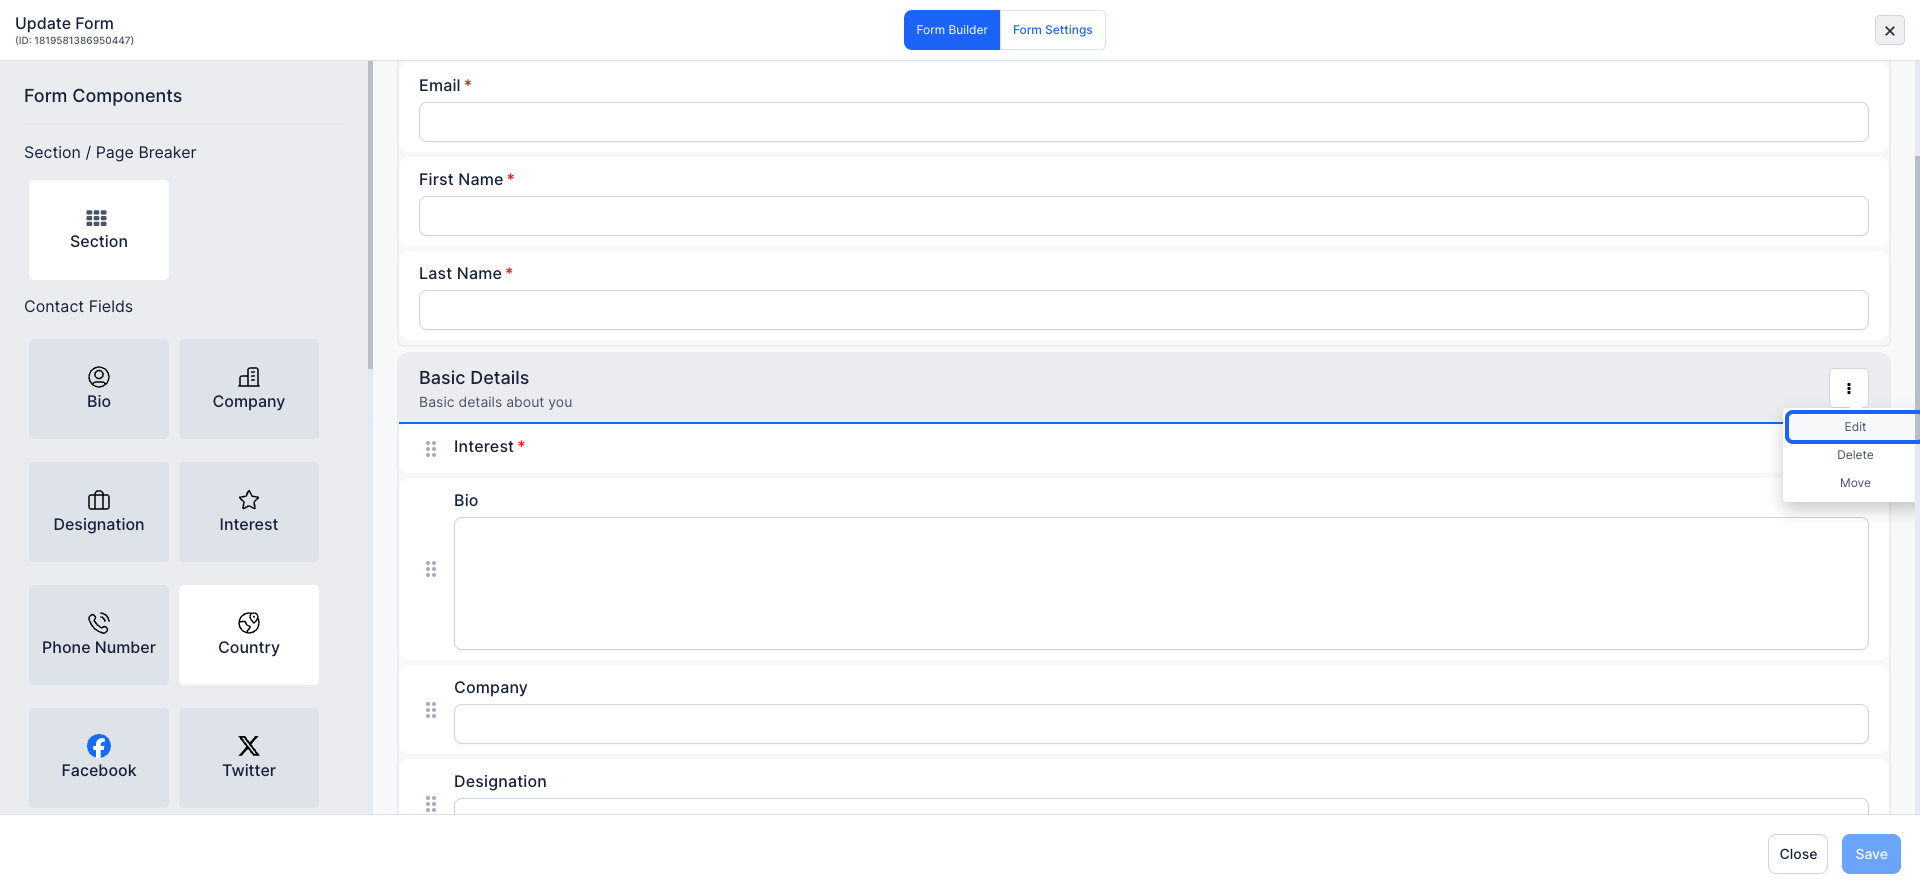
5: Modify the text and description of the event to reflect the details that are relevant to it
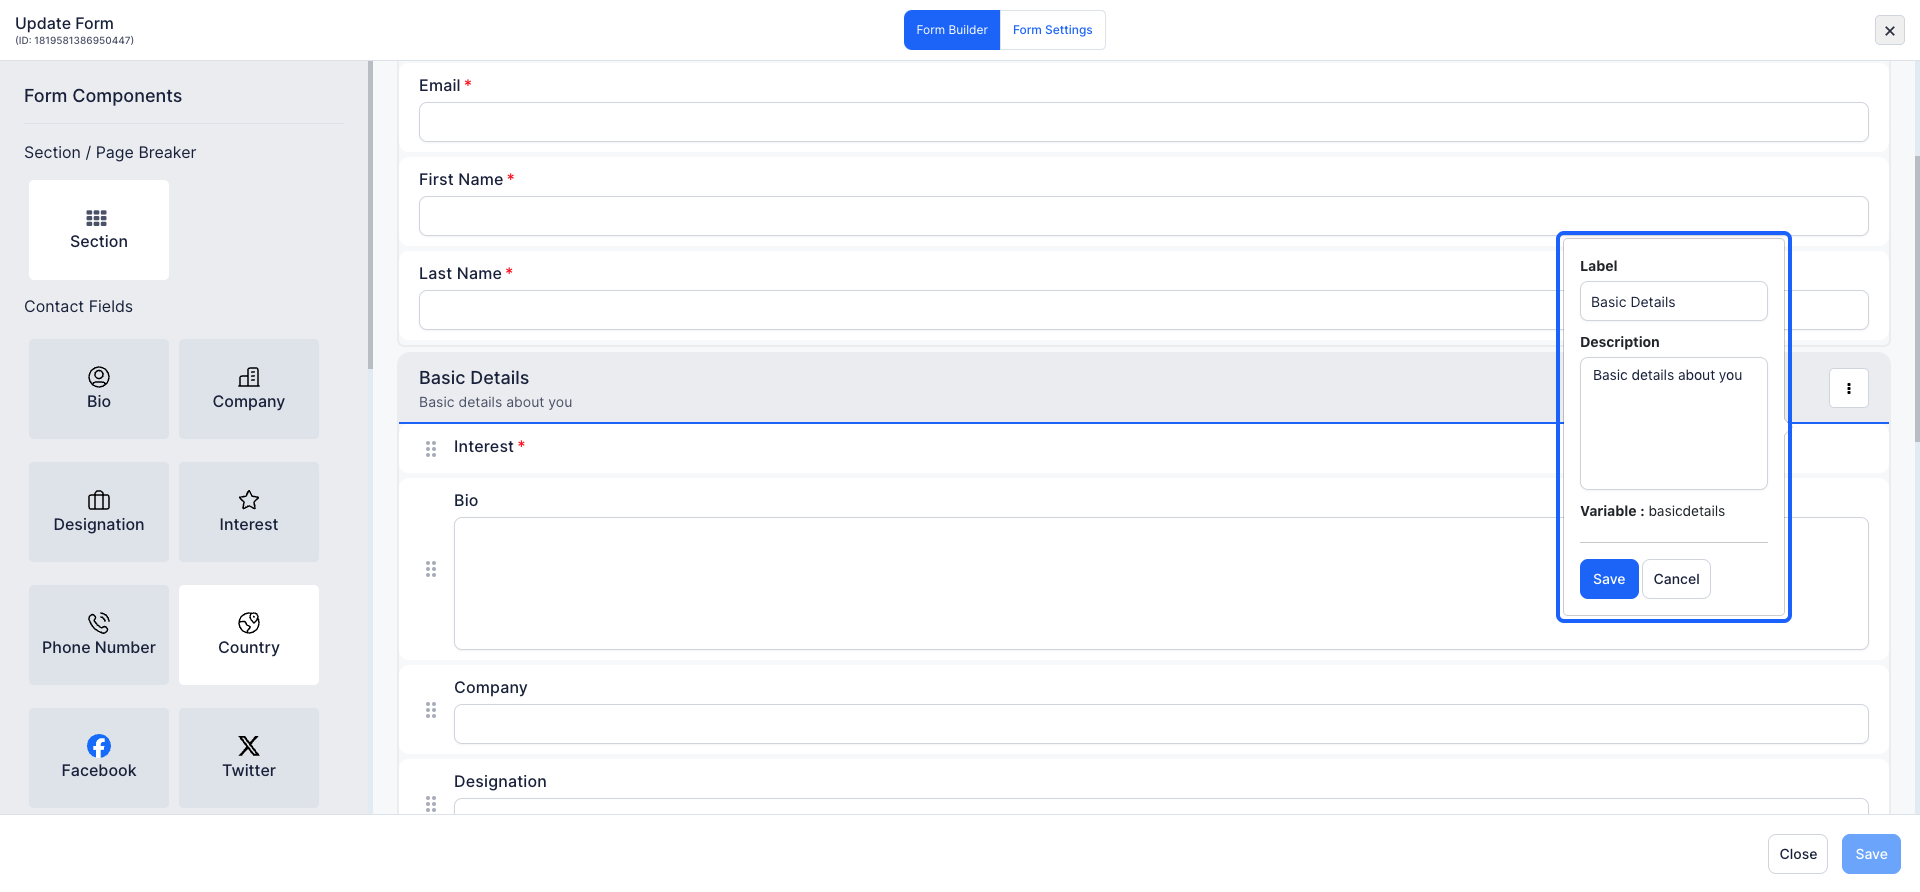
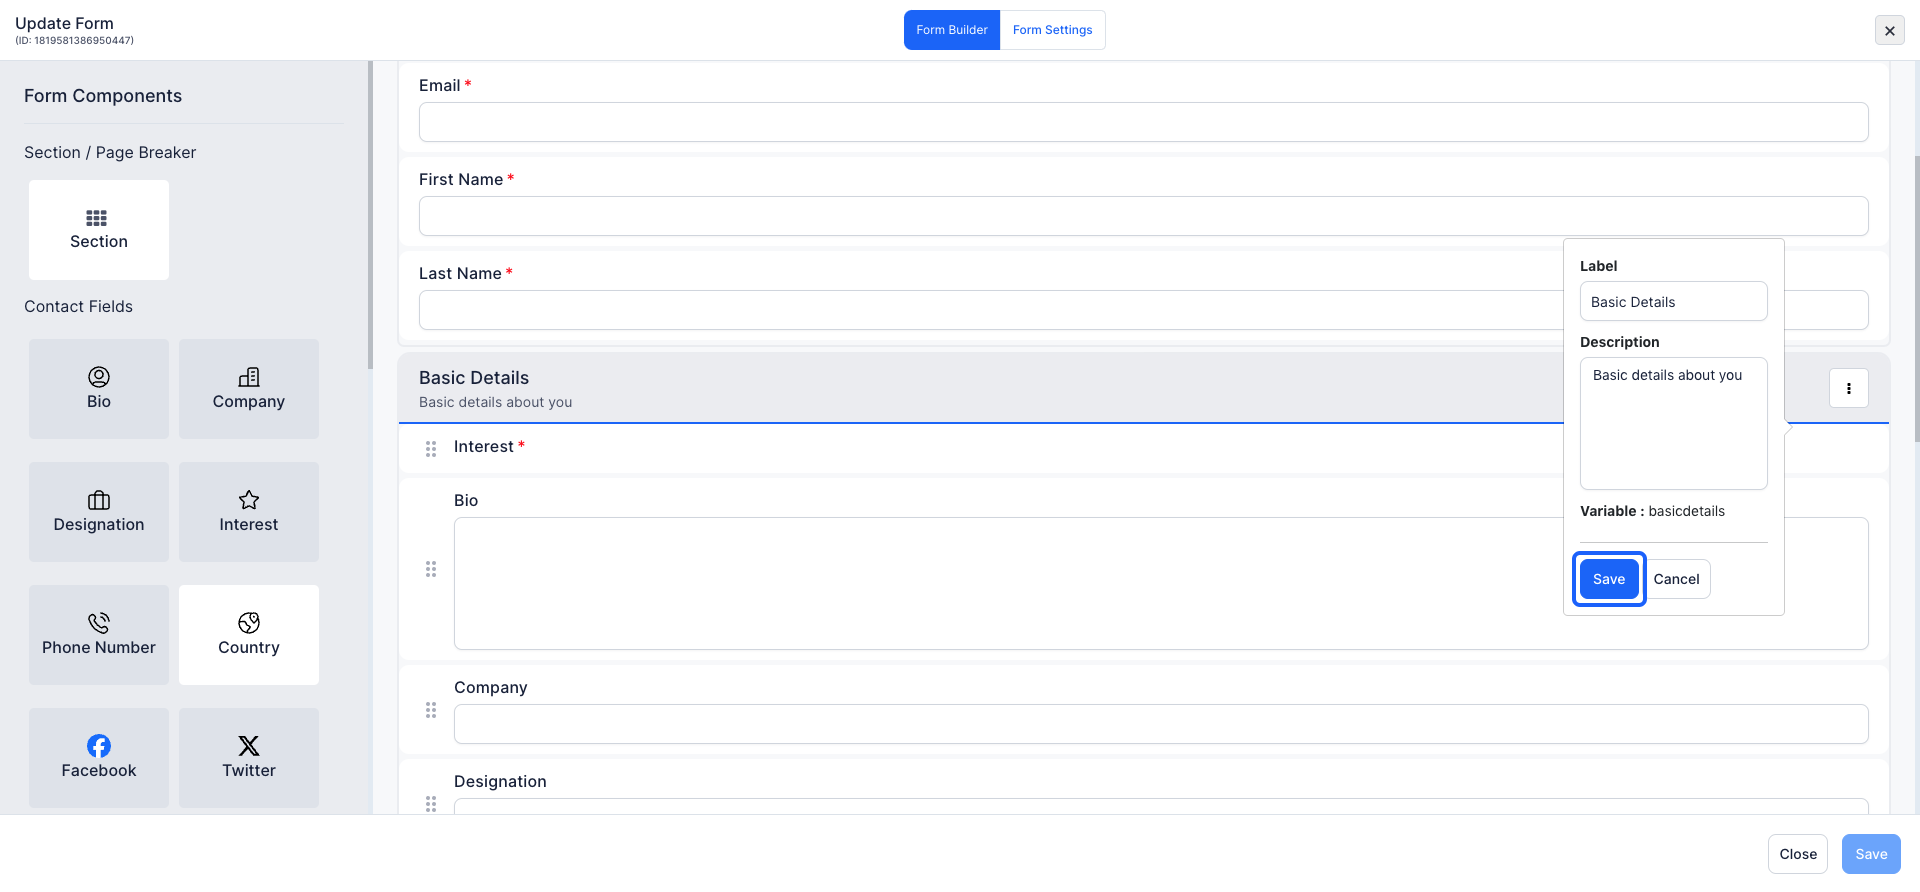
6: Click the “Save” button to save changes
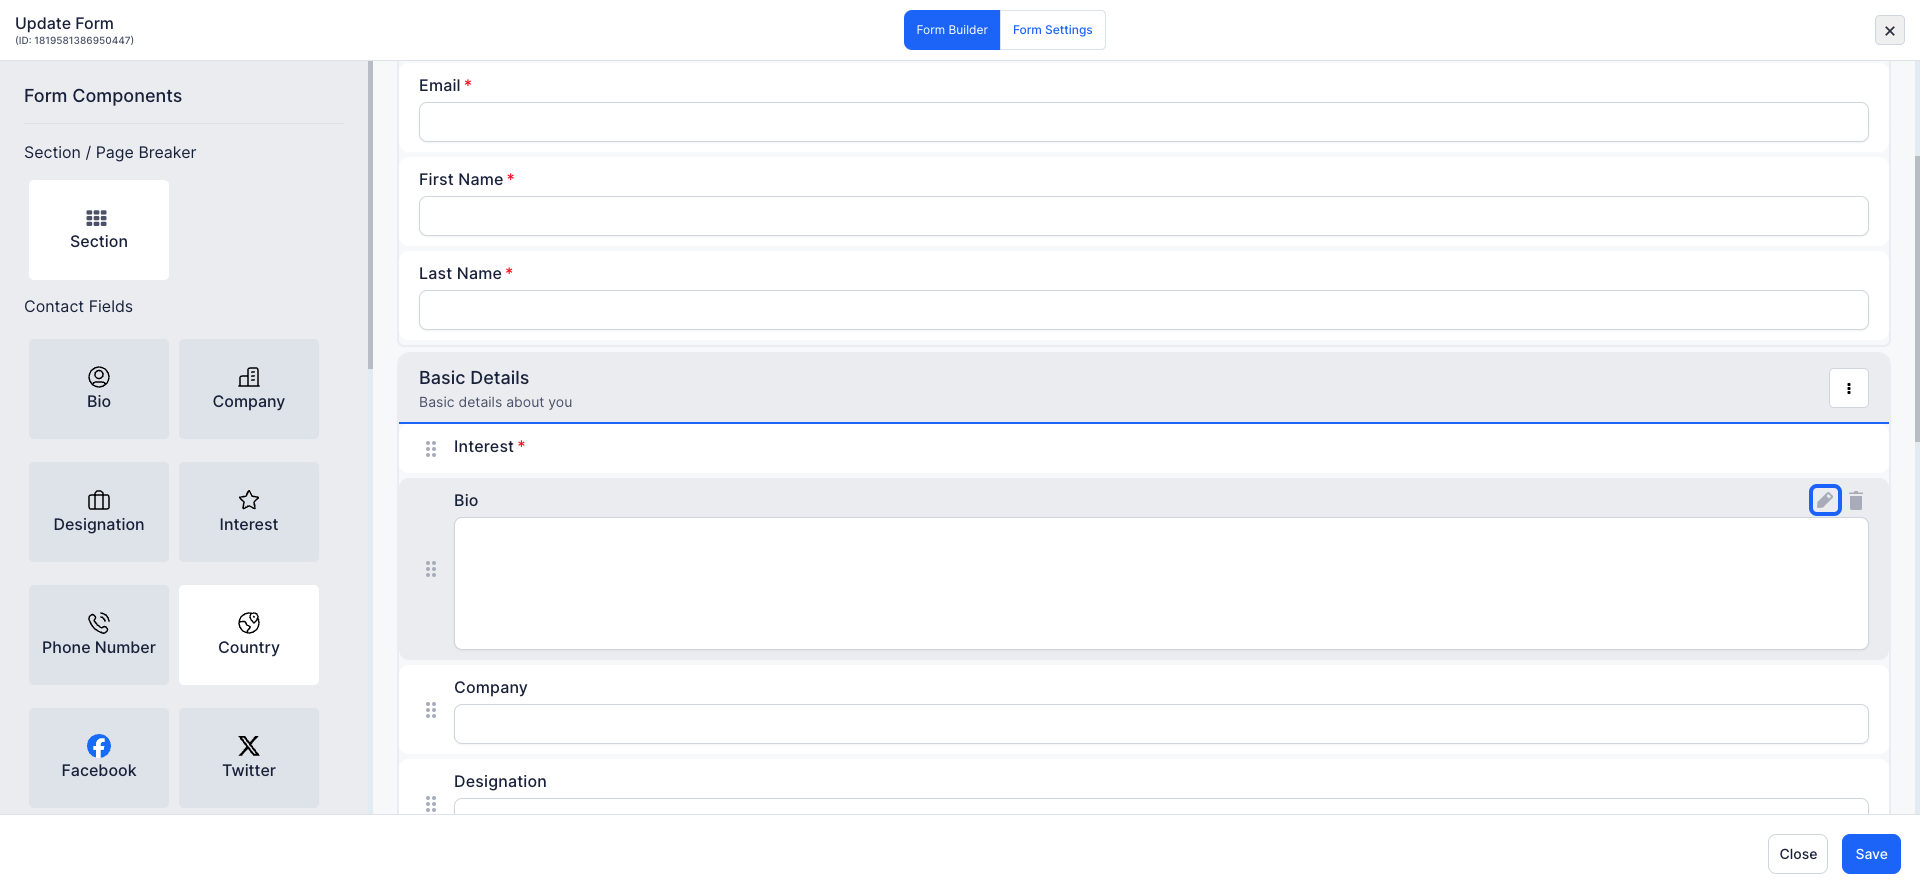
7: Click the pencil icon to make changes to an existing field
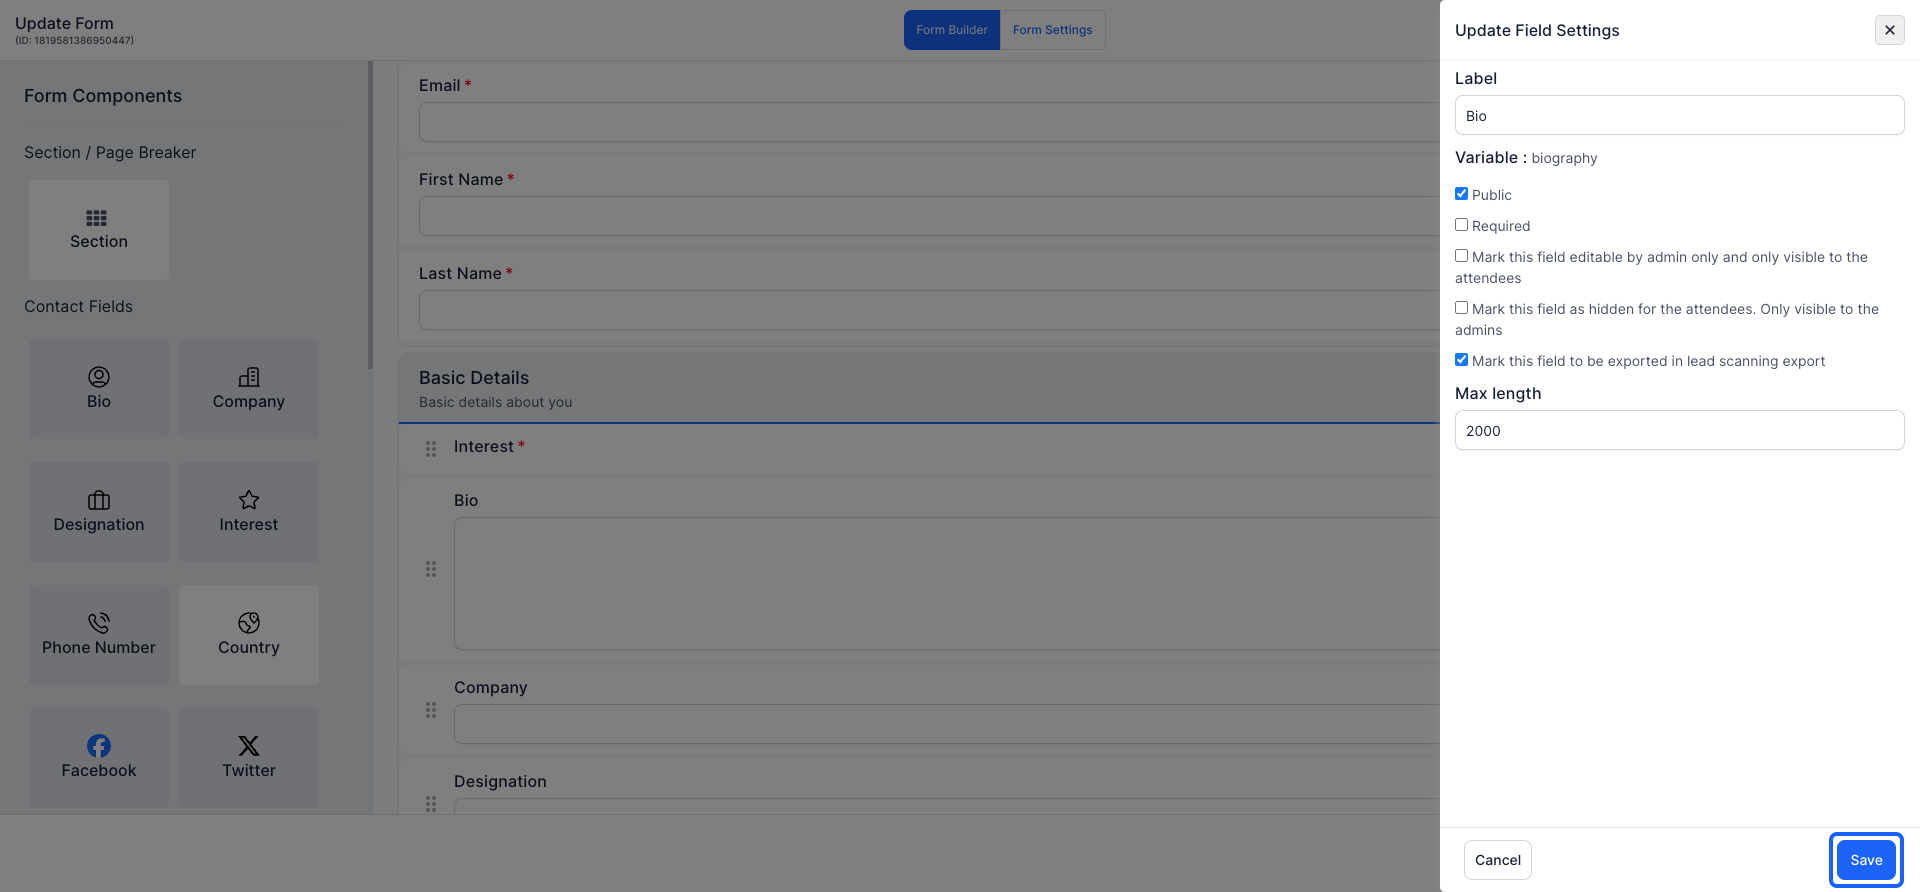
8: Modify the question text, adjust the character limit, or change the field's visibility settings (e.g., hidden, editable by admin only, public).
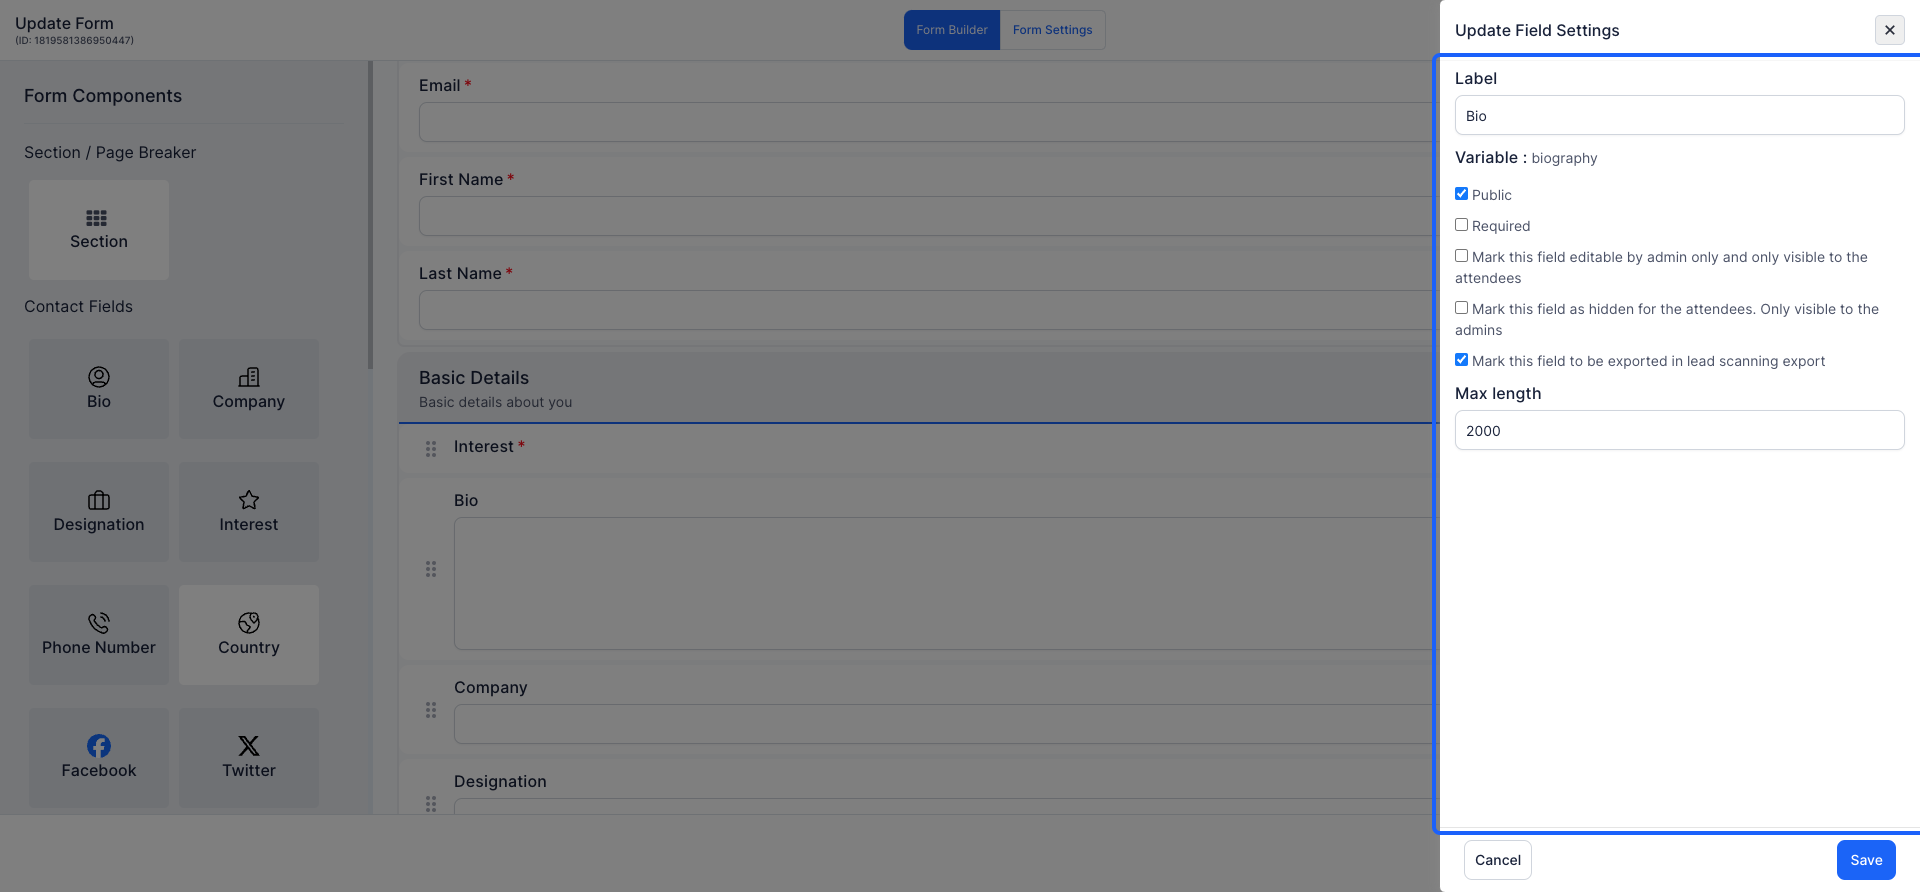
9: Once you have made the necessary modifications, click on the Save button
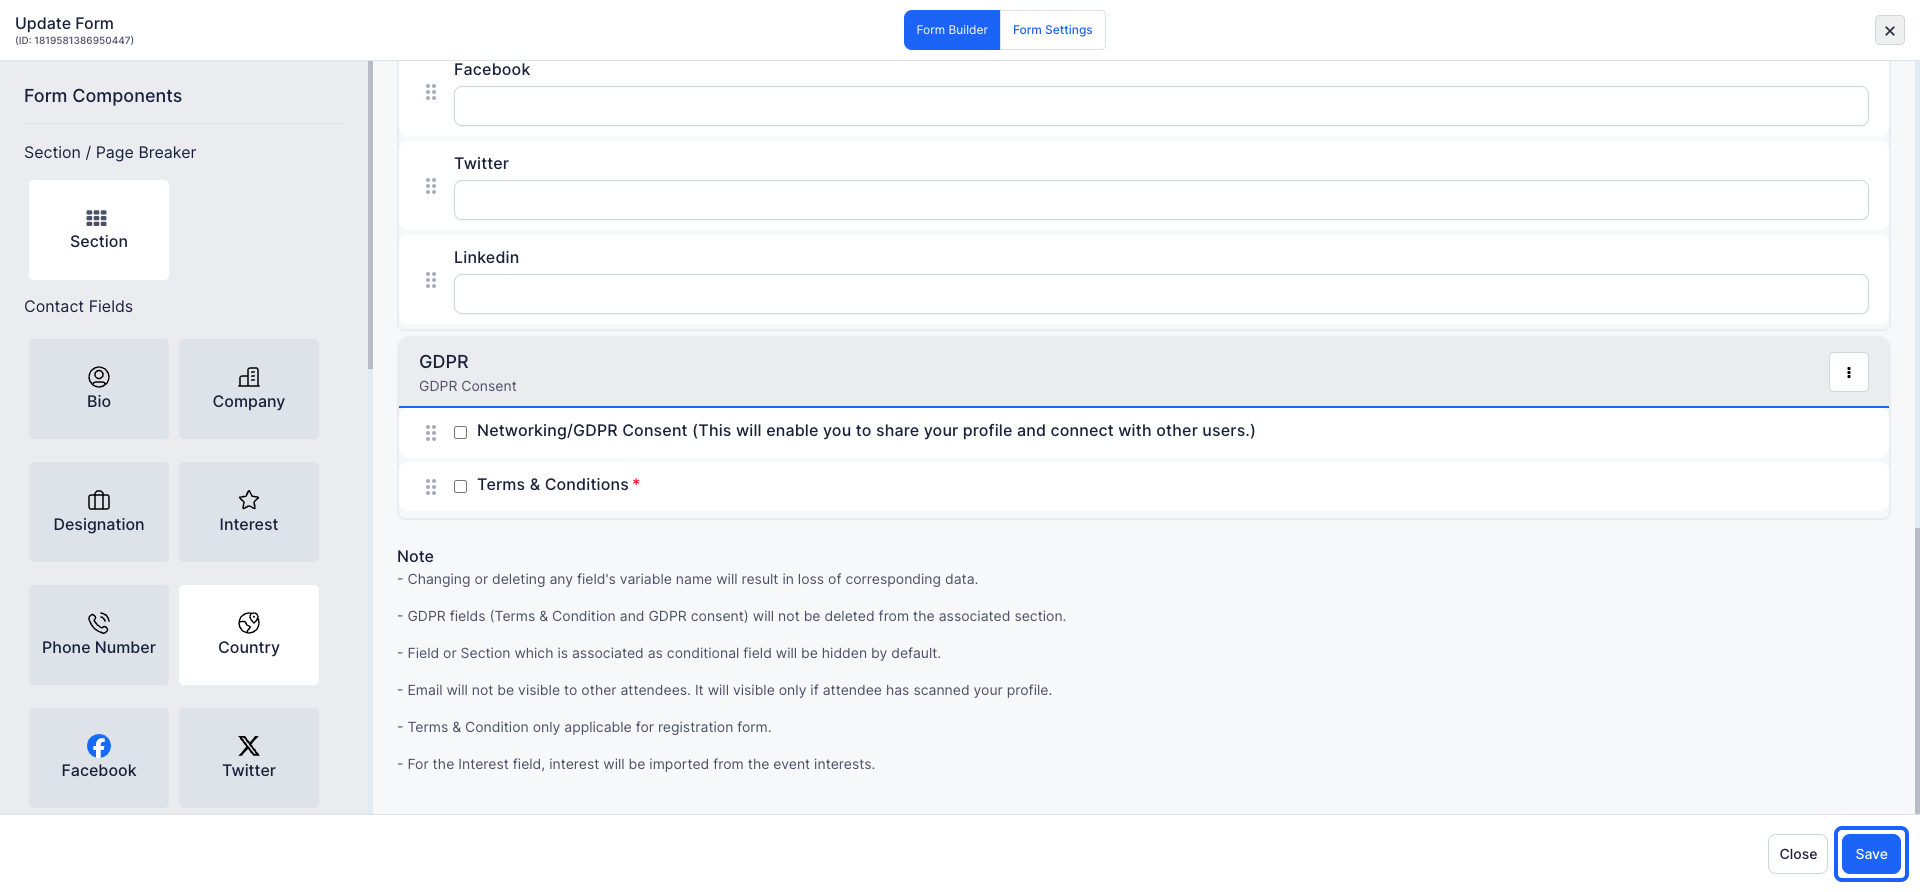
10: Click on the "Save" button to save the final version of the form.
Note: How dates and times appear to attendees
Date and time fields shown to attendees follow the locale set on their browser or mobile device. An attendee in the United States sees 5/6/26 for May 6th. An attendee in India or the United Kingdom sees 6/5/26 for the same date. The underlying value stored on Eventify is the same in every region, so reports and exports remain consistent regardless of how individual attendees view the field.
