
Upload and configure a new floor map to showcase exhibitor booths and enhance event navigation. Here's how:
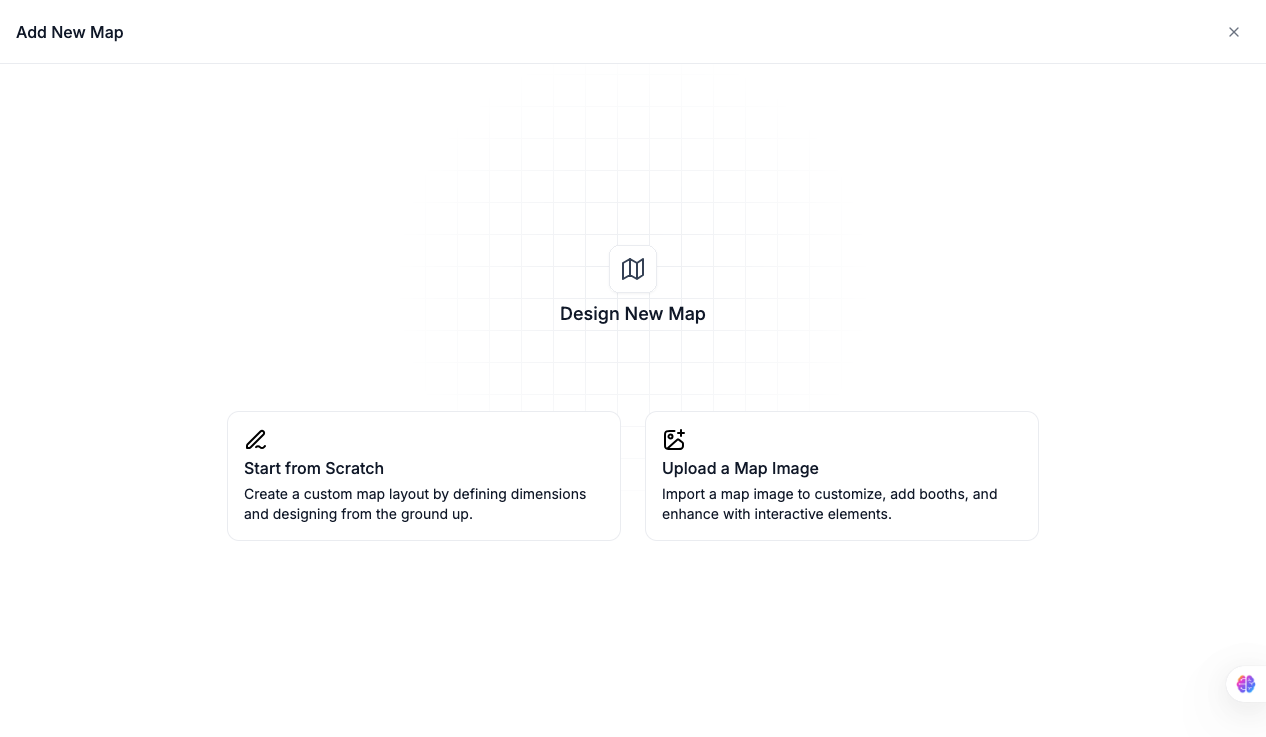
Go to Registration > Floor Maps > Map List, then click Add New.
.png)
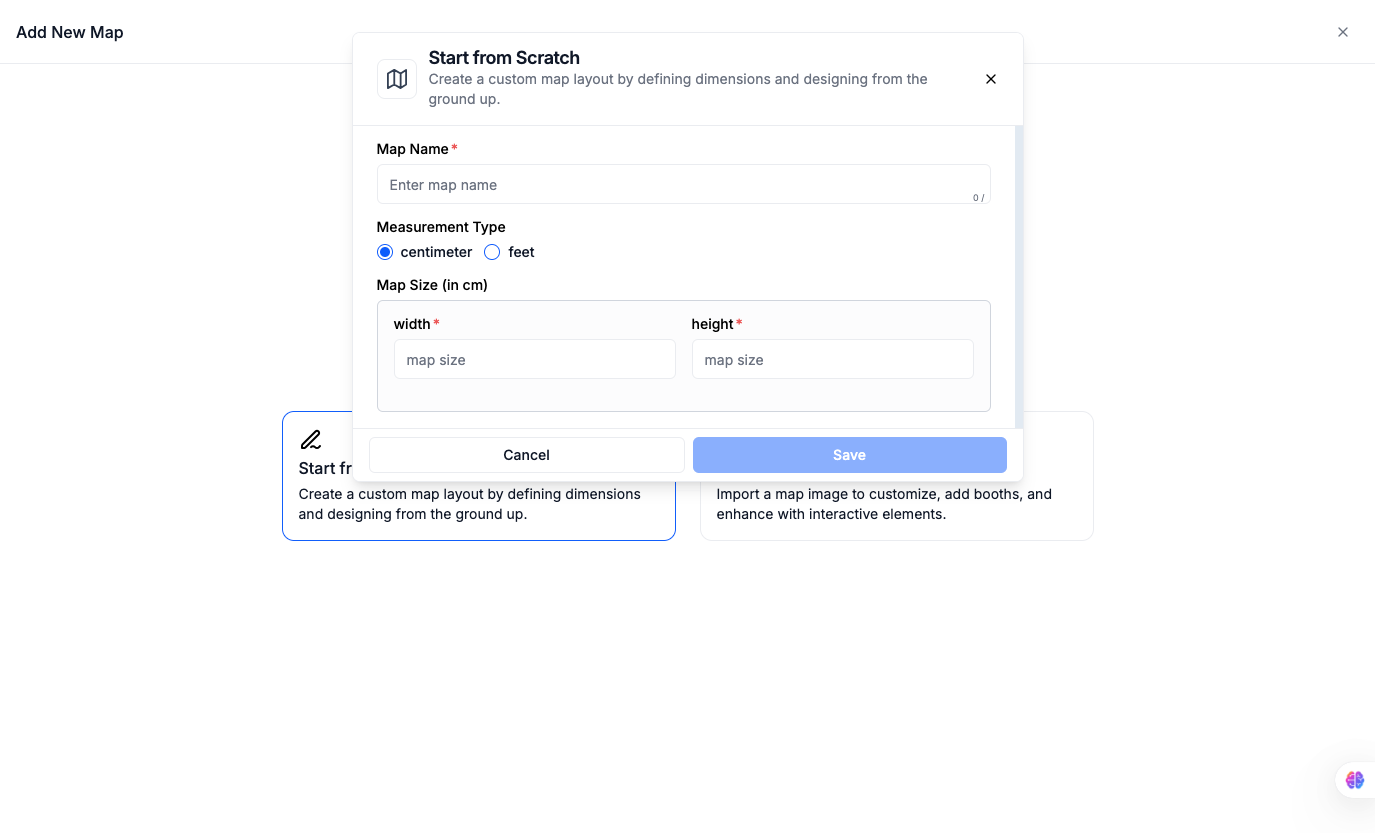
Start from scratch by defining a Map Name and the size of the area, or upload an existing map image instead.
Enter the Map Name, and if you're uploading an image, add it here.
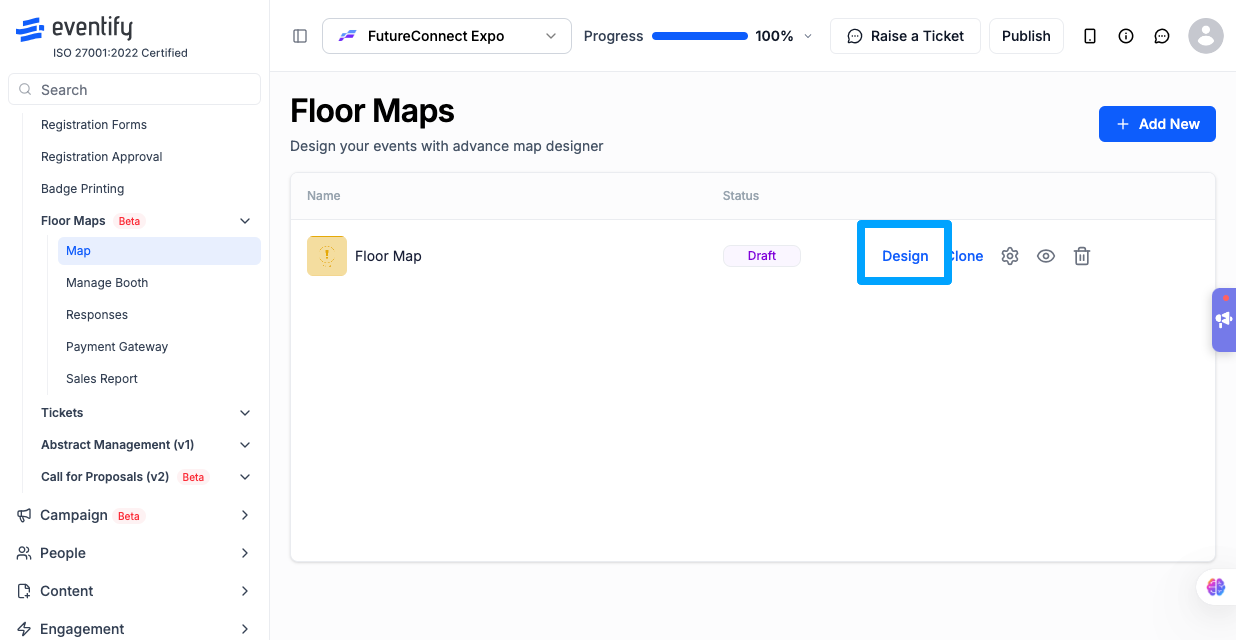
Click Design on your new map to start adding and configuring booths.
Q: Should I start from scratch or upload an image?
Start from scratch if you want to draw a simple layout directly in Eventify. Upload an image if you already have a floor plan (e.g. from a venue) that you want attendees to see as the background.
Q: Can I change the map size after creating it?
You can adjust the layout and booth placements afterward in the Design view, but it's easiest to set the intended size correctly when creating the map.
Q: What happens after I save the map?
The map appears in your Map List, where you can click Design to start drawing and configuring booths on it.
Q: Can I create multiple floor maps for one event?
Yes. You can add as many maps as you need from the Map List — useful for different halls, floors, or zones.
Q: Can I edit the map name or image later?
Yes. Open the map's settings to update its name or replace the uploaded image at any time.
