Manually adding attendees allows organizers to include participants who haven’t registered through the regular registration process. Follow the steps below to add attendees manually

Interactive Guide
Or check the step-by-step guide
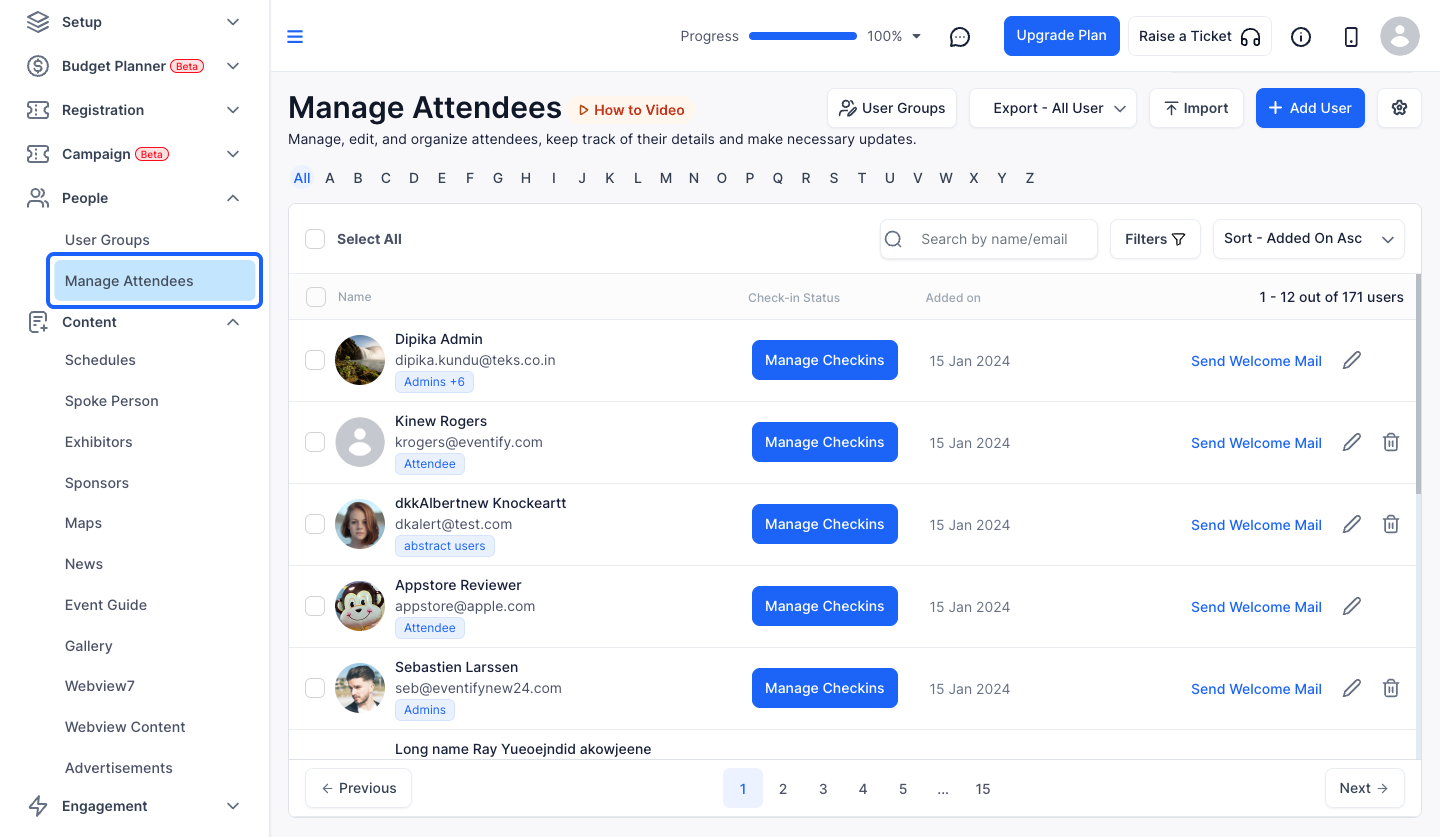
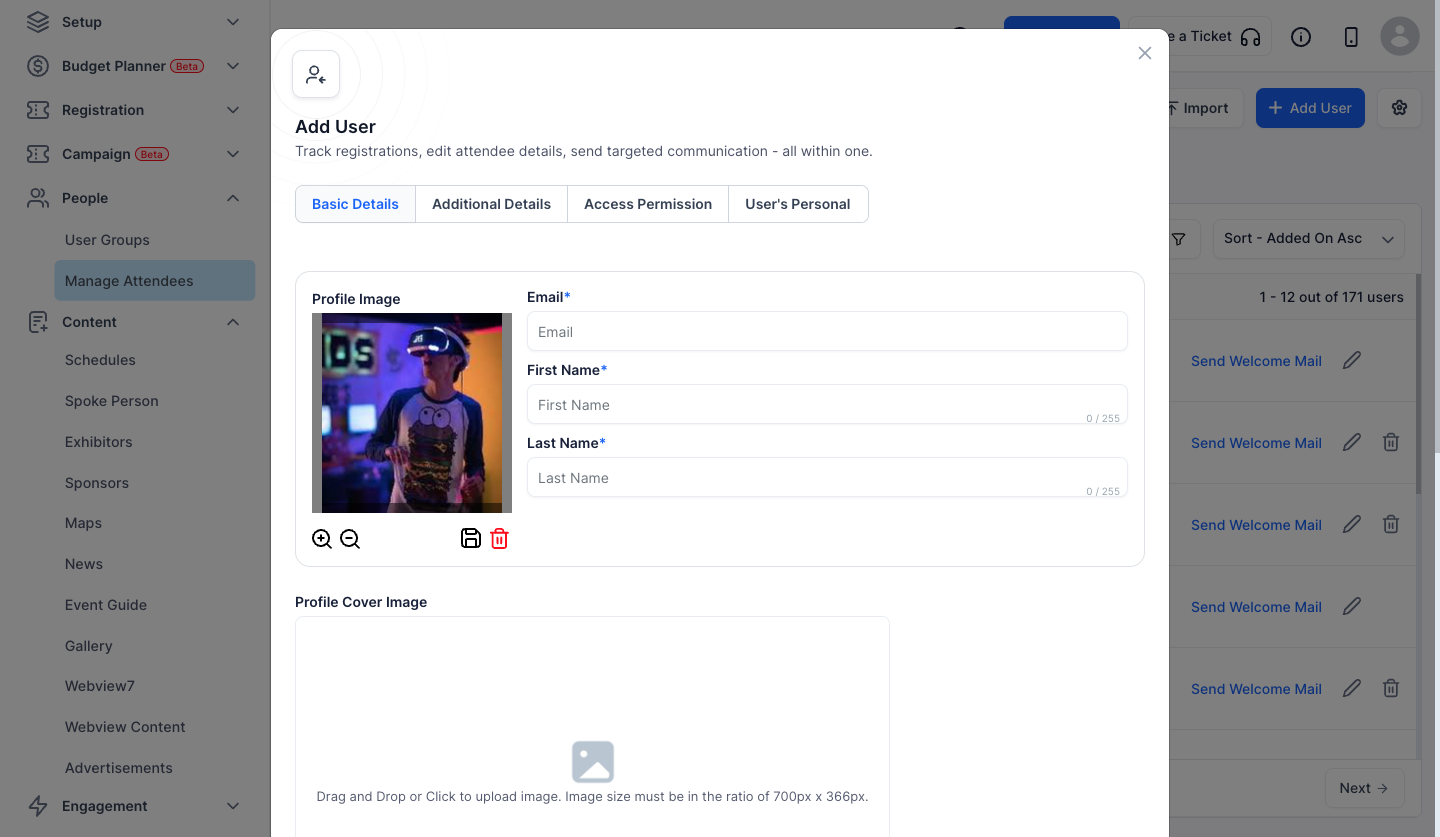
1: Access the Eventify Admin Panel and go to People> Manage Attendees
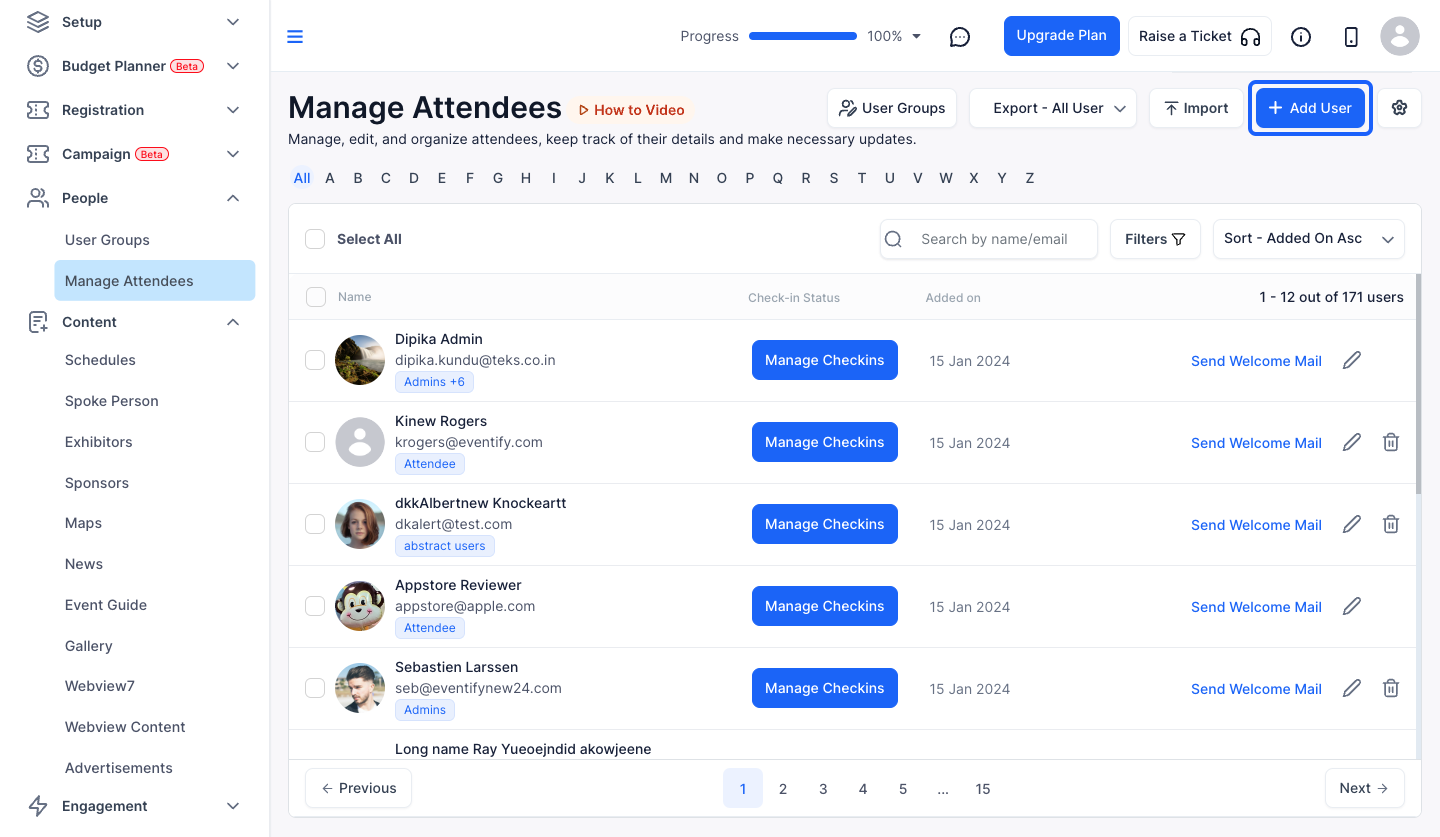
2: Click the “Add User” button to add a new attendee manually
3: You can add a profile image of the given resolution if needed
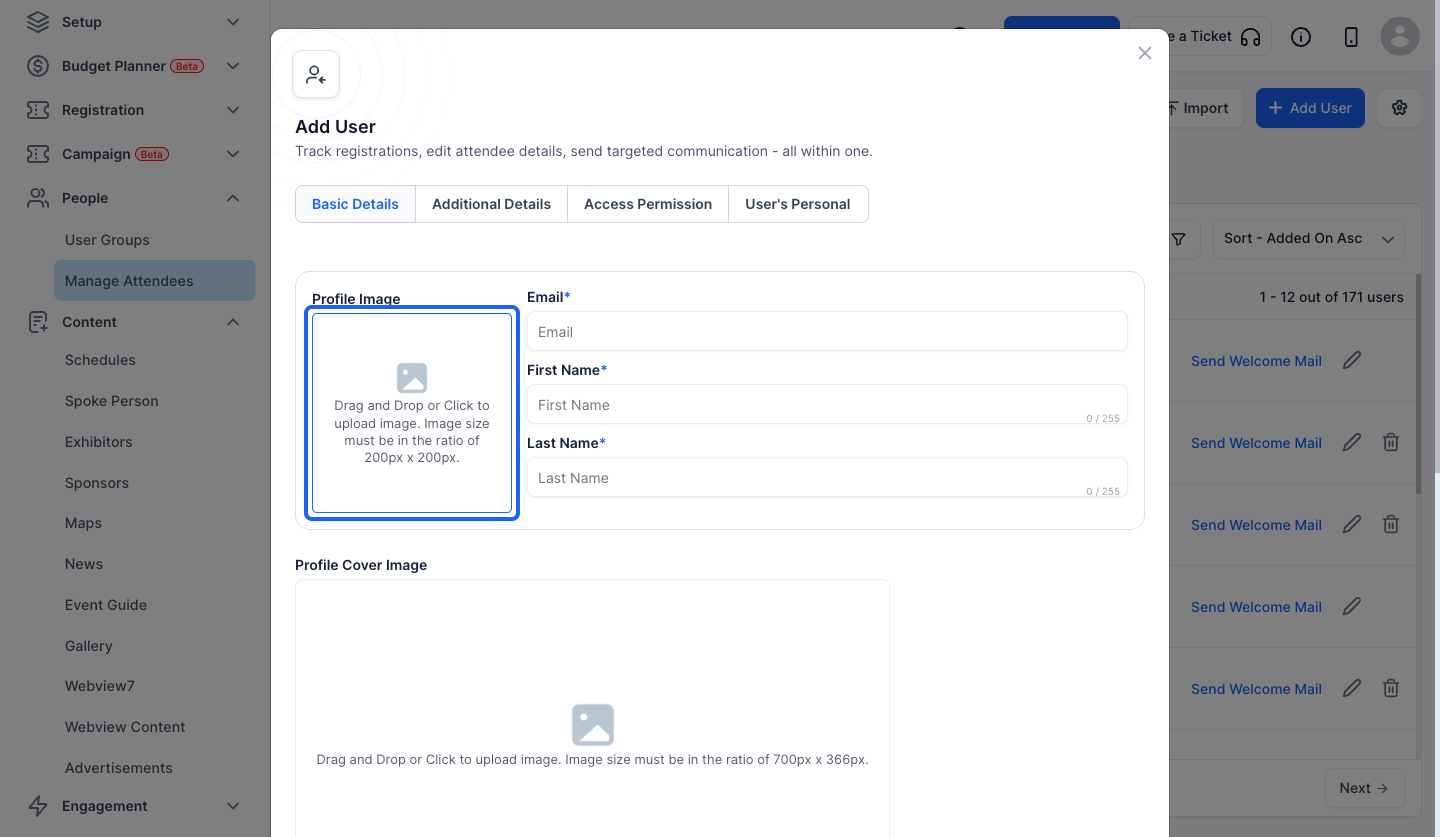
4: Click the “save” icon to save the profile image
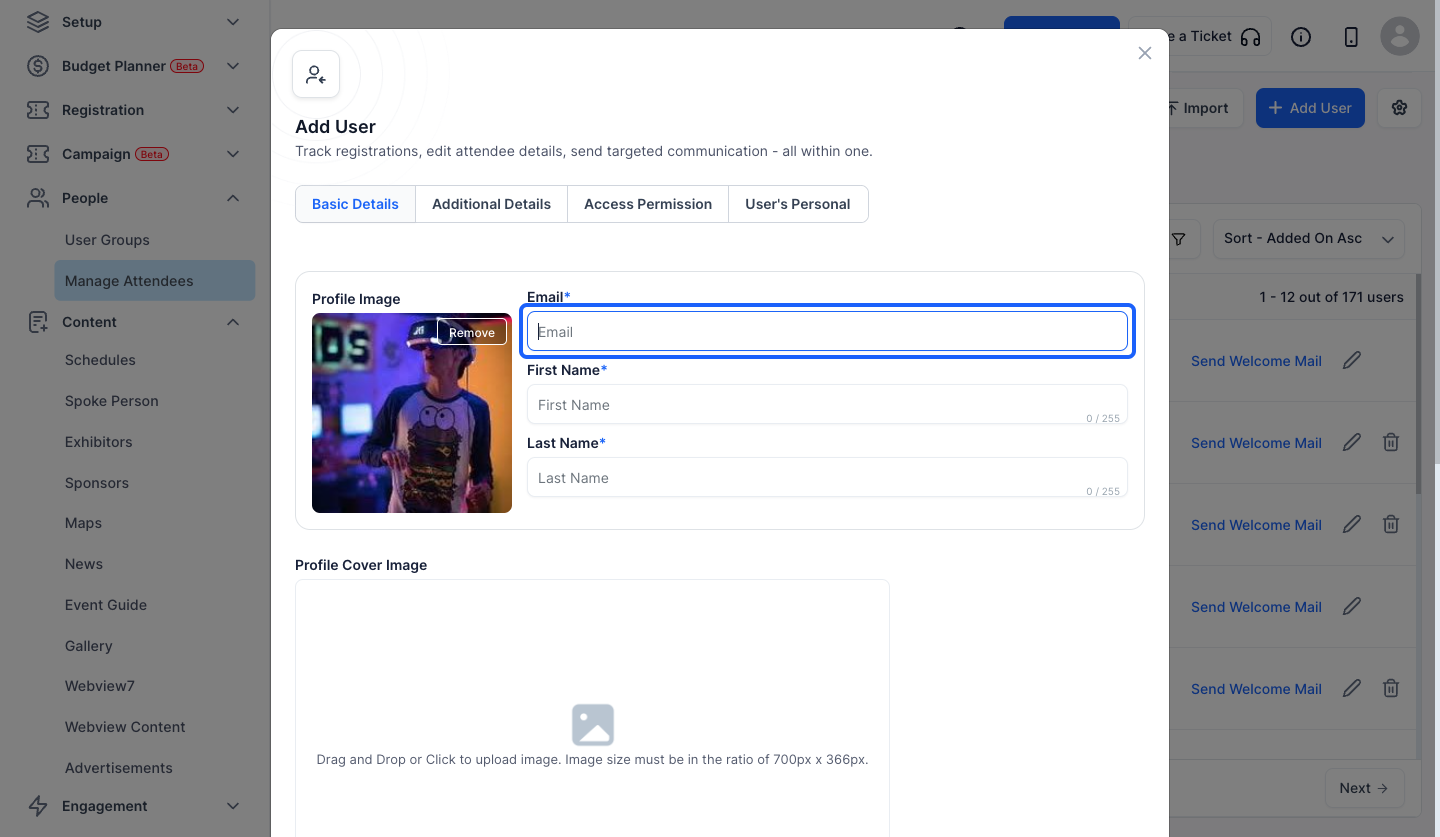
5: Add the email for the attendee. It is the email that will get registered and can be used by the attendee to login to the event
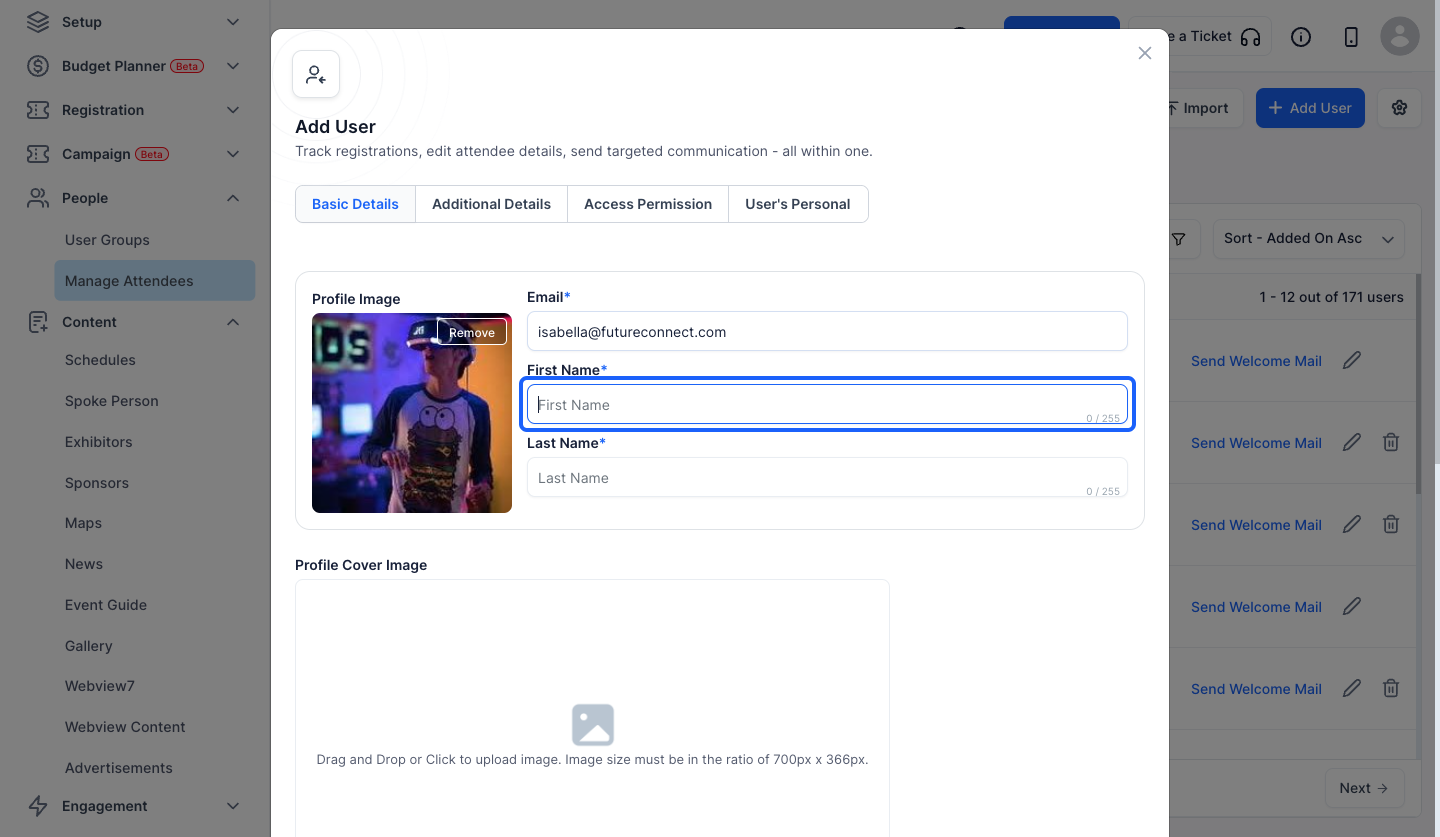
6: Enter the First Name of the Attendee
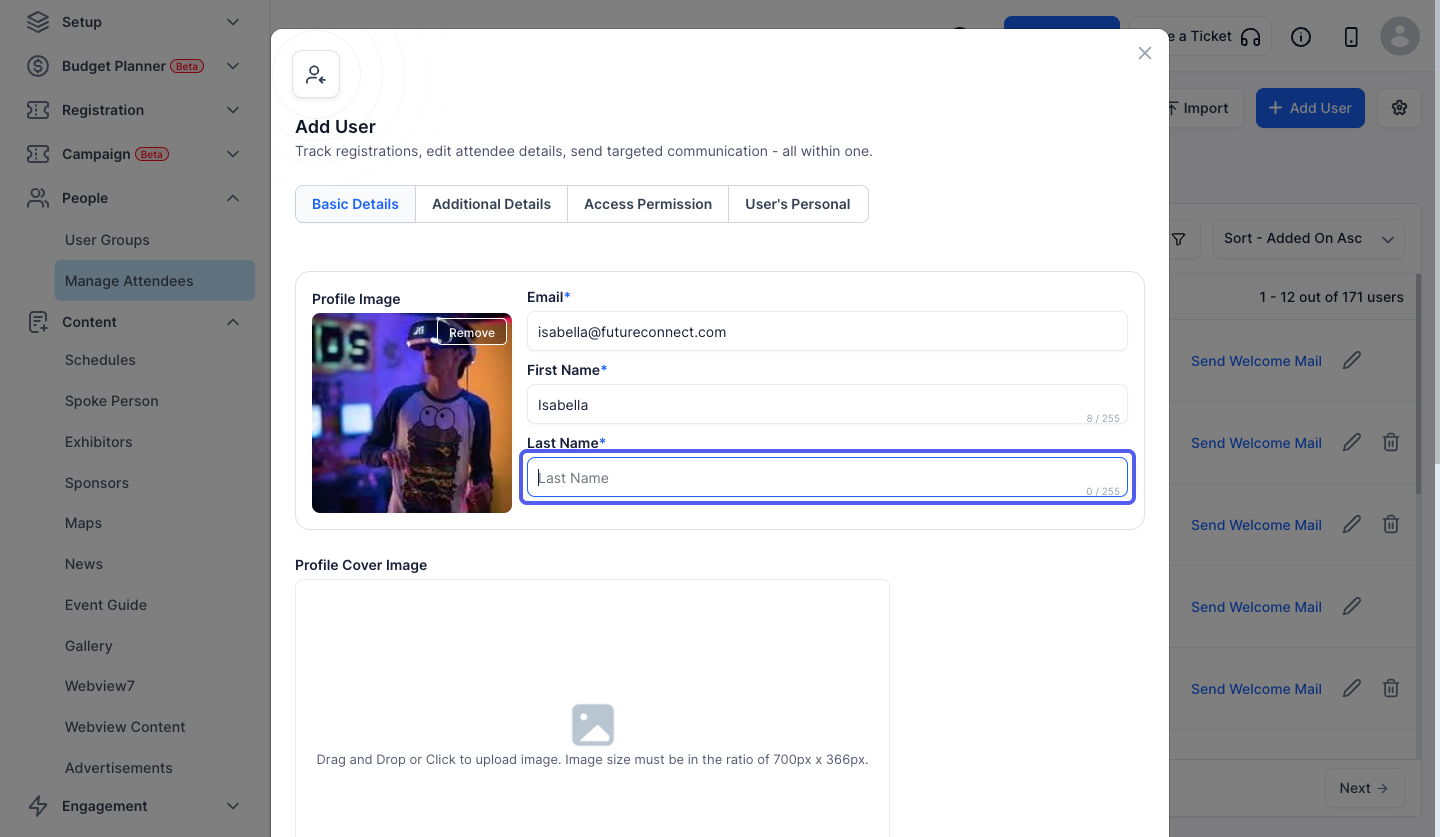
7: Enter the Last Name of the Attendee
8: Add a Profile Cover Image of the given resolution if needed
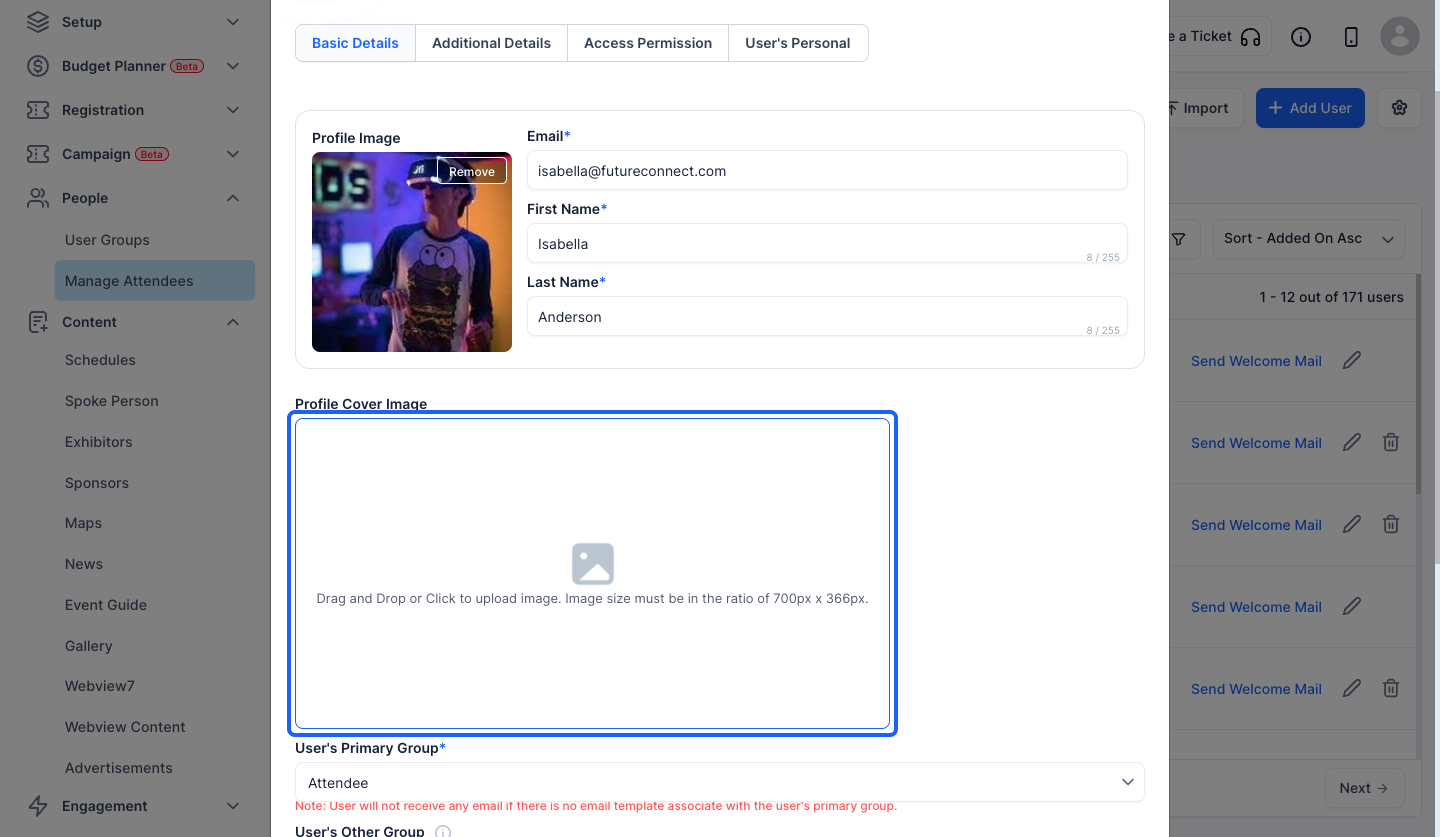
9: Add the primary group of the attendee. Each attendee needs to belong to at least one user group
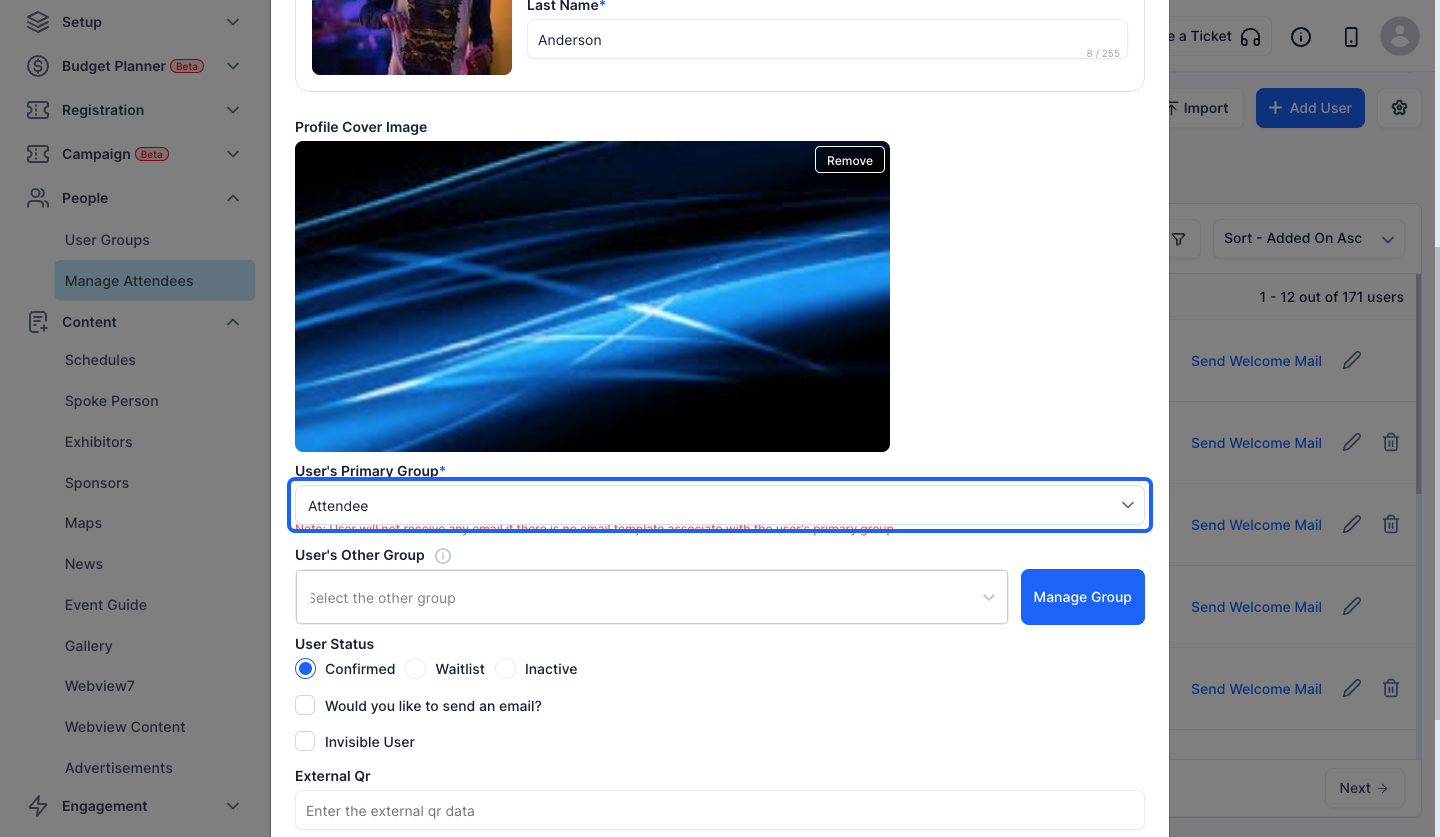
10: You can also add a secondary group of the attendee if they belong to more than one user groups
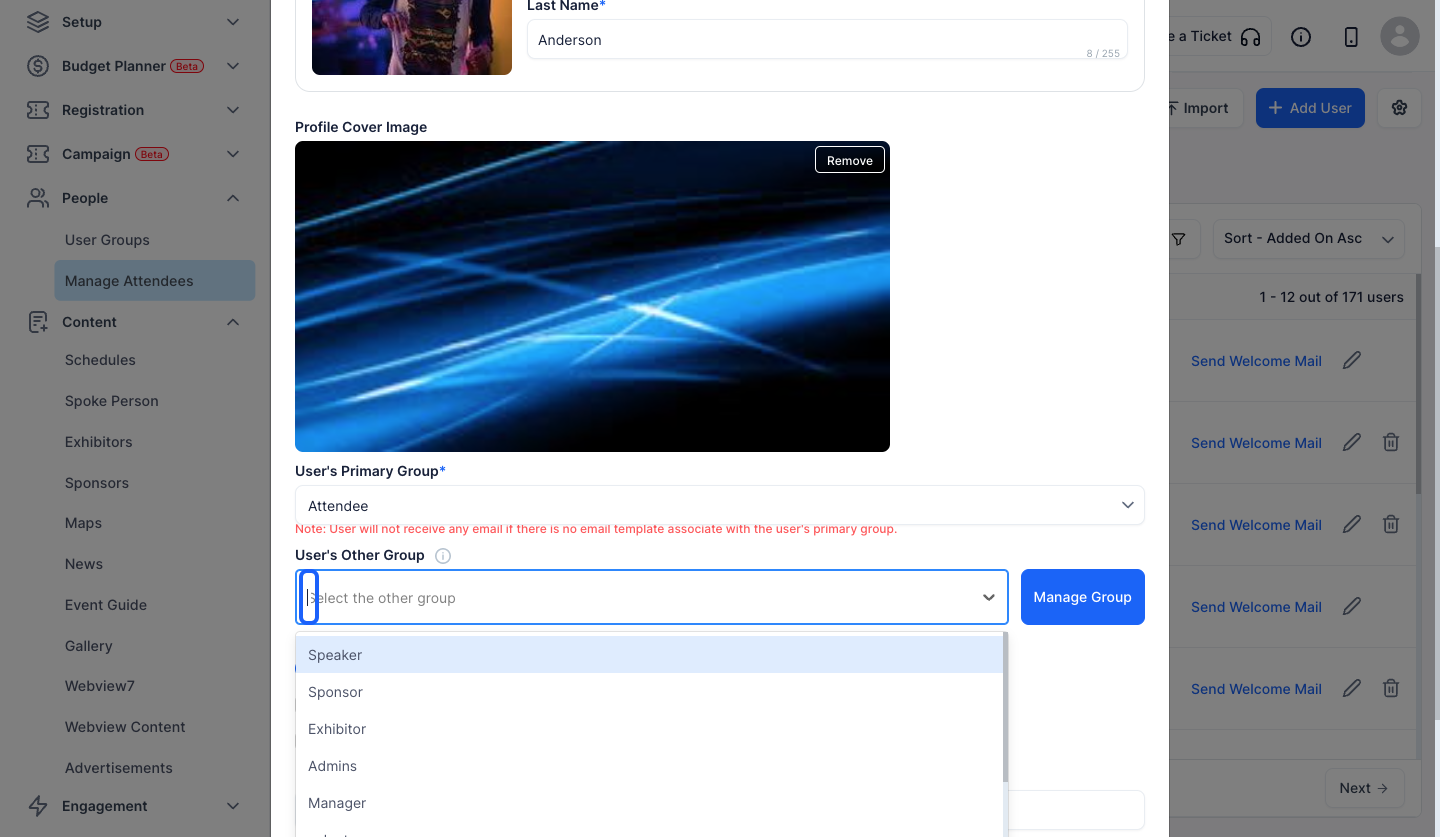
11: You can also click the “Manage Group” button to manage the Attendees's group
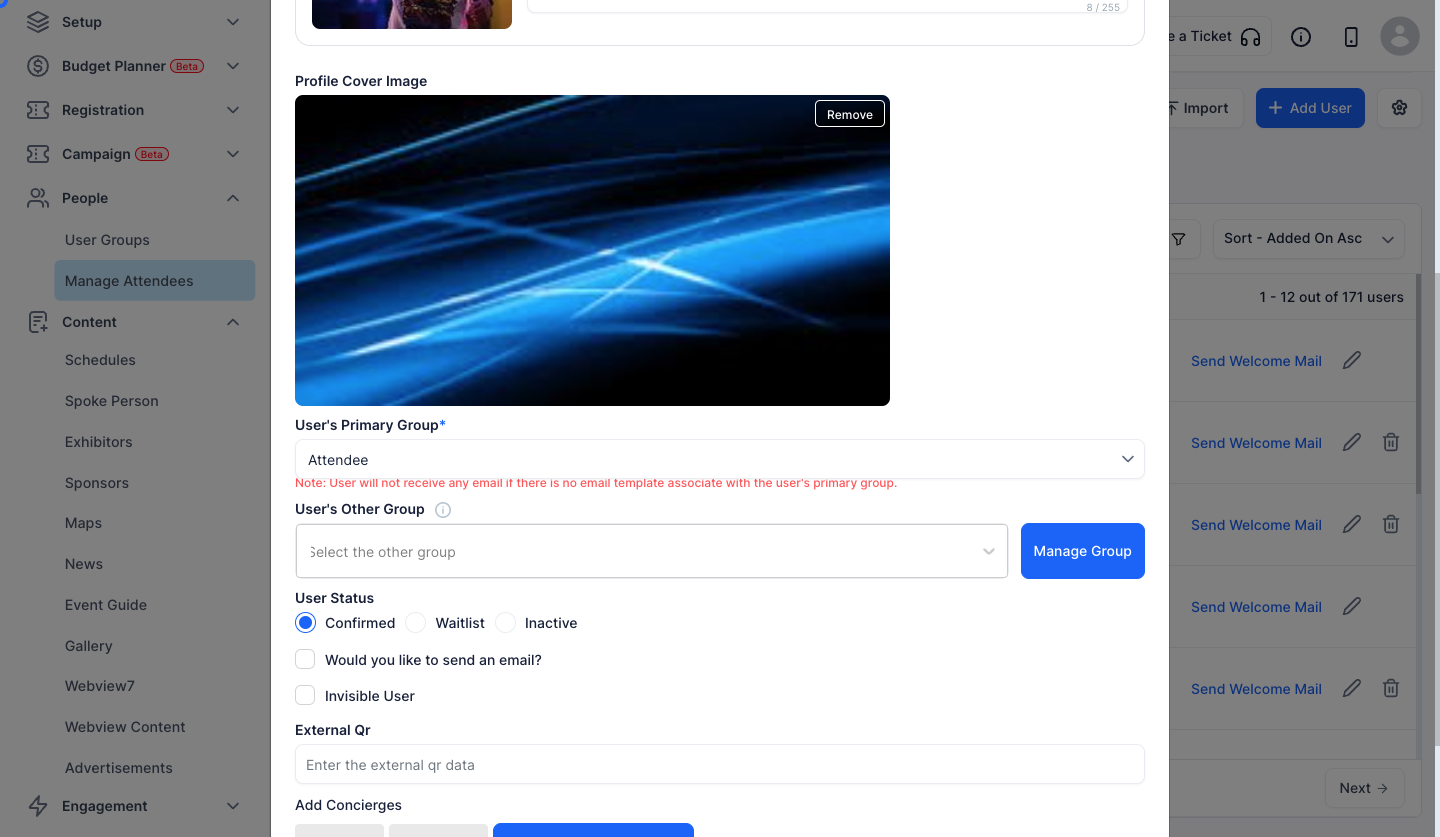
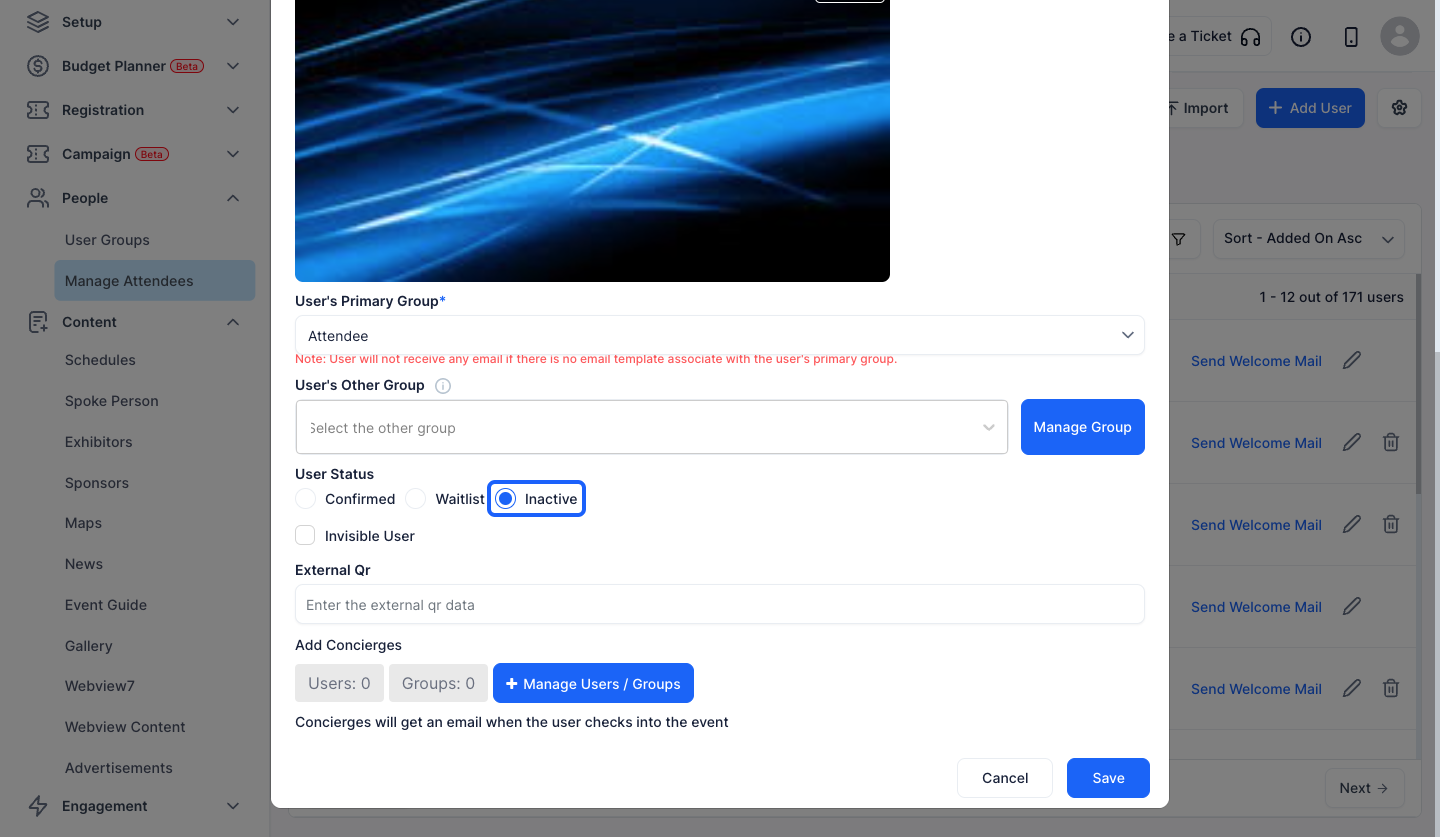
12: Set the status of the user. "Confirmed" means the user can access the event and all it's features

13: Set the status of the user to "Waitlist" if you want to register them now but they will not be able to access the event applications until Confirmed

14: Set the status of the user to "Inactive" if you want to register them now but they will not be able to access the event applications until Confirmed or get any email of registration
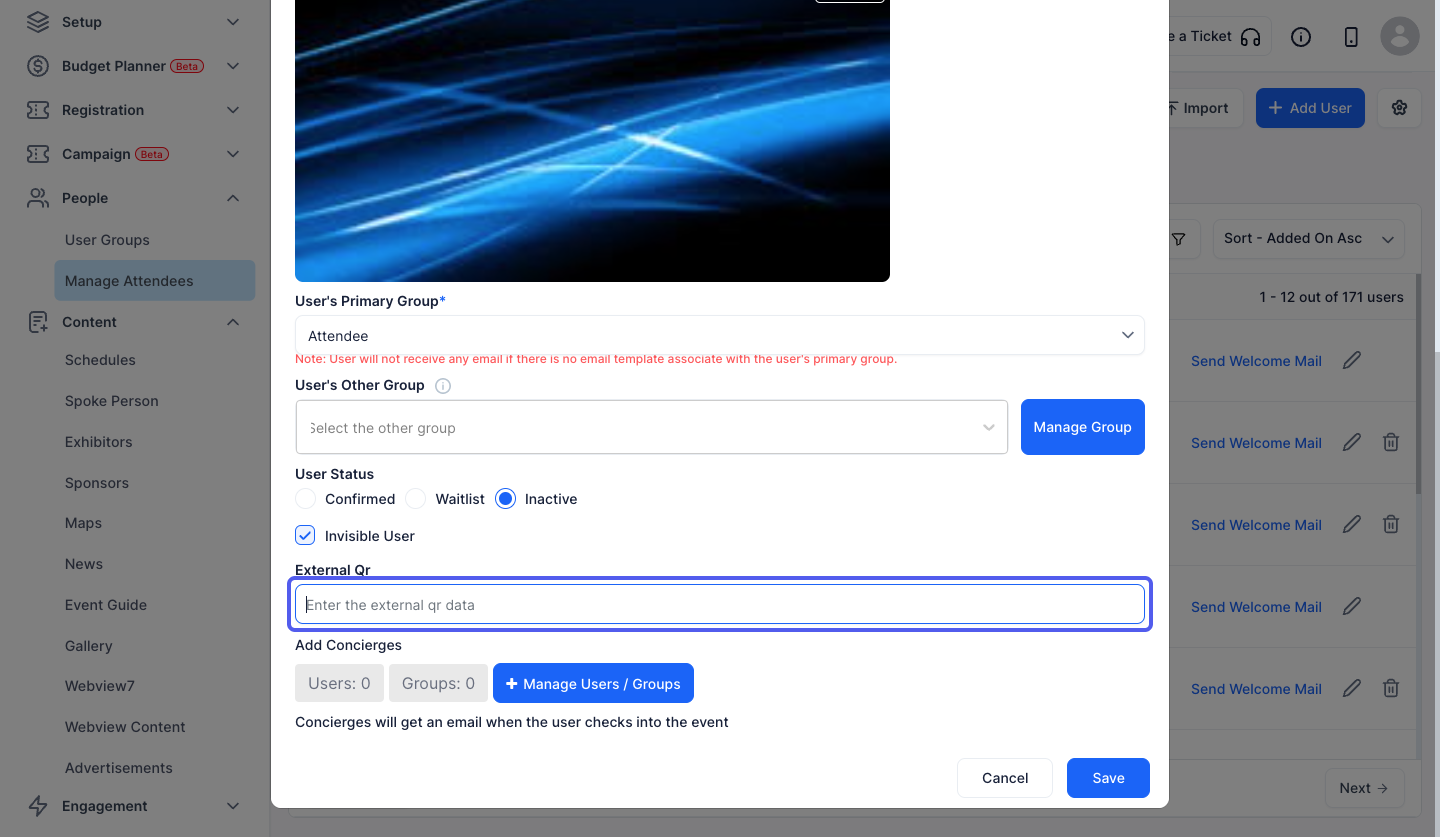
15: Make the user "Invisible" if you want them to access the event and it's features but will not be able to participate in any interactive feature nor their profile will be visible to the other attendees

16: You can also enter external qr data if required
17: Click the “Manage Users / Groups” button to add Concierges
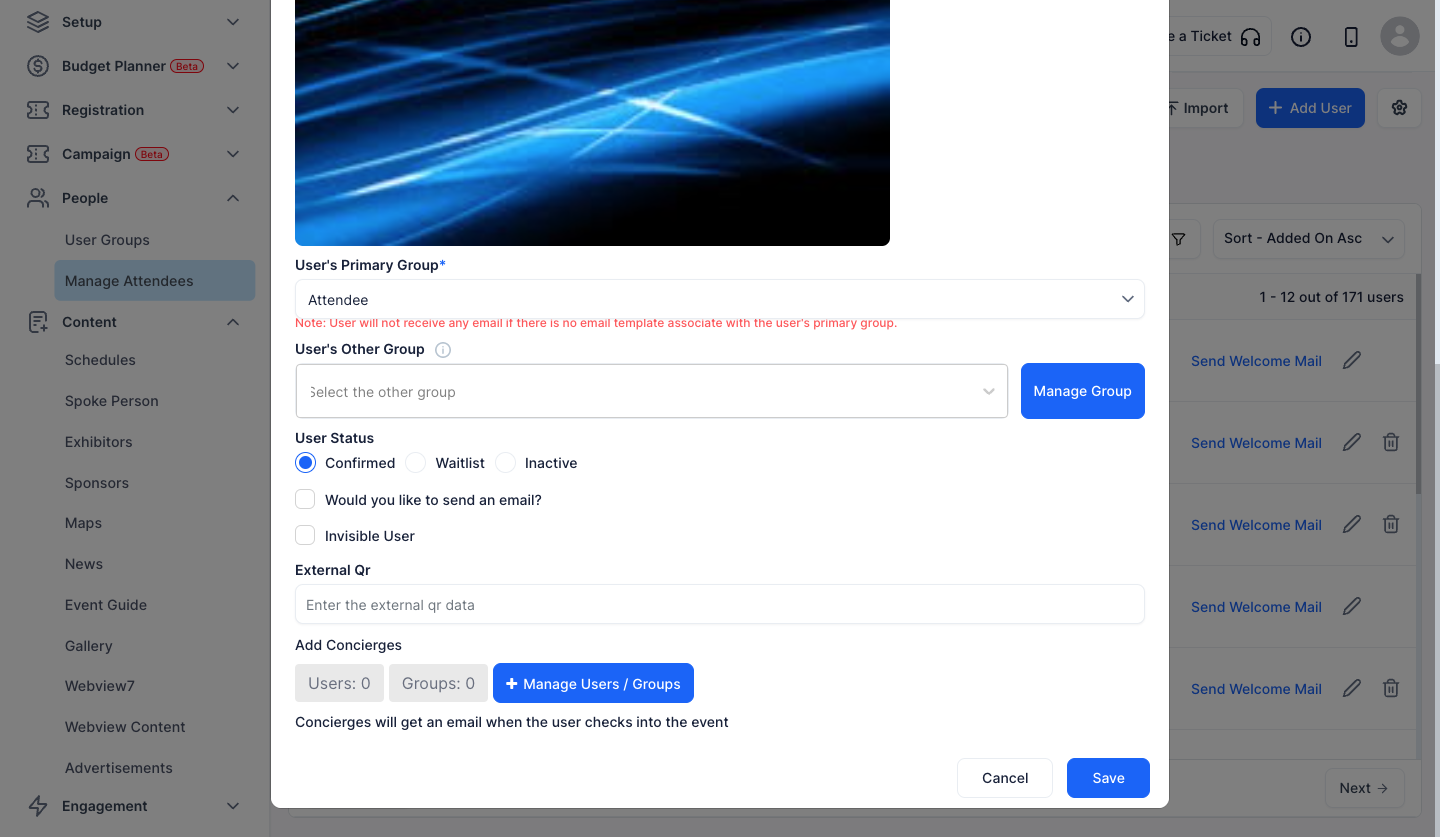
18: Click the “Save” button

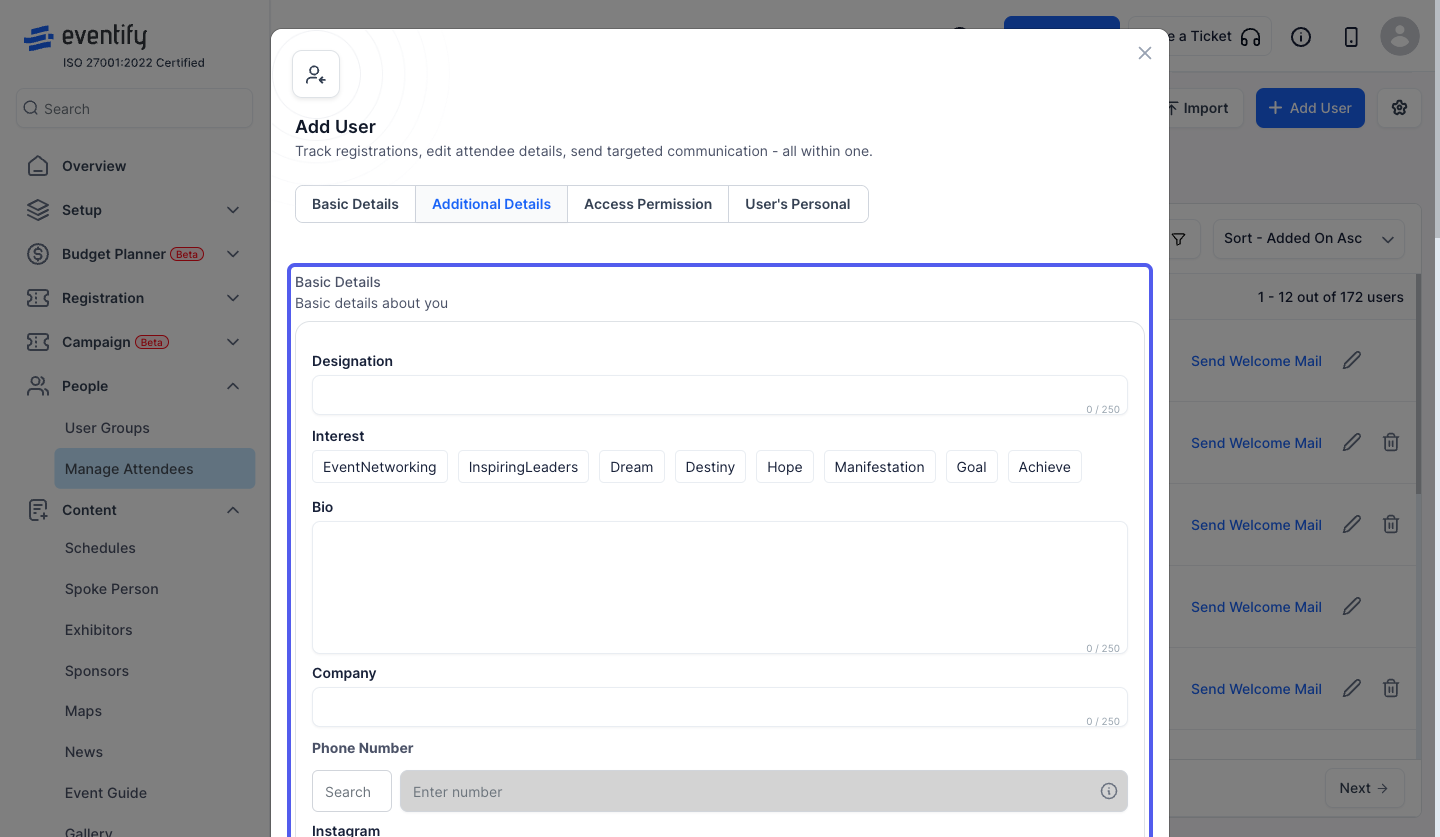
19: Go to Additional Details
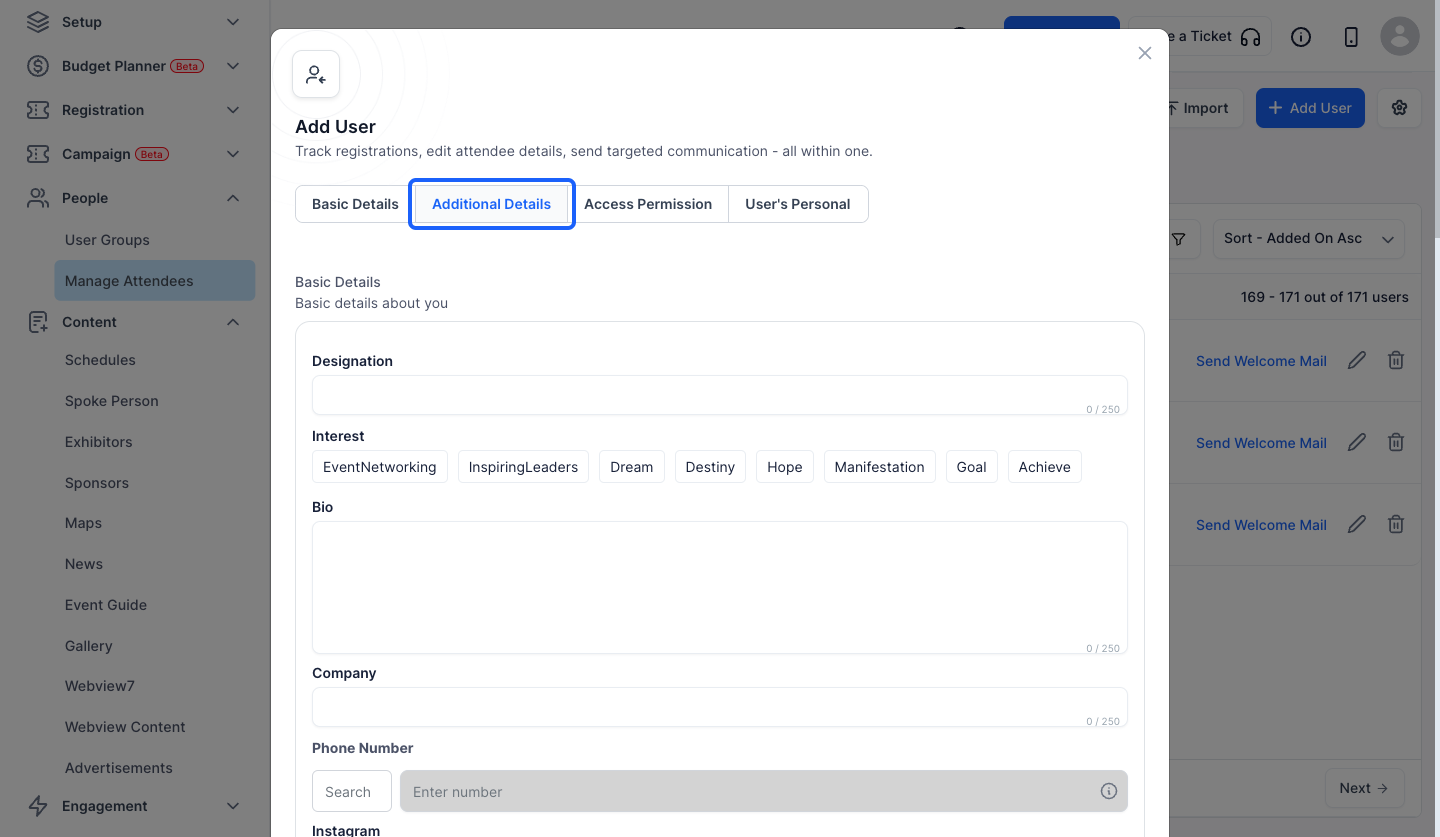
20: Here you can see all the fields according to the checkout form of the user's group. You or the attendee can fill it up
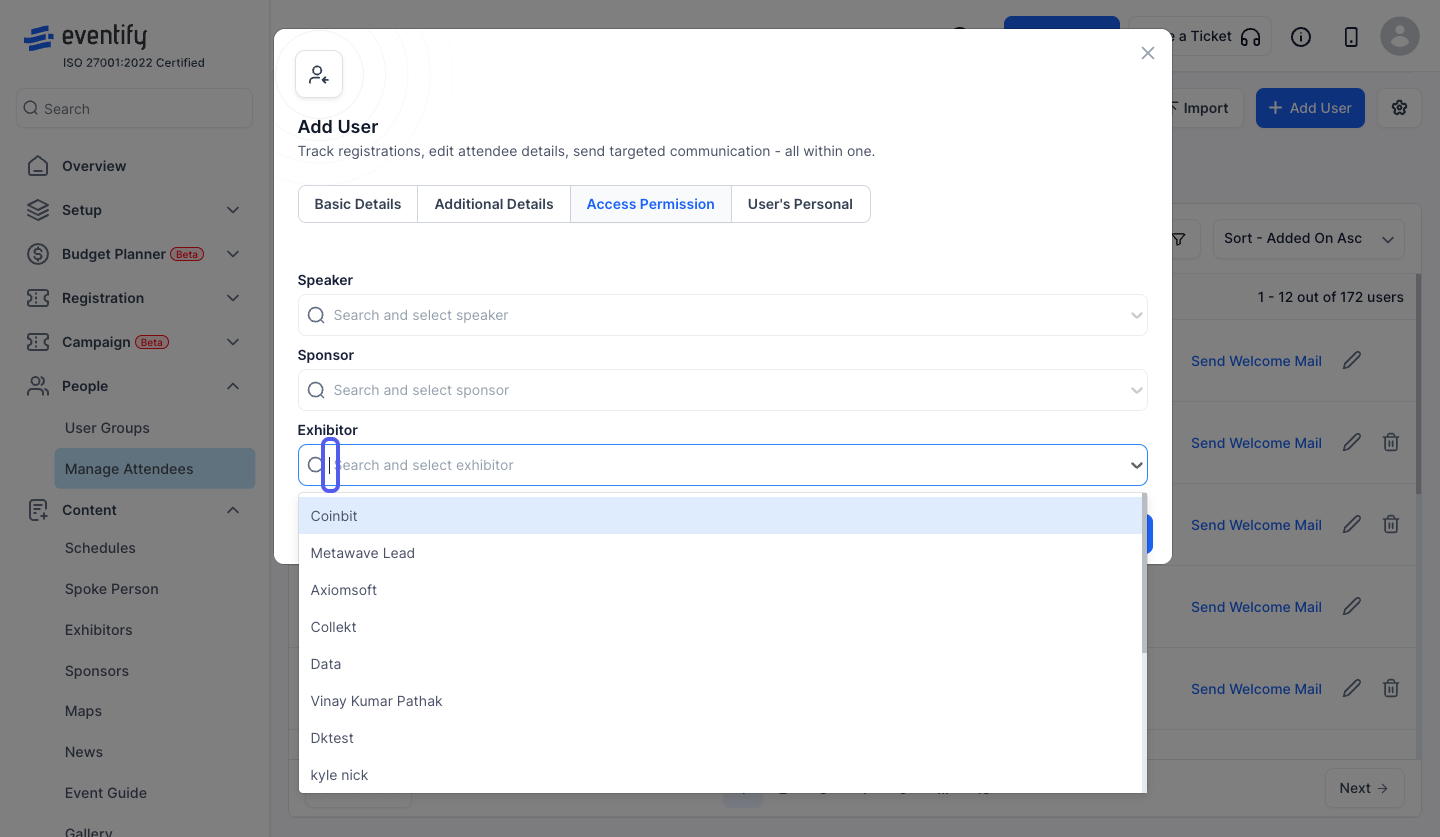
21: Go to “Access Permission”
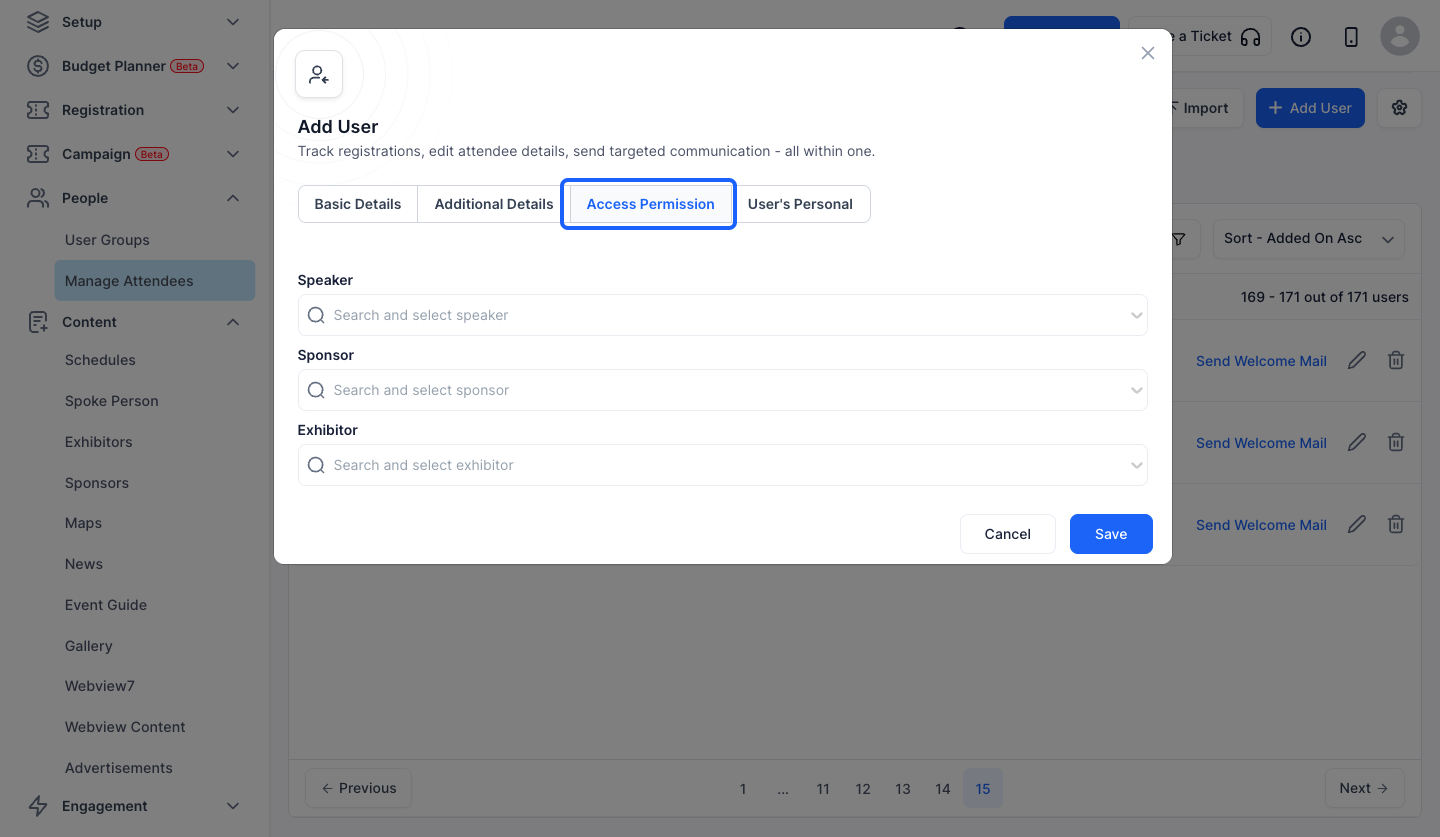
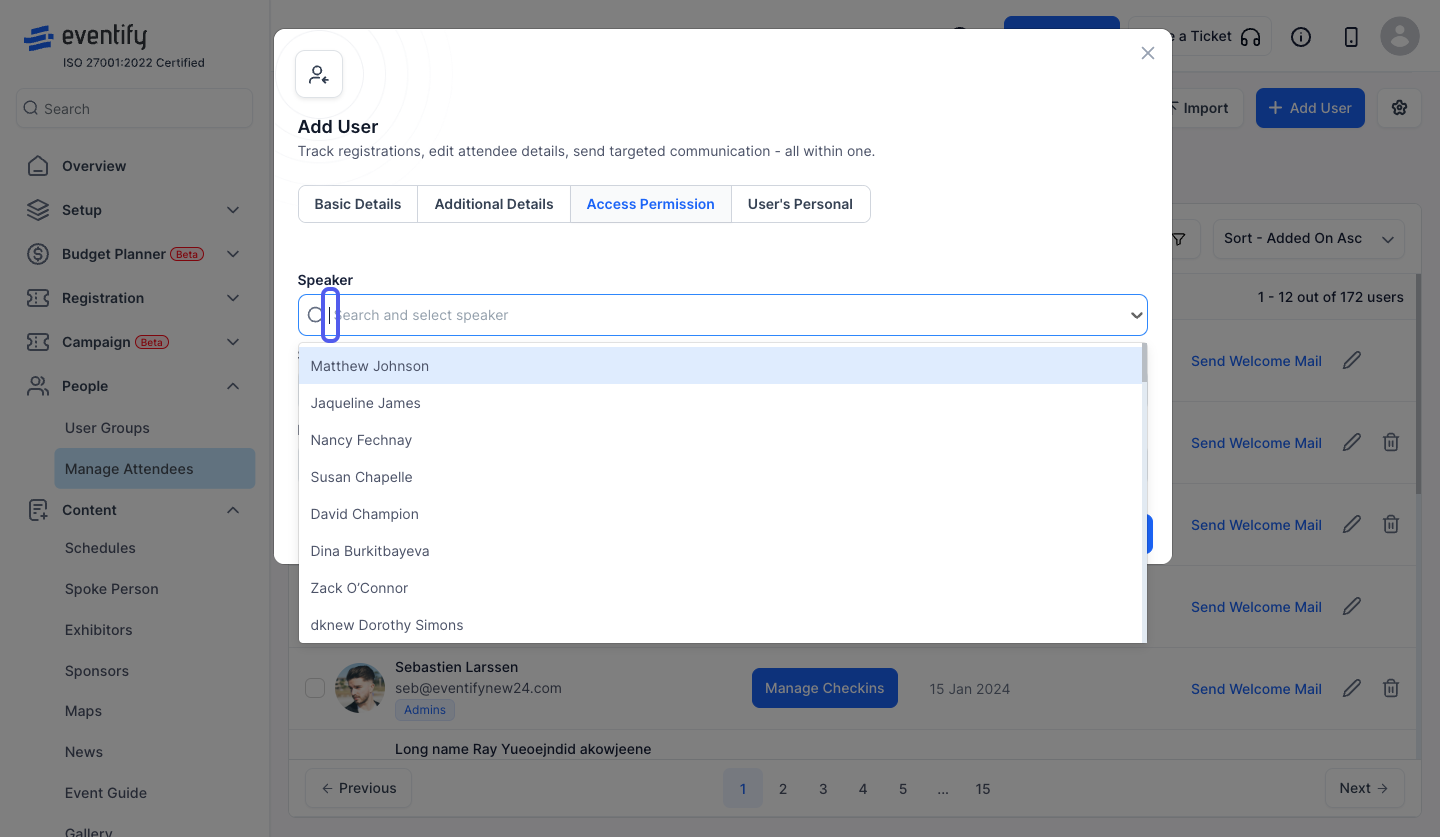
22: Here you can set this user's permission to access the relevant Speaker of the event
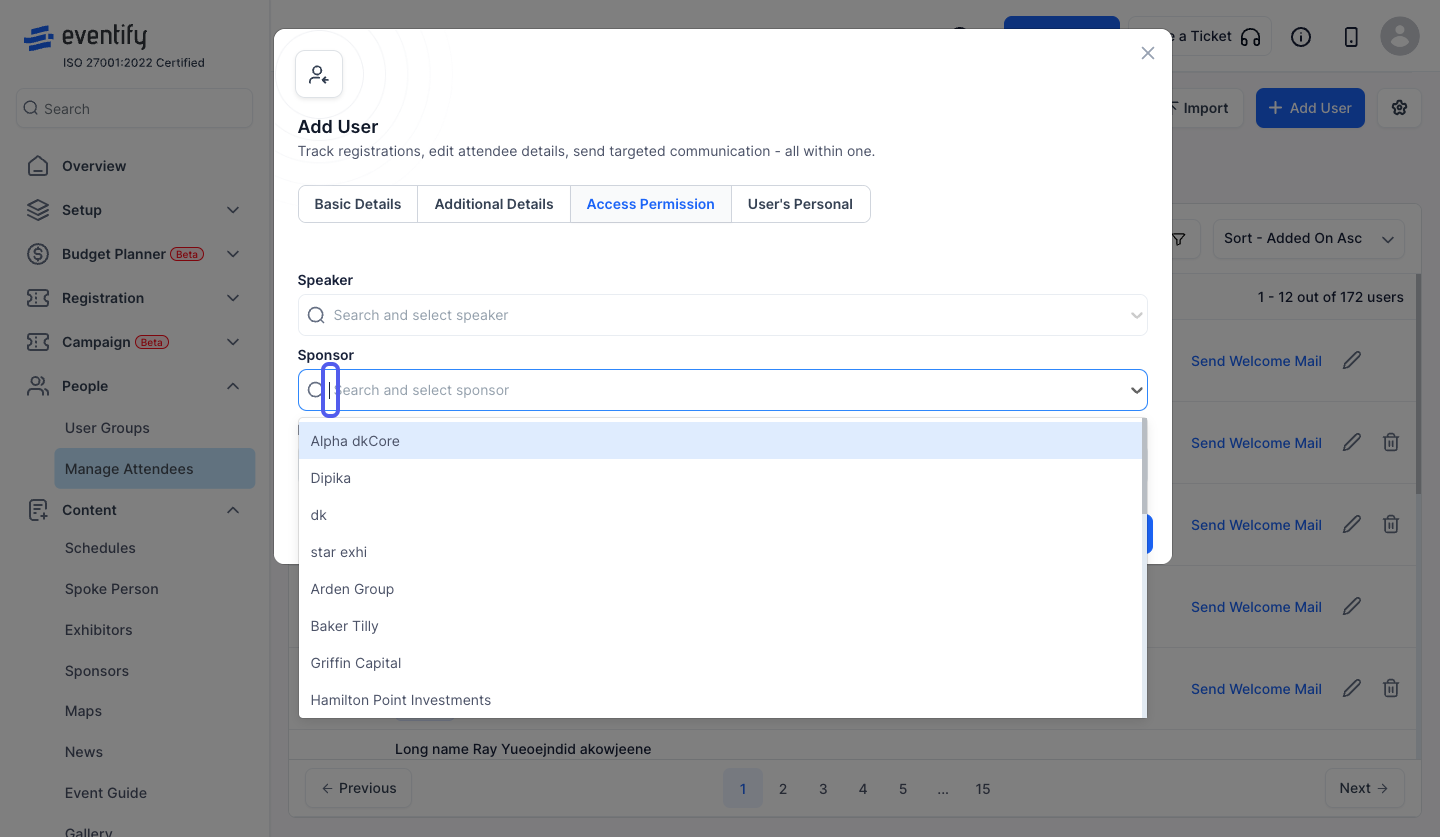
23: Here you can set this user's permission to access the relevant Sponsor of the event
24: Here you can set this user's permission to access the relevant Exhibitor of the event
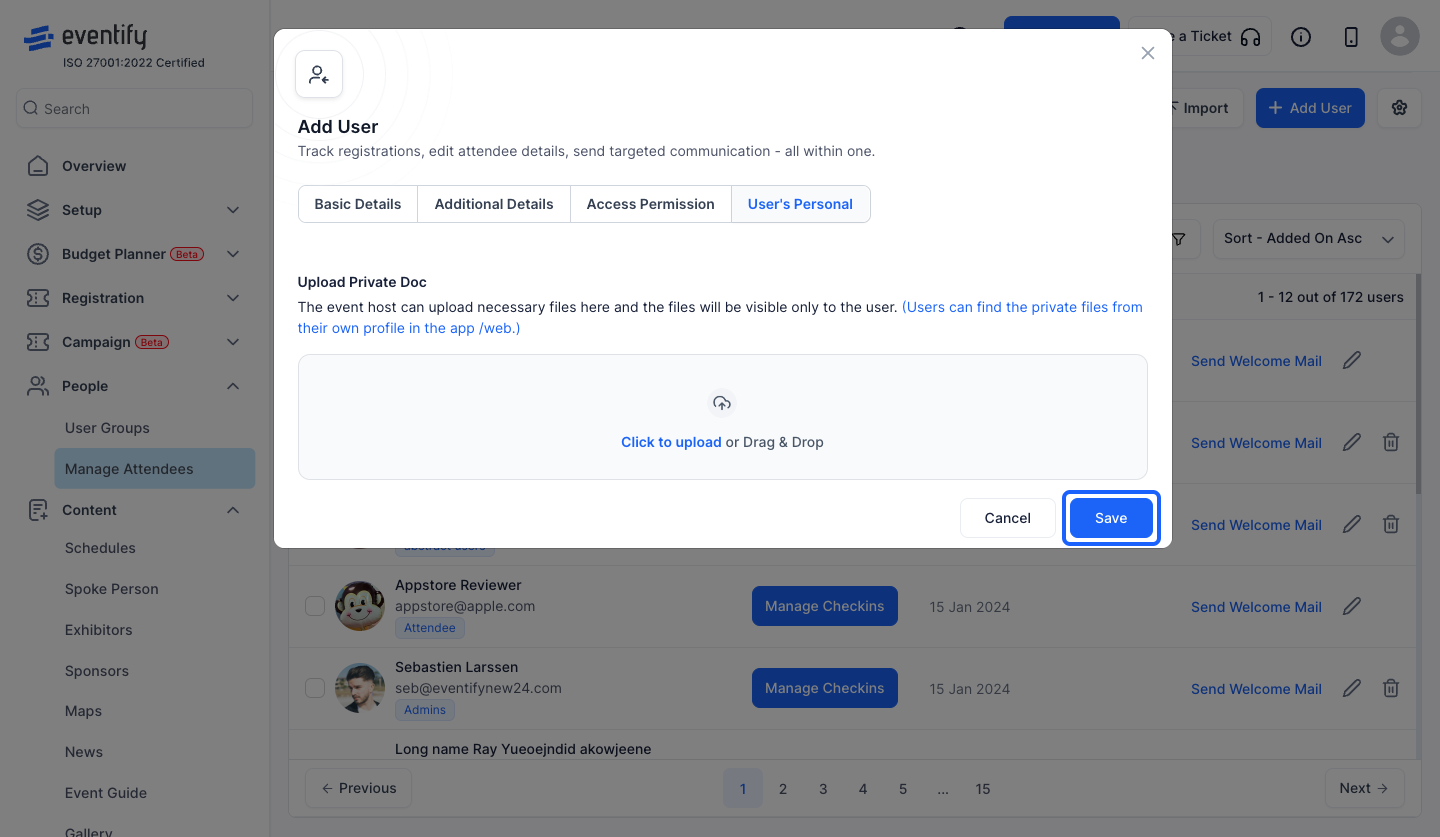
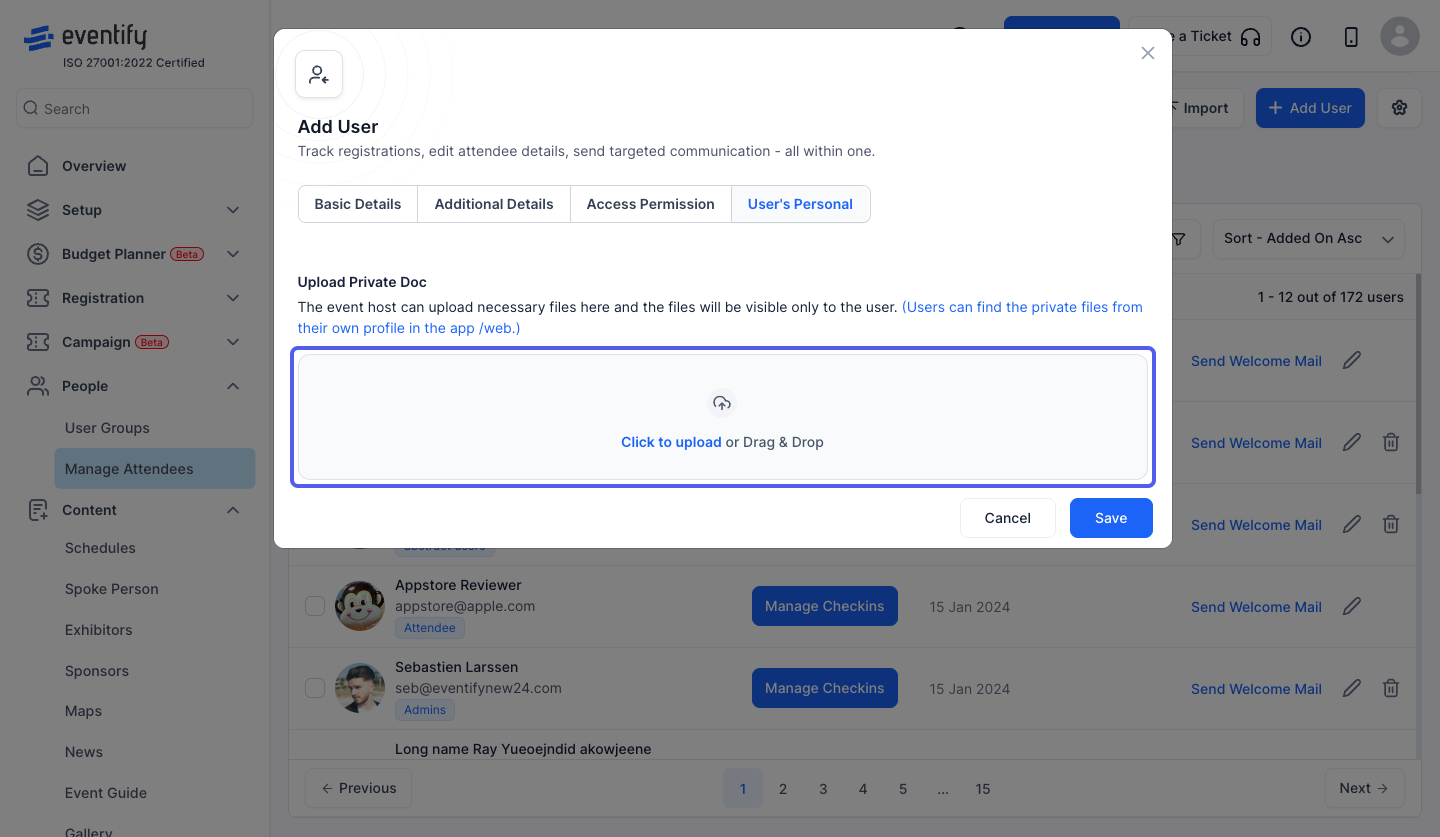
25: Go to User's Personel
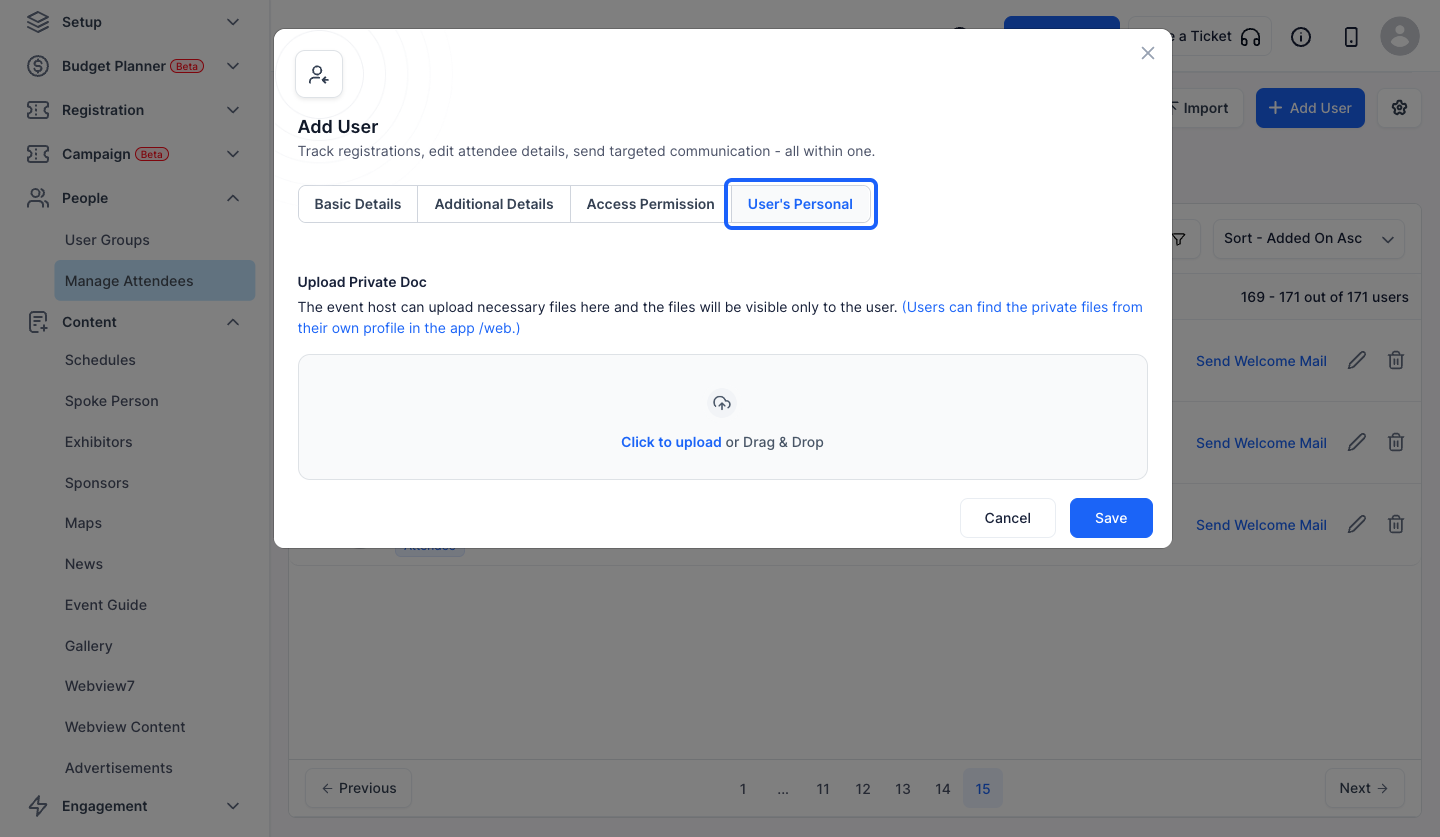
26: You can attach any document for the user
Note: Users can view the private docs attached to their profile, in the applications
27: Once done, click the “Save” button to add the user
Note: You can save it after adding the required data under "Basic Details" and the rest can be added by the user