
Here is how to create a registration form for an event in Eventify: open Registration Forms, click Create Form, then drag in the fields you need.
The Registration Forms section lets you build custom checkout and registration forms using a drag-and-drop editor. Forms collect attendee information during ticket purchase and are assigned to specific attendee categories (e.g., general attendees, exhibitors).
Go to Registration → Registration Forms in the sidebar.

Click on Create Form to create a new form.
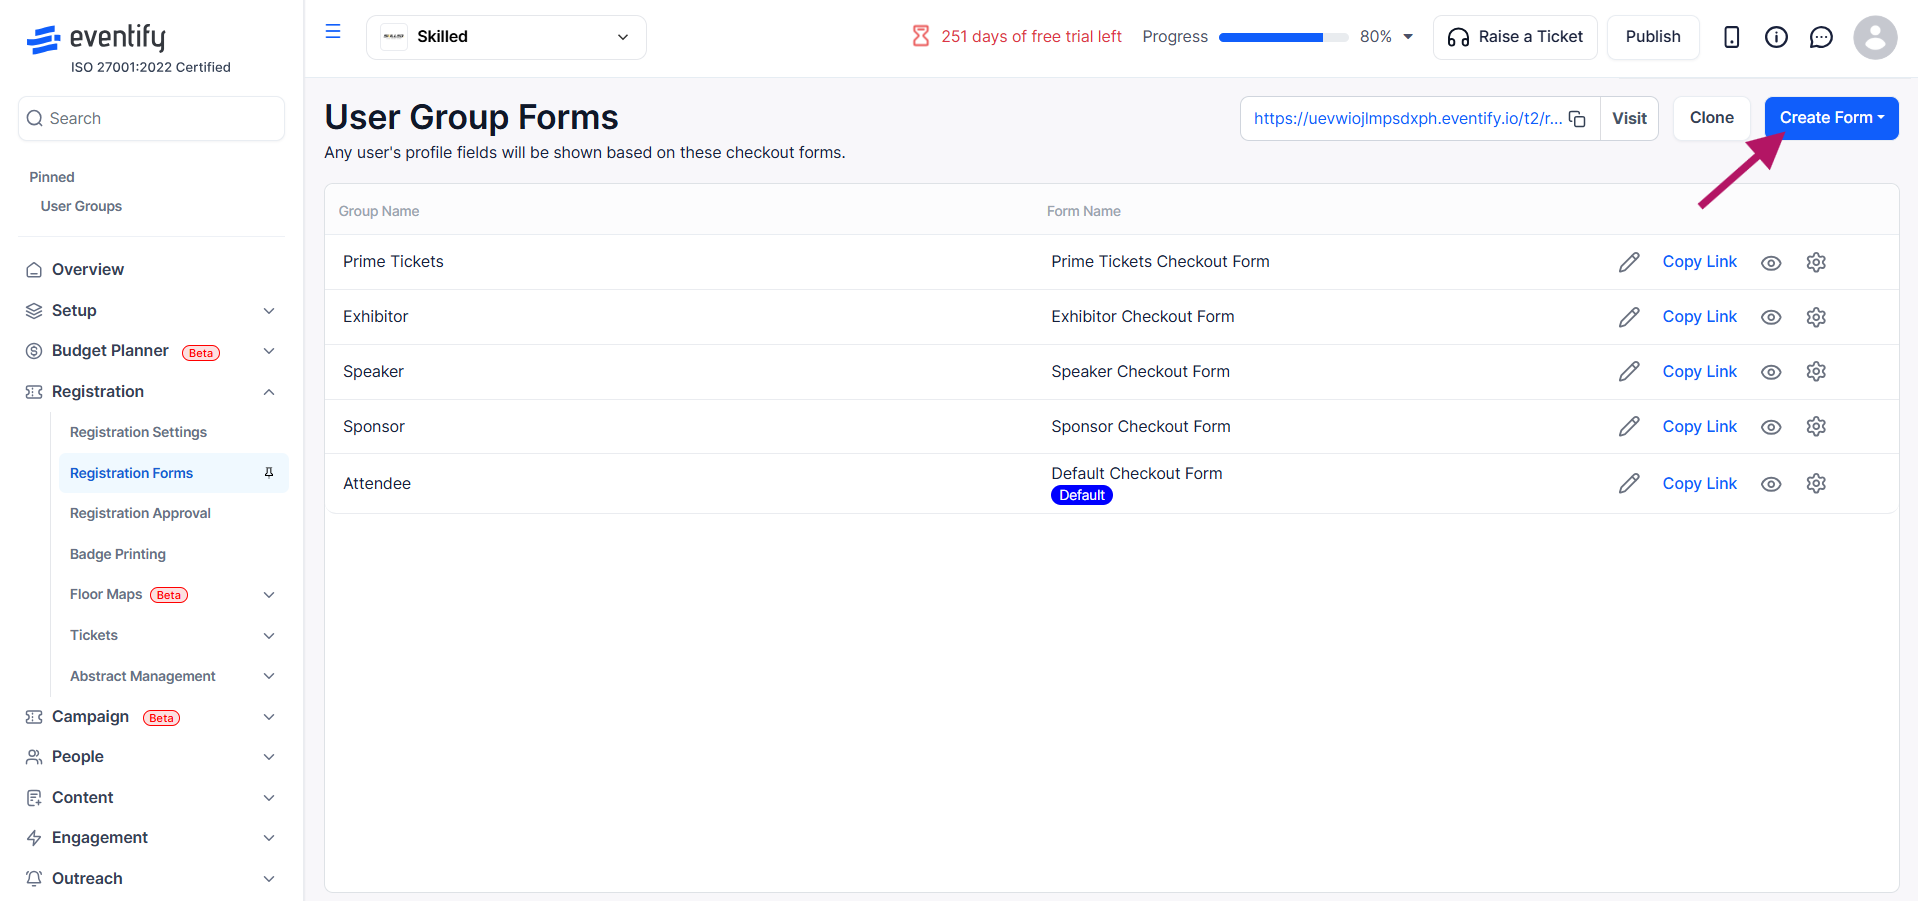
You can also describe the form you want and let the AI form builder add the fields for you. See How to Build a Registration Form with AI.
Input the form name. You can also input the form description (which is optional).

Each form comes with default fields such as name, email, and profile details, which are automatically included and cannot be removed.
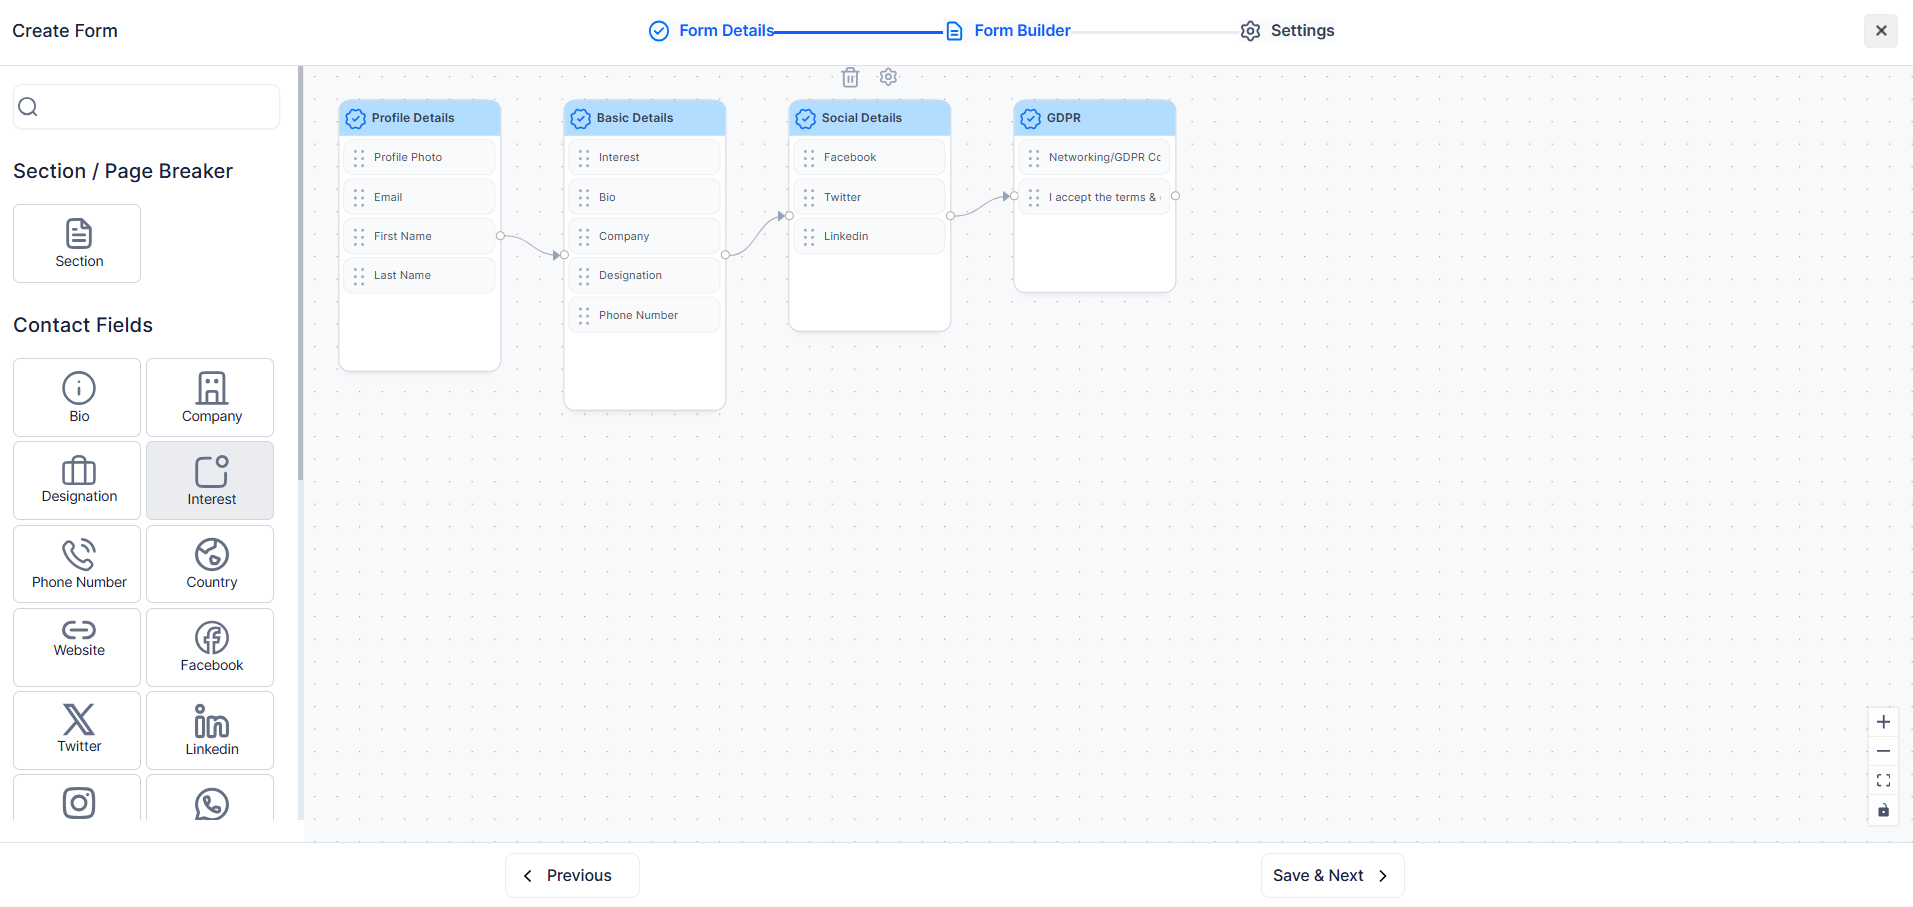
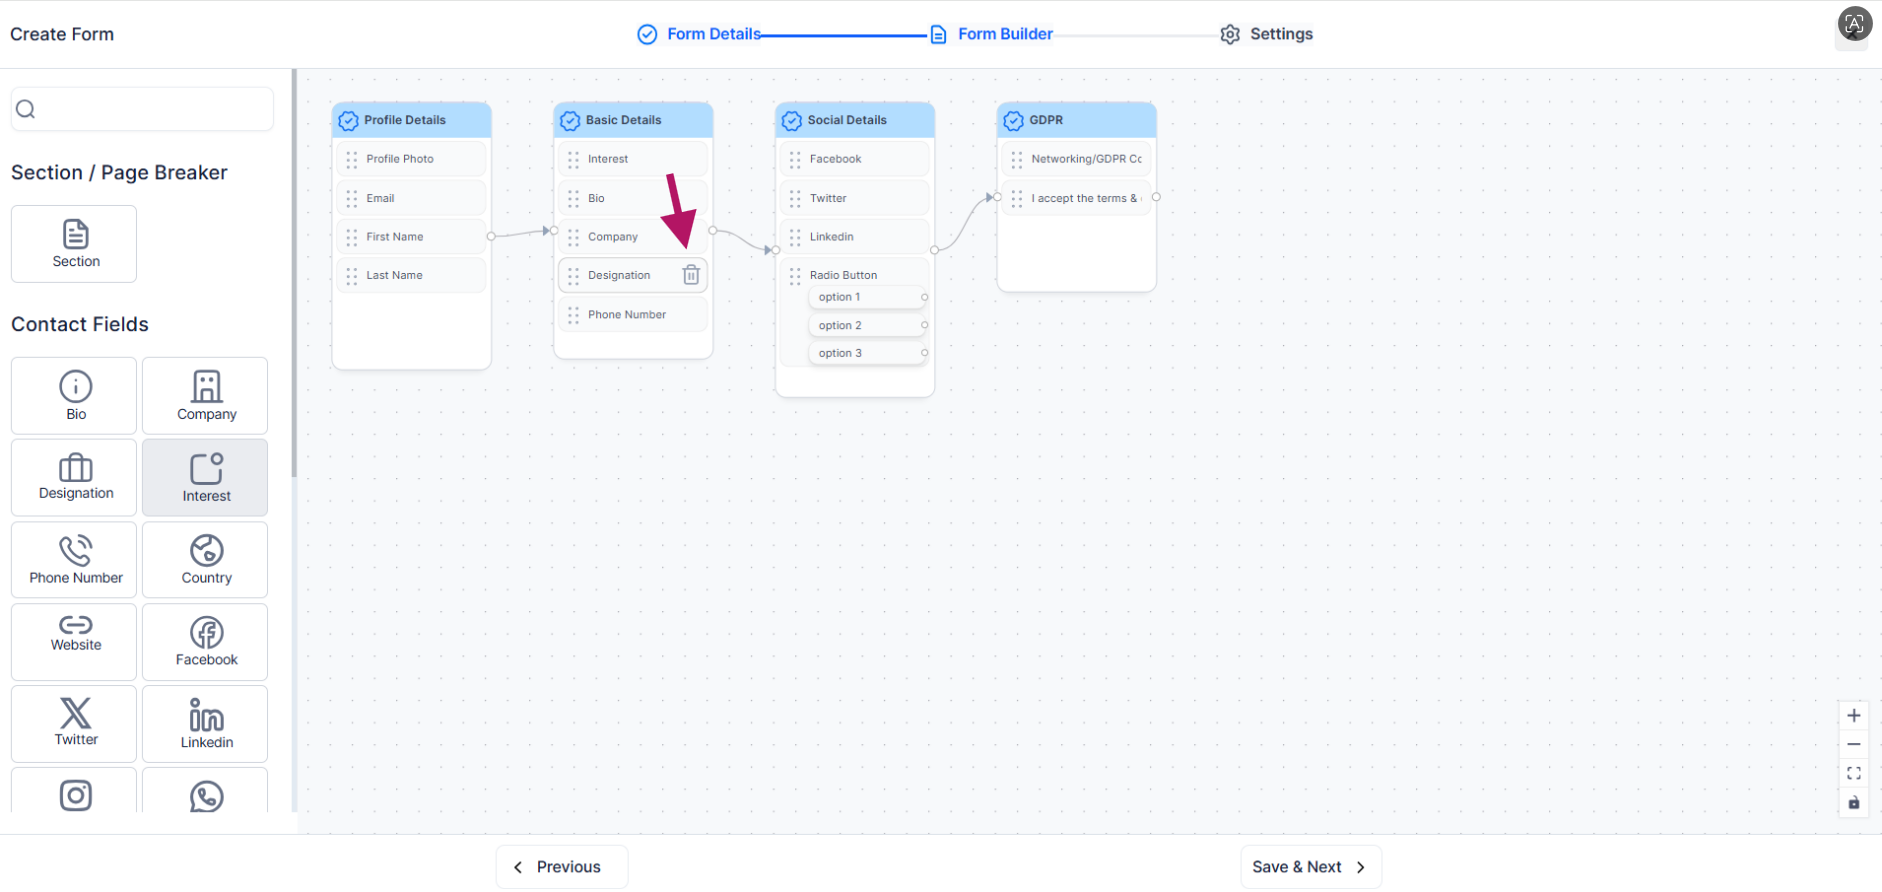
Add additional fields by dragging them from the toolbox into the form canvas, including text inputs, dropdowns, radio buttons, checkboxes, etc.
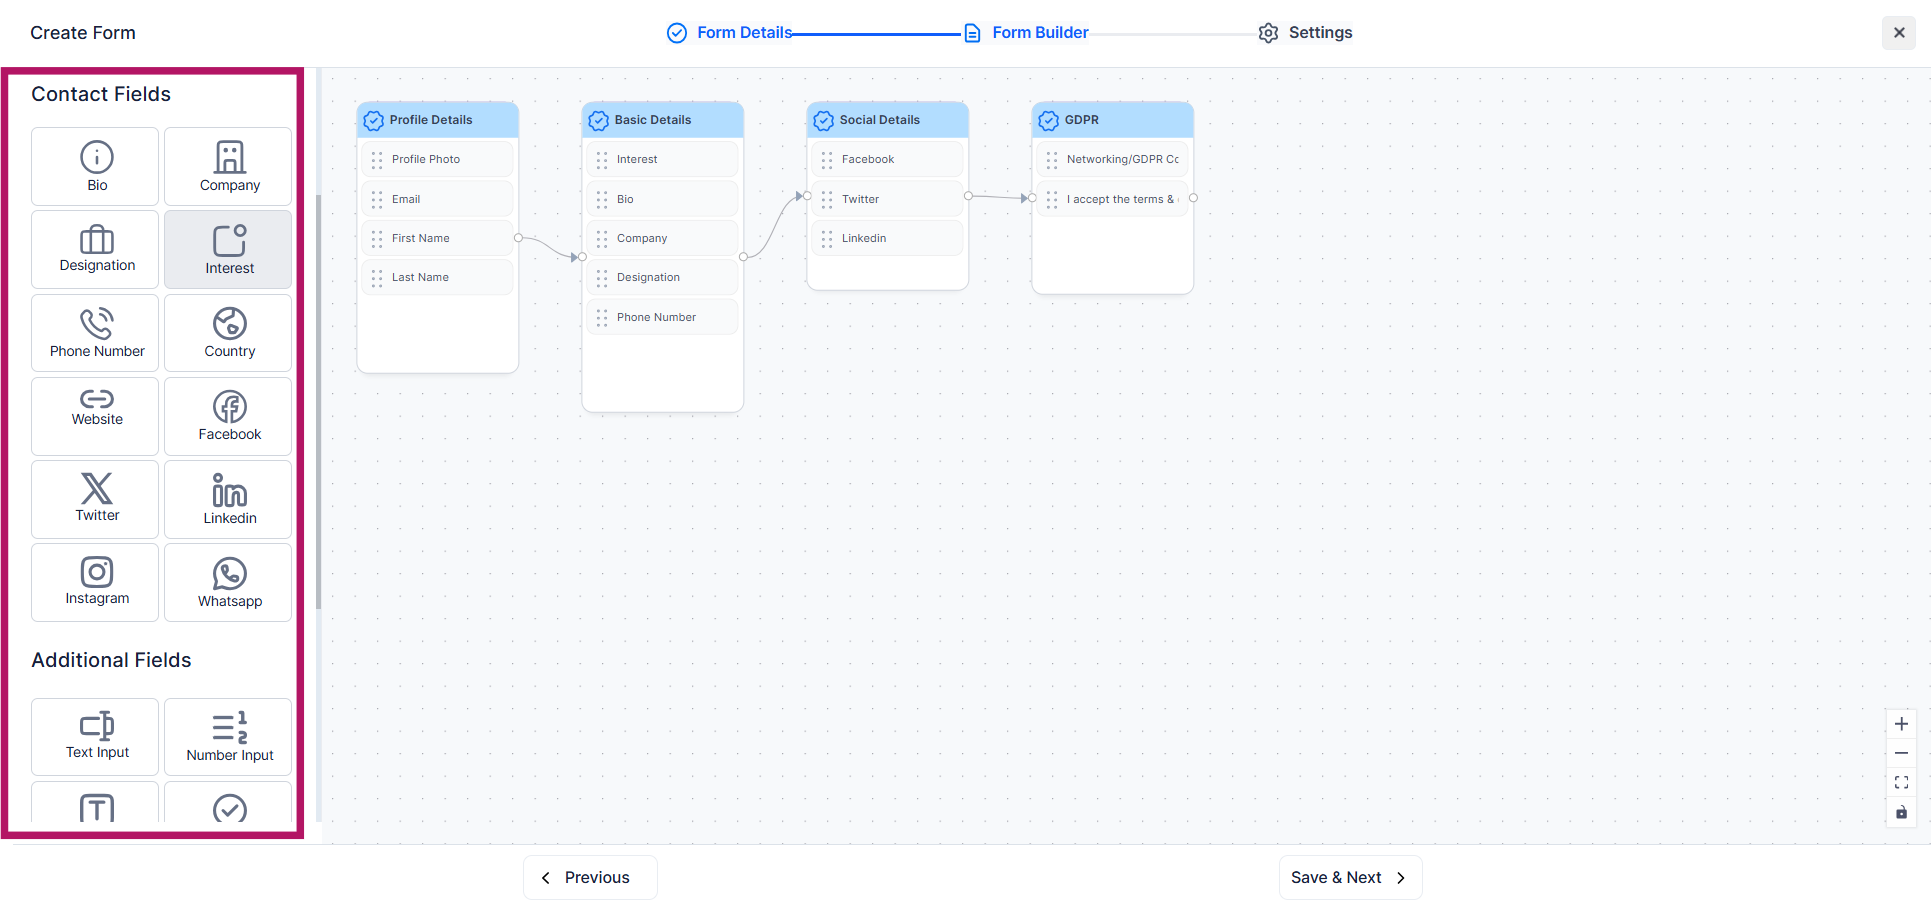
Click any field on the canvas to open its settings panel:
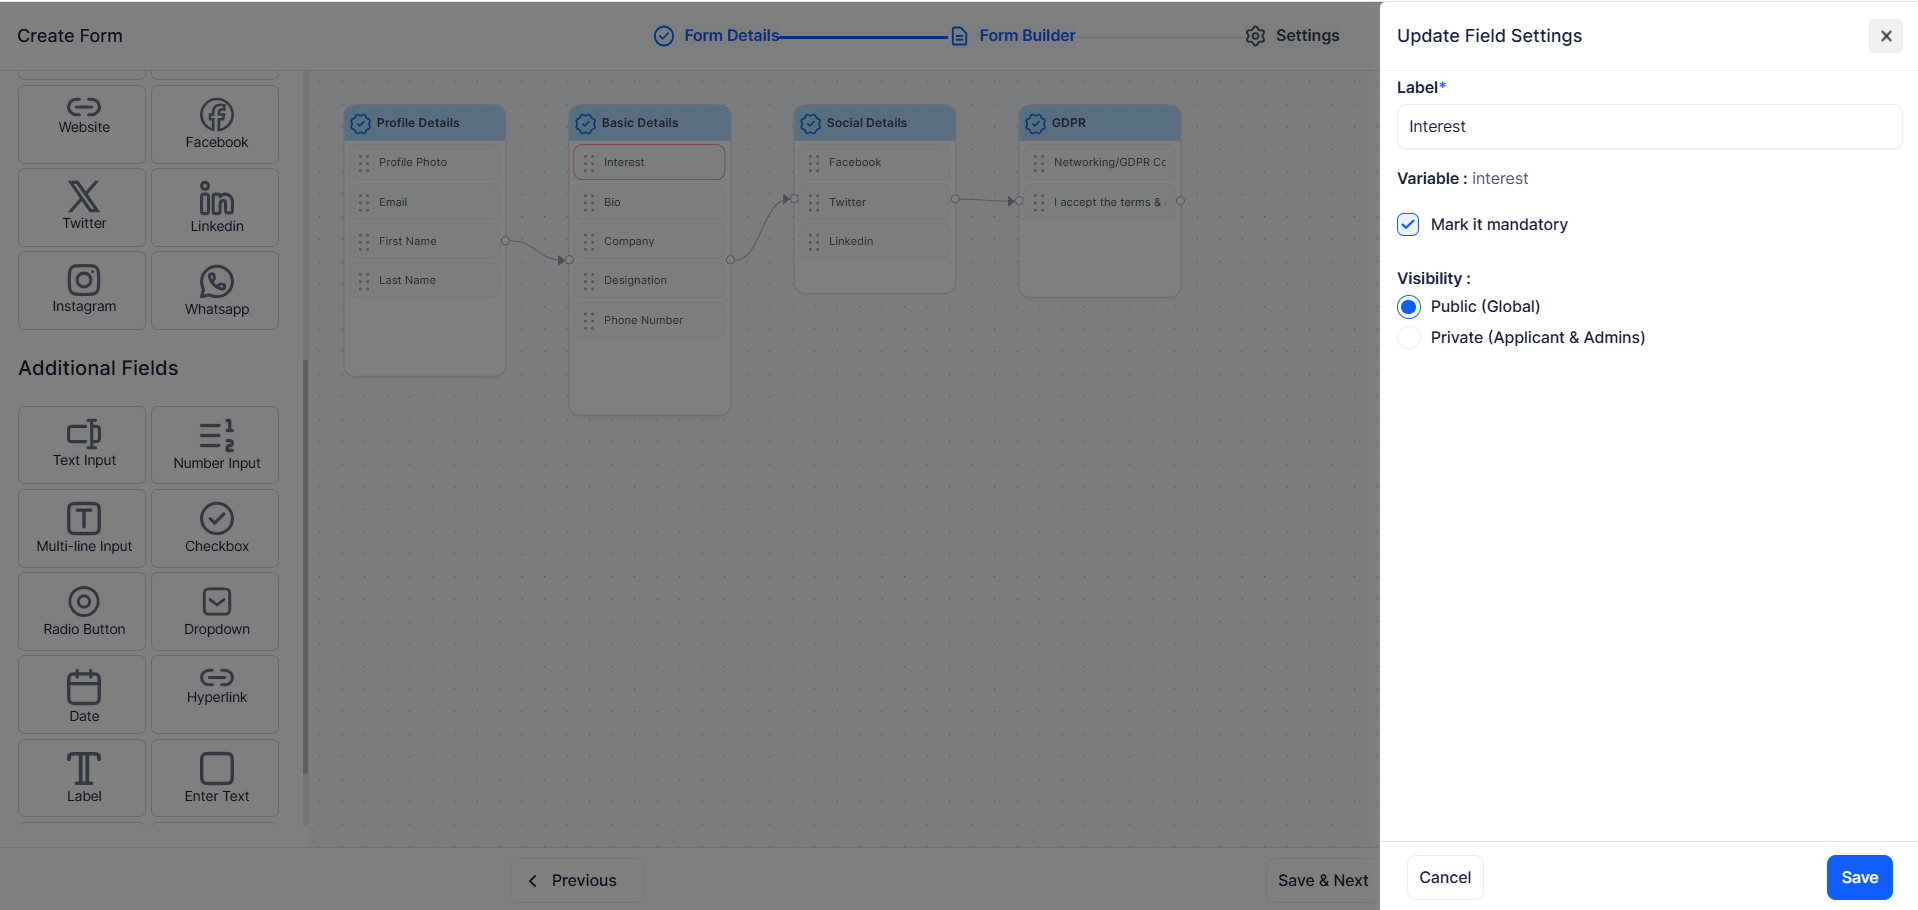
Radio, checkbox, and dropdown fields support conditional visibility. For each option in the field, you can specify which other fields should appear when that option is selected. This creates a branching form where attendees only see questions relevant to their choices.

Choose between a single-page layout or a section-wise layout to control how the form is presented to users during registration.

Additional options available for checkout forms: hide registration form, enable confirmation emails, apply password protection, allow email export, enable registration with phone, allow registration without email, and enable admin approval.

Drag fields up or down on the canvas to reorder them. Click the delete icon on a field to remove it (default contact fields cannot be removed).
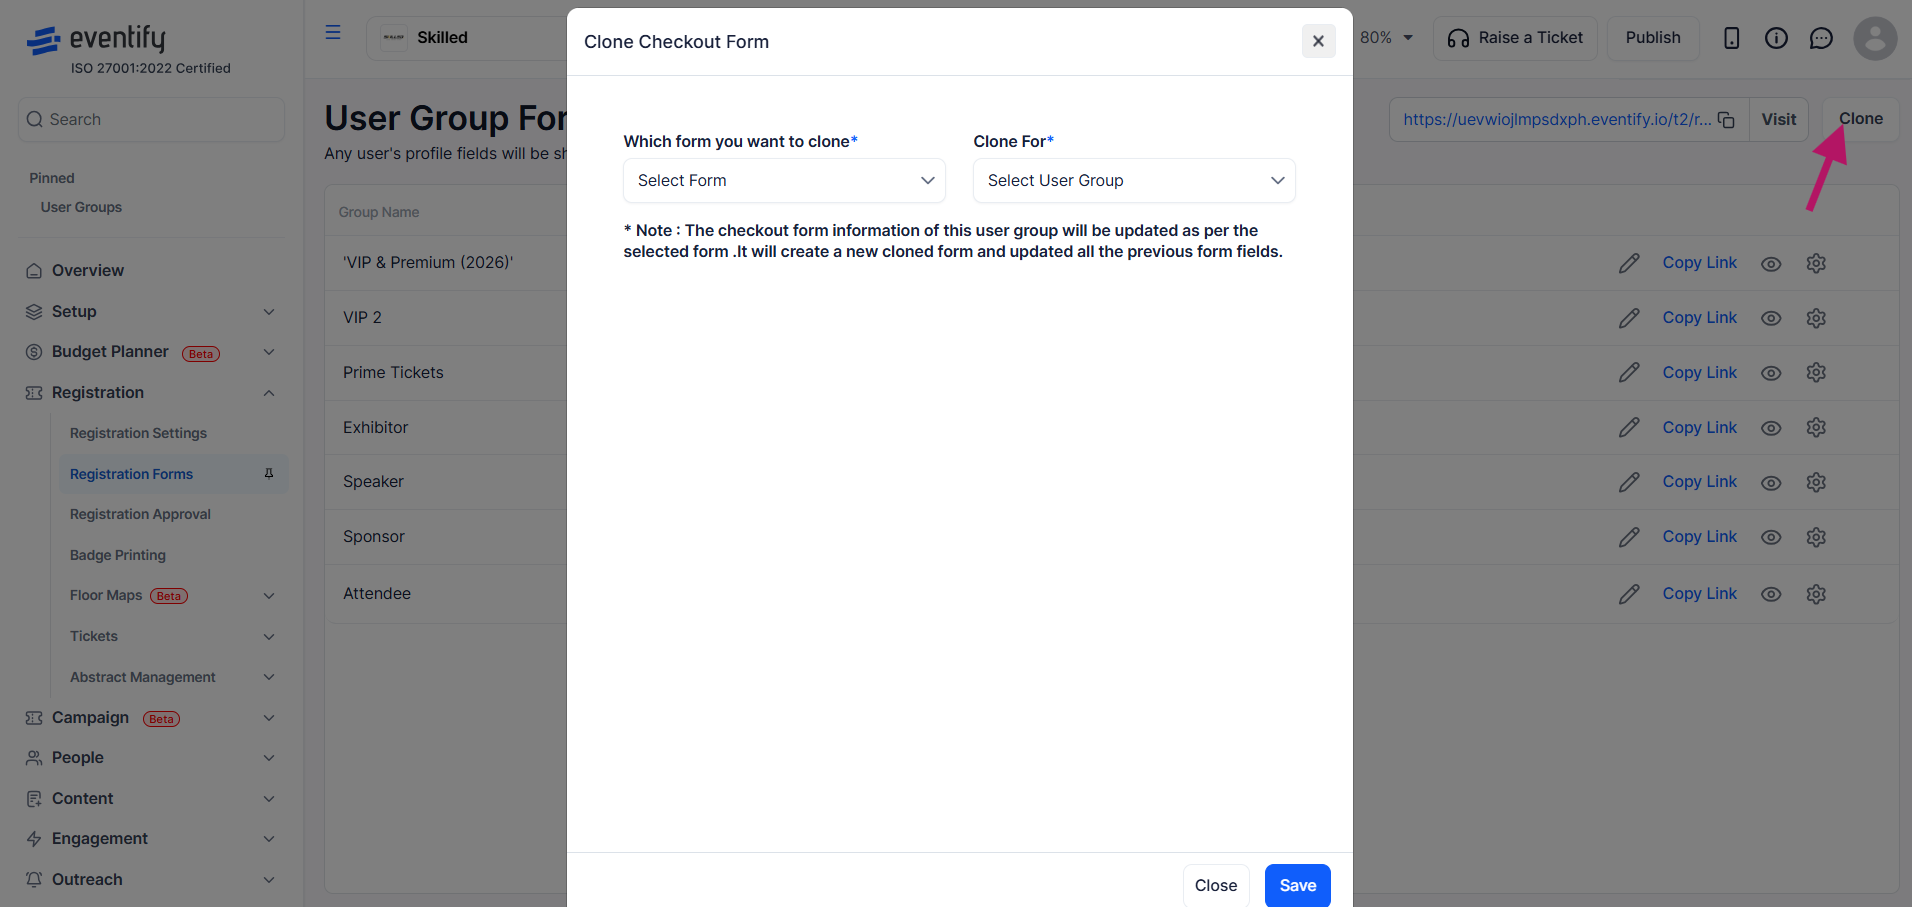
From the form list, use the Clone action to duplicate a form.
Yes. Radio, checkbox and dropdown fields support conditional visibility, so choosing an option can show other fields.
No. Registration forms cannot be deleted, but you can clone a form to speed up setup for similar user groups.
Yes. Choose the section-wise layout instead of the single-page layout.
Go to Registration > Registration Forms and click Create Form. Enter a form name, drag fields from the toolbox onto the form, and save it.
Yes. Forms are assigned to attendee categories such as general attendees or exhibitors, so each group can get its own questions. Use Clone to start a new form from an existing one.
Yes. When you add or edit a form, you can describe the fields you need and the AI form builder adds them to the form. You can then review and change them before saving.
Yes, if you allow it. The form settings include options to enable registration with phone and to allow registration without email.
