When participants complete Quest tasks — such as uploading a photo, scanning a QR code, or submitting verification text — their entries appear in the View Entries panel. As an admin, you can review, approve, or reject these submissions. Here's how 👇
From the admin panel sidebar, navigate to Engagement > Gamification and select Manage Challenges.
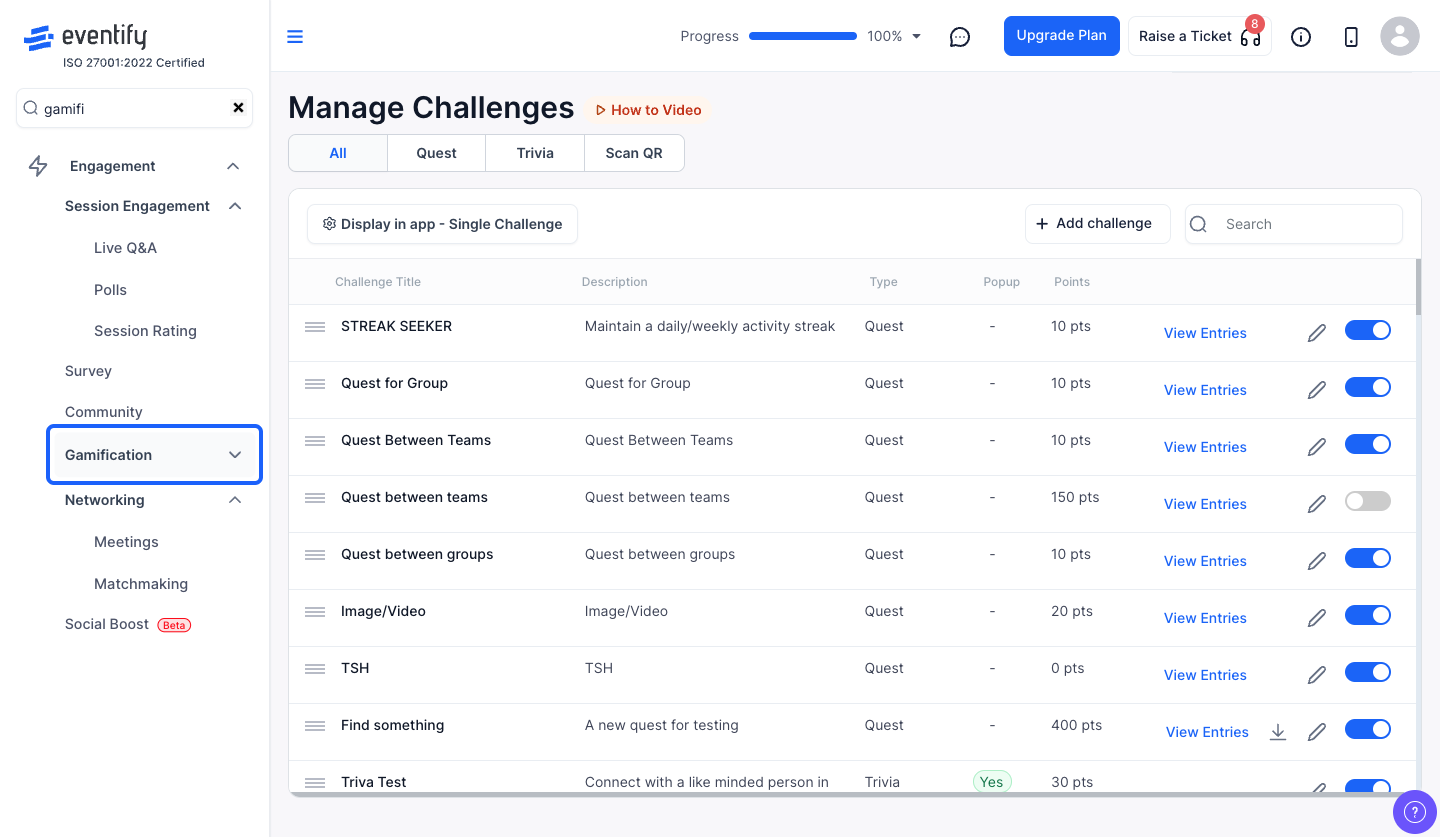
Find the Quest challenge you want to review and click the "View Entries" link on its row. This opens the entry verification modal.
The modal shows a two-panel layout:
Click on any entry in the left panel to view its details on the right.
Depending on the task type, you'll see different content in the preview panel:
If the task has manual verification enabled, you'll see two buttons below the preview:
After you approve or reject, the view automatically advances to the next unreviewed entry.
Use the search bar at the top of the entries list to find a specific participant by name.
Click the sort button (↕️) to toggle between newest first (DESC) and oldest first (ASC). This helps you review entries in chronological order or catch up on the most recent submissions.
Click the filter dropdown to narrow entries by status:
If the quest was assigned to specific user groups, those groups will also appear as filter options.
Use the task filter dropdown to view entries for a specific task within the quest. This is especially useful for quests with many tasks — you can focus on one task at a time.
Click on a participant's name in the entries list to see all of their submissions for this quest in one view. Click the name again to go back to the full list. This gives you a complete picture of one person's progress.
If there are many entries, the list will be paginated. Use the page controls at the bottom to move between pages.
⚠️ Important
Once you approve a submission, the participant immediately receives their points. This action cannot be undone — double-check the submission before approving, especially for media uploads where you want to verify the content is legitimate.
