Once you've created challenges (Scan QR, Trivia, or Quest), you'll want to organize, filter, and manage them efficiently. This guide covers all the tools available on the Manage Challenges screen 👇
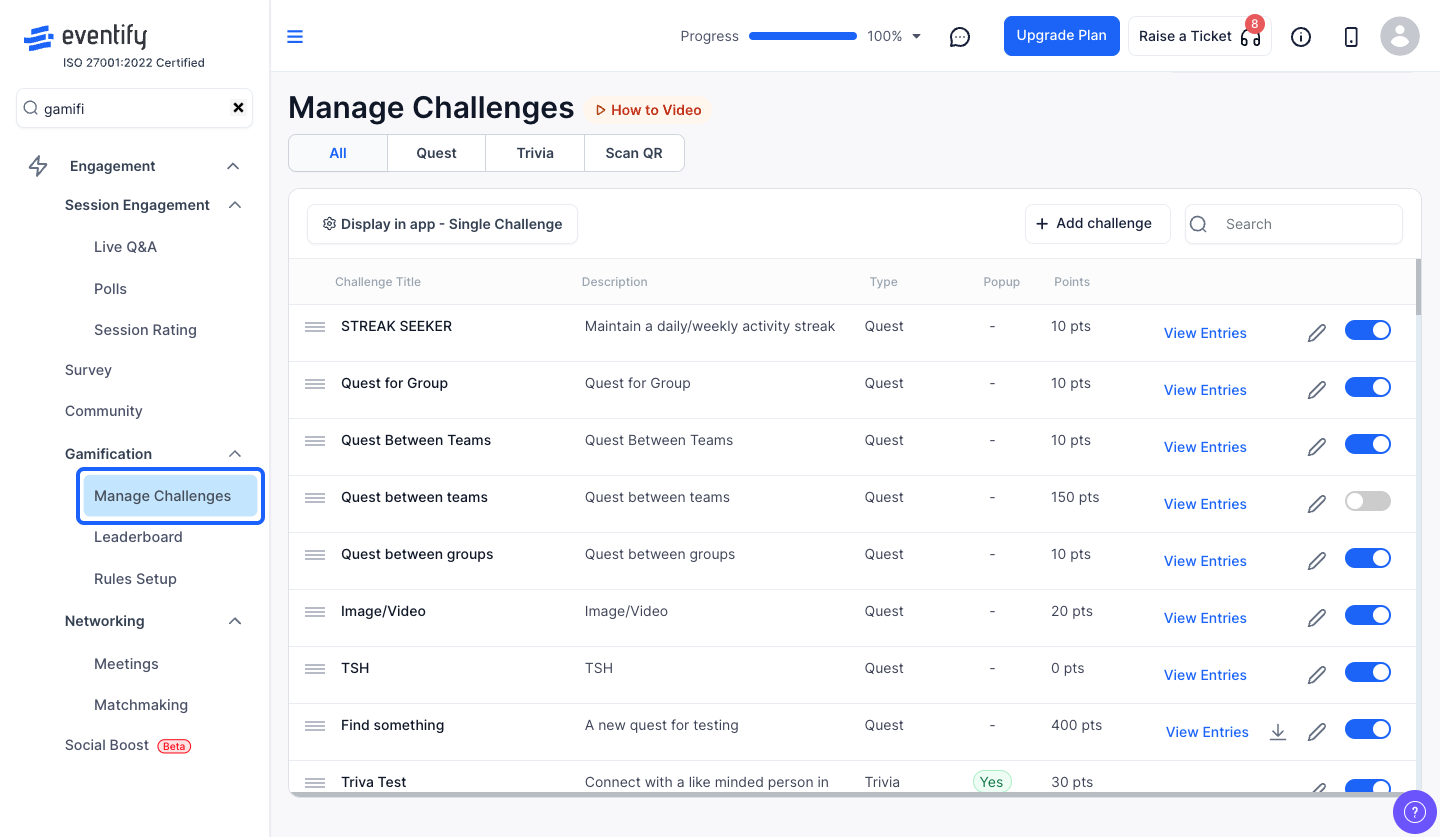
From the admin panel sidebar, navigate to Engagement > Gamification.
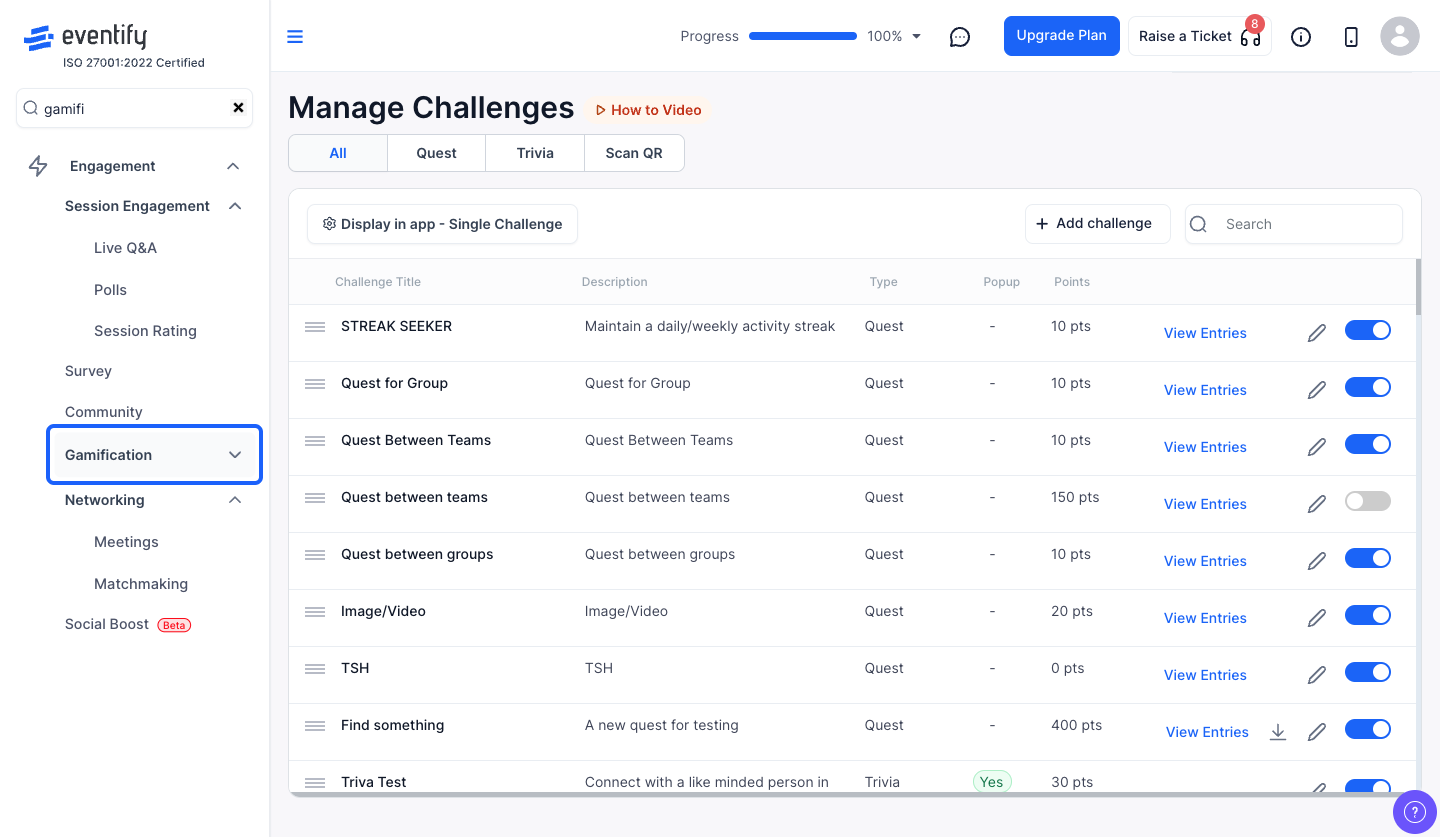
Click on Manage Challenges in the left sub-menu. This is the main hub for all your gamification challenges.
At the top you'll see filter tabs: All, Quest, Trivia, and Scan QR. Click on any tab to show only that type of challenge. This is helpful when you have many challenges and want to focus on a specific category.
Use the search bar on the right to quickly find a challenge. Start typing the challenge name and the list will filter in real-time.
Click the "Status" dropdown to filter by All, Enabled, or Disabled. This helps you see which challenges are currently live and which ones are turned off.
Click the ⚙️ Display in app button (top-left). You can choose how challenges appear to participants in the mobile app:
This setting controls what participants see without affecting which challenges exist.
Grab the drag handle (≡ icon) on the left side of any challenge row and drag it up or down. The new order is saved automatically and reflects in the attendee app. Use this to prioritize your most important challenges at the top.
Use the toggle switch on the right side of each challenge row to quickly enable or disable it. A confirmation prompt will appear before the change takes effect. Disabled challenges won't be visible to participants.
Click the edit icon (✏️) on any challenge row to open its settings. For Scan QR and Trivia challenges, the edit modal will open directly. For Quest challenges, the system will load all quest data first before opening the wizard.
If a Quest contains Scan QR tasks, you'll see a download icon (⬇️) on its row. Click it to download a PDF file containing all QR codes for that quest — one per page, with the task name and event name printed below each code. Print these out and place them at your event venue.
For Quest challenges, a "View Entries" link appears on the row. Click it to open the entries verification modal where you can review participant submissions. (See our separate guide on managing quest entries for details.)
Each challenge row shows:
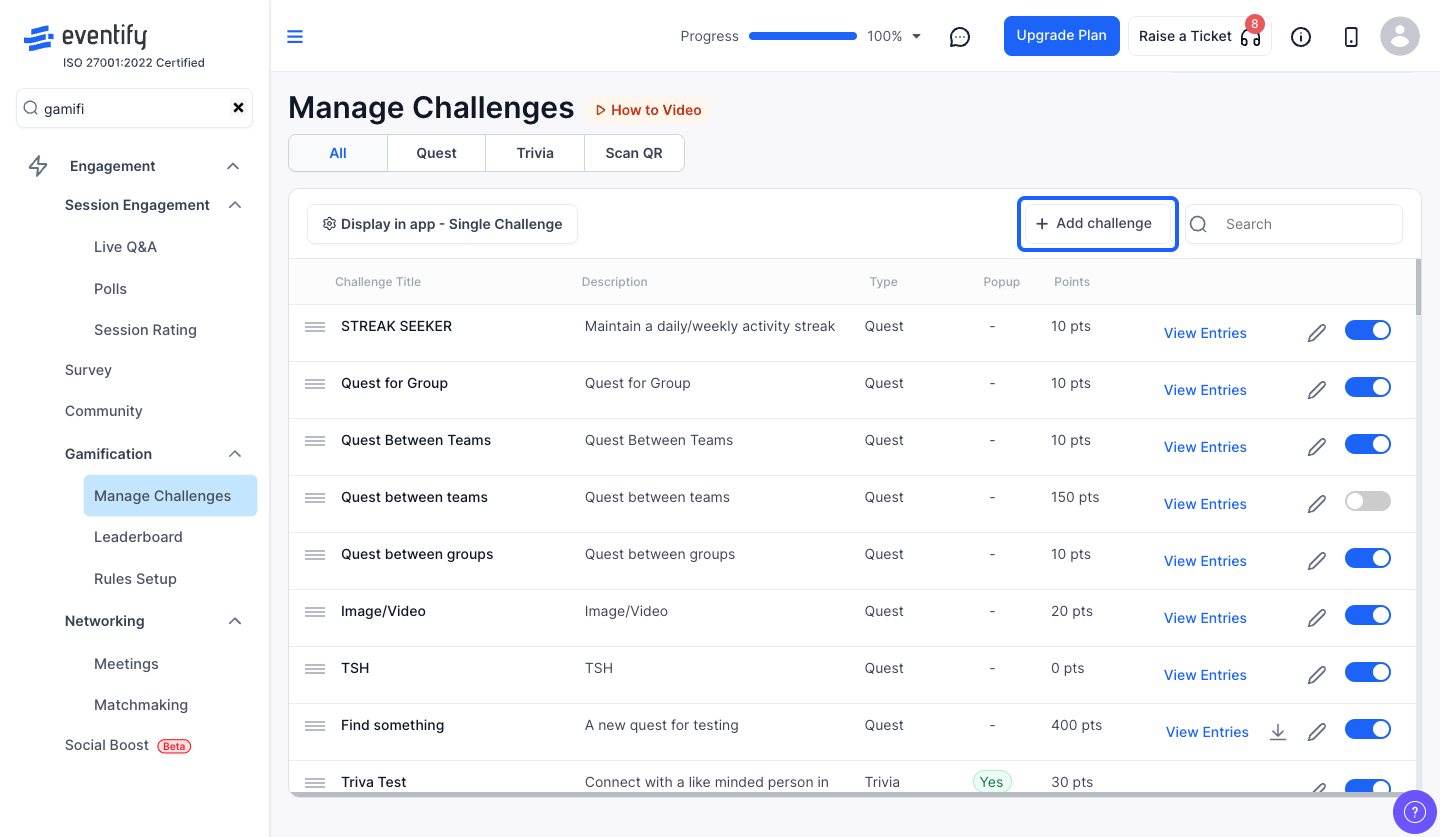
Click the "+ Add Challenge" button at the top-right. A dropdown will appear with options:
Select the type you want and the corresponding creation modal will open.
⚠️ Important
Changing the display visibility setting affects all participants immediately. If you switch from "All" to "Single", attendees will only see one challenge at a time in the app — make sure the order is correct before changing this setting.
