When creating a Quest with team-based participation, you can create custom teams and assign specific participants to each team. This guide covers how to create, edit, and manage custom teams within the Quest wizard 👇
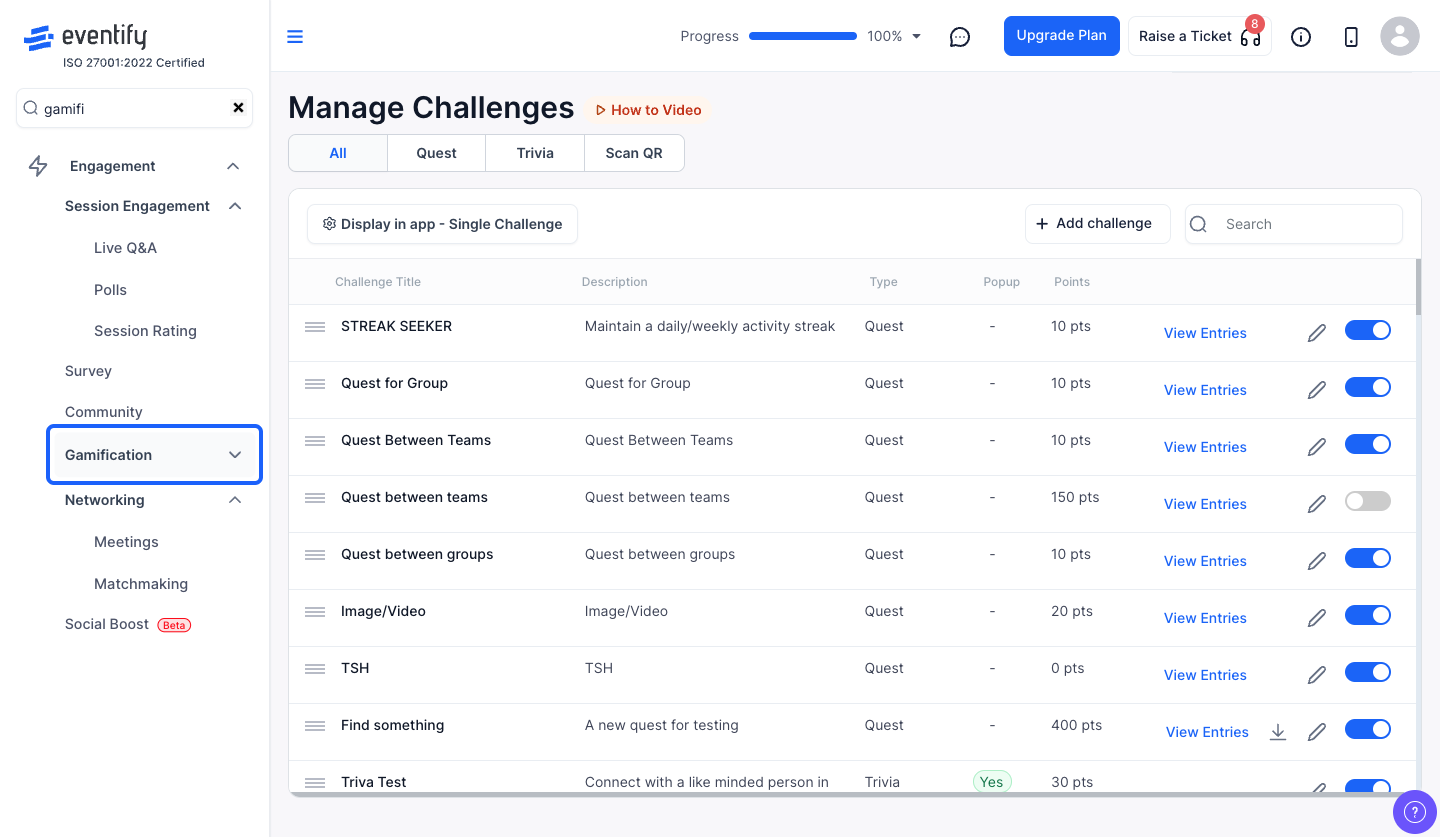
Navigate to Engagement > Gamification > Manage Challenges. Click "+ Add Challenge" > "Add Quest" to create a new quest, or click the edit icon on an existing quest.
In the Quest wizard, under the participation settings, select "Team" as the participant type. This enables the custom team management options.
You'll see buttons to create a new team or edit an existing team. Click one to open the team management modal.
In the modal, enter a Team Name (required). This name will be visible on the quest leaderboard and in team standings.
The modal shows a two-panel layout:
Use the search bar to filter users by name.
If a user is already assigned to another team, they will show the existing team name as a badge next to their row. Trying to select them will show an error message: "Could not select [name] – already in Team: [team name]".
A participant can only belong to one team per quest.
Once you've named the team and selected members, click "Save". The team is created and linked to the quest.
When editing, use the "Select Team To Edit" dropdown to switch between teams. You can:
Changes are saved when you click "Save".
⚠️ Important
Each participant can only be in one team per quest. If you need to move a participant to a different team, first remove them from their current team, then add them to the new one.
