
The Sales Report gives you a complete view of all ticket transactions for your event, with flexible filters, three reporting views, and CSV export.
Go to Tickets → Sales Report in the sidebar.

The Sales Report includes three tabs:
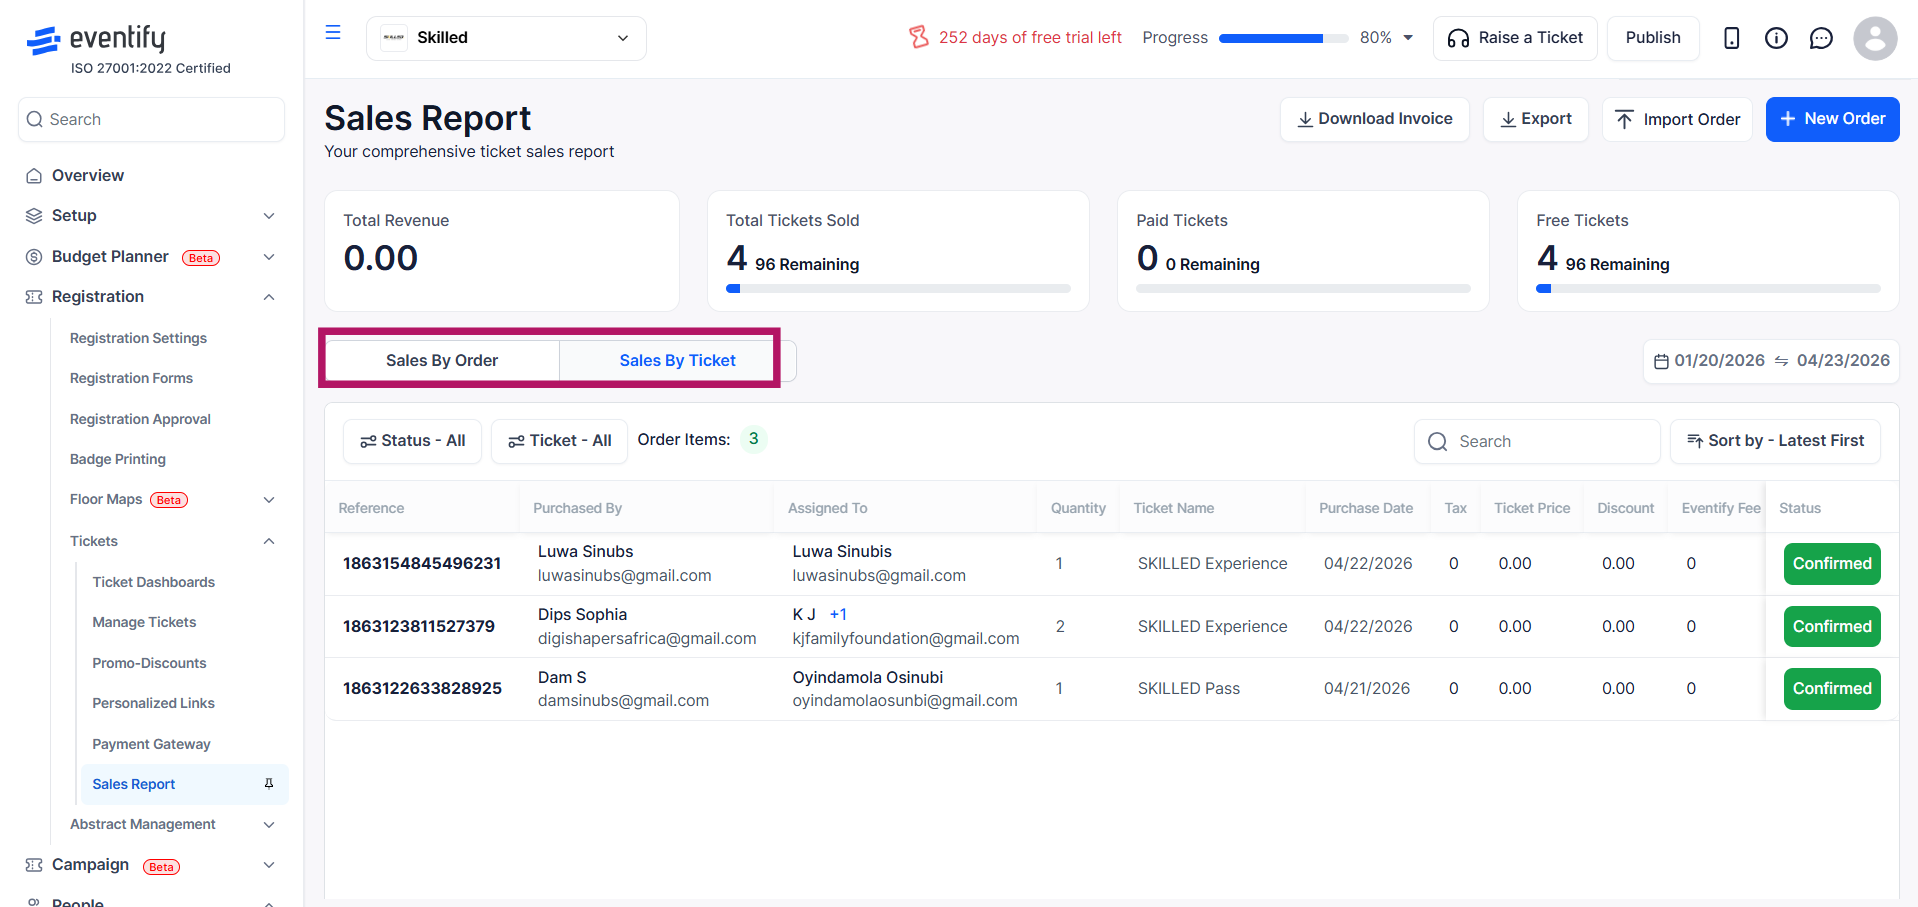
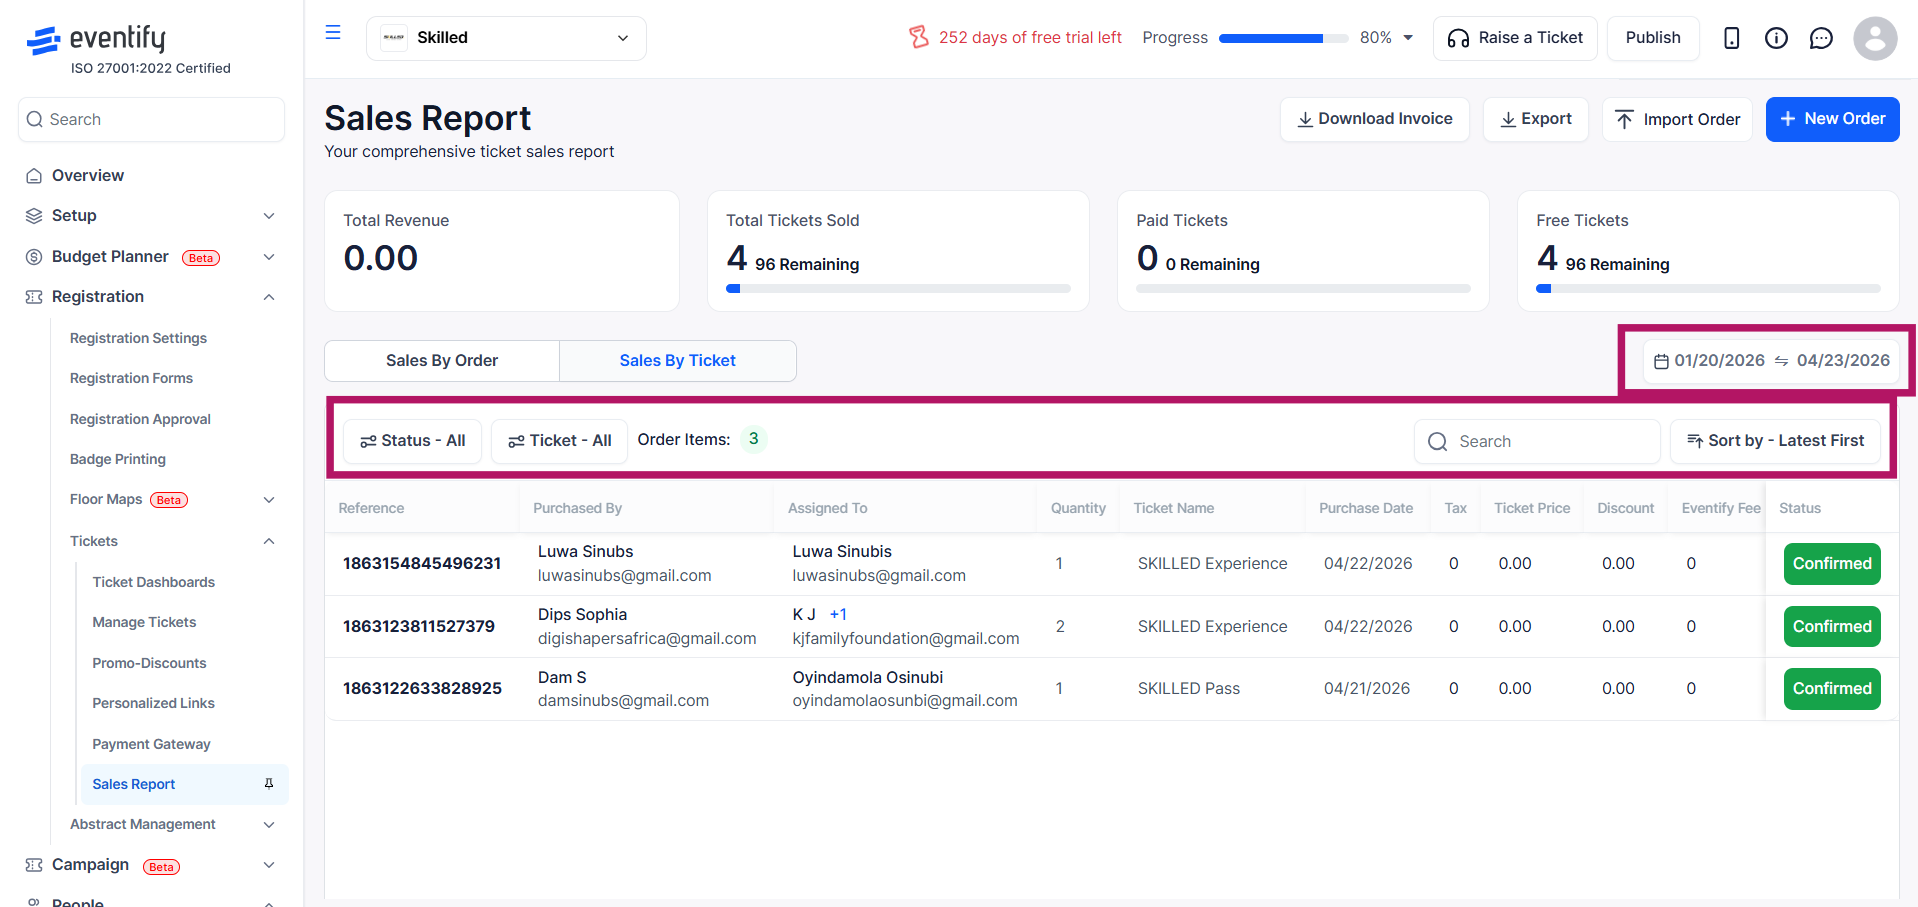
When the Unassigned status is selected, an Email Unassigned Buyers button appears so you can remind buyers who have not yet assigned their tickets to attendees. See How to Remind Buyers to Assign Their Tickets.
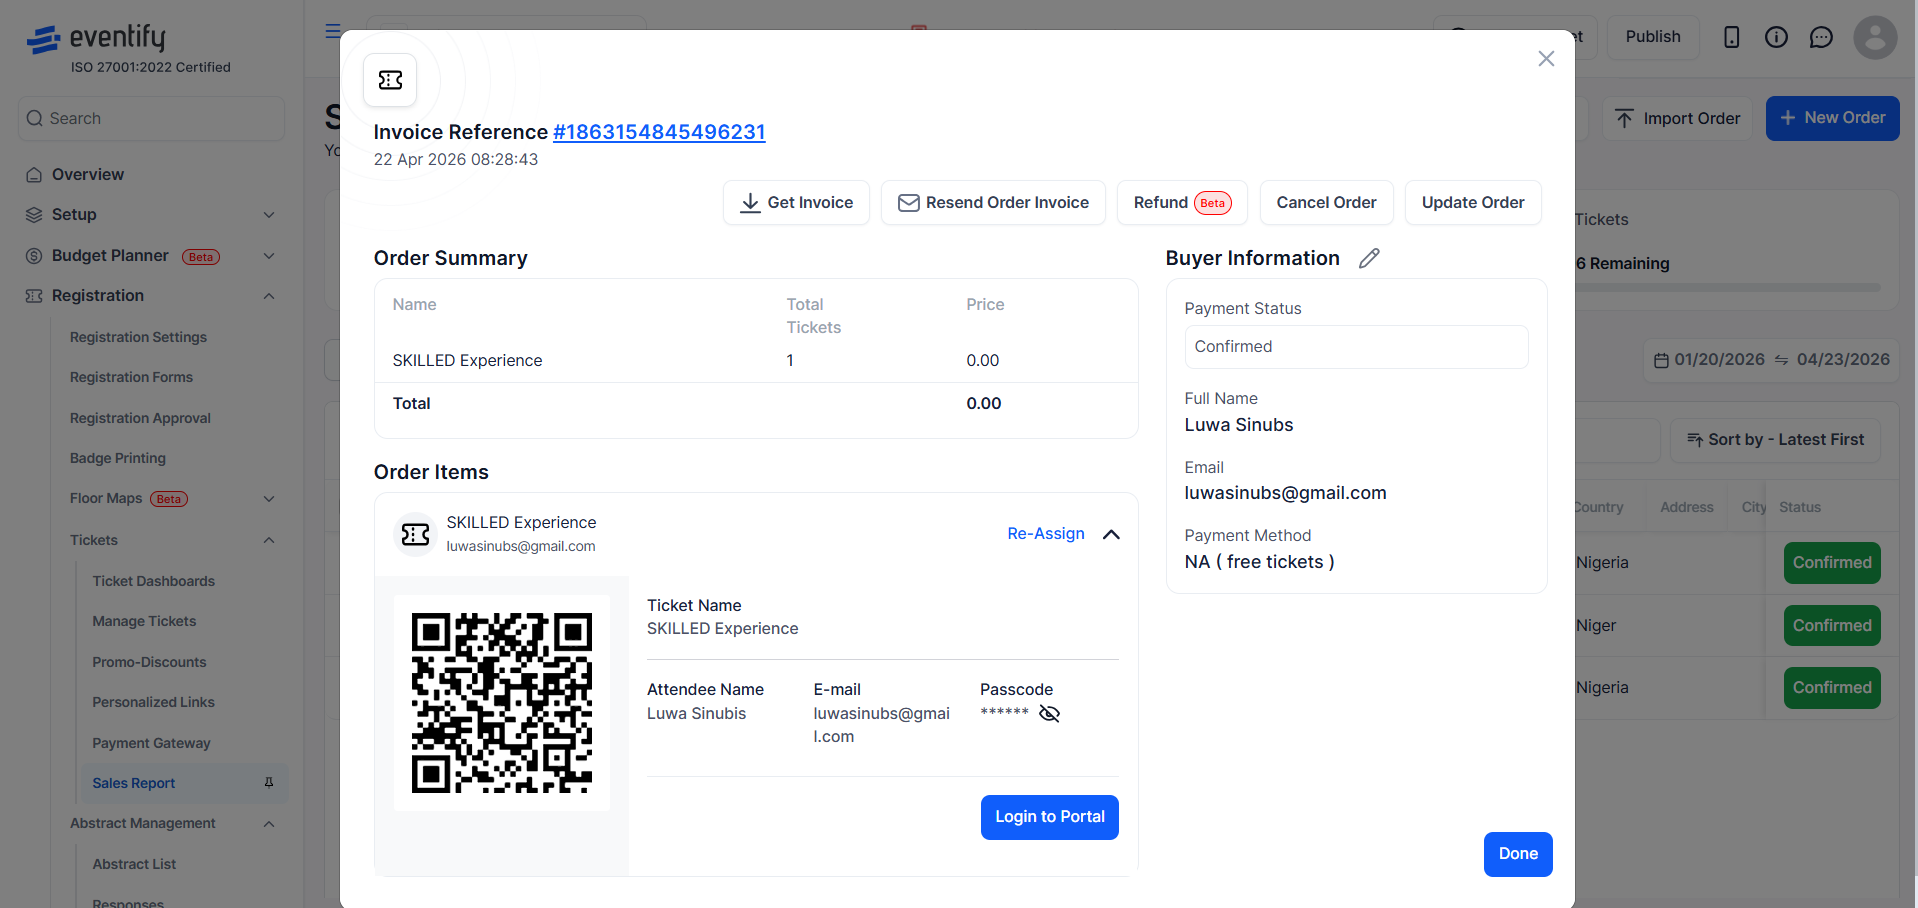
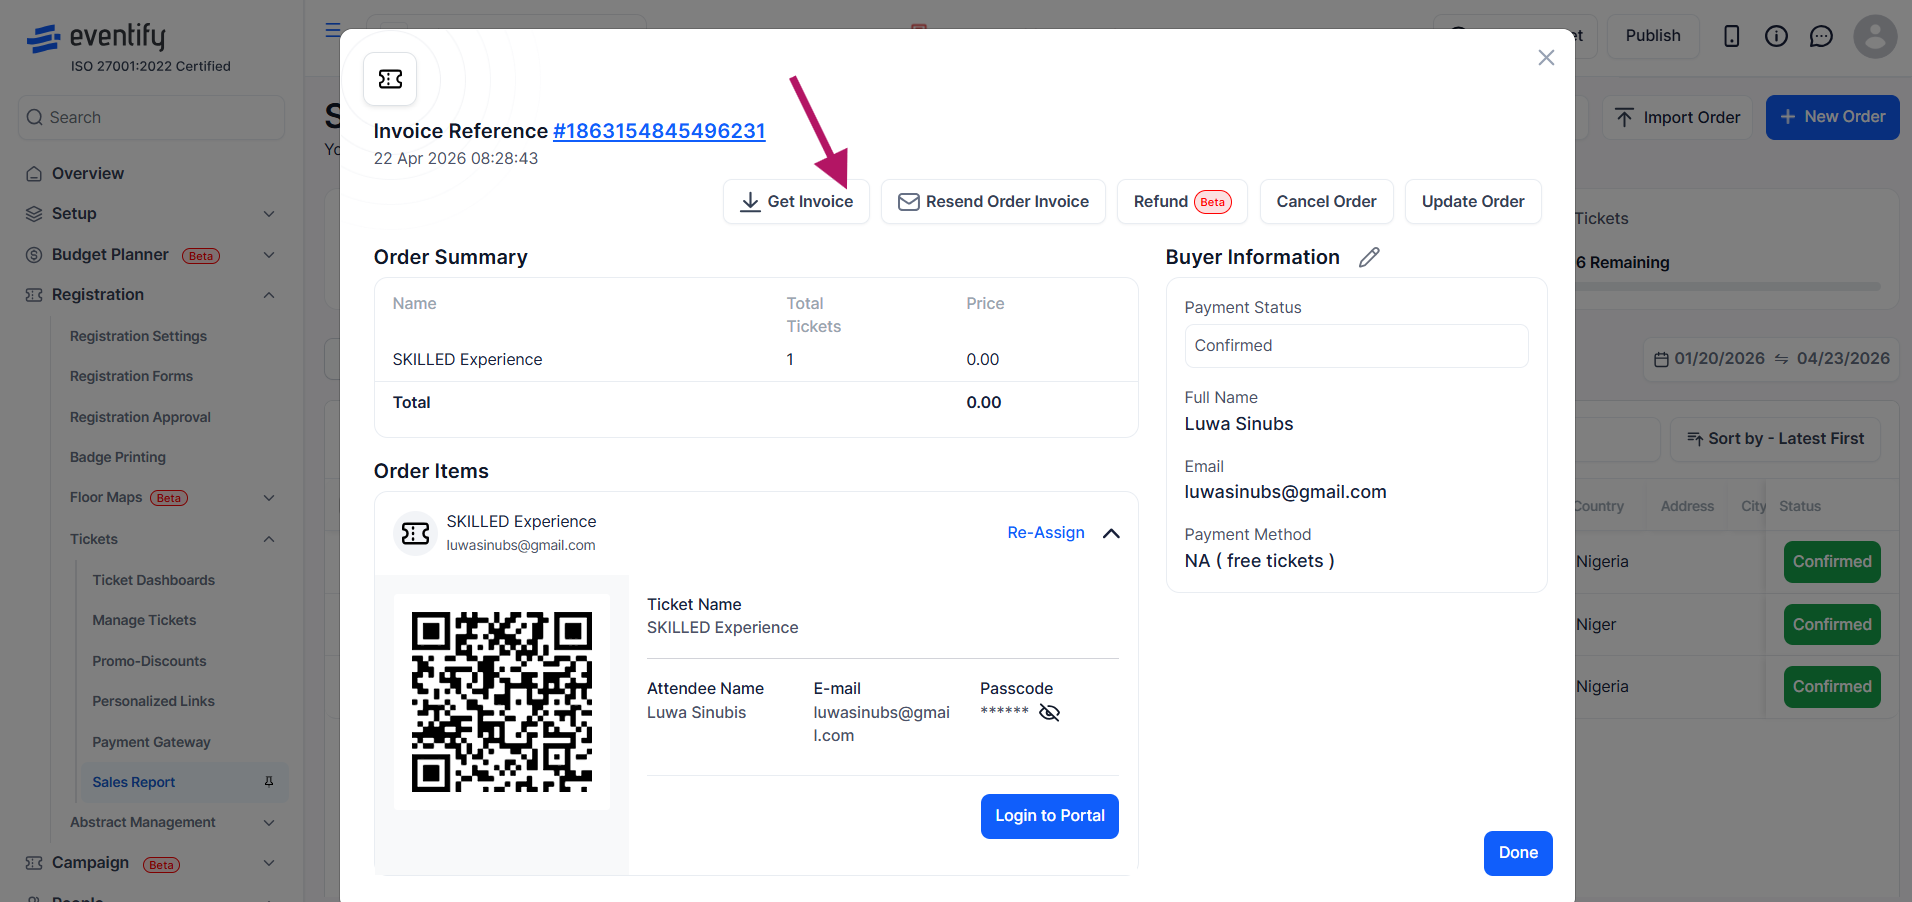
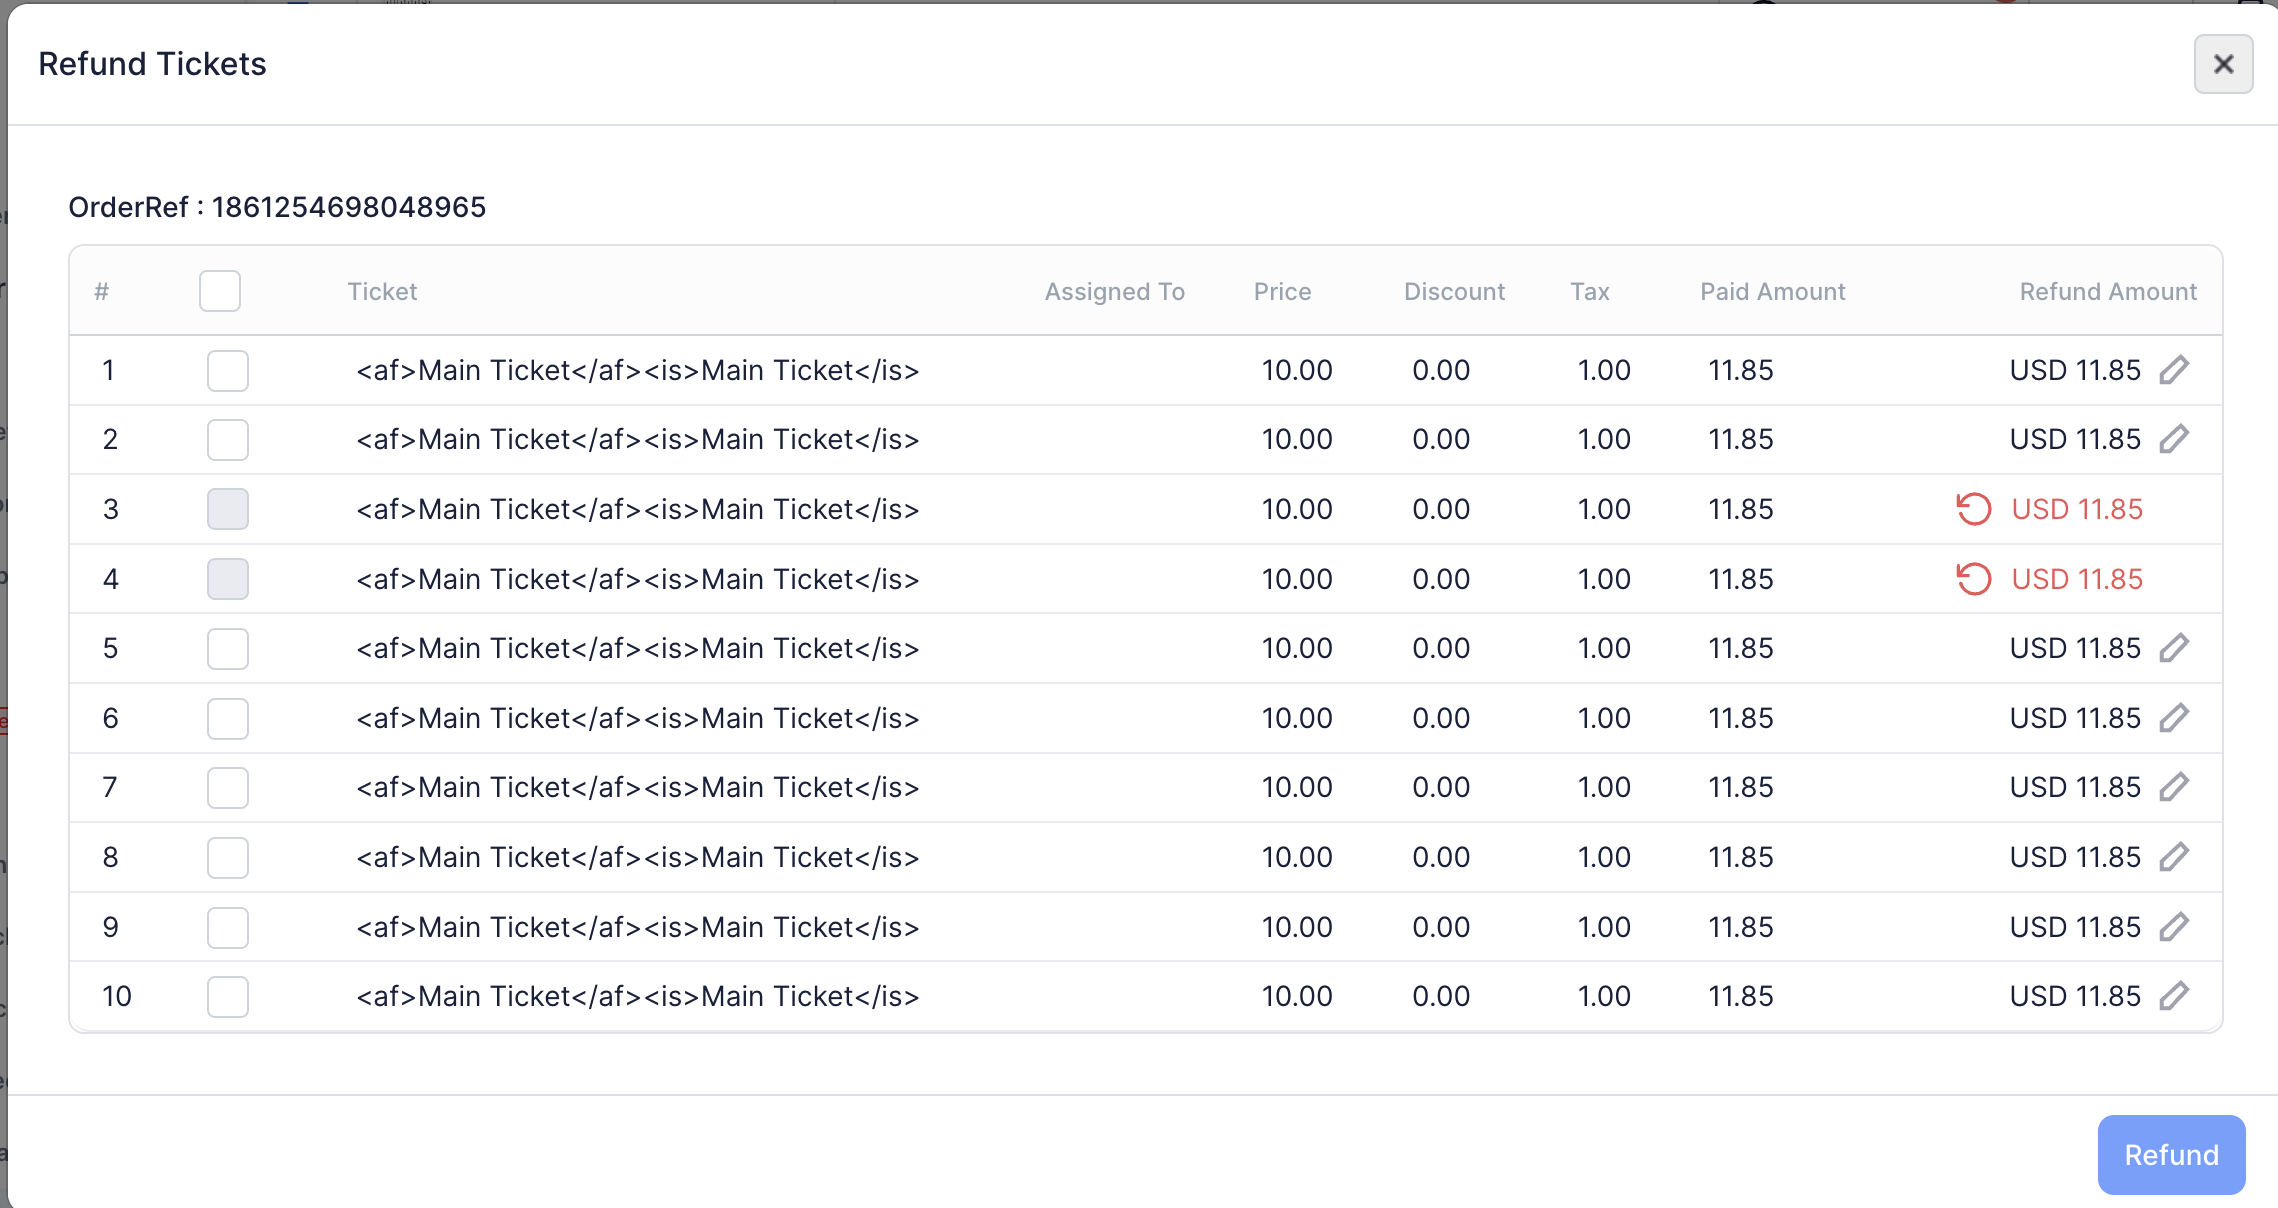
Click any row to open the Order Details panel, where you can view a full breakdown, manage the order, issue refunds, cancel, or resend confirmation emails.
Click Export in the top action bar. A date range picker appears — select your preferred range (or leave it as all-time) and click Download. A CSV file downloads to your computer.
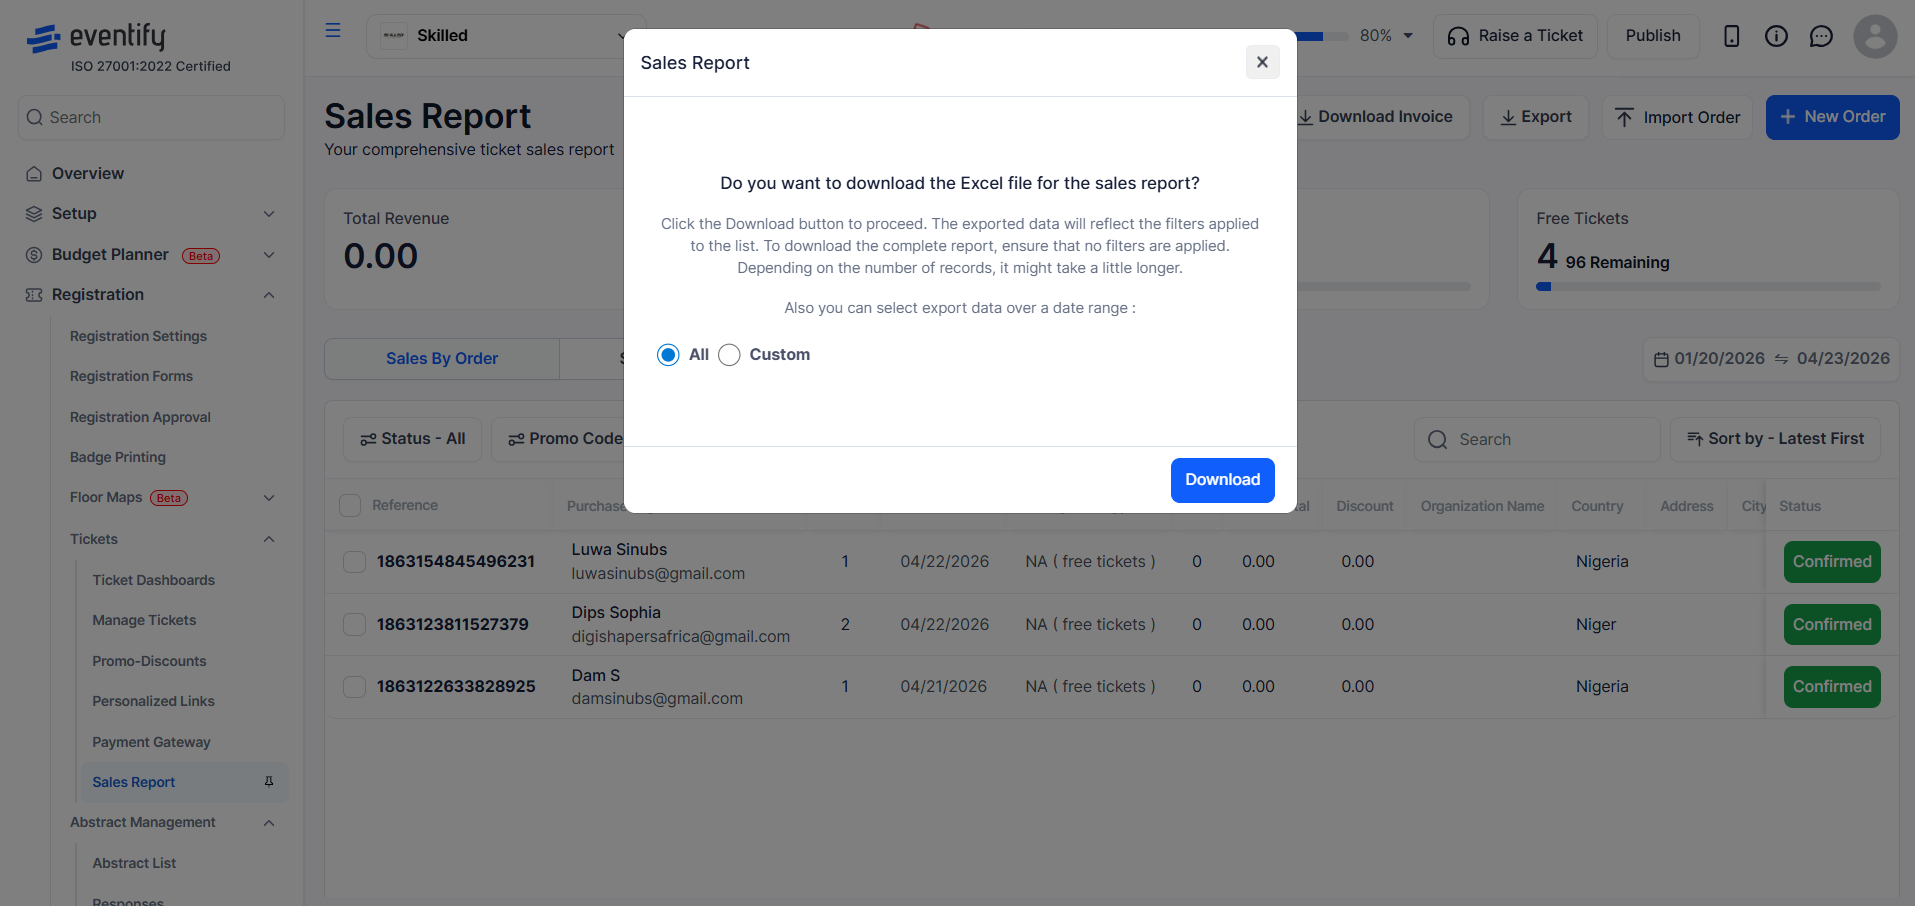
Apply your desired filters first, then click CSV Export. Choose Export All Data (no date restriction) or Export Custom Date Range. The export respects all active filters including status, ticket type, promo code, and search terms.
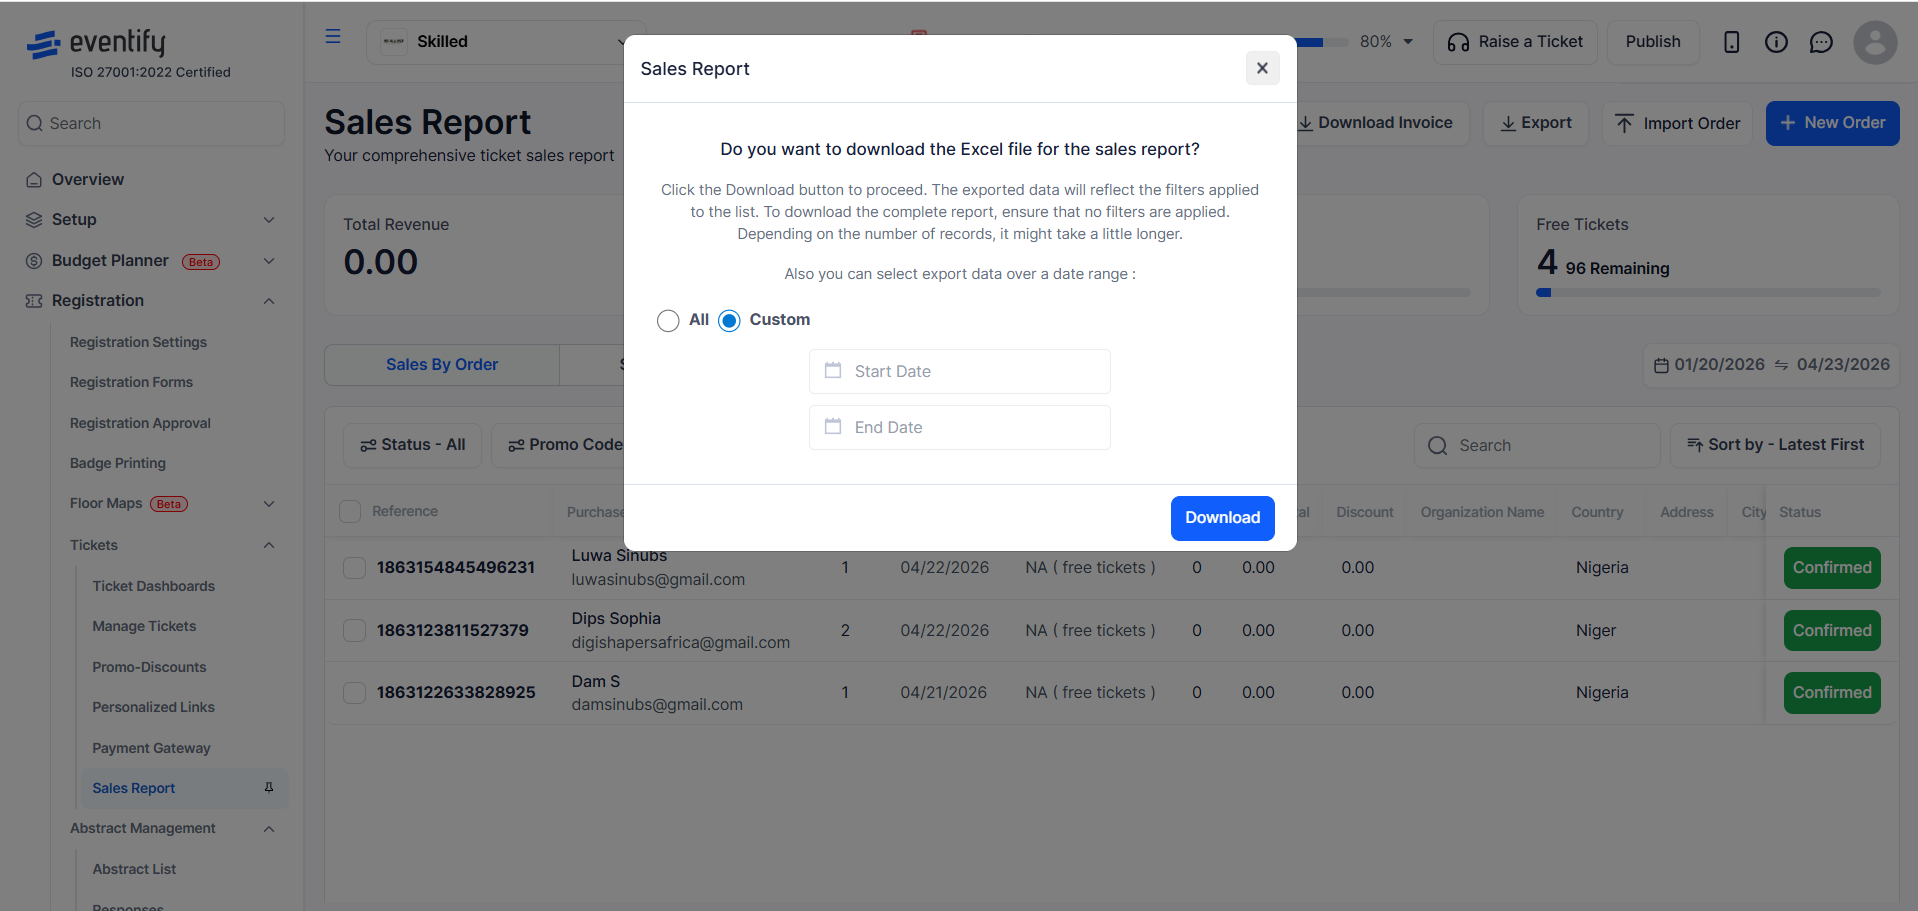
Use the checkboxes in the table to select individual orders or use the header checkbox to select all on the current page. Selected orders can be bulk-exported.

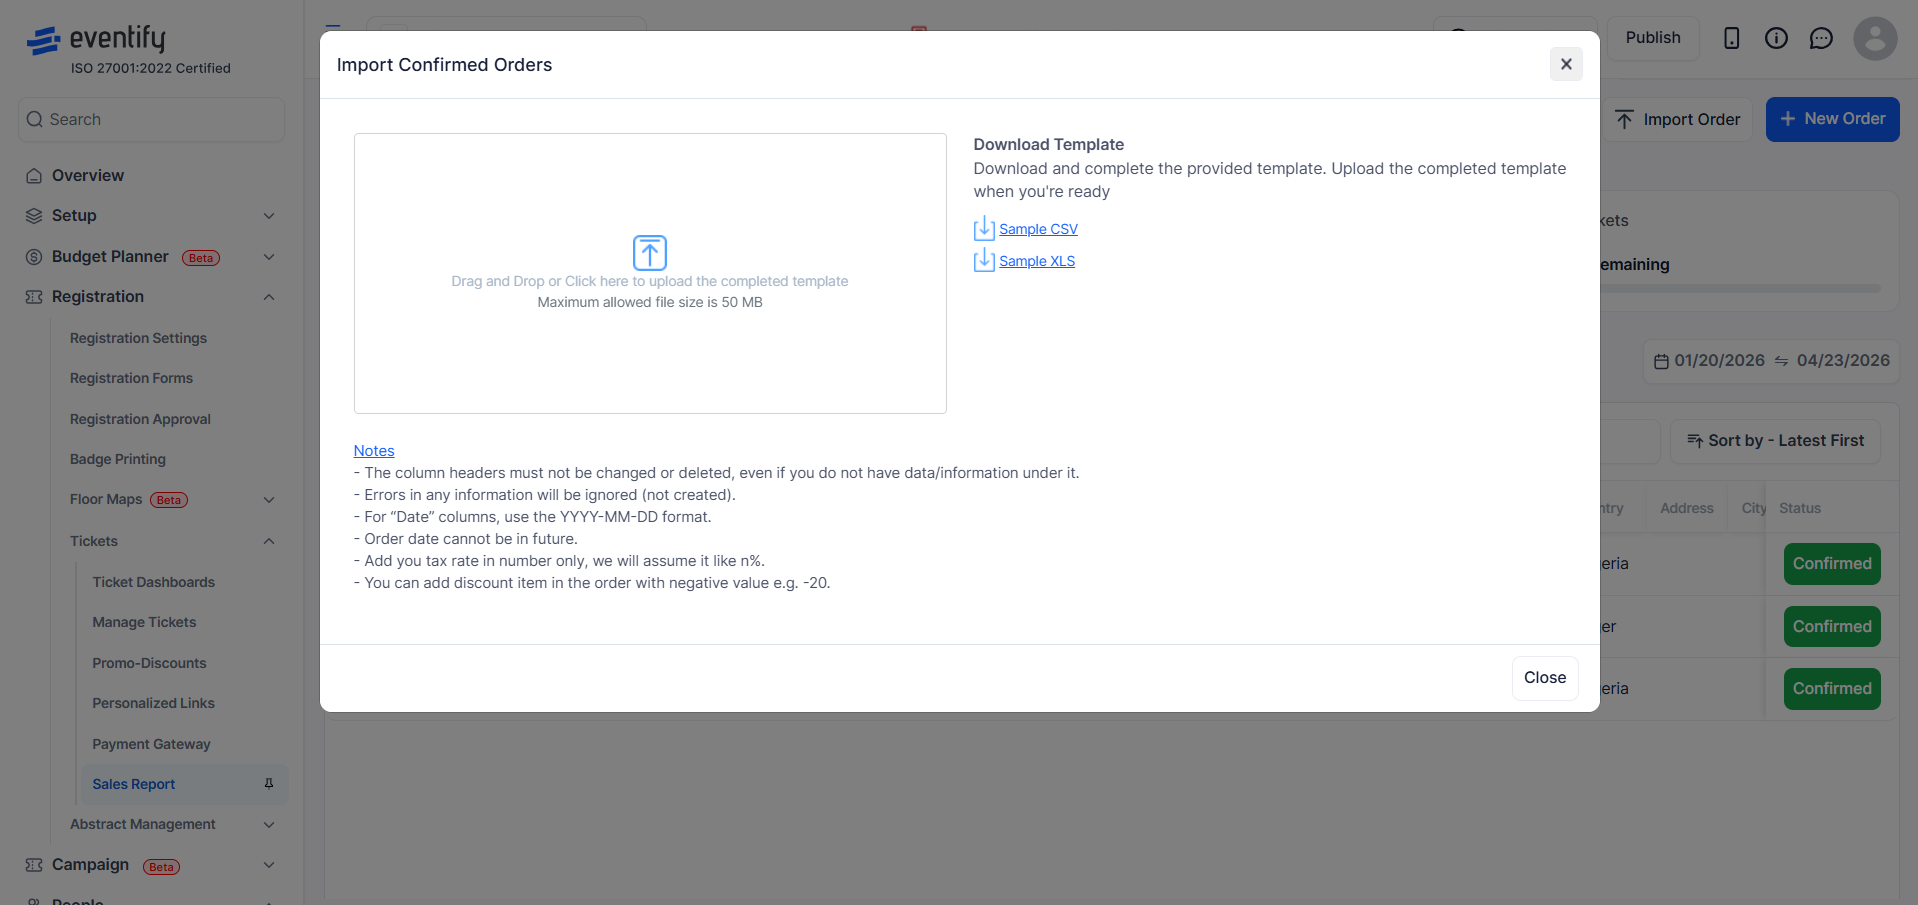
Use the Import option in the action menu to bulk-create orders from a file. For the full steps, see How to Import Existing Ticket Orders.
From within any Order Details panel:
Yes. Apply filters first, then click CSV Export. The export respects status, ticket type, promo code and search filters.
Open the order's Order Details panel and click Get Invoice.
Open the Summary By Ticket tab. It shows sold and completed counts, revenue, refunds, profit collected and outstanding amounts for each ticket, and you can export it as Excel or a PDF report.
Yes. Use the Promo Code filter to see orders that used a specific coupon.
