
This guide shows you how to set up online registration for an event in Eventify, from choosing how people sign up to checking them in on the day. Each step is short and links to a detailed article.
Open your event in the admin panel and click Registration > Registration Settings. The page offers four ways to bring people in:
Most events use a registration form, tickets, or both. For what each option changes on your event page, see What Are the Registration Policy Types in Eventify.
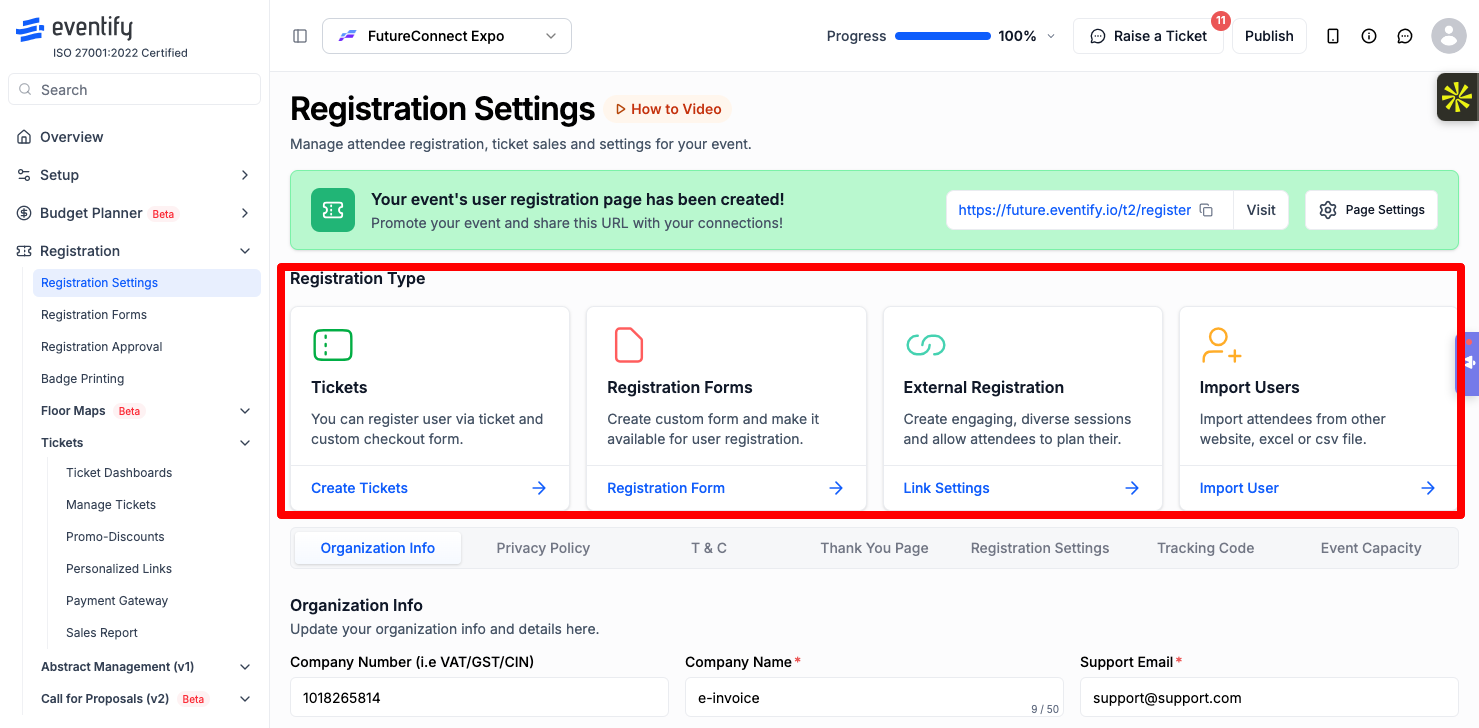
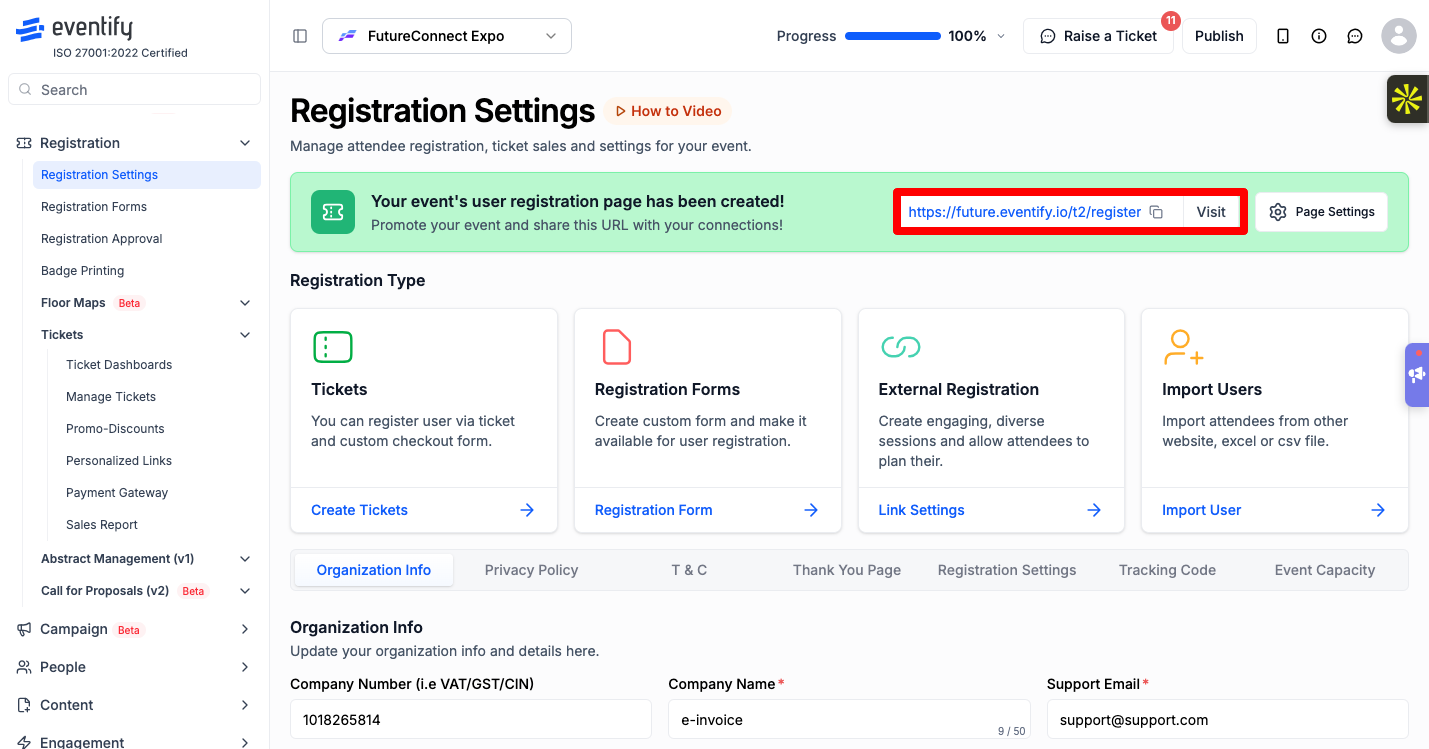
Registration Settings page with the registration link card at the top and the Page Settings button
The card at the top of the page now says "Your event's user registration page has been created!" (or "Your event ticket page has been created!" for tickets) and shows your registration link.
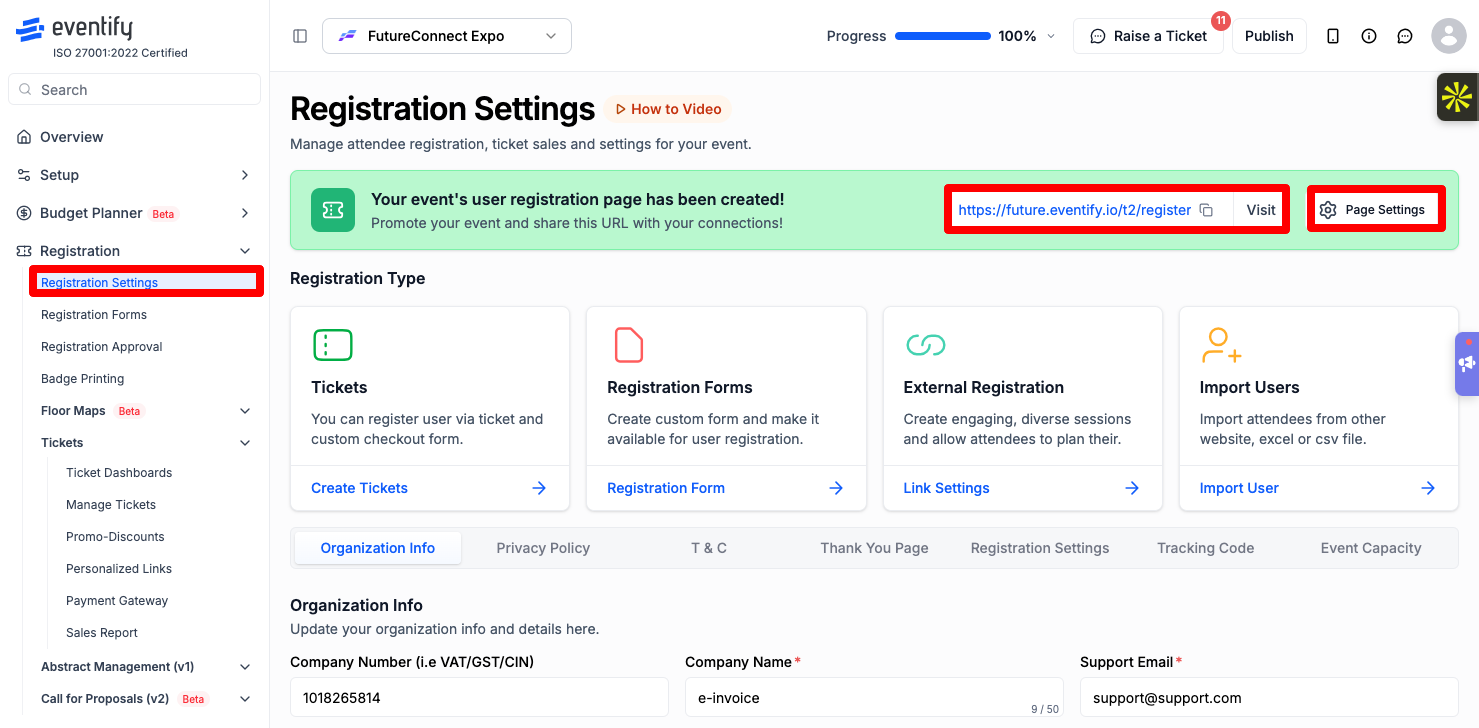
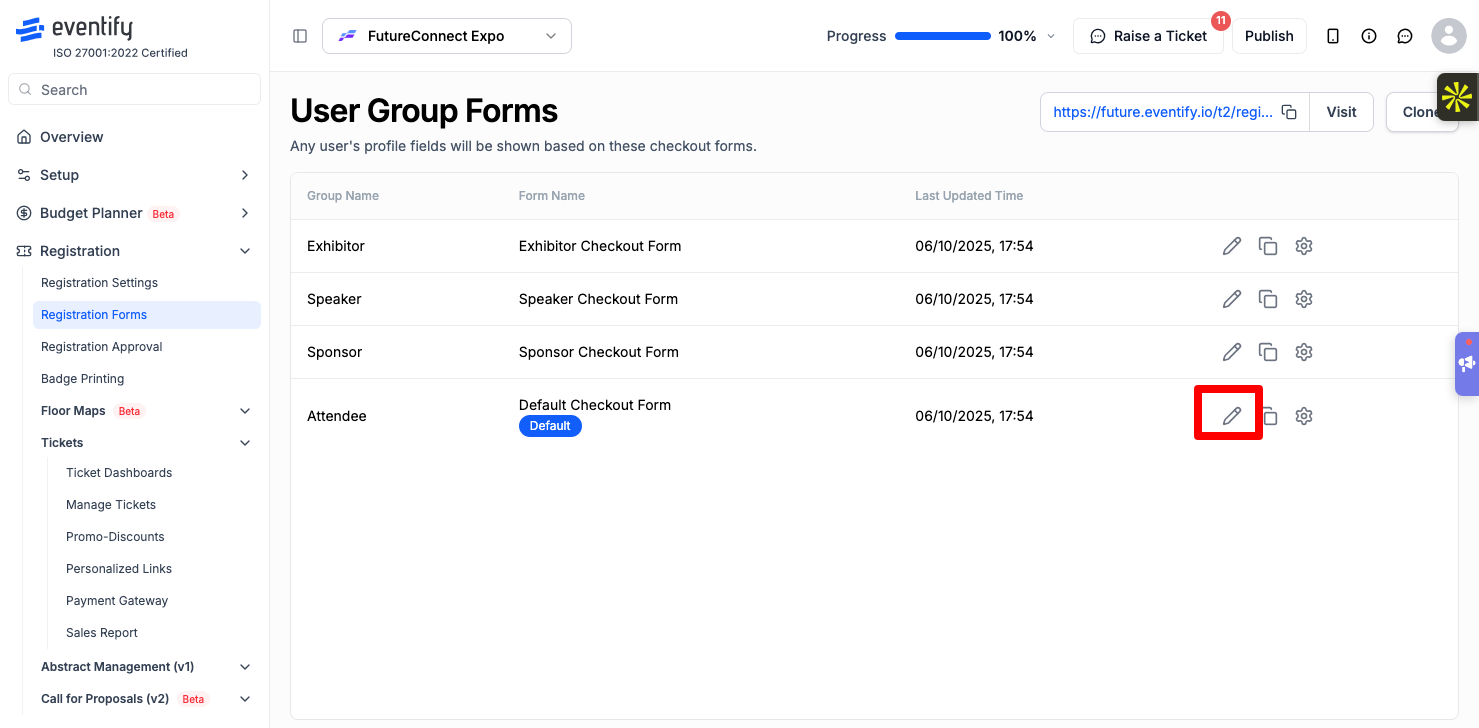
Name, email and profile details are included on every form and can't be removed. You can add conditional questions, split the form into sections, and create a separate form for each user group, such as speakers or exhibitors. See How to Build an Event Registration Form on Eventify.
.png)
Skip this step if people only fill in a form.
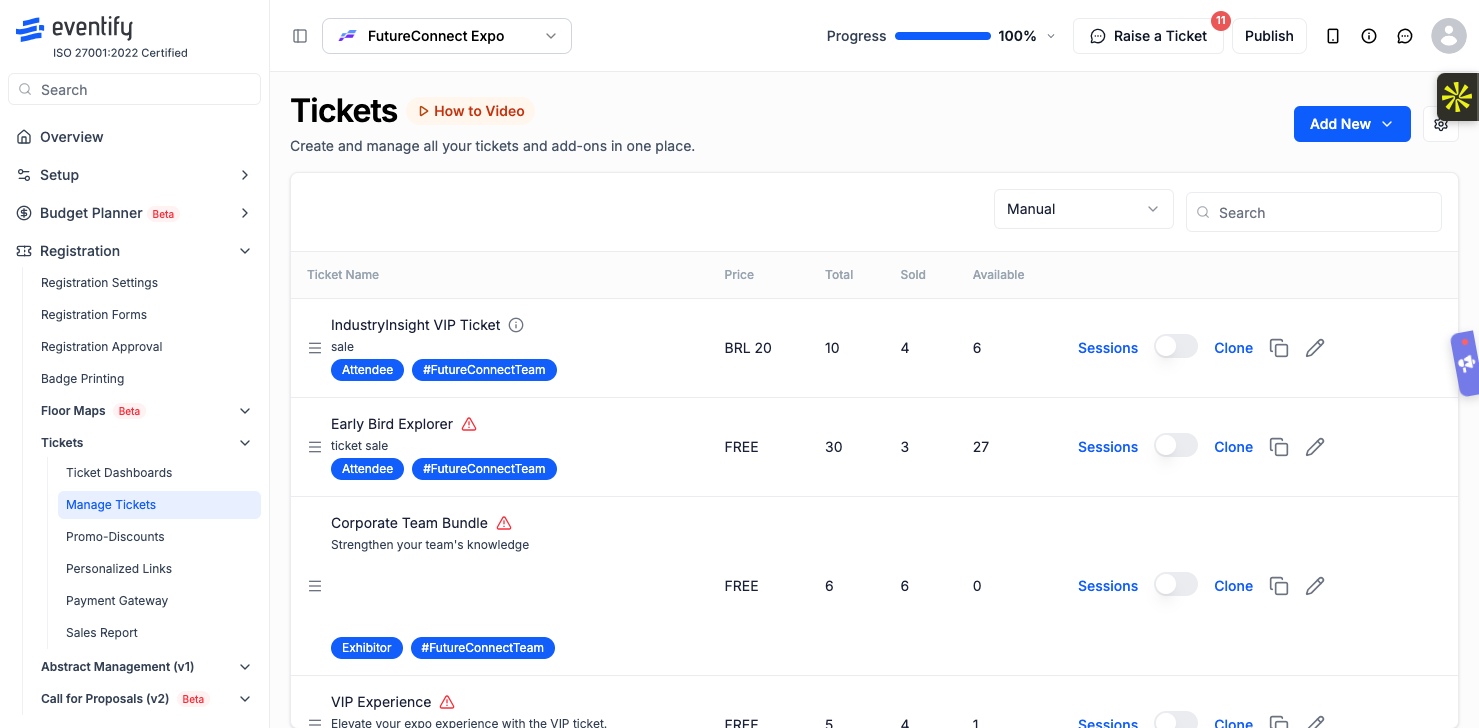
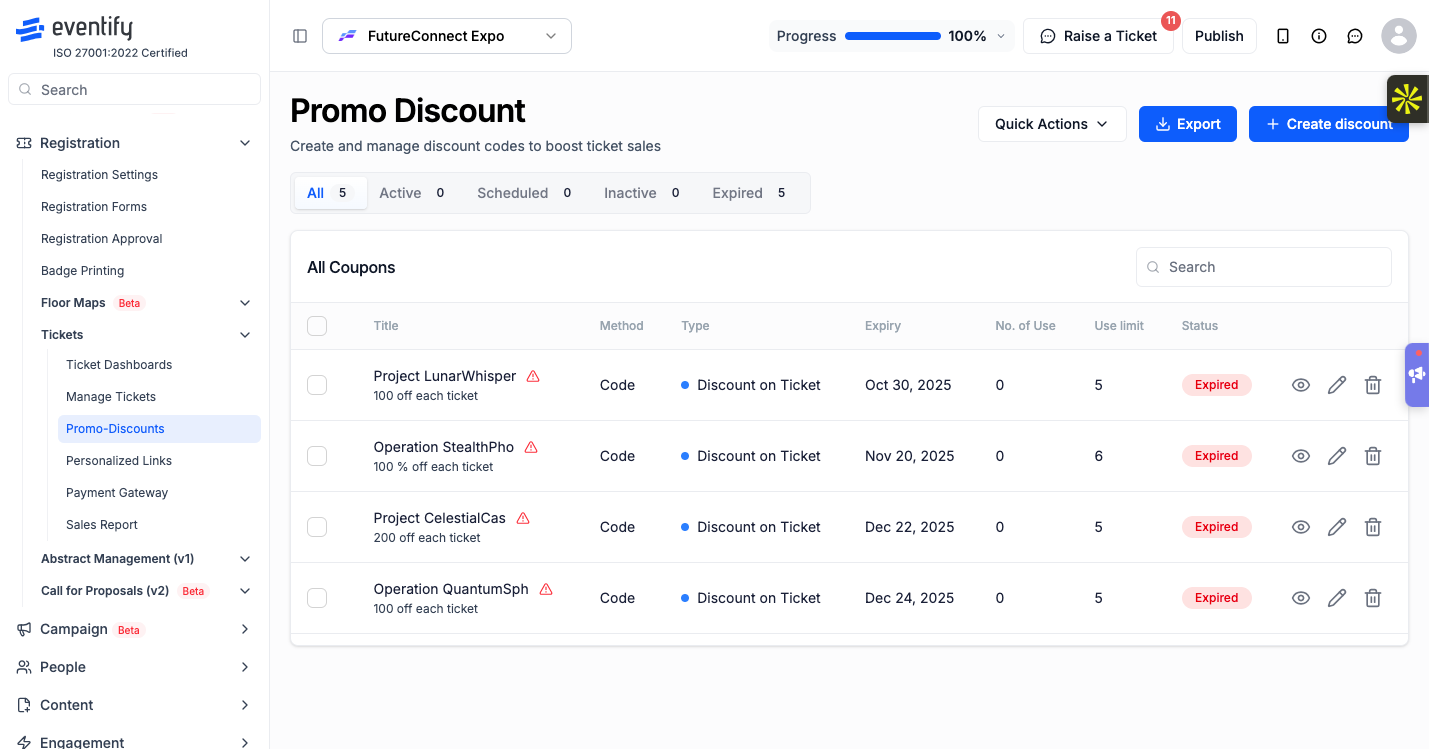
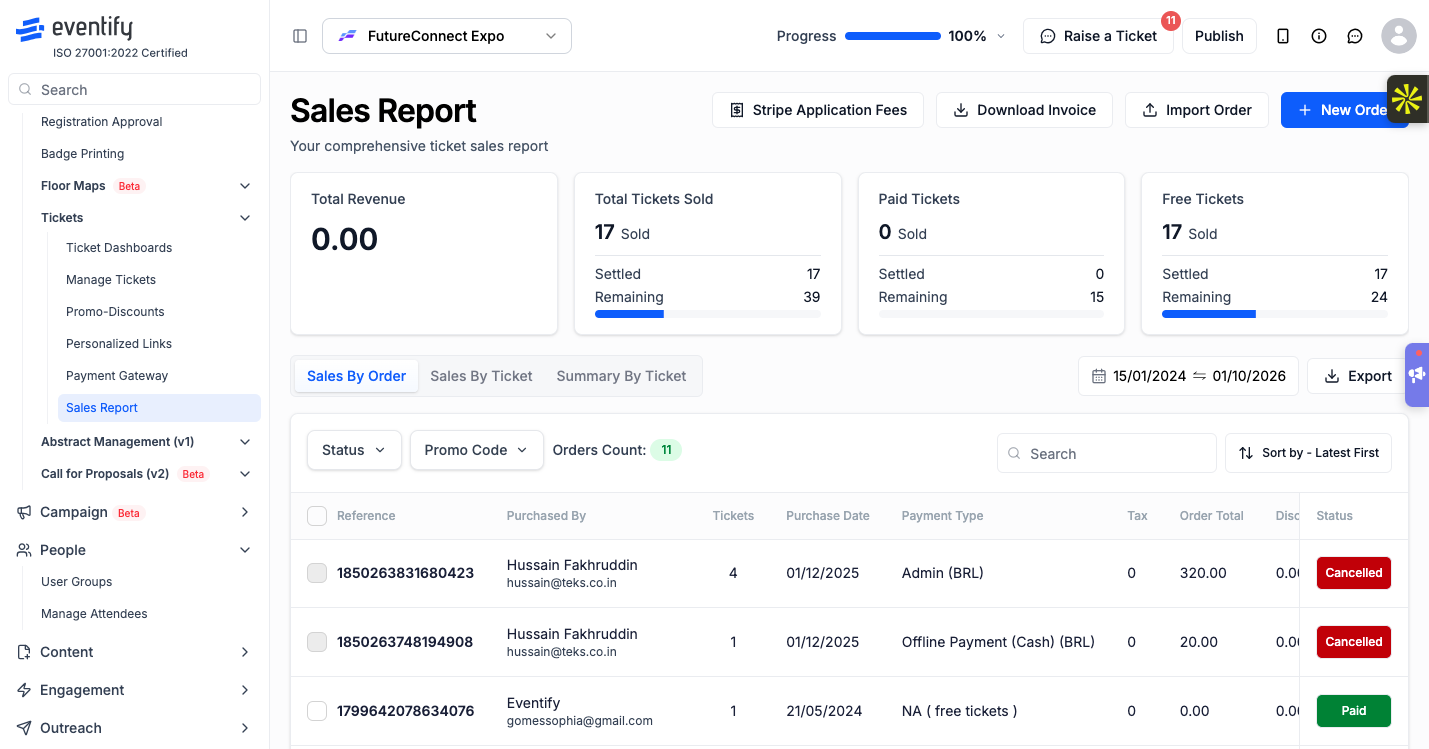
To sell paid tickets, connect a payment gateway under Registration > Tickets > Payment Gateway. You can connect one gateway per event. Free tickets don't need one. See How to Create and Manage Ticket Types on Eventify and How to Connect a Payment Gateway on Eventify.
.png)
These settings are optional. Use the ones your event needs.
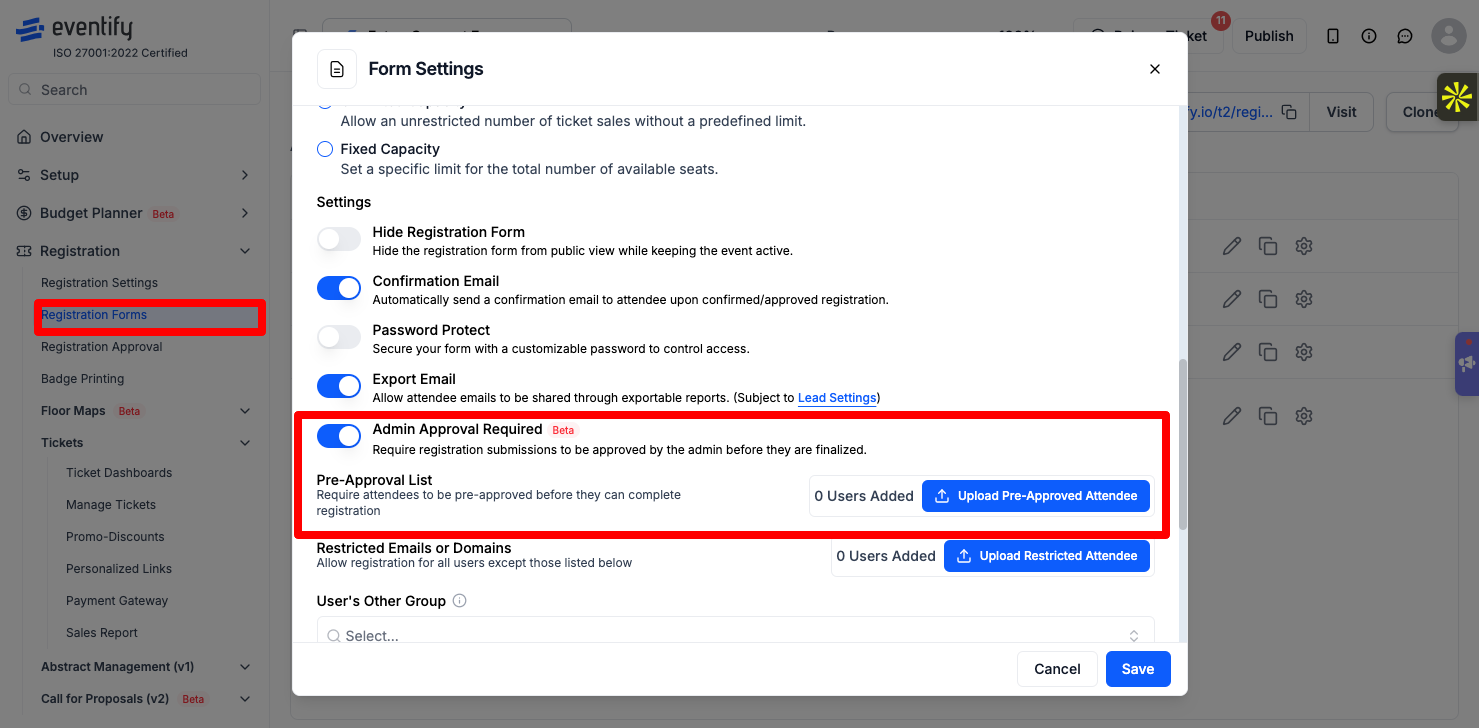
.png)
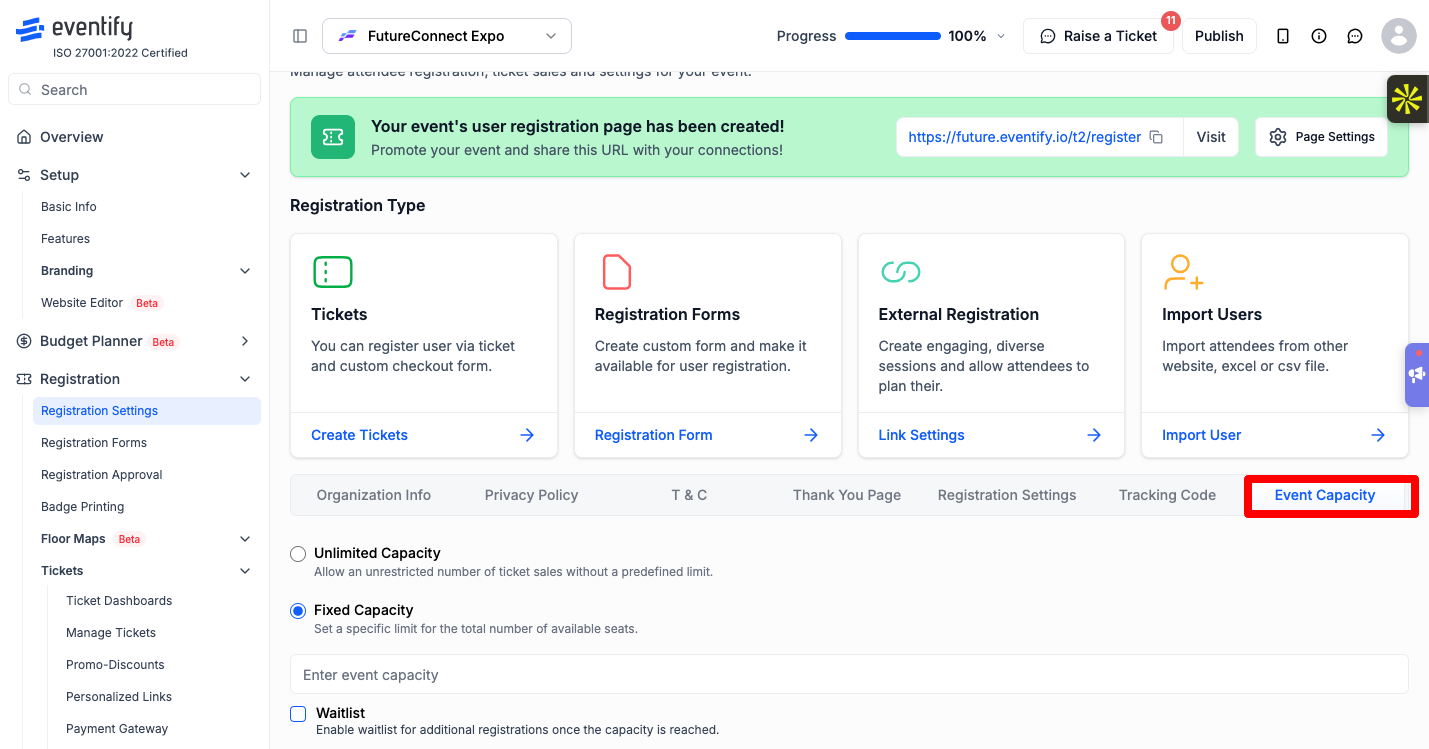
Registration Form card in Settings, Integrations with the link, the copy icon and the Embed as iFrame code
.png)
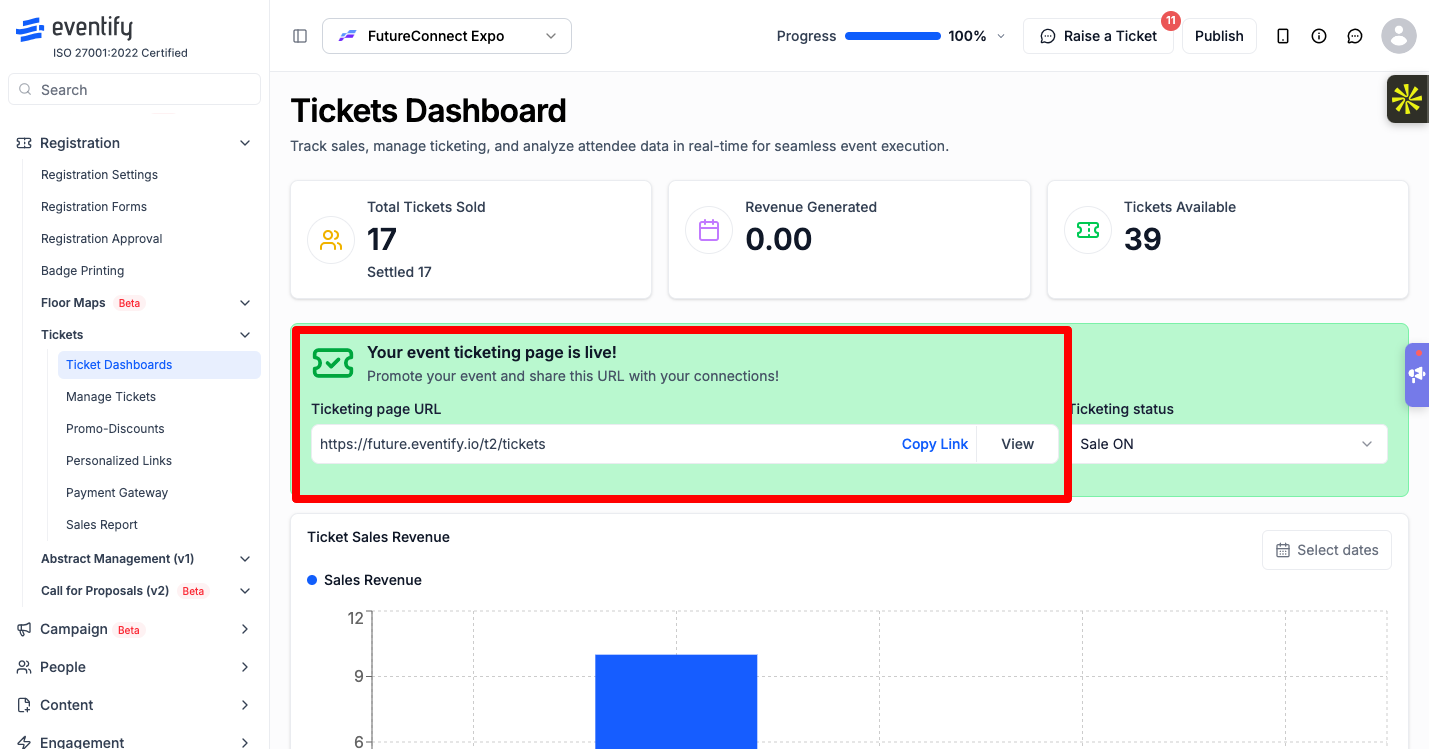
.png)
See How to Create a Public Event Registration Link.
Manage Attendees list with the Checked-IN column and the filter menu
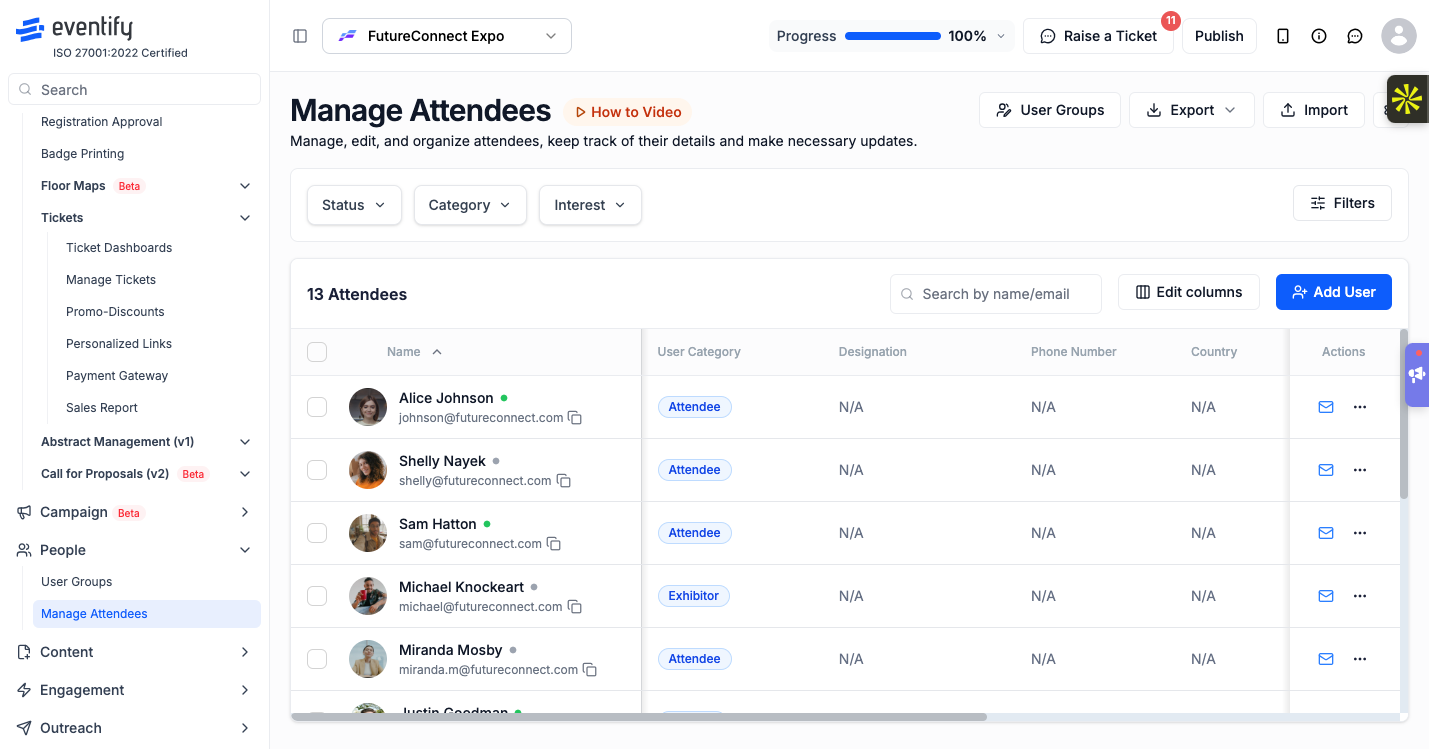
.png)
Each registered attendee gets a personal QR code. Scan it with the Eventify app, or set up a kiosk so attendees check themselves in and print their badge. See How to Check In Attendees with the Eventify App and How to Set Up Kiosk Mode for Event Self Check-In.
How do I set up registration for an event?
Pick a registration policy in Registration Settings, build your form or tickets, then share the registration link. The steps above cover each part in order.
How do I do online registration for an event?
Set the policy to With Registration or Ticket, and Eventify creates your online registration page. Share its link by email or social media, or embed the form on your website.
How do I manage event registration once people start signing up?
Use People > Manage Attendees for the attendee list, Registration Approval if you review sign-ups, and Sales Report for ticket orders.
Can I keep my current registration system and still use Eventify?
Yes. Set the policy to External Registration Link so the register button points to your own page, then import attendees into Eventify to give them access to the event app.
Do I need a payment gateway for free registration?
No. A payment gateway is only needed for paid tickets.
Need more help? Contact Eventify support from the admin panel.
