You can book a meeting at the event with another participant, one to one. The portal shows only the dates and time slots when that person is free, so you pick a slot that works for both of you.
Where to start a meeting request
Look for Let's Meet, Schedule Meeting or Schedule Demo in these places:
An attendee's card or profile in the attendee directory.
The top of a chat in Messages.
A booth personnel or contact person card on an exhibitor or sponsor page.
A product page, under Schedule Demo.
The Public Meetings tab on the Meeting page.
The button only appears if you're allowed to start meetings at this event and the other person accepts meetings. On an attendee's grid card, you may also need to be connected with them first, depending on how your organiser has set up the event.
Step 1: Select a date
#image#Schedule a Meeting window on step 1, showing the calendar with available dates
Click Let's Meet (or Schedule Meeting). The window shows "One-on-One Meeting with" and the person's name.
Under Select a Date, click a date. Only the dates when the person is available can be picked.
If no dates can be picked, the person has no free time set up yet. Try again later.
Step 2: Choose a time slot
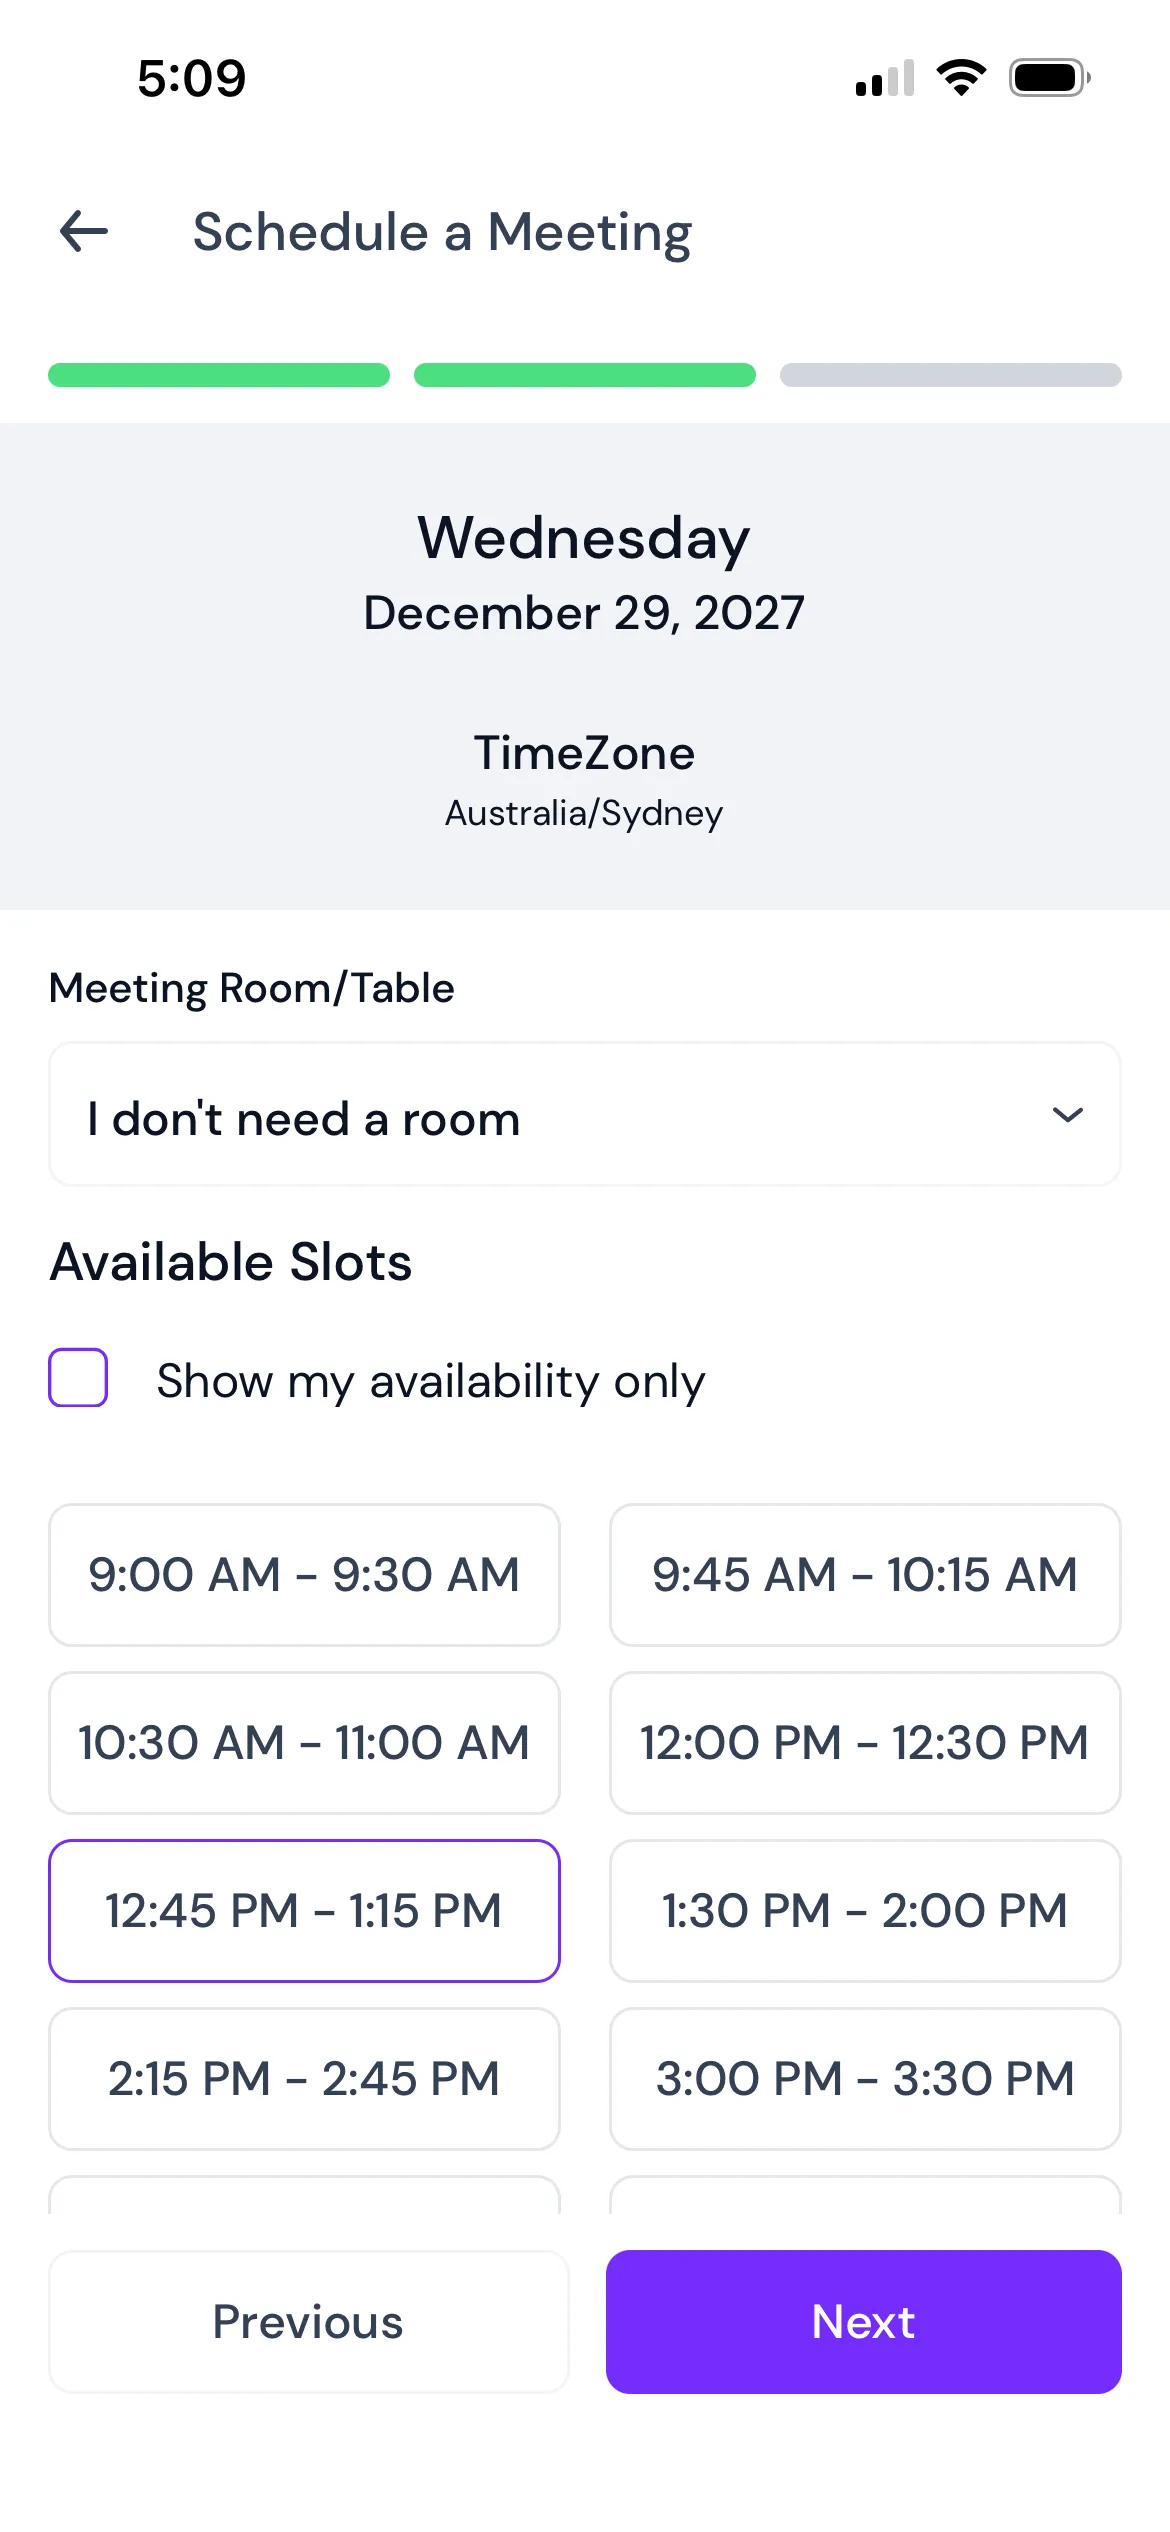
Look at the Available Slots. The TimeZone shown is the other person's timezone.
If your event has more than one meeting room or table, choose one from Meeting Room/Table. Choose I don't need a room if you'll meet somewhere else.
Tick Show my availability only if you want to see only the slots when you're free too.
Click a time slot.
If you already have a meeting at that time, you see "Meeting Overlap" and "You already have a meeting set between this slot. Do you want to set this meeting?". Confirm to book it anyway, or go back and pick another slot.
If a date has no free slots, you see "No Timeslots Available on" followed by the date. Pick another date.
Step 3: Add the meeting details
Enter a Meeting Title. This field is required.
Fill in Meeting Location or Link. This can be a place at the venue or a video call link. If your organiser has set up suggested locations, pick one from the list. If you chose a room in step 2, the room is filled in for you.
Add anything the other person should know in Meeting Notes.
Click Schedule a Meeting.
The meeting now appears under My Meetings on the Meeting page. If it shows "Meeting Request Sent", the other person still has to accept it, and you'll be notified once they confirm. Some people have their meetings confirmed automatically, in which case you see "Meeting Confirmed" straight away.
The portal has no built-in video call. If you're meeting online, put the video call link in Meeting Location or Link.
Error messages
"Please fill all mandatory fields!": Enter a Meeting Title.
"Meeting slot is not available anymore. Please reschedule or choose another slot.": Someone took the slot while you were booking. Pick another one.
"We are unable to schedule your meeting as this slot is already booked. Please check some other slot.": The slot is taken. Pick another one.
"We are unable to confirm this meeting as this user has another confirmed meeting overlapping this slot.": The other person is busy at that time. Pick another slot.
"Sorry! this meeting capacity has reached. Please revise the capacity by contacting your admin.": The meeting is full. Contact your organiser if you need a place.
"This feature is not available": You don't have access to meetings at this event.
In the mobile app
The Eventify app uses the same three steps (date, time slot, details) and the same error messages, with a few different labels.
Where to start
Tap Let's Meet on a person's profile. If your event uses chat requests, you need to be connected with them first.
Tap the calendar icon at the top of a chat.
On the Meeting page, tap the calendar icon at the top or the + button. Search for the person in "Search by name" and tap their name.
Book the meeting
Under "Select a date", tap a date.
Pick a room from Meeting Room/Table if there's a choice, then tap a slot under "Available Slots". Tap Next. (Tap Previous to go back to the dates.)
Fill in Meeting Title, Meeting Location or Link and Notes. Tap Change if you want a different time.
Tap Schedule Meeting.
If the slot clashes with one of your meetings, you see "You already have a meeting set between this slot. Do you want to set this meeting?" when you tap Schedule Meeting. Tap YES to book it anyway, or Cancel to pick another slot.
When the meeting is booked, the app opens its meeting details.
Common questions
Can I schedule a meeting with an exhibitor?
Yes. Click Let's Meet or Schedule Meeting on a booth personnel or contact person card on the exhibitor's page, or Schedule Demo on one of their products.
Why can't I pick any dates when I book a meeting?
The person hasn't set up any free time yet. Try again later.
Can I hold the meeting online?
Yes, but the portal has no built-in video call. Put your video call link in Meeting Location or Link.


.png)