
After creating campaigns, you may need to edit a draft, clone a successful campaign, pause an active one, or archive old campaigns. This guide covers all the actions you can take to manage your campaigns throughout their lifecycle.
Every campaign is in one of these states, visible in the tab bar at the top of the campaign list

Navigate to the Campaign section and locate the campaign. You can edit a scheduled campaign that has not been sent yet, whether it is Active or Inactive. Once a campaign has been sent, it opens in view-only mode. A campaign set to Send Immediately also opens in view-only mode after it is saved.

Click the Edit option from the campaign's action menu. This opens the campaign editor where you can modify the campaign name, subject, email content, recipients, and schedule.

Update any fields as needed and click Save to apply your changes. If you are ready to send, remember to set the status to Active before saving.

An Inactive campaign that has not been sent yet shows a toggle in its actions column. Turn it on (the tooltip reads Activate) to make the campaign active again; it then sends on its schedule. You can also archive or delete an inactive campaign.

On an Active campaign that has not been sent yet, turn off the toggle (the tooltip reads Inactivate). The campaign will stop and move back to Inactive status. Note: Emails that have already been sent cannot be recalled.
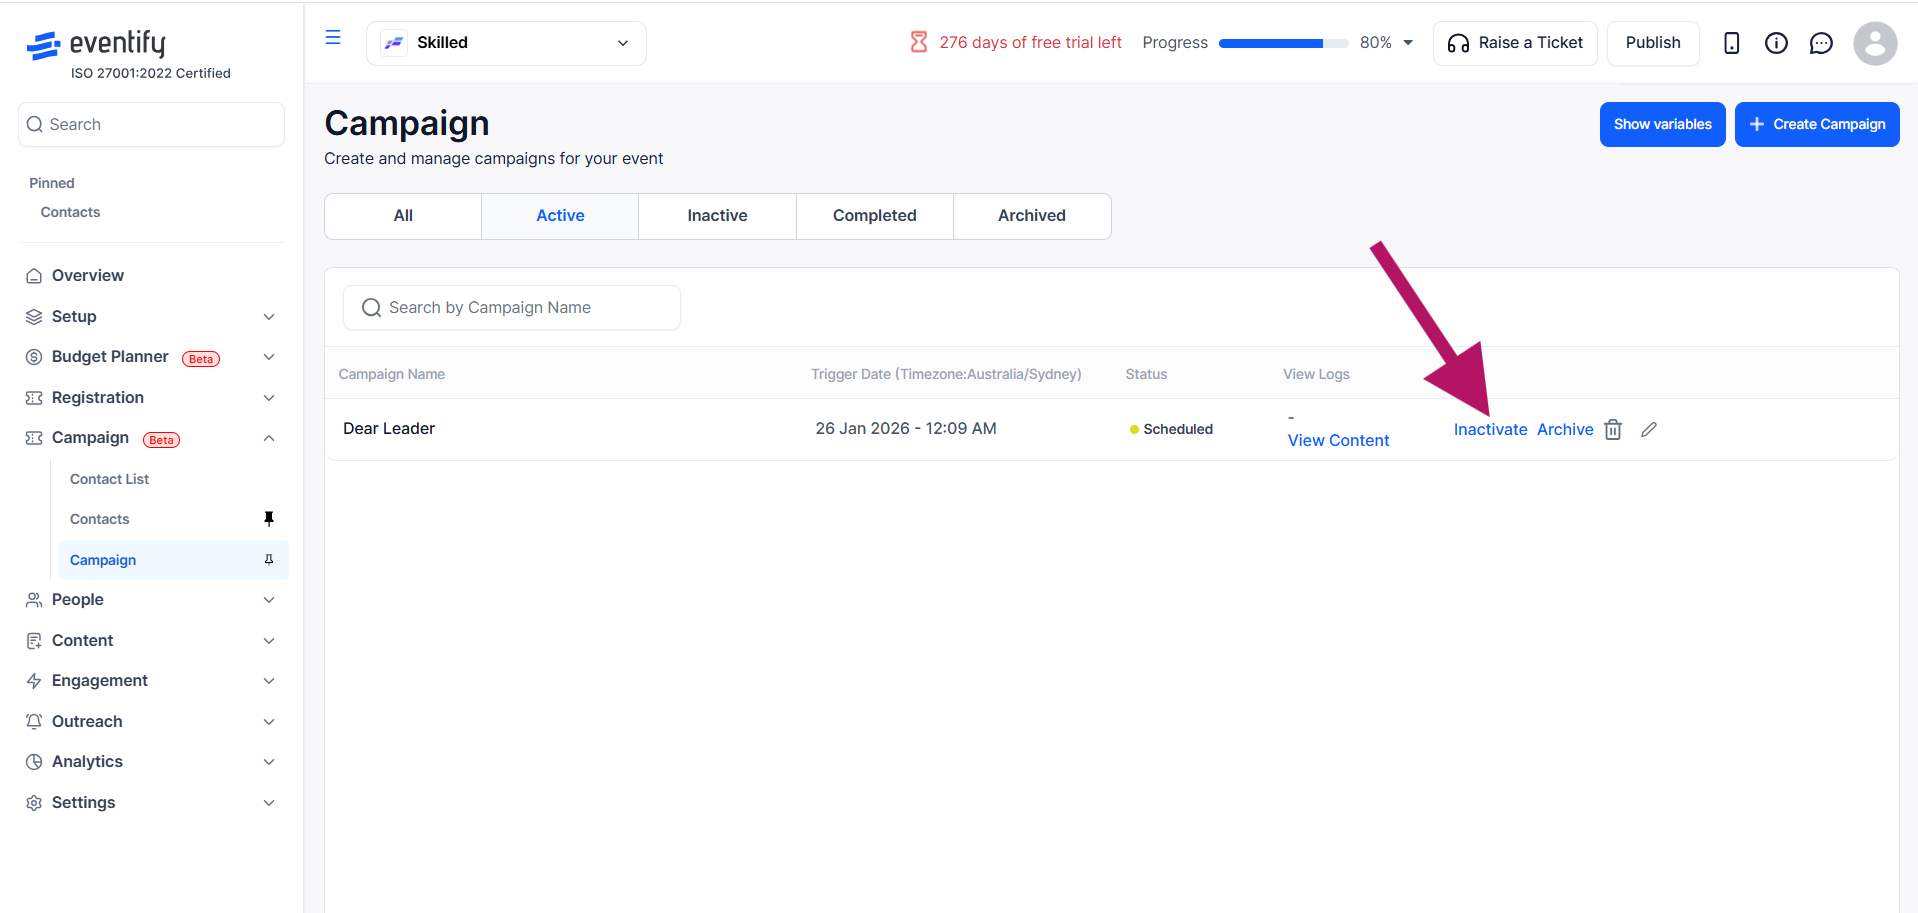
Once a campaign is completed and you no longer need i, click the Archive action. The campaign moves to the Archived tab. You can still view its analytics and email logs from there.

Click the Delete action to remove a campaign. Warning: This action cannot be undone. The campaign and its configuration will be permanently removed. Email logs and analytics for already-sent emails may still be available.

Tick the checkbox next to each campaign you want to change, or tick the checkbox in the table header to select every campaign in the list. The number of selected campaigns appears above the table.
Click Archive Selected to move all selected campaigns to the Archived tab, or Delete Selected to remove them. Confirm in the pop-up. Deleting cannot be undone. Click the X next to the buttons to clear your selection.
#image# Campaign list with several campaigns selected and the Archive Selected and Delete Selected buttons
Here is the typical flow of a campaign through its states:
Understanding these states helps you track where each campaign is in its lifecycle and manage them more effectively.
You can edit and reactivate an inactive campaign as long as it has not been sent yet. A campaign that has already been sent opens in view-only mode.
No. Deactivating stops the campaign, but emails that have already been sent cannot be recalled.
Yes. Archived campaigns keep their analytics and email logs, which you can view from the Archived tab.
Tick the checkboxes next to the campaigns, or the header checkbox to select all, then click Delete Selected and confirm. Use Archive Selected instead if you may need the campaigns later.
Turn off the toggle on the campaign (tooltip: Inactivate). It moves to Inactive and will not send until you turn the toggle on again.
The toggle is shown only for campaigns that have not been sent and are not processing. Sent and processing campaigns cannot be activated or deactivated.
Scheduled: active and waiting for its send time. Processing: sending now. Sent: finished sending. Inactive: saved but switched off.
