
This guide explains how to add and manage pages on your event website, set page URLs and the homepage, and add each page to your header menu.
⚠️ Early beta: The Website Builder is currently in early beta. Some features are still being polished and occasional glitches are expected. If something doesn’t behave as described here, refresh and try again, or contact support — and thanks for your patience while we improve it.
Your site is made of pages. This article covers creating and managing pages, controlling their web addresses, choosing your homepage, setting each page's SEO, and — the most common question — adding navigation links to your header.
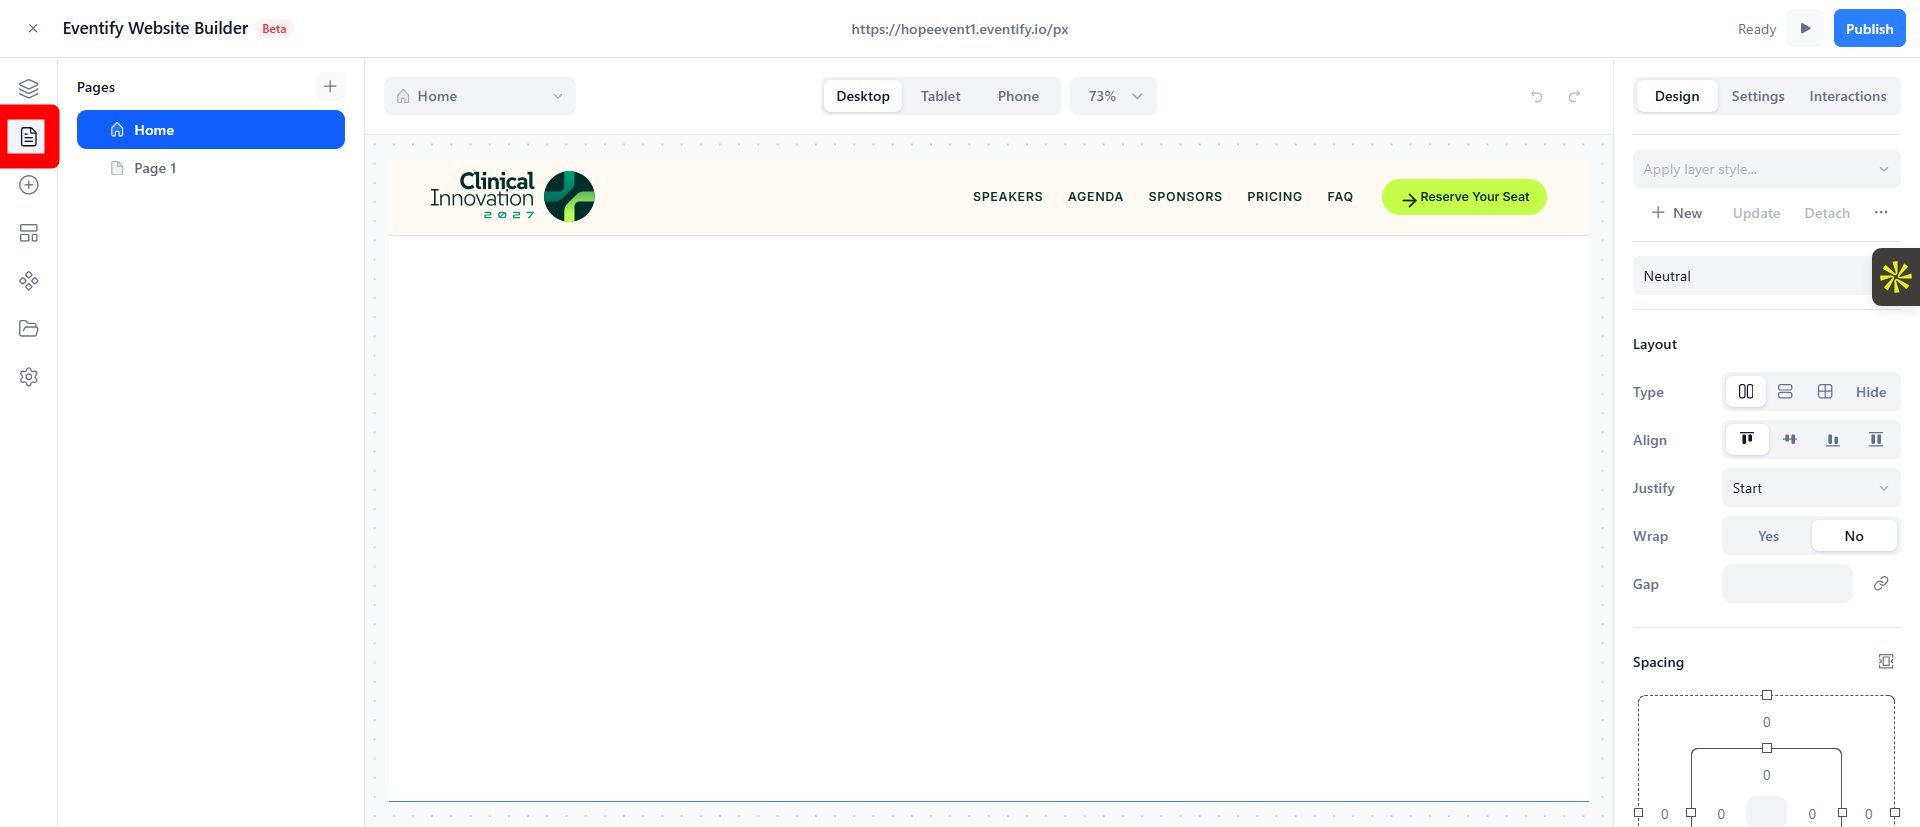
Open the Pages panel from the left sidebar. You'll see your site's pages listed as a tree, and you can group them into folders.
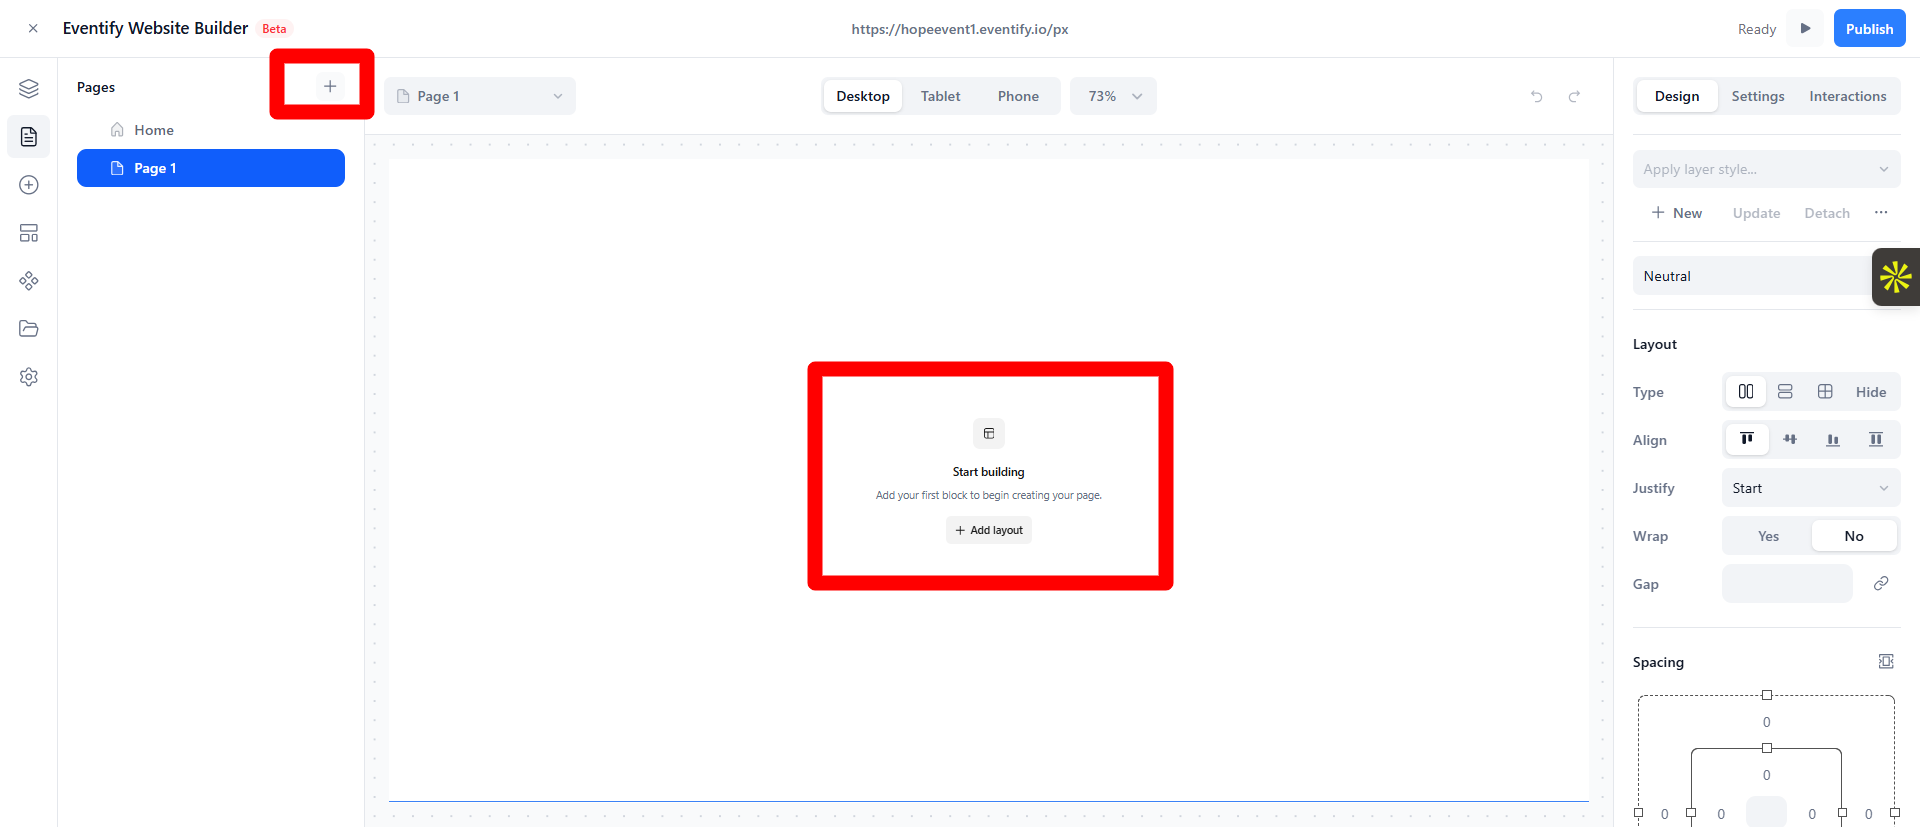
New pages start empty — you then build them by adding blocks (see Building Your Page).
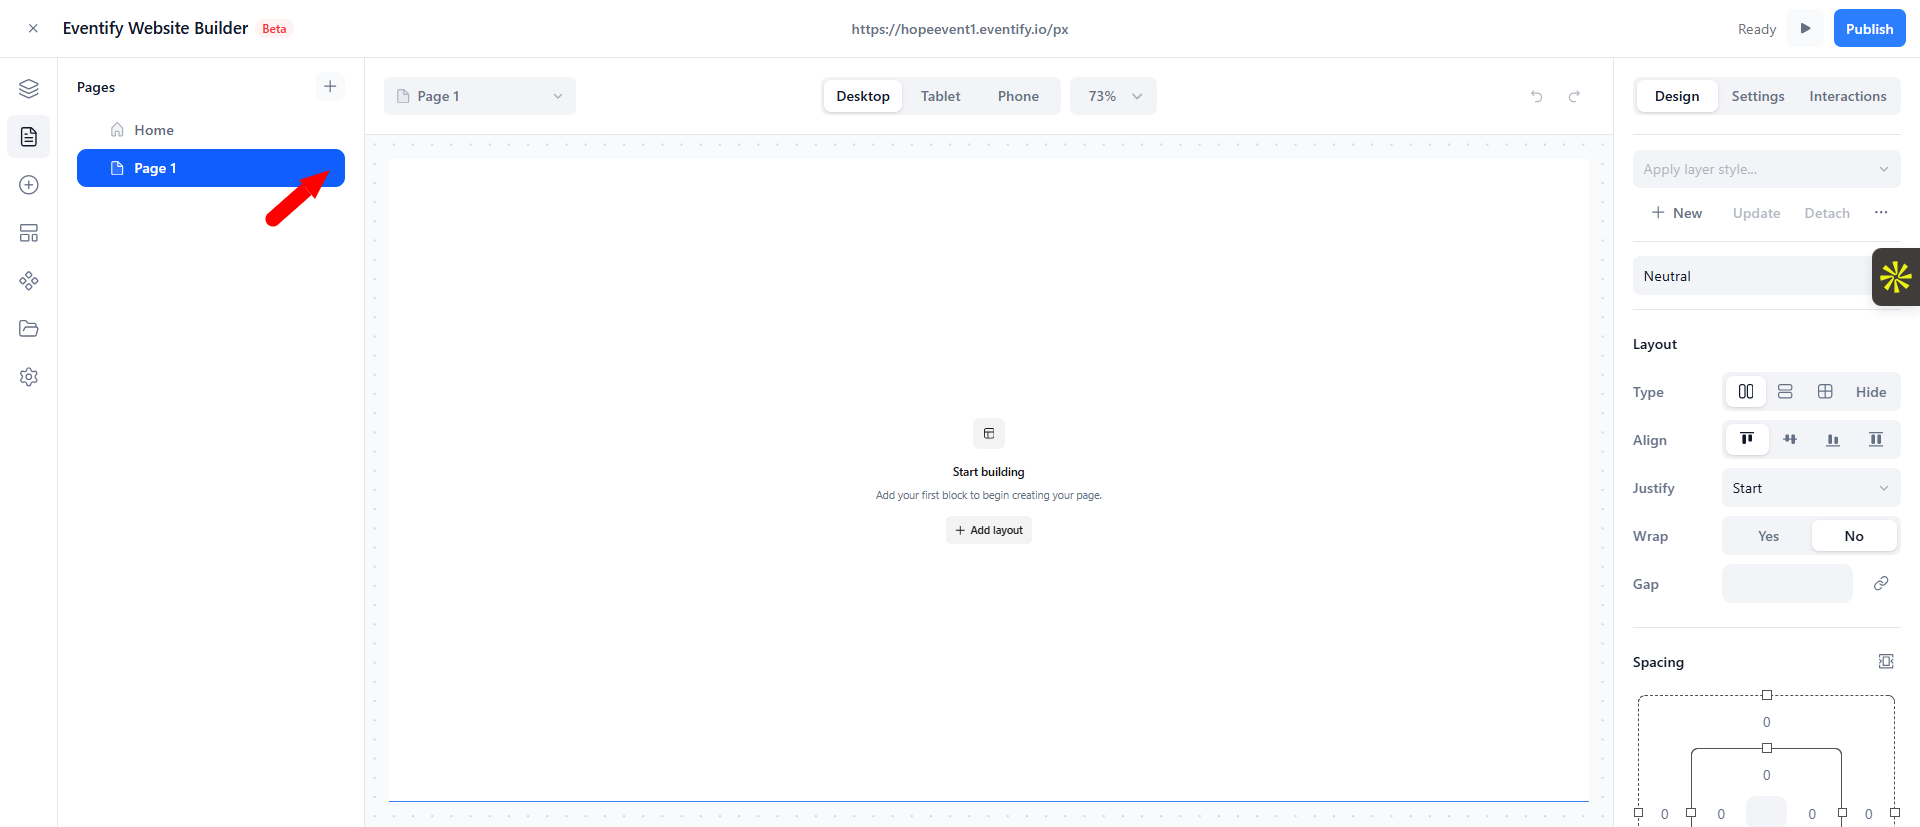
Note: You can't delete your site's only page or your homepage. Reassign the homepage first if you need to remove that page (see Setting your homepage).
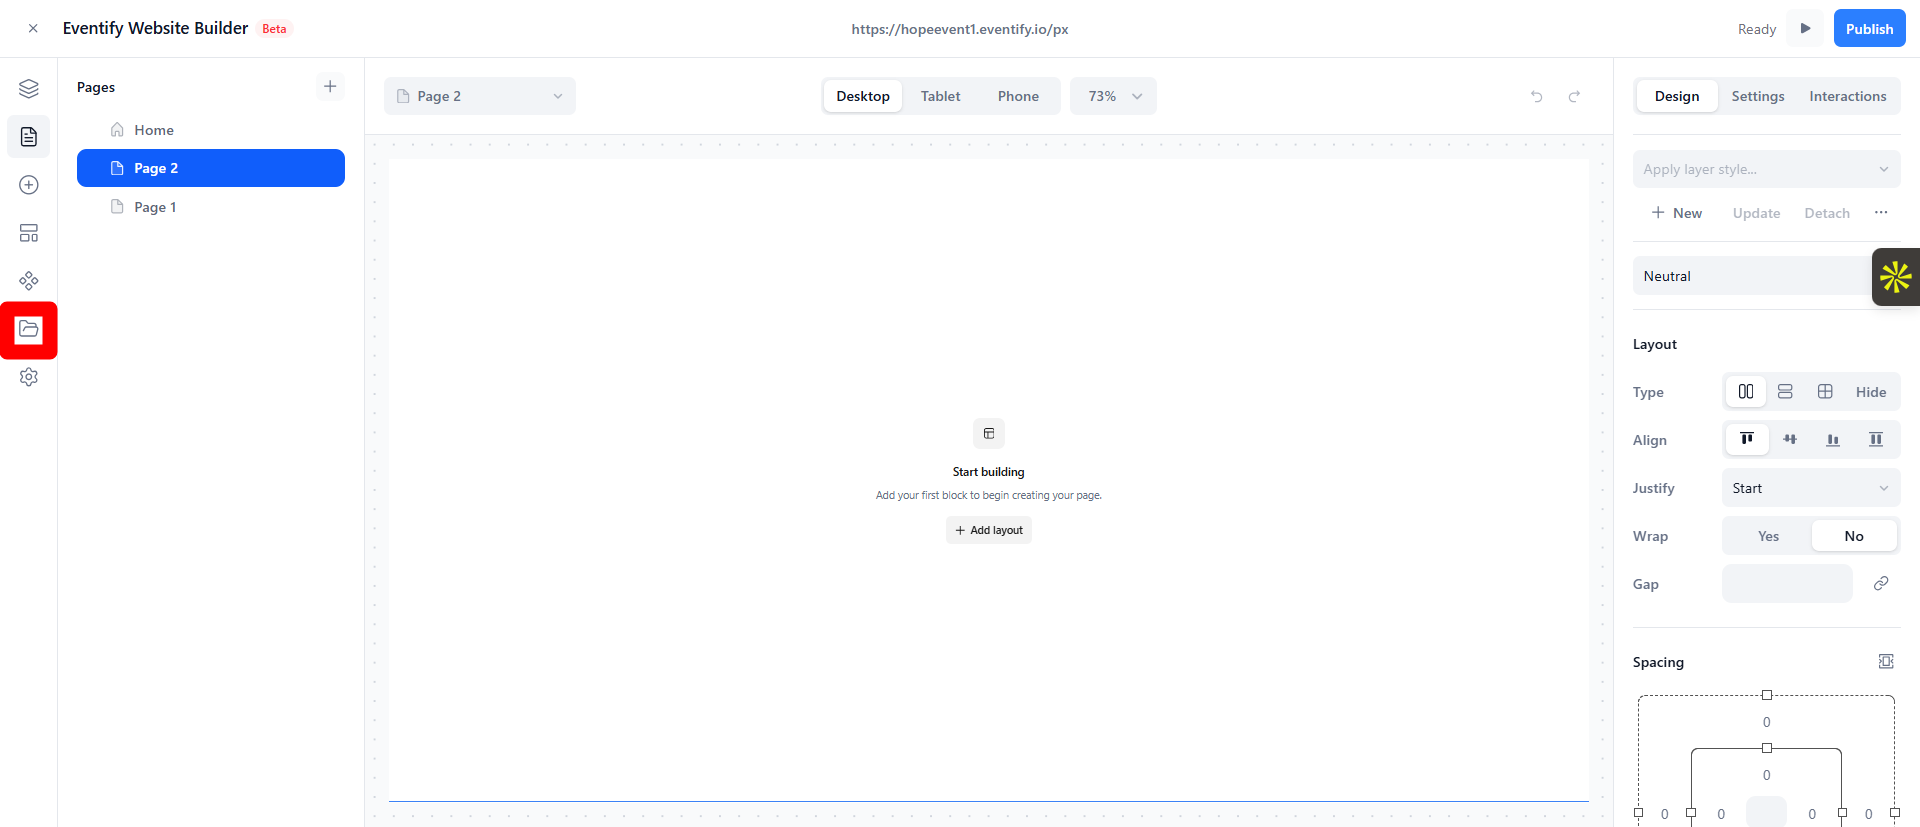
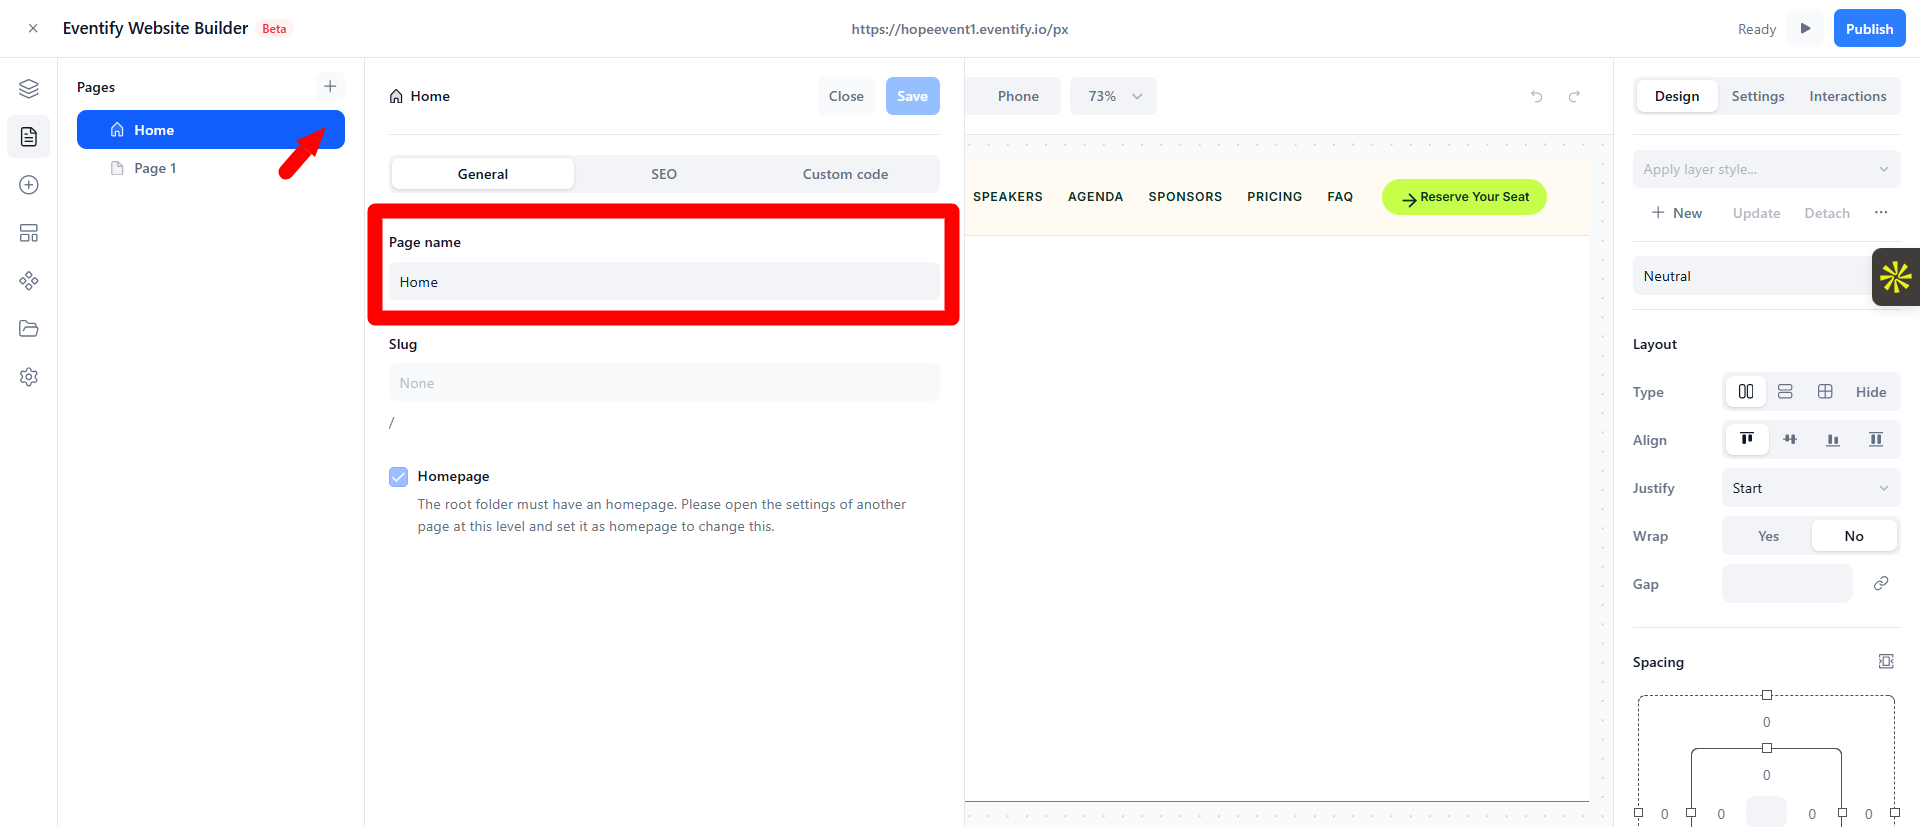
Every page has a slug — the part of the web address that points to that page. You set it in Page Settings → General.
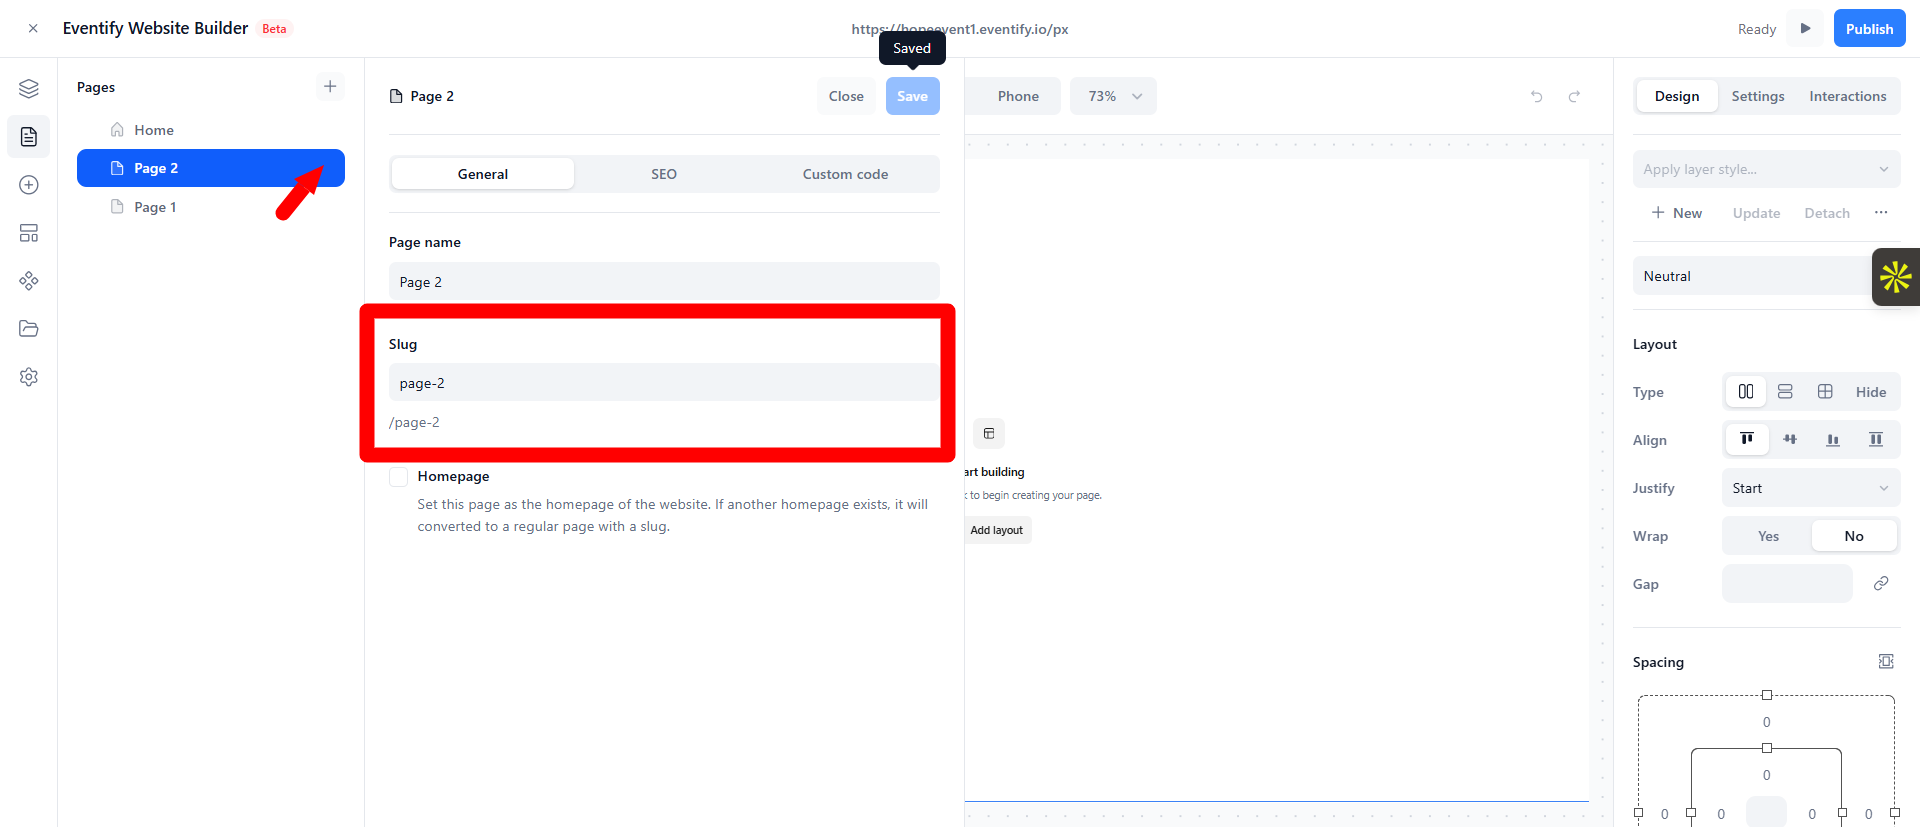
about, giving a web address like your-event.eventify.io/about.If you place a page inside a folder, the folder's slug becomes part of the address:
blog + page launch-day → your-event.eventify.io/blog/launch-dayUse folders to keep large sites organized and to create clean, grouped URLs.
Your homepage is the page visitors land on at your site's root address (for example your-event.eventify.io).
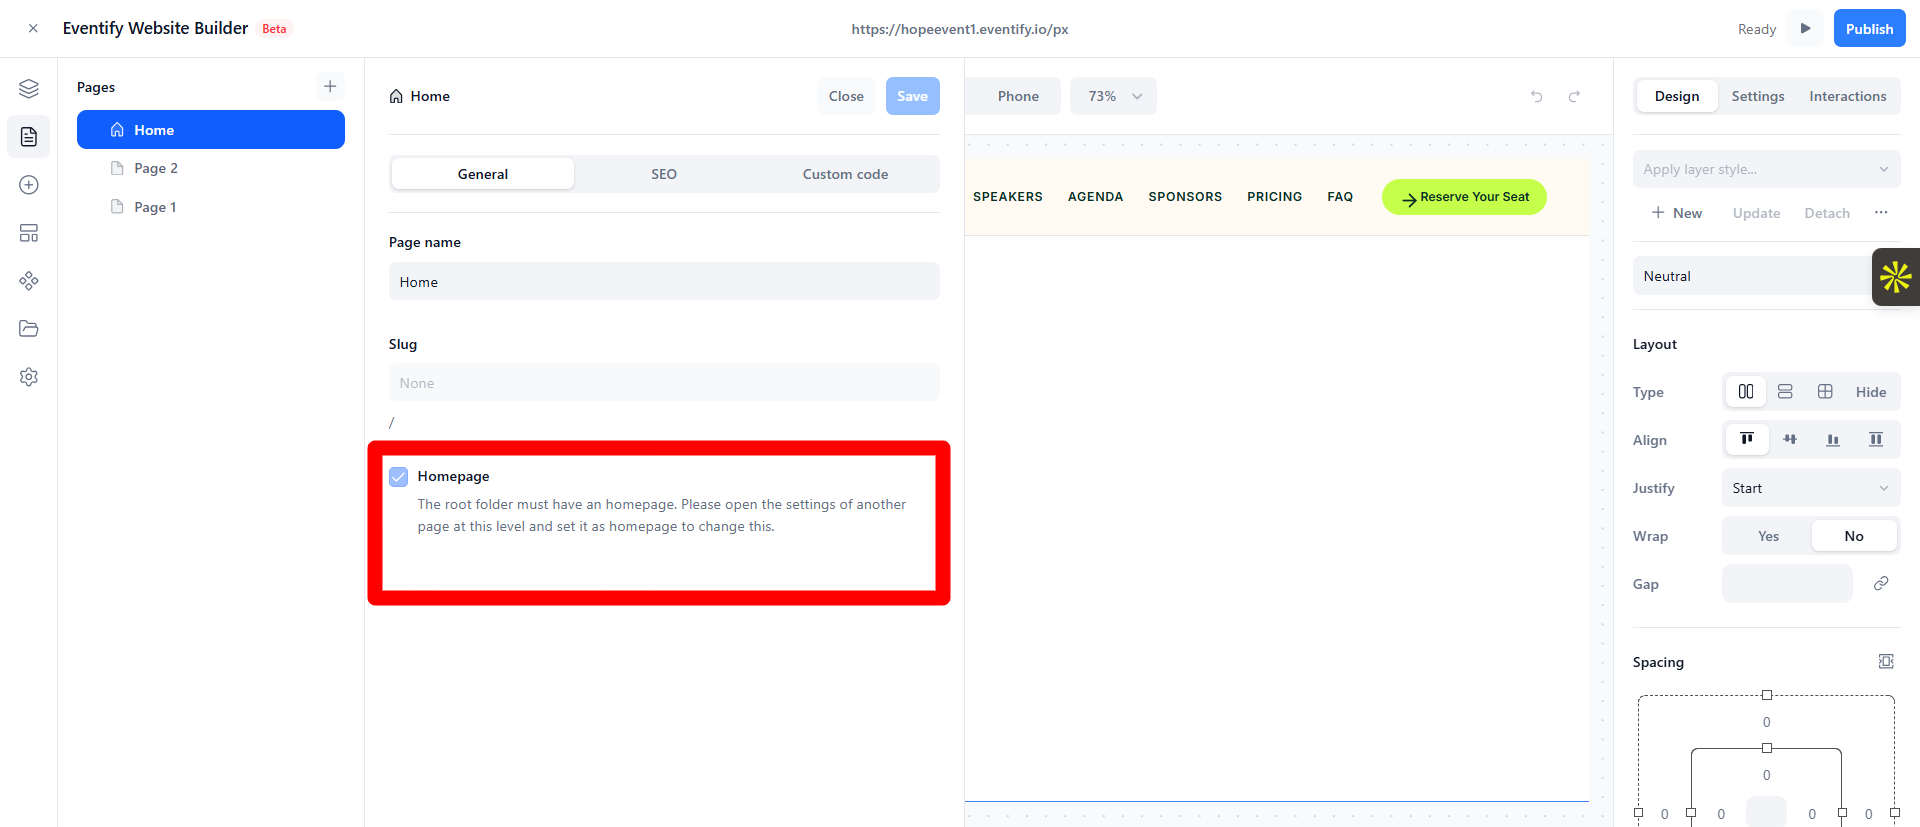
Only one page can be the homepage at a time. Setting a new homepage releases the previous one.
Each page has its own SEO settings so search engines and social shares look right. Open Page Settings → SEO.
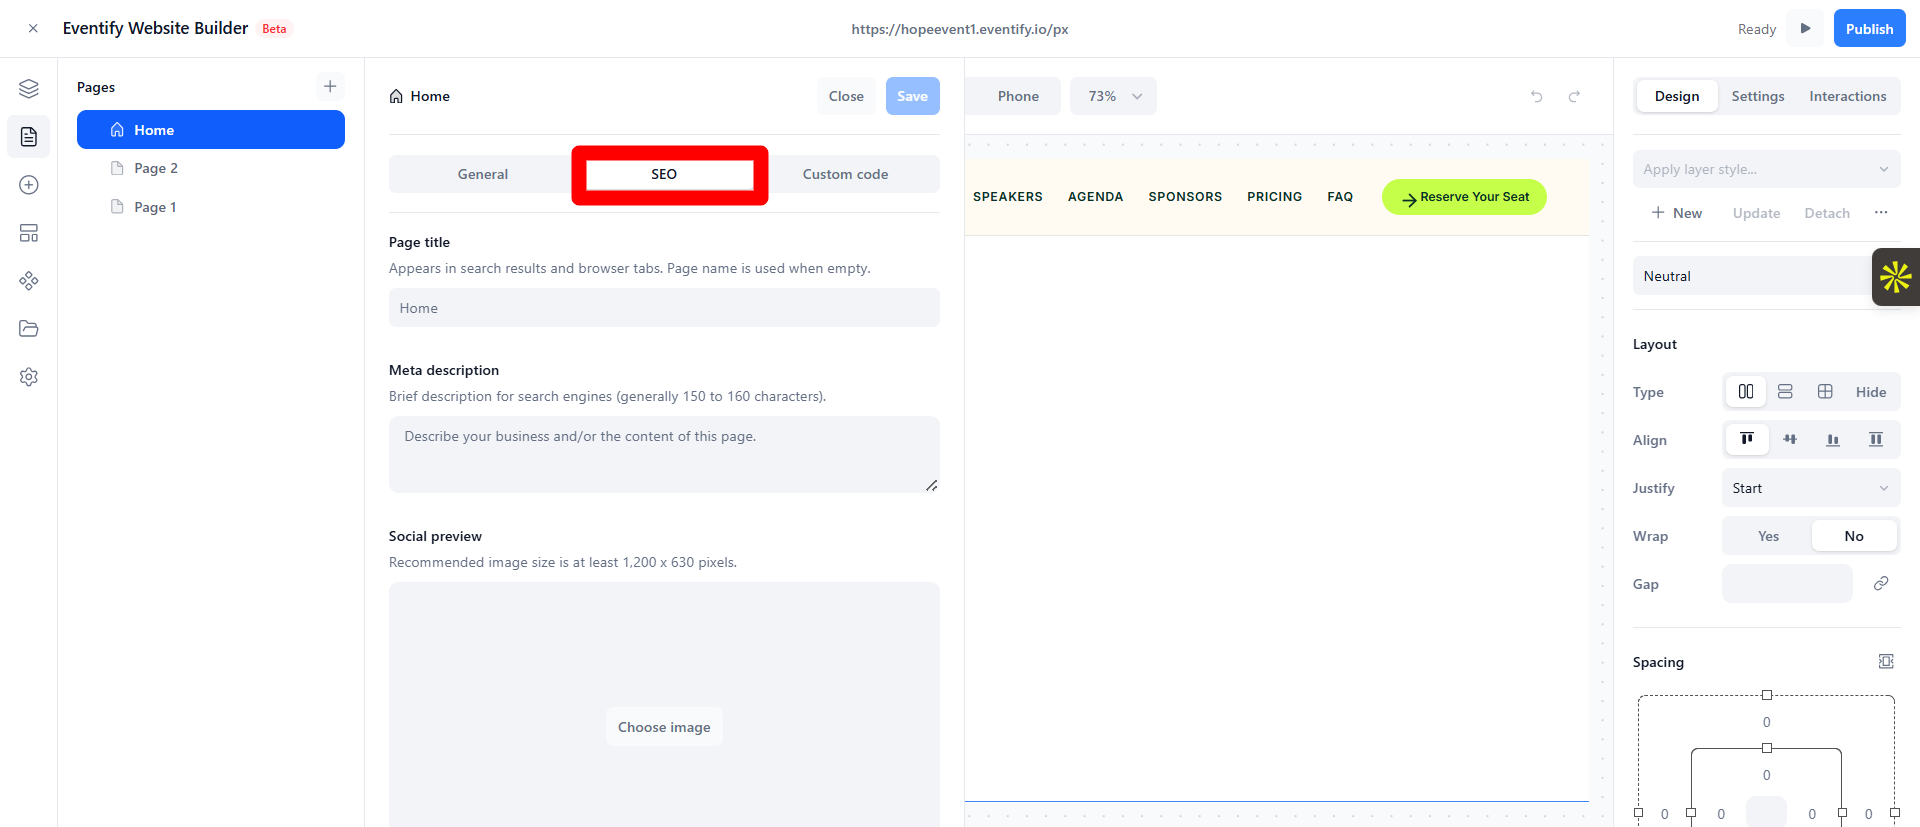
For site‑wide items like your favicon, see Global site settings.
This is the most common question, so here's the full walkthrough.
Important — read this first: Header navigation links are not created automatically when you add pages. Adding a page does not add it to your menu. Each navigation link in the header is its own text element that you manually link to a page. This is by design — it lets you choose exactly which pages appear in the menu, in what order, and under what label (your menu label can differ from the page name).
So the task is really two parts: (1) have a header with nav link items on your page, and (2) point each nav link at the page you want.
If your page already shows a header with menu items across the top, skip to Step 2. Otherwise, add one:
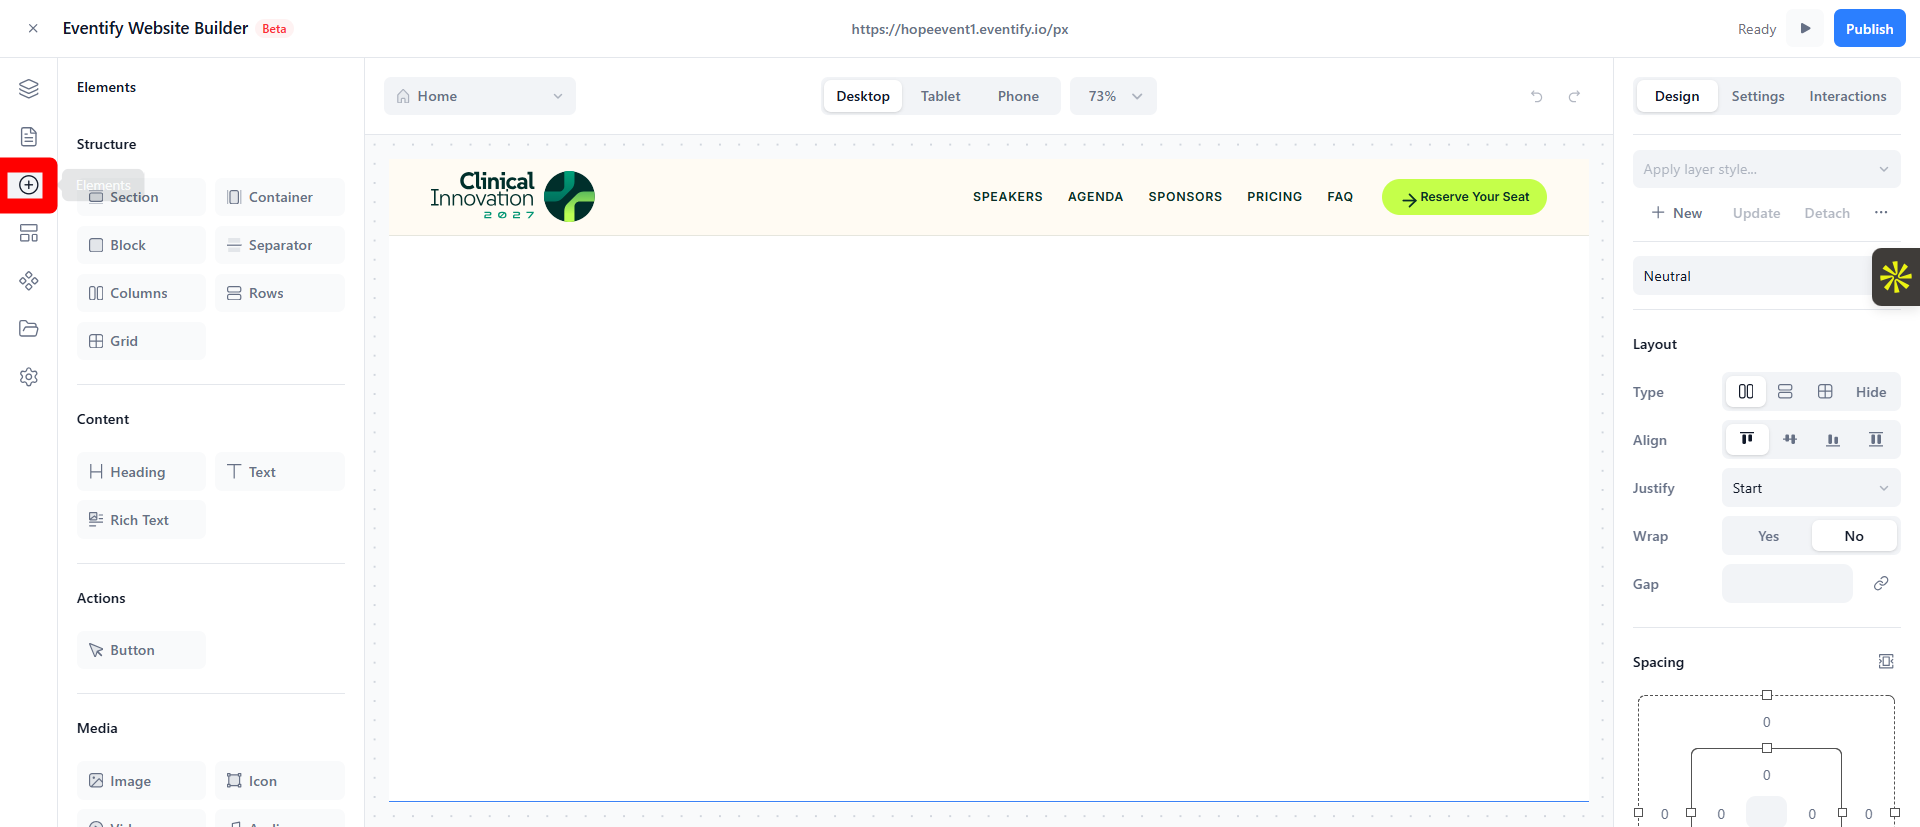
The header comes with sample menu items already in it (for example Speakers, Agenda, Sponsors, Pricing, FAQ) plus a call‑to‑action button such as Get Tickets. These are placeholders — you'll relabel and link them next.
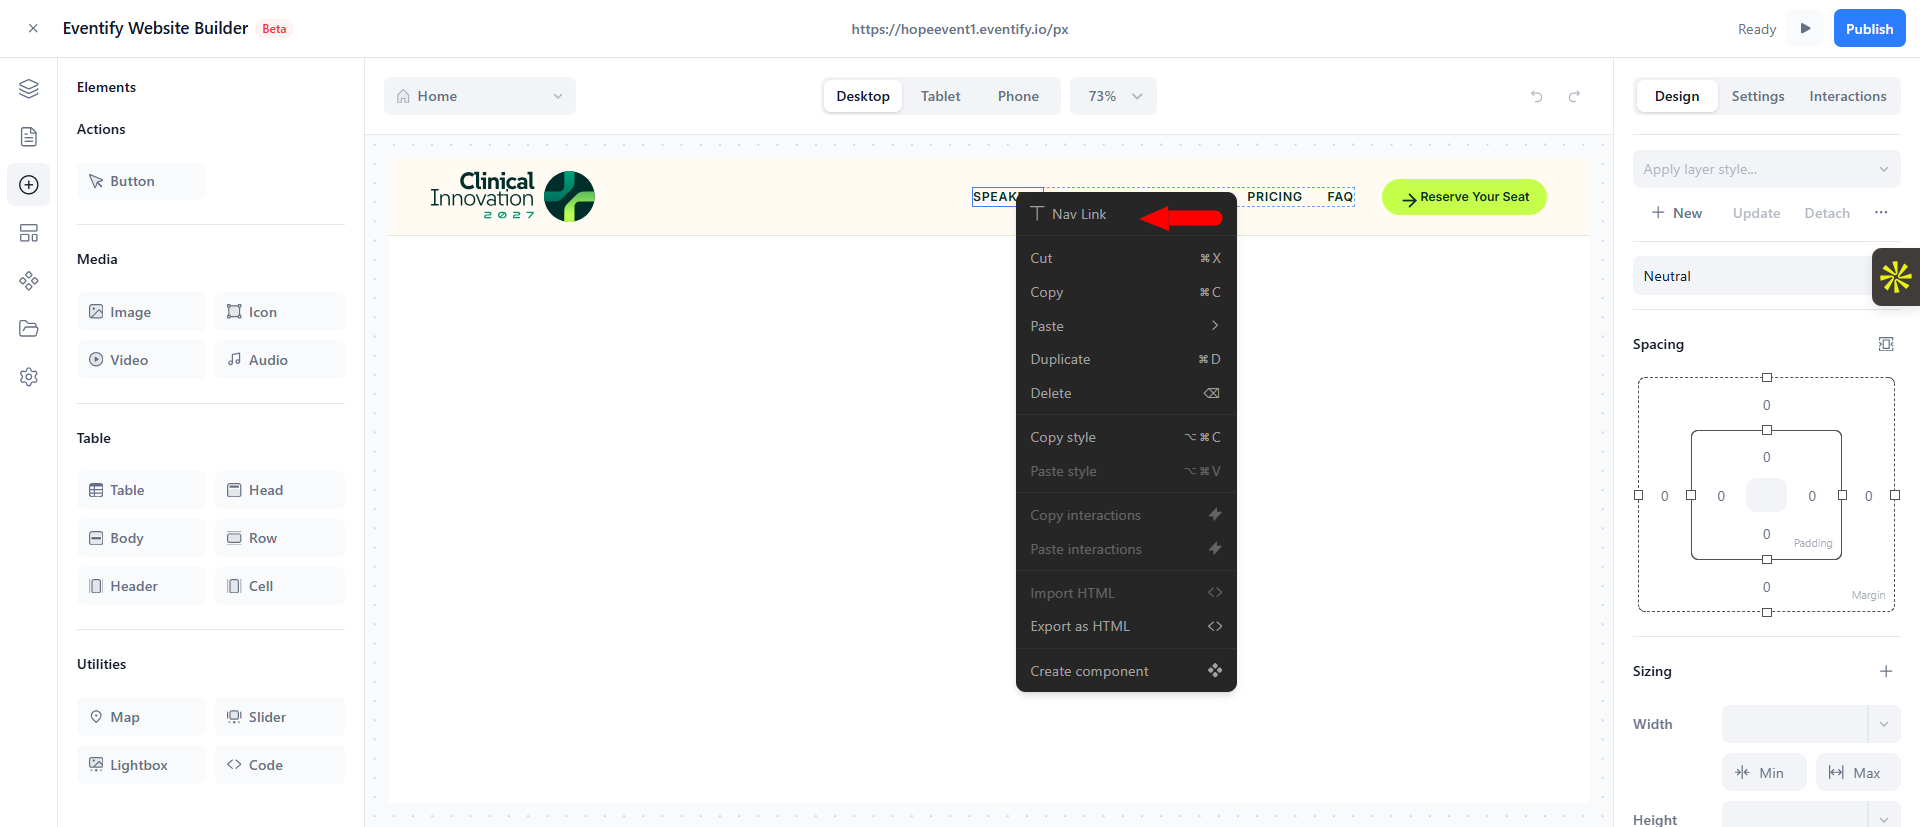
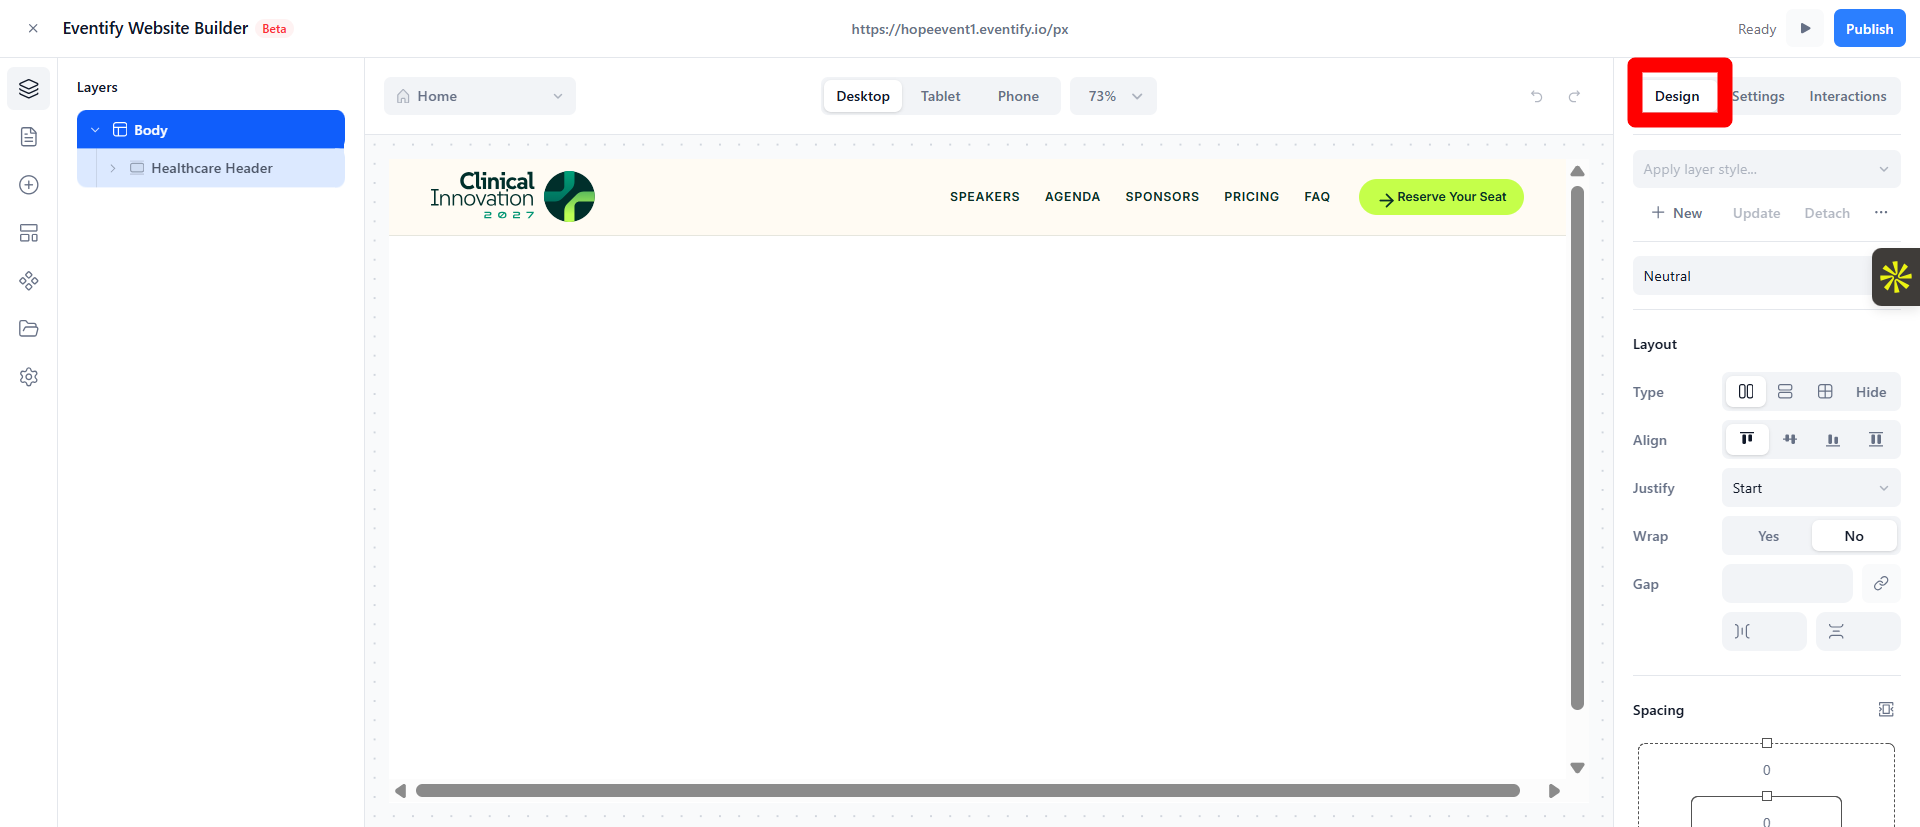
That's it — this menu item now links to that page.
Besides Page, the same dropdown can link to an external URL, an Email (mailto:), a Phone number (tel:), a Section anchor on a page, or a downloadable Asset. For internal navigation, always choose Page so links keep working even if you rename the page later.
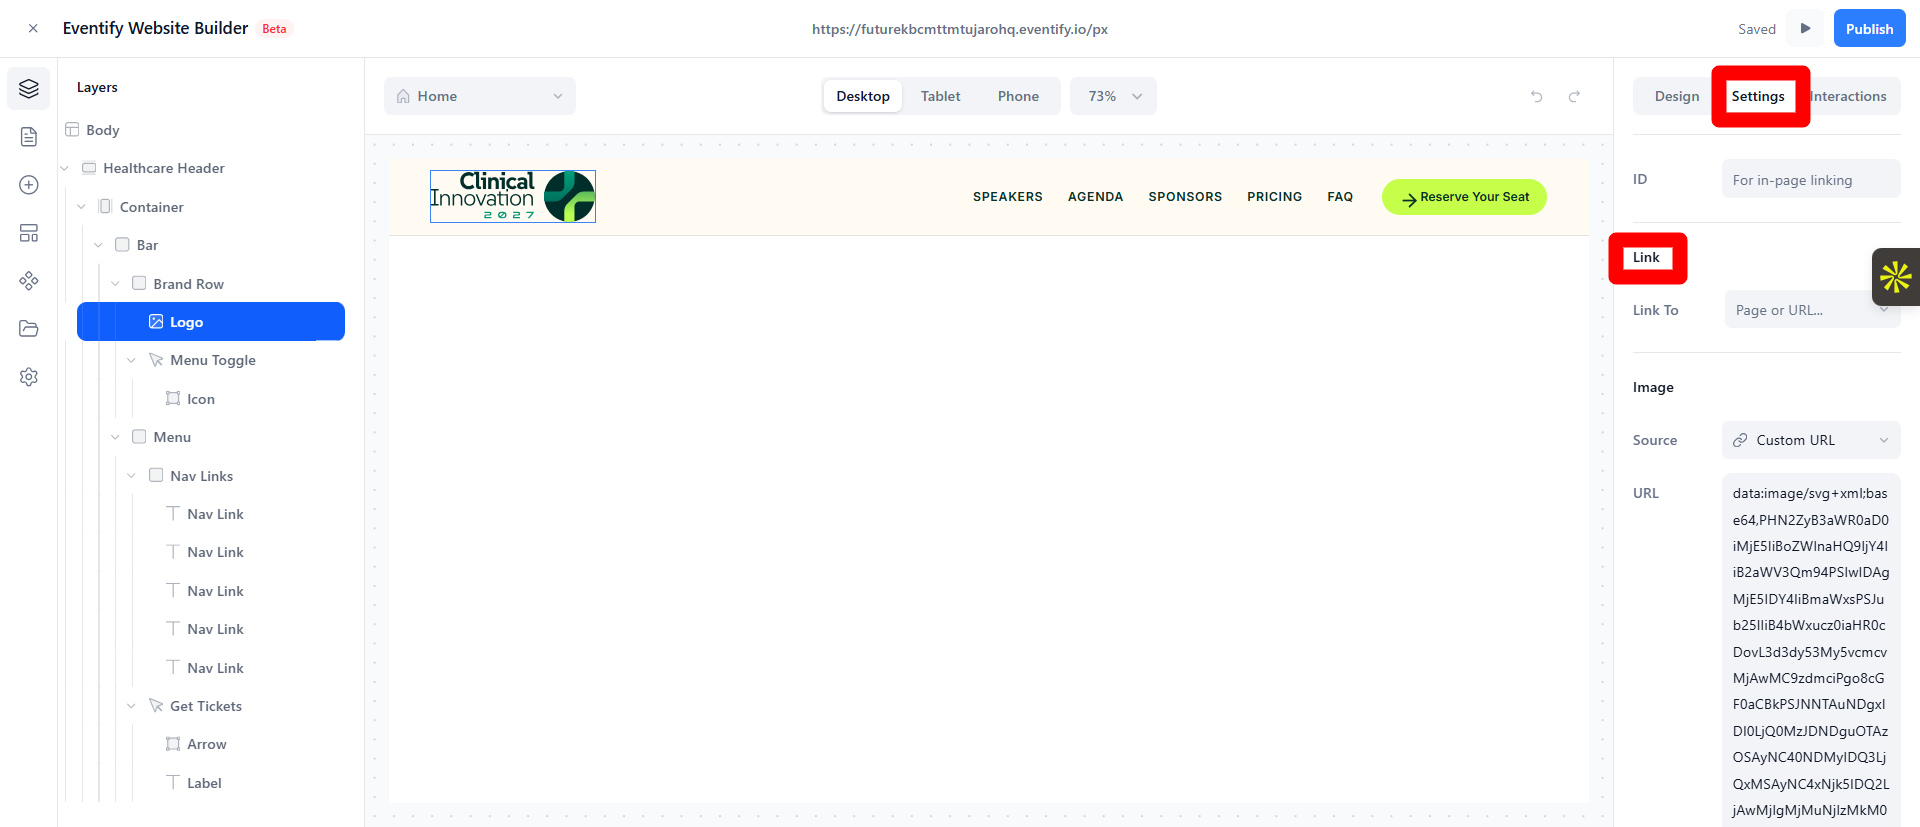
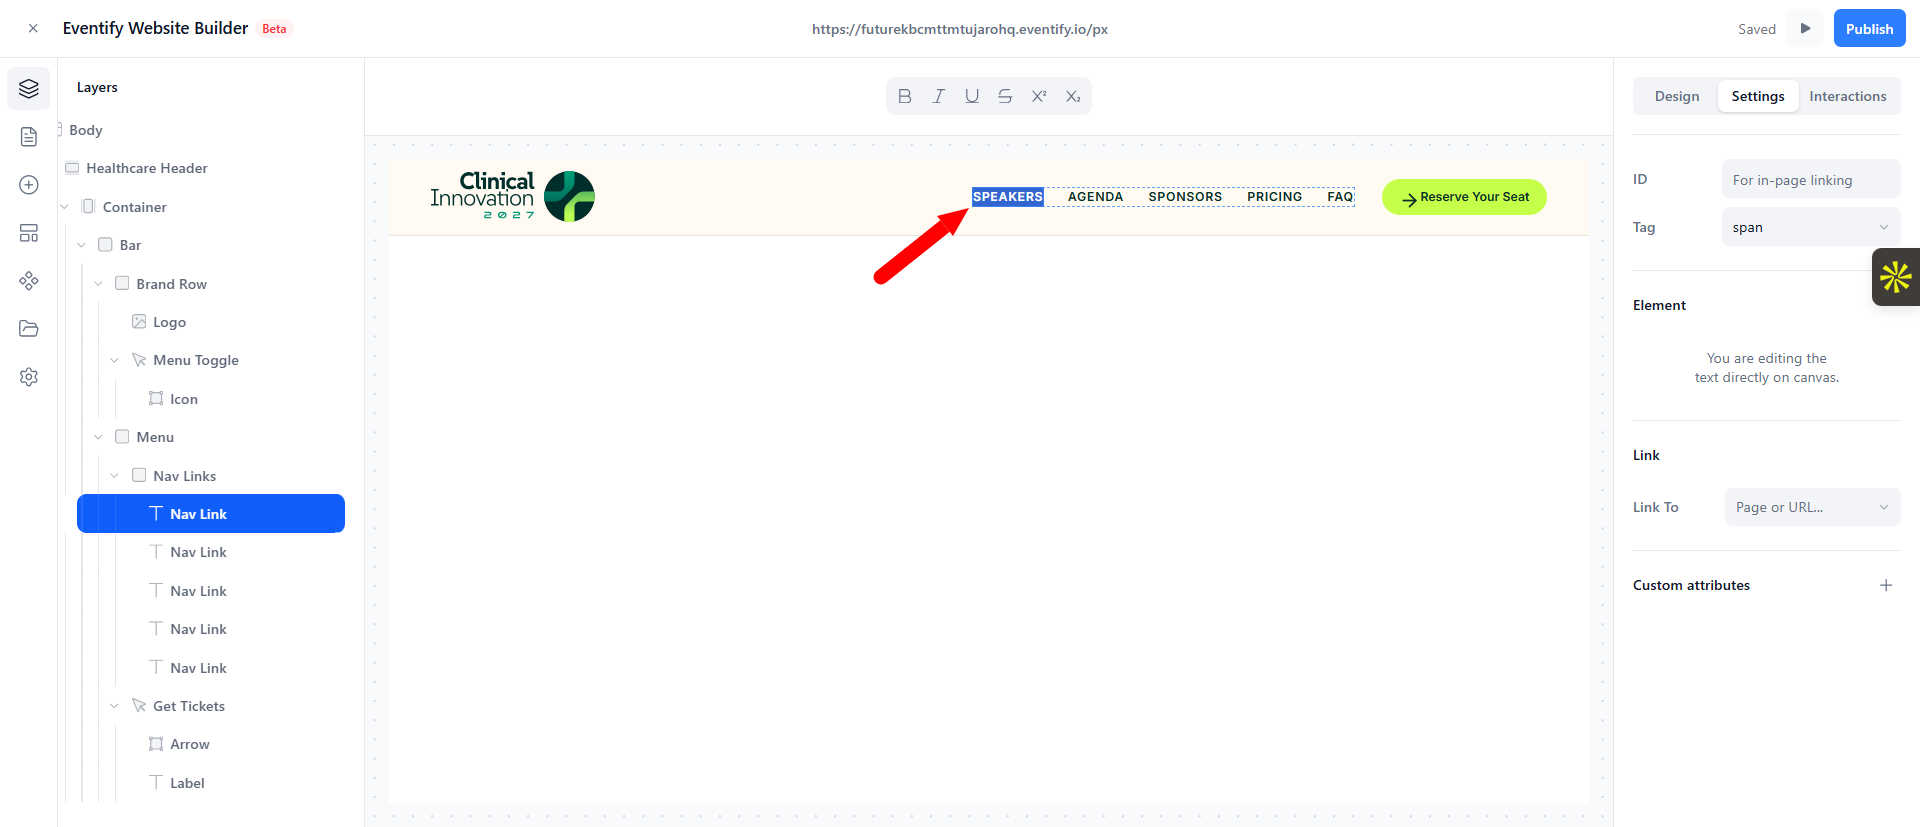
Repeat Steps 2–5 for every link in your header. To add another menu item, duplicate an existing nav link (copy/paste it within the nav area) and then link the copy to its page. To remove one, select it and delete it.
Your changes autosave. Use Preview (top bar) to click through the menu and confirm each link opens the right page, then Publish to push it live. If a new menu link doesn't appear on your live site, make sure you've published after adding it — see Troubleshooting & FAQ.
Adding a page does not add it to the menu. Each menu item is its own element that you link to a page from Design, Link, Page or URL, Page.
Yes. Open Page Settings, SEO, and tick Hide from search engines (noindex).
