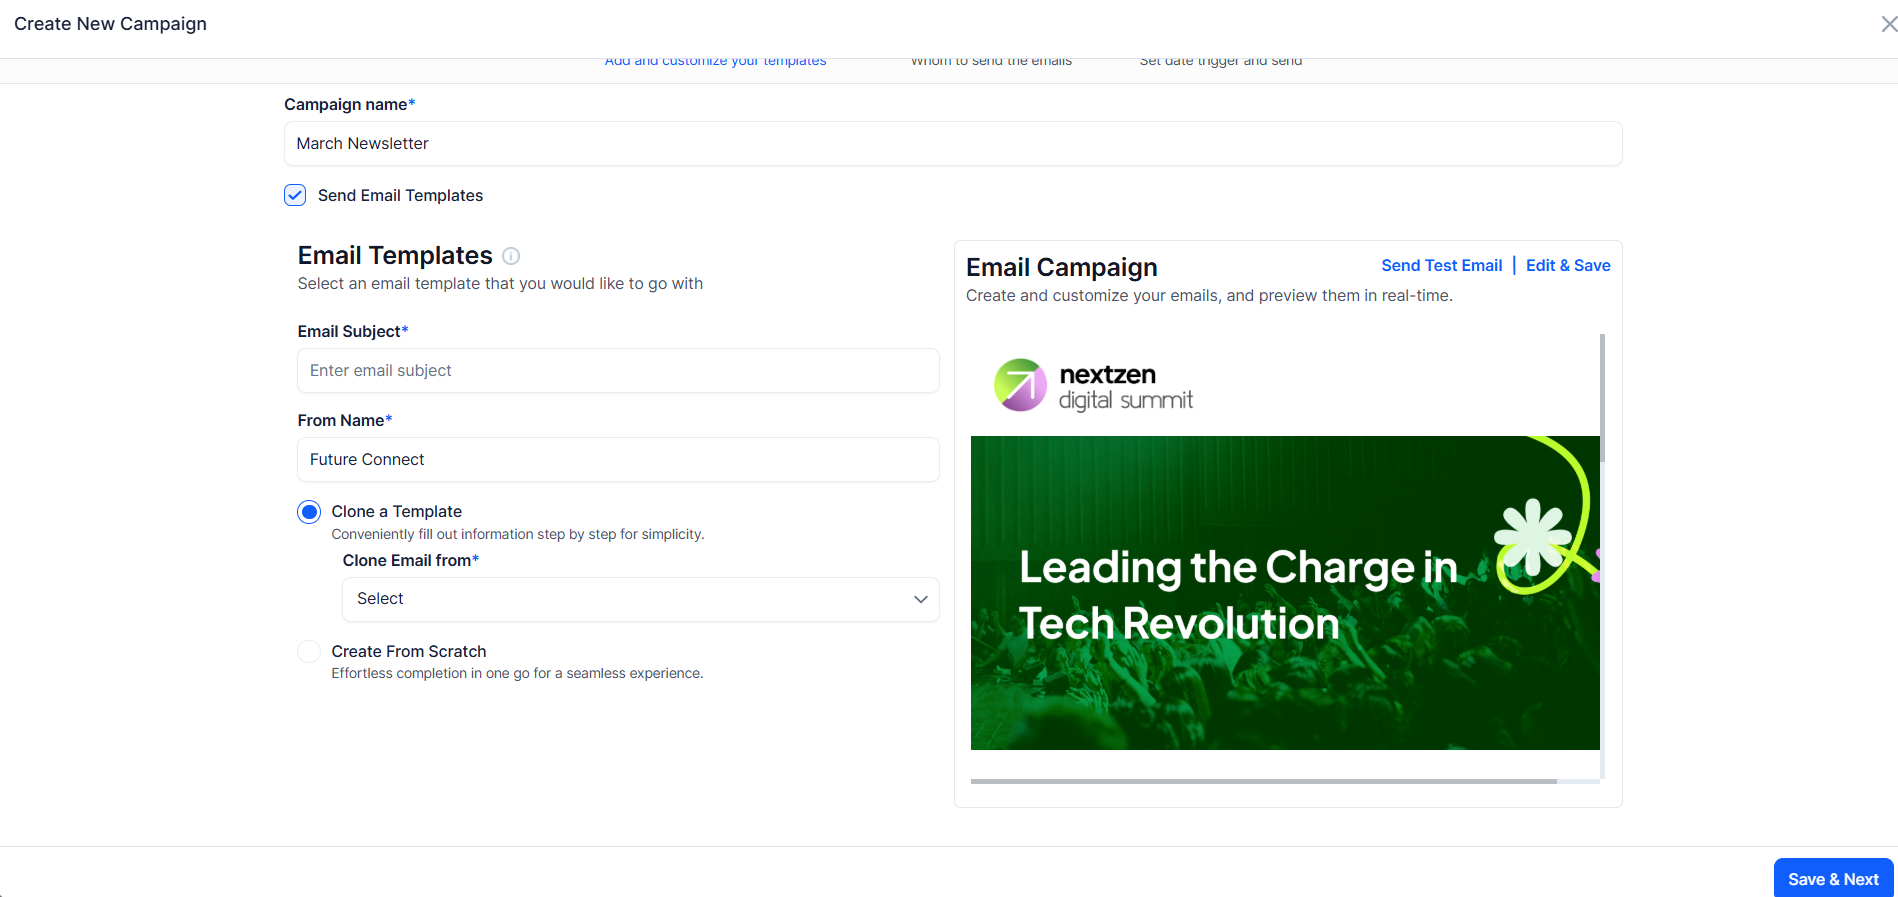
Eventify provides a powerful email template builder so you can design professional-looking emails for your campaigns. This guide covers how to create templates from scratch, clone existing ones, use the visual editor, and work with template variables.
The email template builder is accessed during the campaign creation process when you are setting up your email content. You can also access saved templates from the template library.
When creating a campaign, in the email content step, click the Clone a Template option. This lets you start from an existing design rather than building from scratch.
Select where you want to clone the template from. You can choose from:
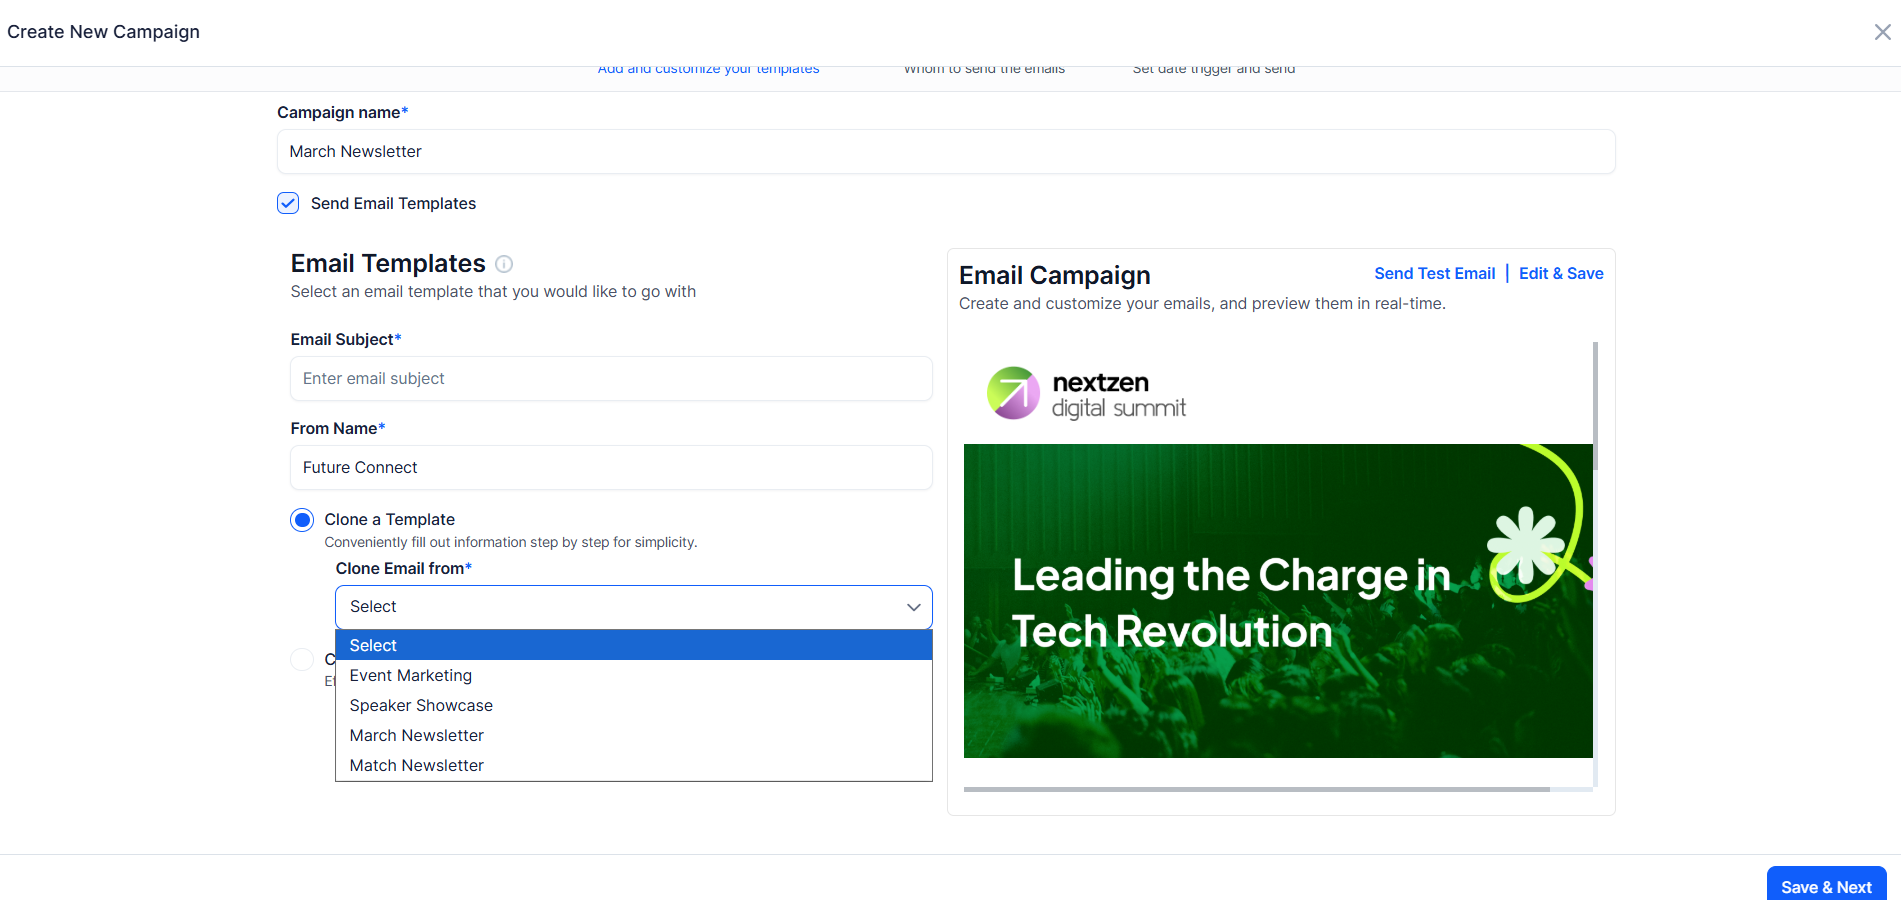
Browse the available templates and click the one you want to use. The template content will be loaded into the editor for you to customize.

The cloned template is fully editable. Modify the text, images, layout, and styling to match your campaign needs.
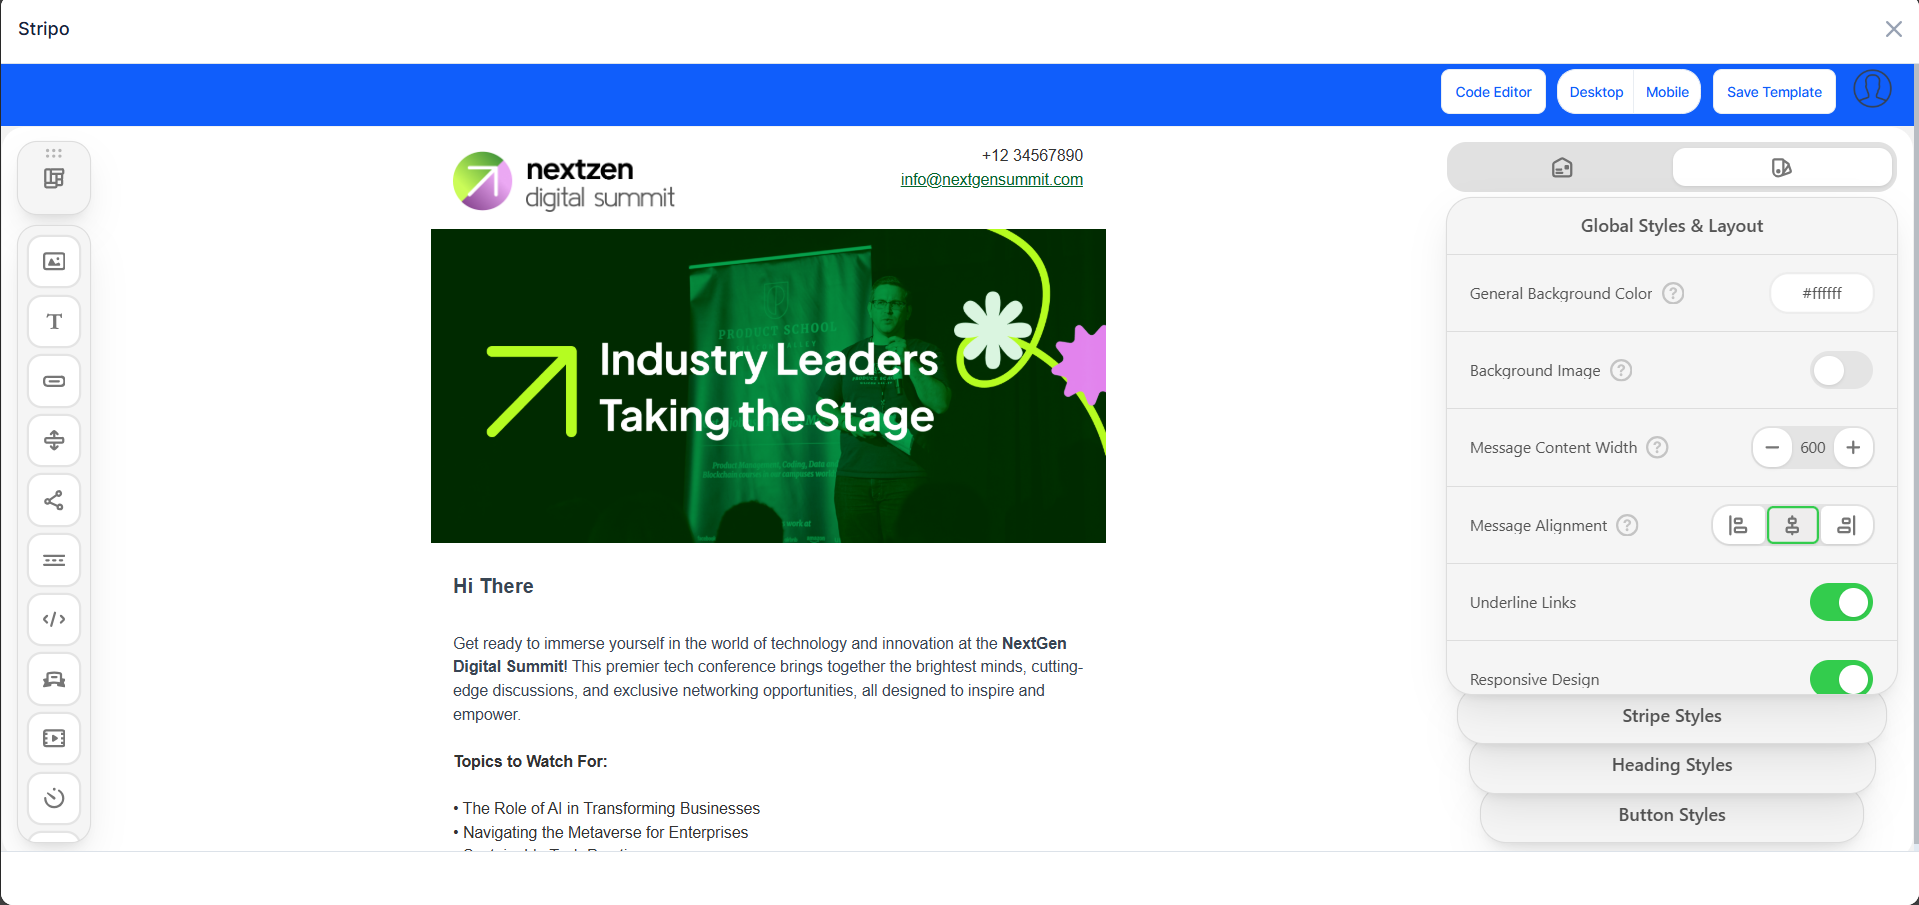
If you prefer to design your own email, click the Create from Scratch option. This opens the visual email editor with a blank canvas.

Eventify uses the Stripo visual email editor, which provides a drag-and-drop interface for designing professional emails without writing code.

The editor provides pre-built content blocks you can drag into your email layout:
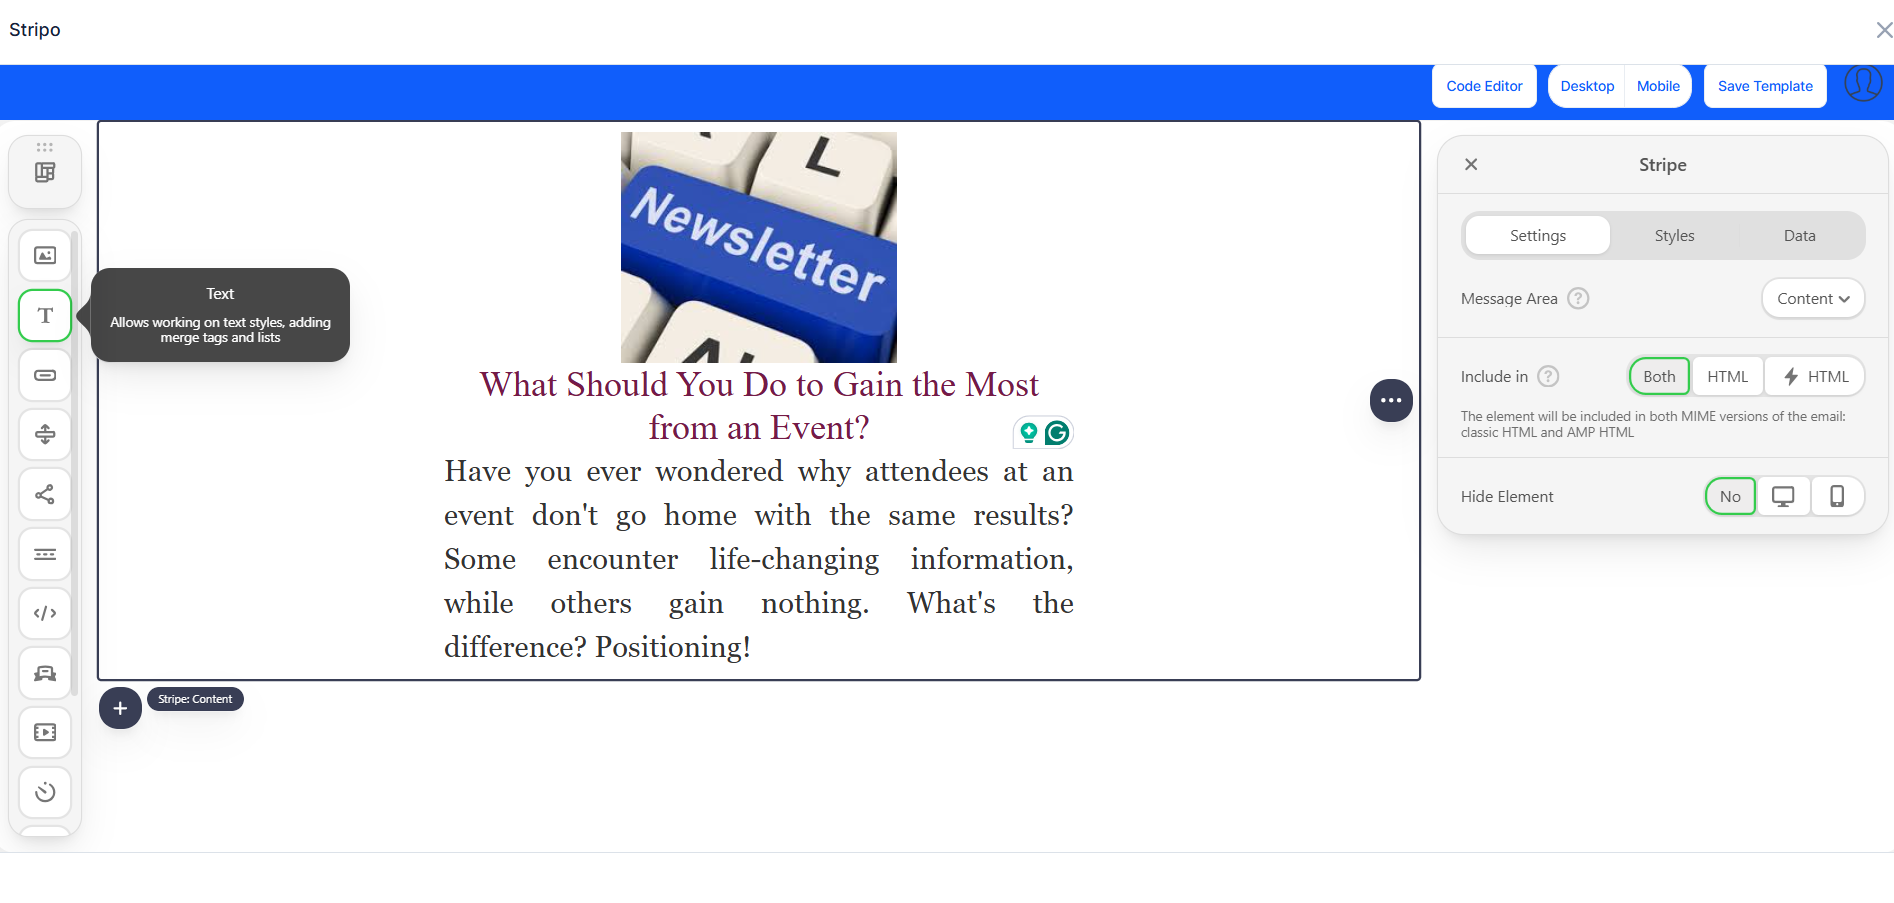
Click on any text to edit it directly. Click on images to replace them or adjust their size and alignment. The editor supports rich formatting including bold, italic, links, and colors.
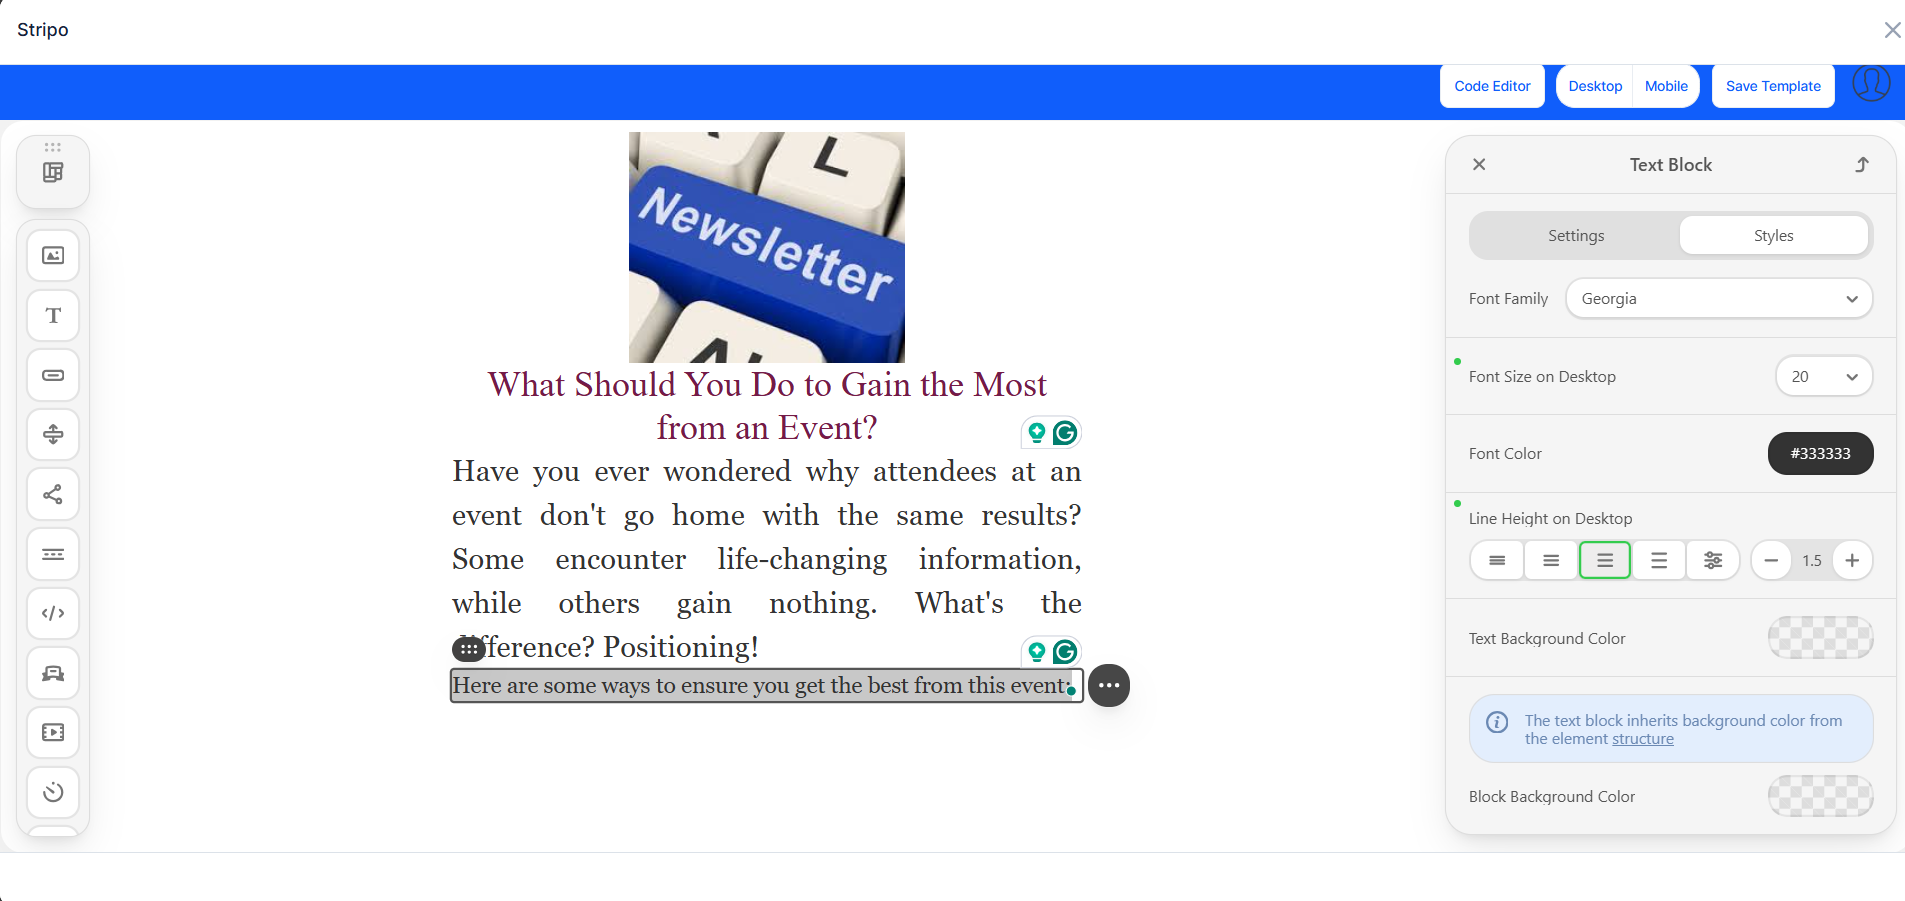
Use the style panel on the right to adjust colors, fonts, padding, and borders for each block. You can also set a global color scheme for consistent branding.

Template variables let you personalize emails with dynamic content that is unique to each recipient.
Click the Show Variables option to view all available template variables. These are placeholders that get replaced with actual contact data when the email is sent.

Insert these variables into your email content to personalize each message:
Variables are formatted as placeholders in double curly braces. When the email is sent, each variable is automatically replaced with the actual value for that recipient.
Once you are satisfied with your email design, click the Save Template button. This saves your template so it can be reused in future campaigns.

Click Save & Next to save your email content and proceed to the next step of campaign creation (selecting recipients).

To modify a template from an existing campaign, open the campaign and click the Edit Template option. This opens the visual editor with the existing content loaded.

Edit the content as needed and click Save Template to update the template.

