The Registration Form settings let you control how your form looks, who can access it, and what happens after someone registers. To get there, go to your Event Dashboard, open Registration, then Registration Form, click Edit on the form you want to update, and once the form template loads, click through to Settings.
How to access: Event Dashboard → Registration → Registration Form → Edit → Settings
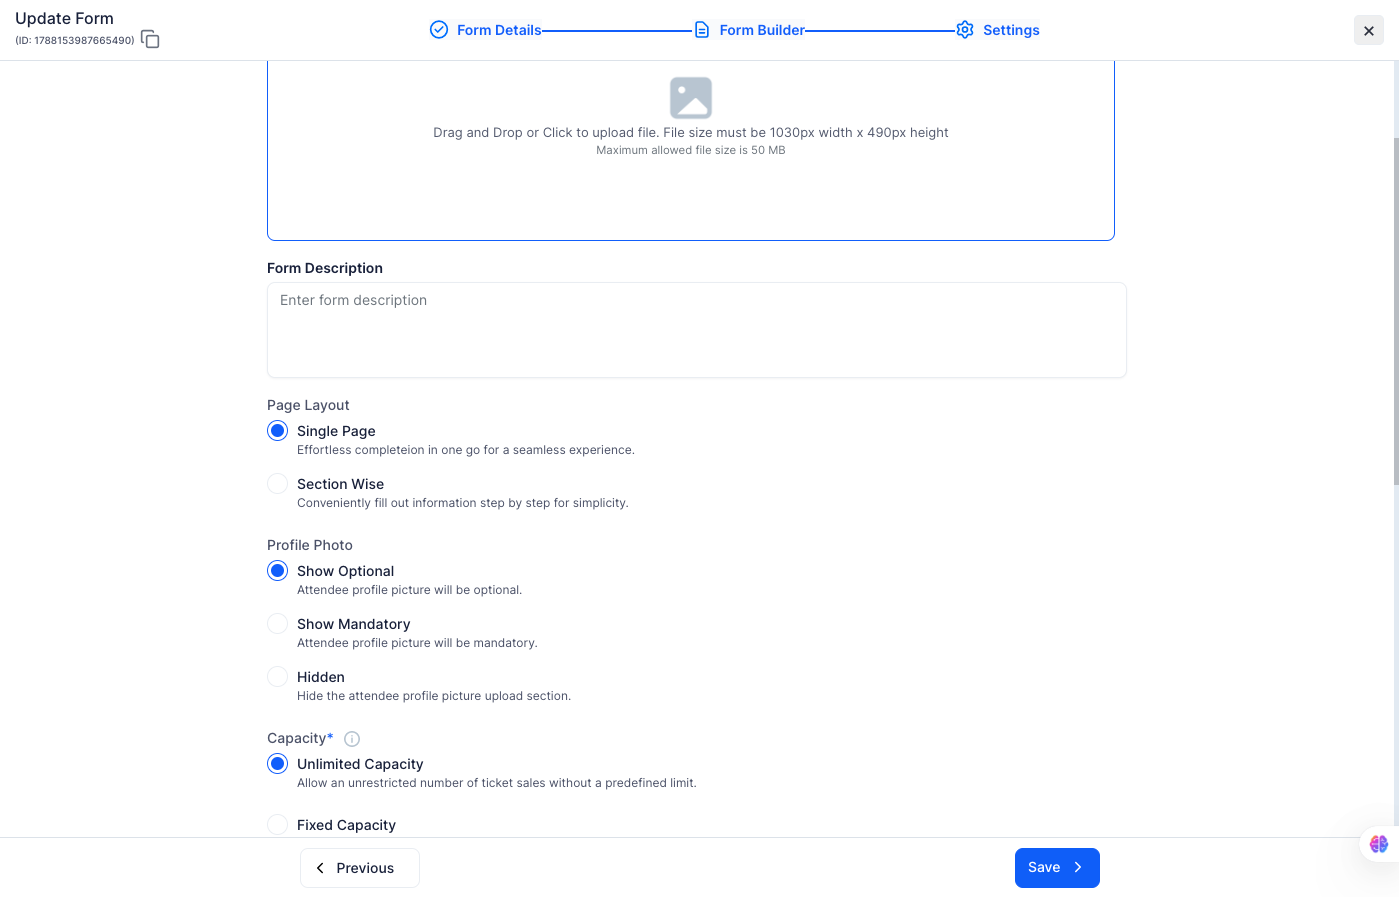
Upload a banner image that appears at the top of your registration form. The image must be 1030px wide × 490px tall, and the maximum file size is 50 MB. Drag and drop a file onto the upload area or click to browse.
Add a short description that appears on the registration form. Use this to give attendees context about the event, what to expect, or any instructions before they start filling in the form.
Choose how the form is presented to attendees:
Control whether attendees can upload a profile picture during registration:
Set how many people can register through this form:
These toggles control access and automation for your form:
Assign registrants from this form to a specific attendee group in addition to their default group. Useful for segmenting attendees from different forms into separate groups for communication or access control.
Restrict registrations to specific email domains. Enter domains separated by commas — for example, company.com, university.edu. Only attendees with a matching email address will be able to complete registration. You can also import a list of domains using the Import option.
Add any custom style or script tag code directly to the registration form page. Enter your code in the field provided — this is useful for adding tracking pixels, custom styling, or third-party scripts.
Use the generated iframe snippet to embed your registration form on any external website or landing page. Click Embed Code to copy it.
Q: Can I hide the form temporarily without deleting it?
A: Yes. Toggle on Hide Registration Form in Settings. The form won't be publicly accessible but all your fields and settings are preserved.
Q: What happens when Fixed Capacity is reached?
A: The form stops accepting new registrations automatically. You don't need to manually close it.
Q: Can I require admin approval for some ticket types but not others?
A: Admin Approval applies at the form level. To have it apply to specific ticket types only, create a separate form for those tickets and enable Admin Approval on that form alone.
Q: Will changes to the form affect people who already registered?
A: No. Changes apply to new registrations only. Existing submissions are not affected.
Q: Can I embed the form on my own website?
A: Yes. Use the iframe embed code at the bottom of the Settings page. Copy it and paste it into your website's HTML where you want the form to appear.
Q: What is the Allowed Email Domains field for?
A: It restricts who can register by email domain. If you only want employees from your company or students from a specific university to register, enter their domain here and anyone with a different email address won't be able to submit the form.
