When someone registers for your event, the checkout form is what they fill out to complete their registration. Eventify gives you full control over this form through the Registration Form builder, so you can collect exactly the information you need from your attendees.
To get there, go to your Event Dashboard, click on Registration in the left menu, and then open Registration Form.
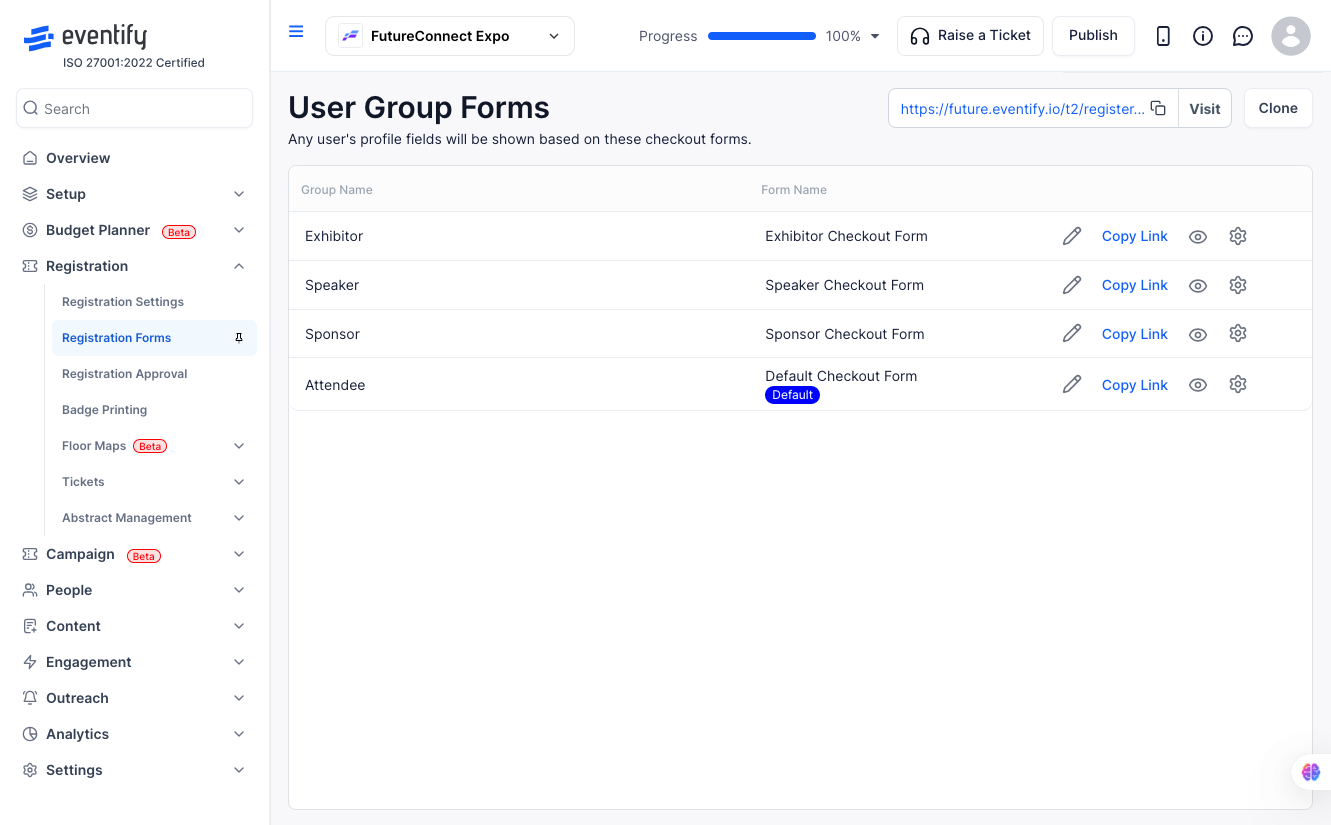
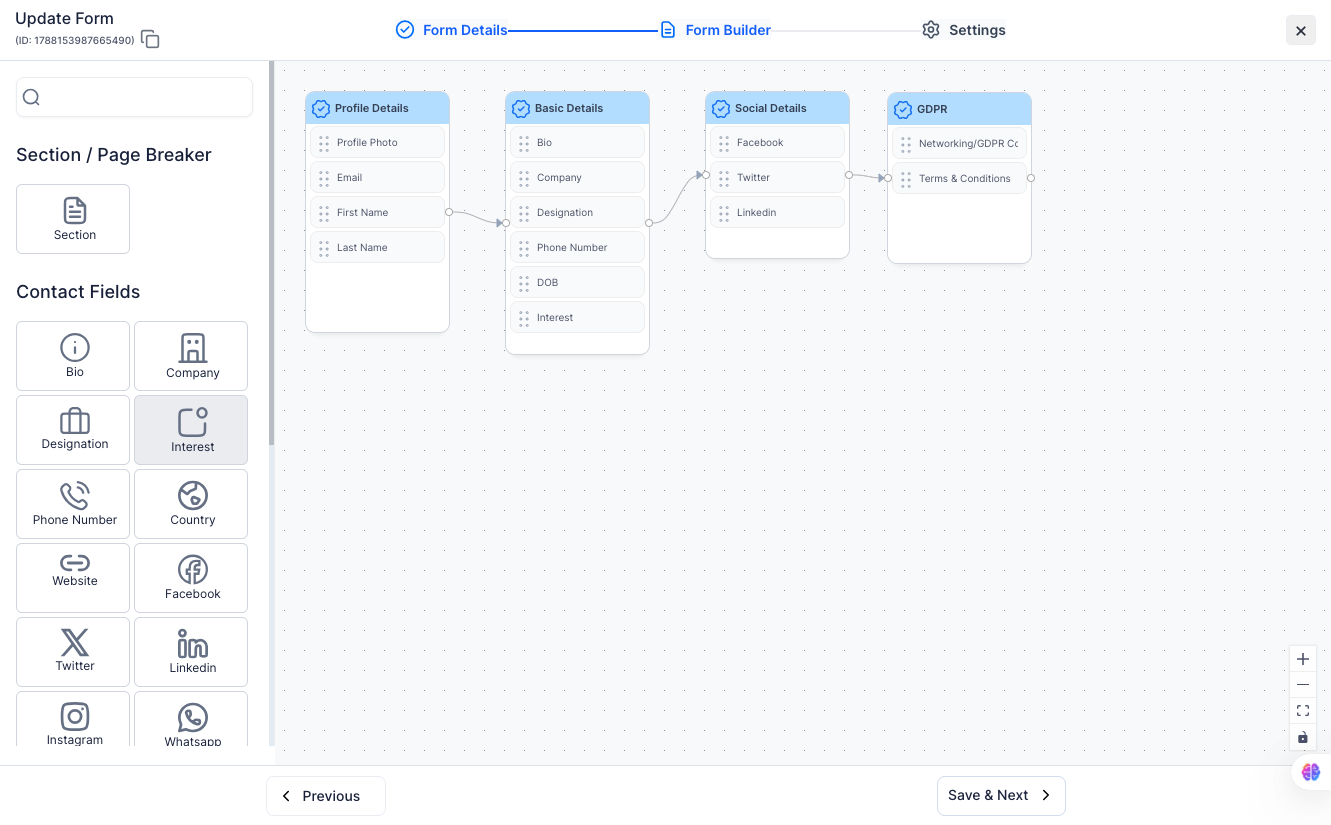
The Registration Form builder lets you add, remove, reorder, and configure fields on your checkout form. Every event starts with a default set of fields like name and email, and you can build on top of that or customise it however you like.
You can also create separate forms for different user groups, so a speaker filling out the form gets asked different questions than a regular attendee.
Follow these steps to add or edit fields on your registration form.
If your event has different types of attendees, like speakers, sponsors, or general attendees, you can create a separate registration form for each user group and link it to the right ticket. The form and the ticket get connected automatically once you select the user group.
Once you select the user group, Eventify will automatically link the ticket to the registration form you created for that group. So anyone who registers using the Speaker ticket will see the speaker form, not the default one.
The Registration Form builder supports a range of field types to match what you actually need to collect. These include short text, long text, dropdown menus, checkboxes, radio buttons, date pickers, and file uploads. Each field can be marked as required or optional, and you can add help text to guide attendees as they fill it out.
Q: Where do I find the Registration Form builder in Eventify?
A: Go to your Event Dashboard, click Registration in the left sidebar, and then click Registration Form. The path is Dashboard > Registration > Registration Form.
Q: How do I link a registration form to a specific ticket?
A: First create the form under Registration > Registration Form for the user group you want. Then go to Tickets > Manage Tickets, click Add New, and select the matching user group when creating the ticket. Eventify will automatically link the ticket to the form for that user group.
Q: Can I have different forms for different user groups?
A: Yes. You can create as many forms as you need, one per user group. Each form will be automatically linked to any ticket created under that user group.
Q: What happens if I do not create a custom form?
A: Your event will use the default registration form, which includes standard fields like name and email. You can always go back and customise it later.
Q: Can I make certain fields required?
A: Yes. When you click on any field in the Registration Form builder, you will see an option to mark it as required or optional. Required fields must be filled in before the attendee can complete their registration.
Q: Does the form support file uploads?
A: Yes. You can add a File Upload field to your form. You can configure which file types are accepted and set size limits per field.
Q: Can I preview the form before it goes live?
A: Yes. Use the Preview option in the Registration Form builder to see exactly how the form will look to attendees before you publish it.
Q: Will changes to the form affect registrations that have already been submitted?
A: No. Changes you make to the form only affect new registrations going forward. Previously submitted responses are saved as-is and will not be affected.
