Learn how to manage contacts in your campaign by editing, deleting, or organizing them efficiently.

Interactive Guide
Or check the step-by-step guide
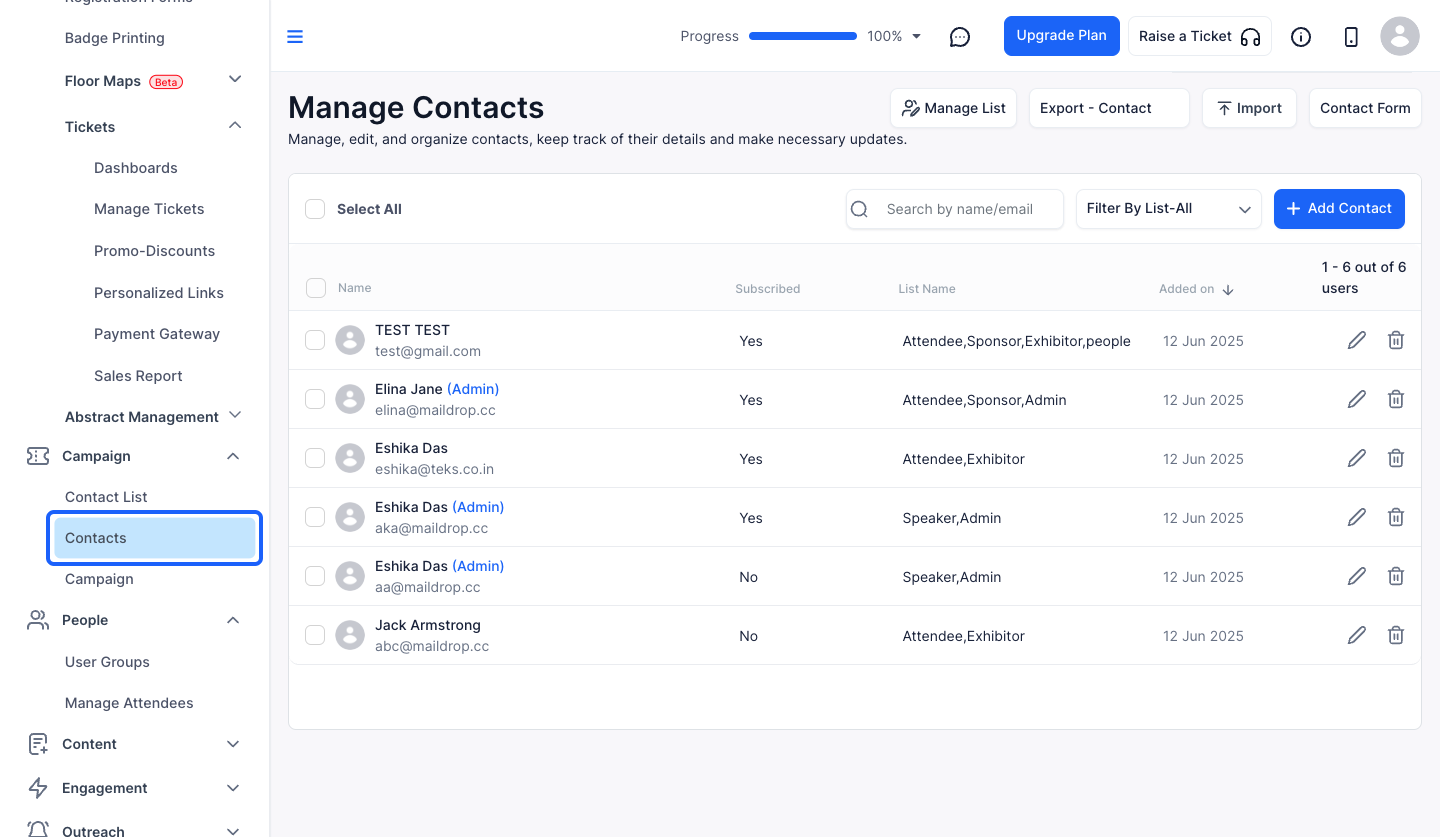
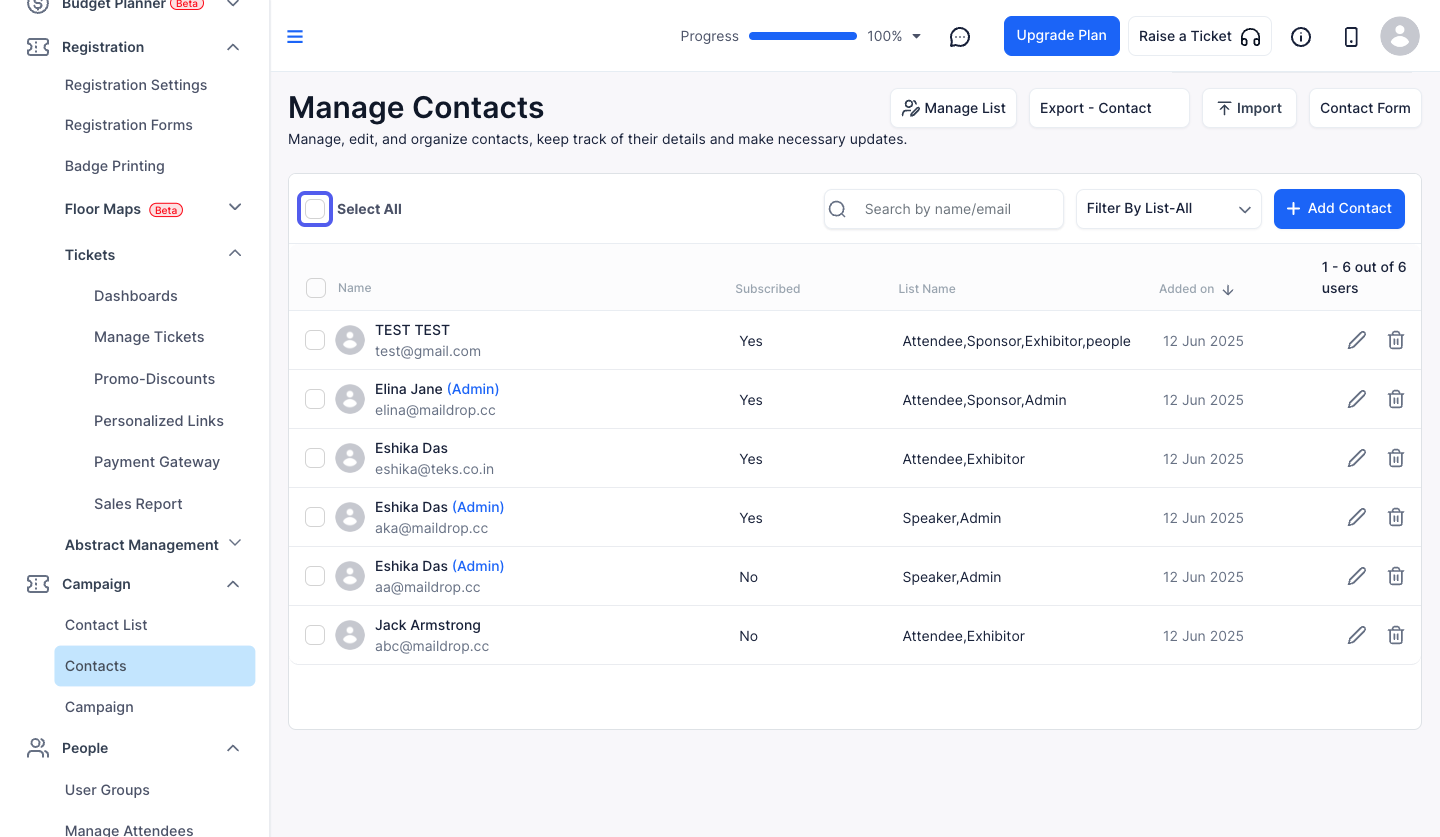
1: Access the Eventify Admin Panel and navigate to Campaign
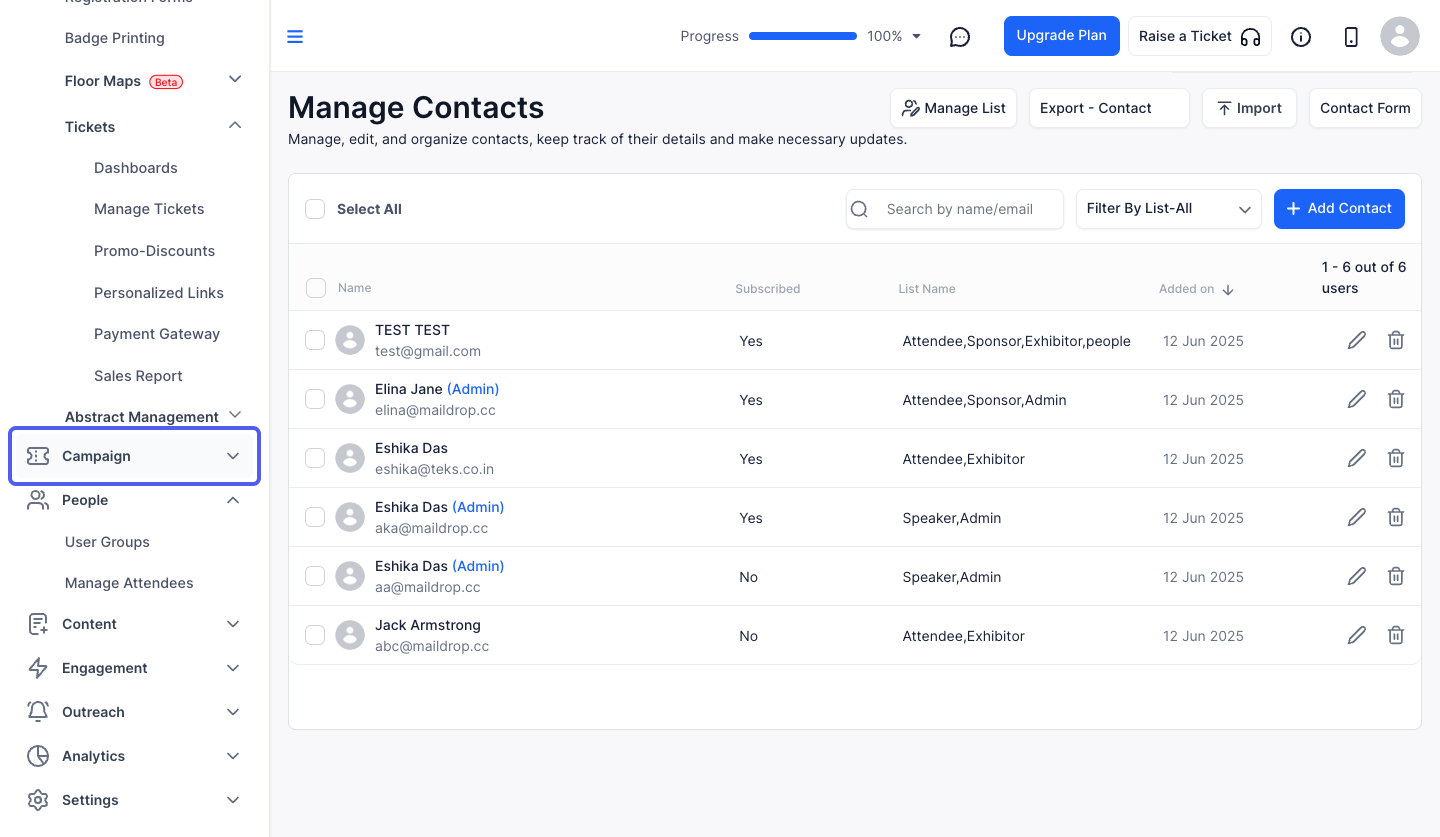
2: Click on Contacts
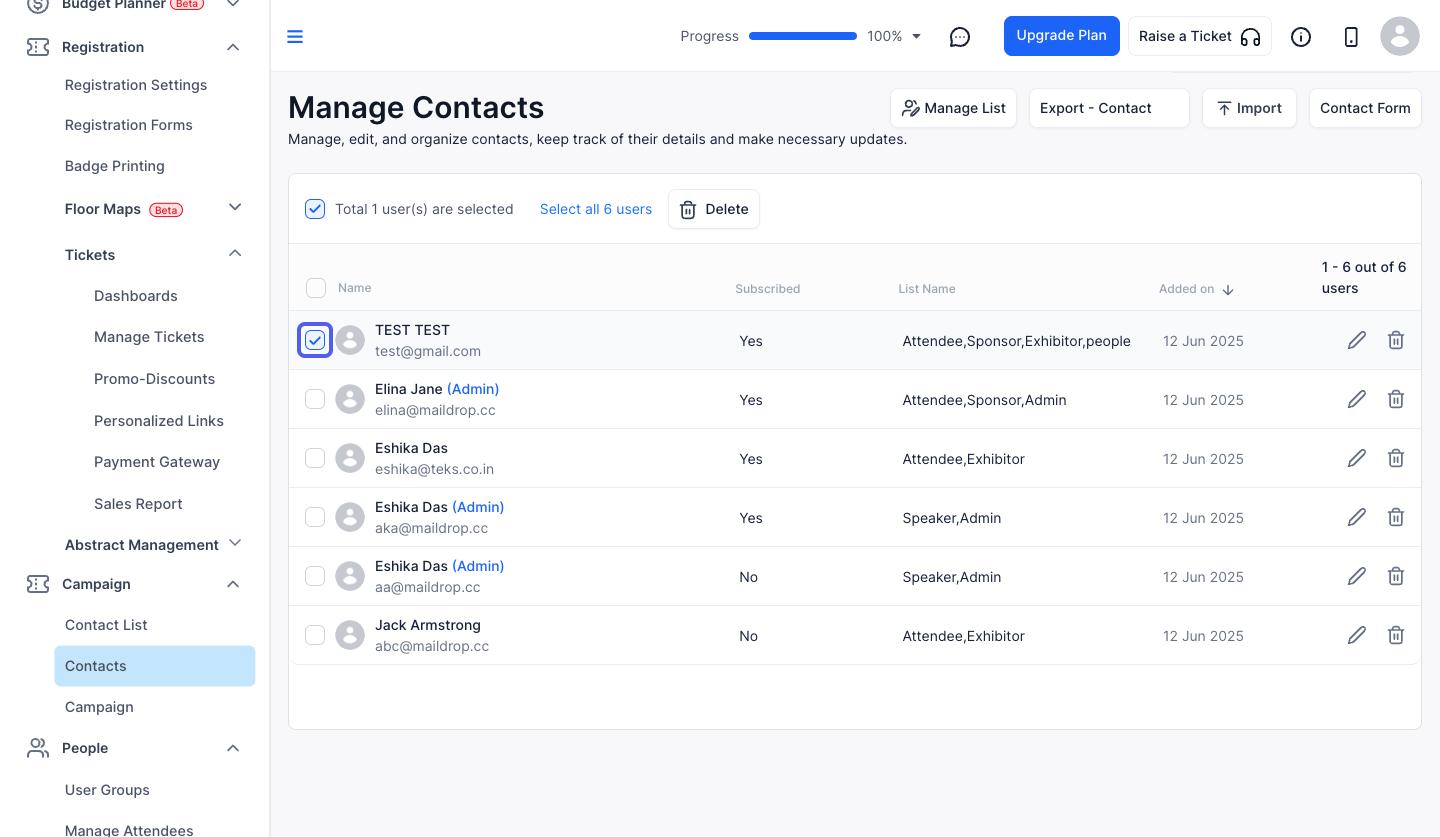
3: Check the Select All checkbox to select all the contacts at once
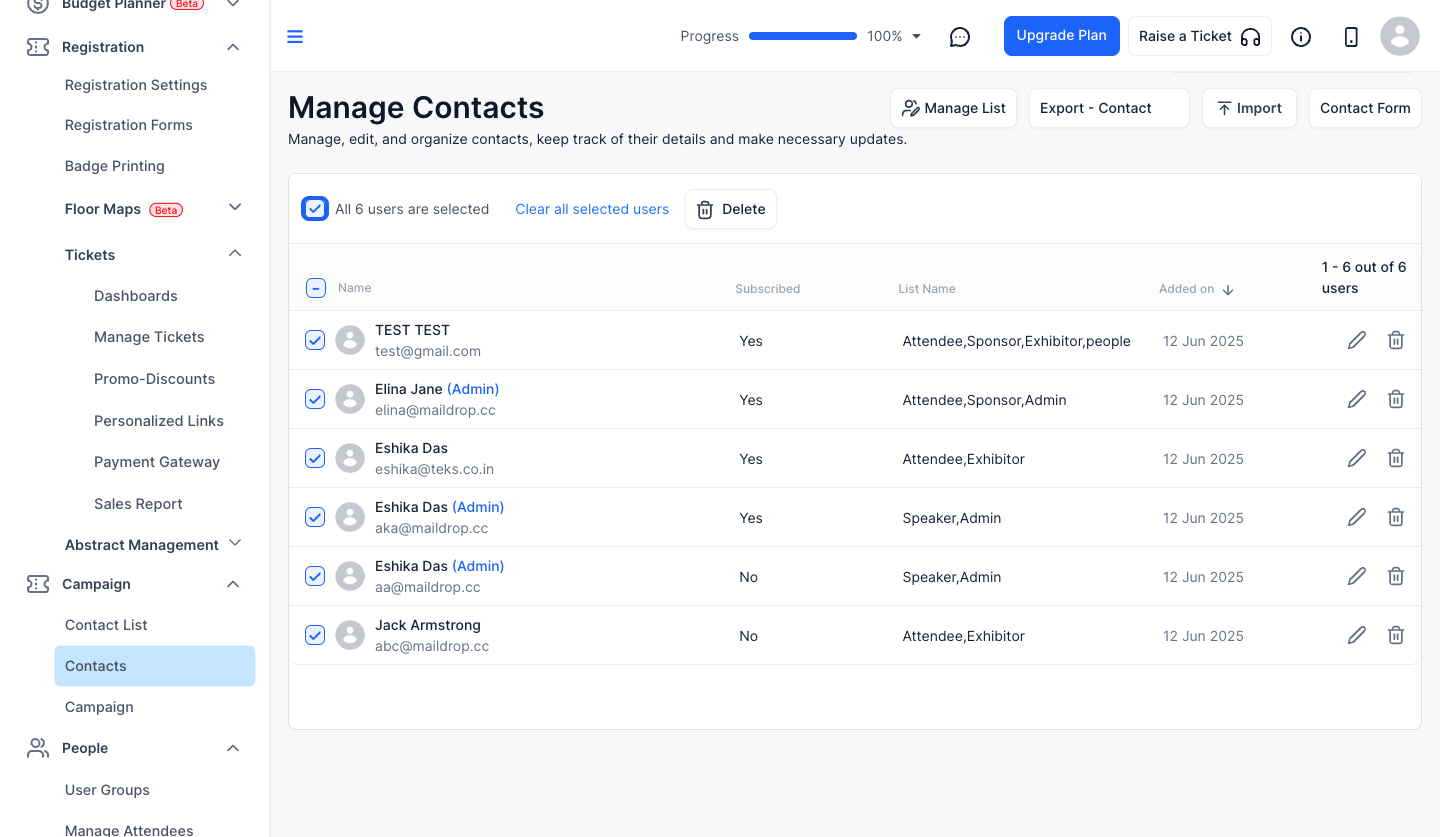
4: Uncheck the Select All checkbox to unselect all the contacts at once
5: You can also select individual contact
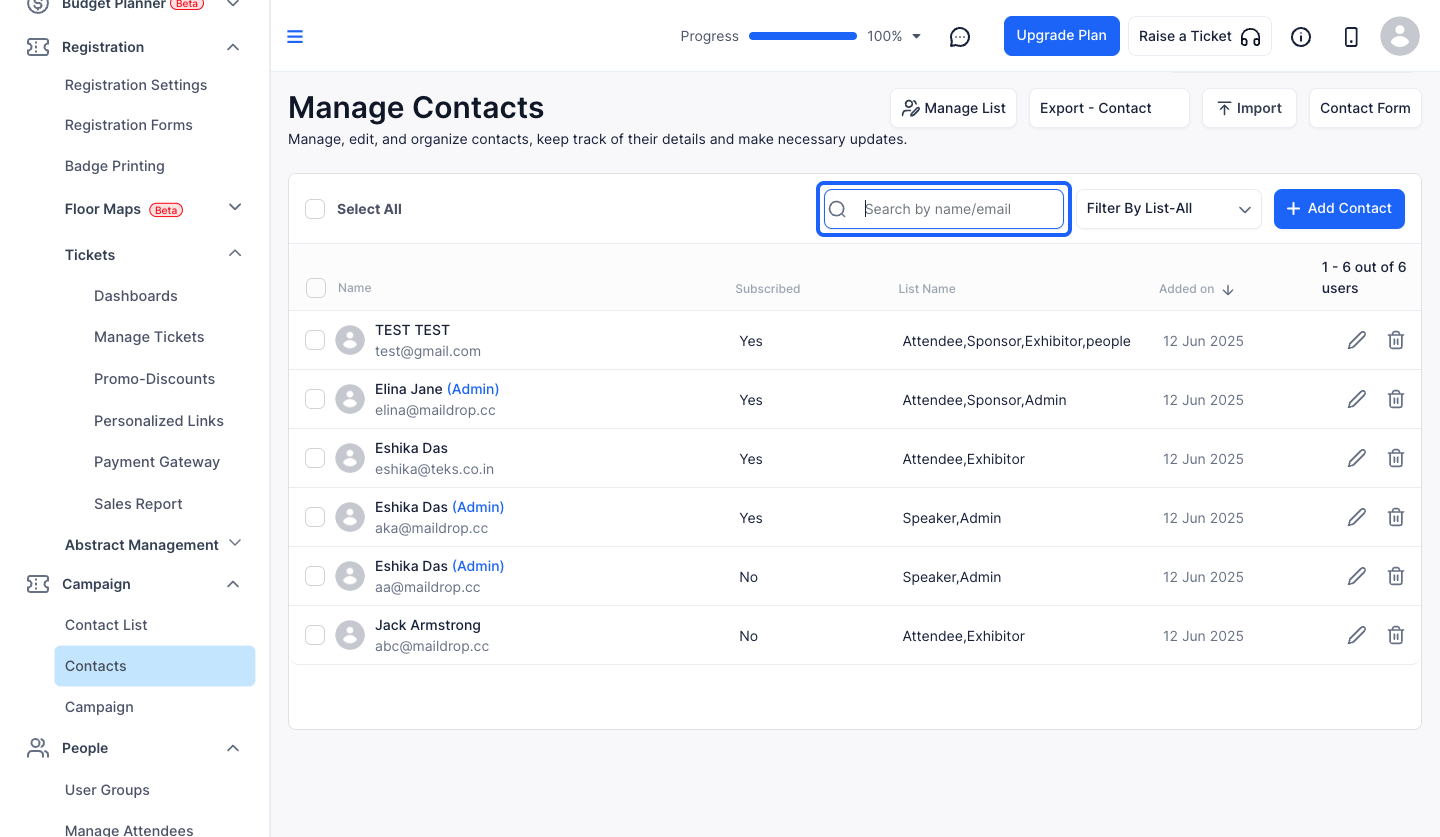
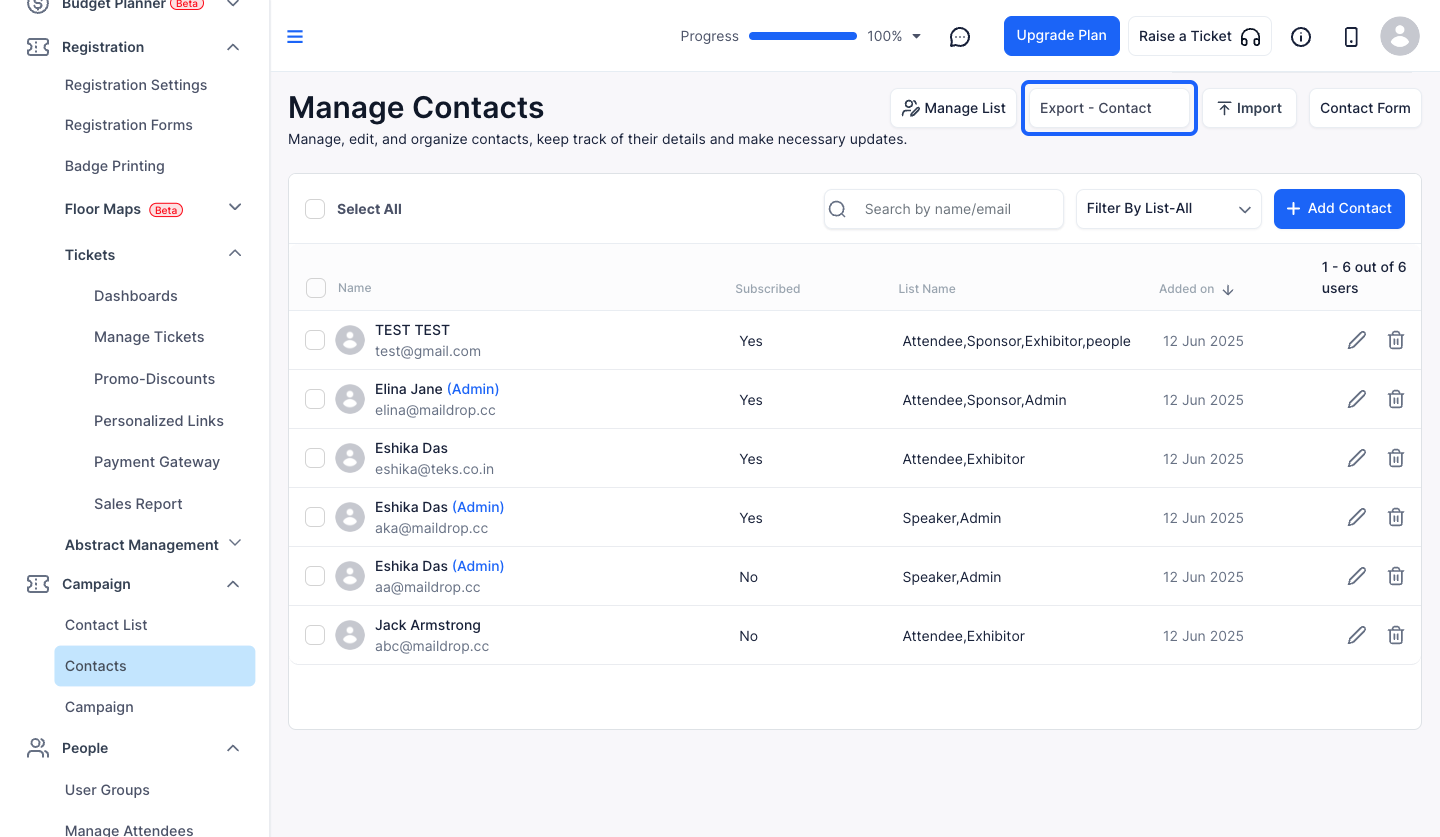
6: Search any contact by their name or email
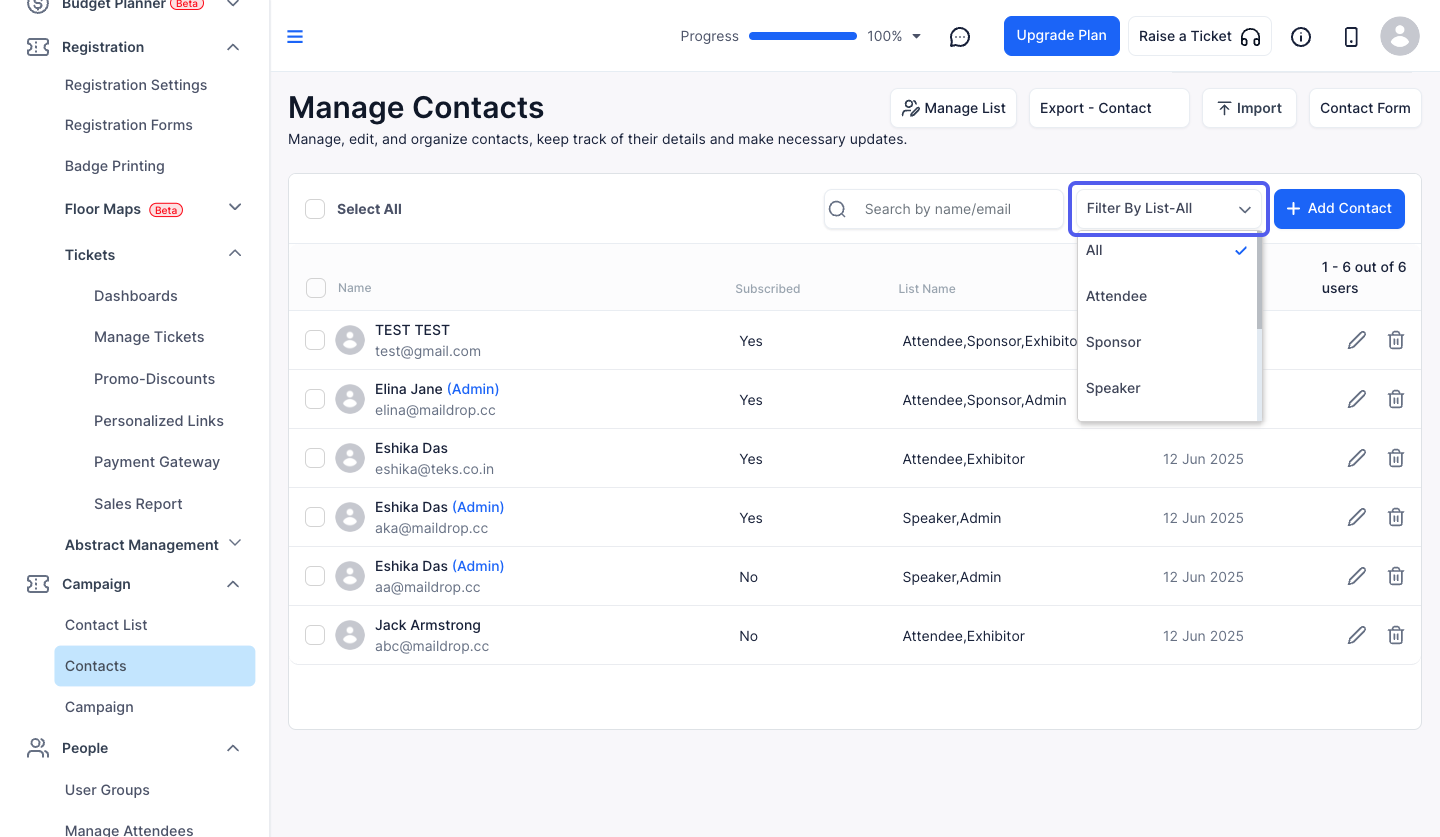
7: You can filter the contact list too
8: To export the contacts, click here
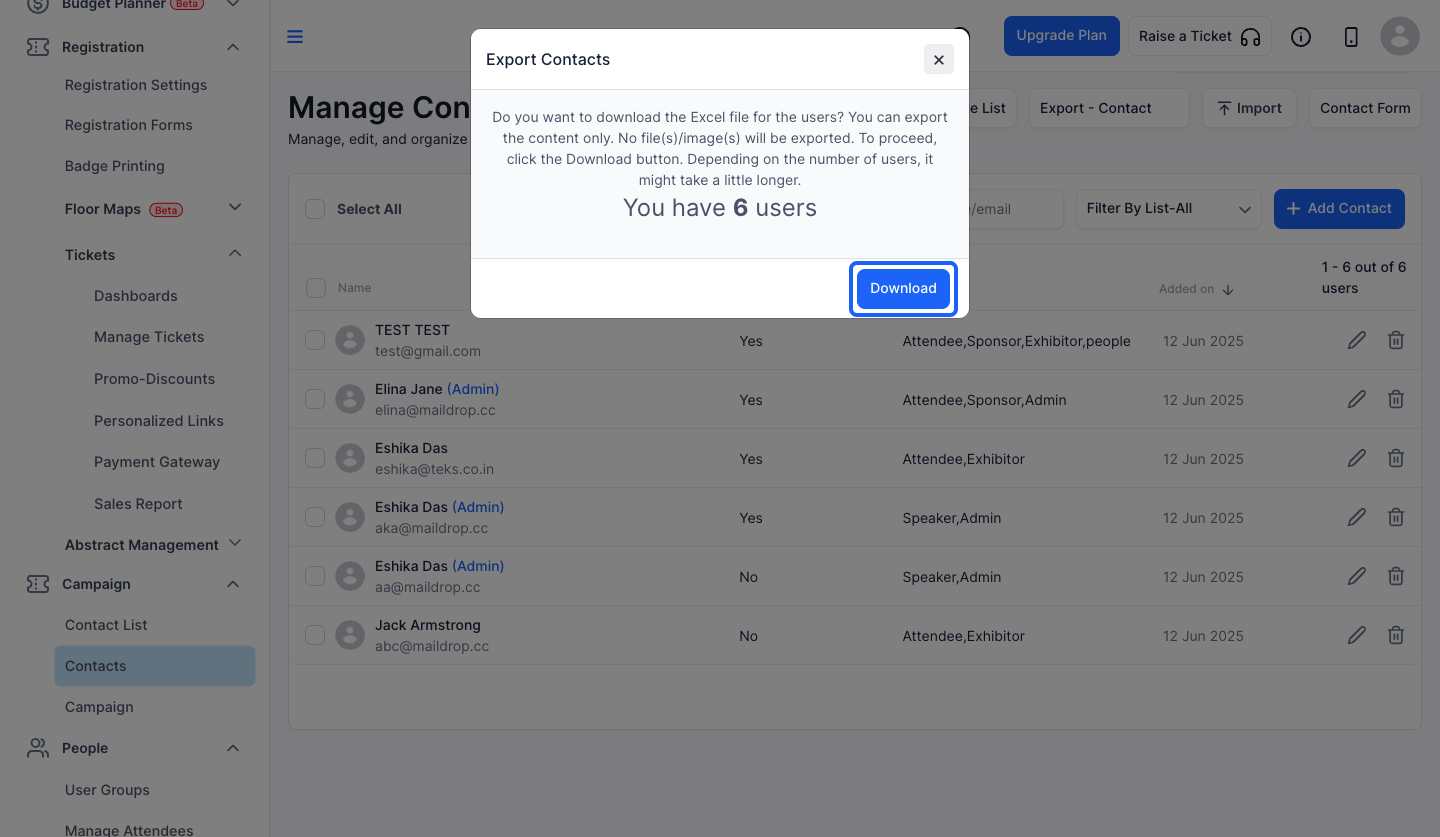
9: Click the “Download” button to download the excel file for the users
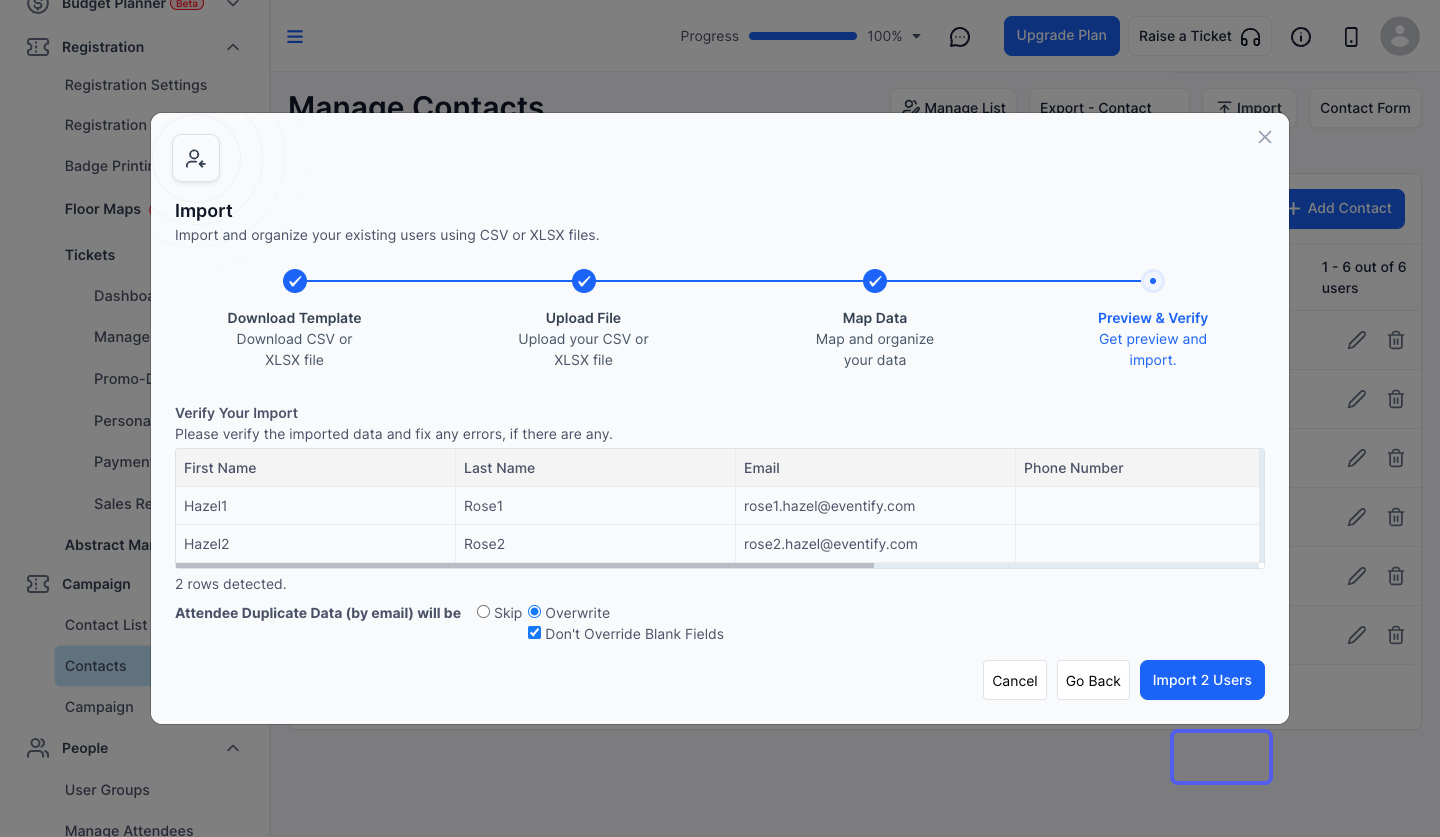
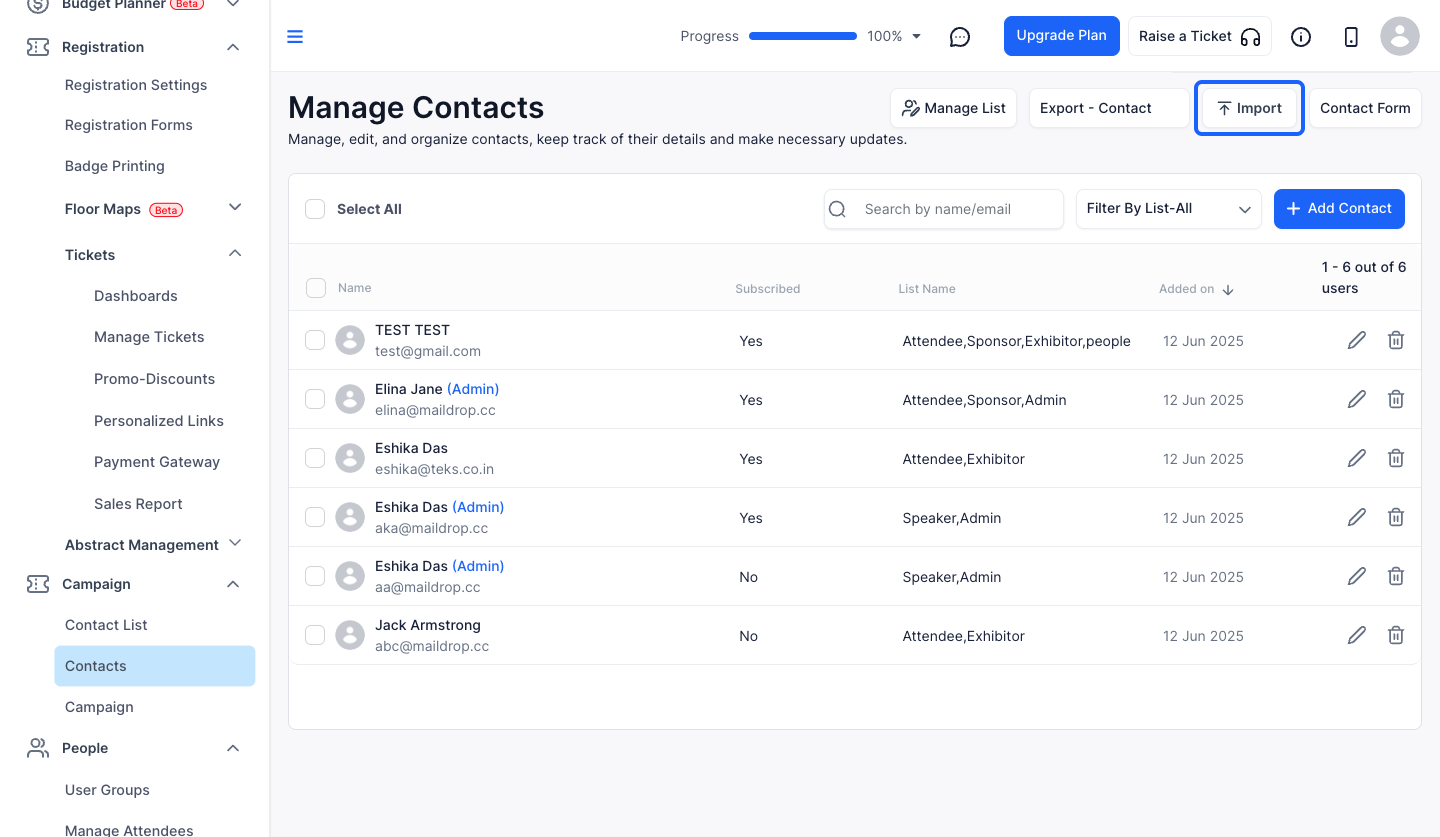
10: For importing the contacts, click on "import" button
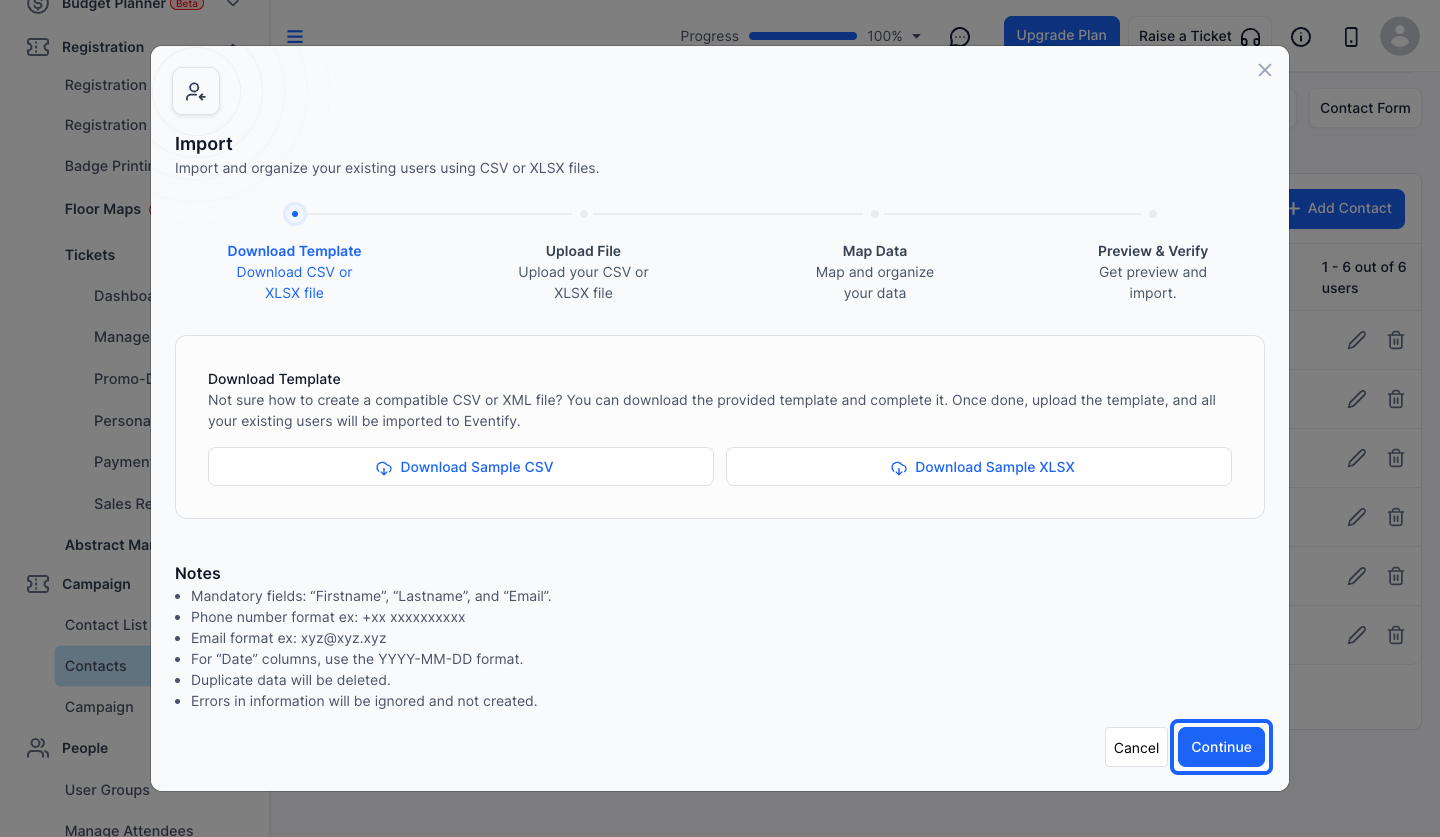
11: If you don't know how to create a CSV or XML file, you can download the provided template & complete it
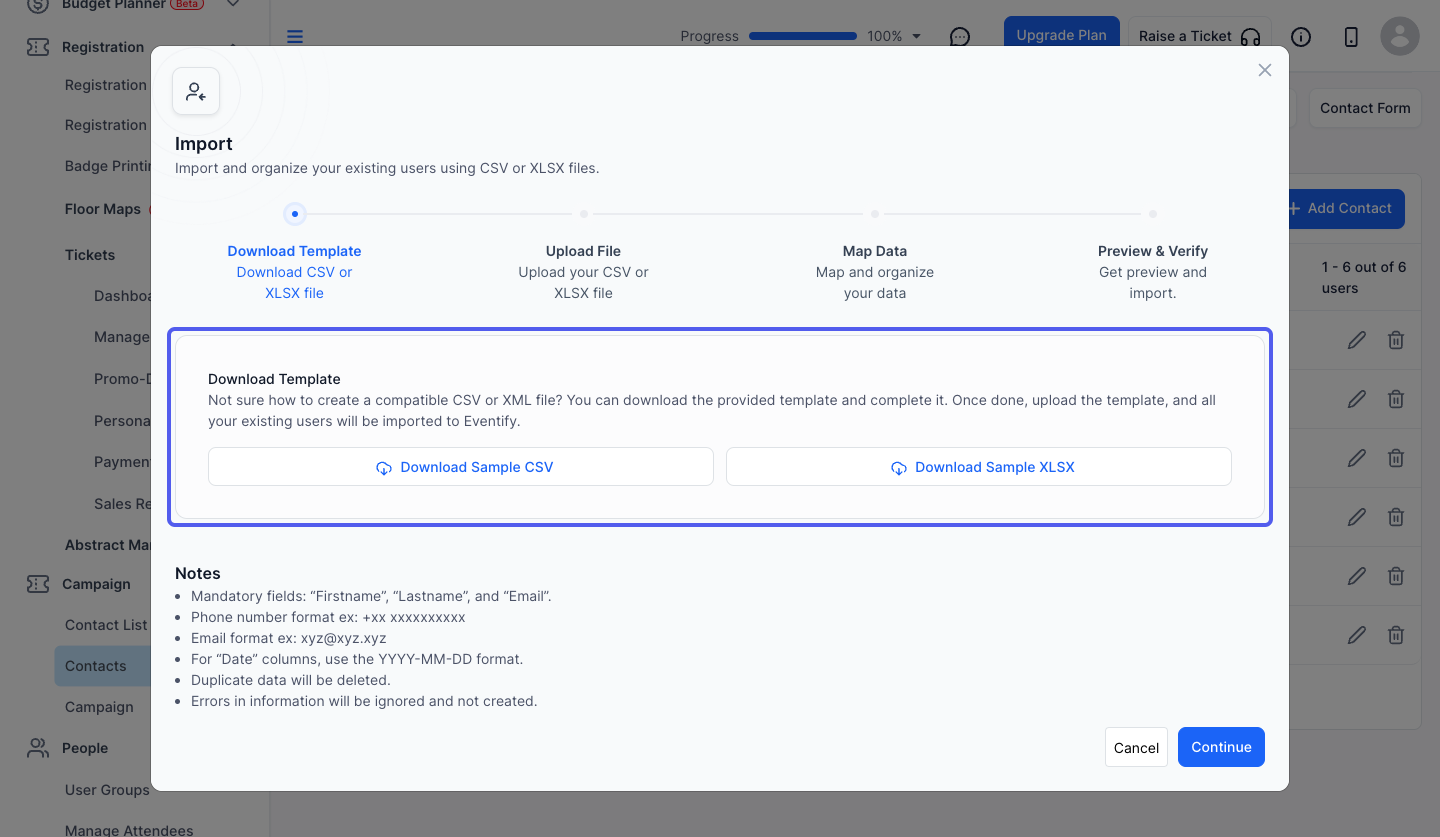
12: Click the “Continue” button to proceed to the next step
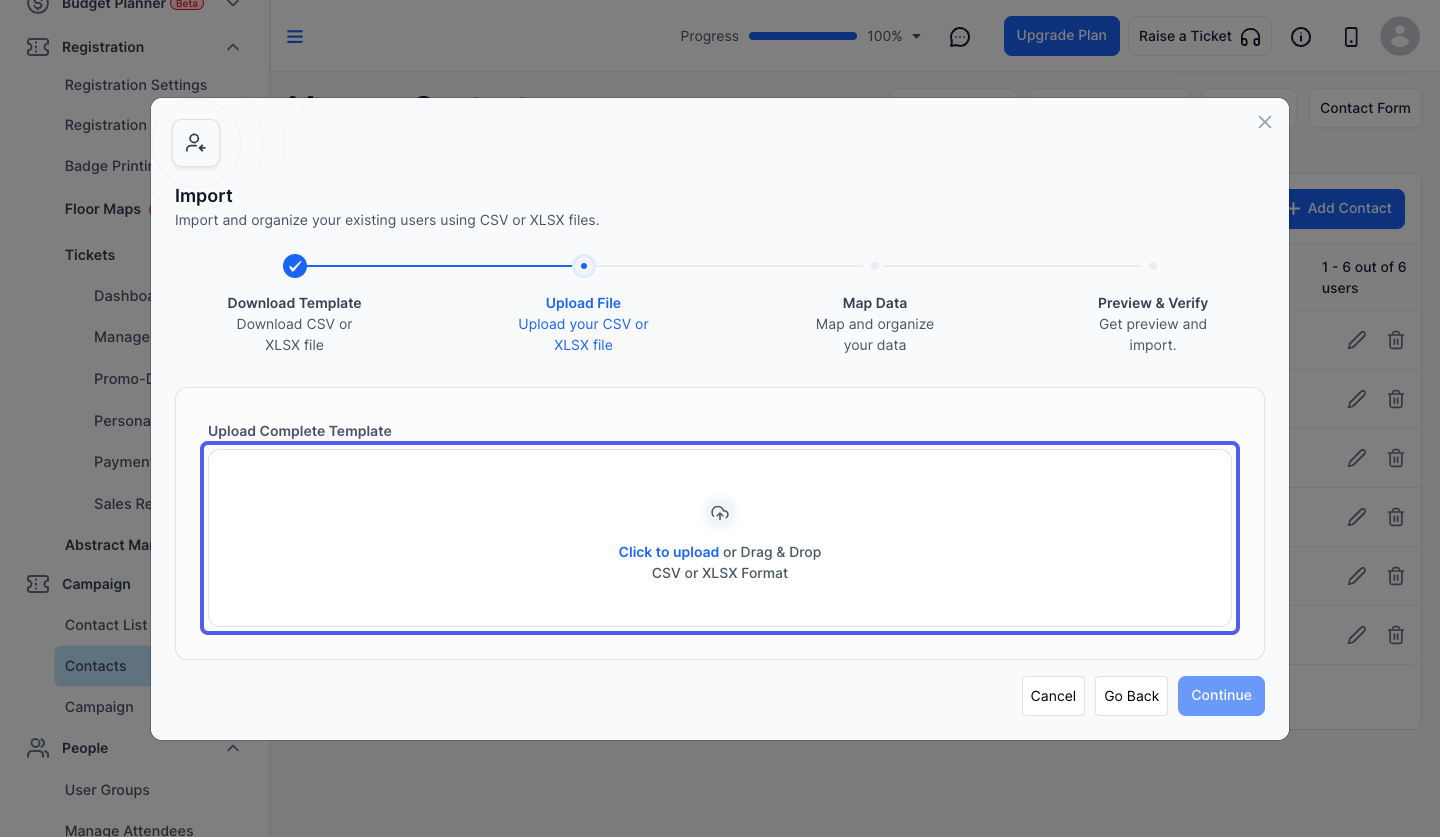
13: Upload the file to be imported
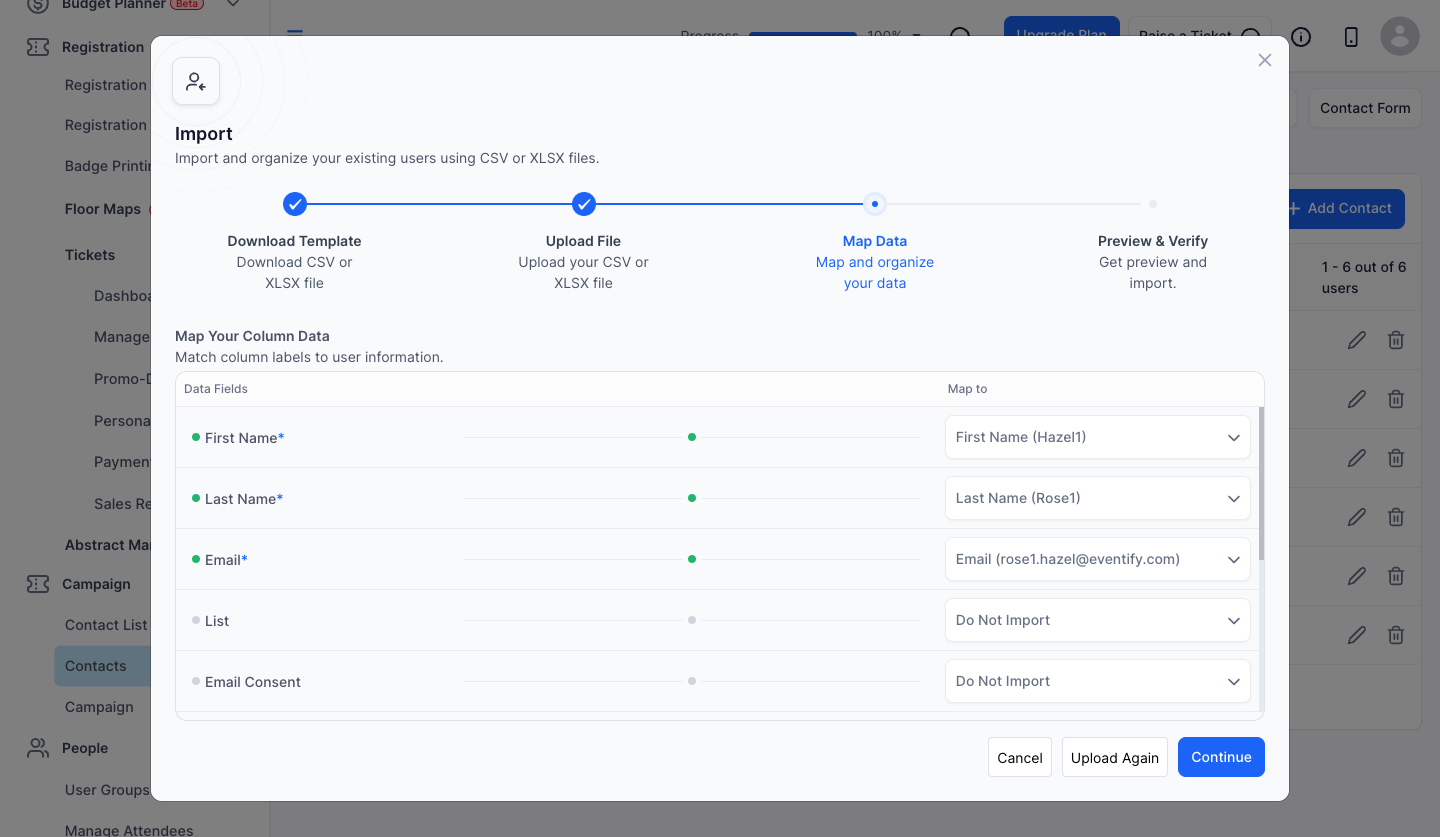
14: Map and organize your data and click on "continue"
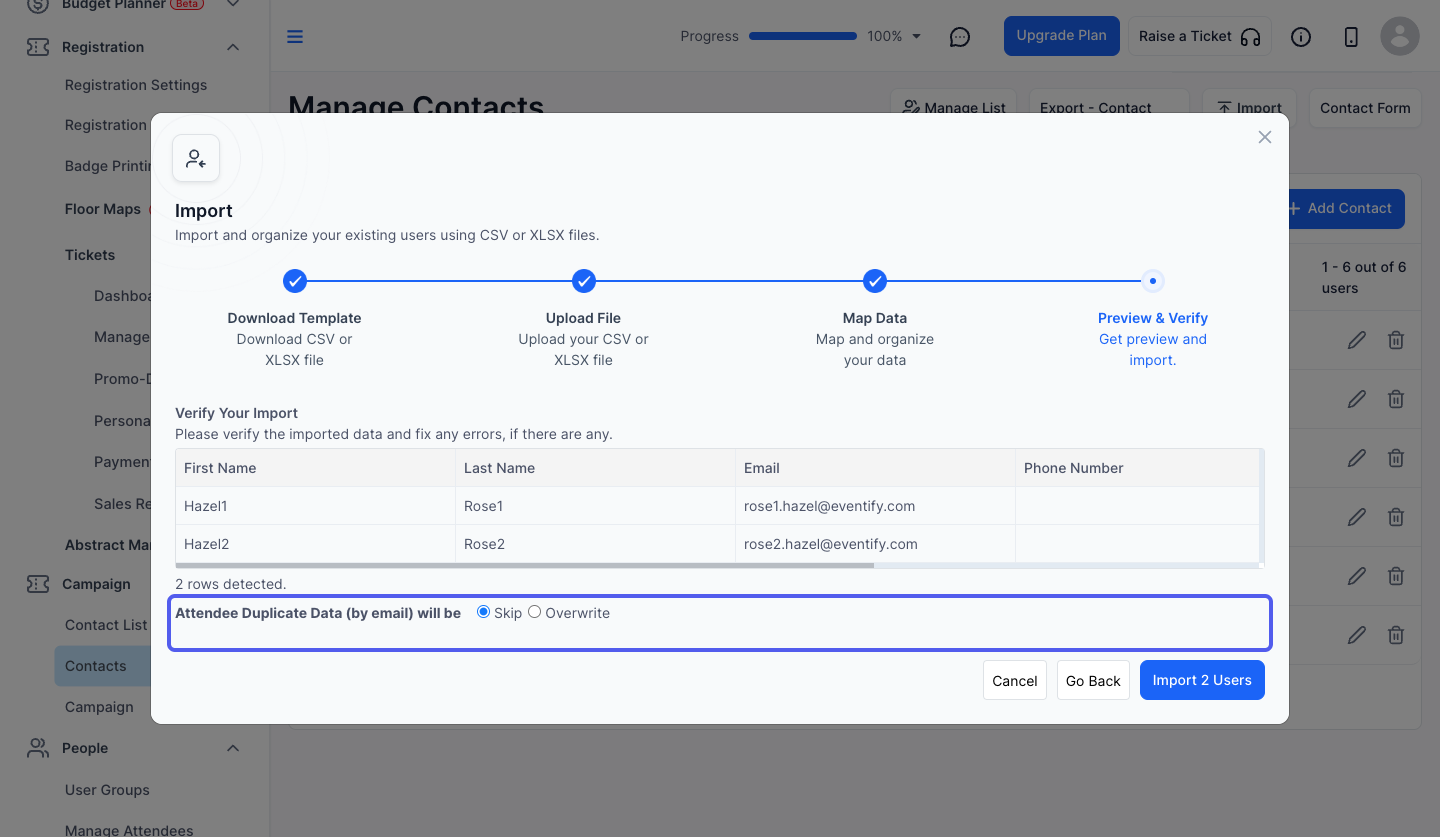
15: You can choose to skip or overwrite duplicate datas
16: If you choose to overwrite, then again you have to select, whether you want to override blank fields or not
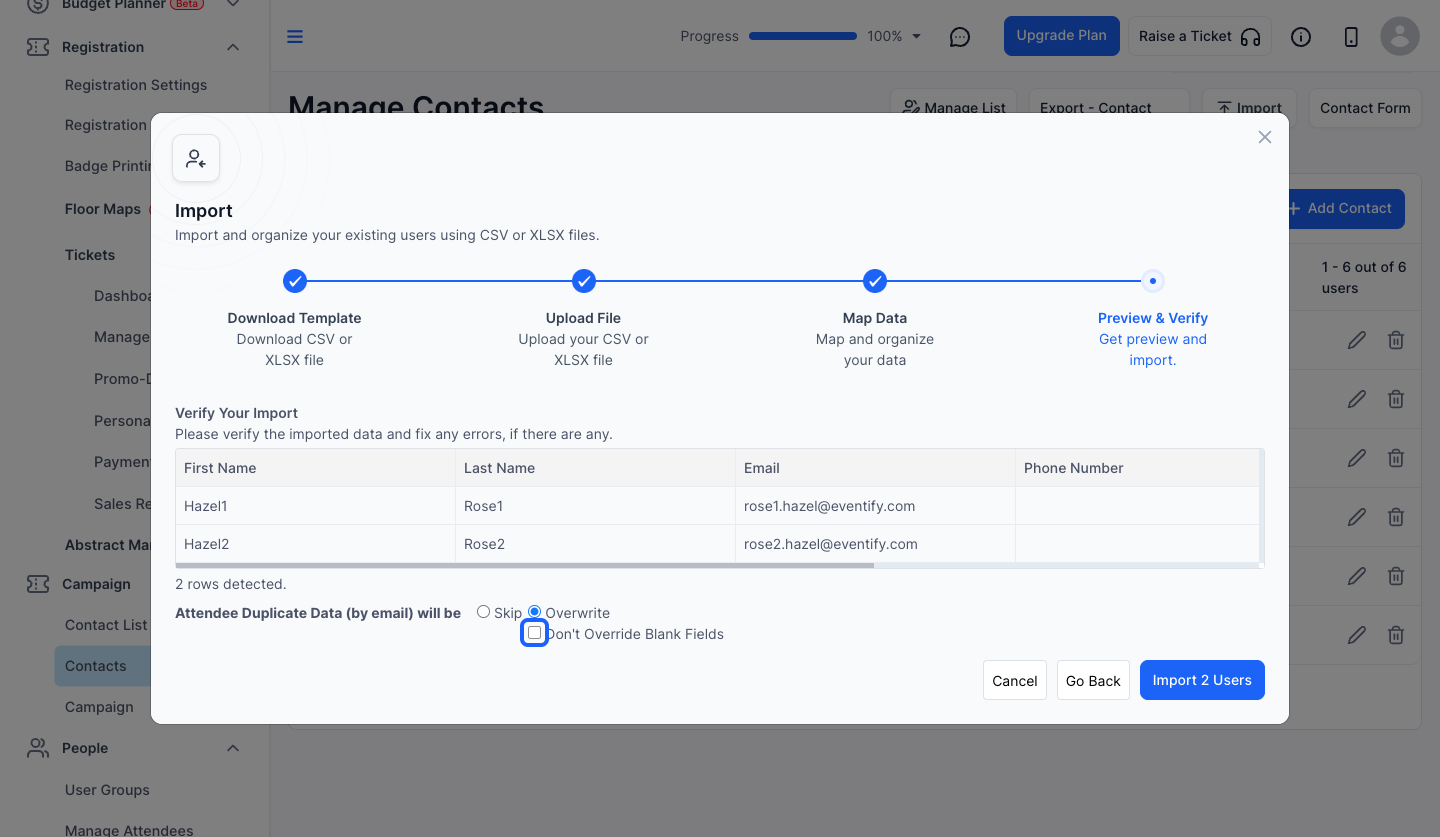
17: Once you are done, click the Import button