Discover how to create a campaign from scratch to engage your audience effectively.

Interactive Guide
Or check the step-by-step guide
1: Access the Eventify Admin Panel and navigate to Campaign
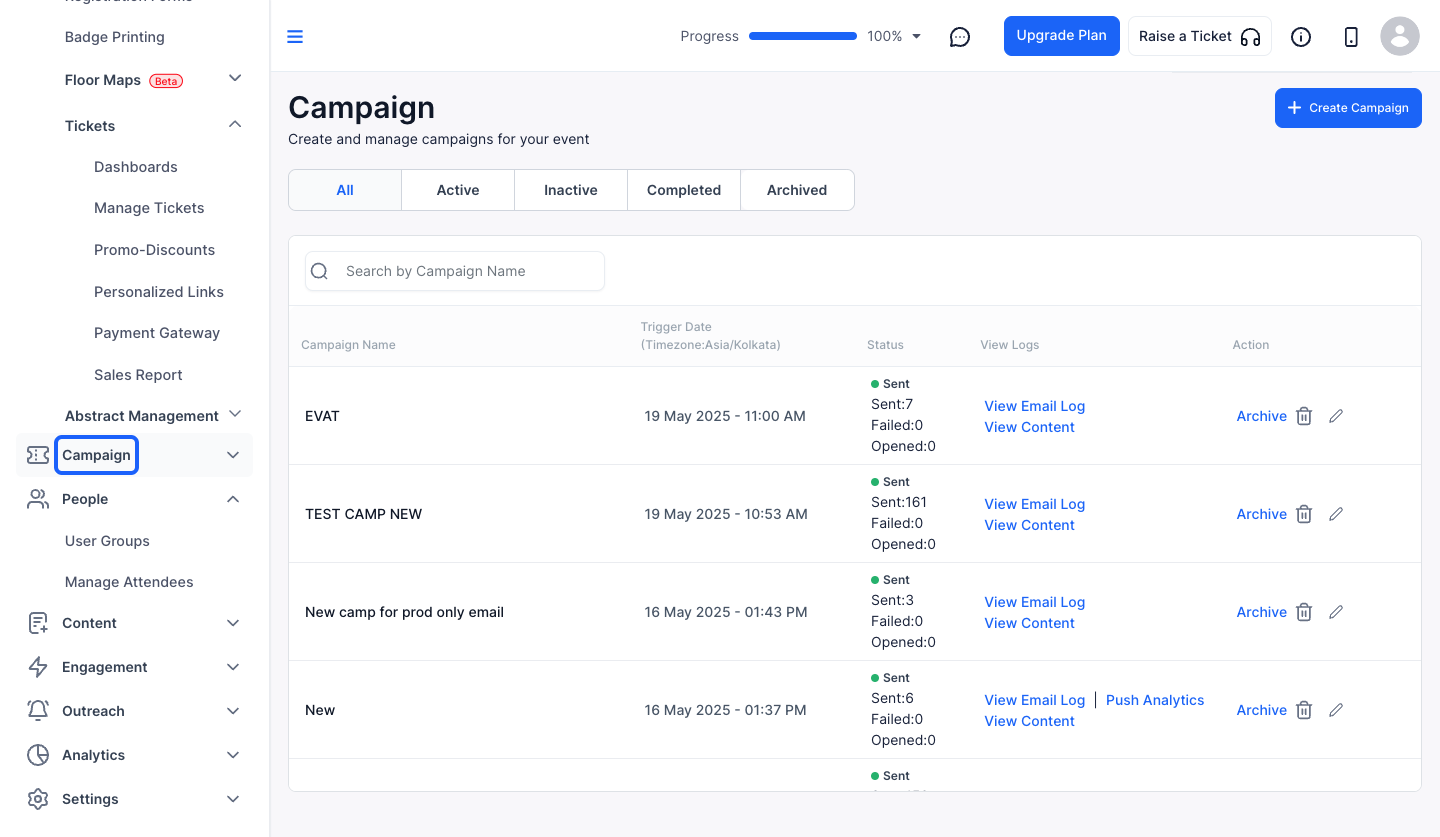
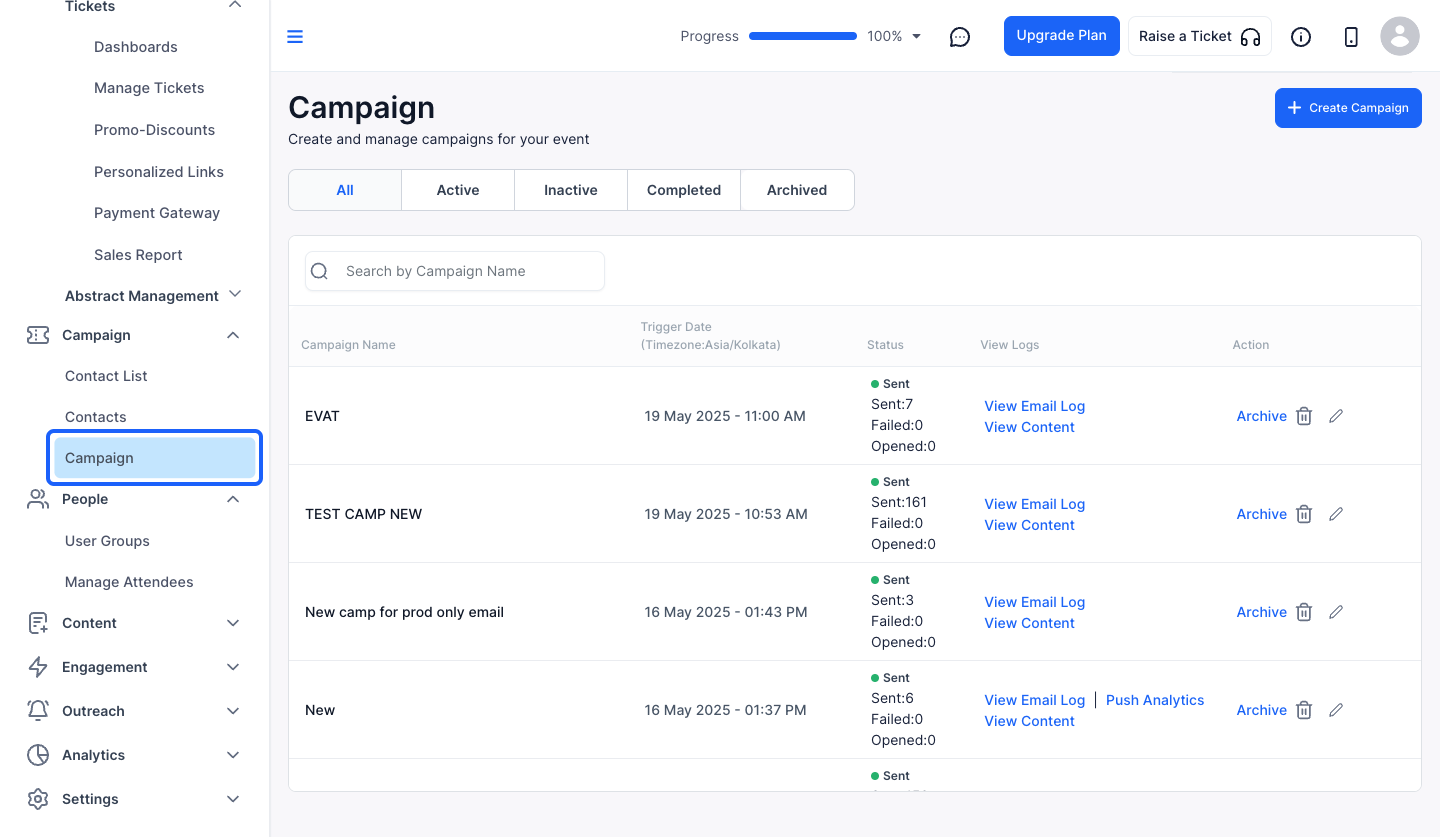
2: Click on Campaign
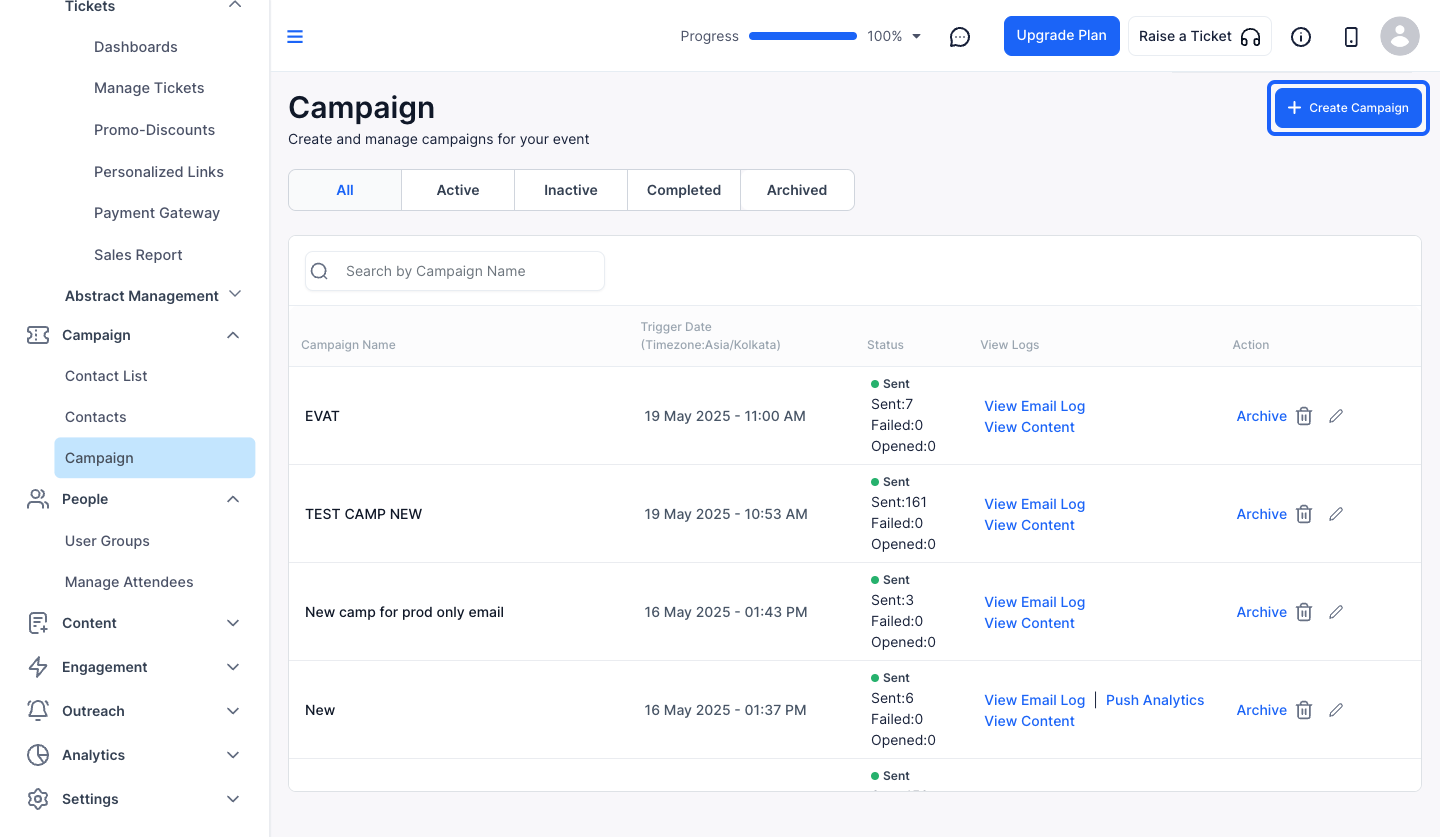
3: Click the "Create Campaign" button to create a new campaign
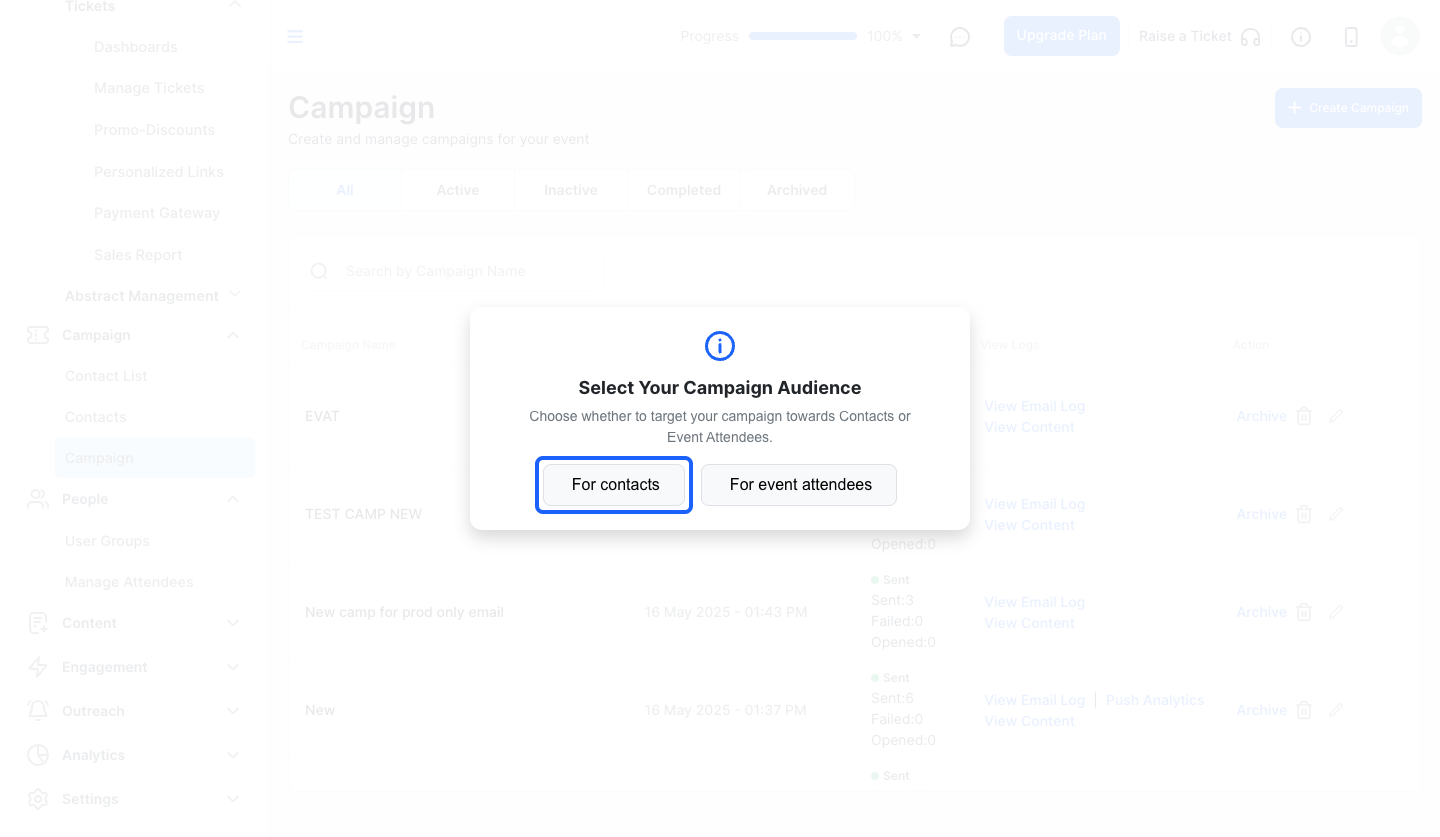
4: Choose your Campaign Audience
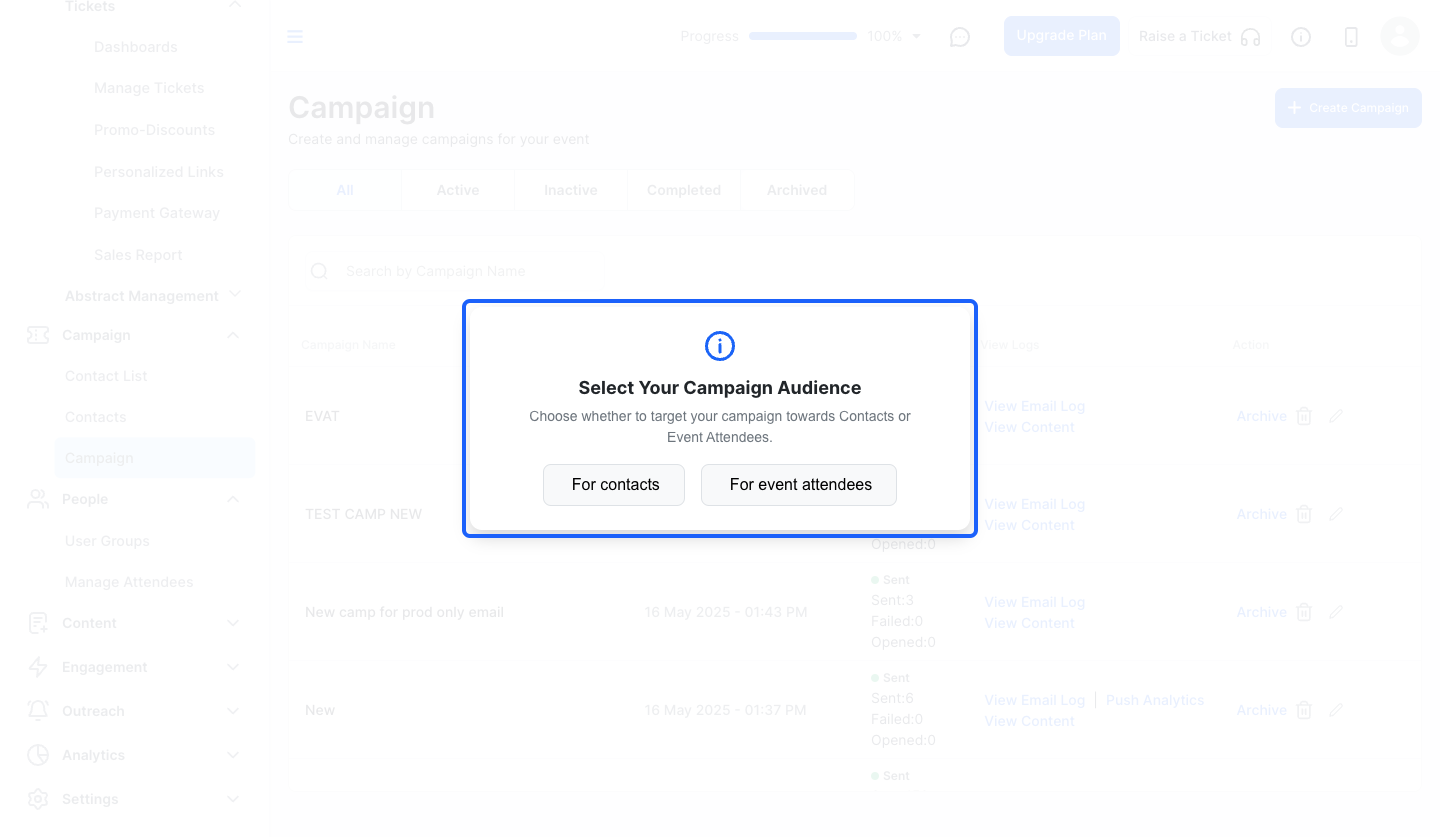
5: Click the “For contacts” button, if you want to target the campaign towards contacts
Note: For targeting your campaign towards Event Attendees, click on "Event Attendees" button and the next steps will be same for both
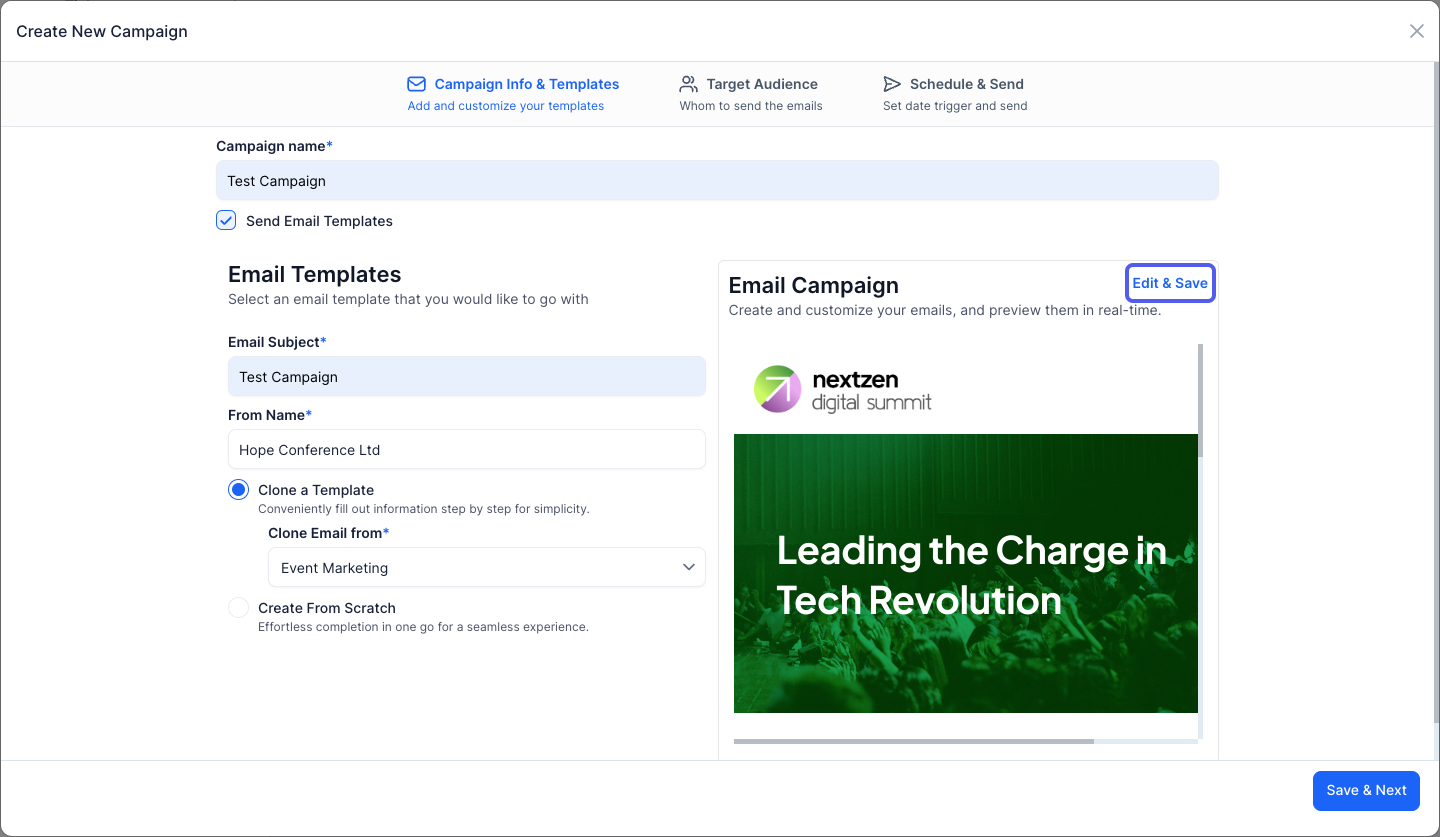
6: Give a Campaign Name
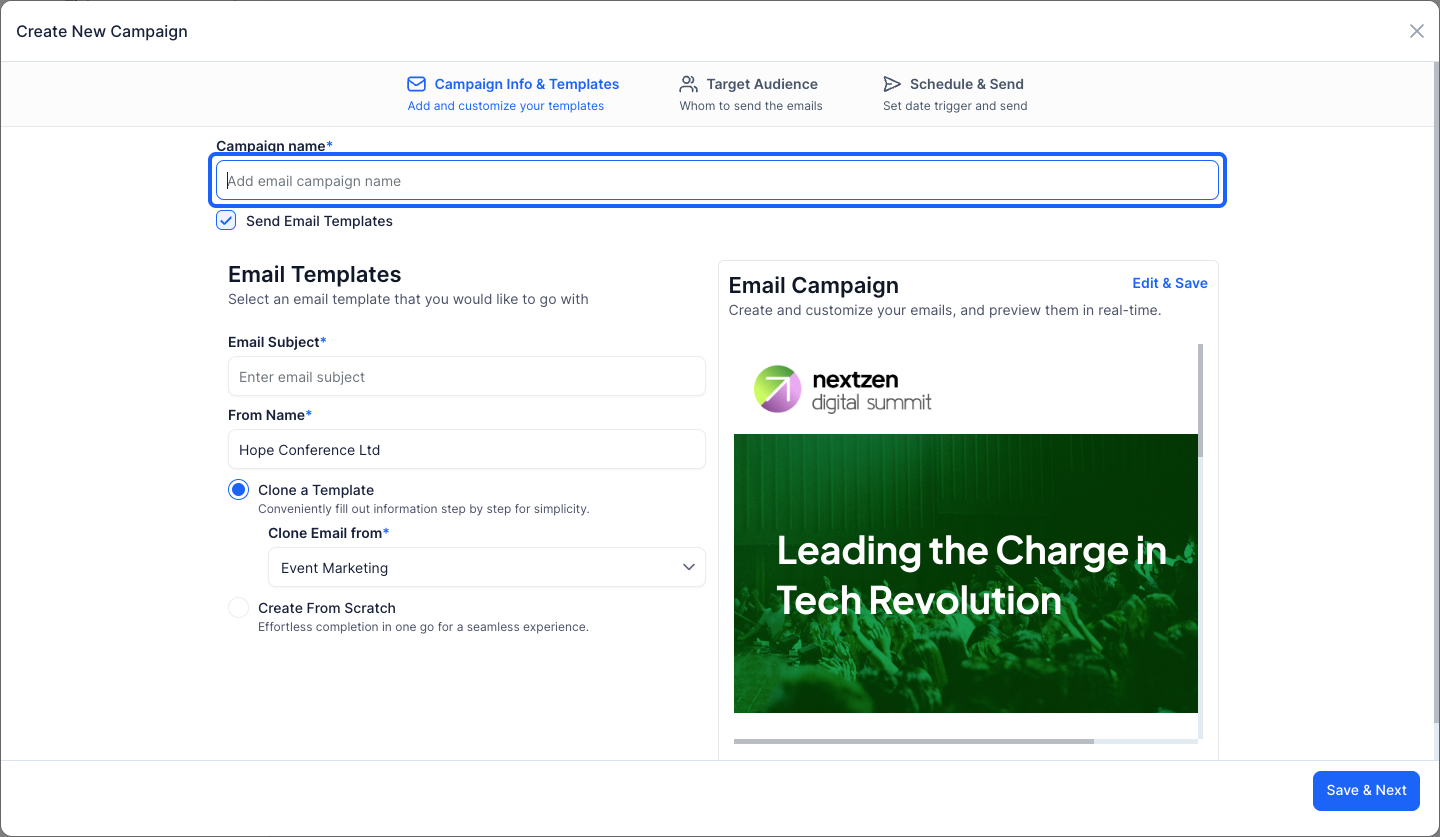
7: Type your Email subject here
8: You can change the From Name too

9: You can either clone a template
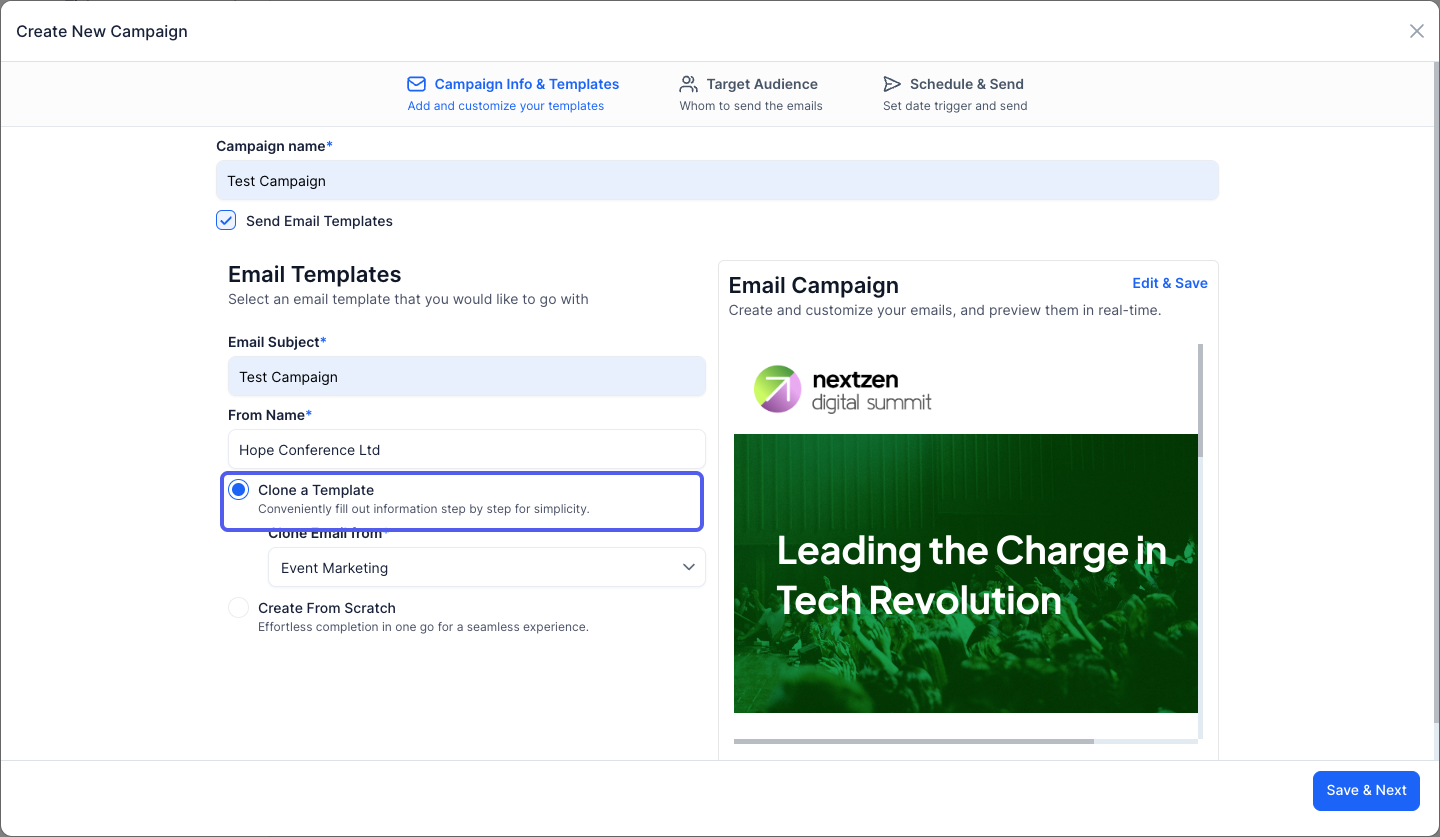
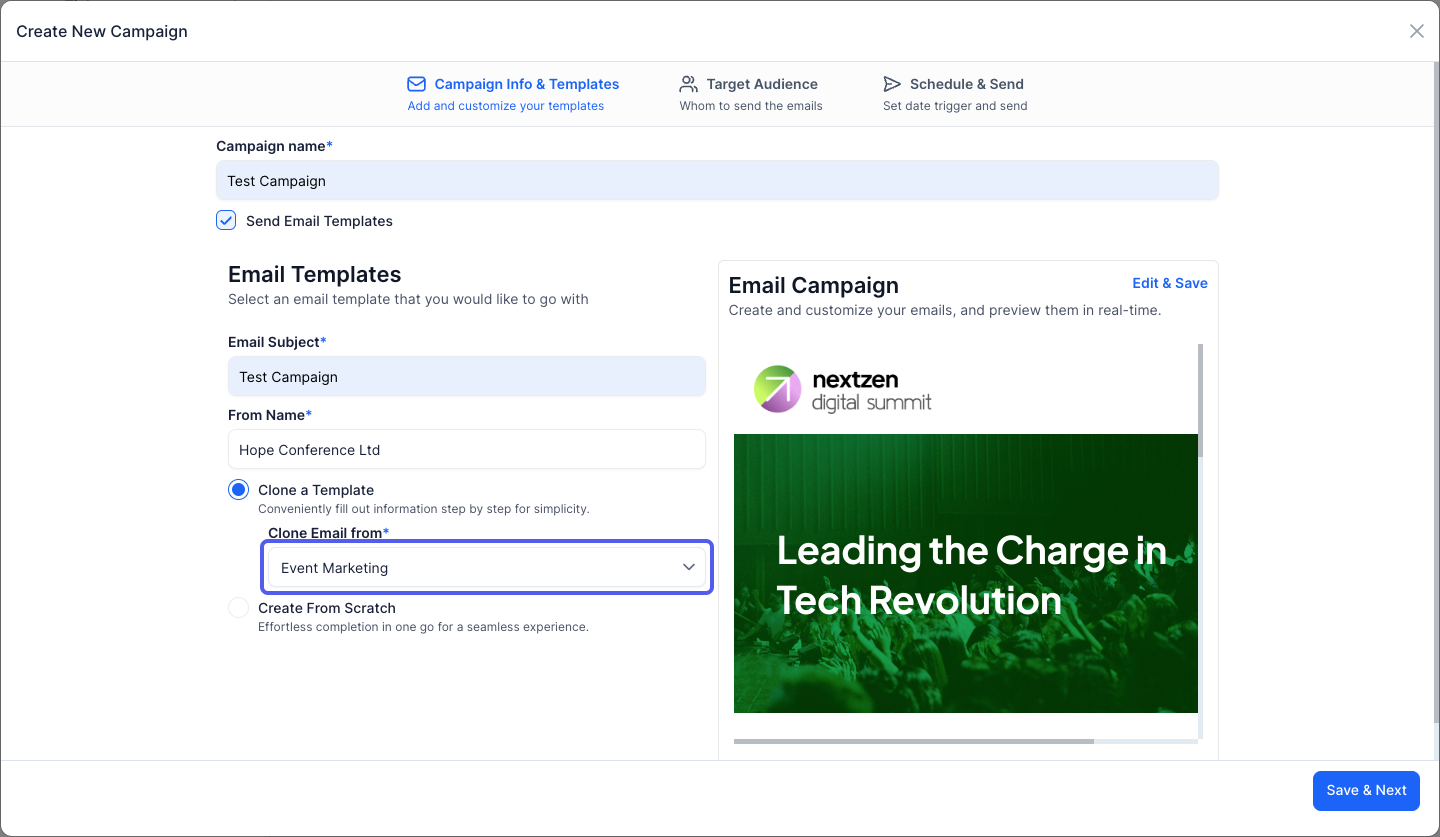
10: Choose from where you want to clone the email from the dropdown
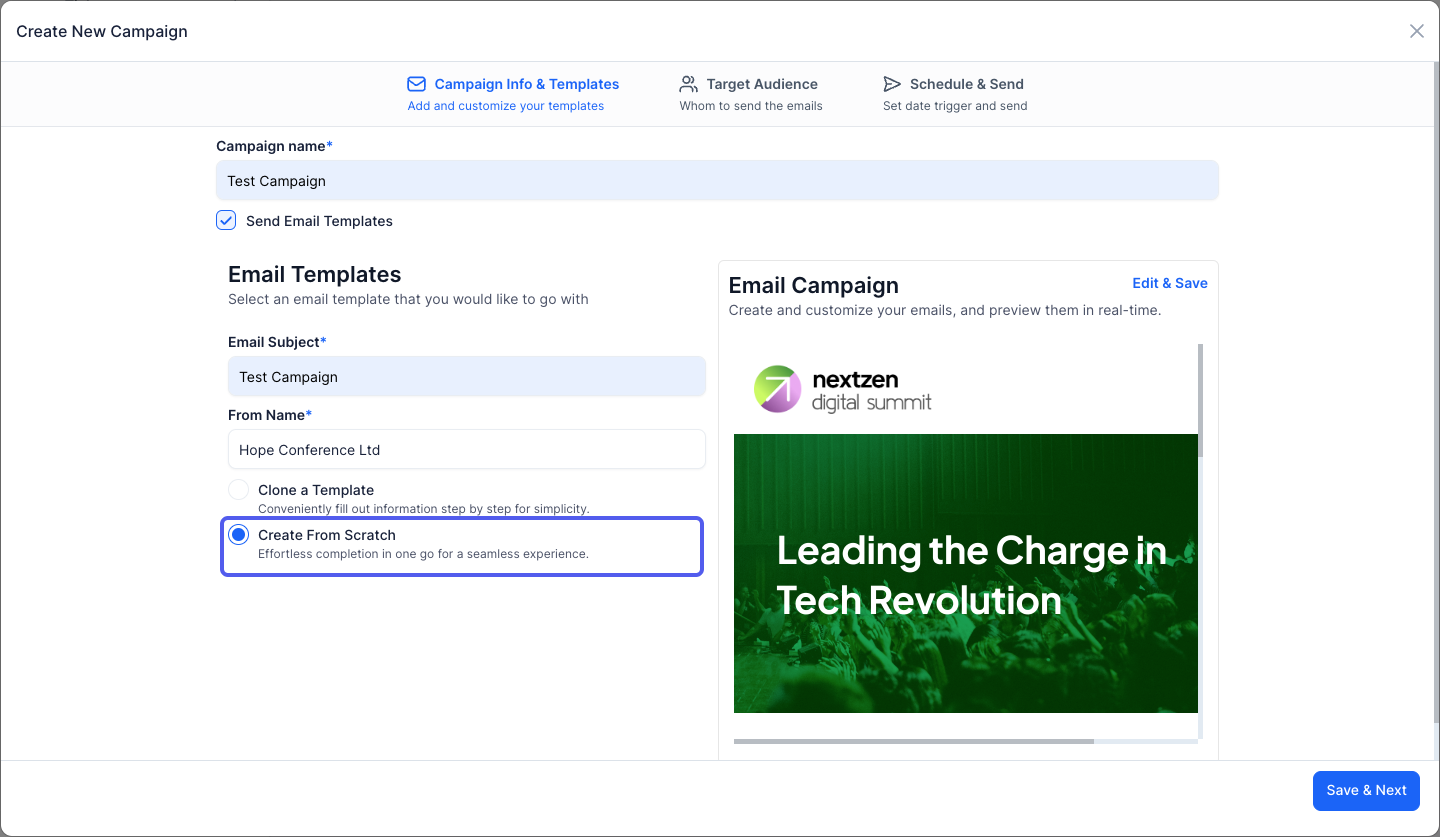
11: Or create one from scratch
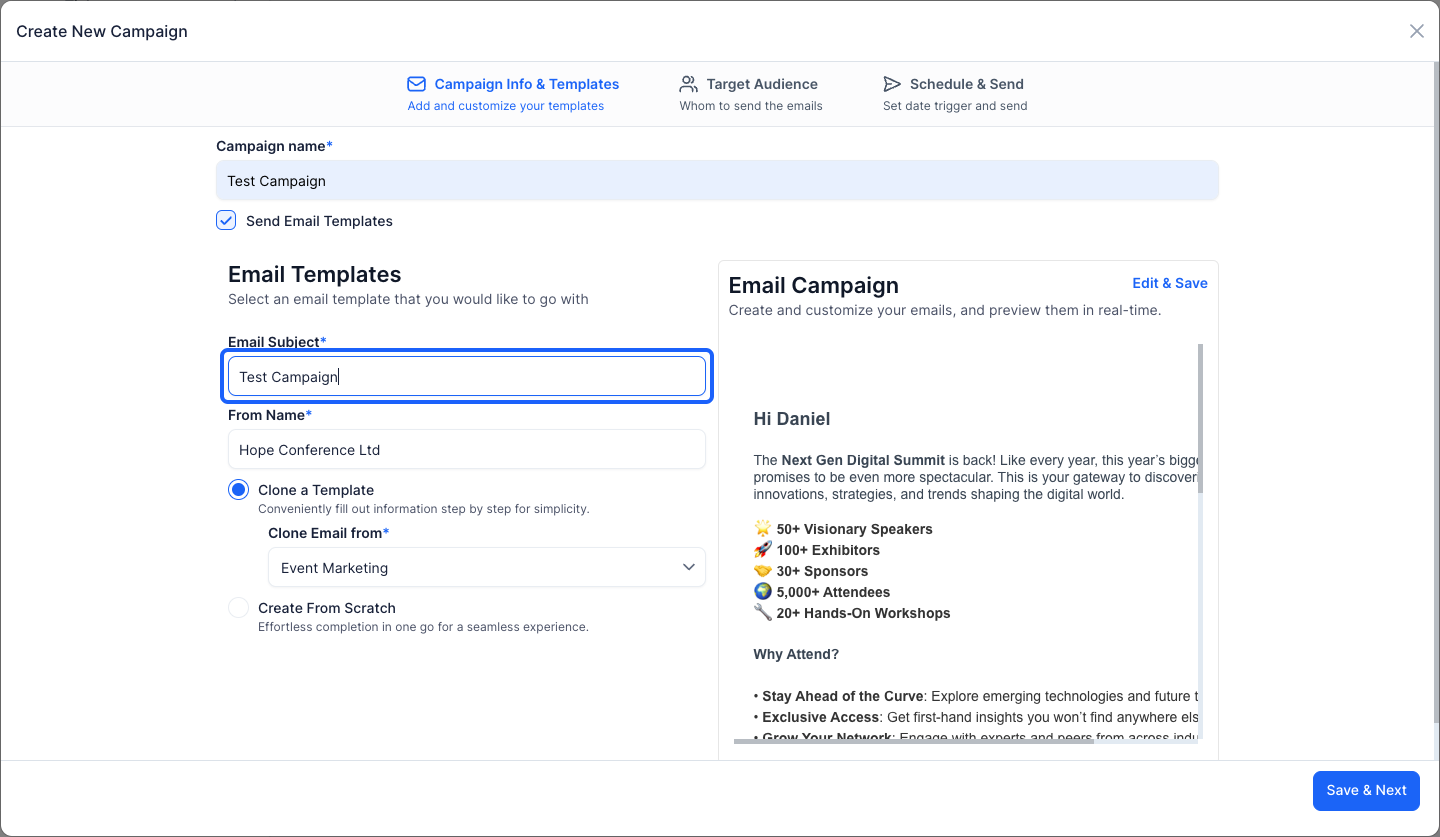
12: Customize your email template as required
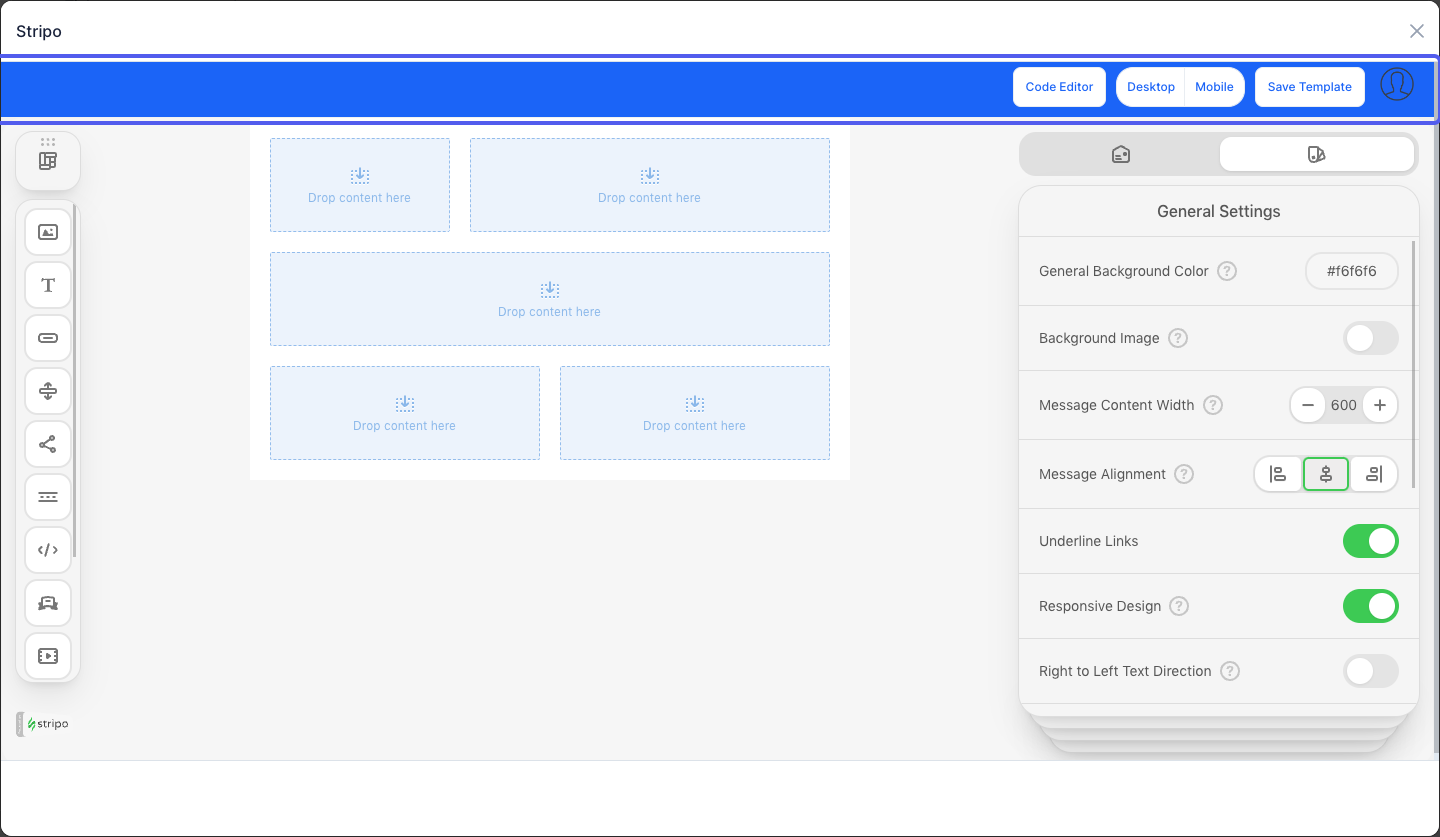
13: You can also edit the cloned template if needed
14: Make the necessary changes
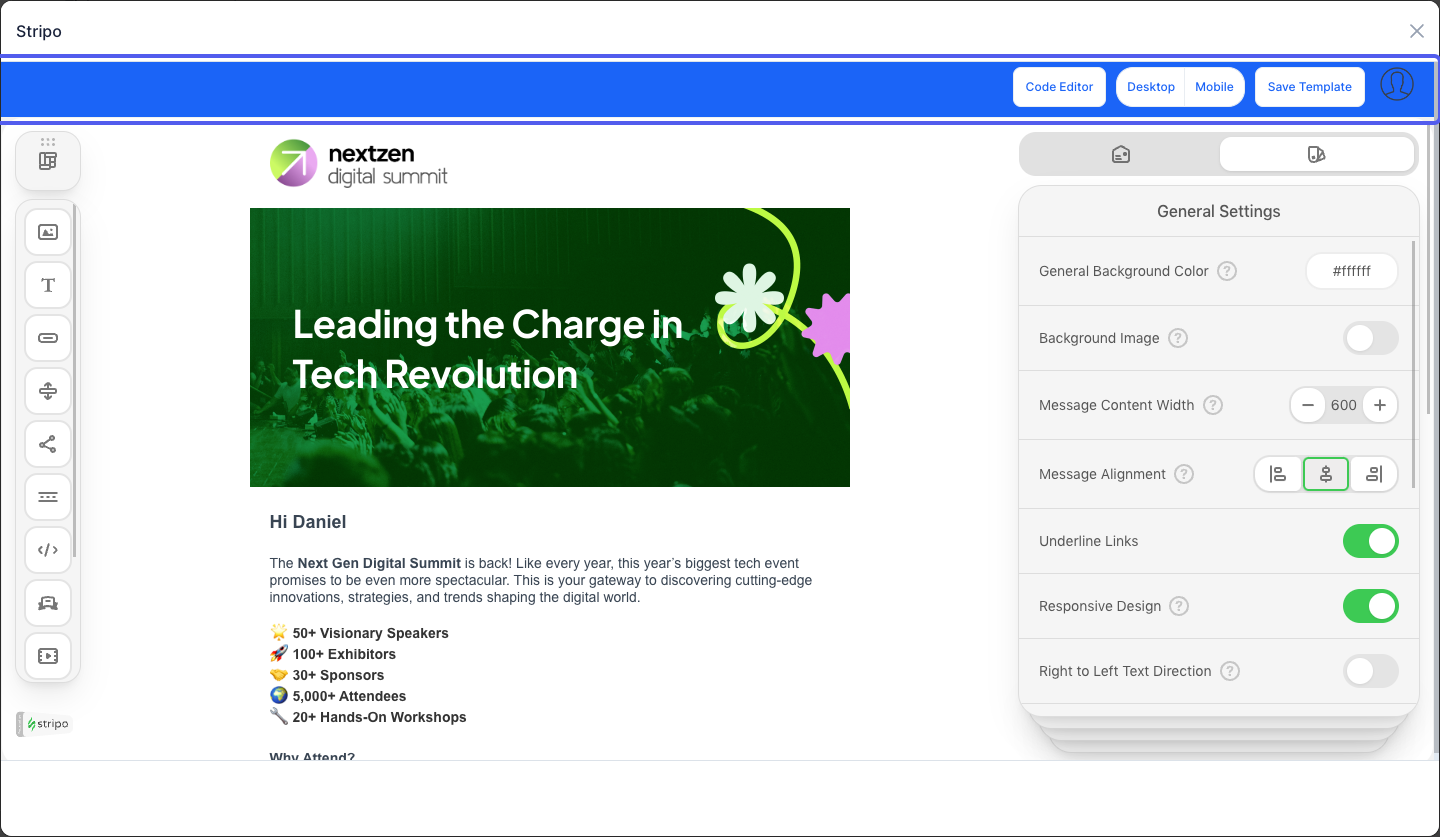
15: Click the “Save Template” button to save the email template

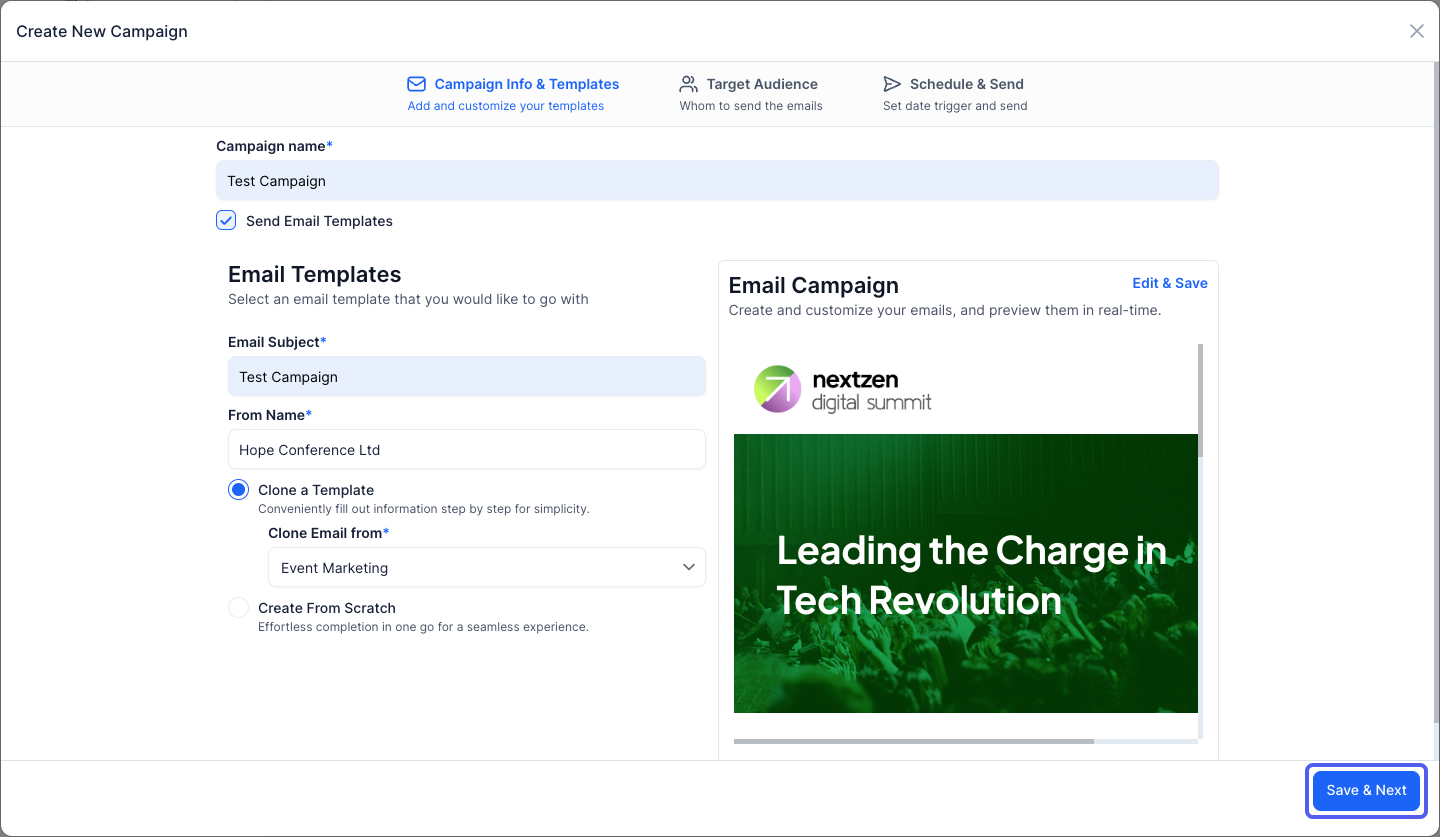
16: Click the “Save & Next” button to proceed to the next step
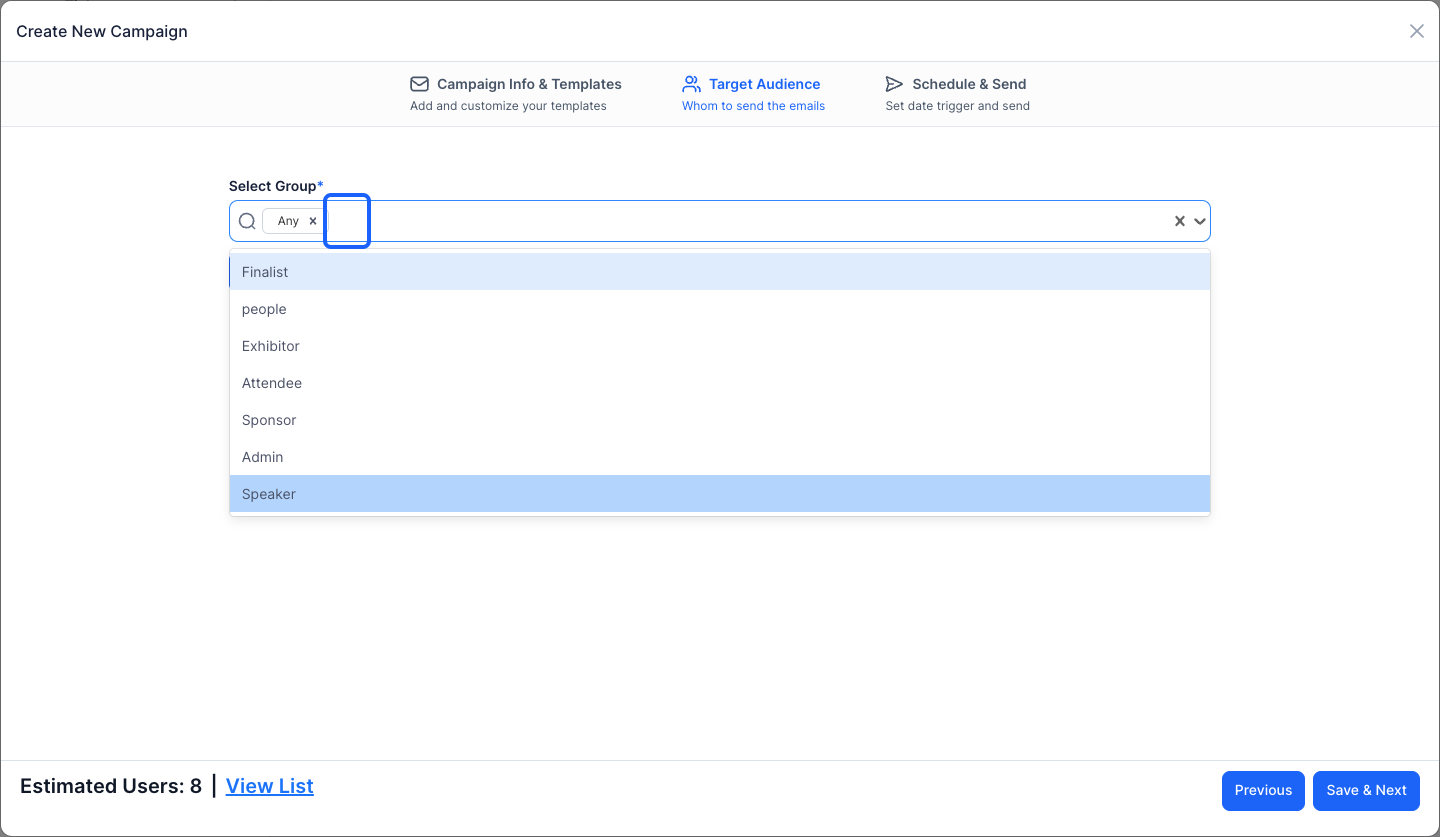
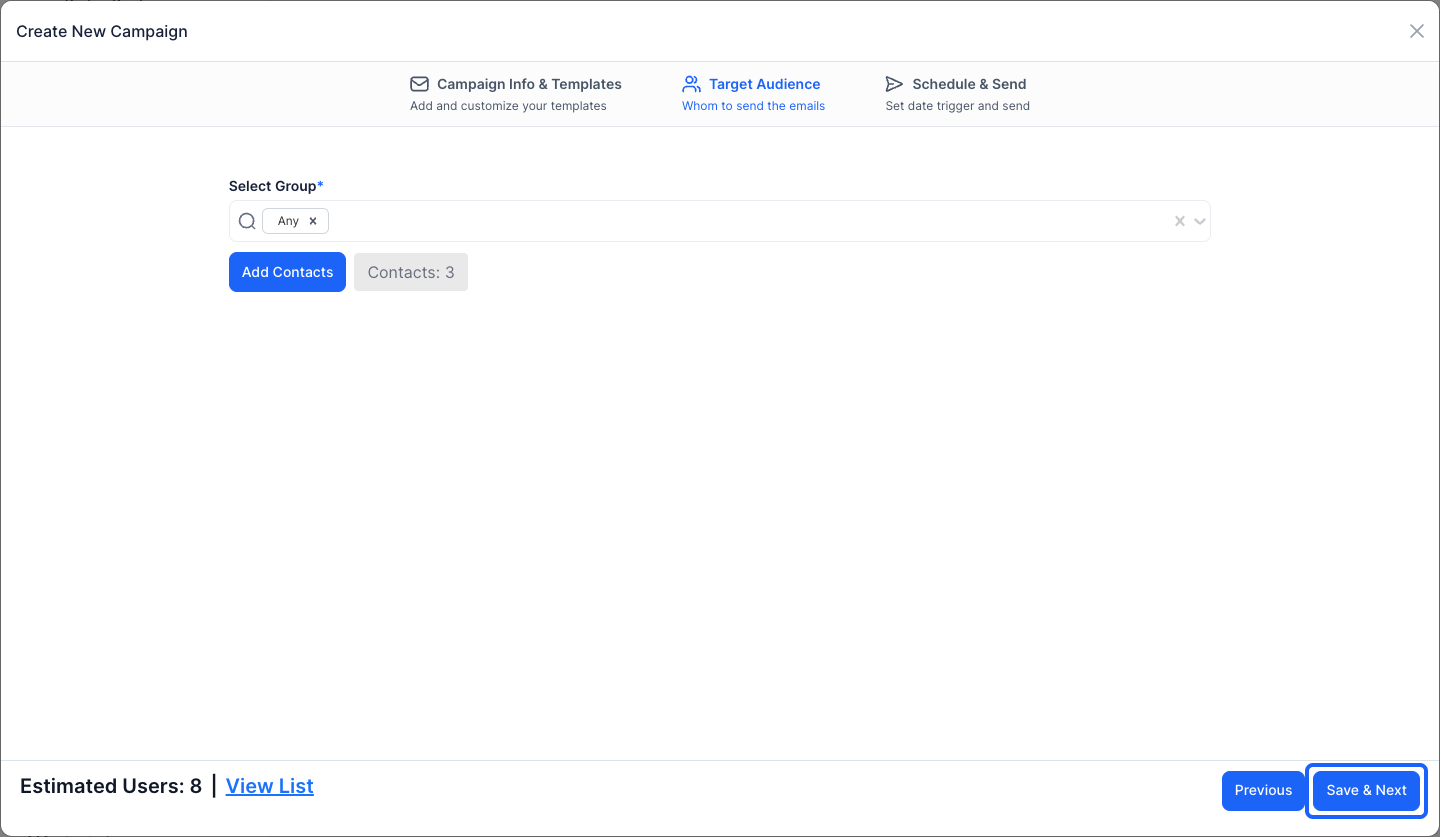
17: Select Group of the targeted audience to send the emails
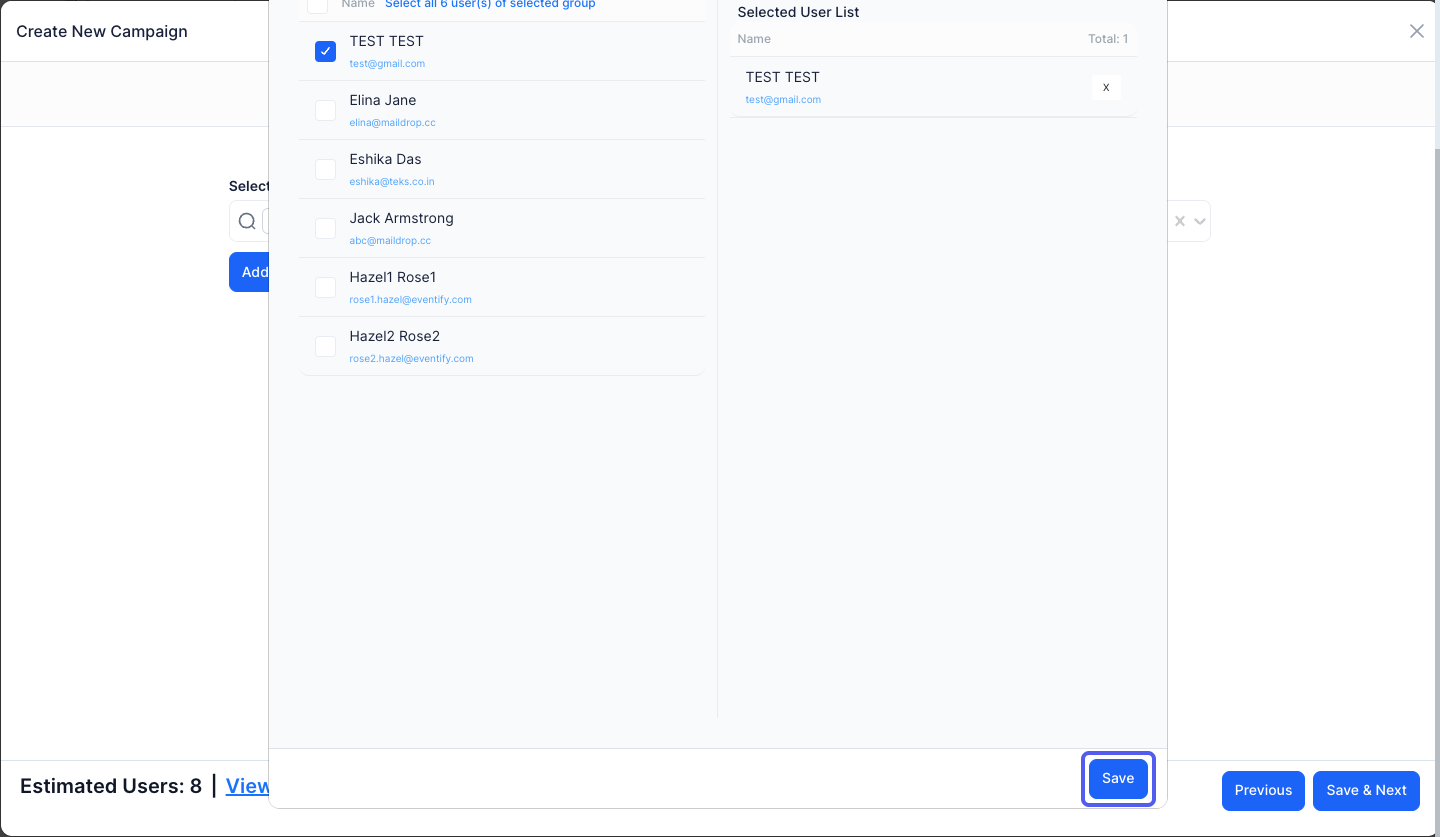
18: Click the “Add Contacts” button to add the contacts whom you want to send the email
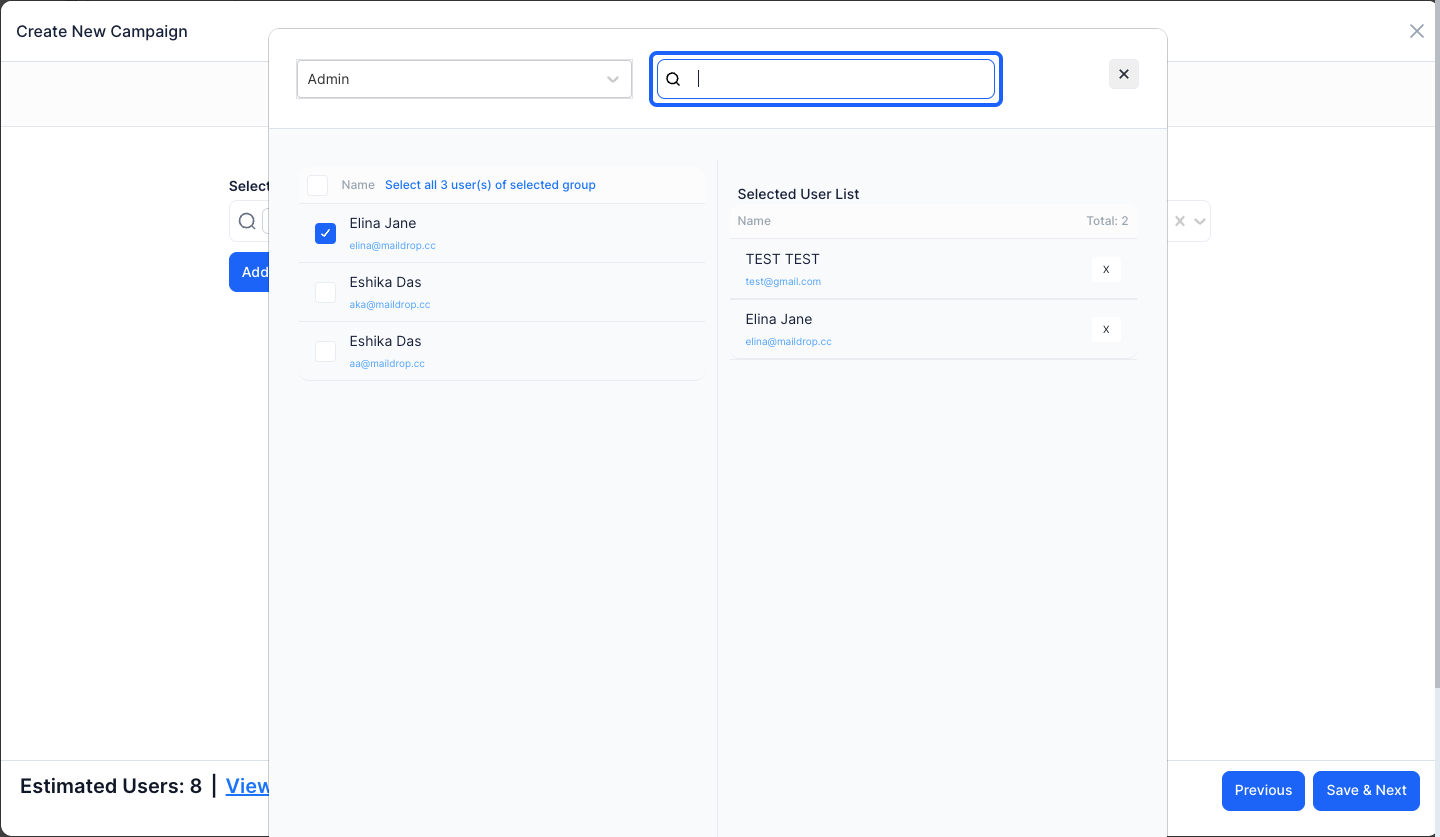
19: Select one or more contacts as required
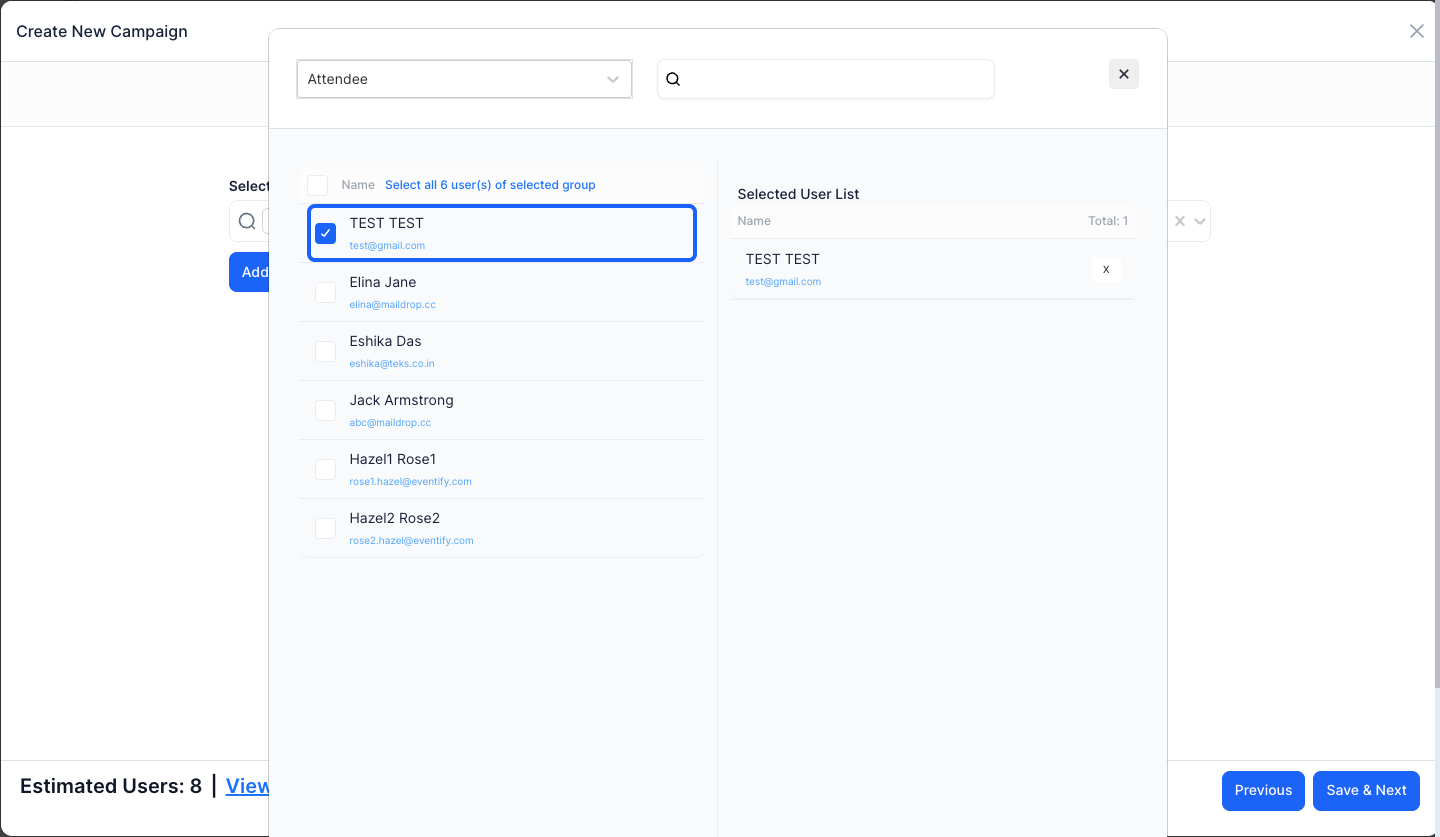
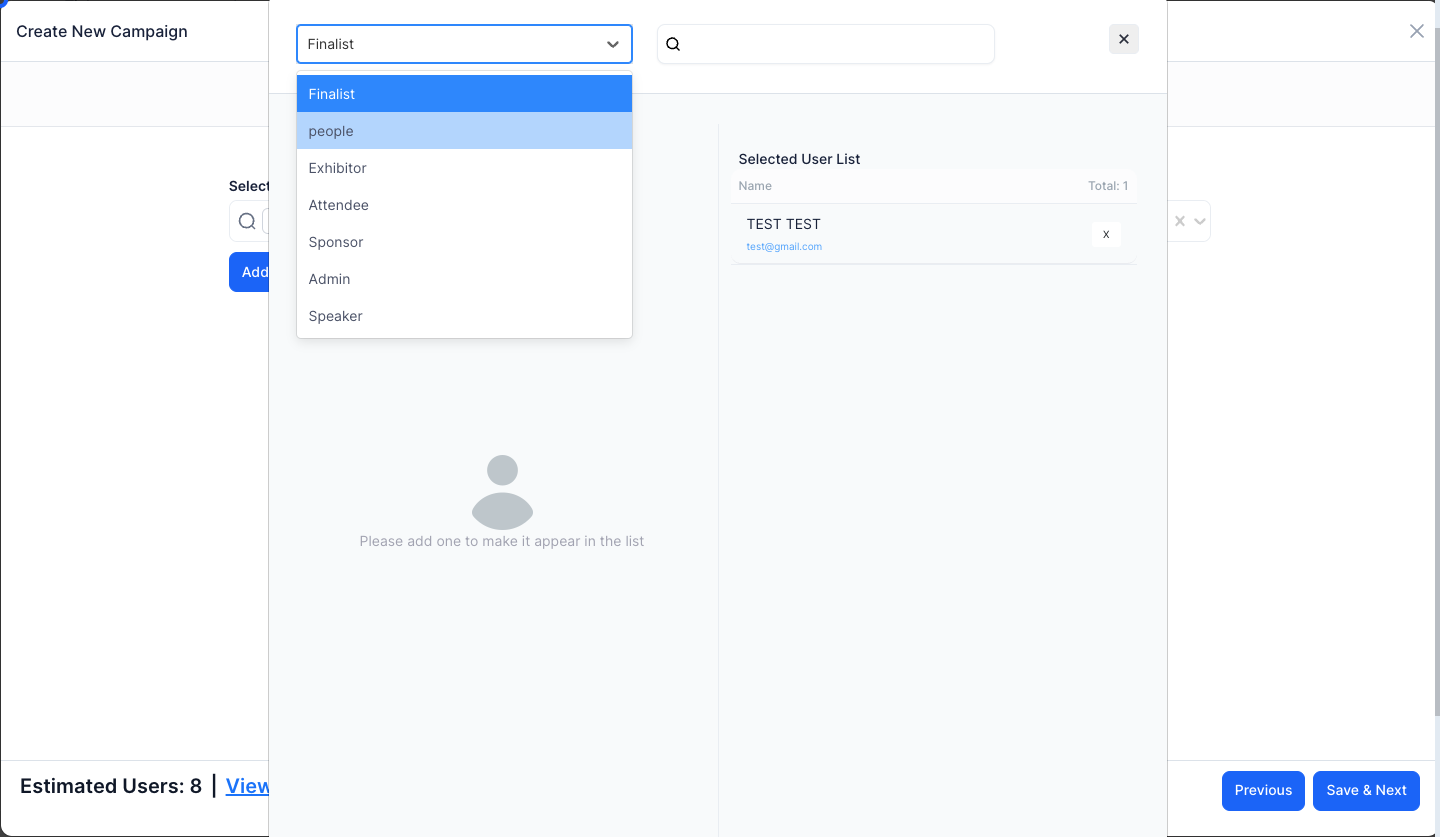
20: You can filter the contacts based on their group
21: You can also search the name or email of the contacts
22: Click the “Save” button to save the changes
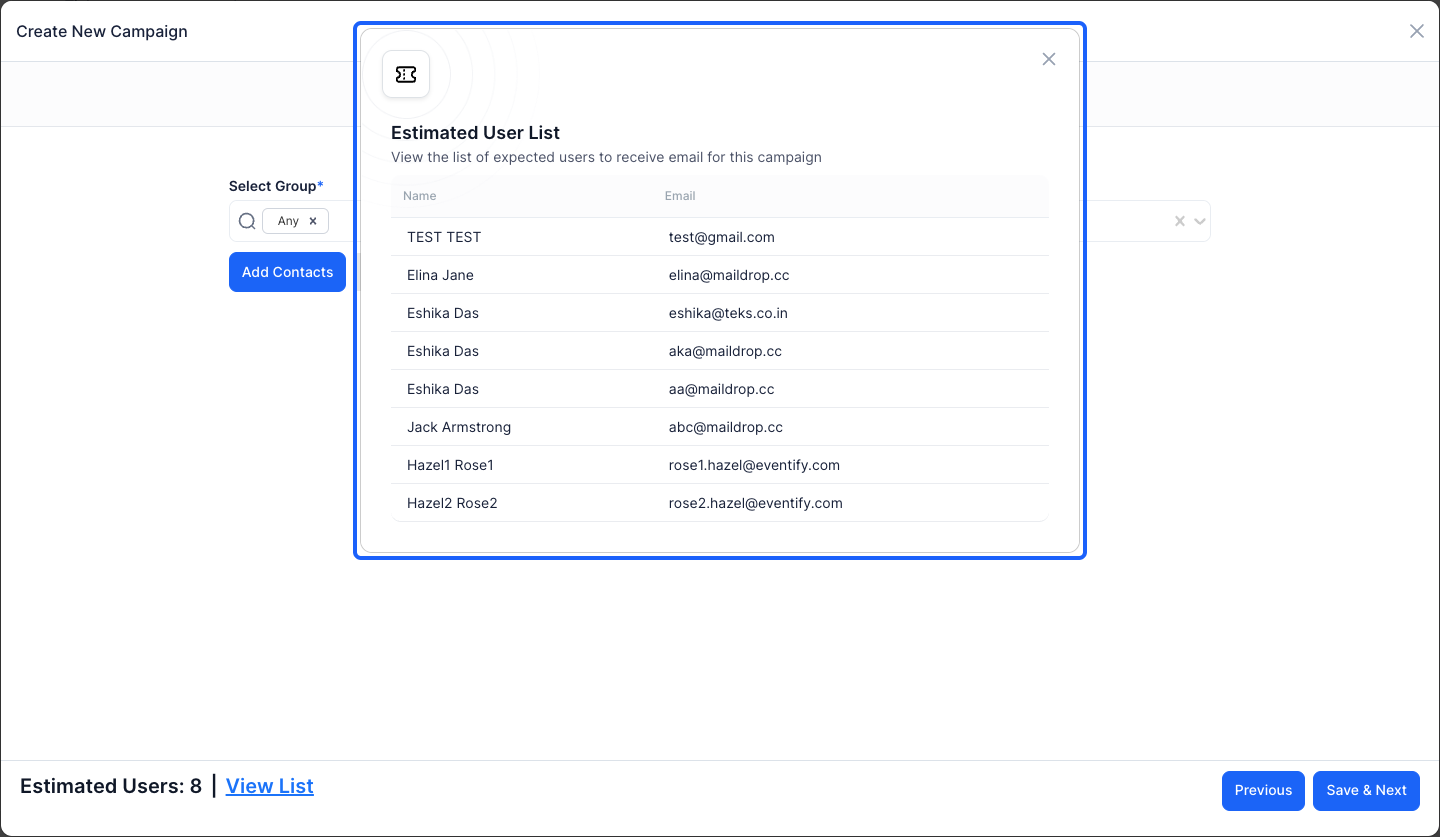
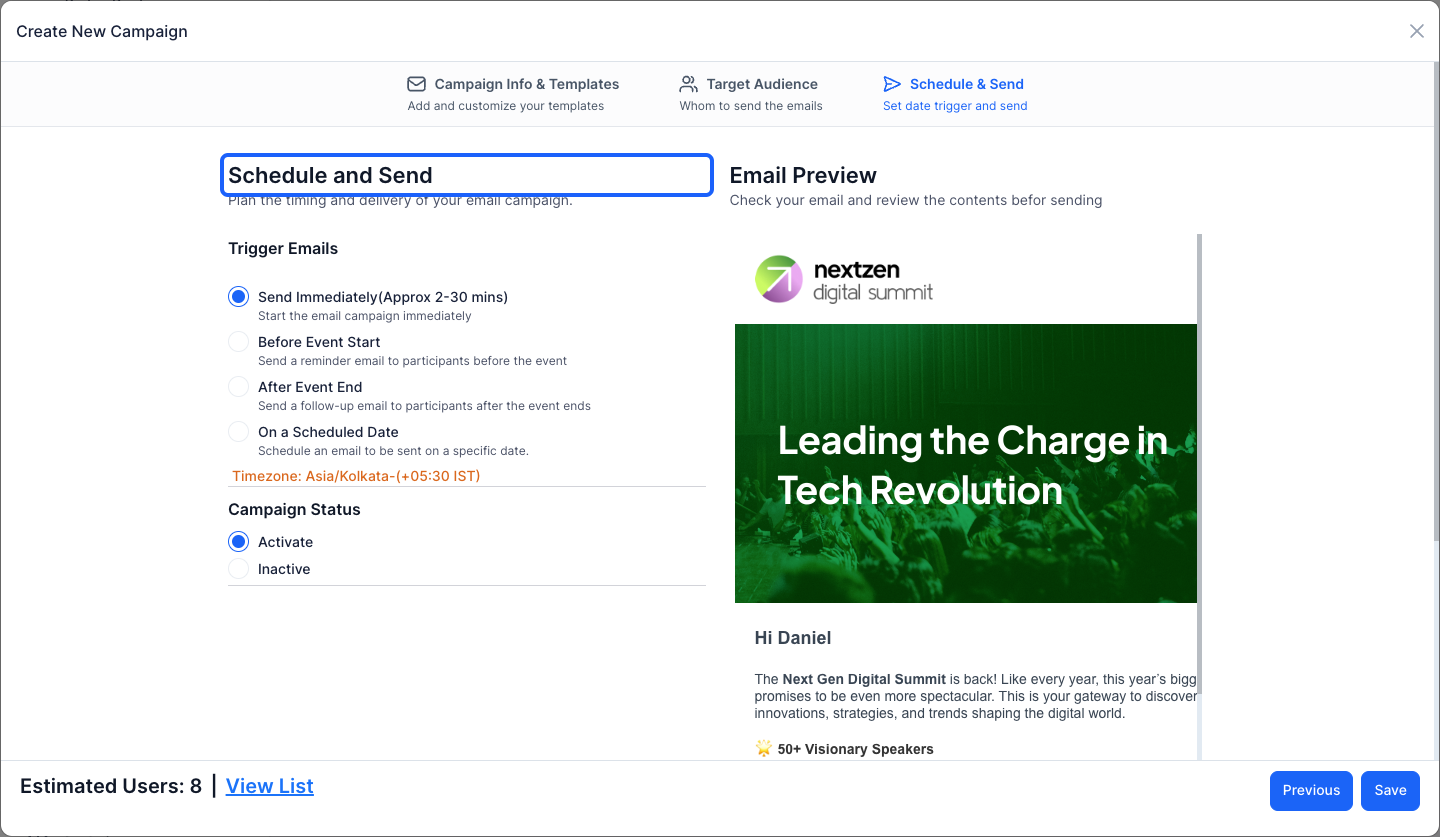
23: Click on "view list" to view the list of contacts selected
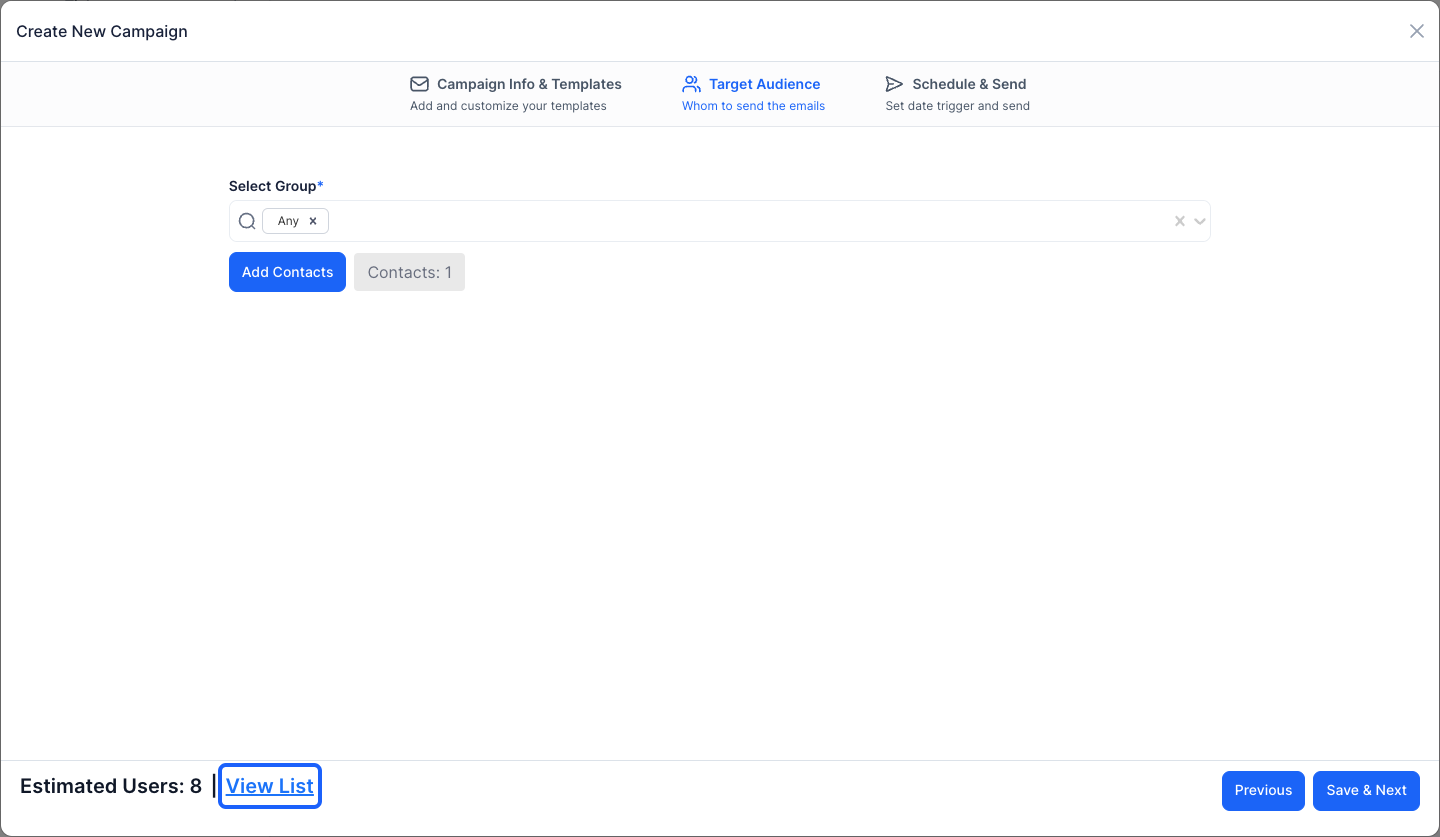
24: You can check the estimated user list from here
25: Click the “Save & Next” button to move to the next step
26: You can schedule the time of delivering your email campaigns
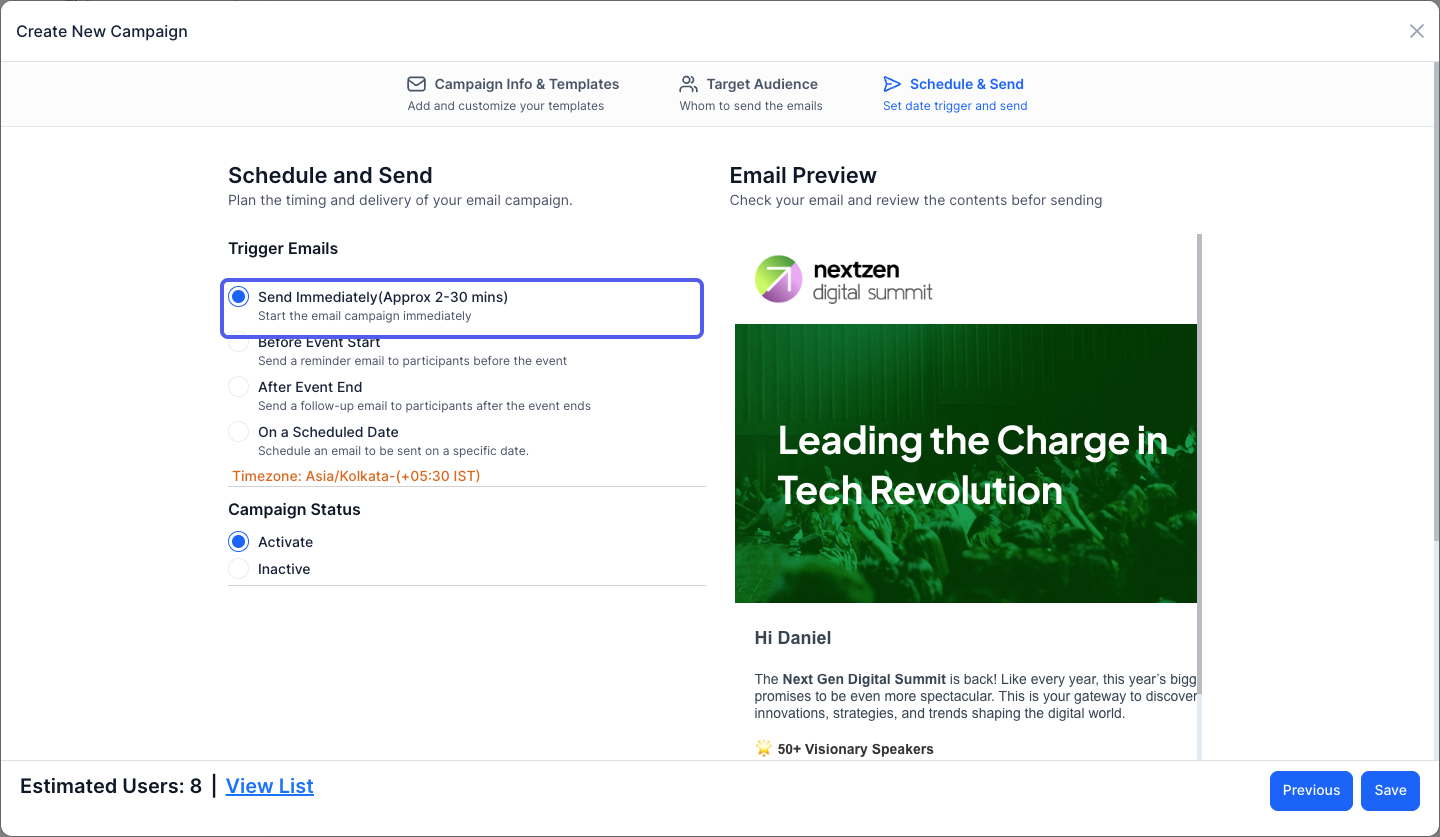
27: You can send the email immediately within 2 to 30 minutes
28: You can send a reminder email before the event starts
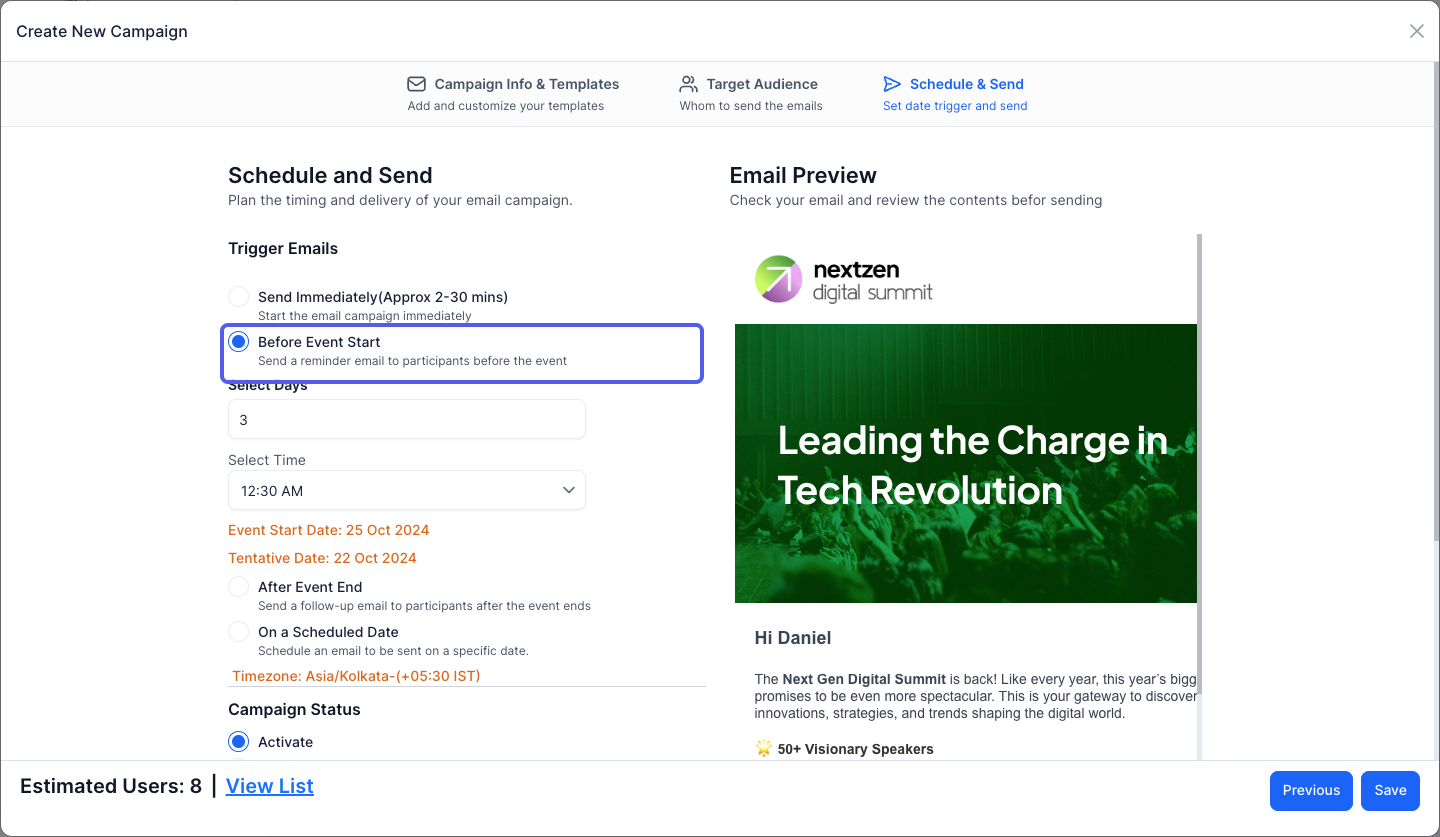
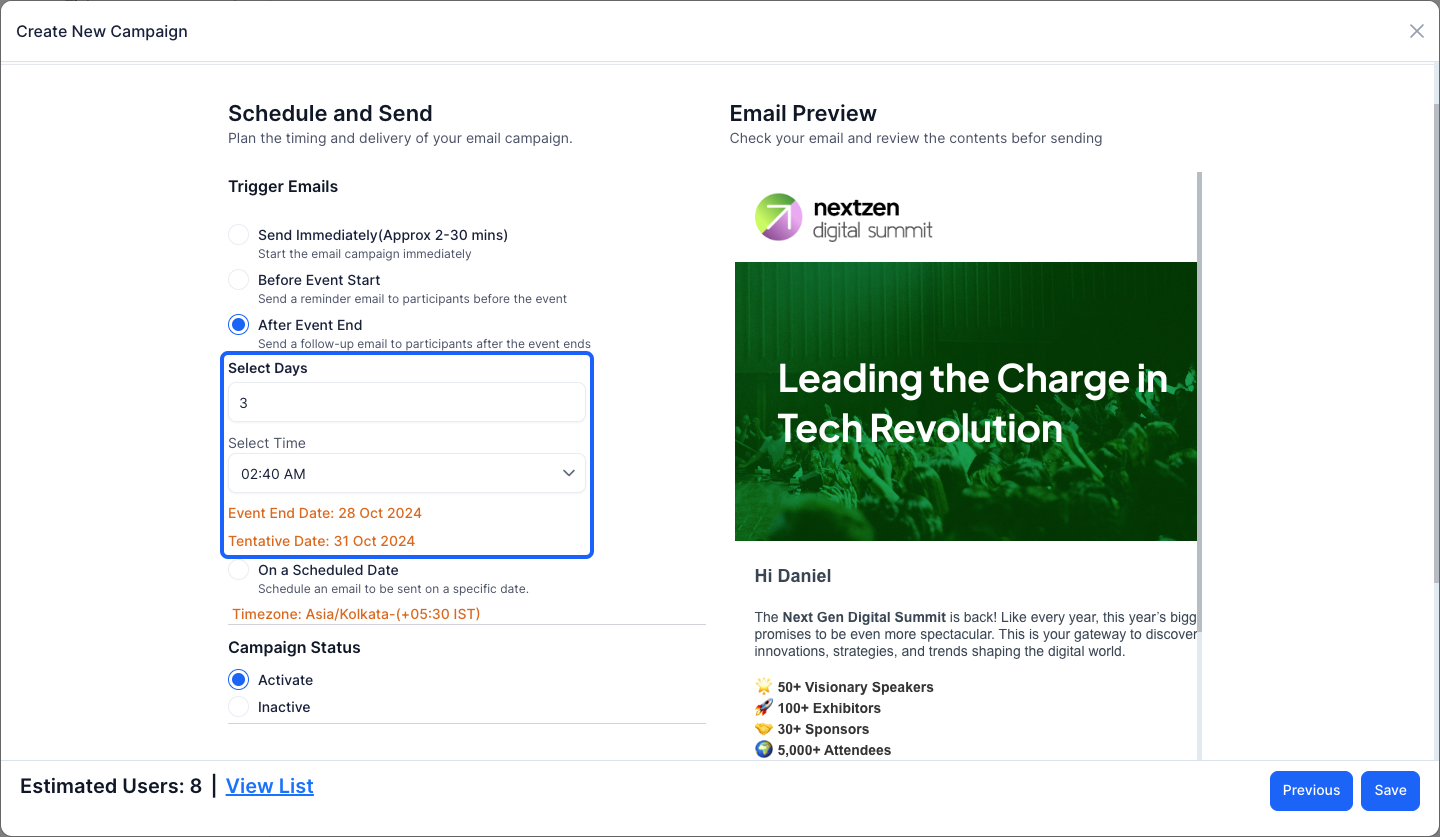
29: Select how many days in advance you want to send the email.
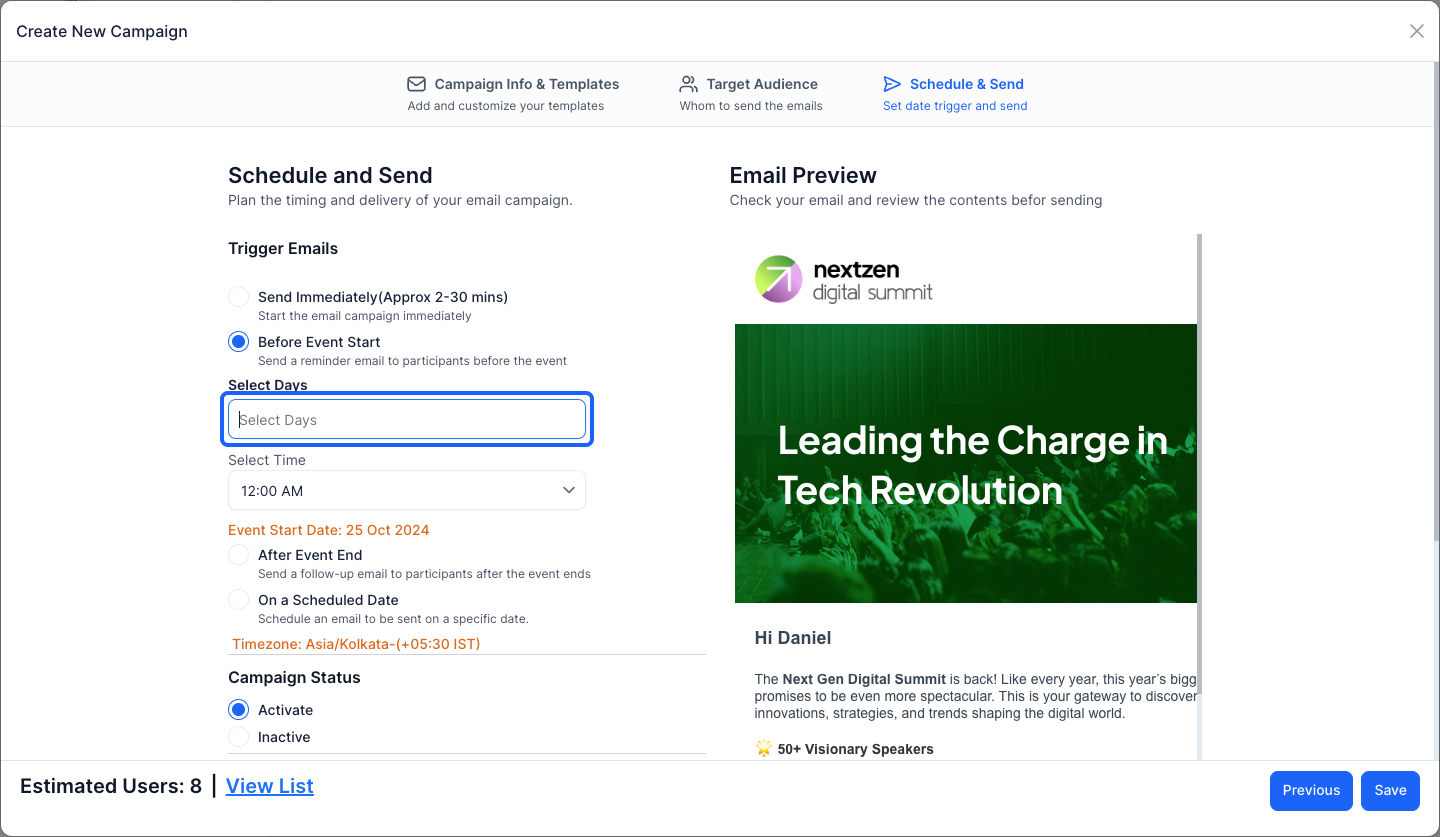
30: Select the time of sending the email to the participants

31: You can view the tentative date the email will be sent
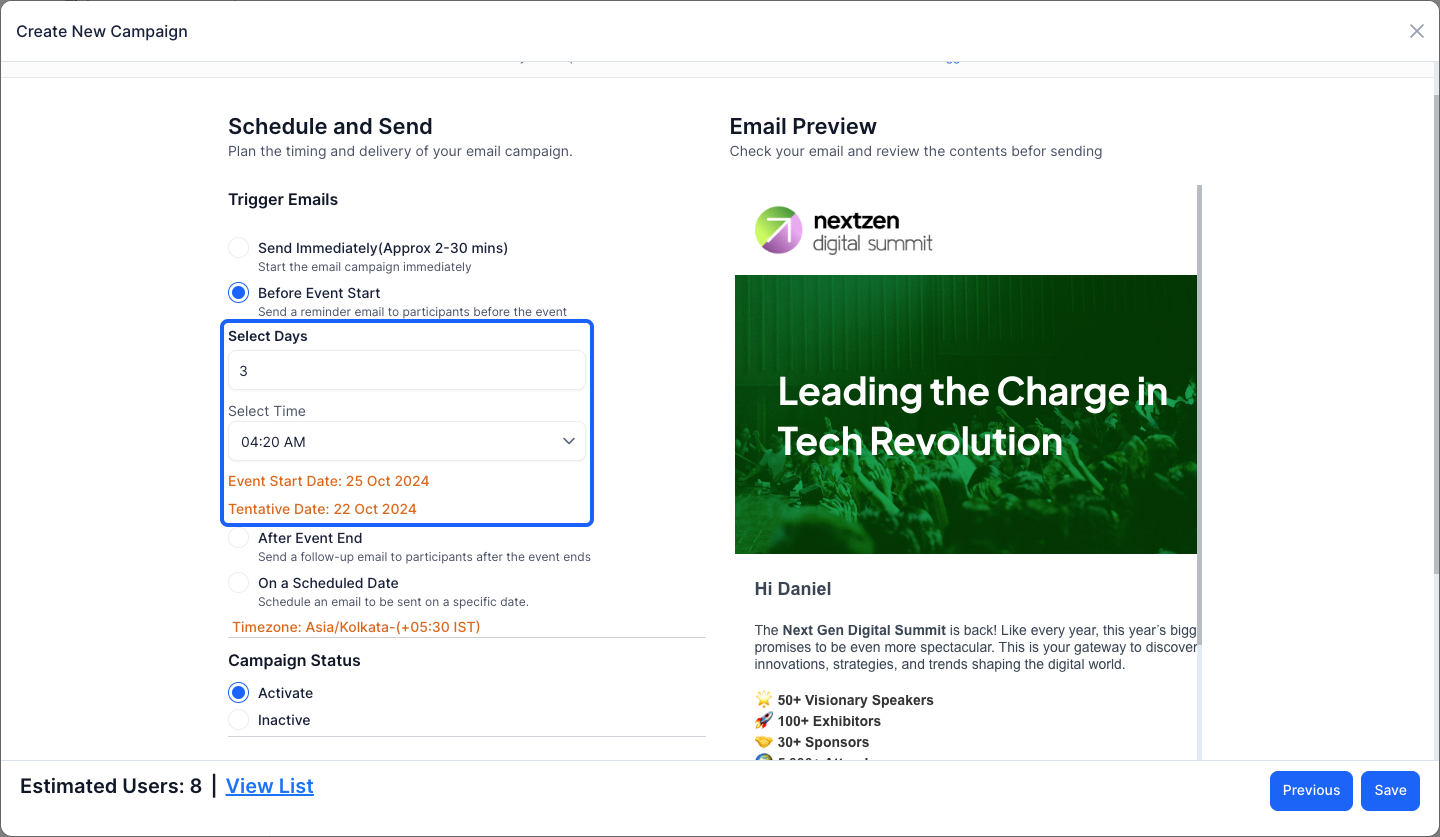
32: You can also send a follow up email, after the event ends

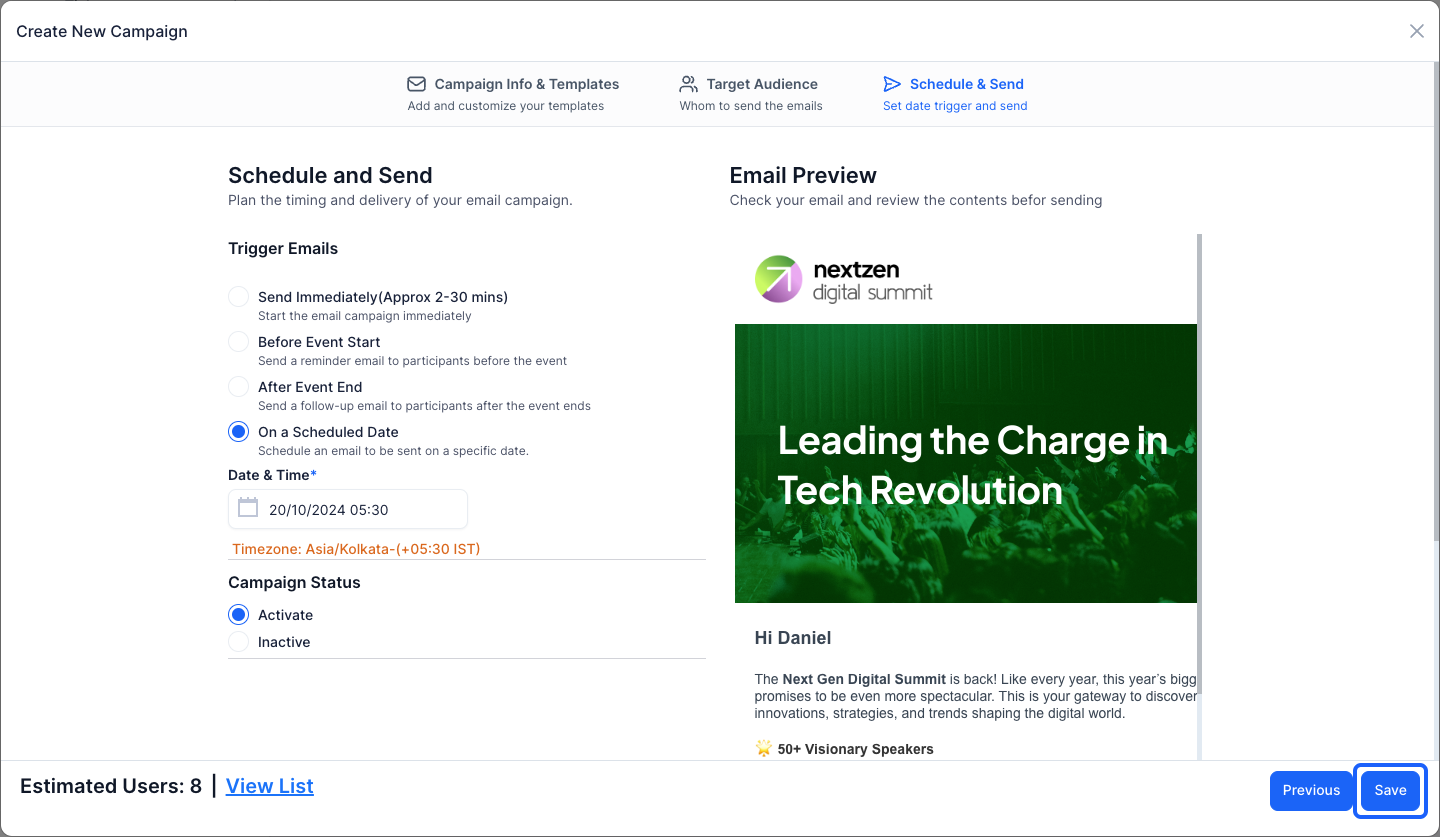
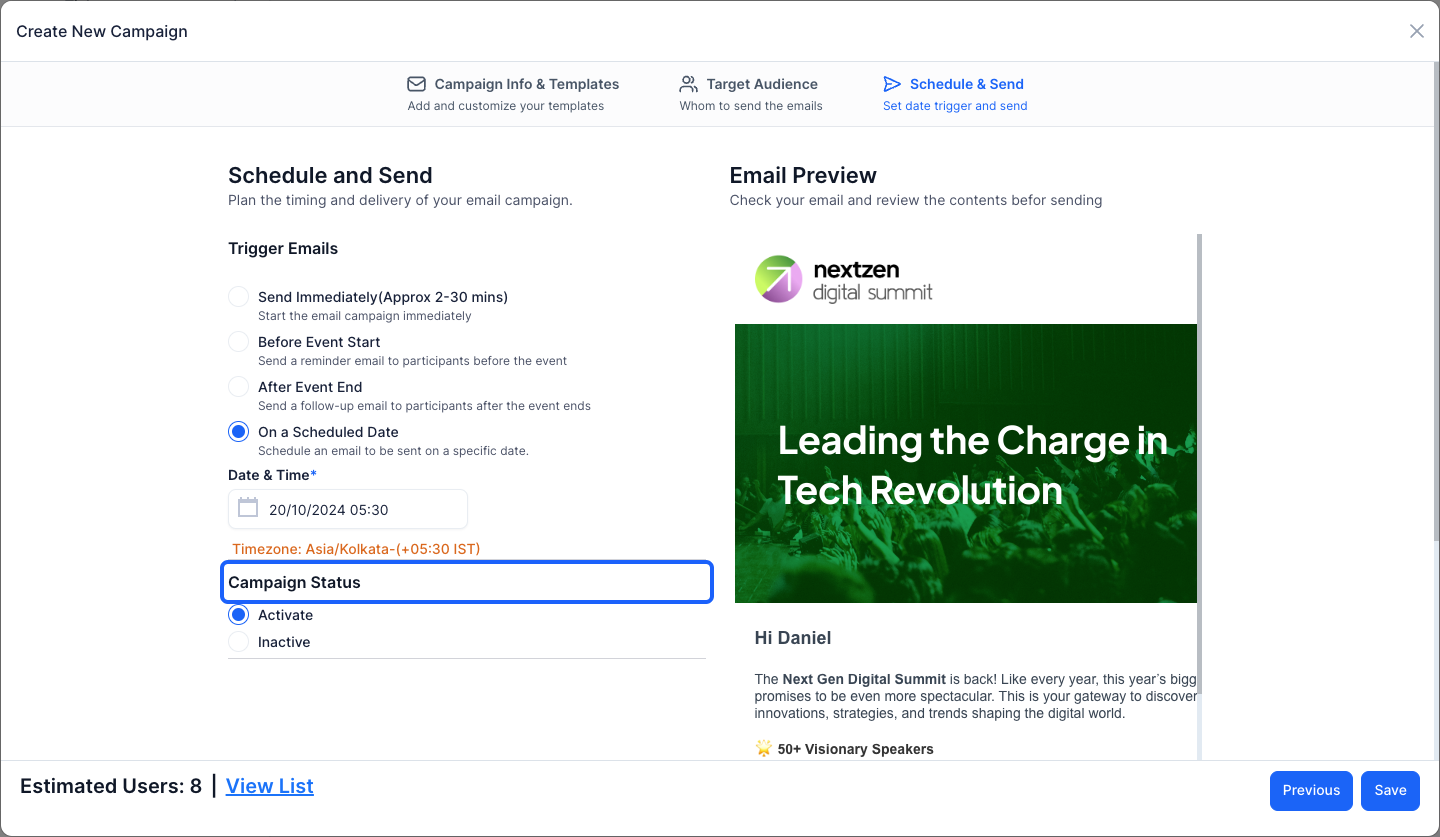
33: Select how many days after the event you want to send the email
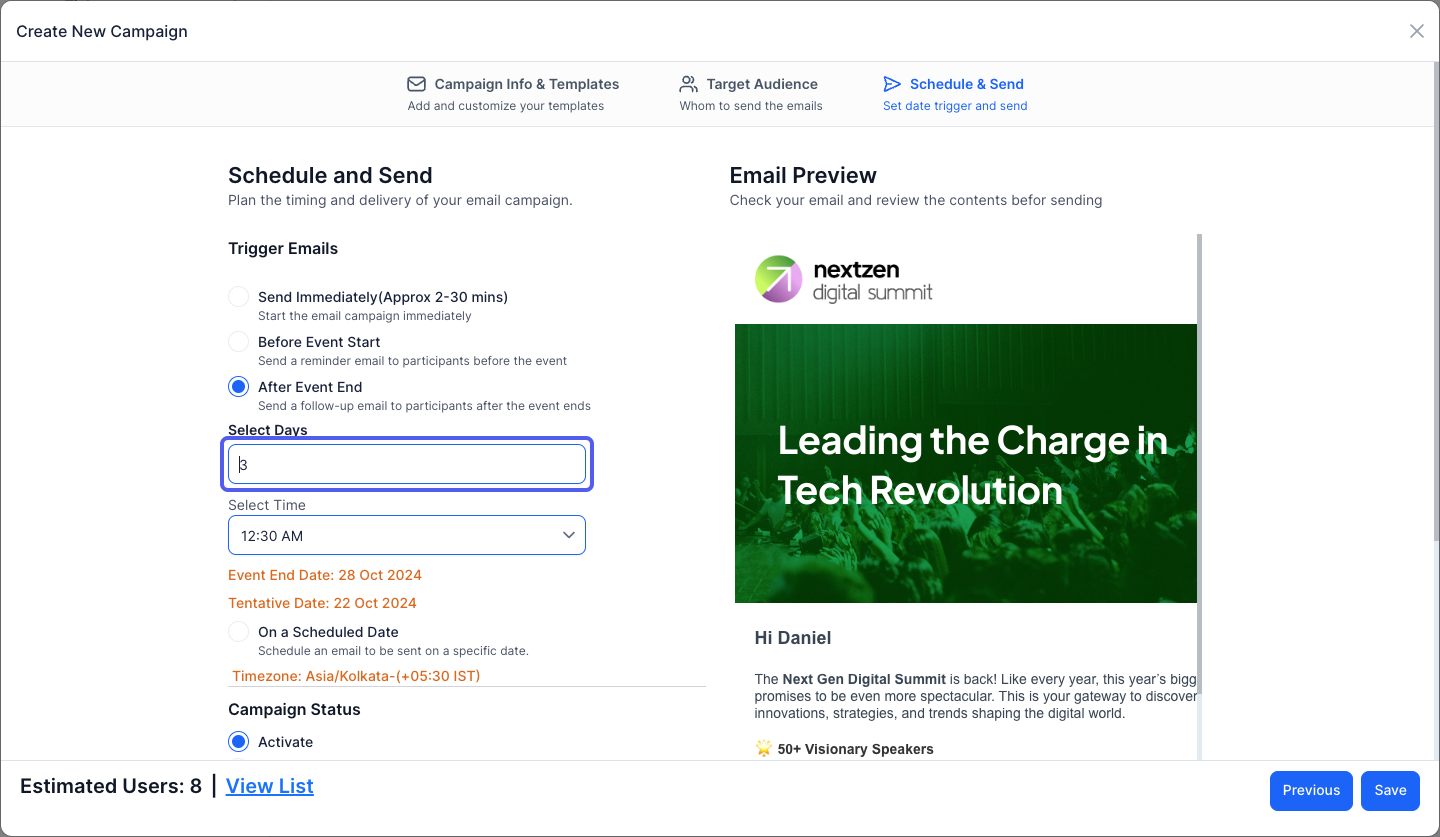
34: Select the time of sending the email
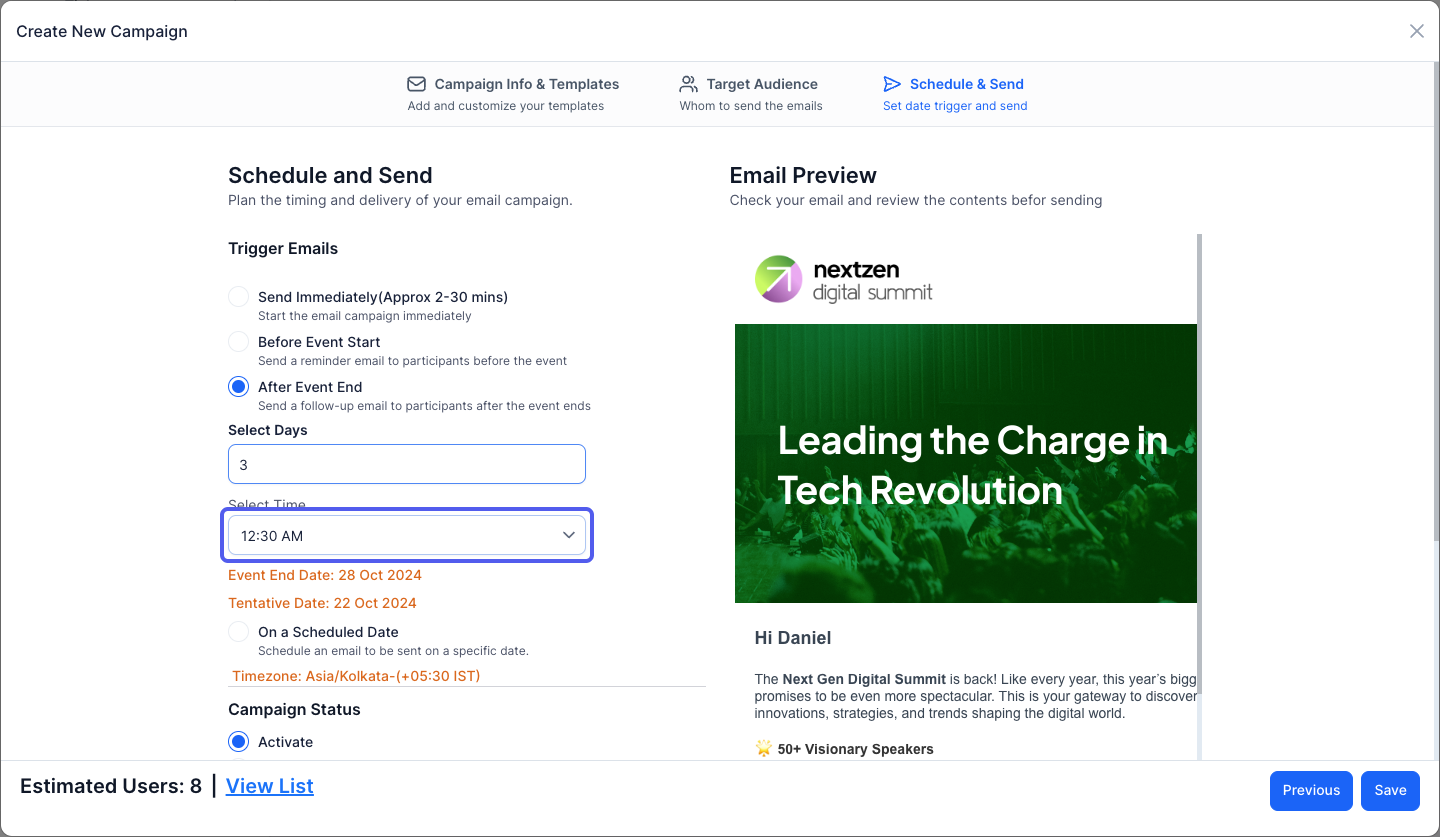
35: You can view the tentative date the email will be sent
36: You can also send the email on a specific date

37: Set the date & time
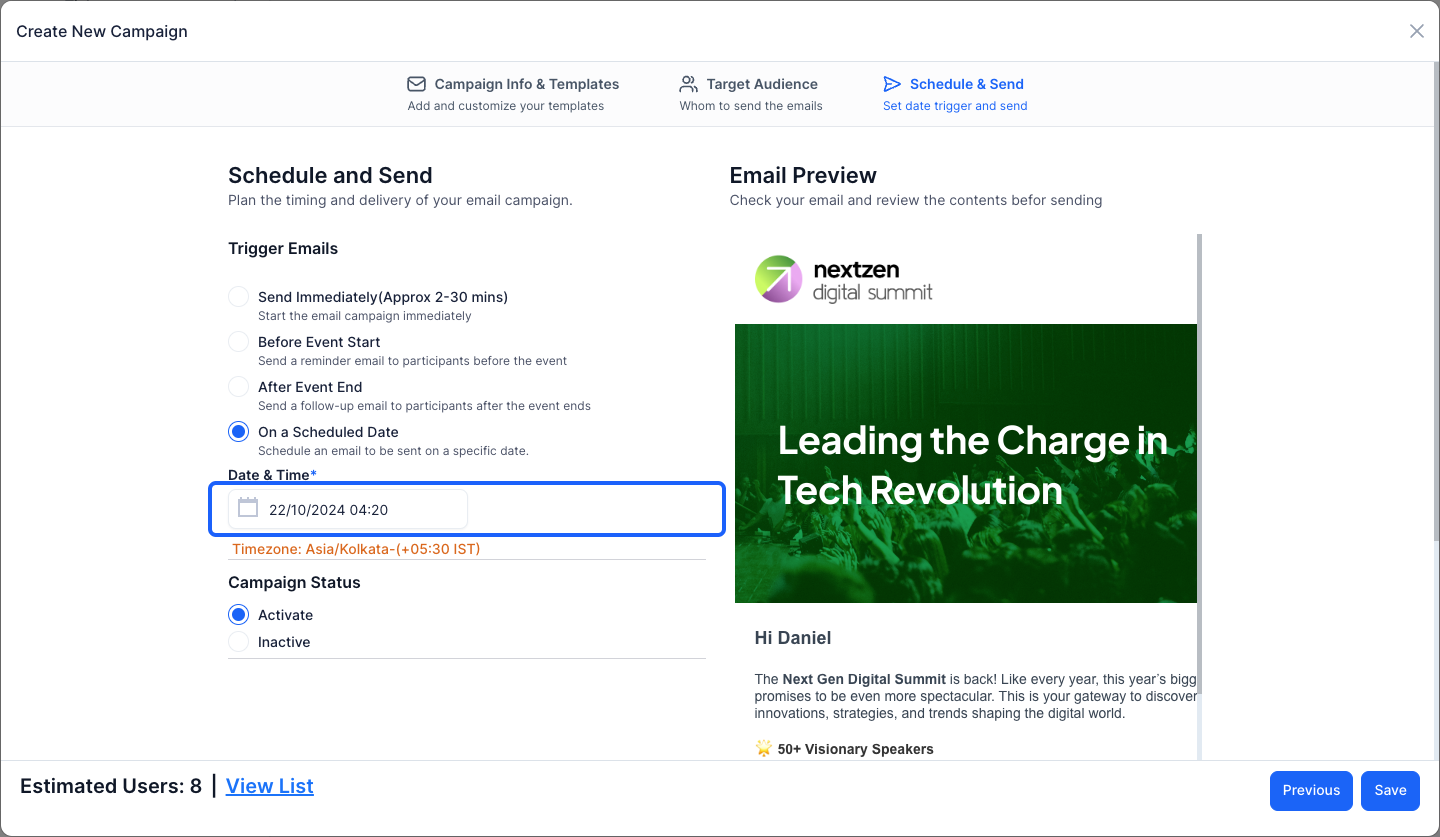
38: You can set the campaign status as Activate or Inactive
39: Click the “Save” button to create the campaign