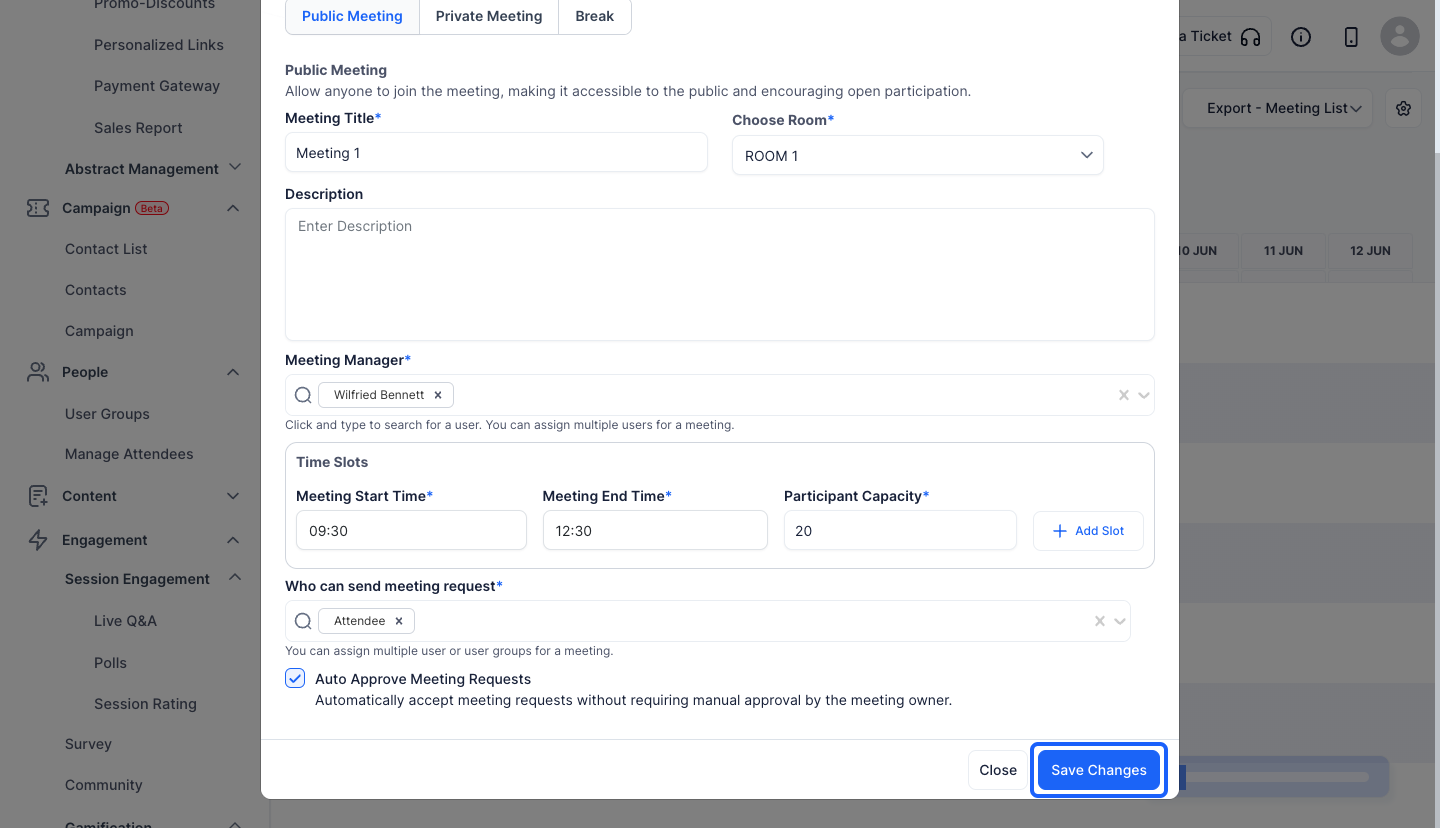
Public meetings allow any attendee to join without prior approval, making it ideal for open networking or group discussions. Follow the steps below to create and configure a public meeting in your Eventify event.

Interactive Guide
Or check the step-by-step guide
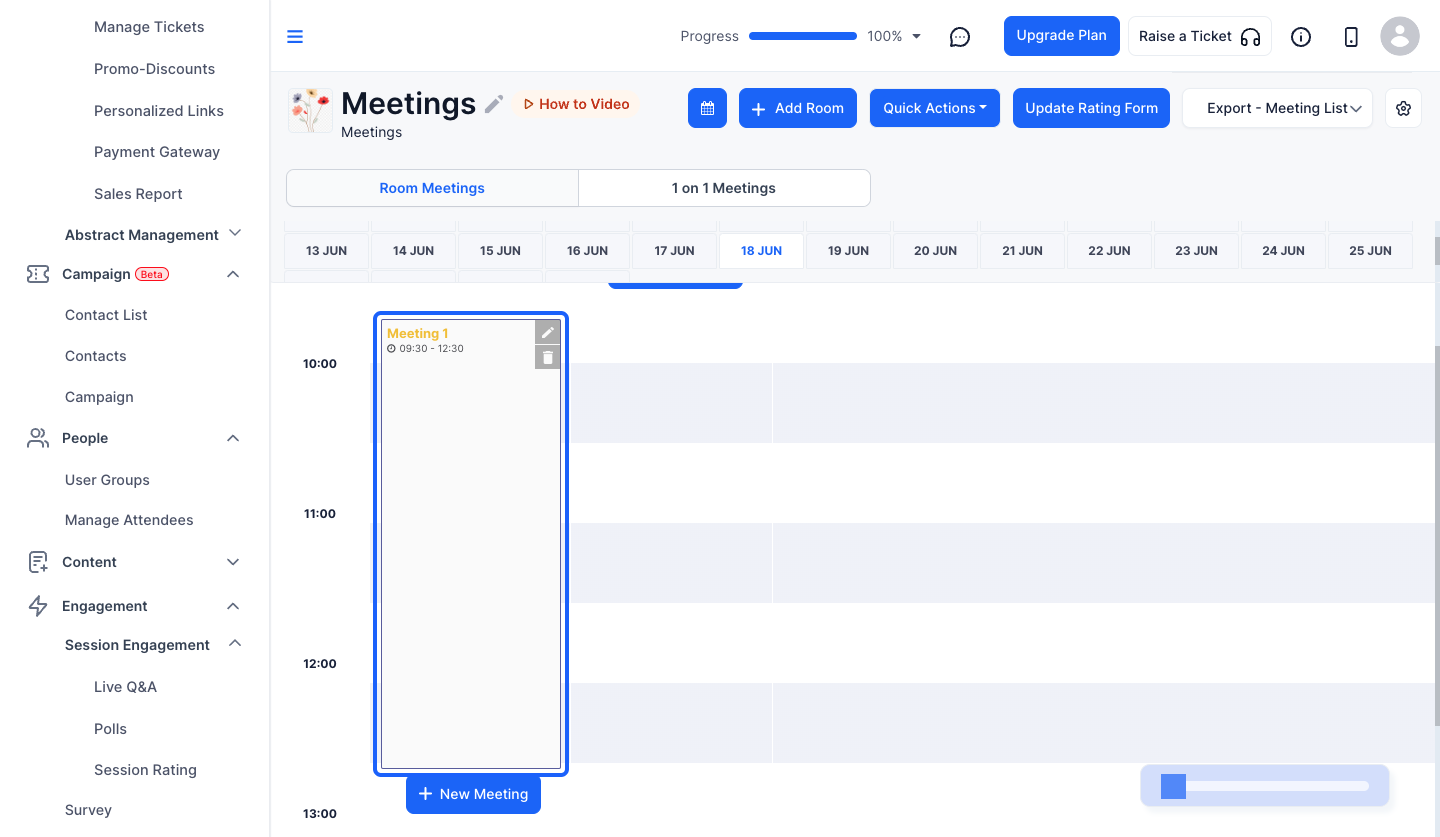
1: Login to Eventify Admin panel and go to Engagement > Networking > Meetings
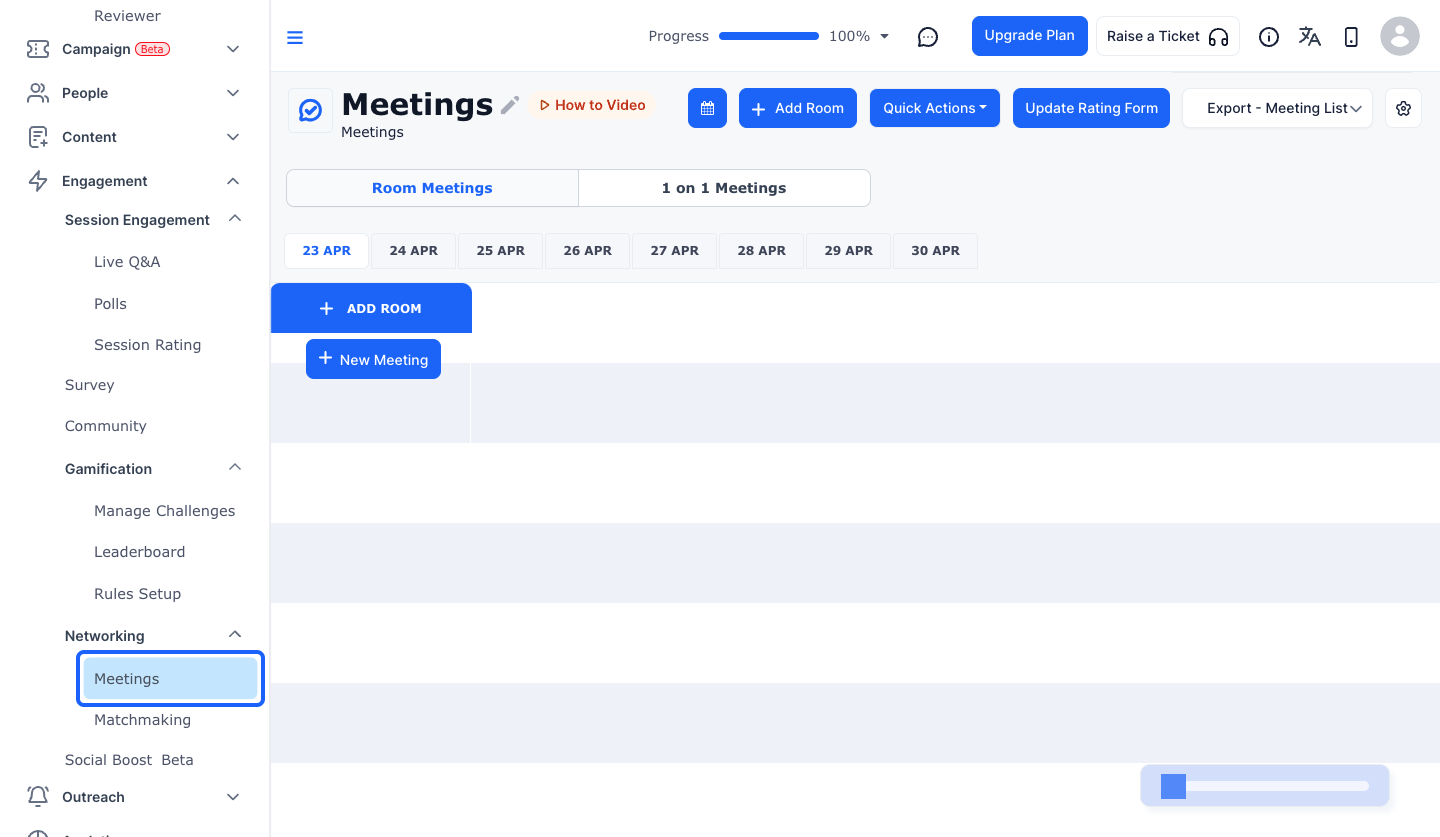
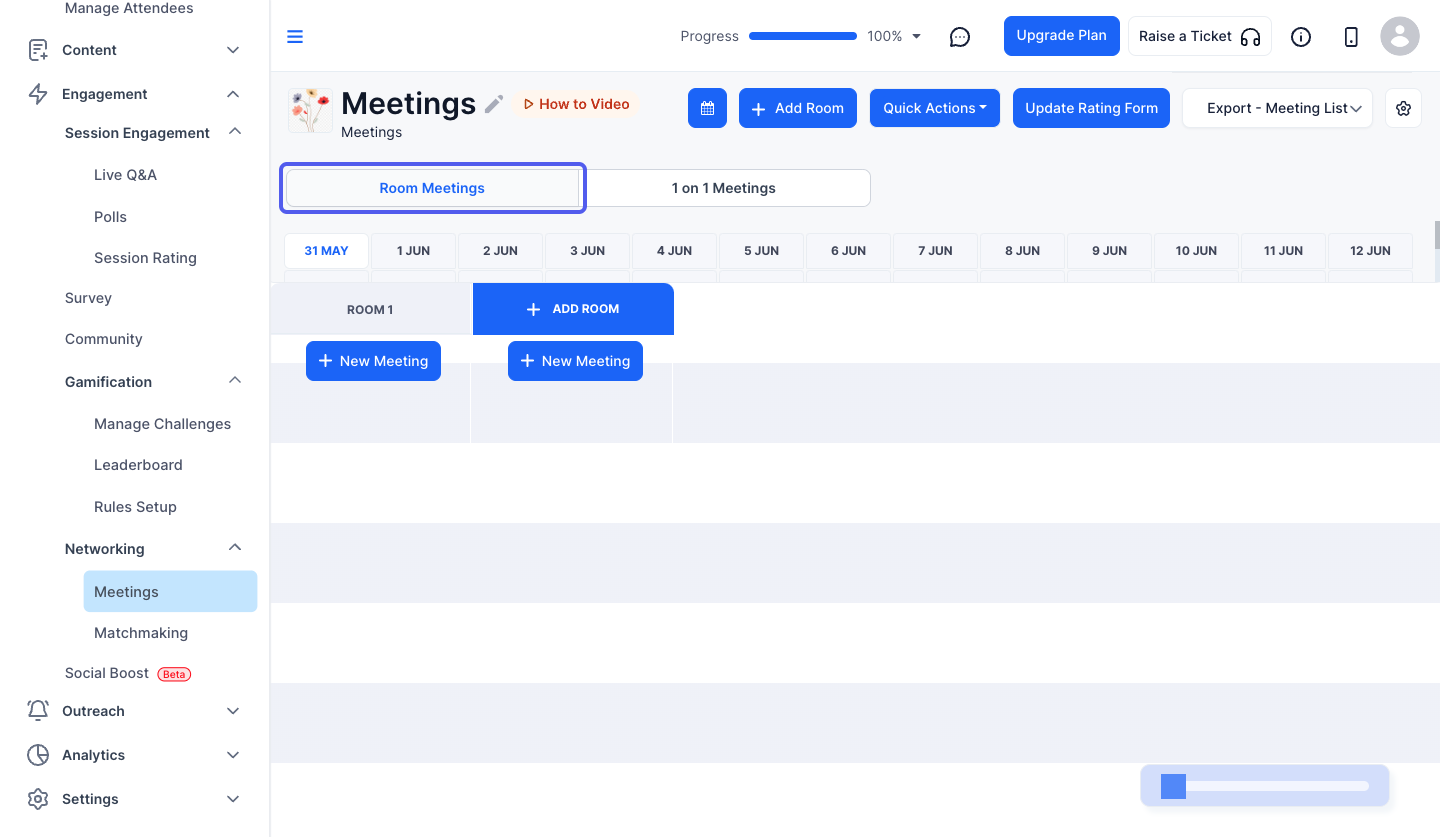
2: Click on "Room Meetings" to create Room Meetings
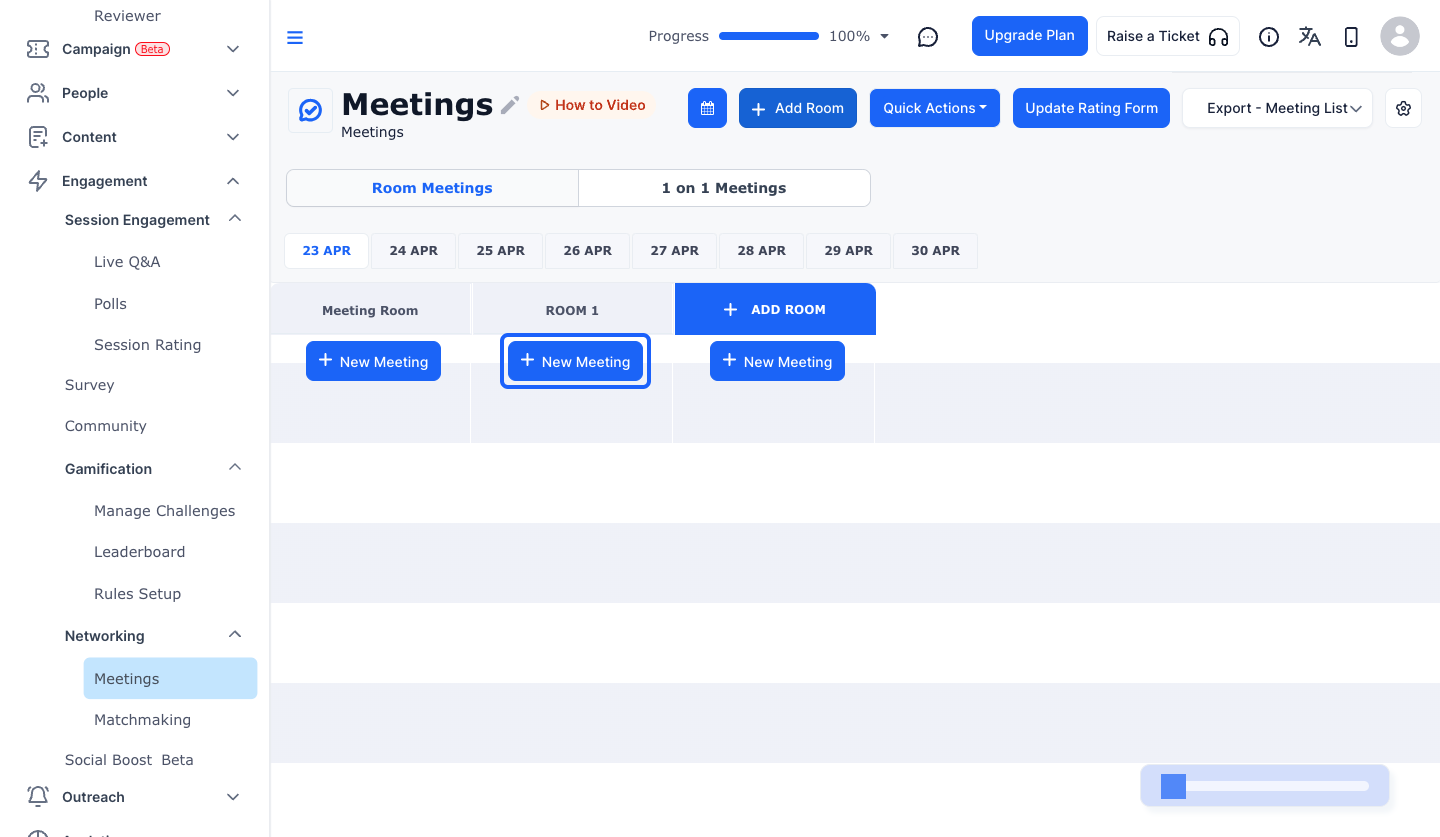
3: Click the “New Meeting” button to create a New Meeting
Note: You must mandatorily add a room before creating a new meeting, or use an existing one
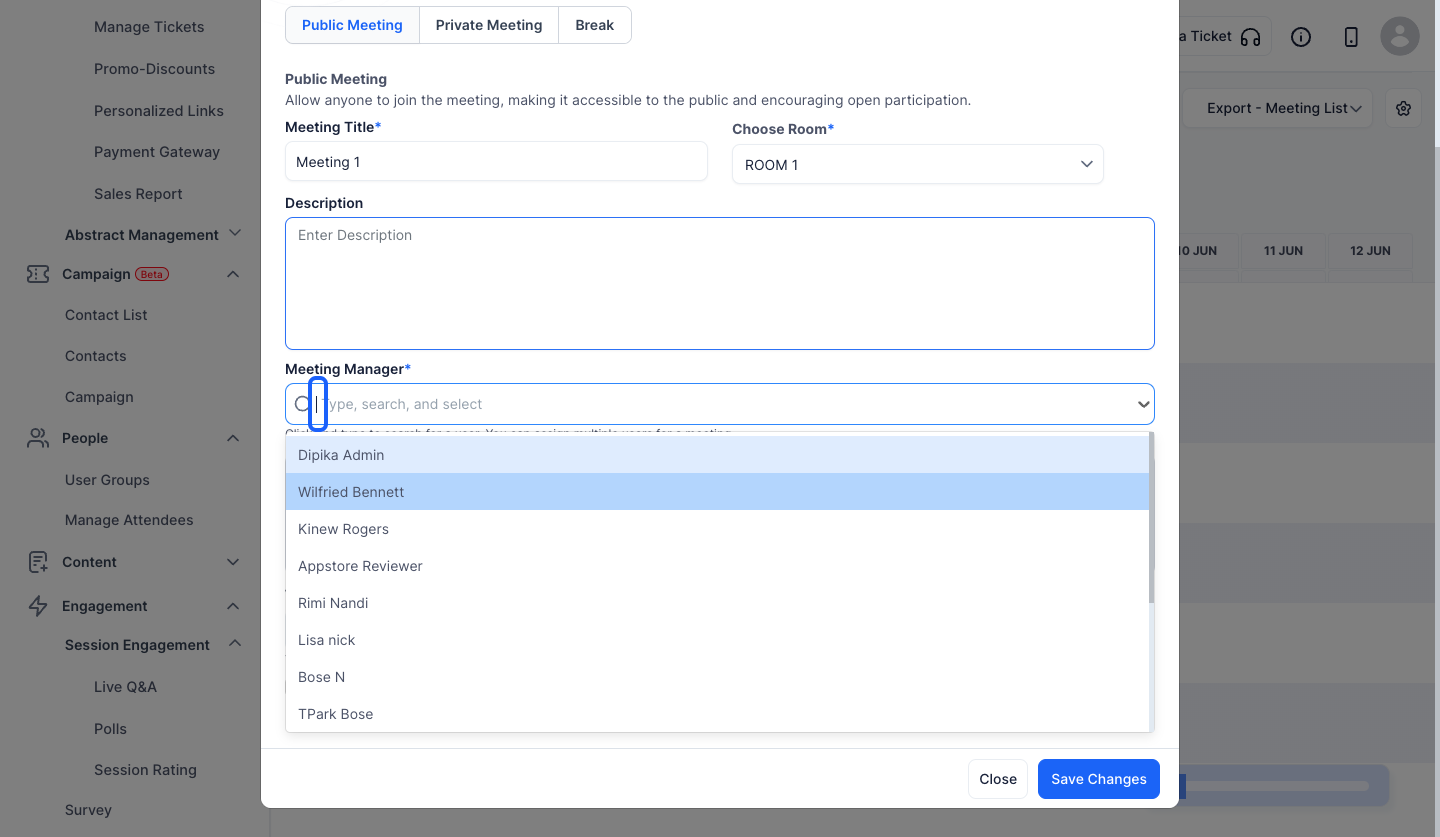
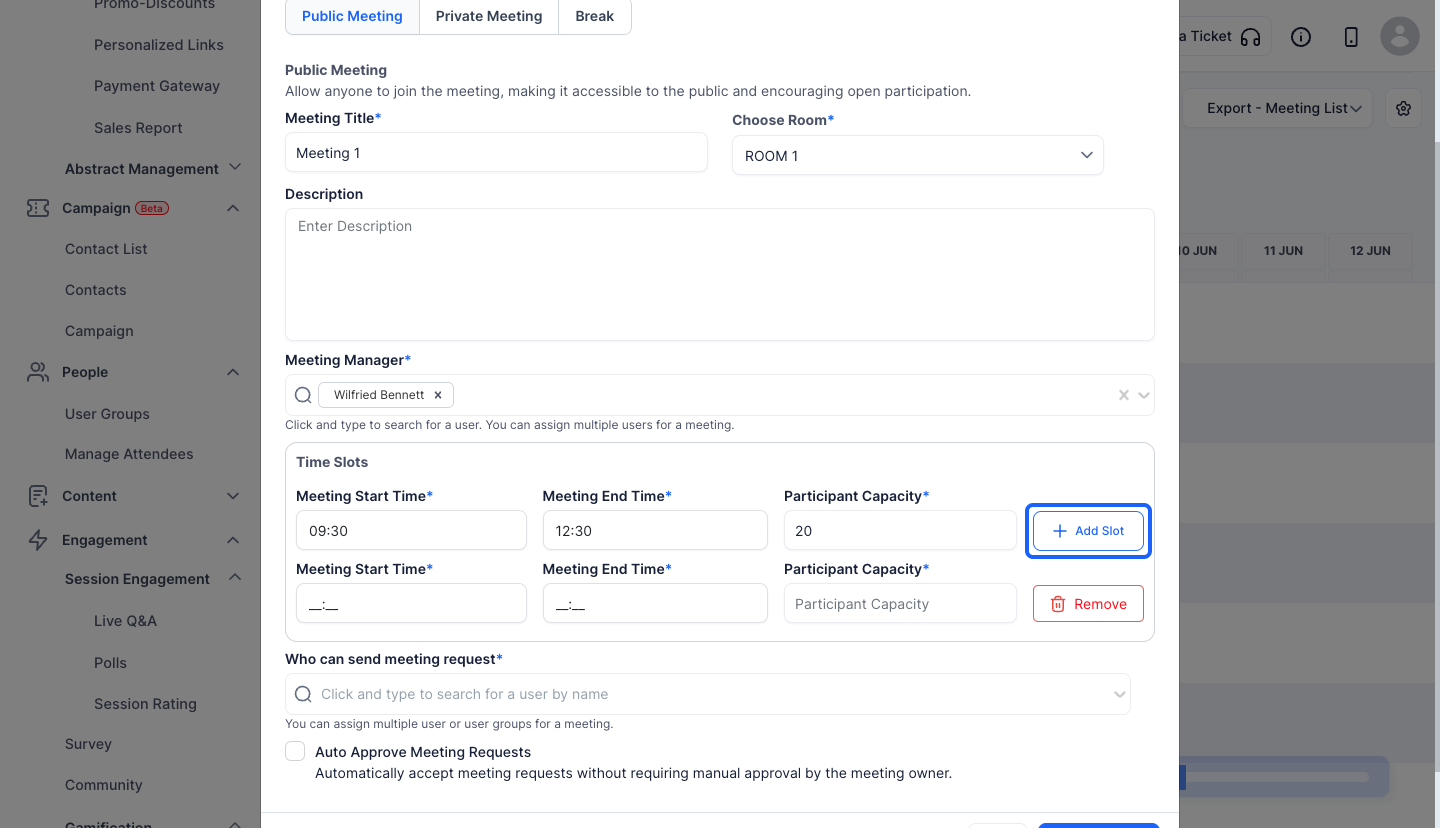
4: If you want to making the meeting accessible to public, then select public meeting
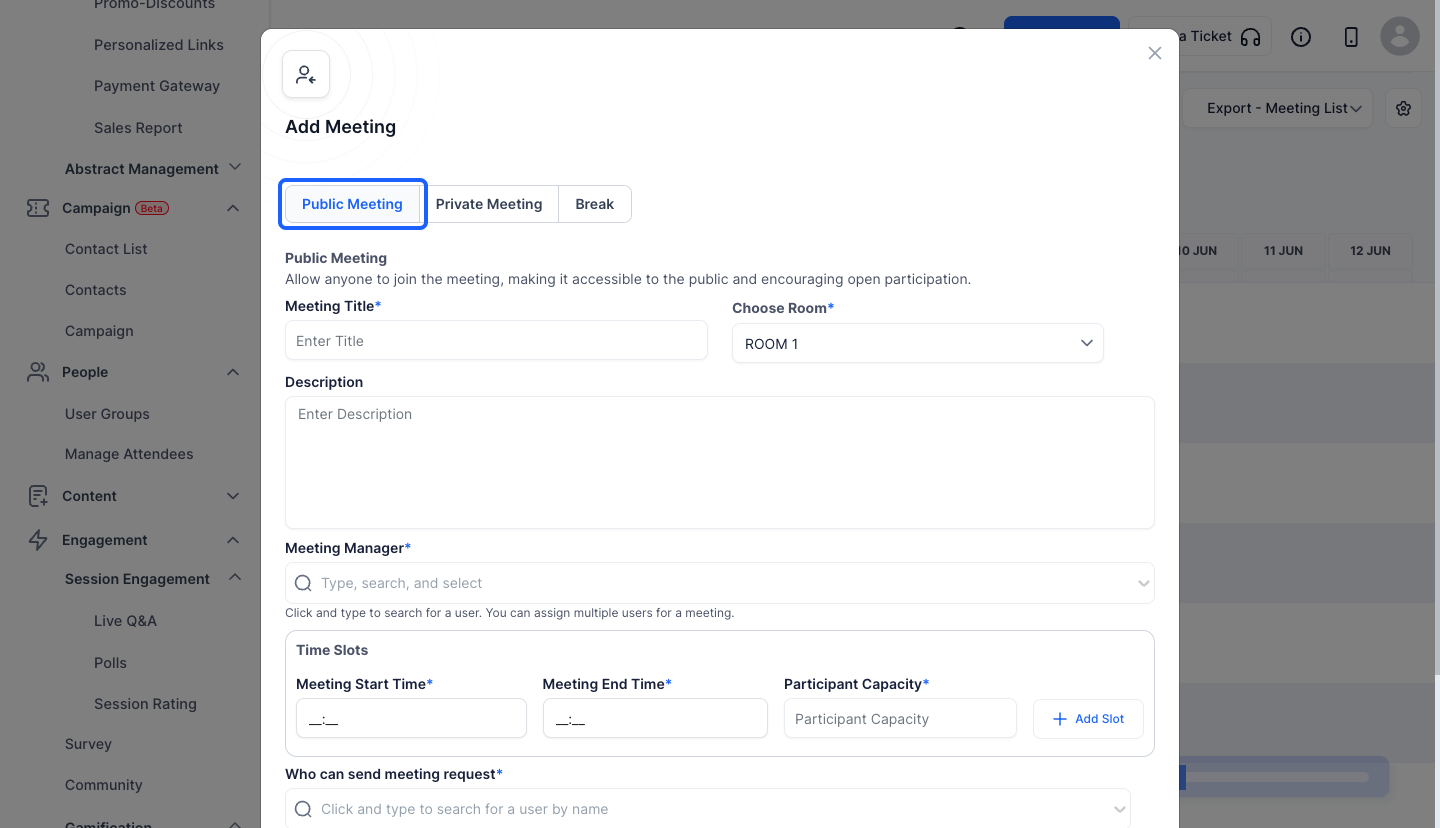
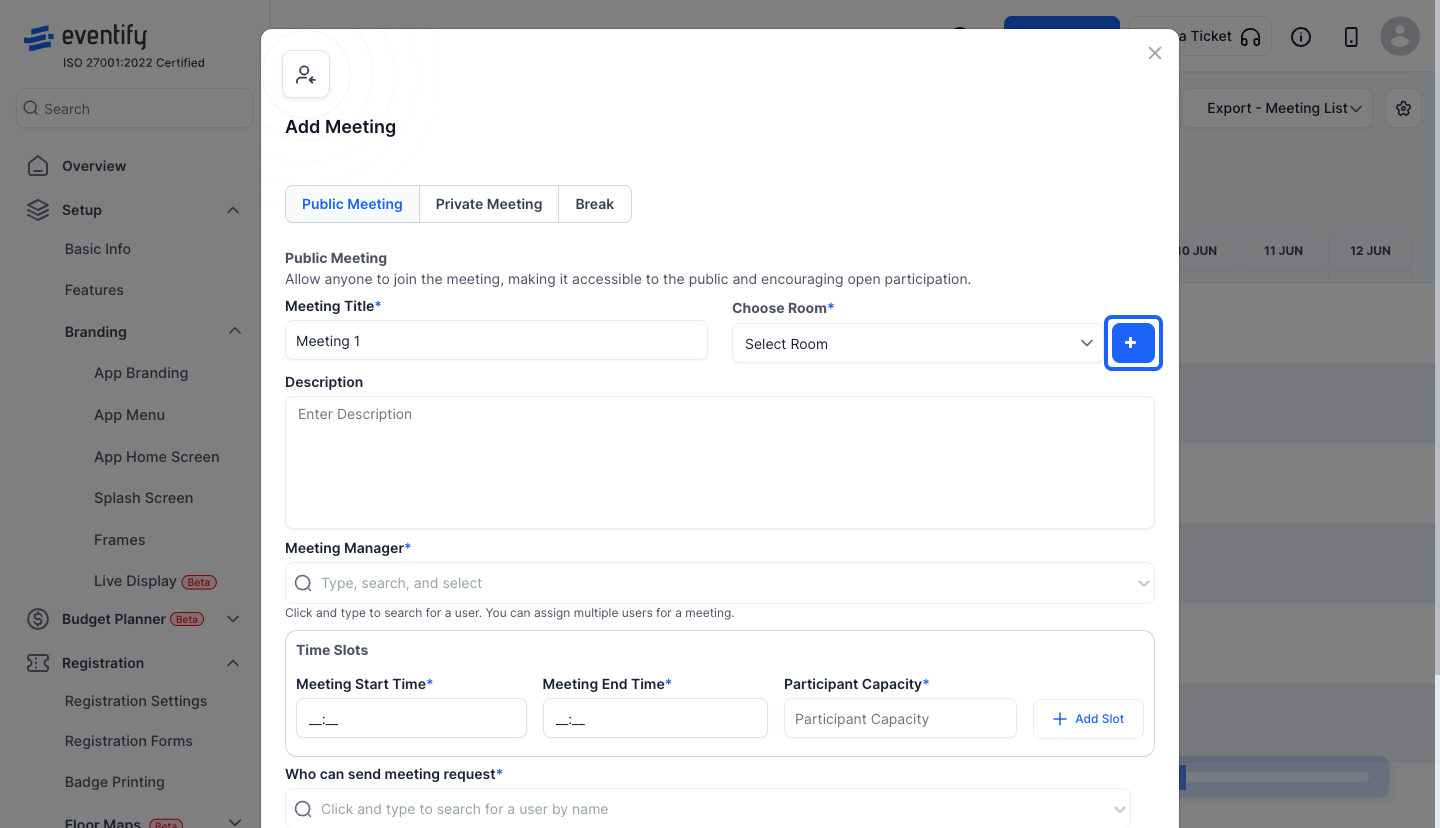
5: Enter the Meeting Title
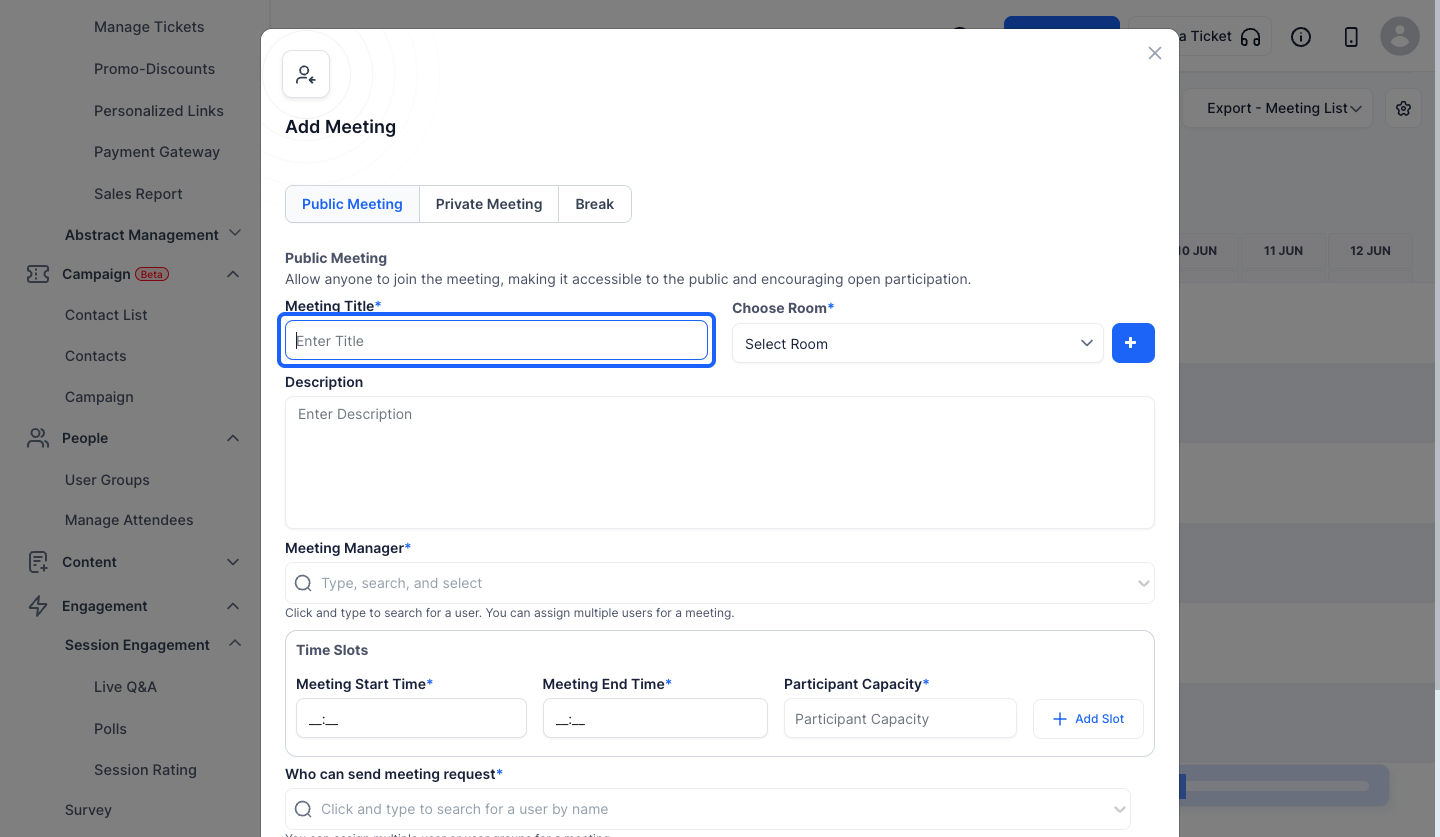
6: Click this button to create a new room
Note: If there are existing rooms then you will not get this button
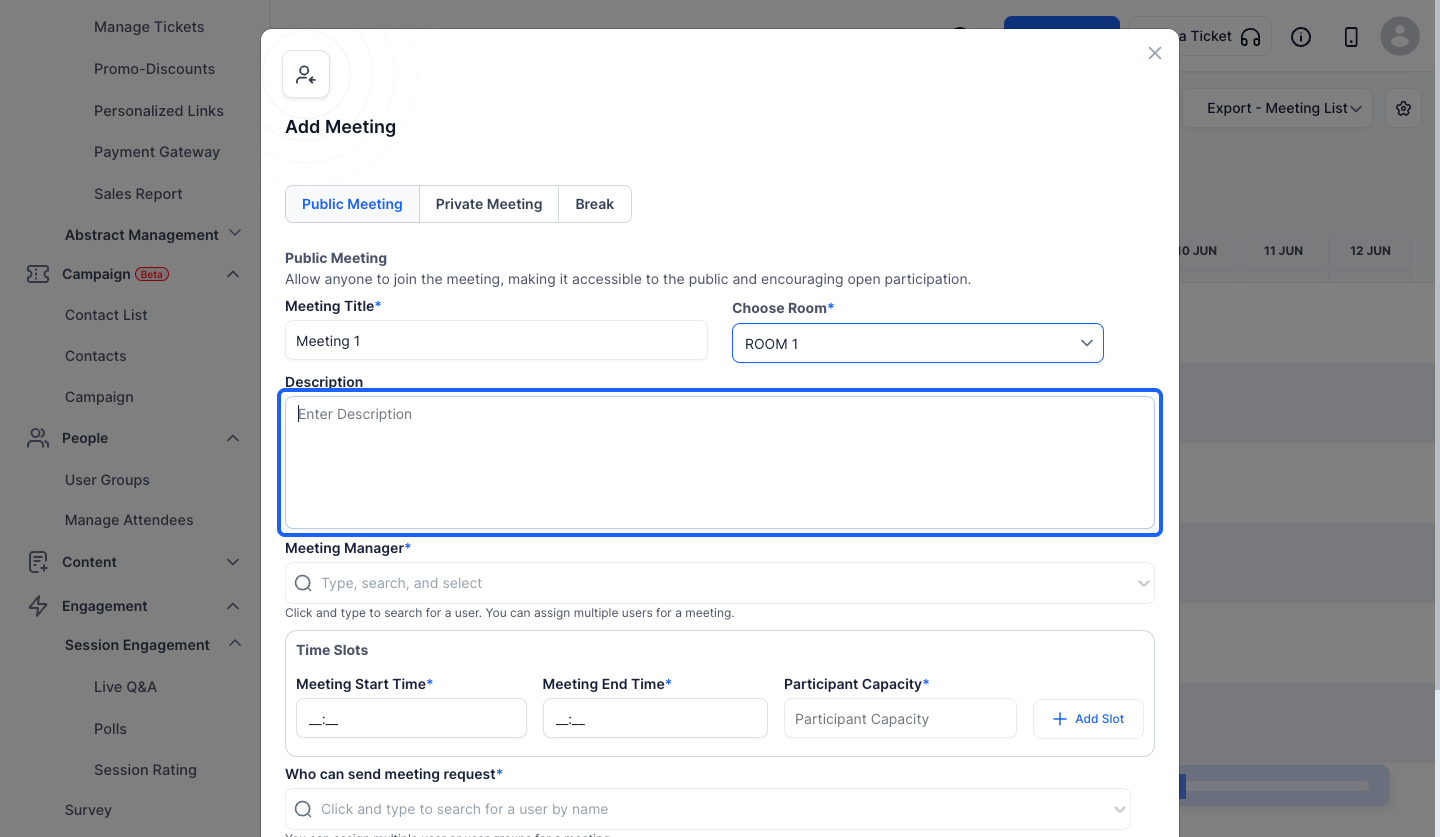
7: You can add a description if required
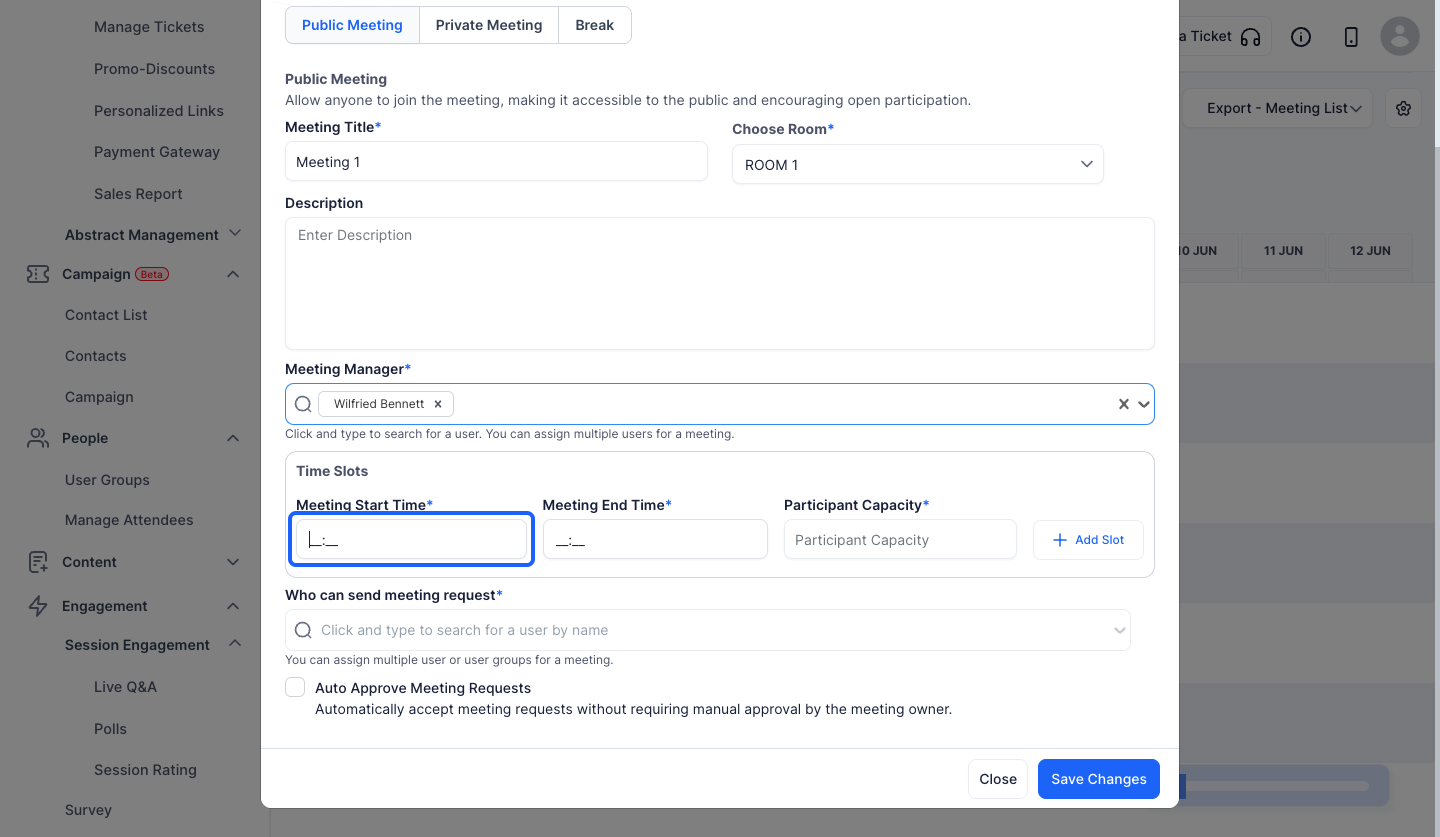
8: You can add one or more Meeting Managers
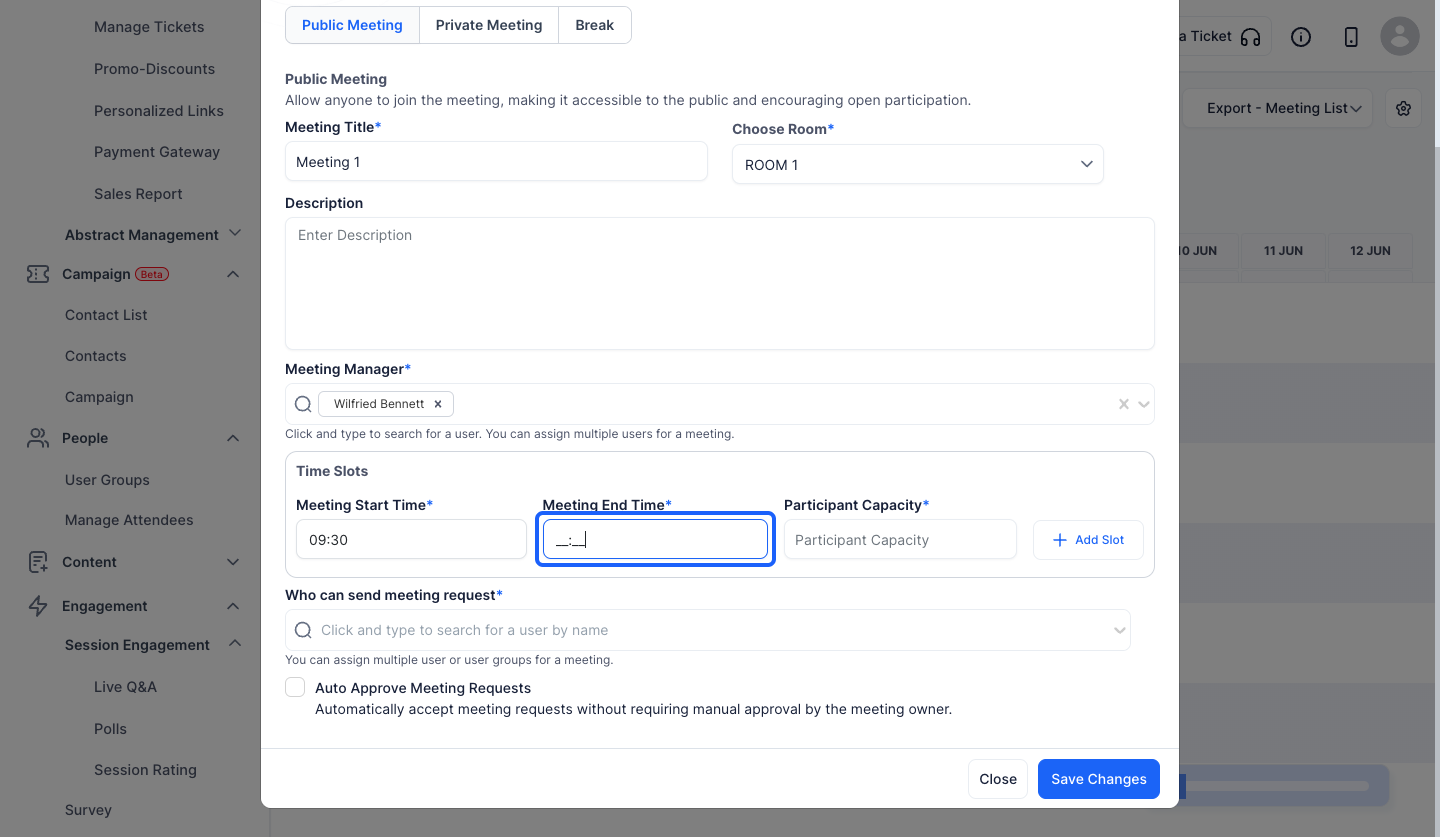
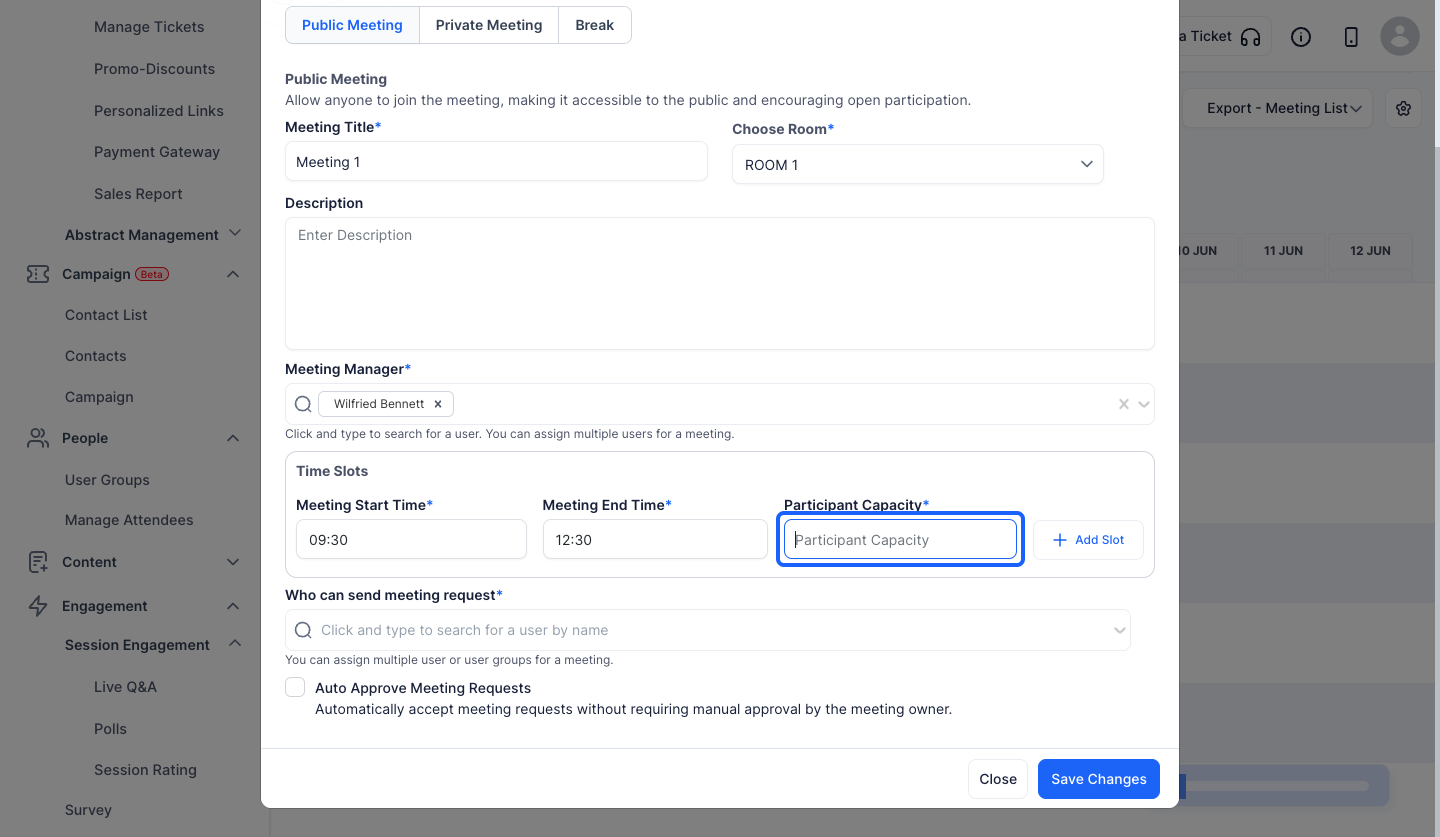
9: Enter the start time of the meeting
10: Enter the end time of the meeting
11: Enter the number of participants
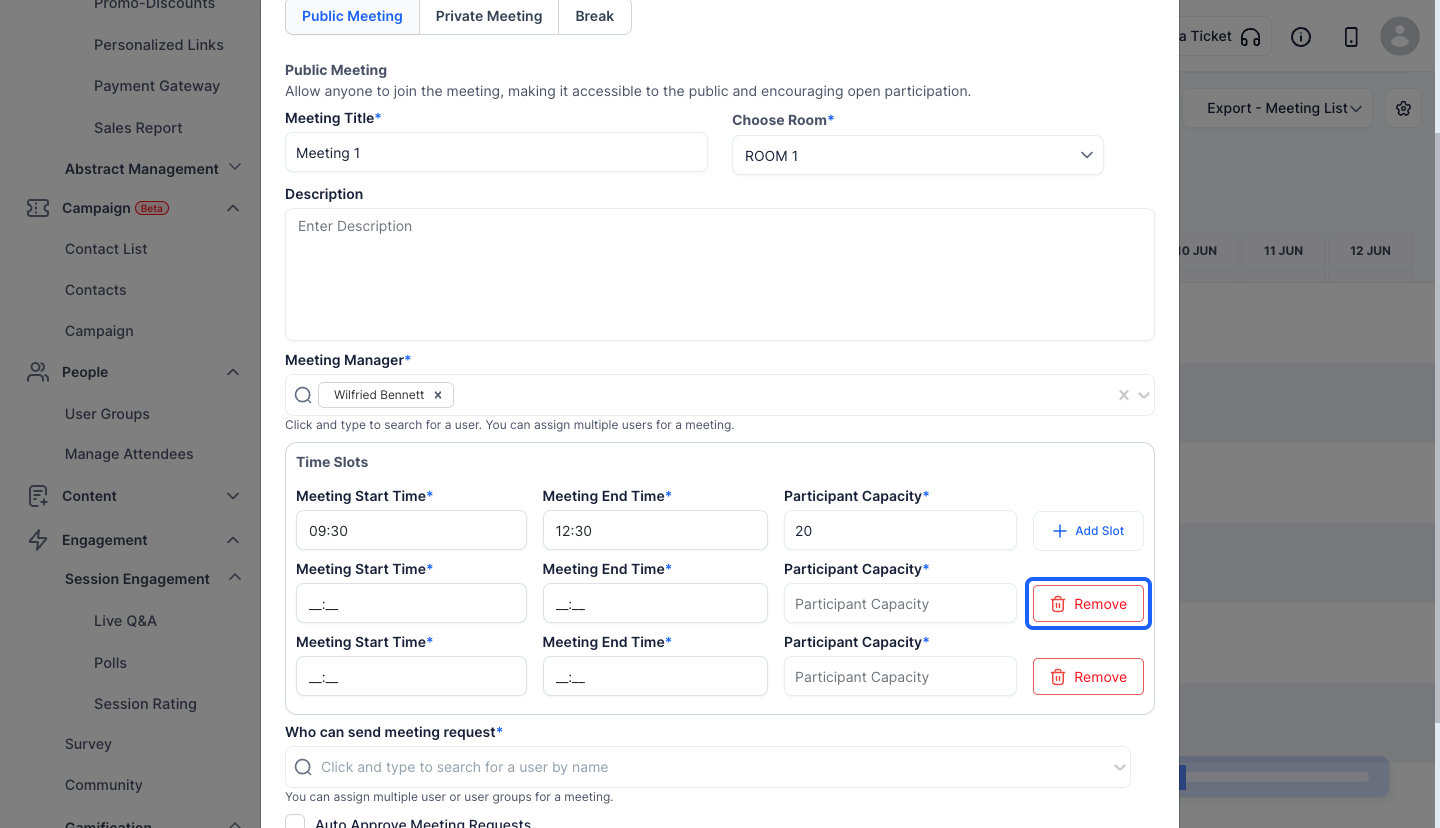
12: Click the “Add Slot” button to add a new slot
13: Click the “Remove” button to delete the slots added
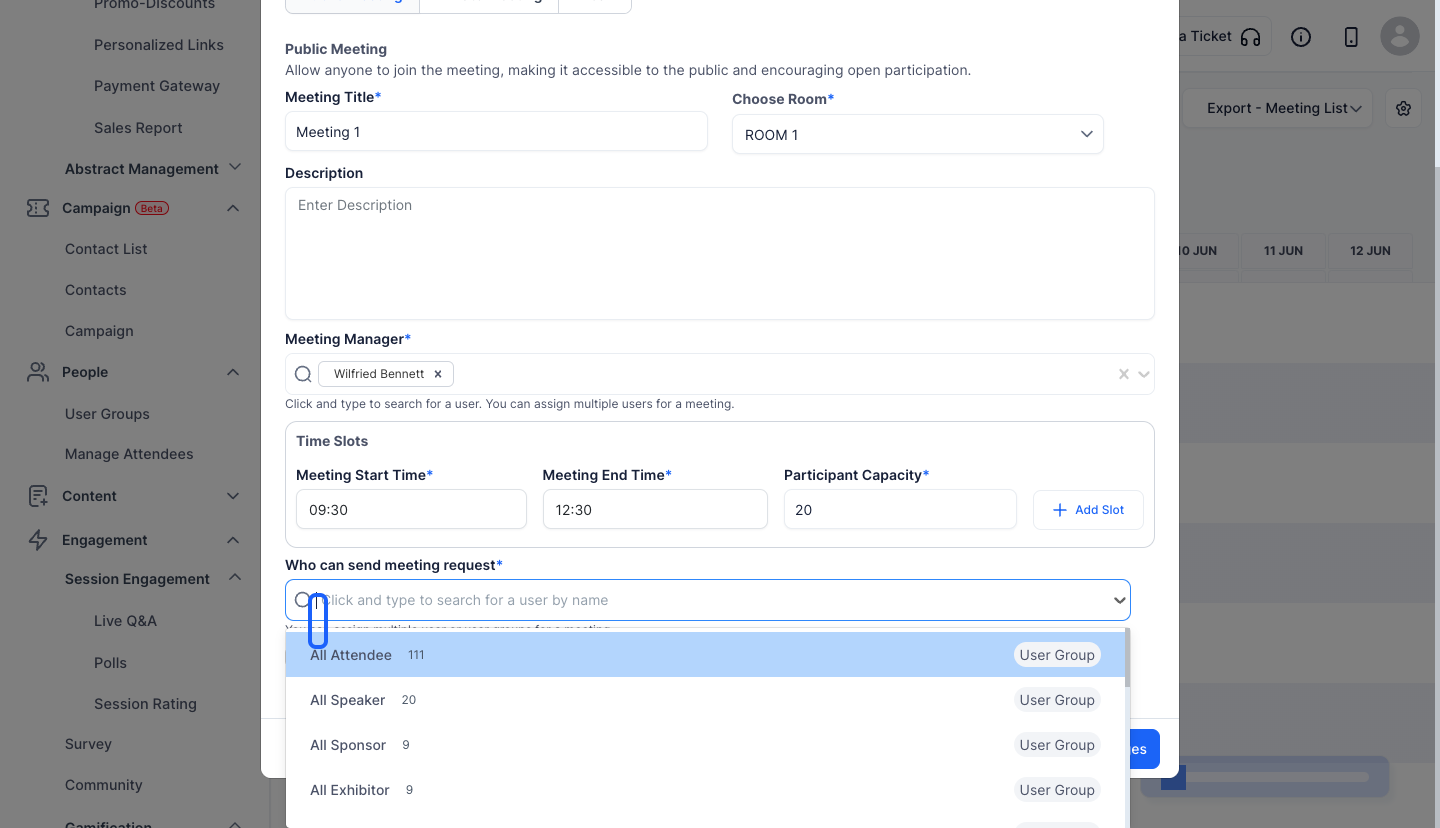
14: Select one or more user groups who can send meeting requests
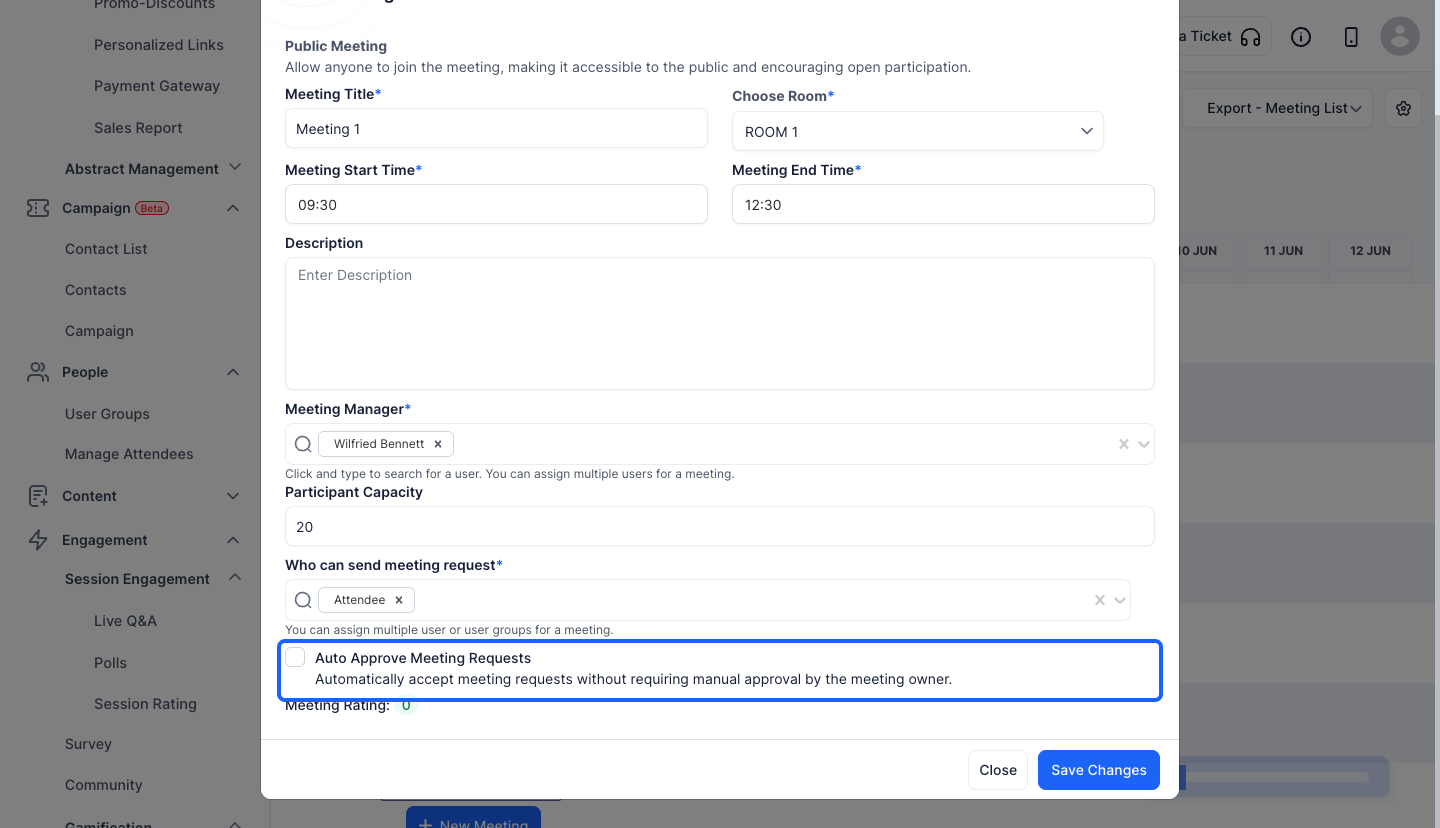
15: Keep this checked to automatically approve meeting requests without manual intervention.

16: Keep this unchecked if you don't want to auto approve meeting requests
17: Click on the pencil icon to edit an existing meeting
18: Click the “Save Changes” button to create the meeting