Eventify offers a user-friendly platform for creating and managing meetings. The meeting creation interface on Eventify provides you with a comprehensive set of options to customize your meeting settings.
Interactive Guide
Or check the step-by-step guide
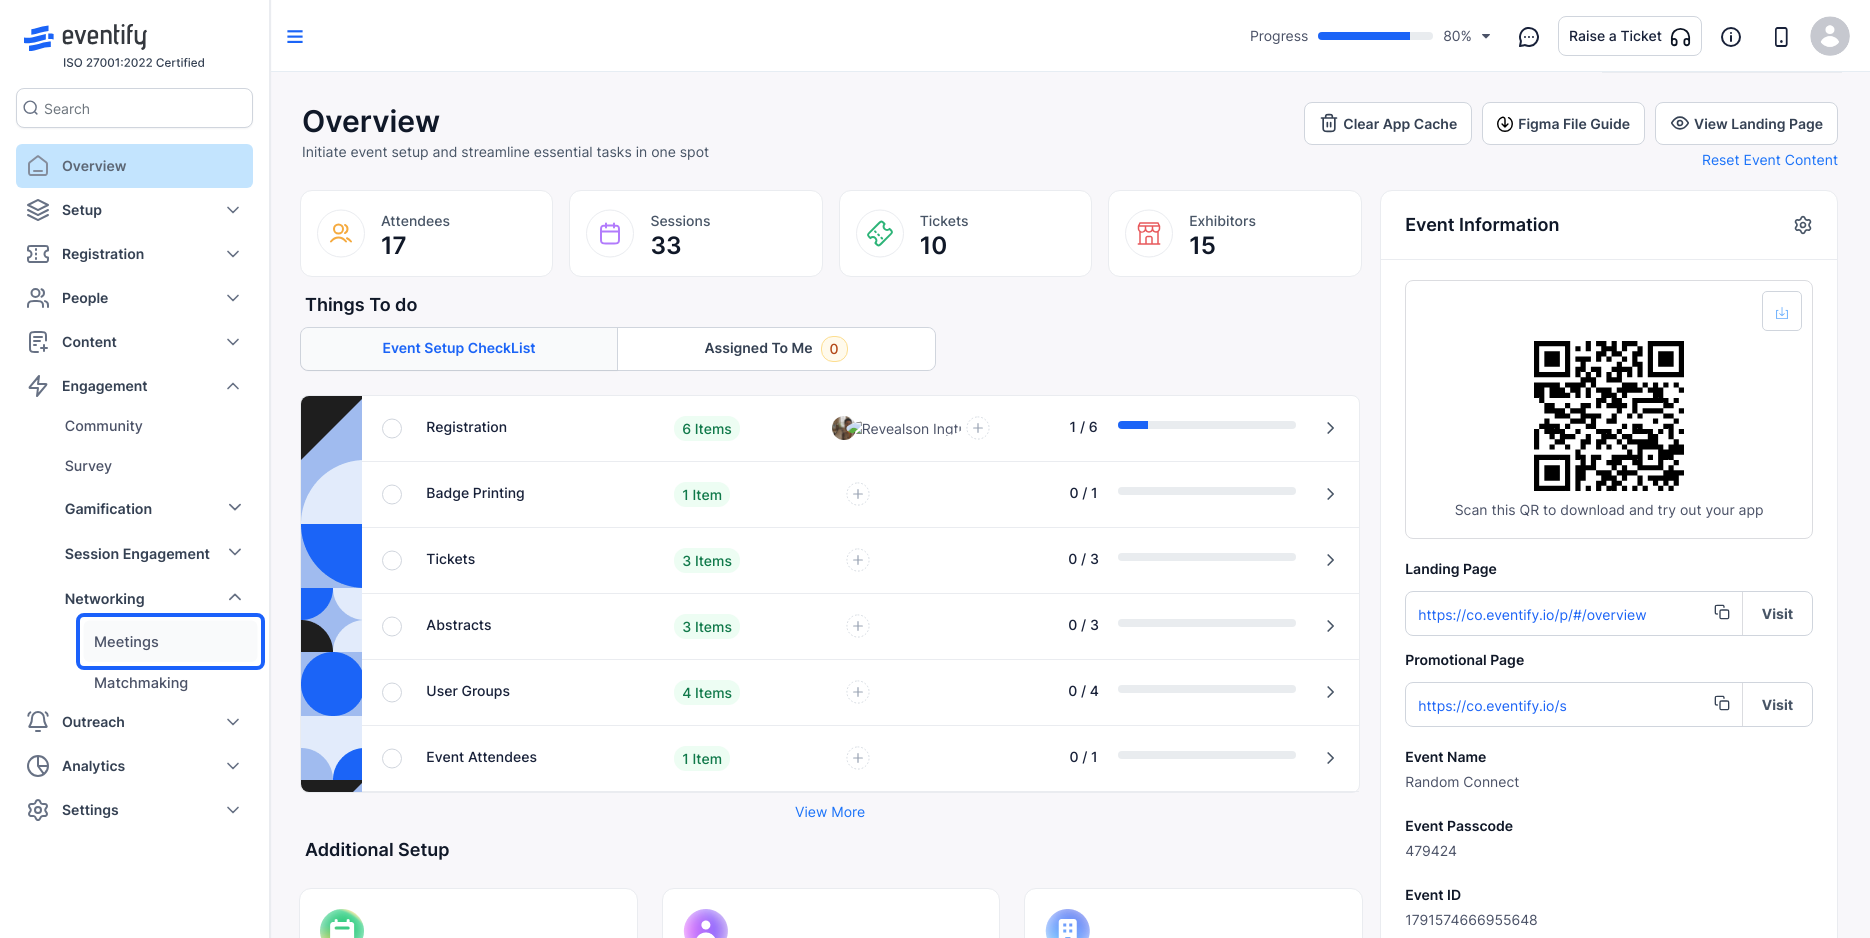
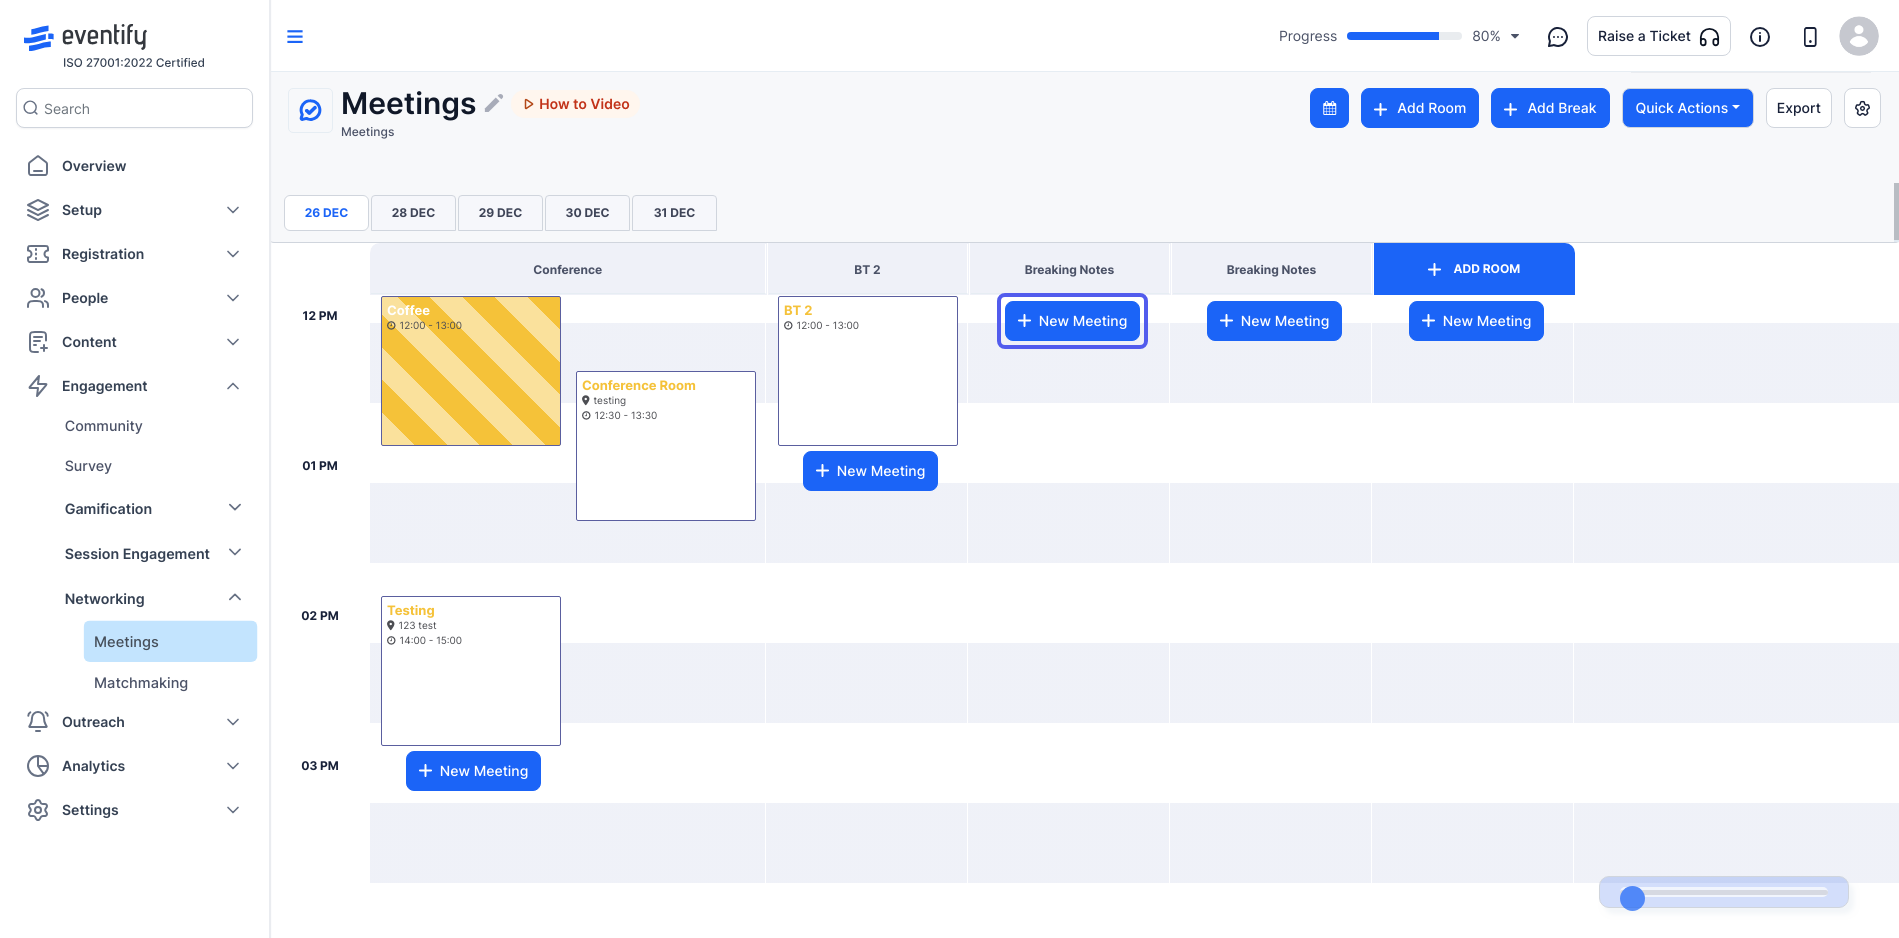
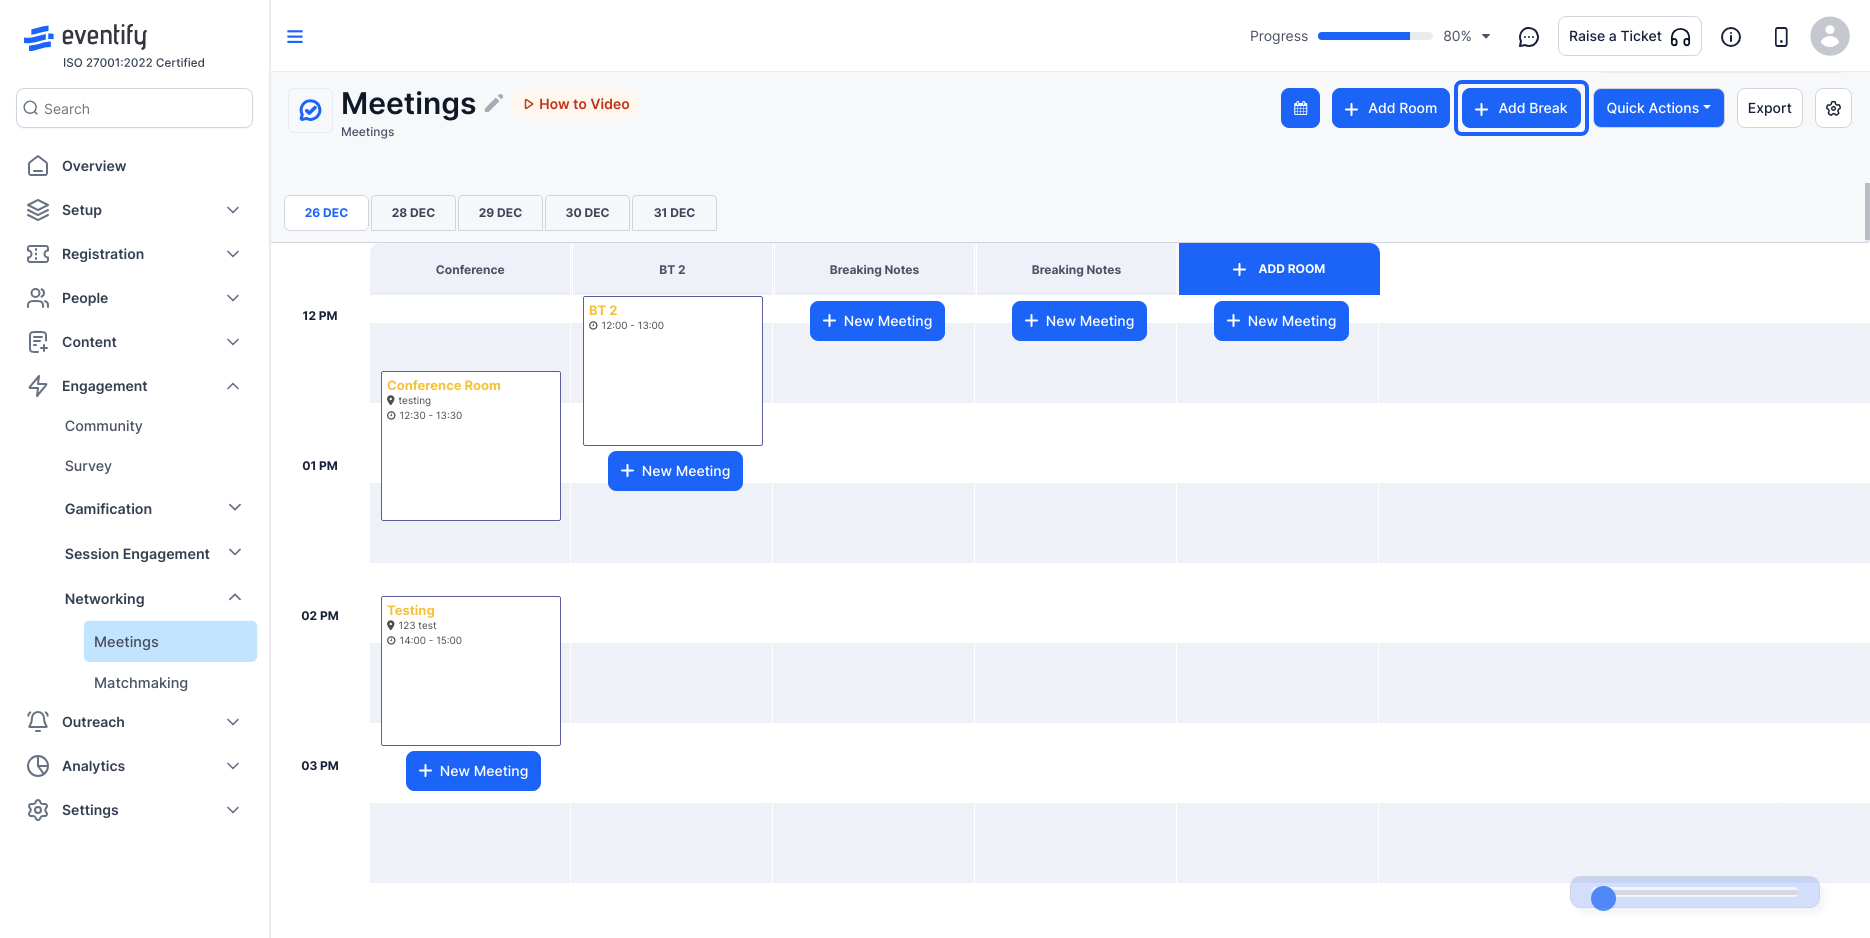
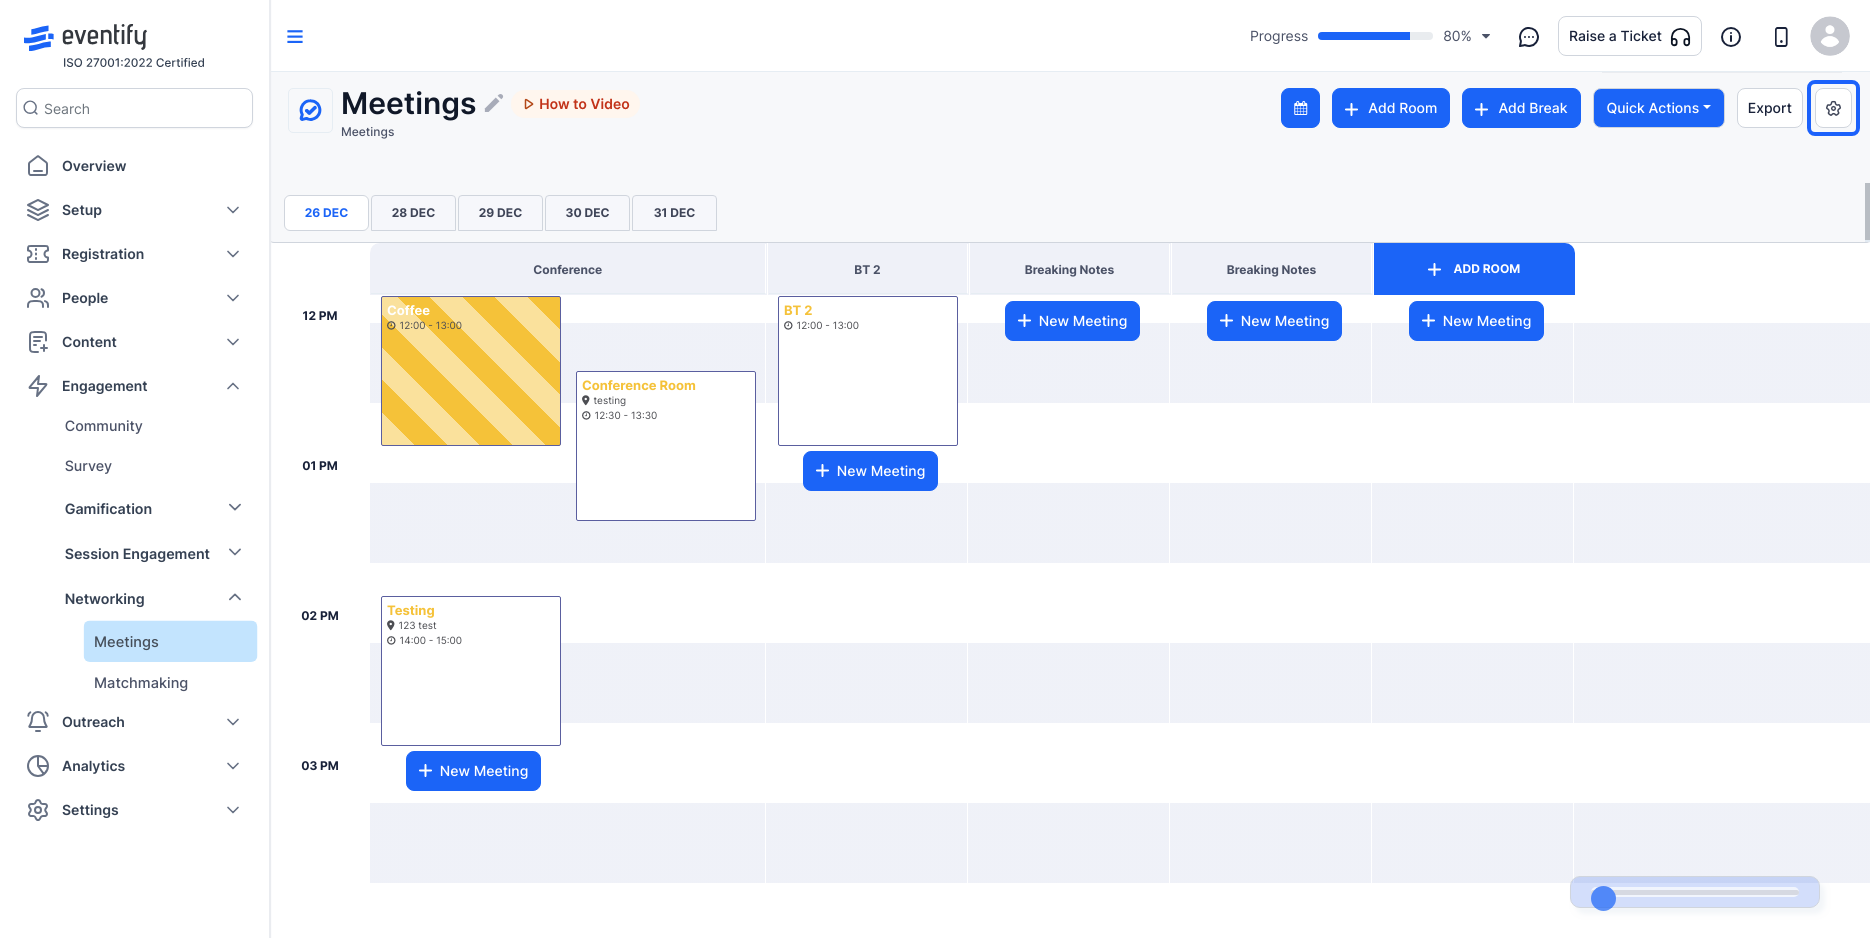
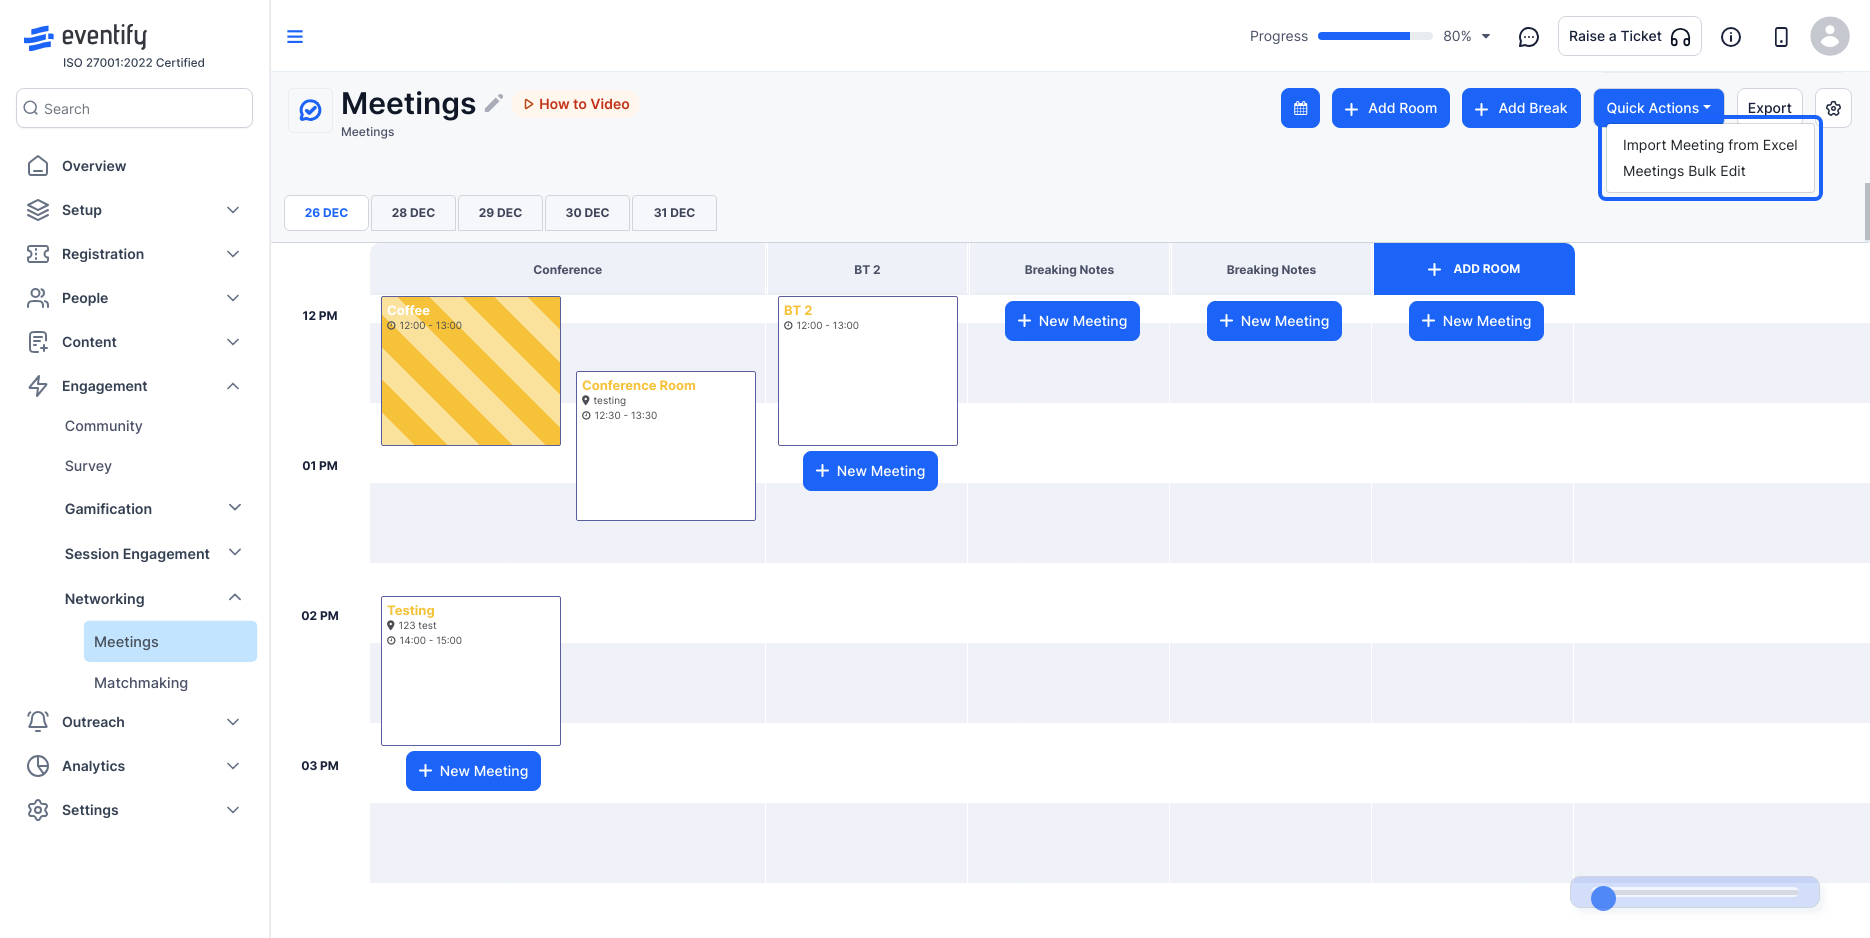
1: Navigate to the admin panel and select Networking > Meetings.
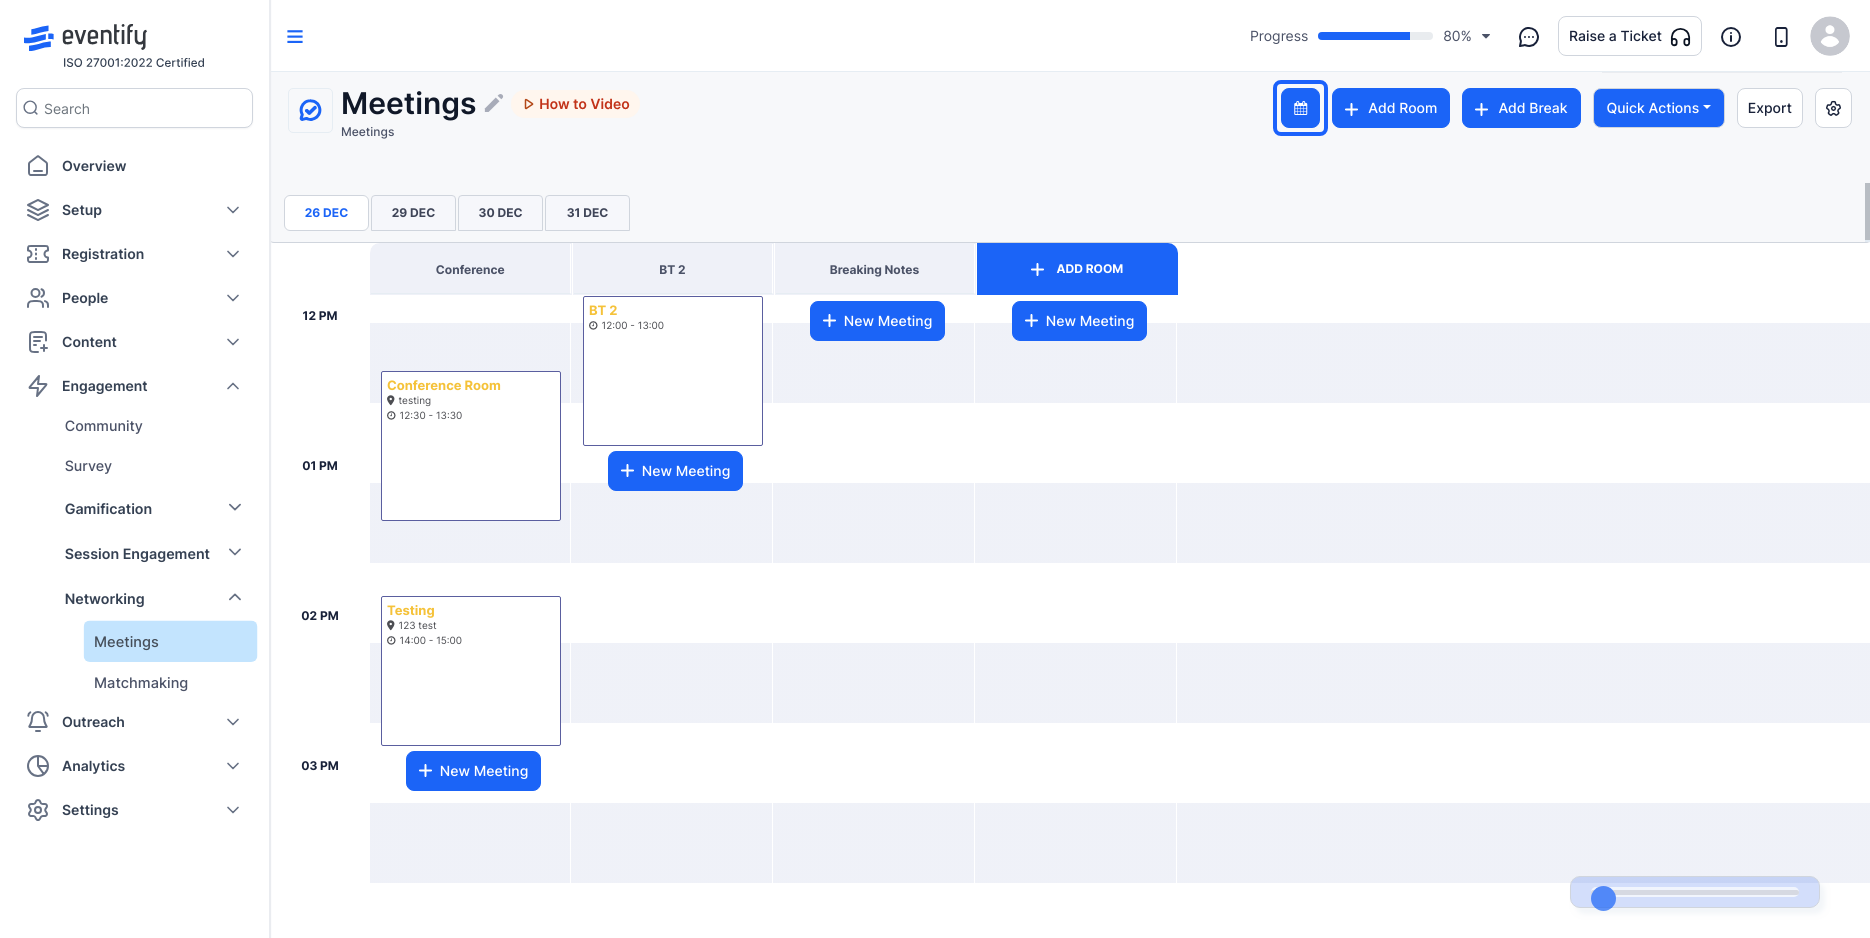
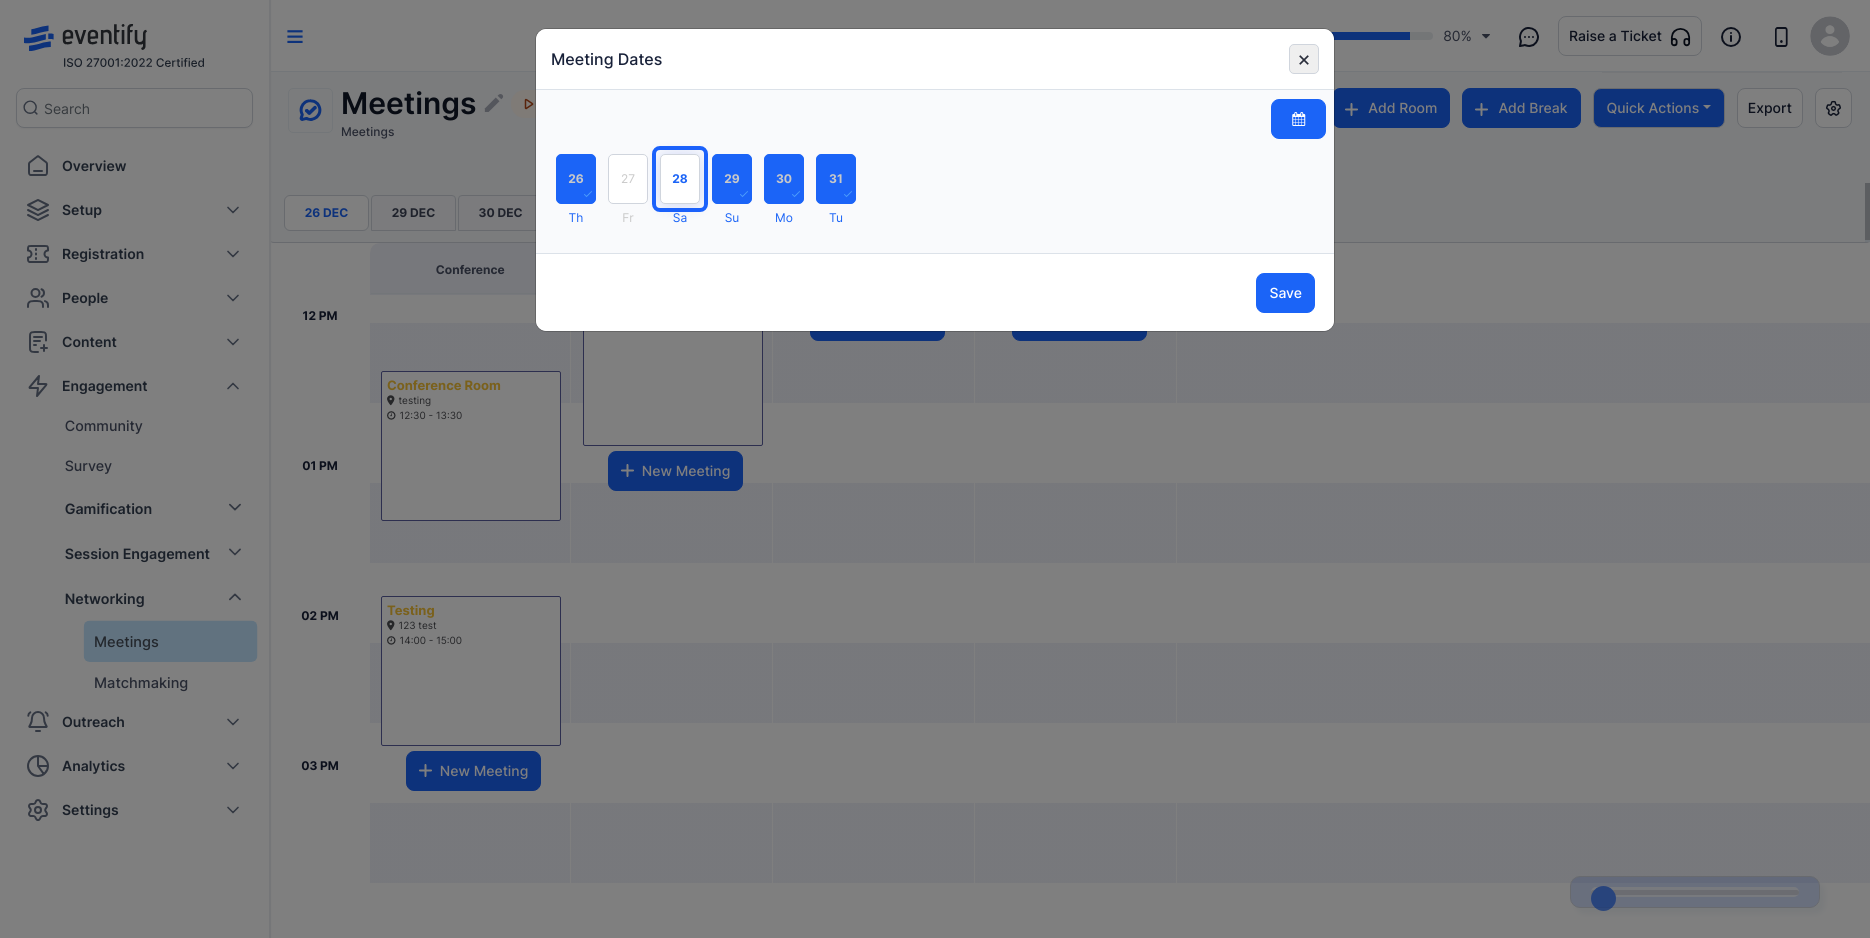
2: Click on the calendar icon, here you can set the range of the meeting dates.
3: To manage your meetings by date, enable or disable the dates according to your event schedule. Click Save to apply your changes.
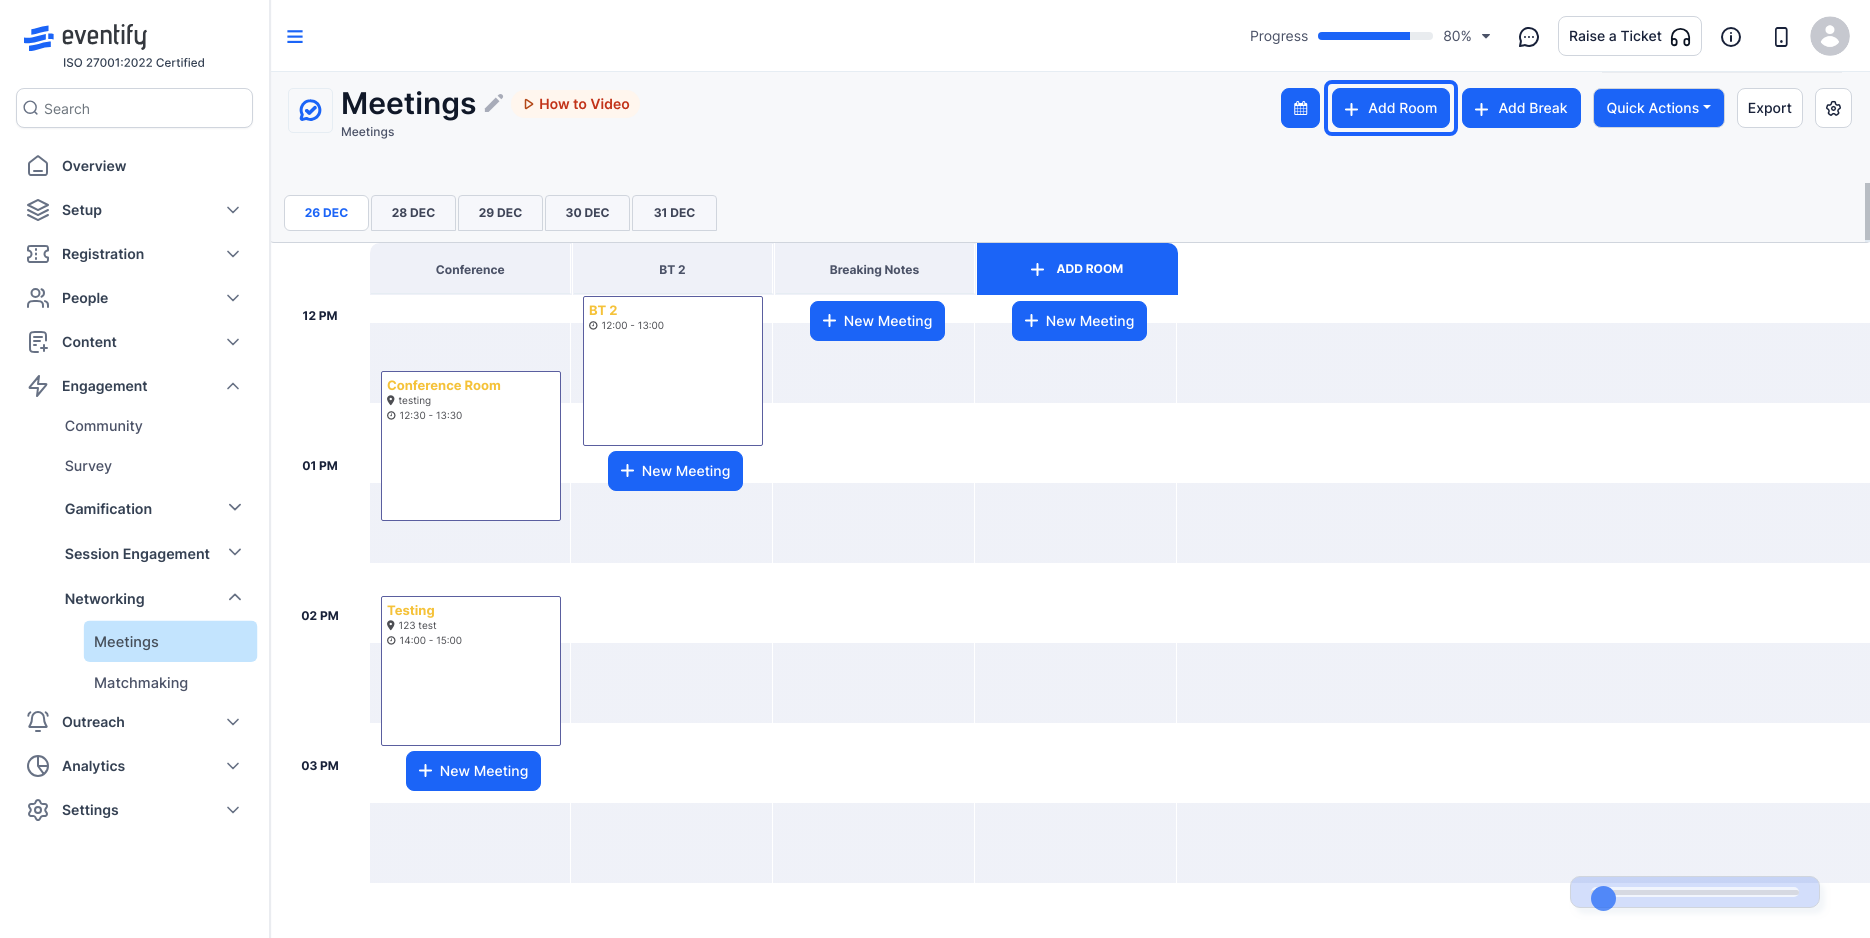
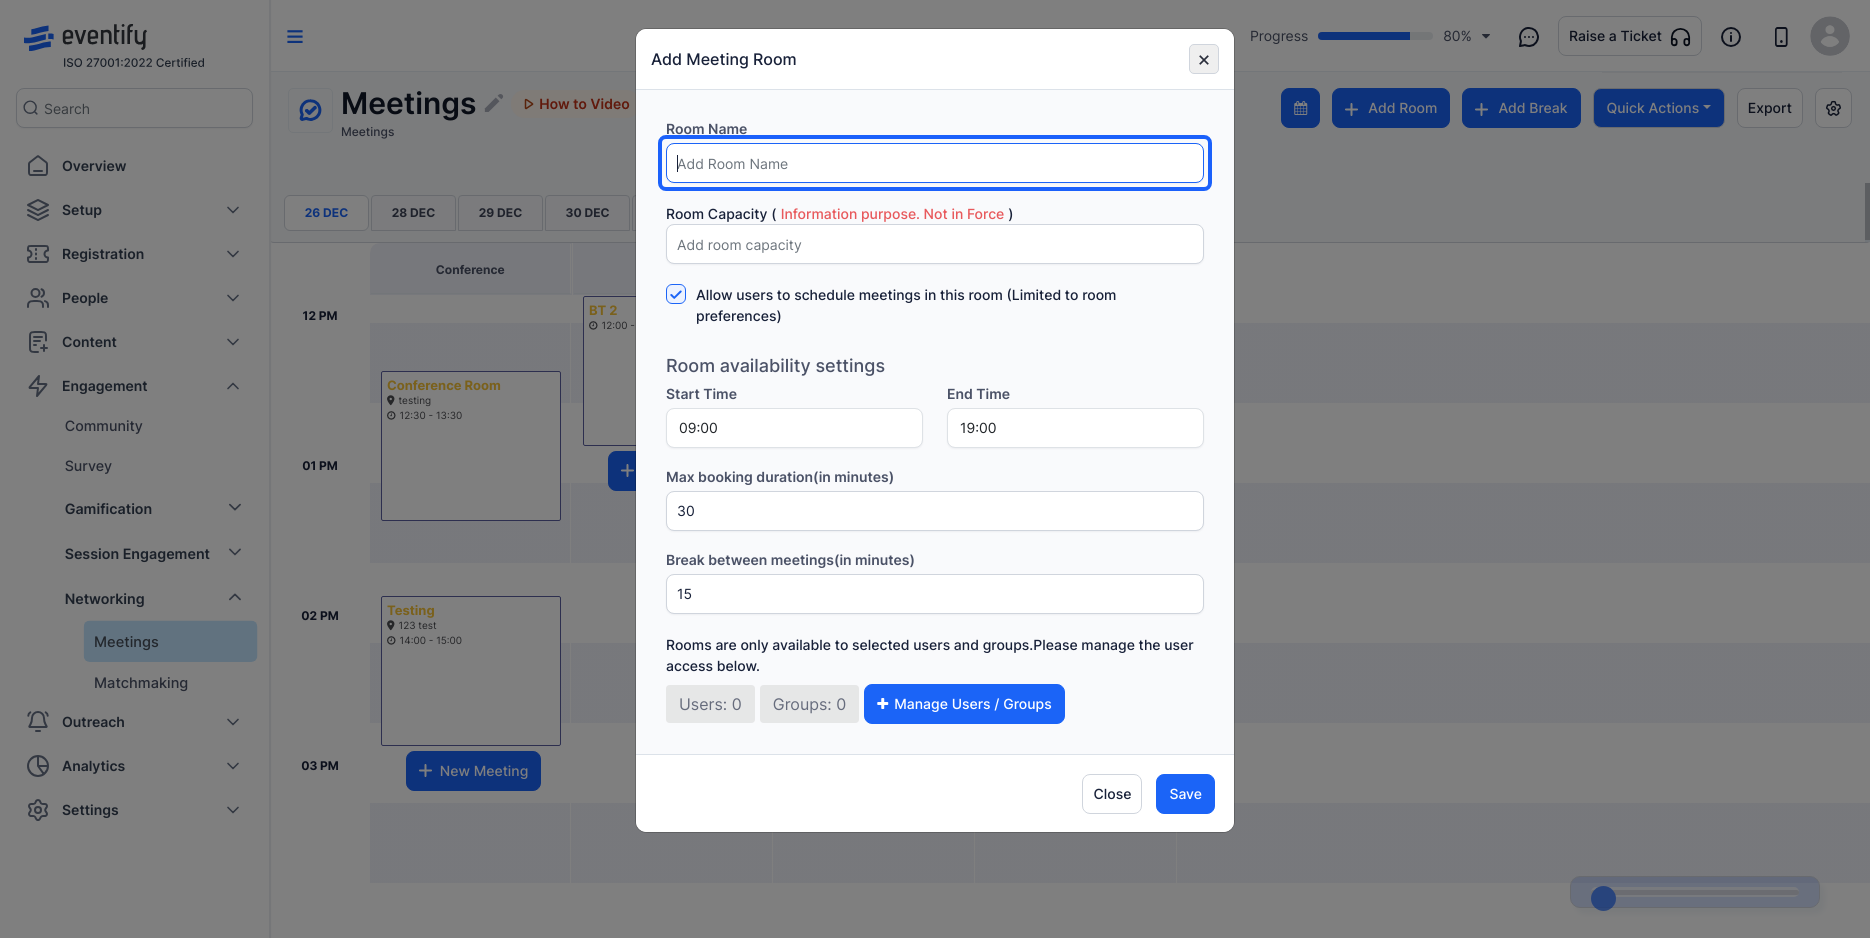
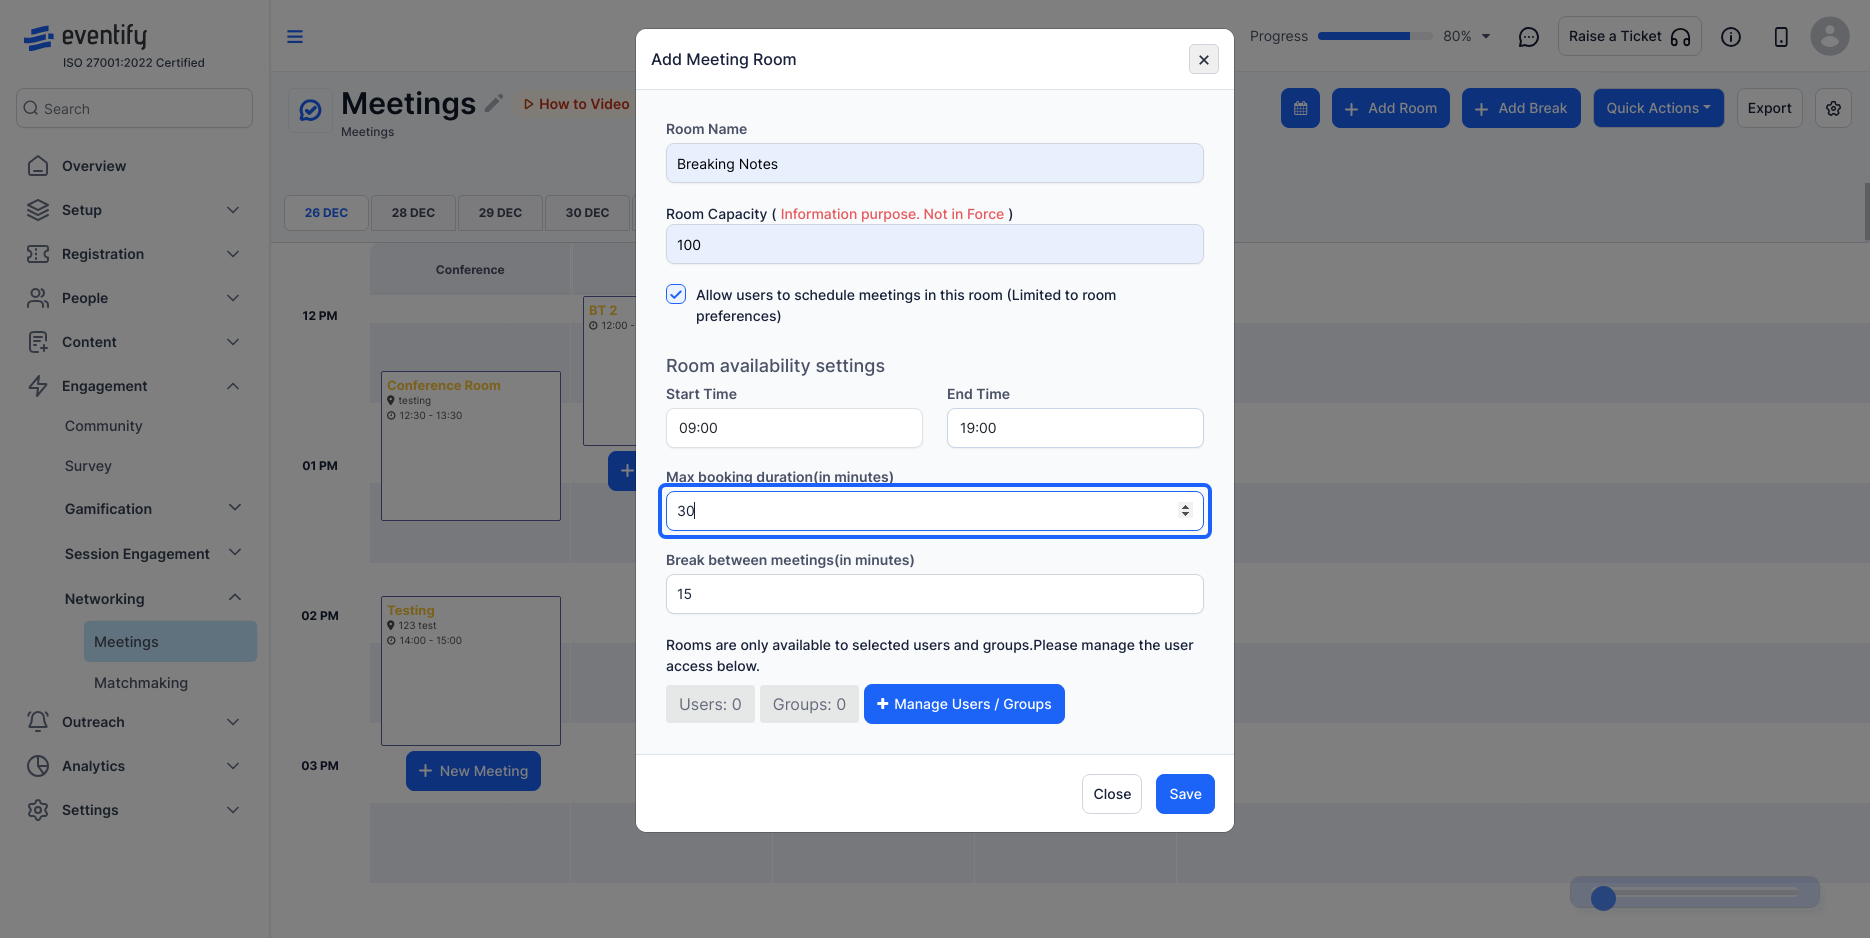
4: Click on “Add Room” and a window will appear.
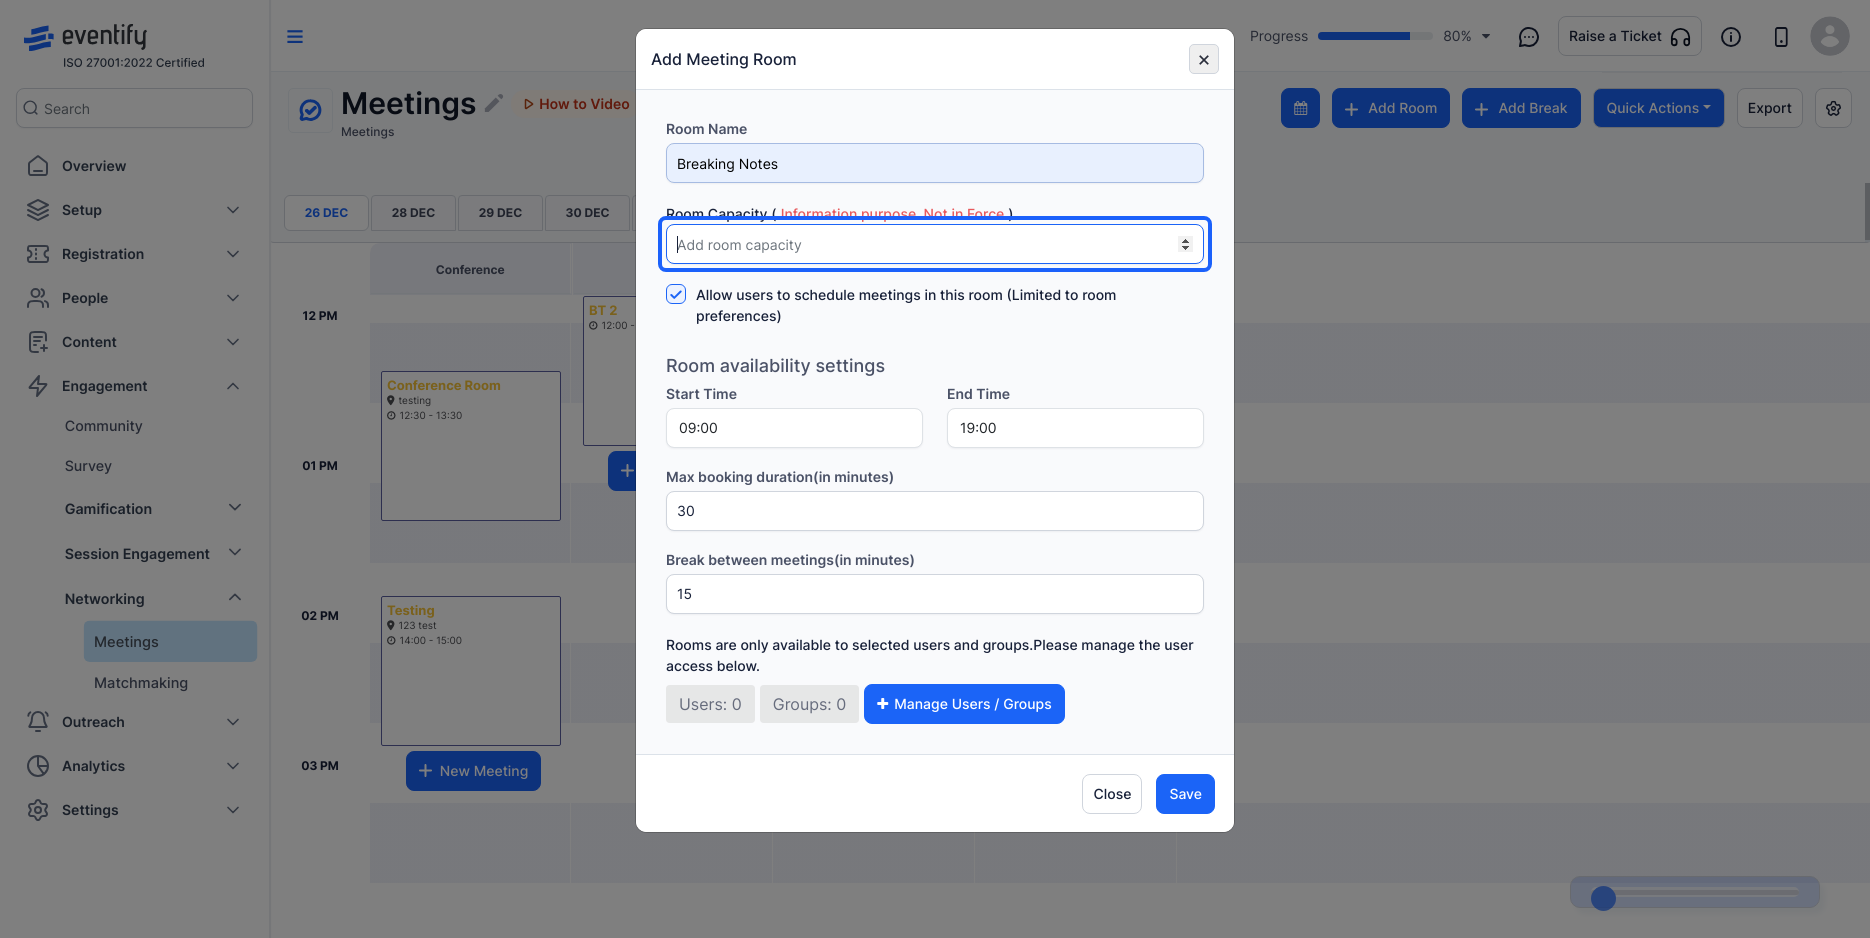
5: Enter a descriptive name for your meeting room.
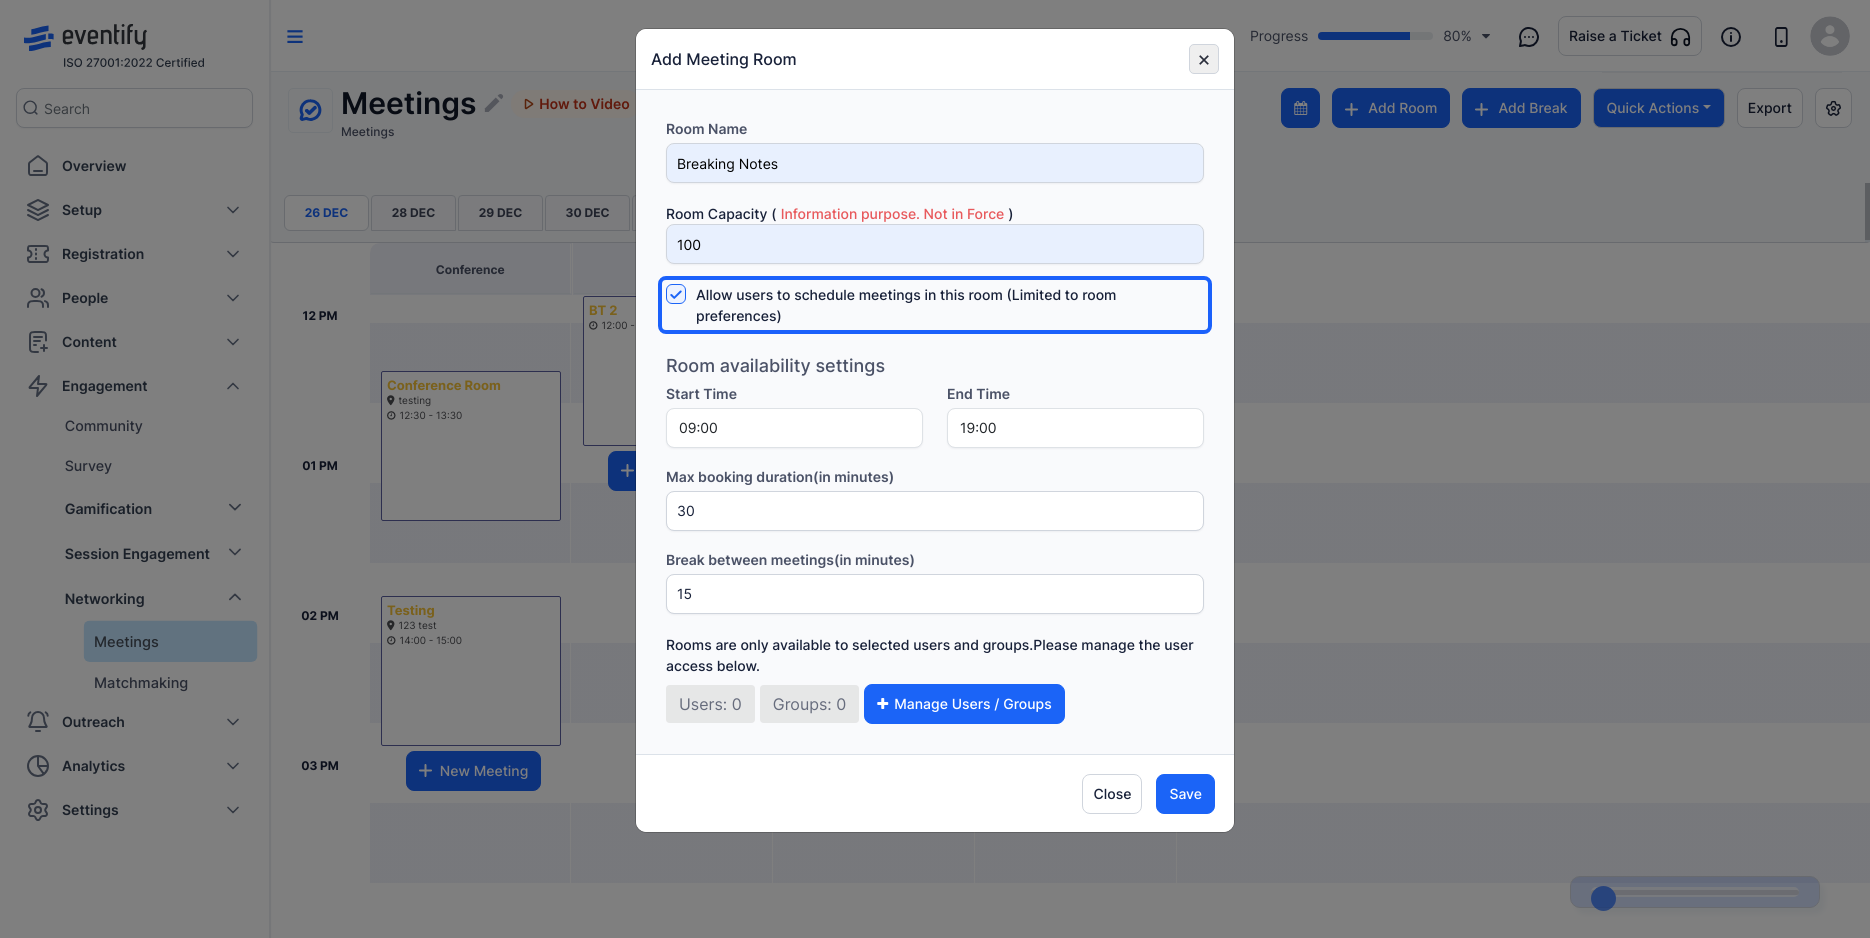
6: Specify the maximum number of attendees allowed in the room.
7: If enabled, users can schedule their own meetings within this room, subject to the room's availability settings.
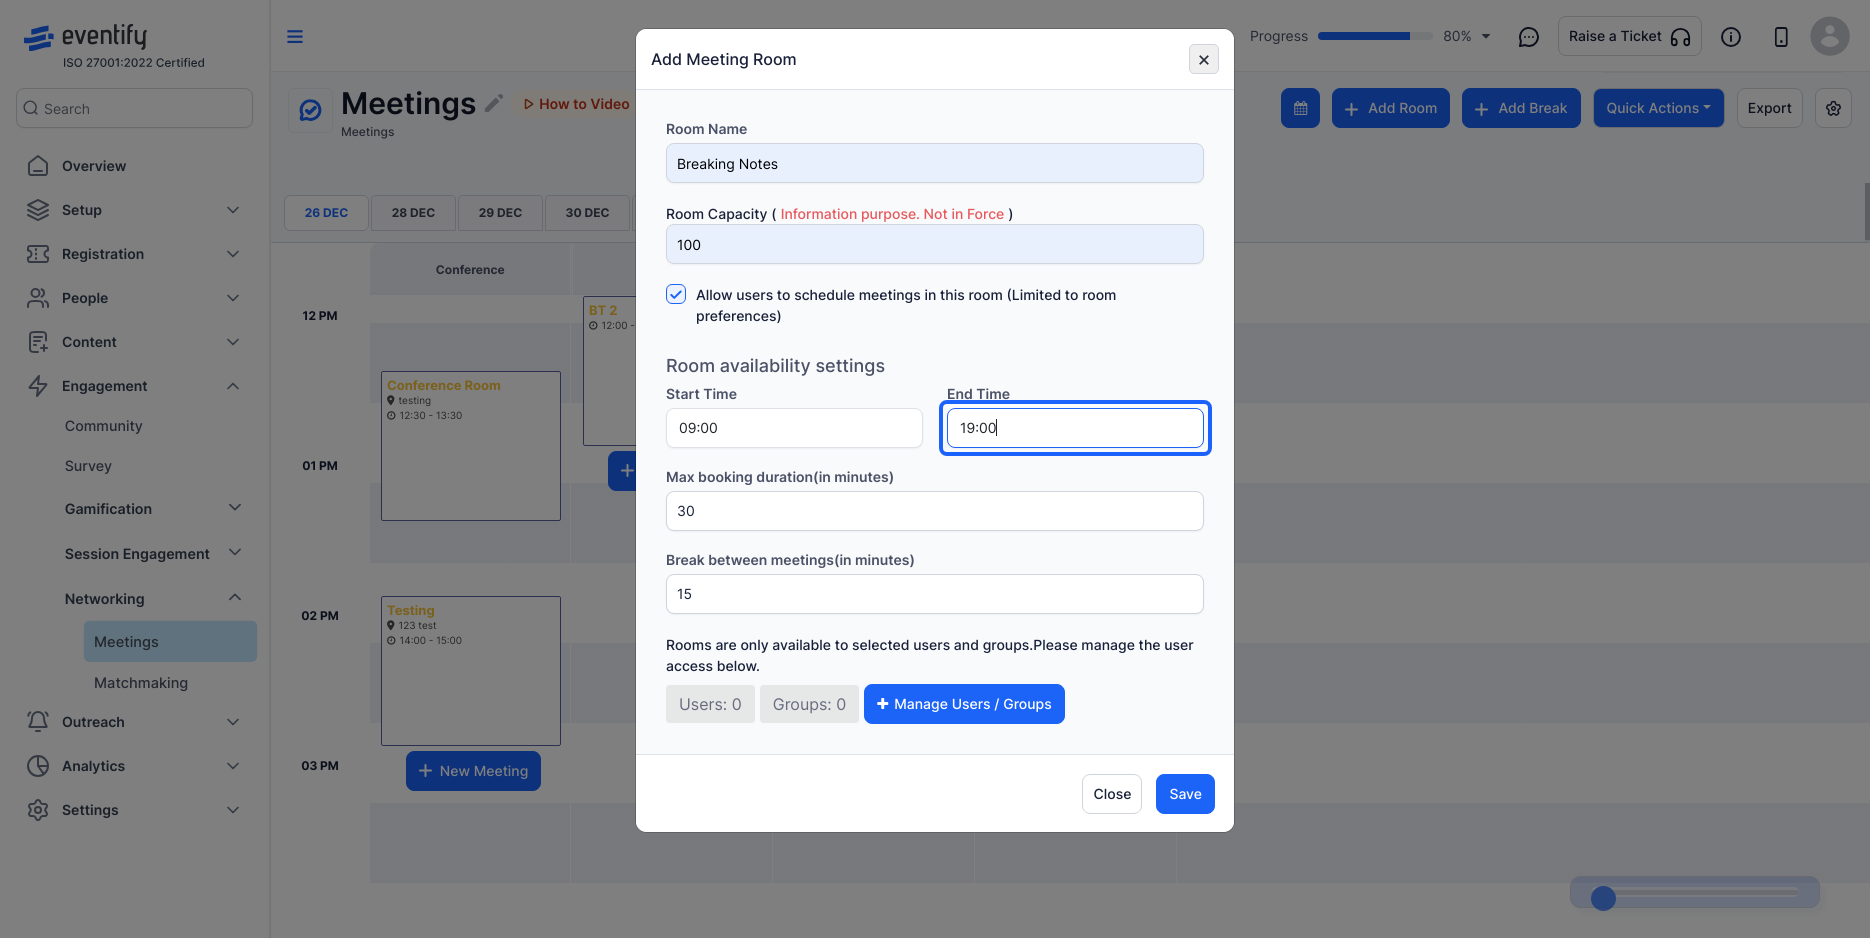
8: Configure the start and end times for when the room is available for booking.
9: Set the maximum duration for a single meeting booking.
10: Specify the minimum break time required between consecutive meetings.
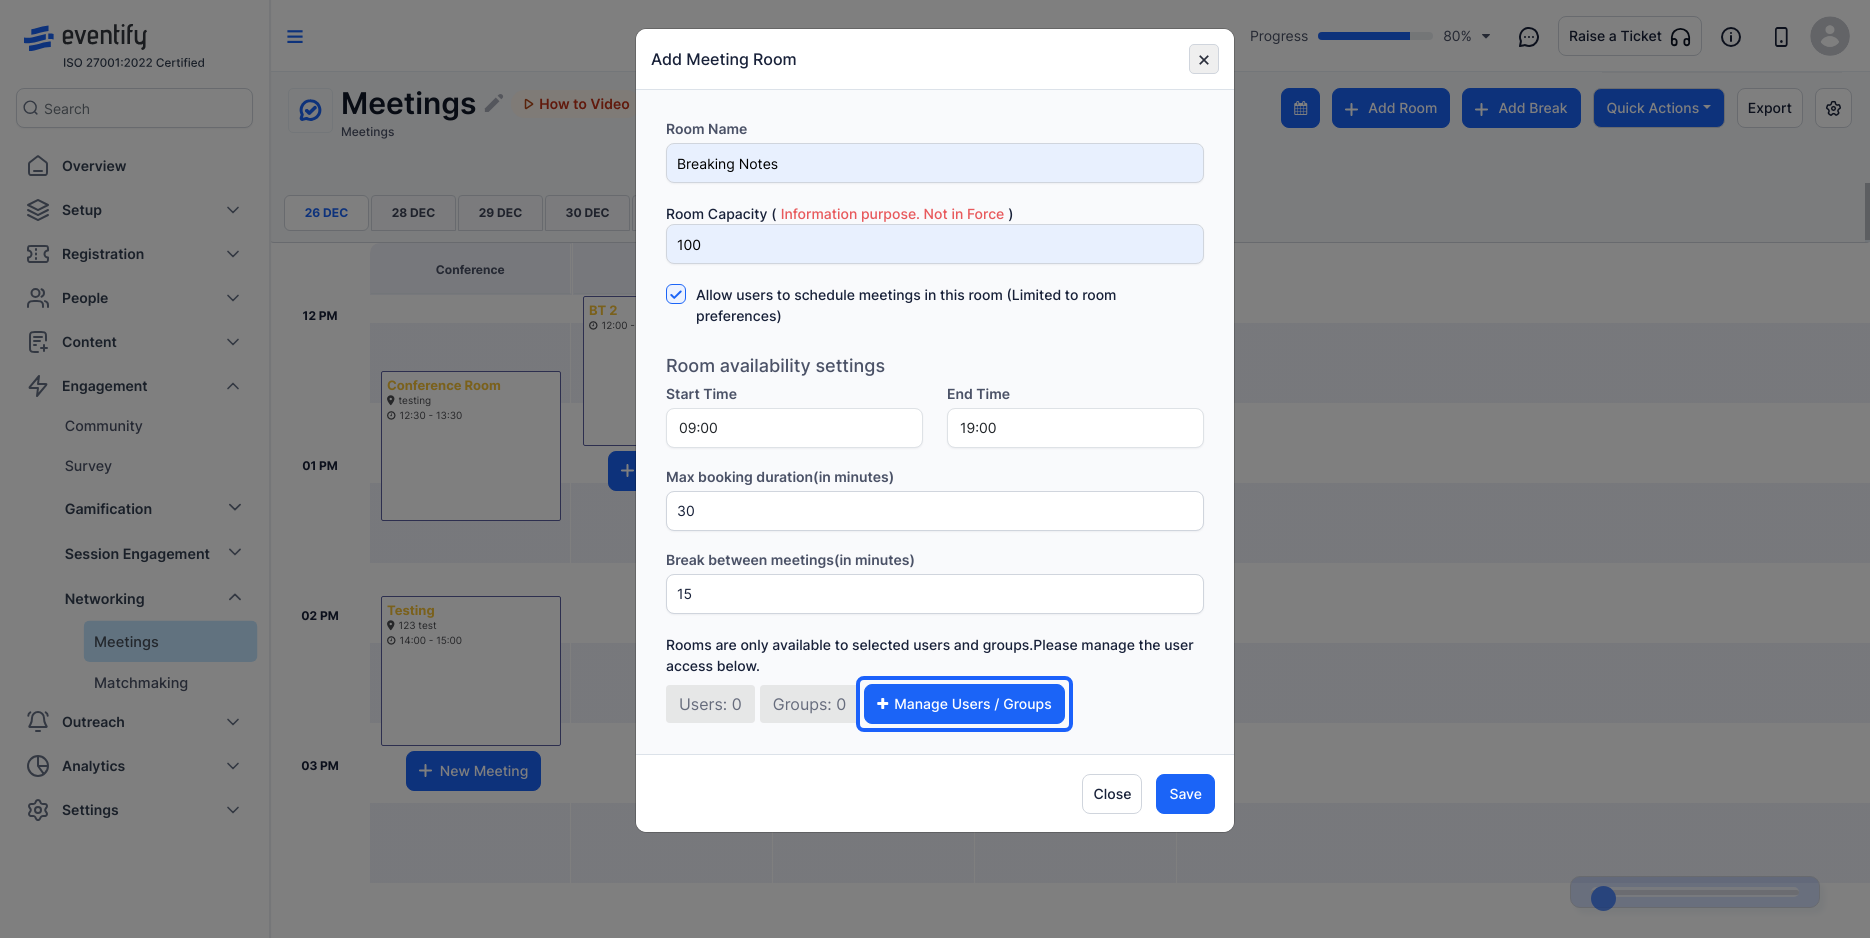
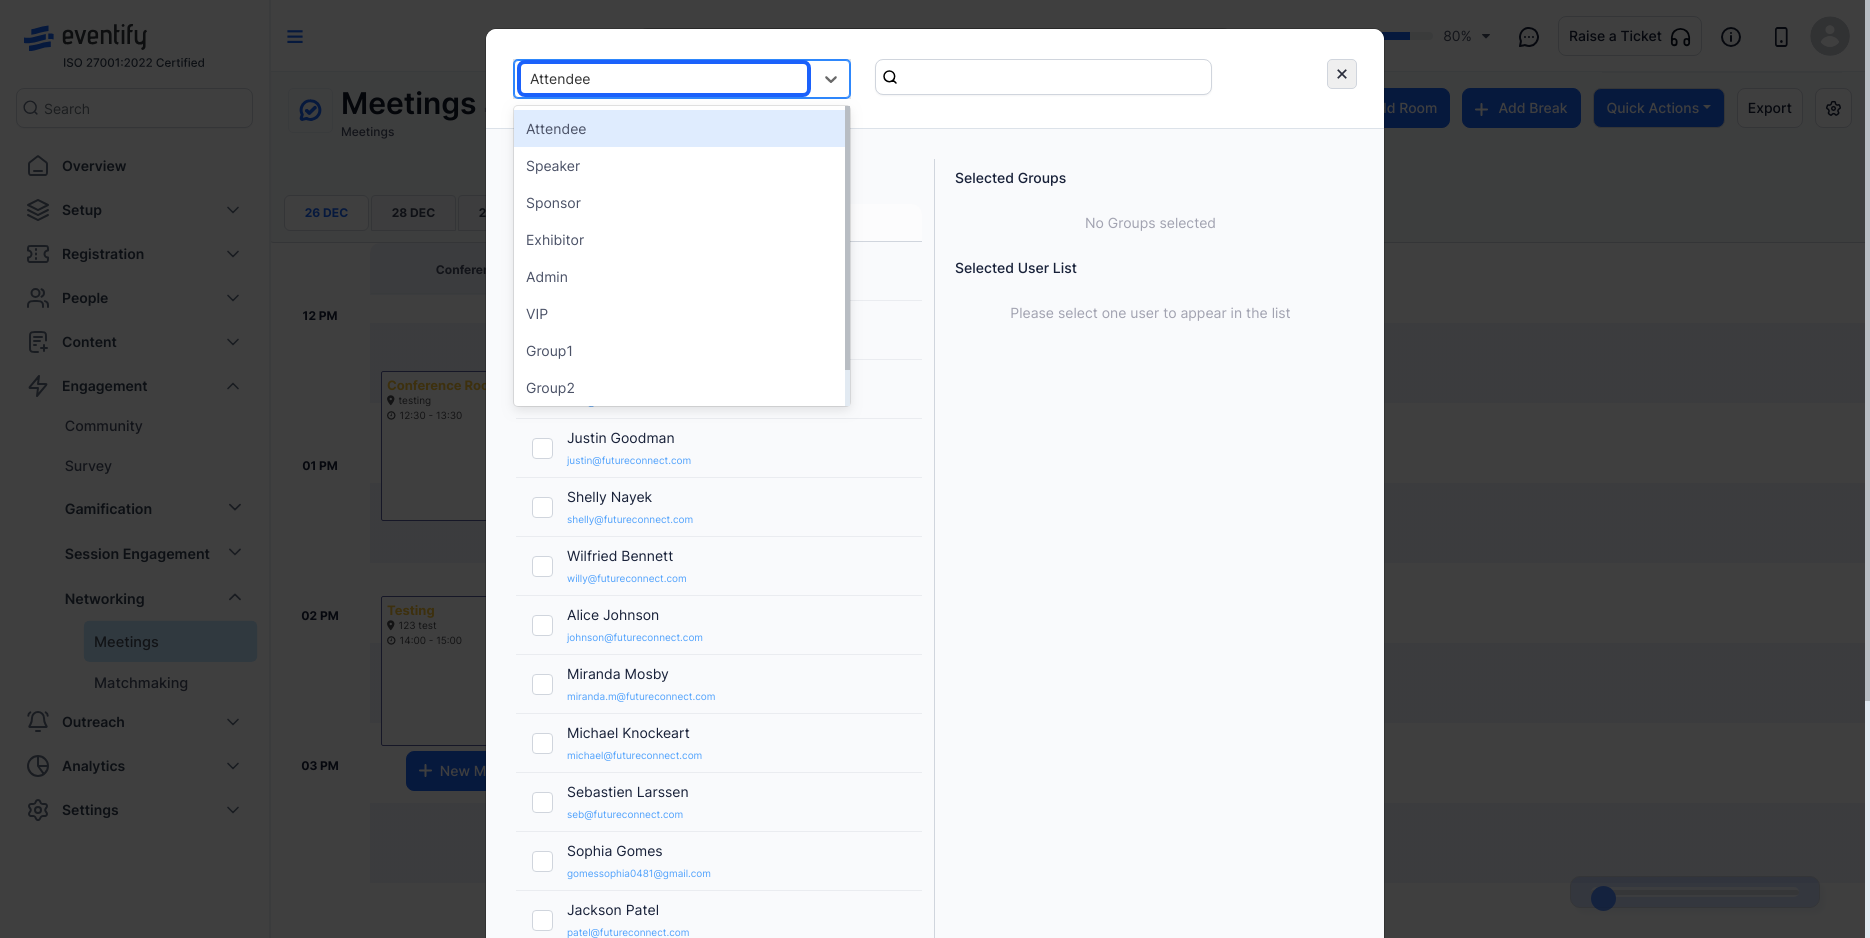
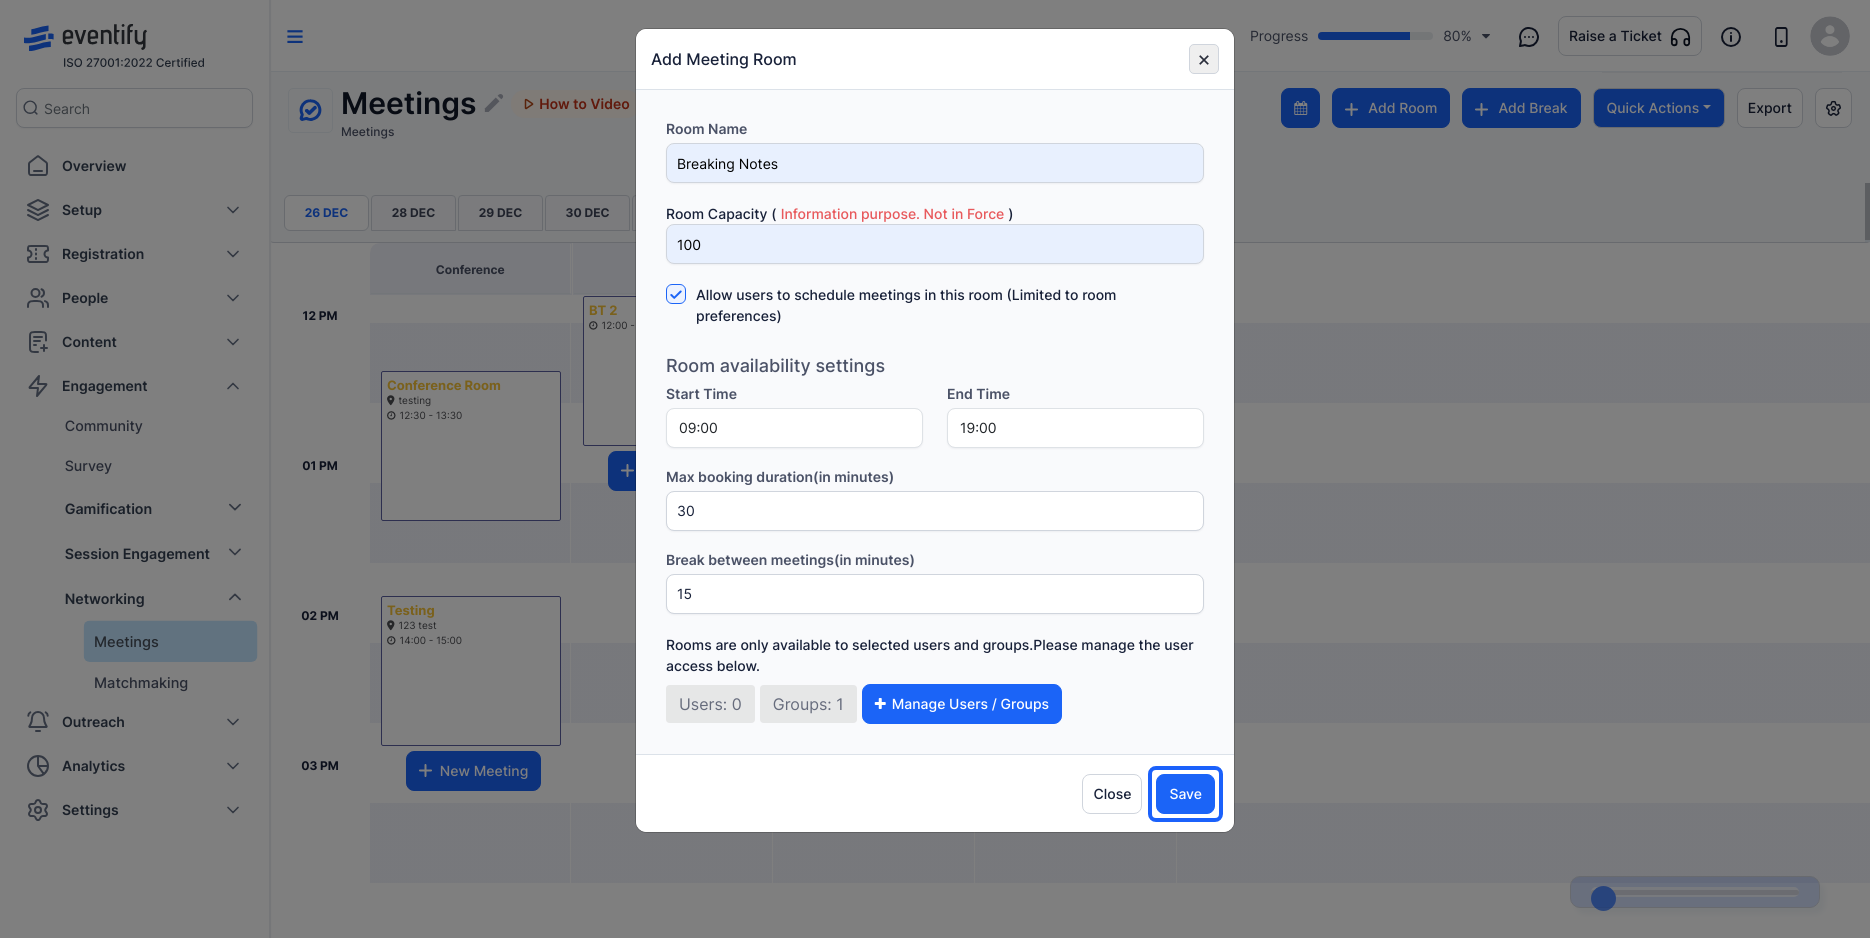
11: Decide the users or groups who should have access to this meeting room and manage their permissions accordingly.
12: Choose users group and save the changes
13: Once you've entered all the necessary information, click the "Save" button to create the meeting room.
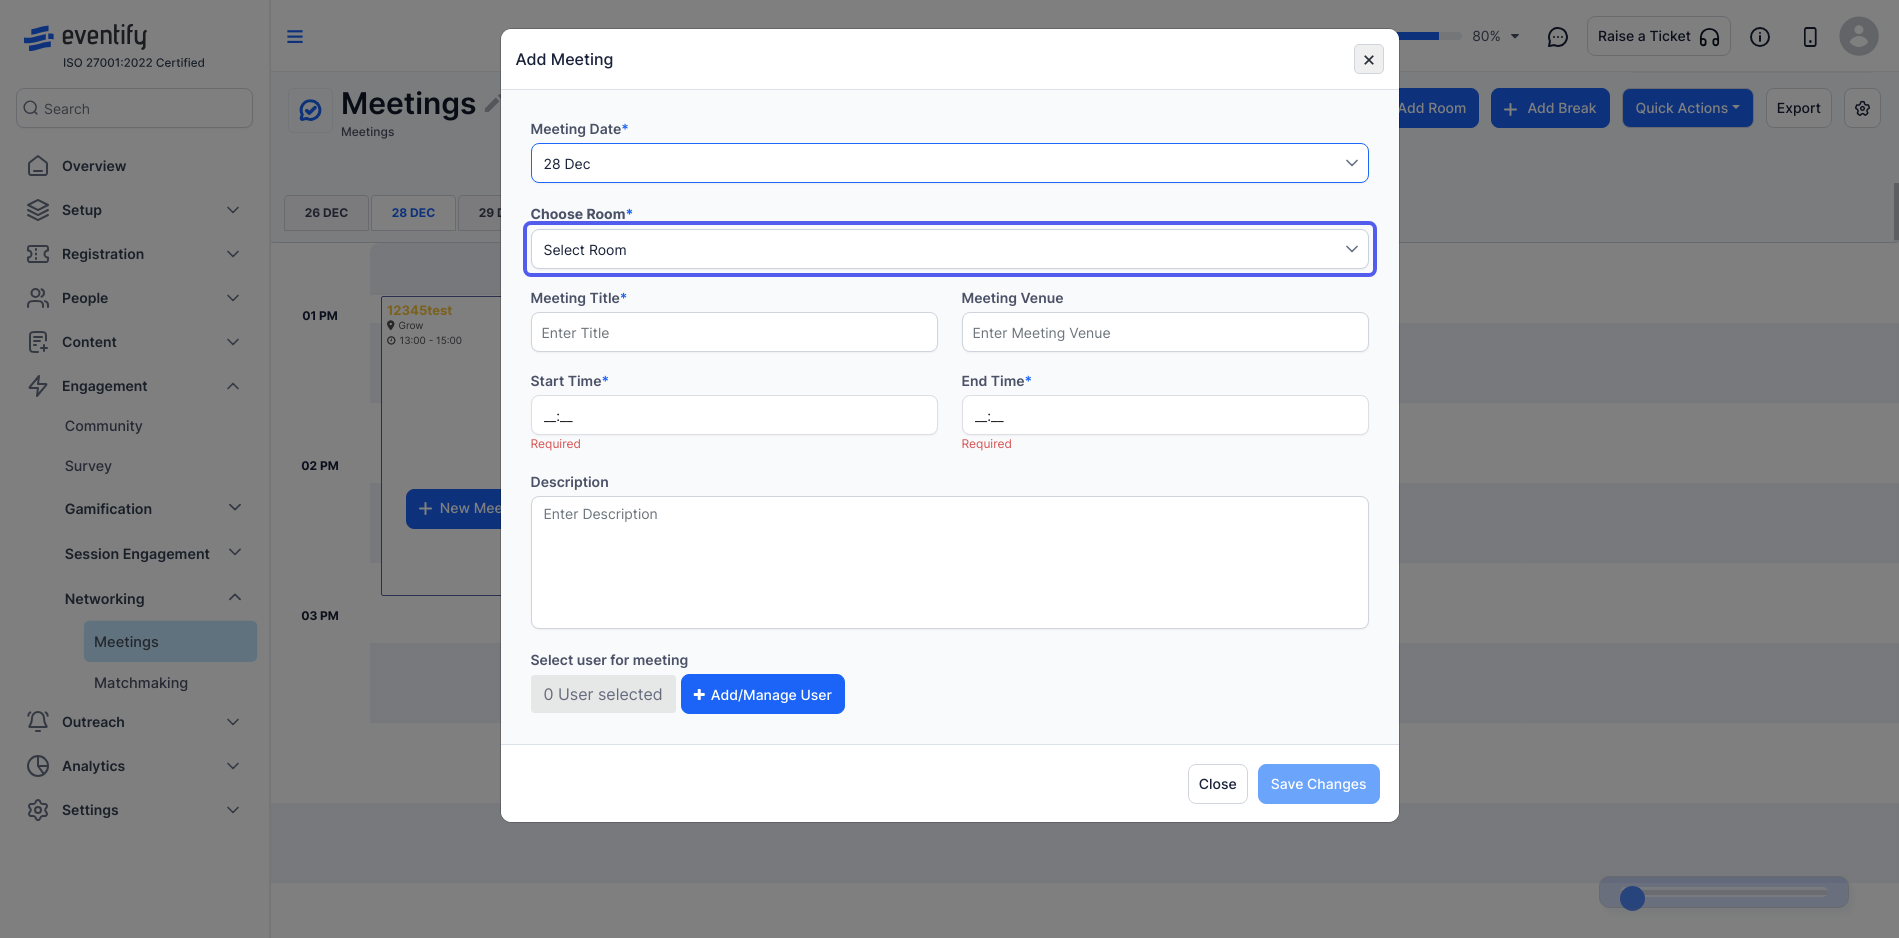
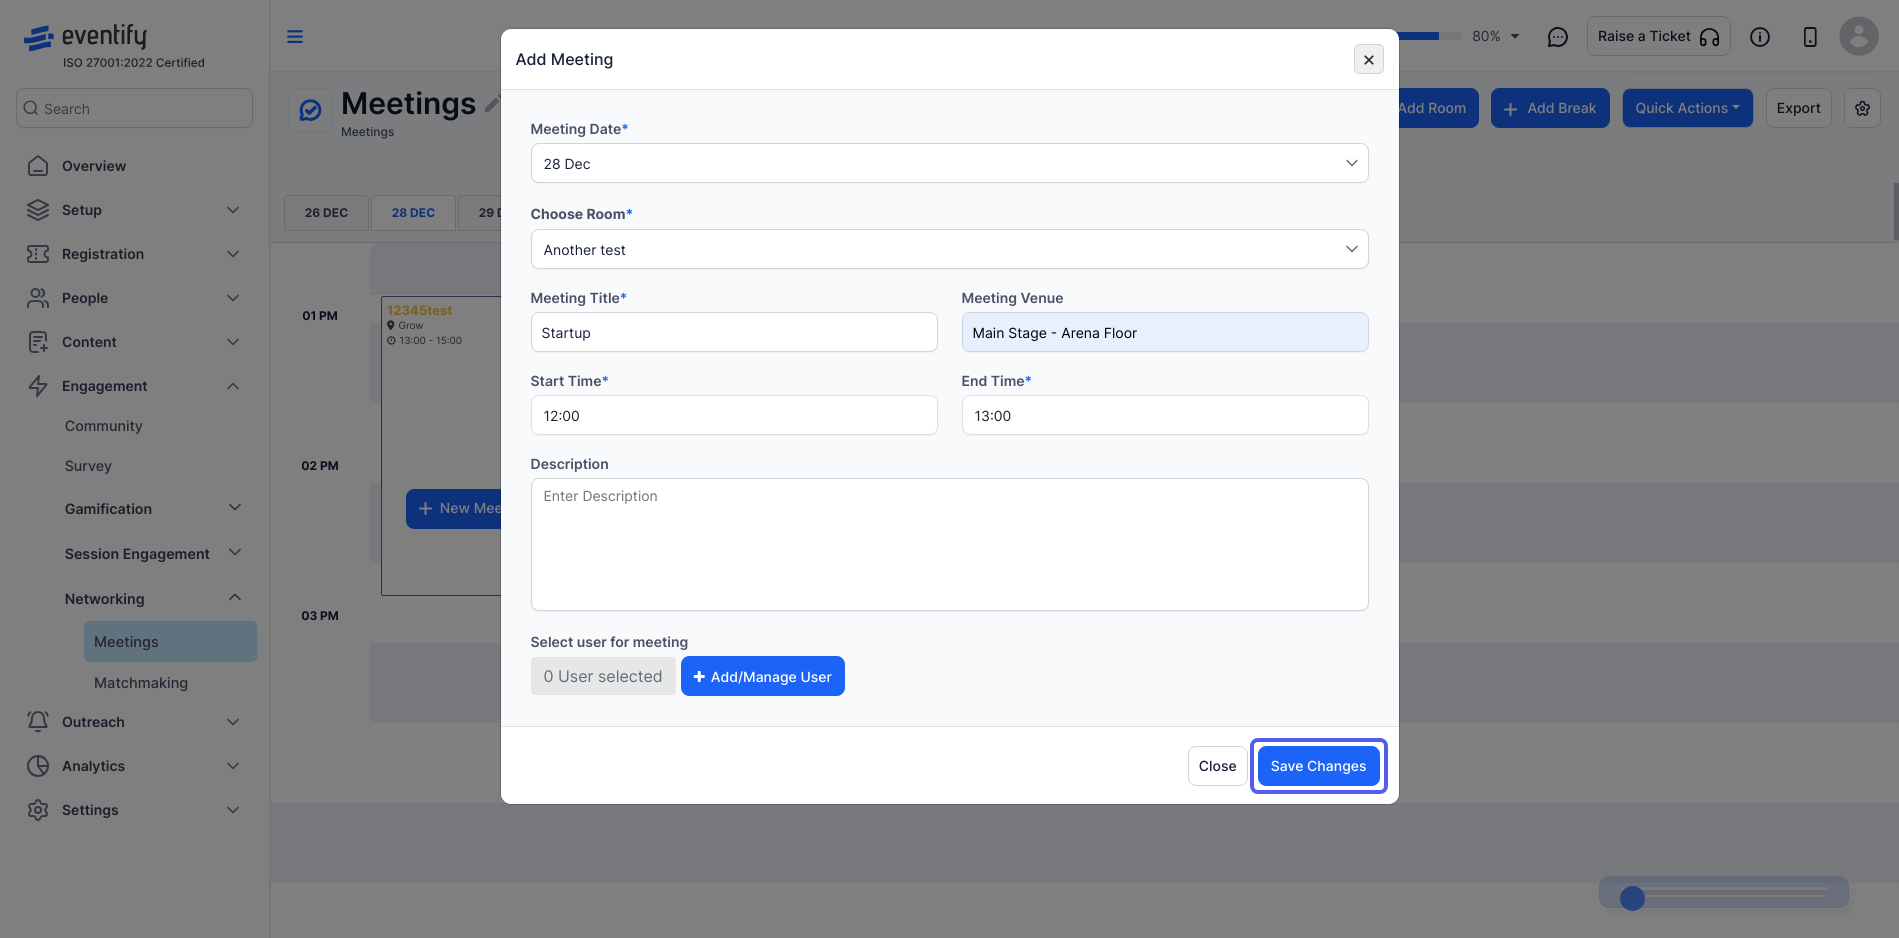
14: To add any meeting, click on “New Meeting” and a window will pop up.
15: Select the desired date for your meeting.
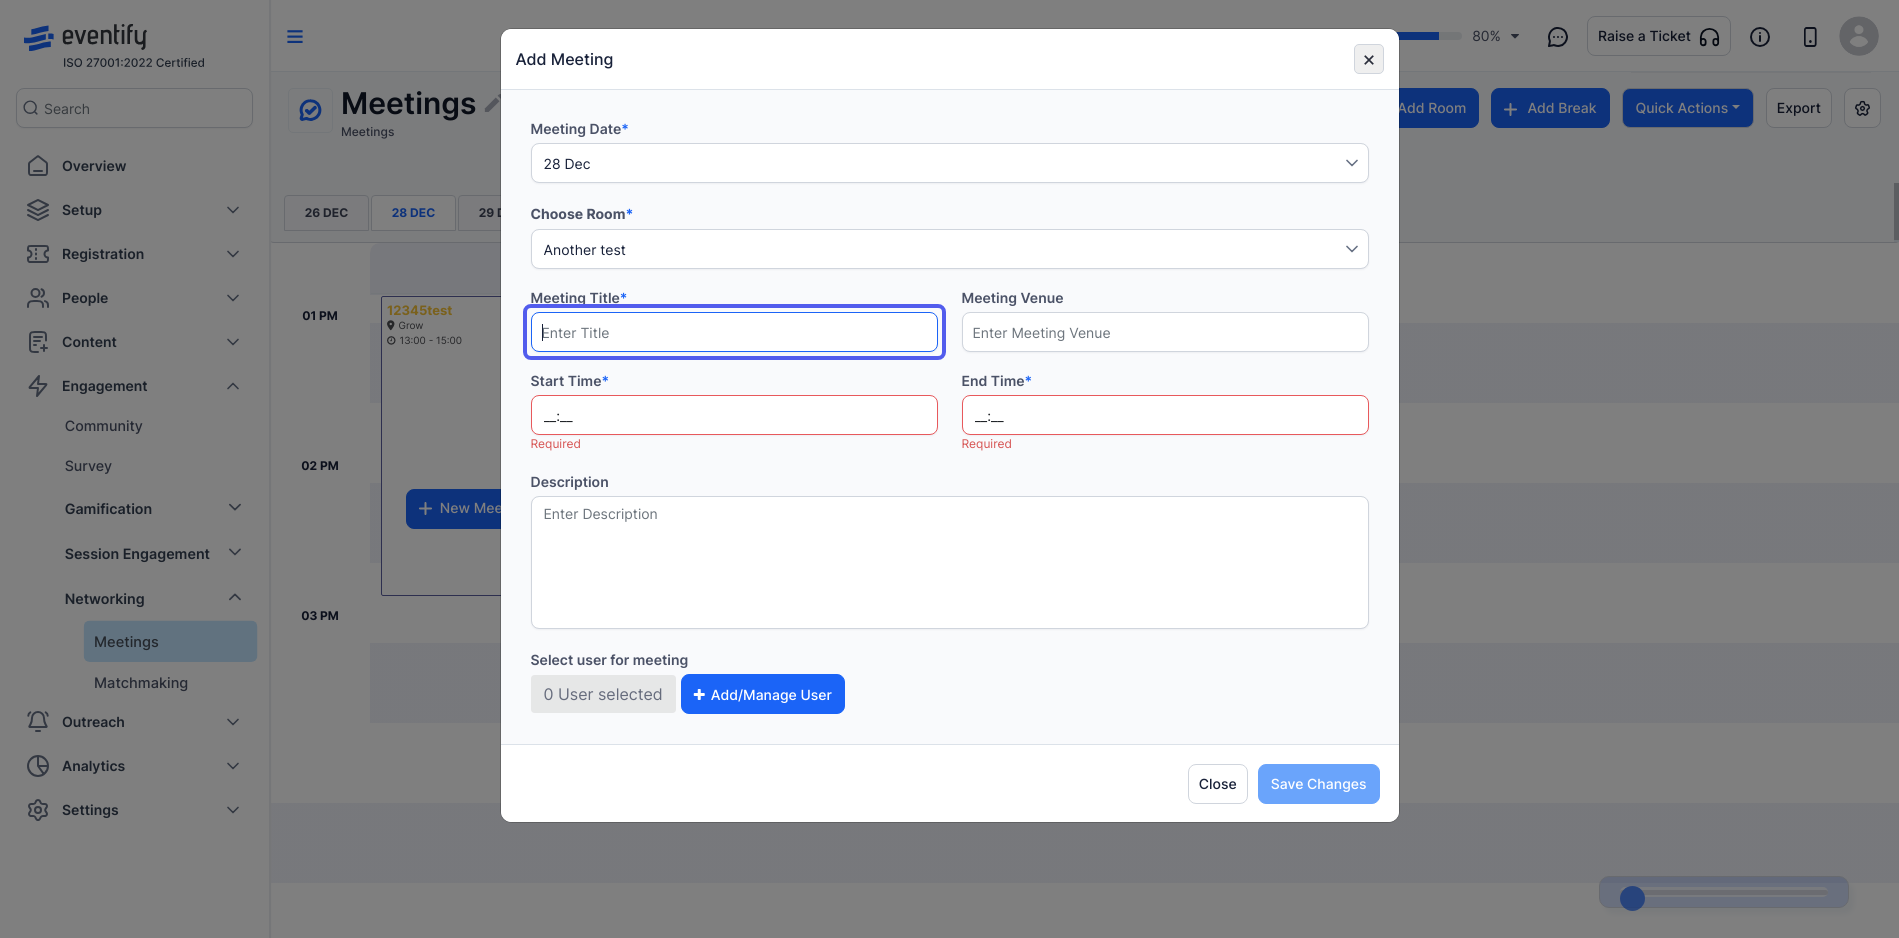
16: Select the meeting room where the meeting will take place.
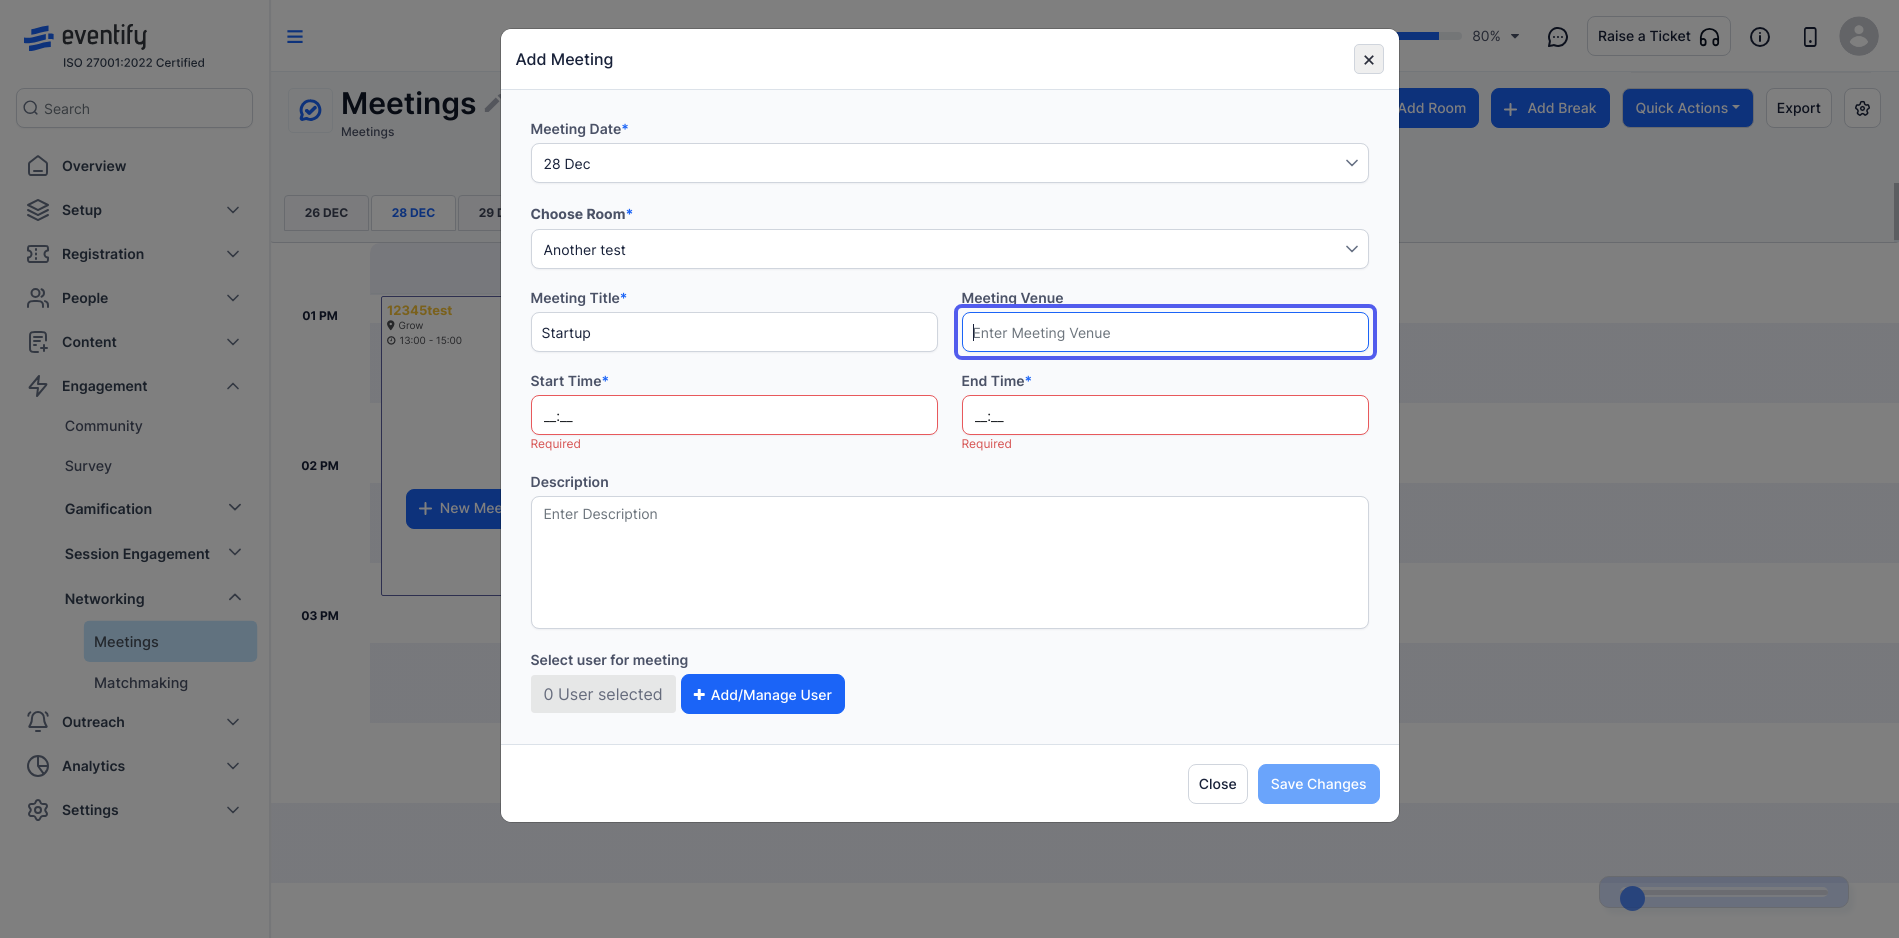
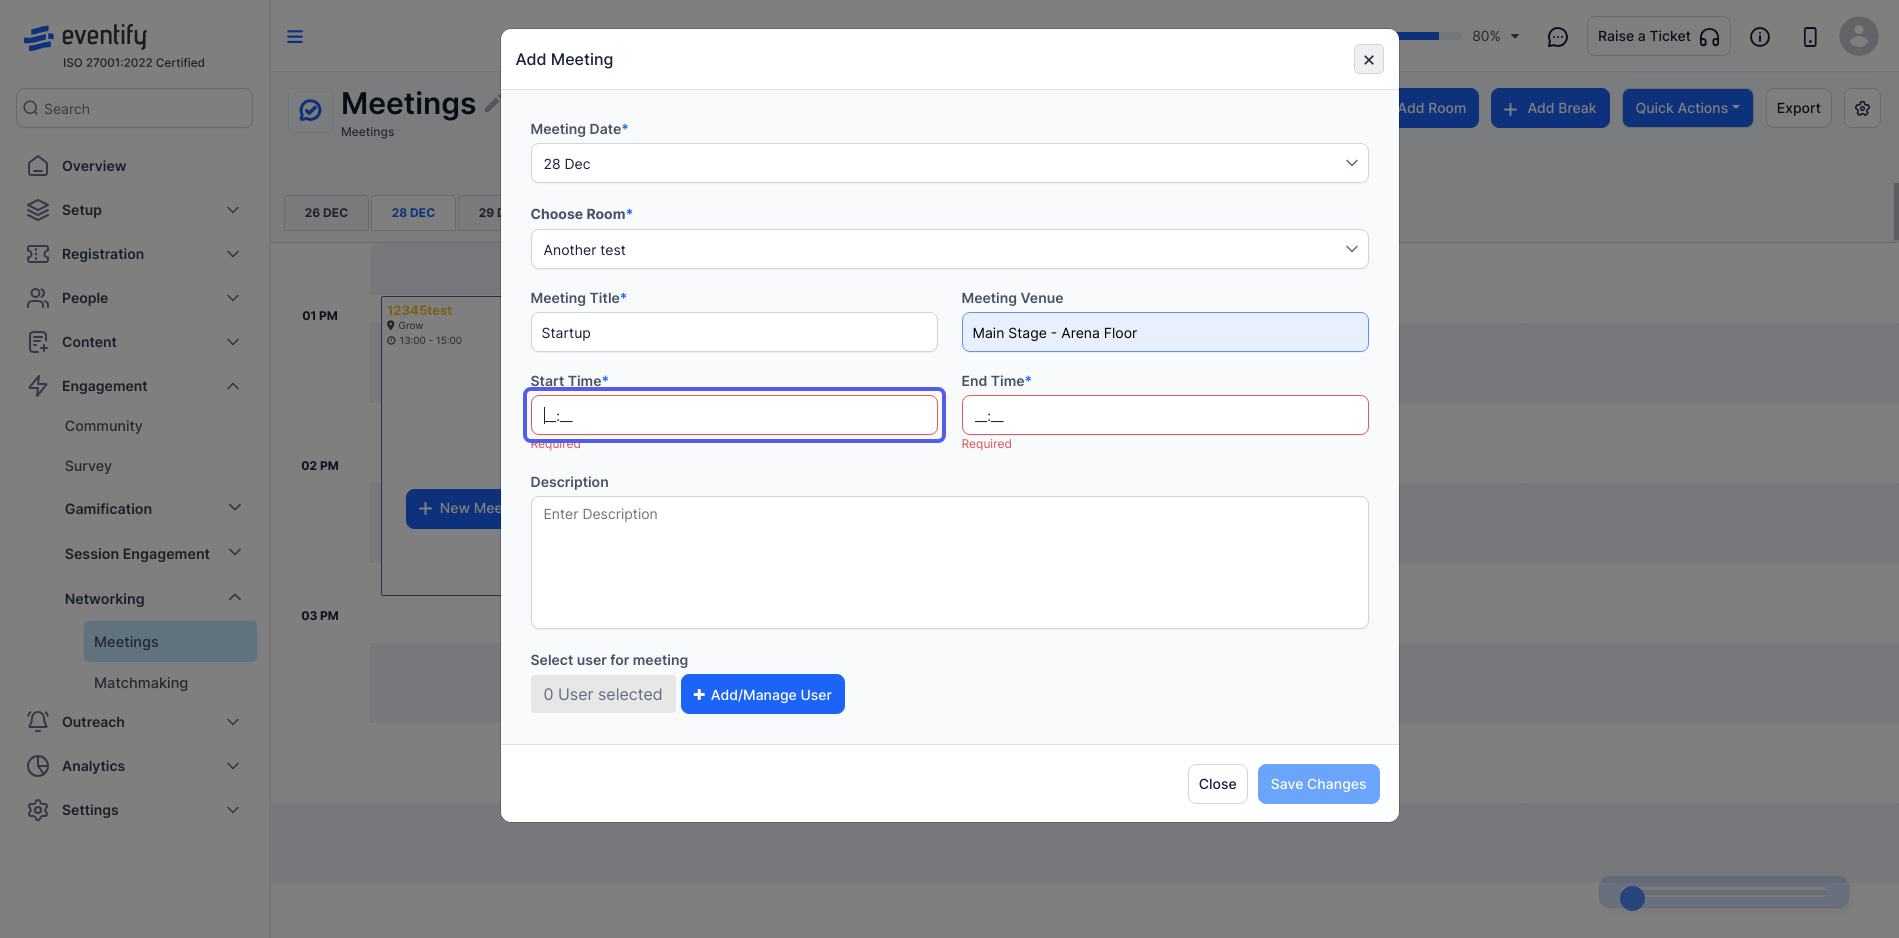
17: Enter a descriptive title for your meeting.
18: State the meeting location.
19: Set the start time for the meeting.
20: Set the end time for the meeting.
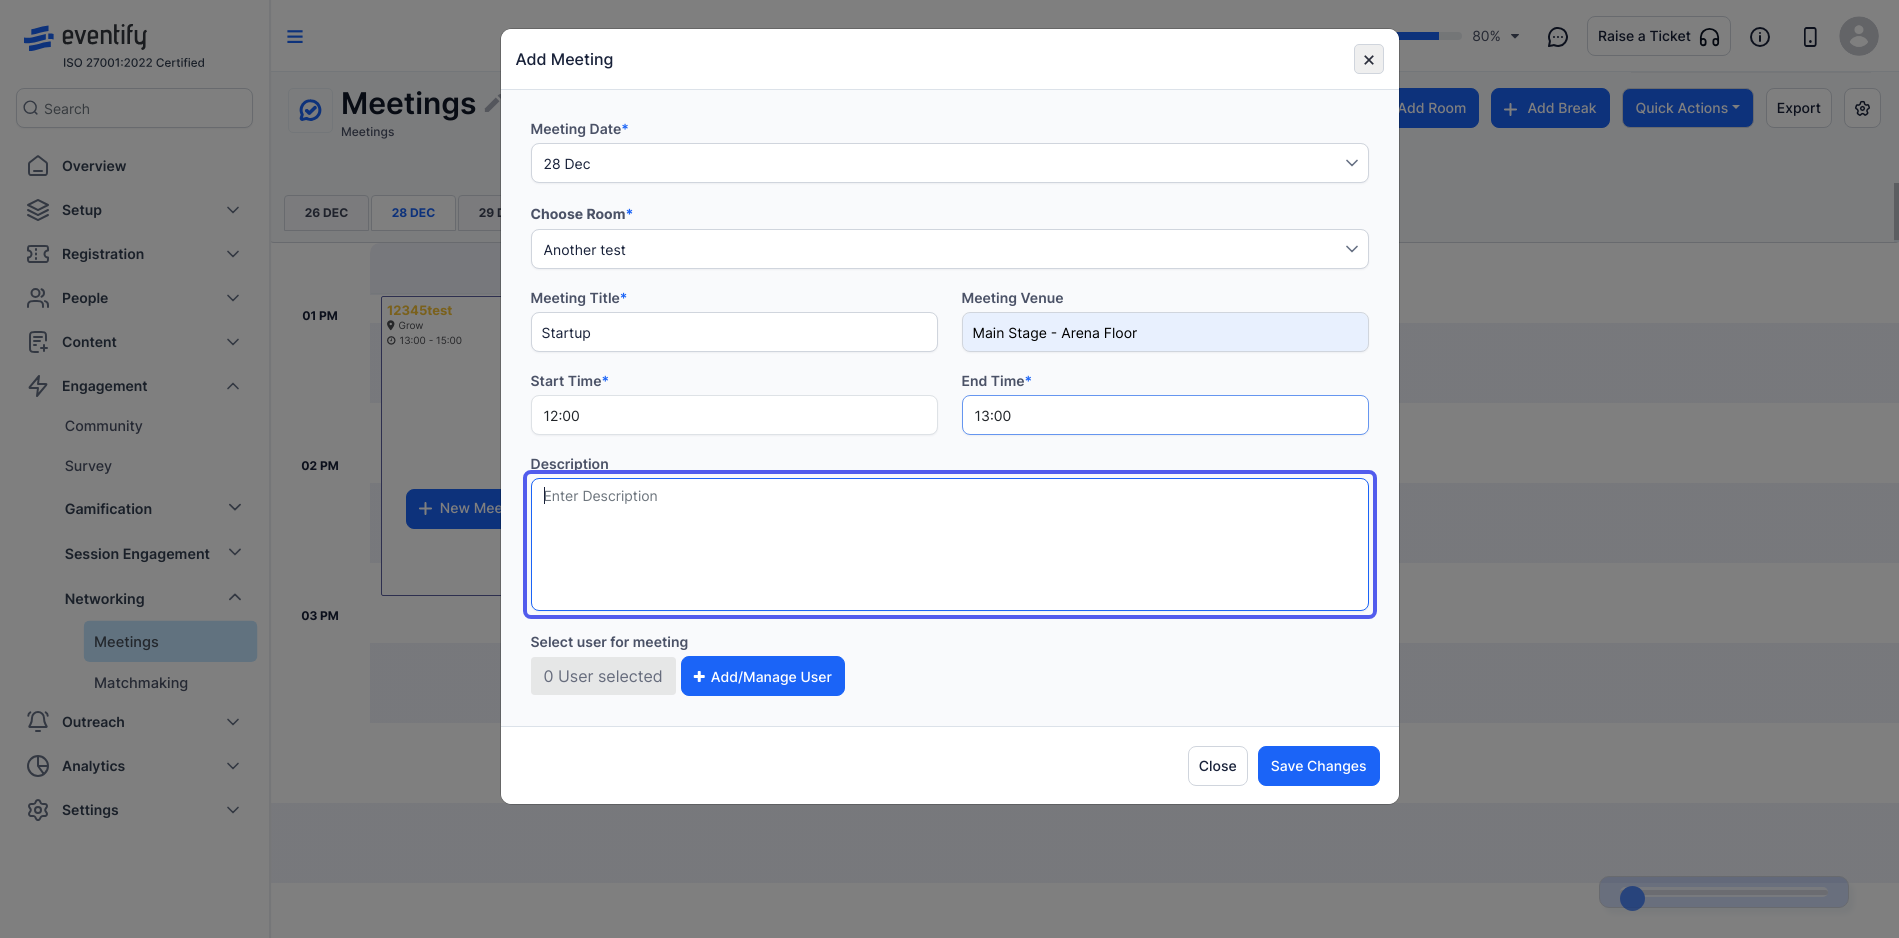
21: Add a brief description of the meeting.
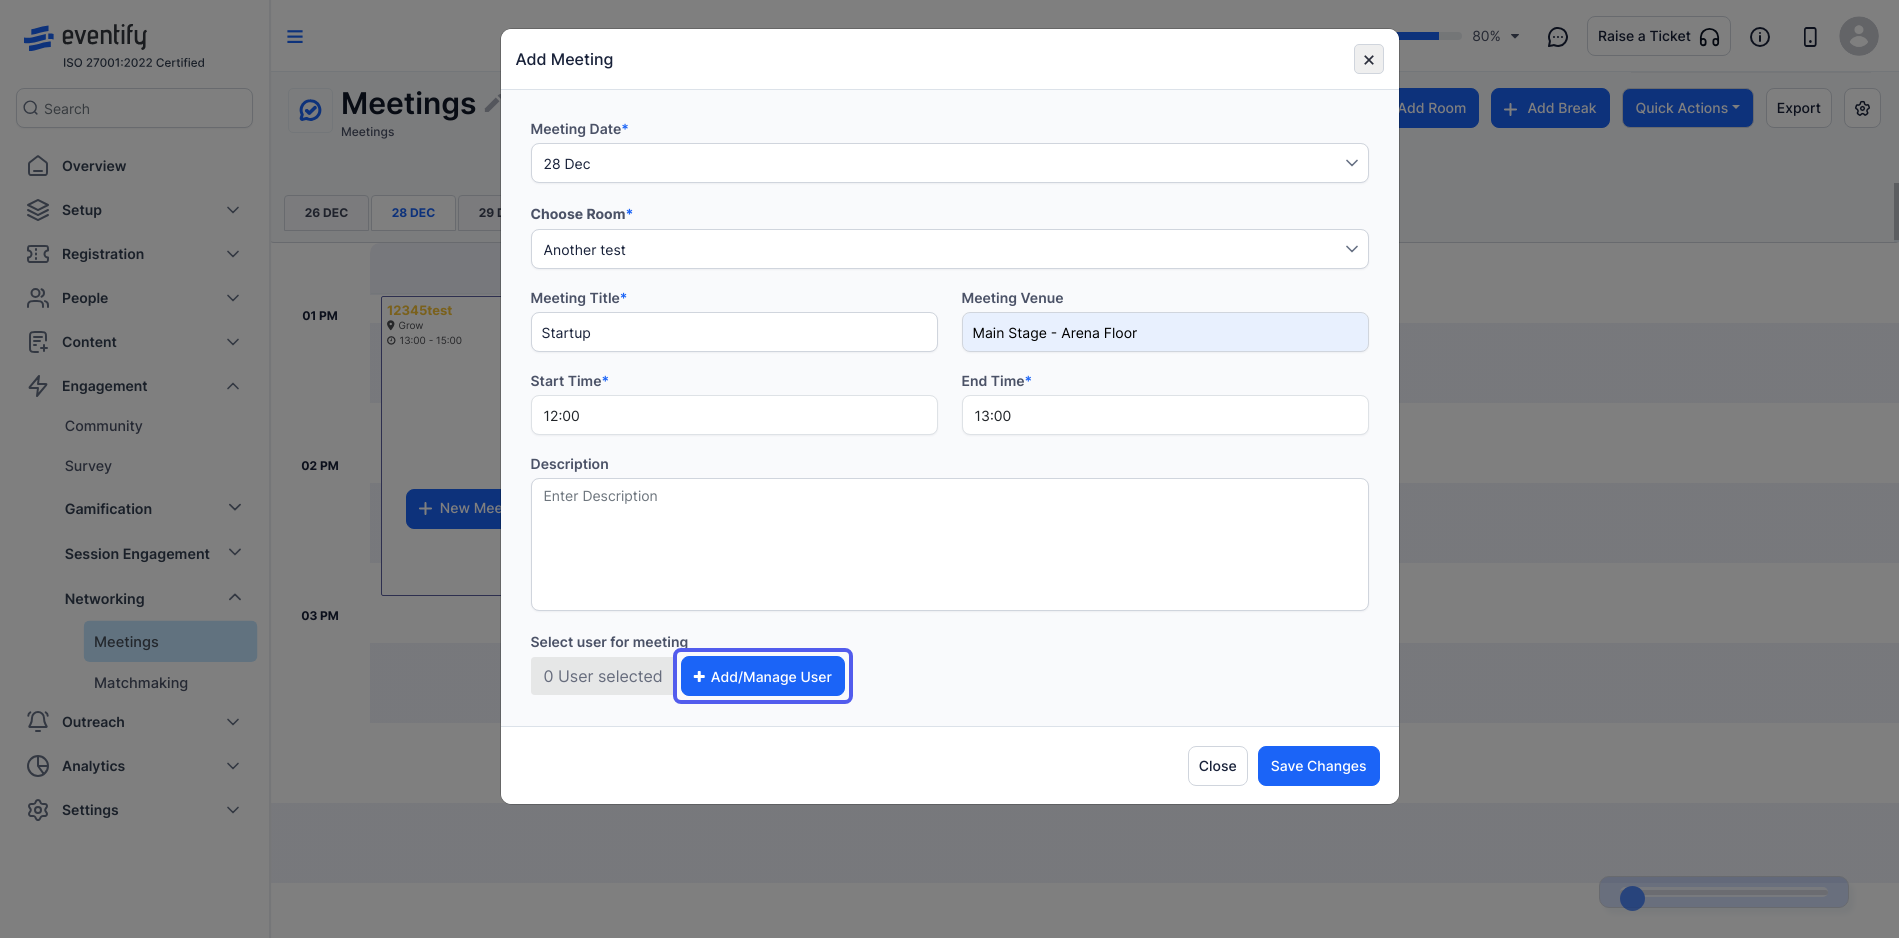
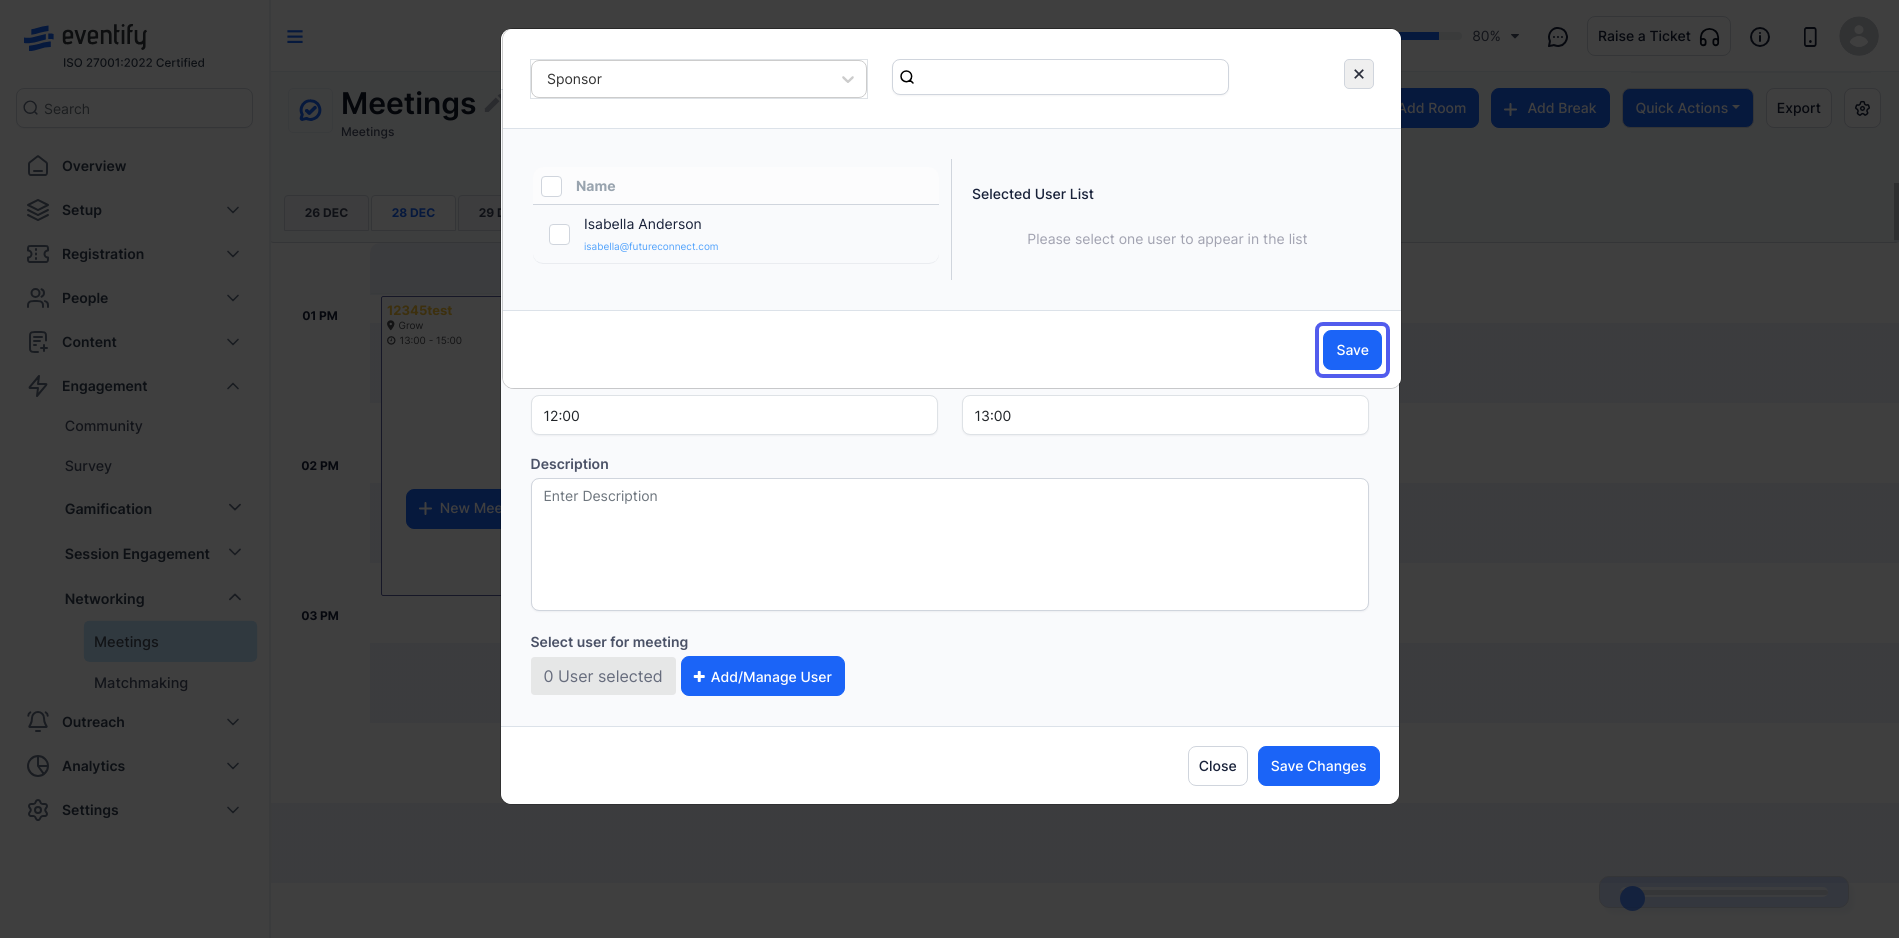
22: Choose the attendees for the meeting by clicking on “Add/Manage User”
23: Click here to select the users group
24: Click on “Save Changes”.
25: Click the “Save Changes” button
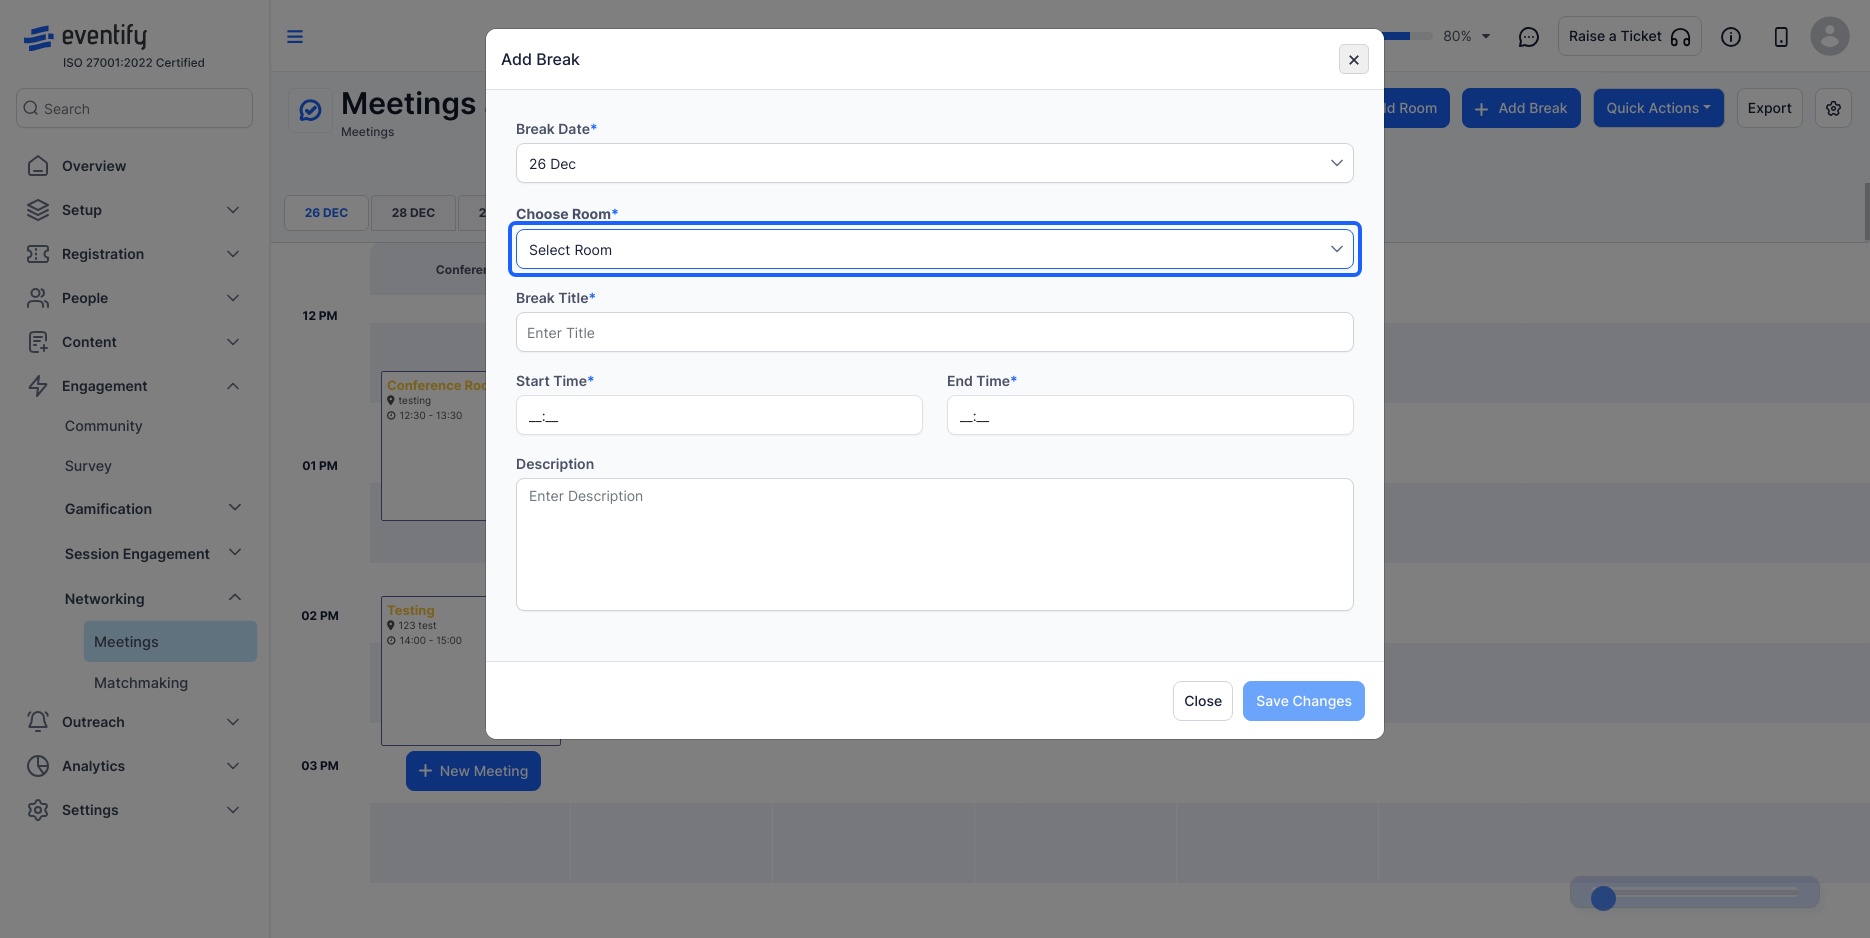
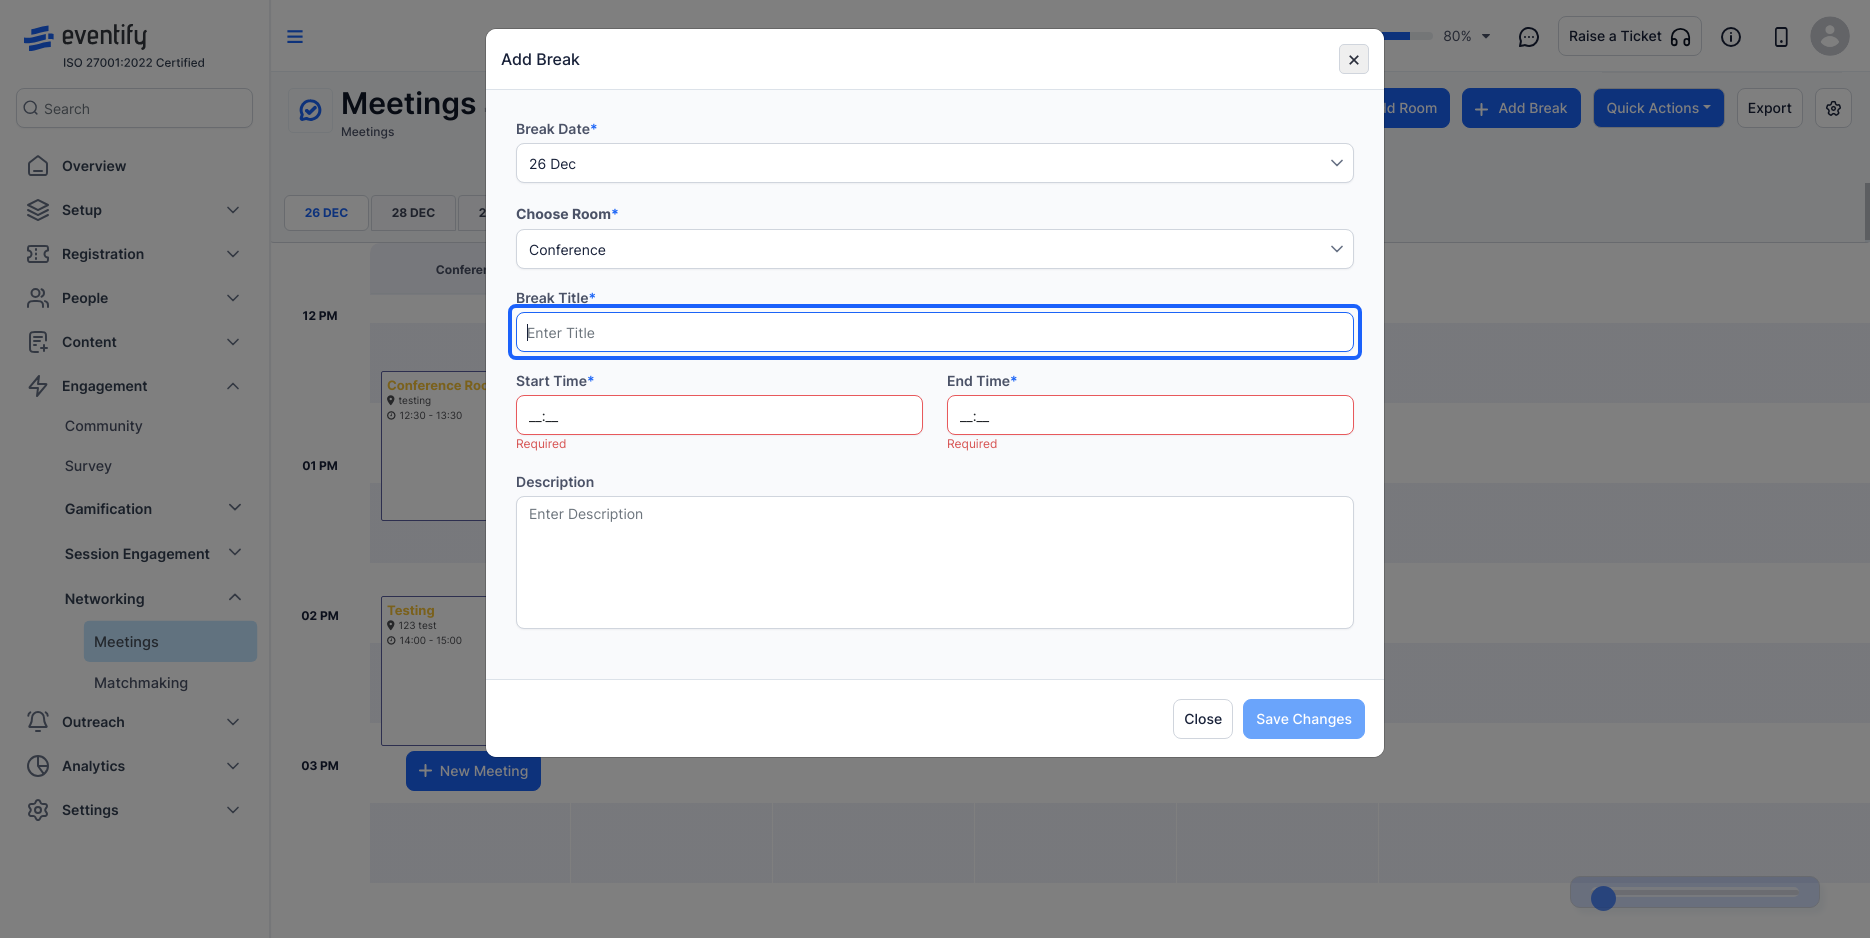
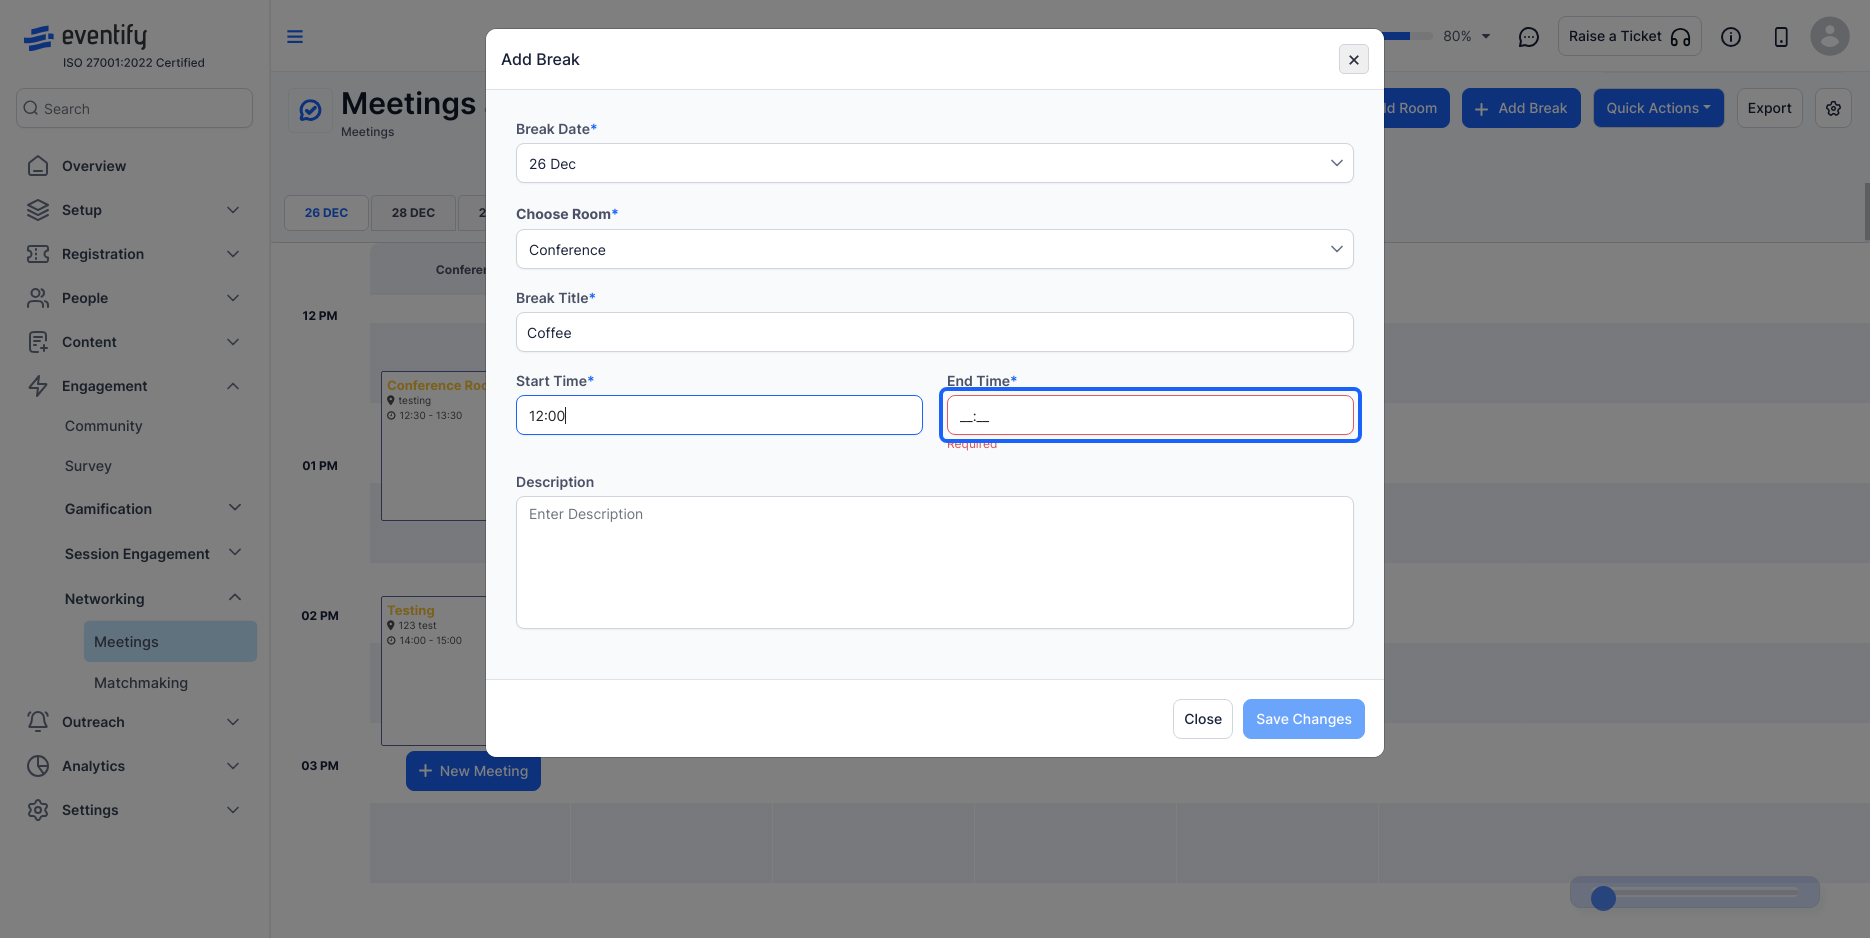
26: To add a break to your meeting, Click on "Add Break": This will open the "Add Break" window.
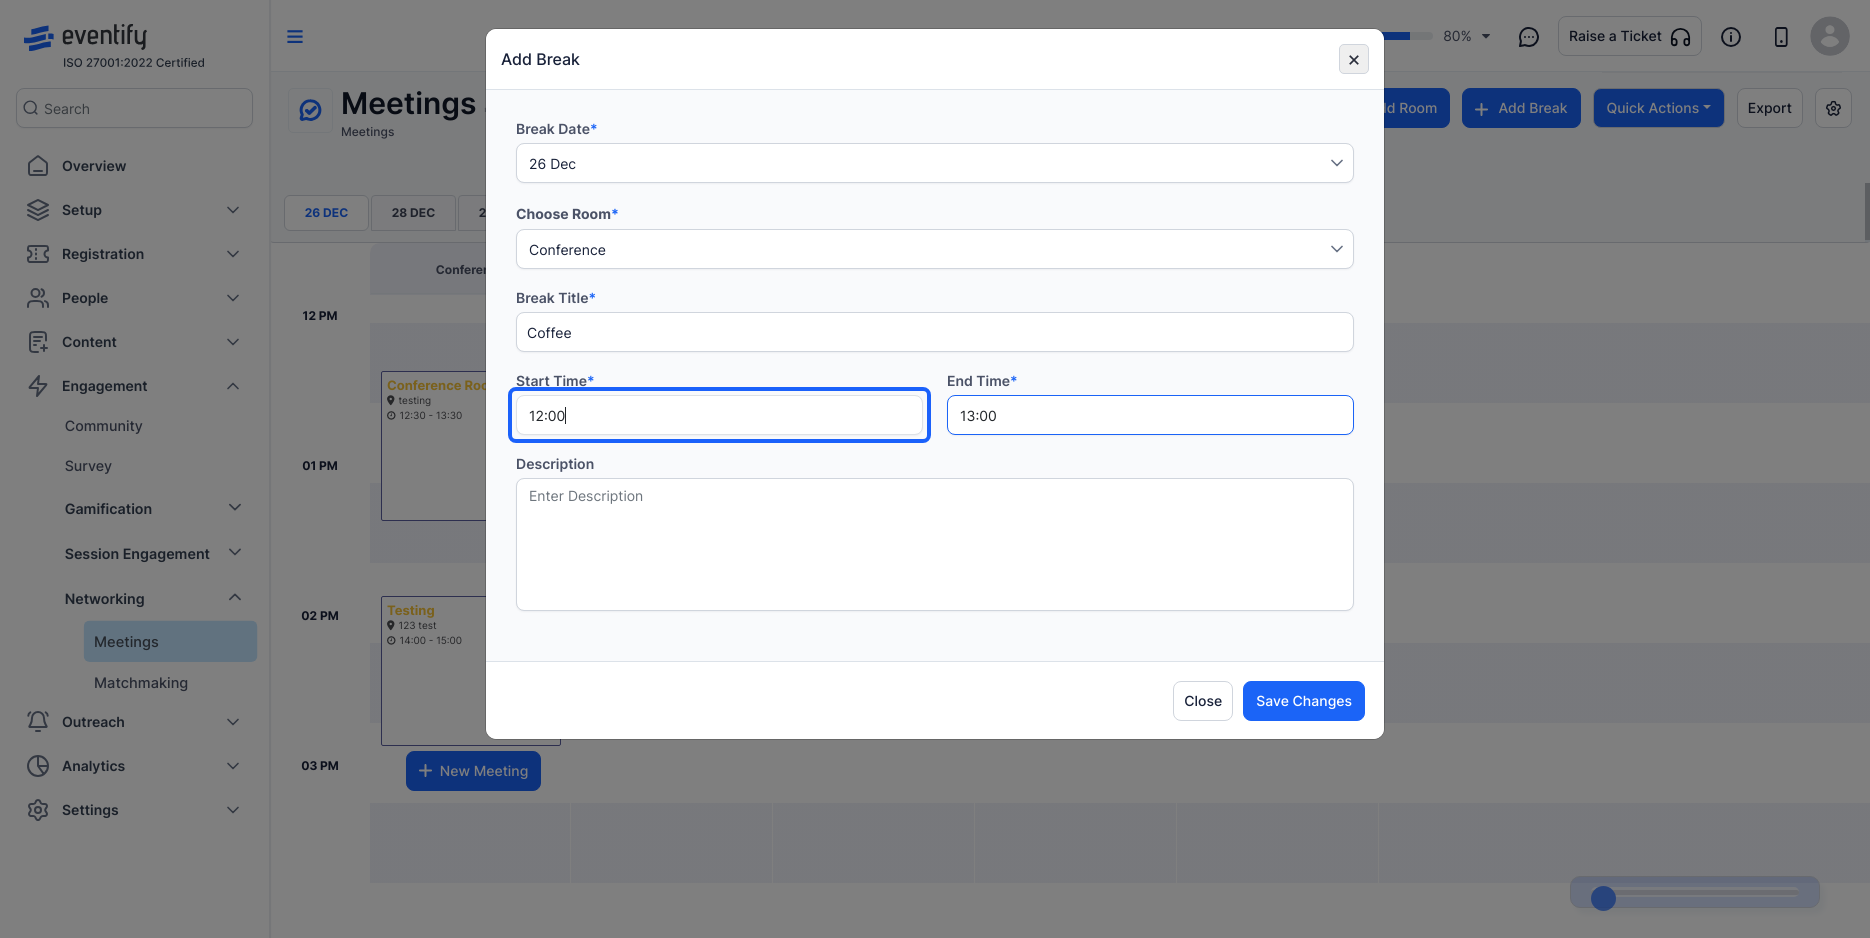
27: Select a room for the break
28: Enter break title
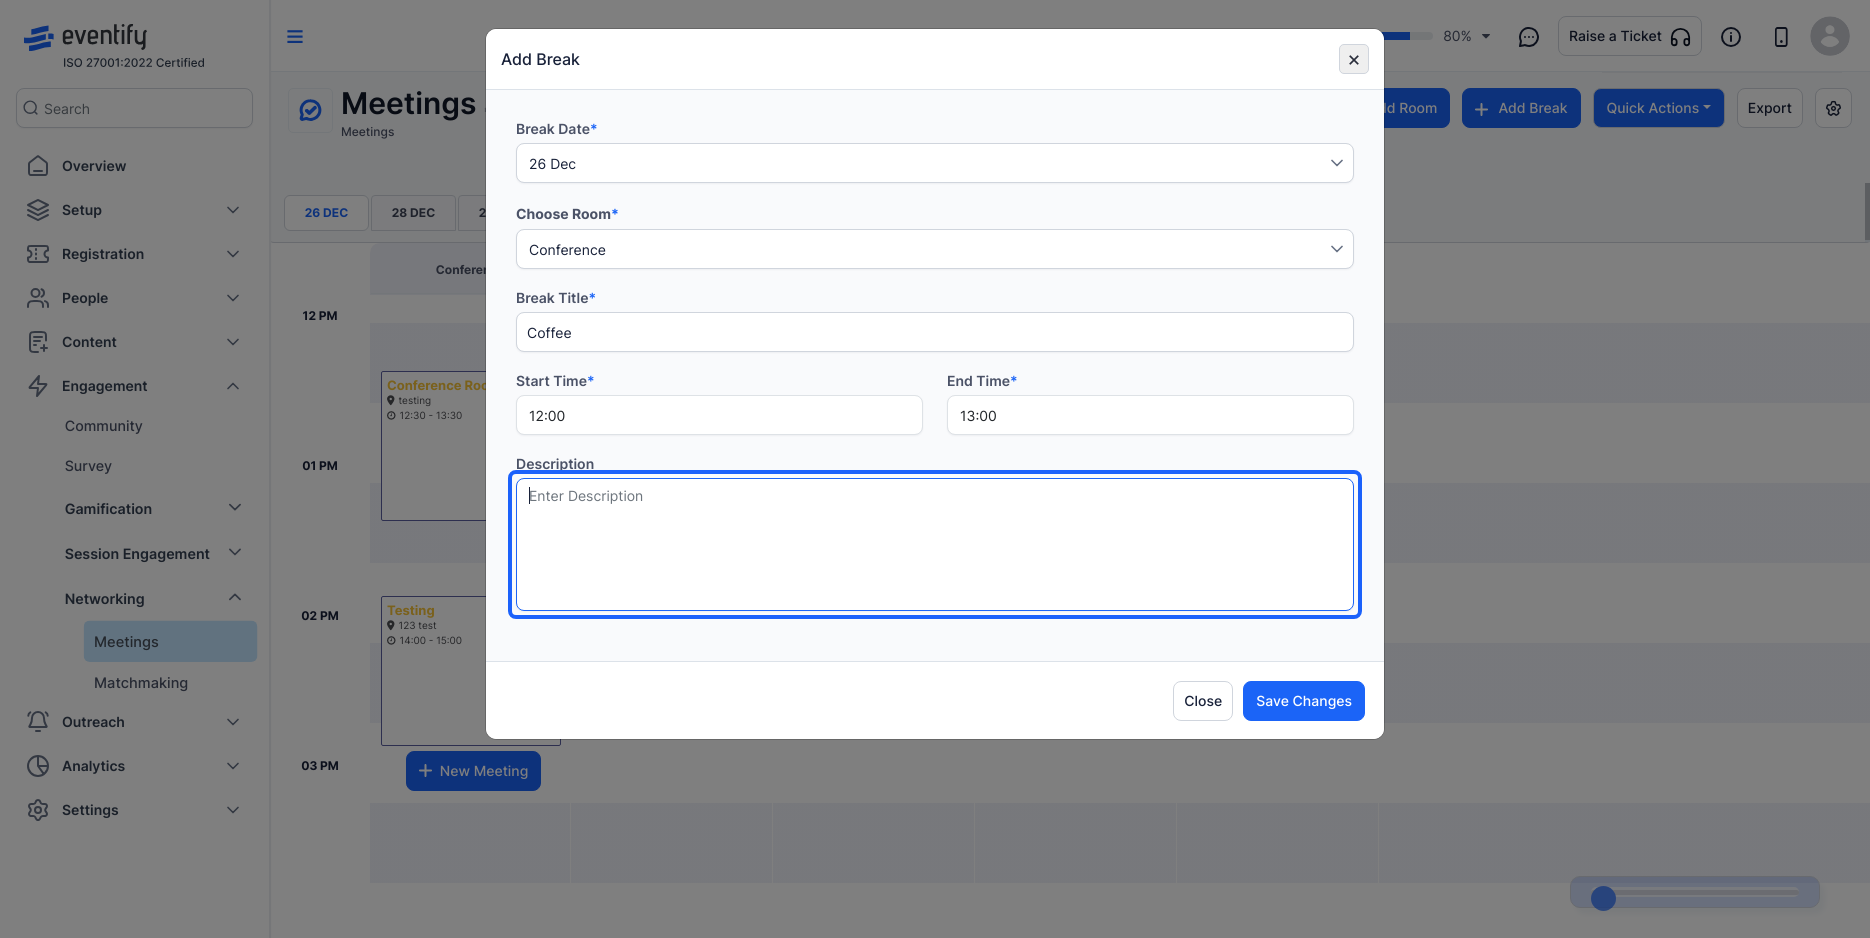
29: Set the start time for the break.
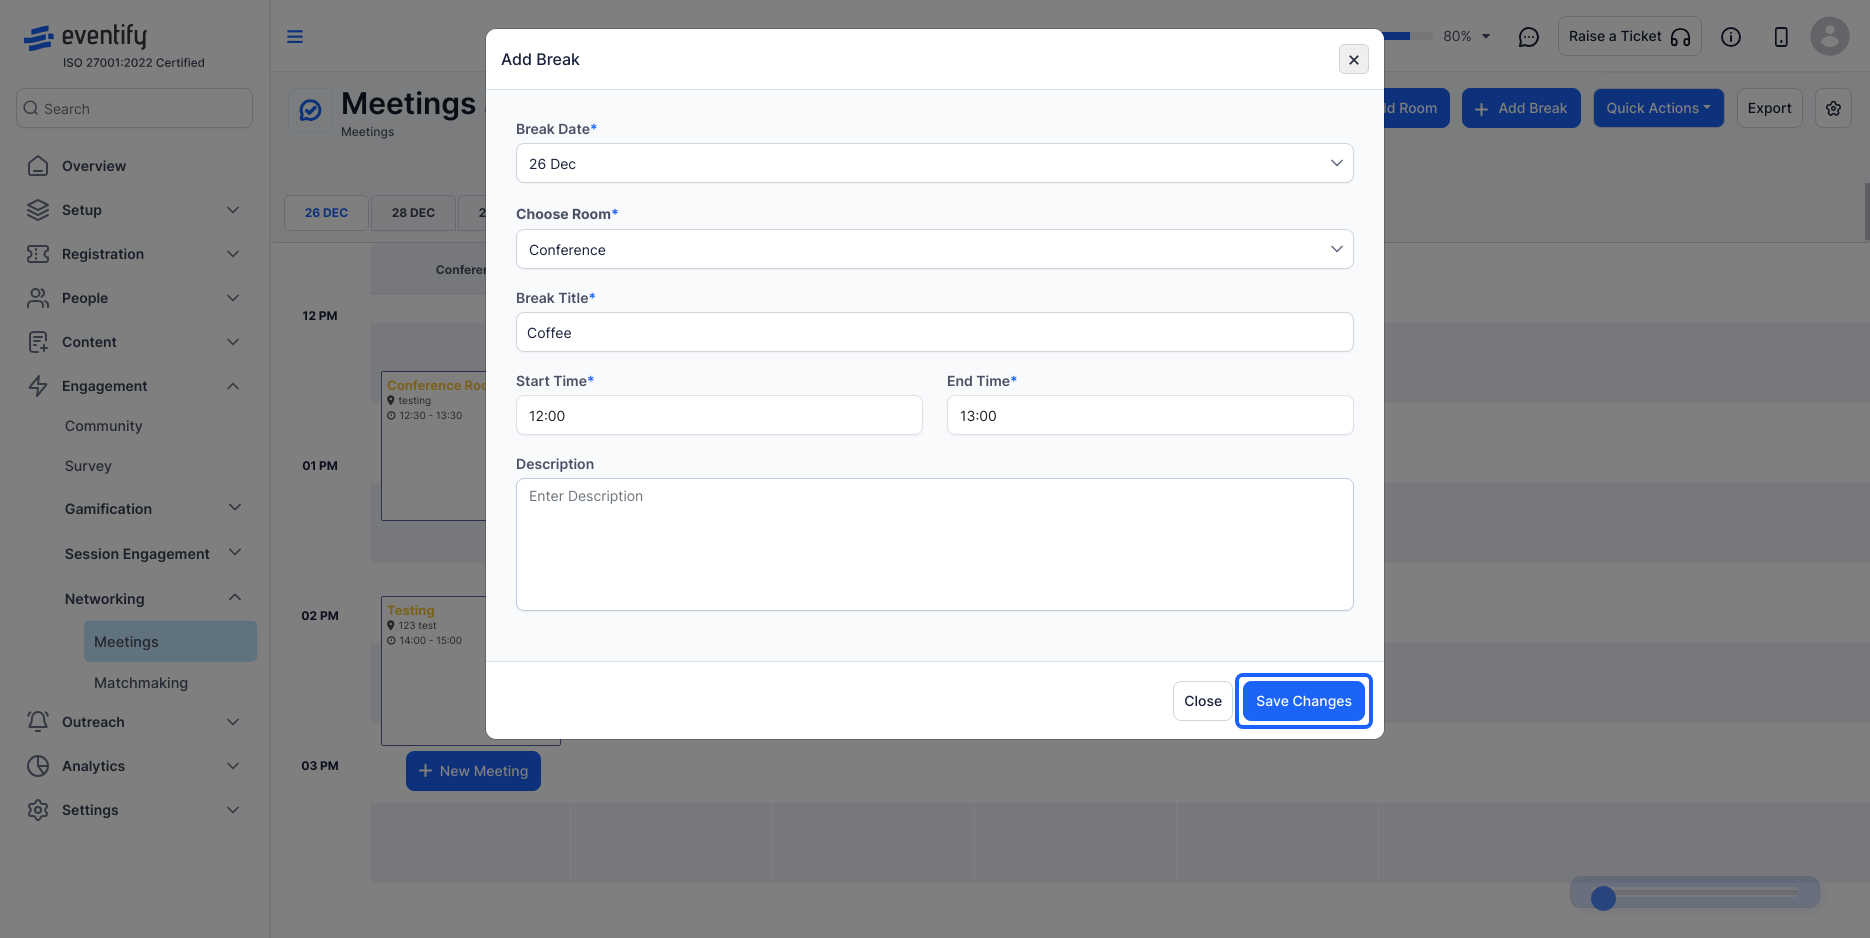
30: Set the end time for the break.
31: Add a brief description of the break.
32: Click "Save Changes" to add the break to the meeting schedule.
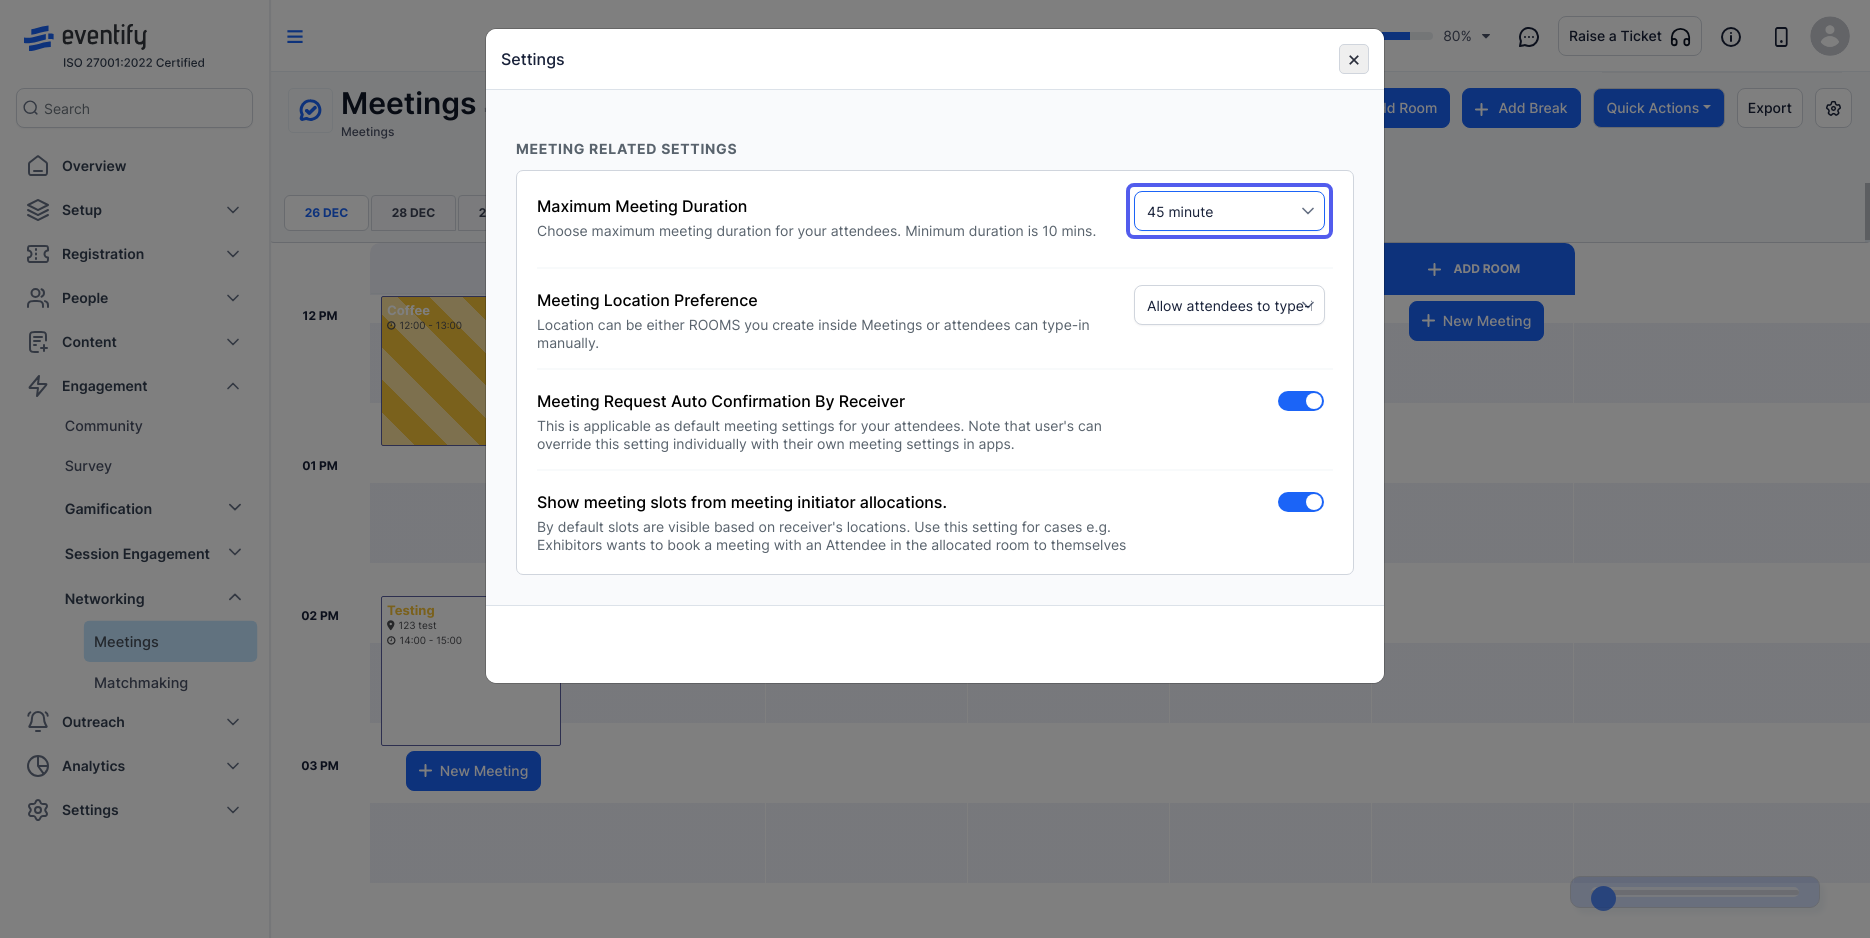
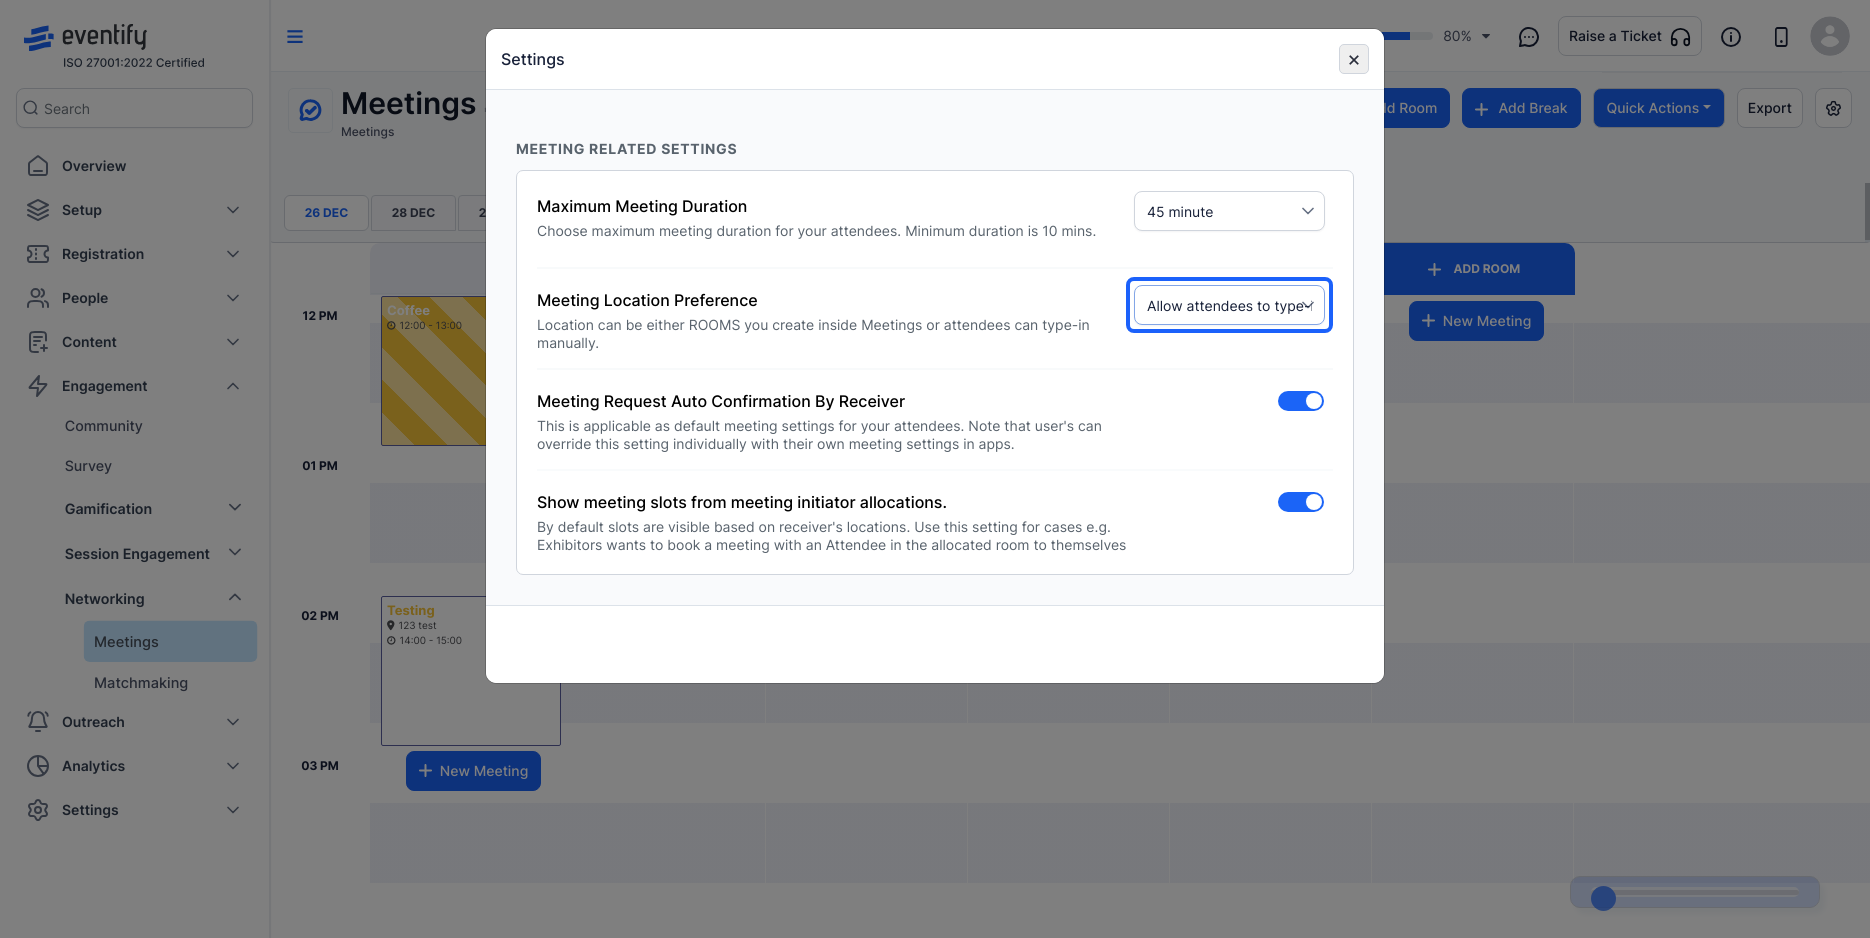
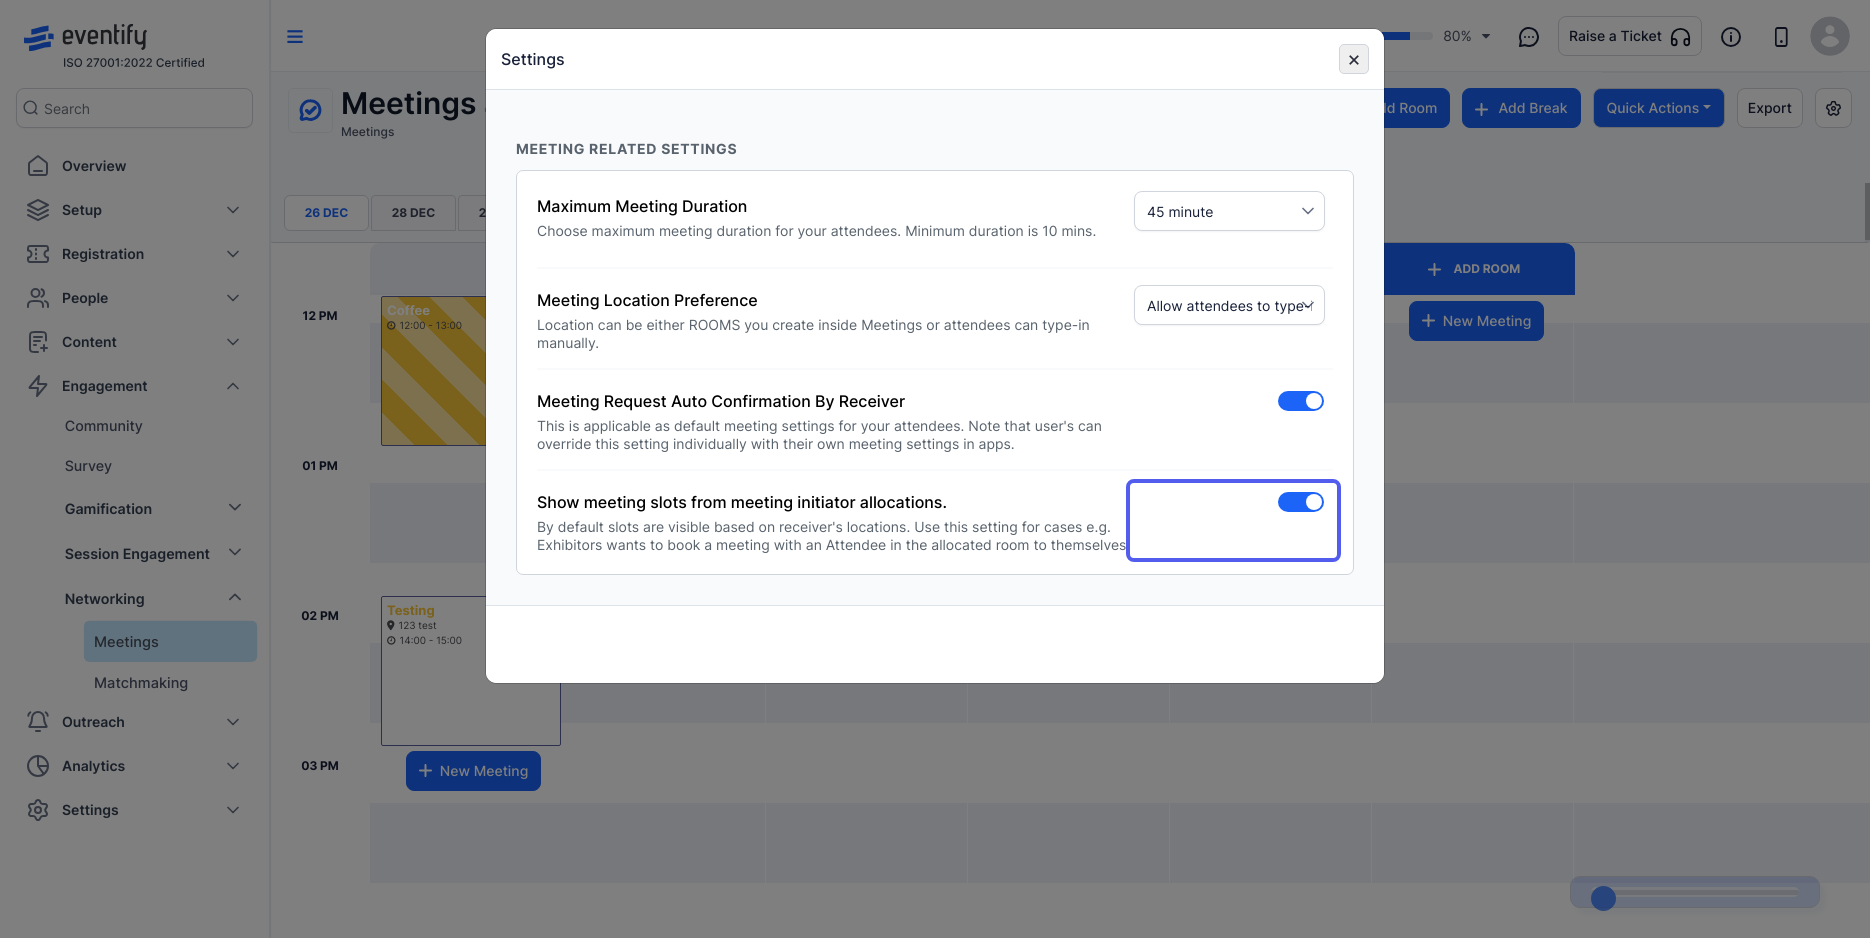
33: You can also control the Meeting Settings. The Meeting Settings panel on Eventify provides you with options to customize various aspects of your meetings.
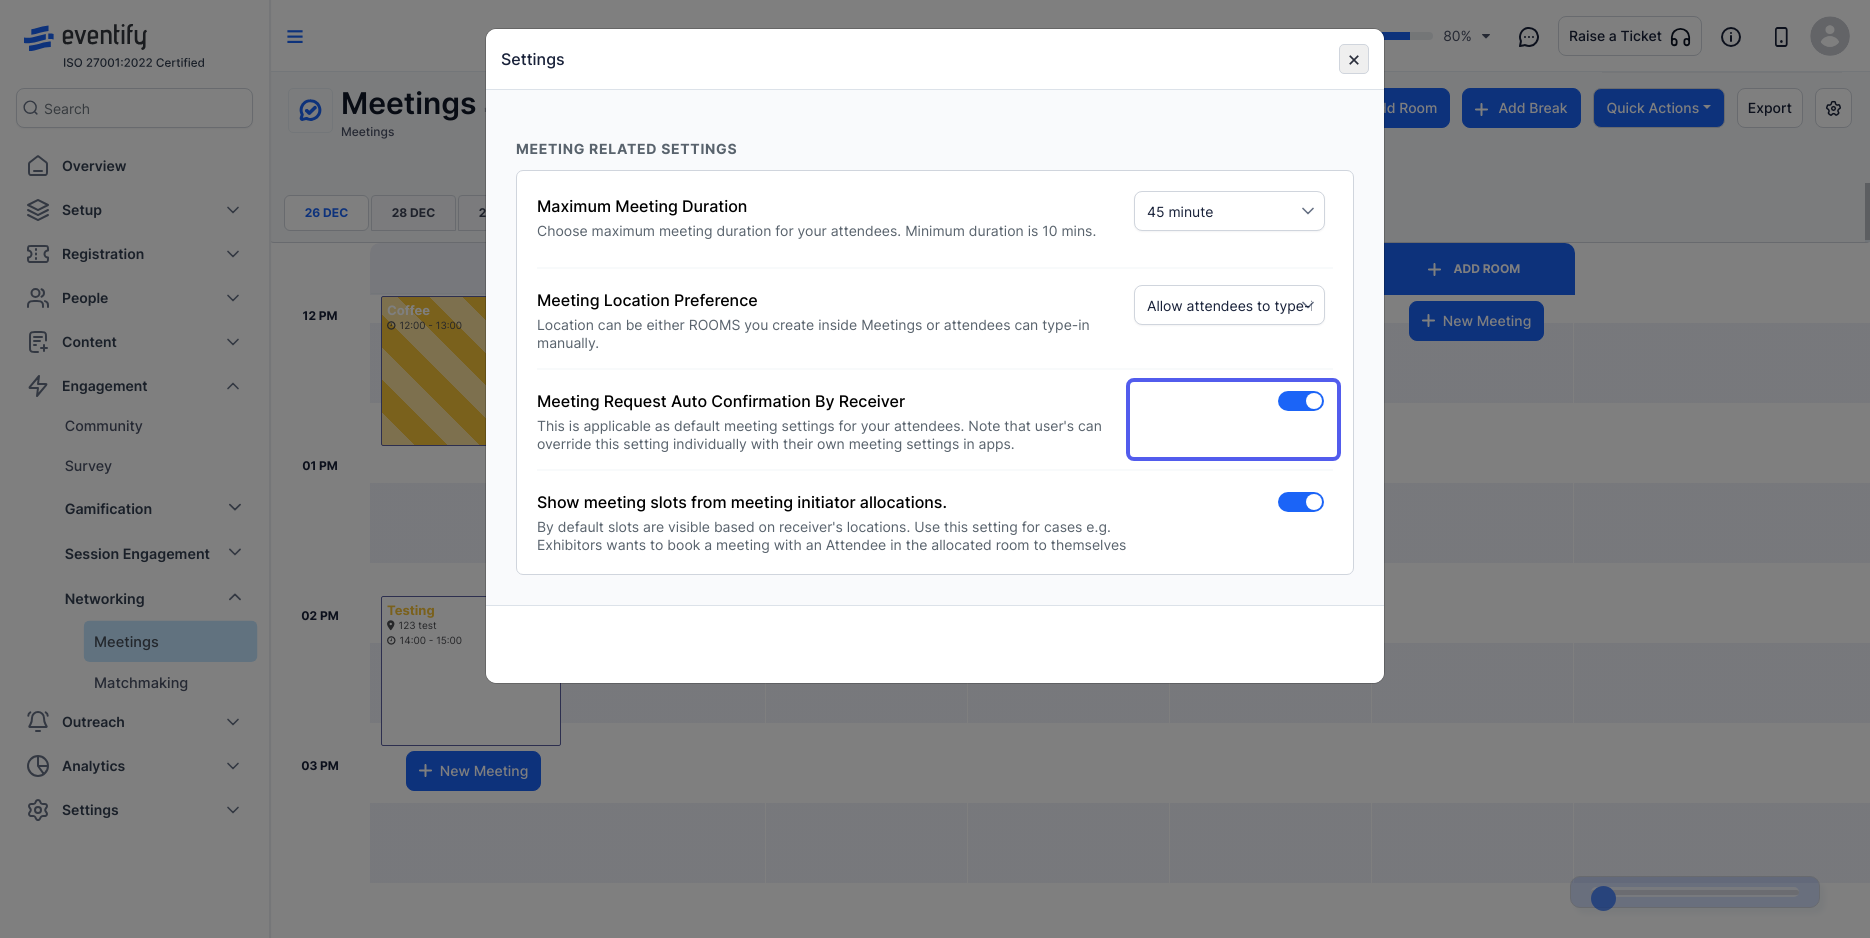
34: Set the maximum duration allowed for meetings created by your attendees. The minimum duration is set to 10 minutes.
35: Restrict to rooms added: If enabled, attendees can only schedule meetings in rooms that you've created. Allow attendees to type in their own location: If enabled, attendees can choose their preferred meeting location. Both Options: the user can choose both at the same time.
36: Enable or disable: Decide whether attendees should automatically confirm or decline meeting requests. Manual confirmation: If enabled, attendees can manually confirm or decline requests. Note: Users can override this setting individually with their own meeting settings in apps.
37: Adjust Slot Visibility: Determine whether attendees can view meeting slots based on the meeting initiator's allocations.
38: Export meeting data to Excel or another format for analysis, reporting, or archival purposes.
39: Easily import multiple meetings from an Excel file; simply upload it, and the meetings will automatically appear in the Meetings section. You can also make bulk updates to multiple meetings, including changes to dates, times, or locations.
Meetings on Eventify App:
Meeting Status: Indicates whether the meeting is scheduled, confirmed, canceled, or rescheduled.
Meeting Date and Time: Displays the date, start time, and end time of the meeting, along with the selected time zone.
Attendees: Lists all attendees who have been invited to the meeting, including their names, titles, and company affiliations.
Chat: Allows you to communicate with attendees in real time during the meeting.
Meeting settings on App:
The attendee can customize various aspects of meeting availability and scheduling.
1. Meeting Availability: Toggle the switch to allow or restrict others from scheduling meetings with you.
2. Meeting Confirmation: Choose whether meetings should be confirmed automatically or require manual acceptance.
3. Meeting Duration: Adjust the default duration for your meetings.
4. Meeting Break time: Specify the desired break time between meetings.
5. Schedule Time:
Set availability window: Choose the days and times when you are available for meetings.
Add more days: Click the "+ Add More" button to set your availability for additional days.