Effortlessly Create and Manage Event Itineraries for Attendees
To create an itinerary, click on the Add New button. Then, enter all the required details for your event. Be sure to add an eye-catching activity title that will grab your attendees' attention! You can add multiple activities to a single itinerary, ensuring a smooth and hustle free experience.

Edit Existing Itineraries and Manage Vouchers Seamlessly
To make changes to an existing itinerary, simply click on the Edit icon next to it. This will open the itinerary details, allowing you to update activities and other event-specific information.
You can also manage vouchers within the same view—add new ones, modify existing offers, or remove outdated ones to keep everything up to date.
Need to reuse an itinerary for a similar event? Just use the Clone feature to duplicate the itinerary instantly. This helps save time and ensures consistency across multiple events.


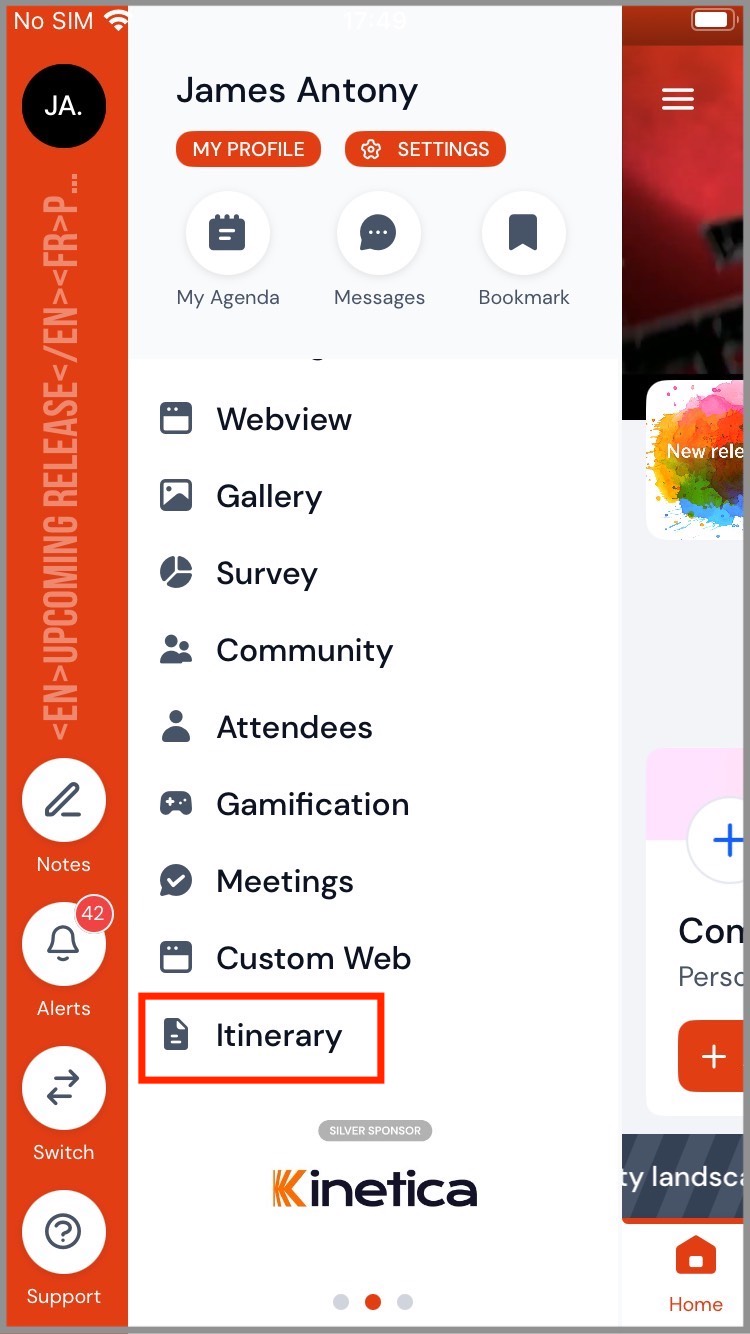
How Attendees Can Access Their Itinerary
To access the itinerary assigned to them, attendees can log into their account and navigate to the Itinerary section to view their scheduled accommodations and activities.
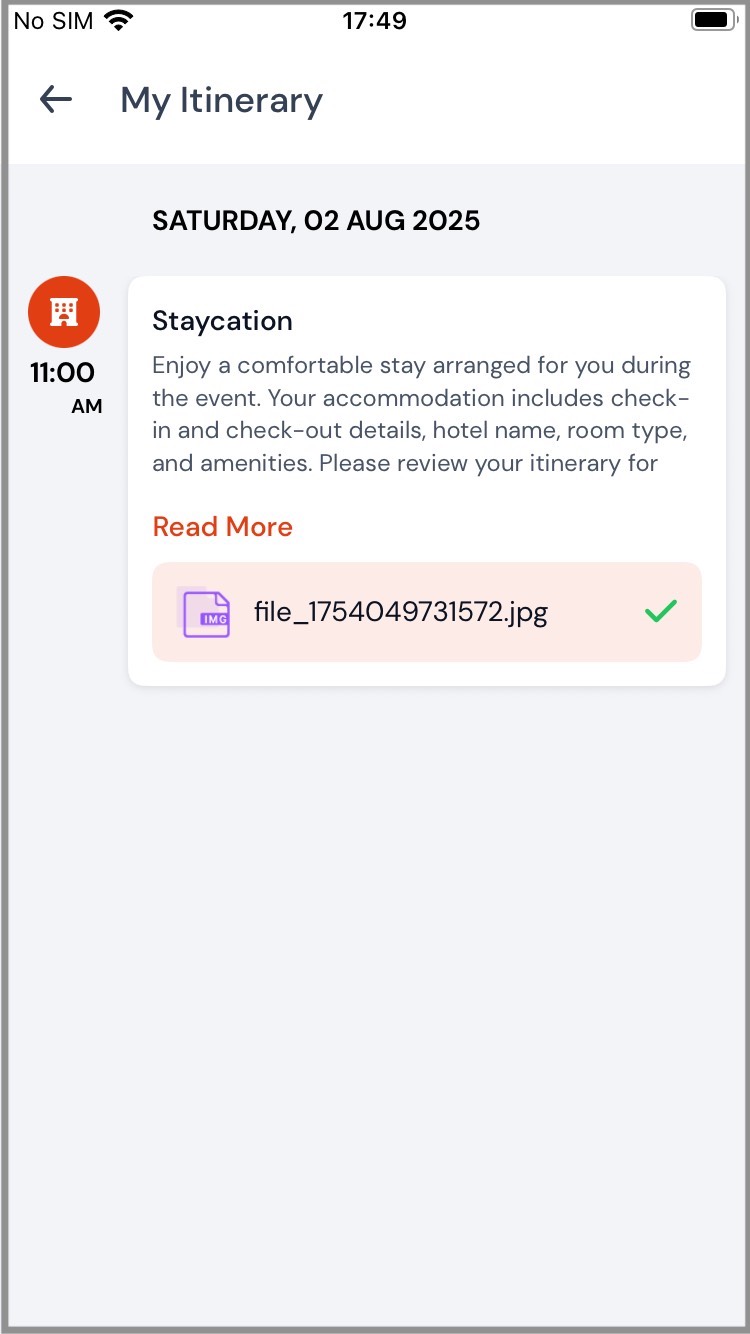
Once they click the Itinerary option, the 'My Itinerary' page will open, displaying all the details of their assigned itineraries. Attendees can also download and view any additional files attached to the itinerary.
.png)


